16 Planting Mistakes Gardeners Make In Their Vegetable Patches
If you want to start off your vegetable garden well this year, it helps to be prepared for everything that may come. Yet with all the careful planning and seedling tending, we still come up short sometimes.
But not this spring!
I’ll take you through some common planting mistakes so you can get your veggie patch off on the right foot!
Let’s dive right in!
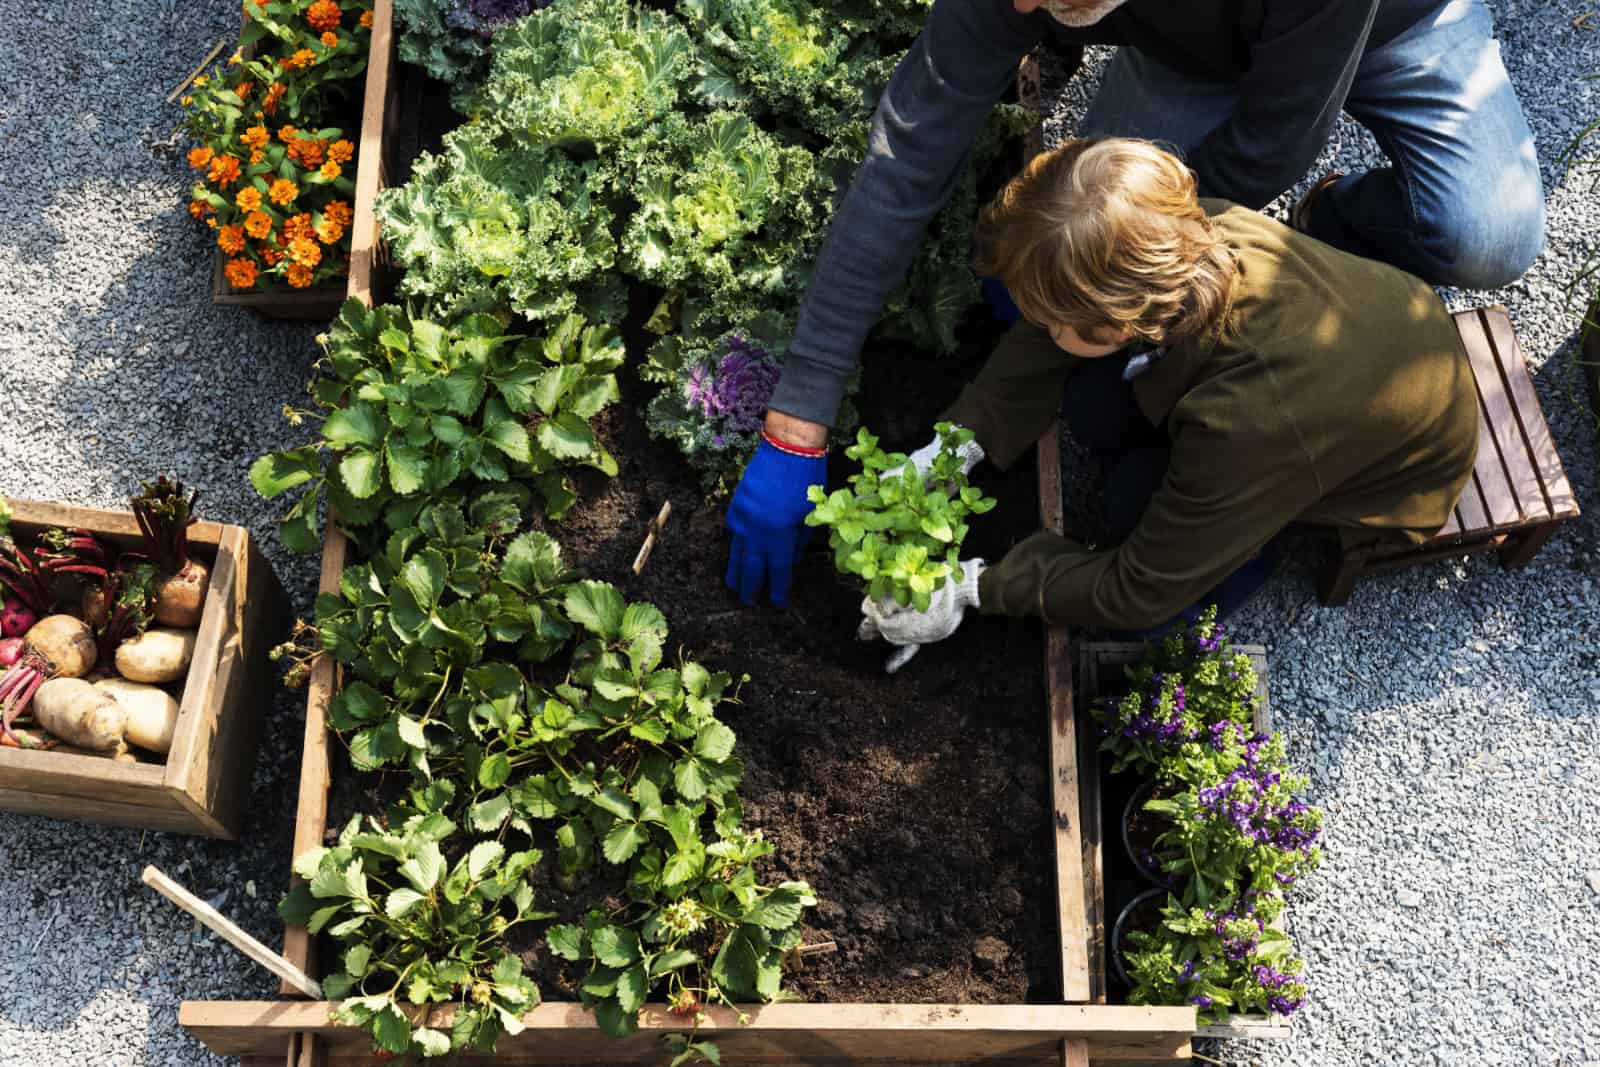
1. Not Planning Ahead
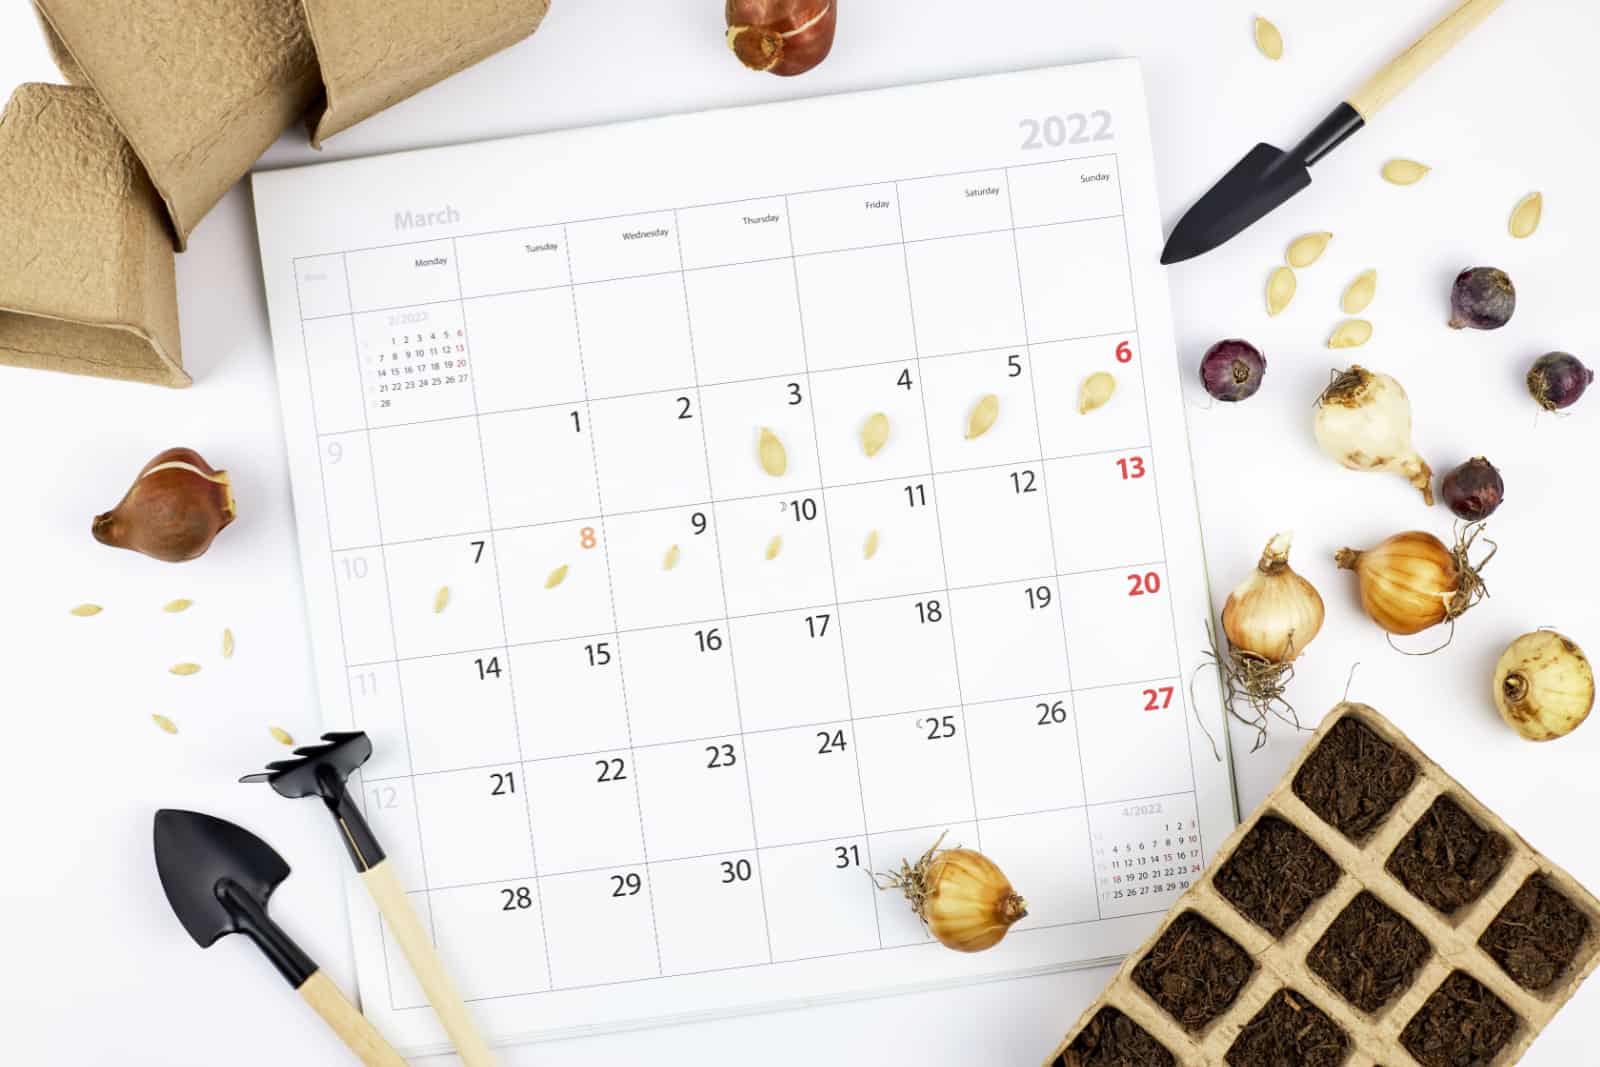
One of the most common mistakes beginner gardeners make, and one I made, is setting out to plant your seeds and seedlings without a plan.
I’m talking about everything before the due date; checking the weather regularly, marking the exact dates of planting for each vegetable, and setting aside a couple of days or a weekend for the due date.
Make sure you have all the tools you need. Fertilizers, compost, and other soil amendments too. Make a list of everything you need to buy or replace, such as torn gloves, broken spades, watering cans, bone meal, etc.
And if you haven’t made a mapping plan with the exact location for each plant, now’s the time to do it.
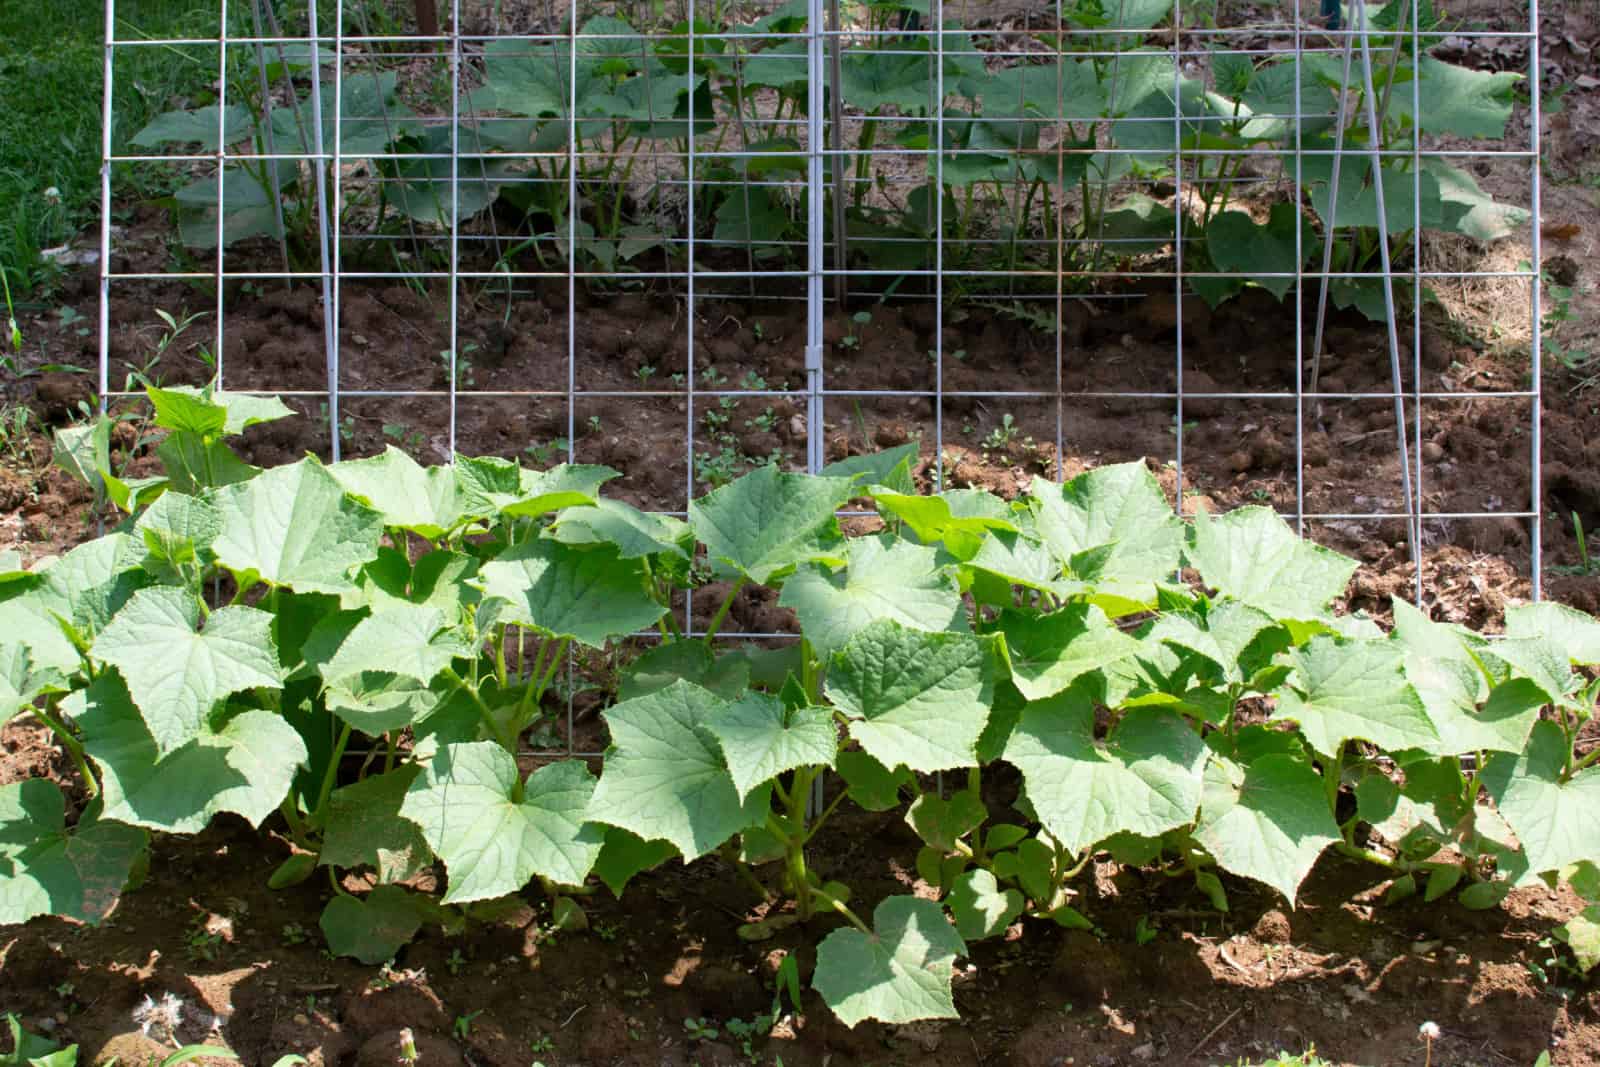
2. Failing To Account For Mature Size
This I learned the hard way. When I first started my vegetable garden, I was a smarty-pants, thinking I was ahead of the game with my knowledge about spacing.
And it’s true that I separated my plants of the same species enough. But what I failed to account for is how their mature size would interfere with my other veggies, and my tomatoes overcrowded my cucumbers.
I know it’s hard to visualize everything, but it does get easier!
One vegetable overcrowding the other once they both reach their mature size is a common issue.
Don’t forget that each plant needs room to grow and set fruit. Spacing them properly (plants of the same and different species) will ensure they get enough moisture and nutrients for a large harvest.
One of the best pieces of advice I got was to take pictures of my overcrowded garden. That way I knew how big certain veggies get and could account for their mature size the following year.
You can also use the size of your plants to your advantage. For instance, you can grow tomatoes and lettuce together. The sheer size of the tomatoes will provide enough shade for the lettuce and prevent it from bolting, while lettuce will suppress some weed growth.
And my last piece of advice is that it’s okay to make spacing mistakes, but on the side of too much instead of too little. You can always fill it in with carrots, nasturtiums, and similar plants that don’t take up too much space.
P.S. If you don’t have enough room, you can grow your plants vertically. Zucchinis, cucumbers, tomatoes, and pole beans are all excellent options for this.
3. Waiting Until The Last Minute
One mistake I won’t make again is buying seeds and seedlings at the last minute. The seedlings didn’t take up that well and germination was terrible. The worst part was that I didn’t even get everything I wanted!
Here’s the deal! If you want to start your own seeds, purchase them as soon as the catalogs become available, and much earlier than the seedlings.
If you don’t get them early in the season, you’ll probably have to wait a whole year until they’re available again.
And the same goes for buying seedlings. Healthy and strong ones are gone in the blink of an eye. If you want to take a couple of tomato transplants back home, you’ll have to buy them early from your local nursery before they’re sold.
You can even call ahead and ask your favorite store when their seedlings will be ready so that you don’t miss out on anything.
4. Skipping Soil Testing
I went years without testing my soil and getting a below-average yield. I just used any recommended fertilizer without understanding whether that’s what my plants needed.
And whenever I dealt with slow growth, droopiness, and lack of fruit, I just packed my plants with more nutrients. This helped a bit, but not enough because I didn’t know which minerals my veggies needed the most.
One way to ensure a high yield is by testing your soil. This way you’ll know exactly what your plants need and won’t be adding excess of one nutrient and not enough of the other.
For instance, if you add too much nitrogen, it will lead to lush and bushy growth with plenty of stems and foliage, but not enough fruit.
Additionally, constant fertilizing can lead to overfertilization and toxic runoff, which can hurt your other plants – all of which can be prevented with soil testing.
But this simple practice goes beyond nutrition!
Soil tests can help you discover the composition of your substrate. Perhaps you don’t need additional nutrients, but to fix the sandy or clay medium you have.
These tests can also tell you the pH level of your soil, which is important as all plants have their preferred pH values at which they absorb nutrients adequately.
So before you plant a single vegetable, test your garden soil and see what needs to be done!
5. Forgetting To Soak Seeds
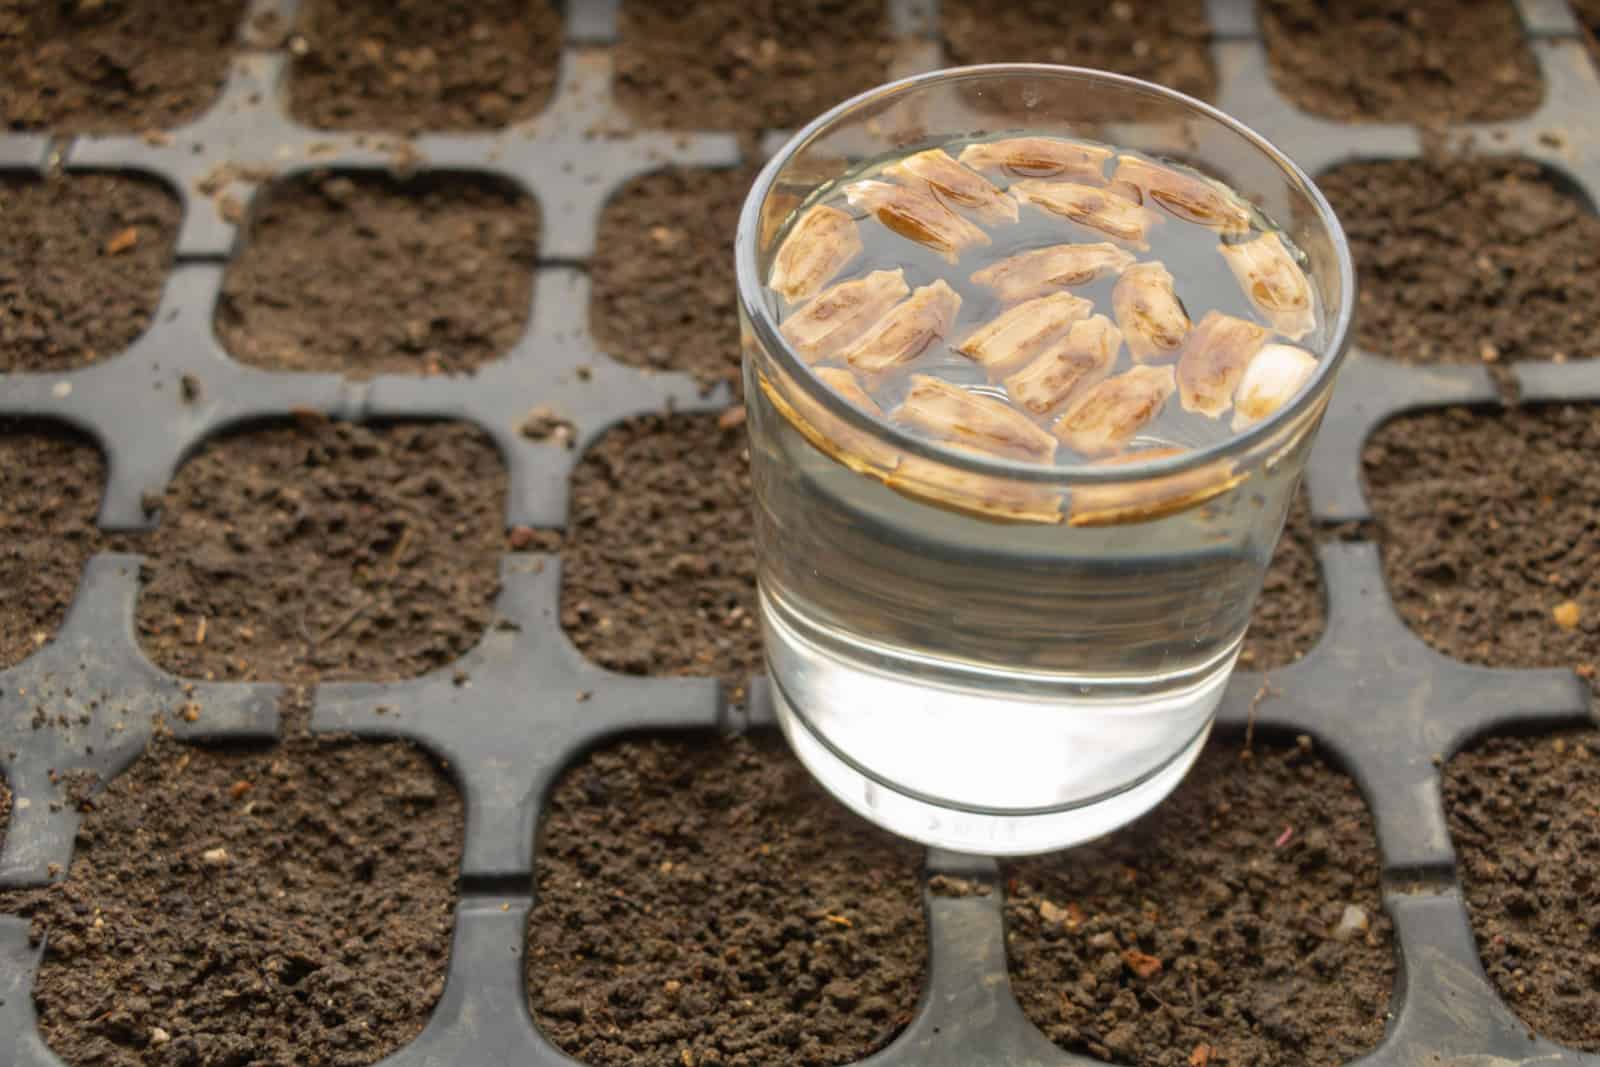
I didn’t give this tip a second’s thought when I first started my gardening journey. I got my hands on some kumquat seeds, peeled them, and placed them straight into the soil.
I was quite disappointed when they didn’t sprout, but I learned my lesson and that was the last time I didn’t pre-soak seeds.
You can just soak them in water overnight or even germinate them in a moist paper towel placed in a ziplock bag.
Obviously, this step isn’t completely necessary and some seeds will still sprout. I just don’t like dealing with the disappointment of unsuccessful germination, so I soak them. It doesn’t take too much, but it makes a huge difference.
6. Not Letting Seed Potatoes Callus Before Planting
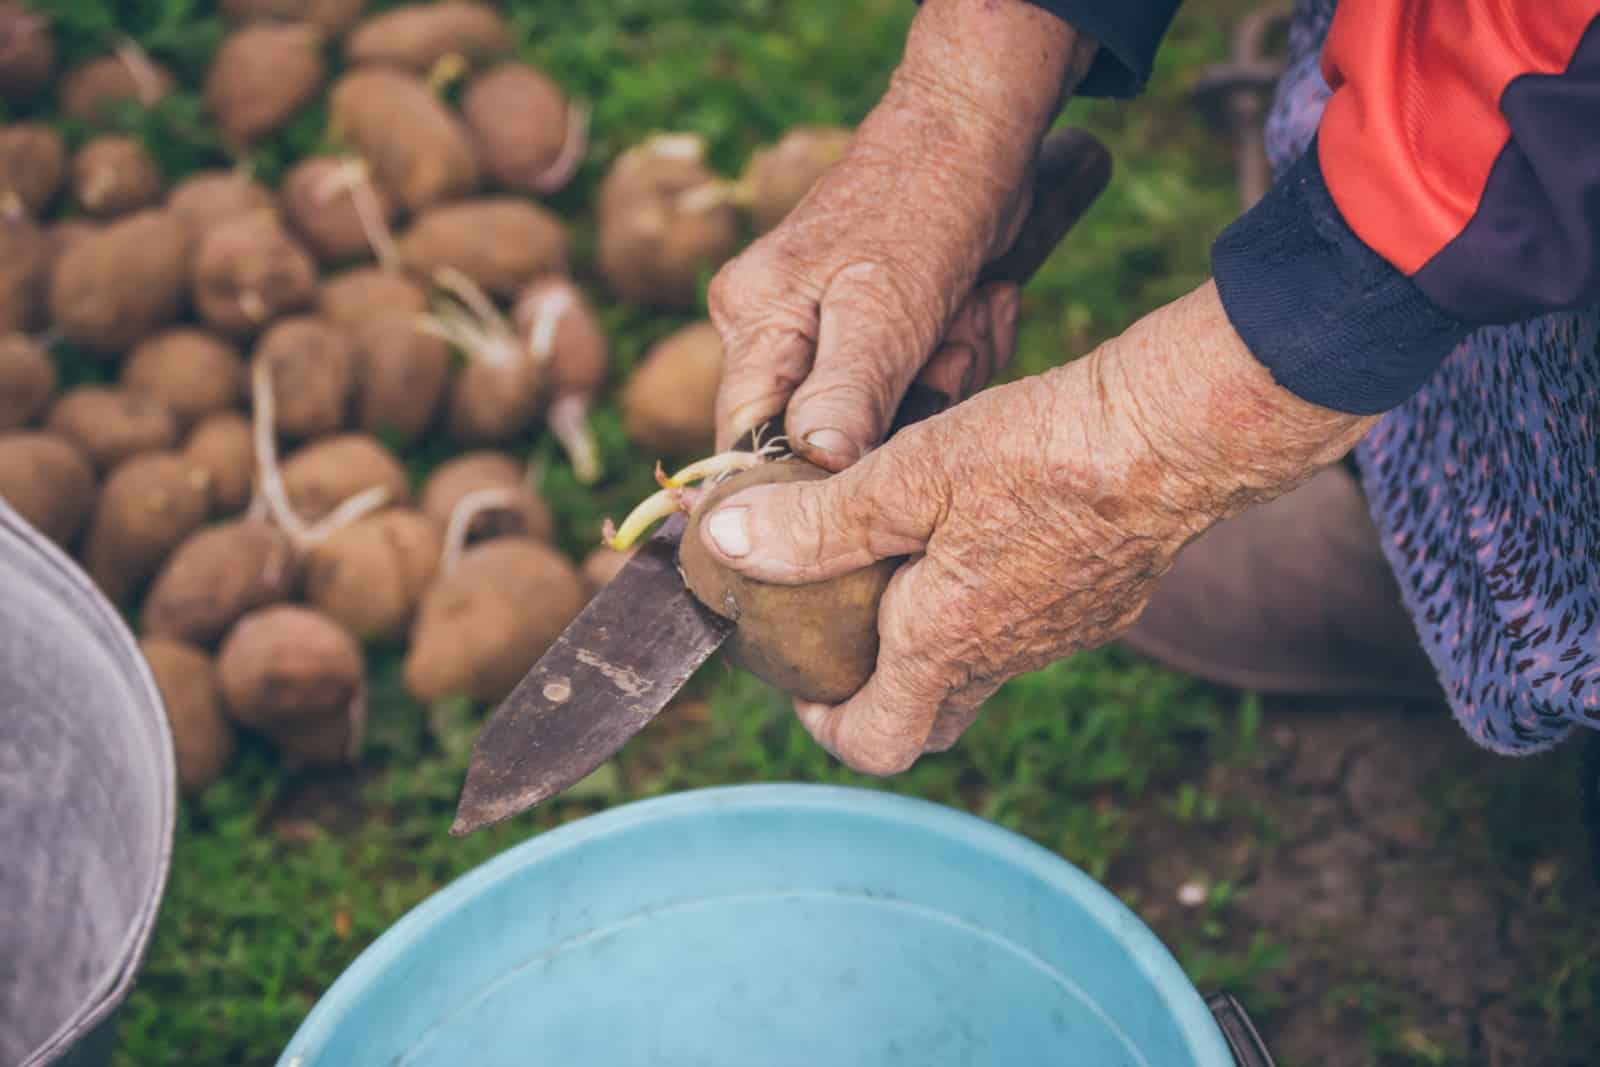
Many gardeners, myself included, skip out on growing potatoes because they’re so affordable. But now that I have my own crop, I can never go back.
Planting them is a sport, and unearthing them a treasure hunt, but the satisfaction you get from those big pieces is priceless.
One step I always make is chitting the potatoes, but it isn’t necessary. However, I realized that it gives me an earlier harvest and perhaps a larger yield, although that might just be my biased opinion.
But one thing that will increase your yield is cutting the large seed potatoes in half or even smaller pieces. Just make sure each of them has an eye from which it can sprout.
However, you should wait a day or two for the wound to heal a bit and form a callus. Spread the potato halves somewhere dry. This technique will ensure they don’t rot after planting and increase your success rate and yield.
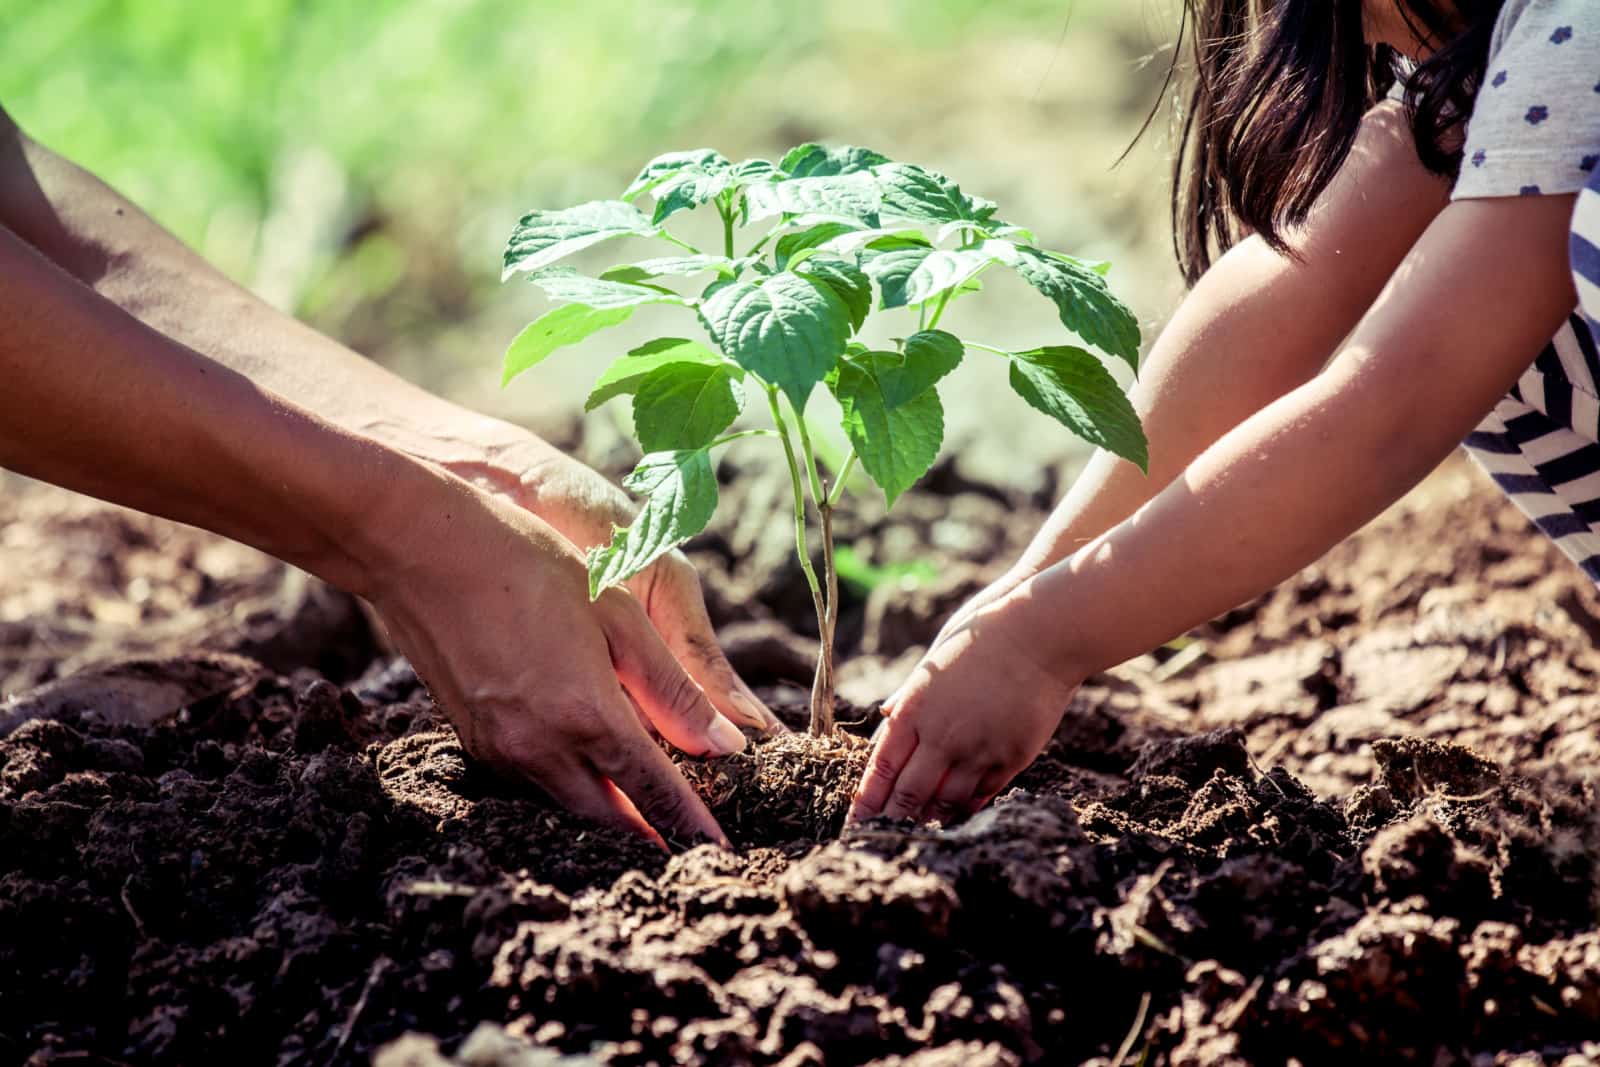
7. Not Hardening Off Seedlings
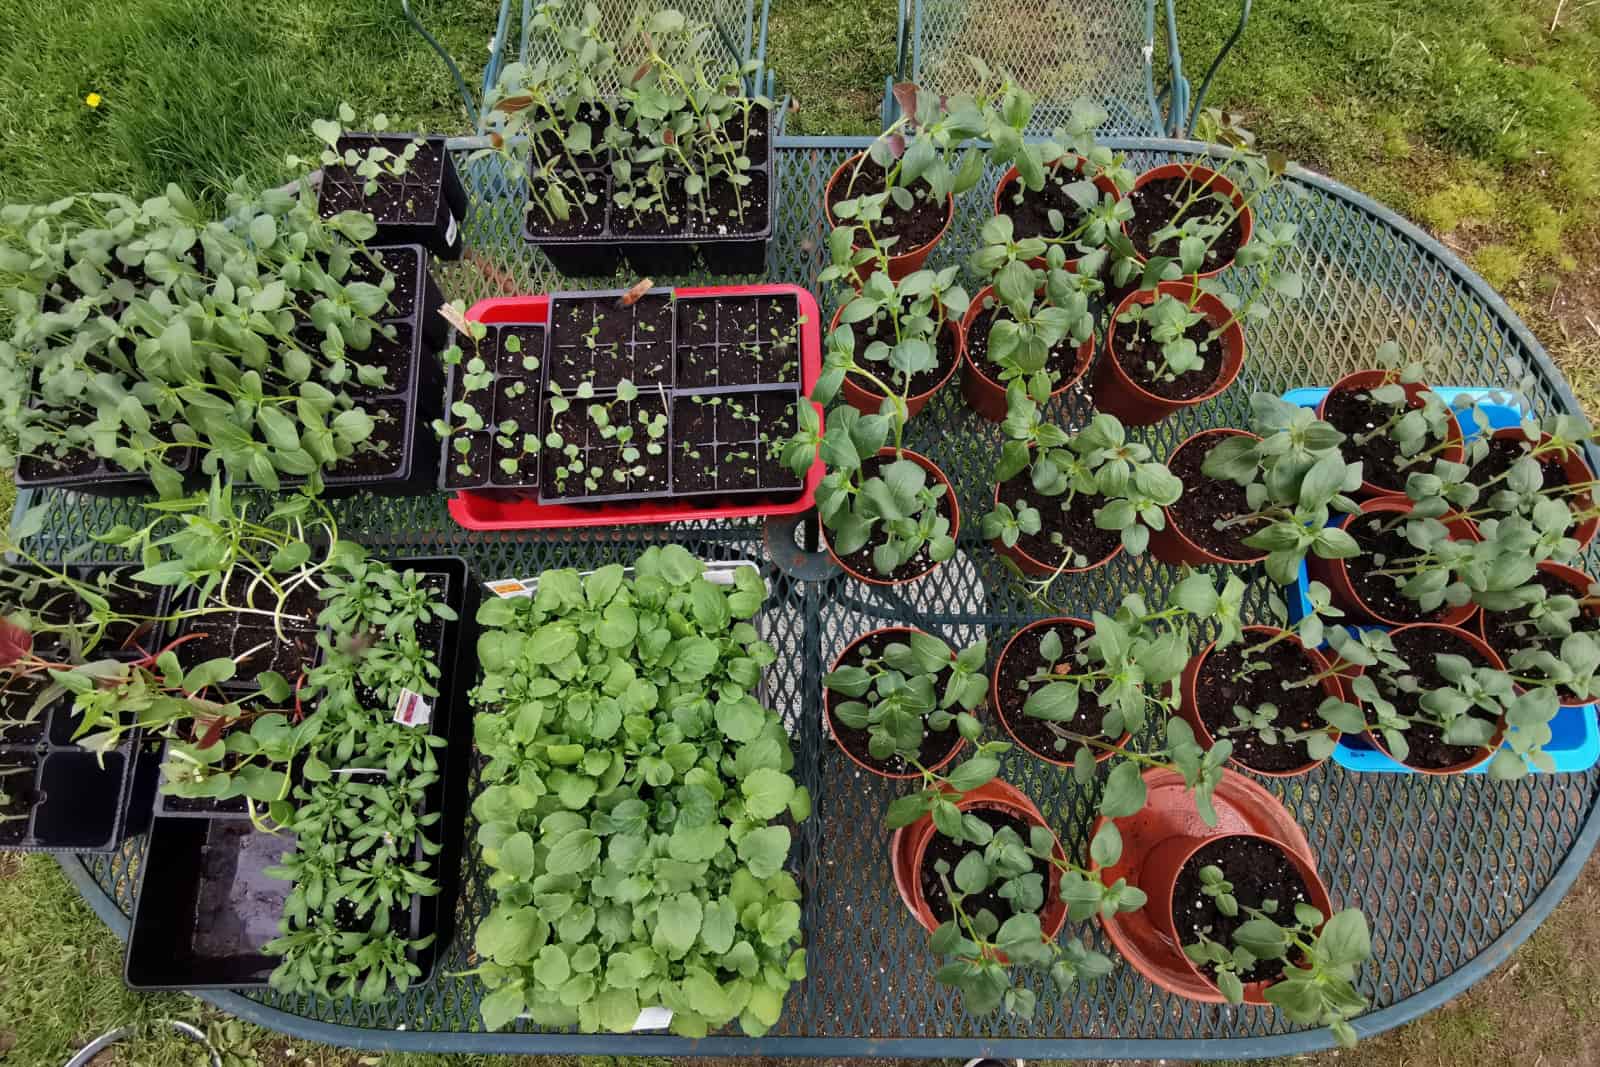
When transplanting seedlings outside, one of the main mistakes new gardeners make is not hardening off their seedlings.
I did this without realizing that the transplants have to acclimate to full sun, air movements and wind, temperature variations, etc. These are all the things that greenhouse or indoor seedlings haven’t been exposed to.
If you move the transplants directly outside before adjusting them to these conditions, they’ll experience transplant shock and likely die.
But worry not because it only takes about a week or so to harden off your seedlings and prepare them for outdoor conditions.
All you need to do is take them outside for about an hour or two and place them in a location sheltered from wind and harsh direct sunlight. Then take them back inside and repeat the process for the next couple of days.
Increase the outdoor exposure for about a half an hour every day. Gradually introduce your transplants to more light too. Once your plant can last an entire day and night outside, it’s ready for the transplant.
However, if you’ve bought commercial seedlings, you don’t have to harden them because they usually grow under conditions similar to those outdoors.
Pro tip: Water the seedlings more frequently during this period because they’ll dry out faster.
8. Planting Too Early Or Too Late
I have to confess that I’ve been transplanting my seedlings early for a long time, so I understand that it’s hard to resist the temptation once it warms up a bit.
But spring weather is tricky and it’ll get cold before you know it, so don’t let that fool you. The best thing you can do is work out which USDA hardiness zone your region belongs to.
Once you know this, you can search for the last spring freeze for your area and go from there.
Of course, you should take this information with a pinch of salt since it cannot be 100% accurate, but it does come close.
It’s based on historical data, so it may miss on a couple of dates, which is why you should always monitor the weather and plant a couple of days after the last expected frost.
Here are some general guidelines for understanding your freeze days:
Another thing that can help you is having frost protection at hand and checking the forecast about 7-10 days before transplanting (more on that in the next section).
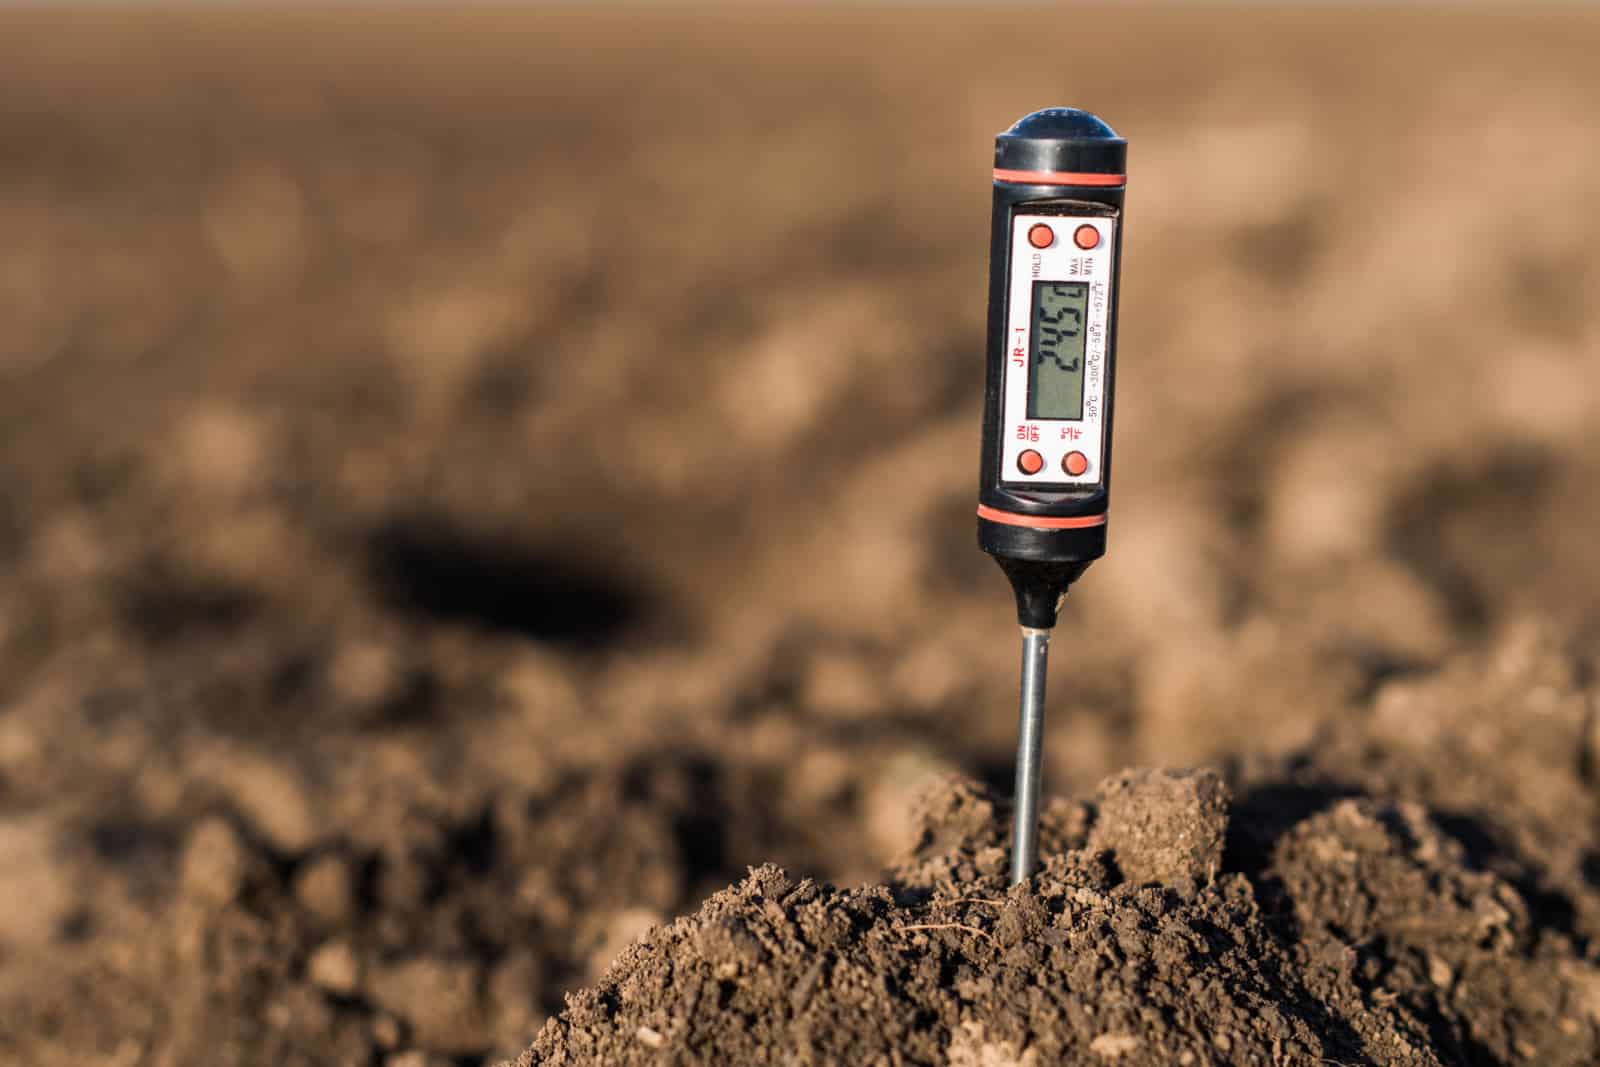
Additionally, soil temperature affects the germination rate, and if it’s too cold, they won’t sprout. Luckily, many seed packages have instructions in the back, including the preferred soil temperature for that species, so don’t forget to consult it.
You can easily read the temperature of your substrate with a simple and inexpensive soil thermometer.
The other side of the coin is planting too late in the season. This may not seem like a big deal as there’s no cold anymore so the seeds will definitely germinate, but that’s not entirely true.
Certain veggies, such as leafy greens, root crops, and those from the cabbage family, actually prefer slightly cooler temperatures. They will quickly bolt (flower prematurely) and turn bitter, leaving you with a sad harvest.
And if you live in a really warm region, consider planting cool-weather vegetables in the fall so that you get a decent yield.
In the end, it all comes down to the planning stage. Take note of last-year’s mistakes and learn from them by writing down your soil temperature and planting dates.
9. Not Checking The Forecast

Checking the weather a couple of days before planting sometimes isn’t enough. Spring freezes and heat waves will sneak up on you and your plants before you know it and possibly ruin your crops.
That’s why you should check the ten-day forecast before your due date, paying special attention to the nighttime temperatures.
The key is to plant your veggies when there are no freezing conditions at night. This will give your seedlings enough time to recover from transplant shock, root, and establish.
Therefore, if you notice more than a couple of days with freezing nighttime temperatures, wait before they get warmer before planting.
Remember that the transplant will be a success if you do it the right way, so always plant after all danger of frost is long gone.
10. Failing To Use Soil Amendments
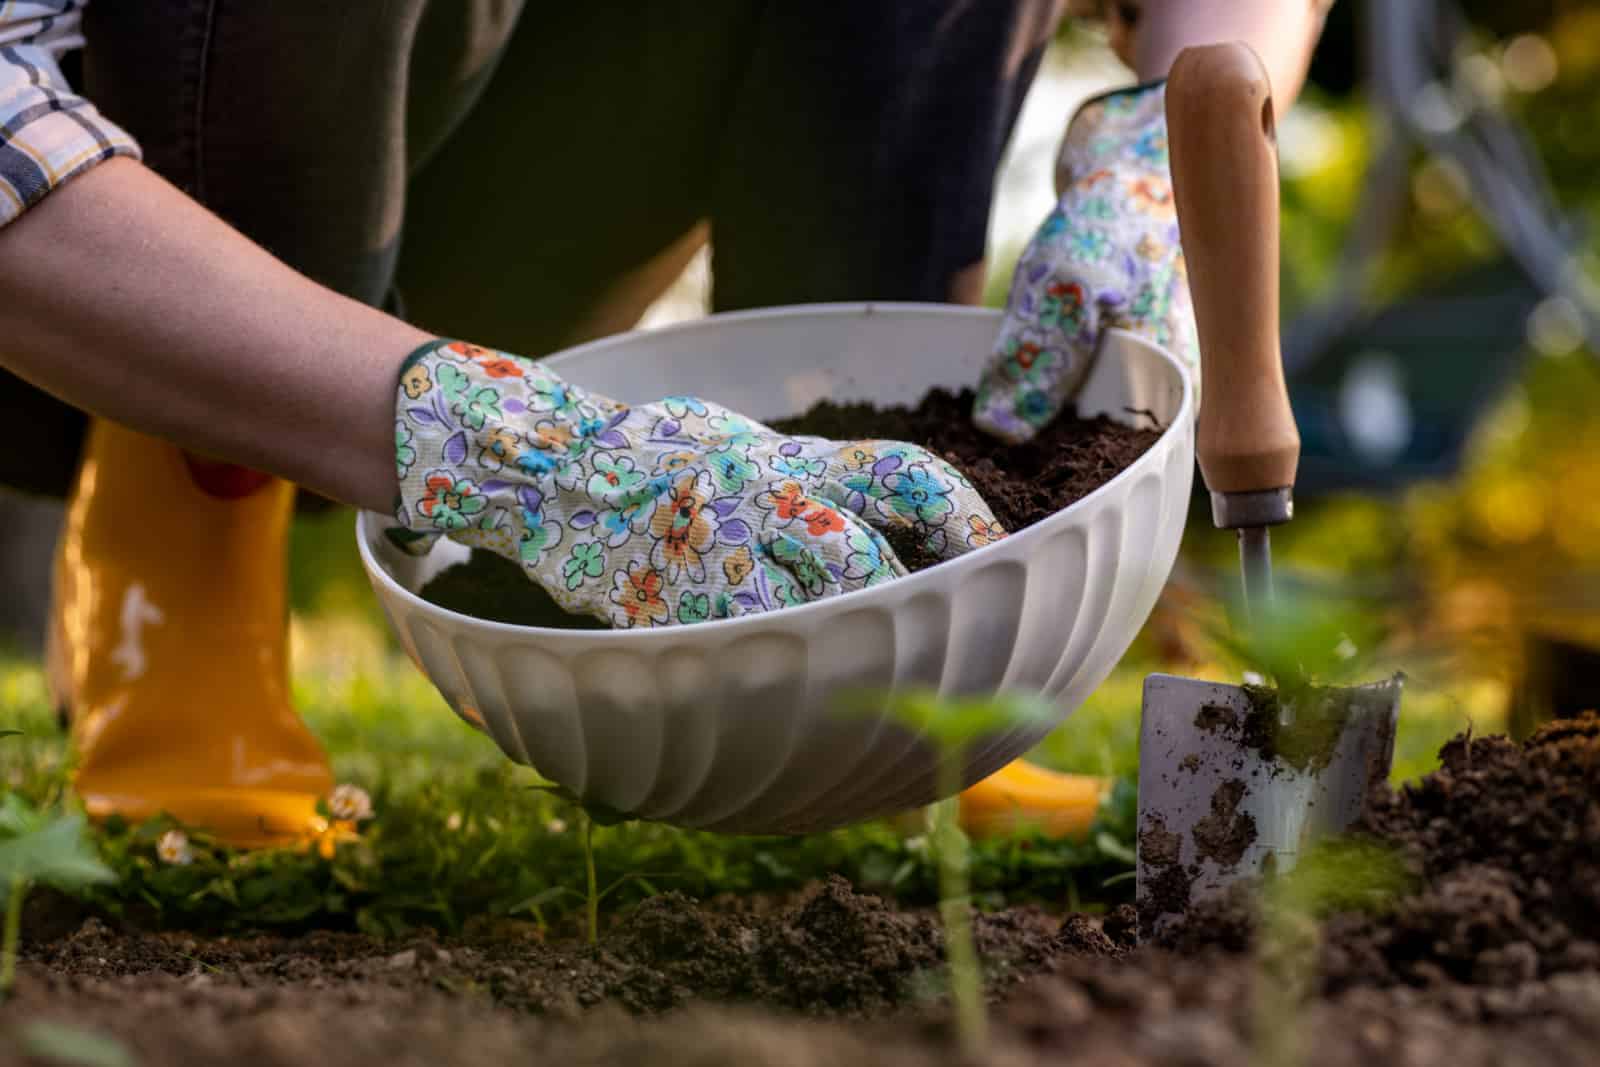
The main difference between compost and fertilizer is that the former improves soil texture and fertility, while the latter just adds nutrients to the soil. Failing to use either of them during transplantation will give you a below-average harvest.
Once you test the soil and see which nutrients your plants need the most, add them to each hole before planting. This way you’ll be able to address the respective needs of individual plants, setting each of them up for success.
This method of improving soil fertility is perfect for the environment and your pocket. You’ll use less product and reduce the risk of runoff, and also save some money along the way.
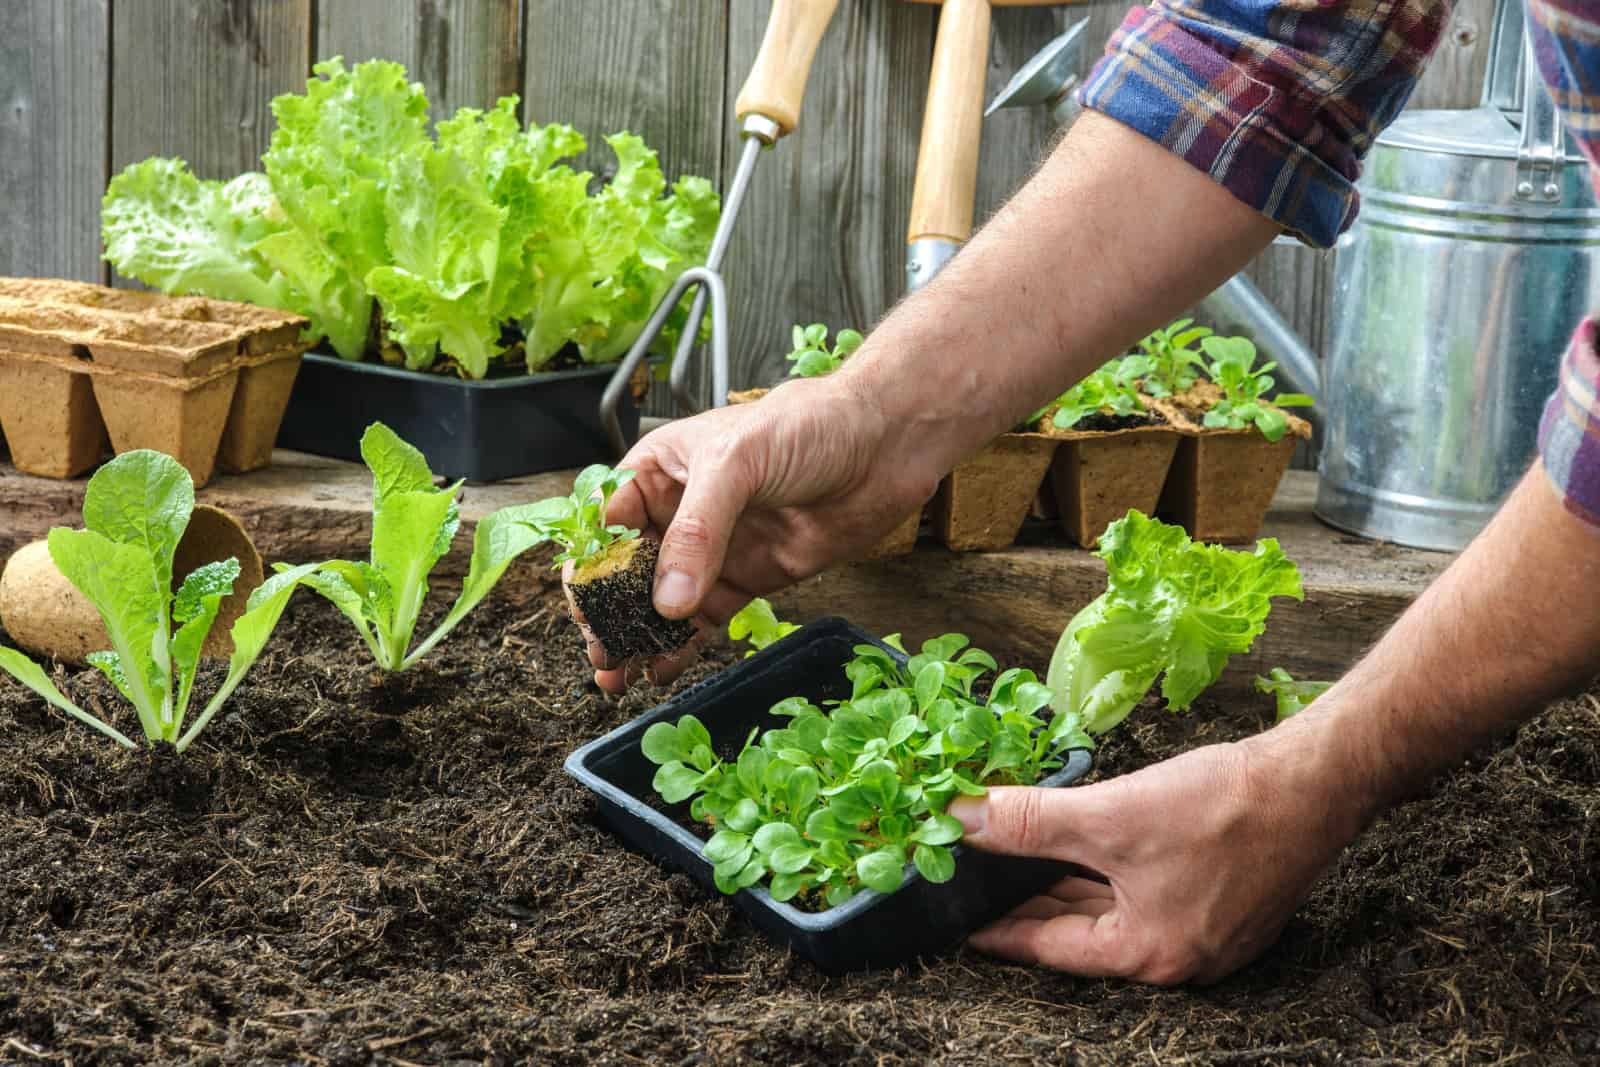
11. Not Loosening Up The Rootball

By now, you’ve done plenty of important things; you’ve planned out everything, checked the weather, hardened the seedlings, and placed some manure into the hole.
The next thing you should do is loosen the root ball a bit. Many of the seedlings we get are rootbound because their pots have become too small for their roots.
If we want them to spread as deep and wide as they can to absorb moisture and nutrients, we have to help them a bit.
You shouldn’t disturb them too much; just gently squeeze the root ball to loosen the soil around it. Move them around a bit until they hang like a band of hairs. If some are way longer than the others, you can trim them.
Note: Not all plants like this method, so make sure to research their individual needs and only loosen the root ball for ones that don’t mind it.
12. Placing Tomatoes In Shallow Holes
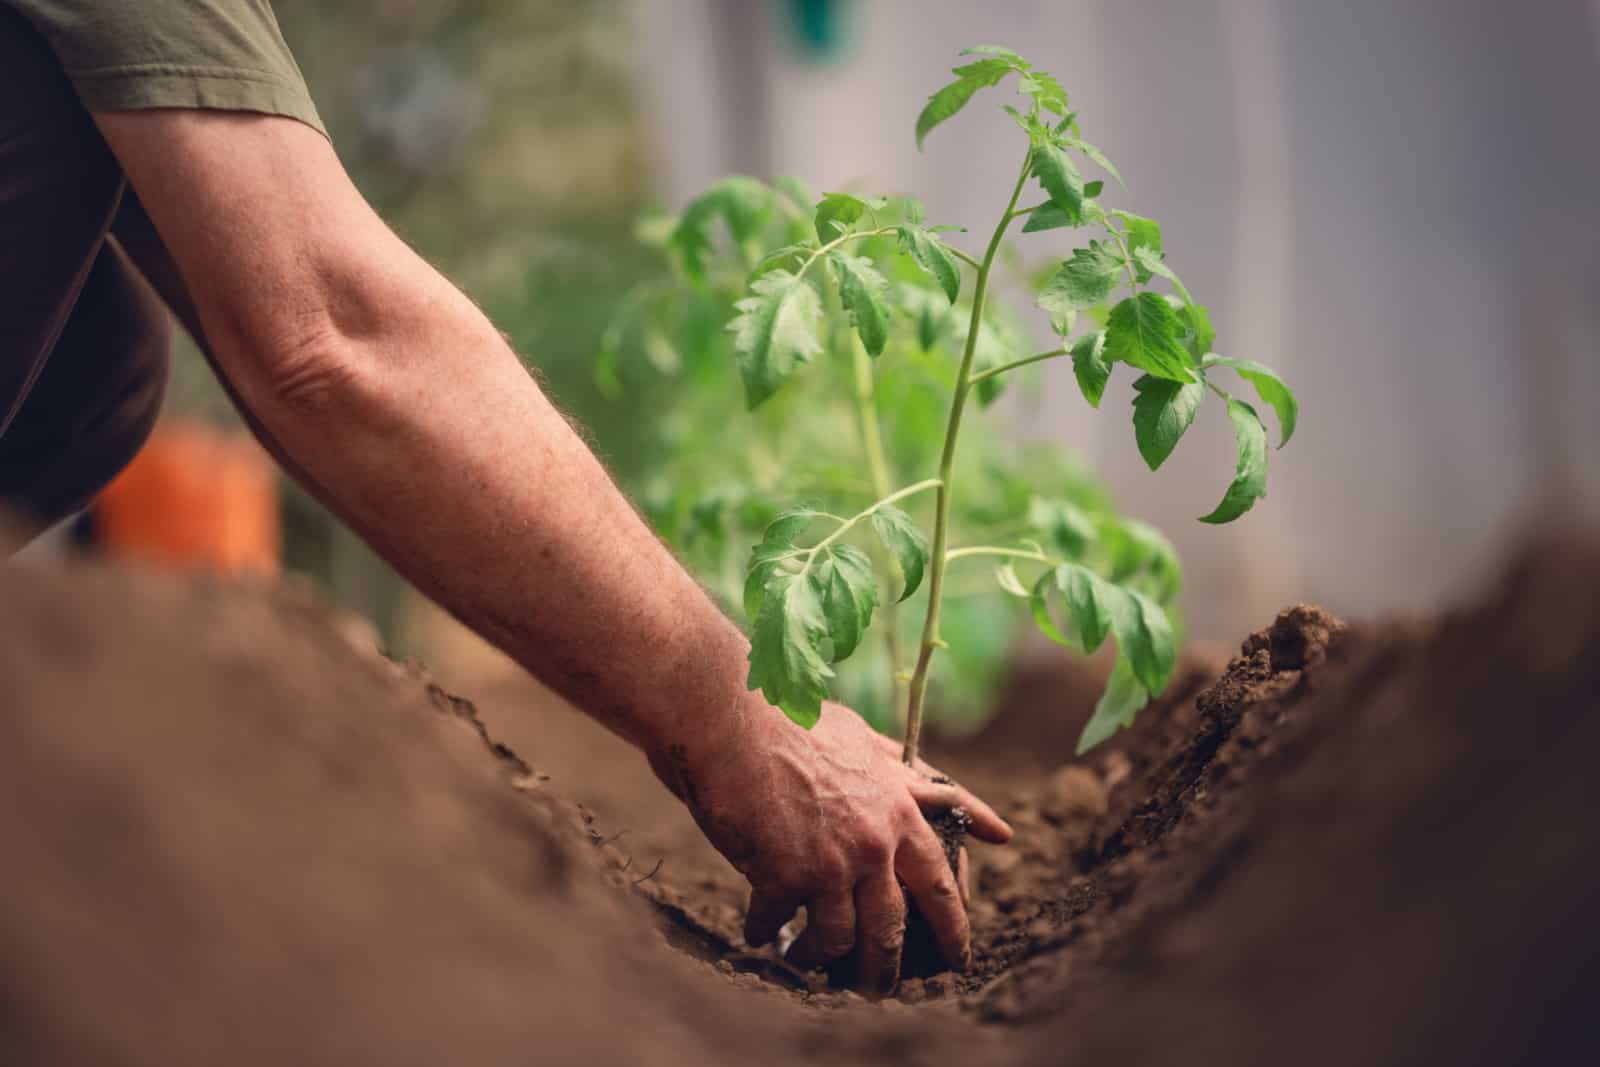
Nightshades, especially tomatoes, are likely to produce adventitious roots given proper conditions, which gives them a larger surface for nutrient and moisture absorption. This is useful when they’re in the wild, but what does it mean for growing them in the garden?
Well, since we train our tomatoes to grow vertically, we prevent them from using this ability. But you can use it to your advantage.
Bury these plants deeper or lay them sideways so that they can develop these adventitious roots, absorb more nutrients and moisture, and develop faster.
Of course, not every single tomato species is the same. Some may prefer to be buried deep and others can go perfectly well when planted sideways. But just like with everything else, you can experiment a bit and find the practice best suited for your veggies.
Here are some more tips on planting tomatoes:
13. Forgetting To Water The Transplants

The first thing your seedlings will need after the transplant is water, and you should give it to them as soon as you put them in the ground.
This will reduce transplant shock because they won’t dry out before you finish planting everything you have.
And don’t let last night’s rain and moist potting soil fool you. Your seedlings still need water!
These tiny plants have small root systems that can’t absorb moisture from deep in the ground, so you’ll need to bring it to them for the first couple of days.
If you don’t water your seedlings after transplanting them, they’ll soon remind you of your mistake with their sad, droopy, and withered appearance.
But don’t be afraid if this happens. It’s miraculous how quickly they recover once you water them, just don’t make it a habit. For the next couple of days, irrigate them every or every other day, depending on the light exposure and air temperatures.
14. Not Mulching

The two things I hate the most are weeding and watering my veggies every day during hot weather. The way to avoid them both is by mulching your plants.
You can research the differences between wood chips and mulch (or some other material) and add your preferred choice to your vegetable garden.
This method will suppress weed growth and prevent them from stealing nutrients from your plants, as well as slow down evaporation. If you use organic mulch, like most growers do, it will decompose over time and add more nutrients to the soil.
The key thing when mulching is to do it after the soil has had enough time to warm up. If you planted your seedlings at the right time, you can mulch them right after planting. But if you were a bit early, wait until the soil temperature rises.
The general idea is to do it in mid-to-late spring.
If you’ve planted the seeds directly into the ground, wait until they’re about 3-4 inches tall, remove the first round of weeds, and then apply your mulch.
15. Avoiding Trellising Until Your Plants Are Large Enough
The benefits of staking plants include reducing fungal diseases because they’re not on the ground with low airflow all the time, and easier harvest.
But did you know that we usually install these things too late?
One thing that has helped me tremendously is planning everything beforehand, including trellising.
Now I set up these stakes or cages before transplanting my seedlings. This way, I won’t accidentally poke and damage their roots while inserting the trellises into the ground.
It also saves me plenty of time since I get really busy with caring for my veggies and monitoring them once the weather warms up.
So, don’t worry if your stakes look empty at the moment because your cucumbers, zucchinis, and tomatoes will grow into them in no time.
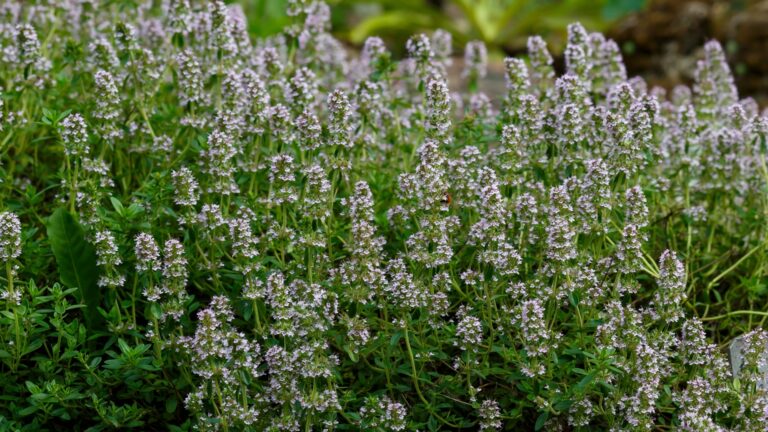
16. Forgetting To Trim Back Herbs
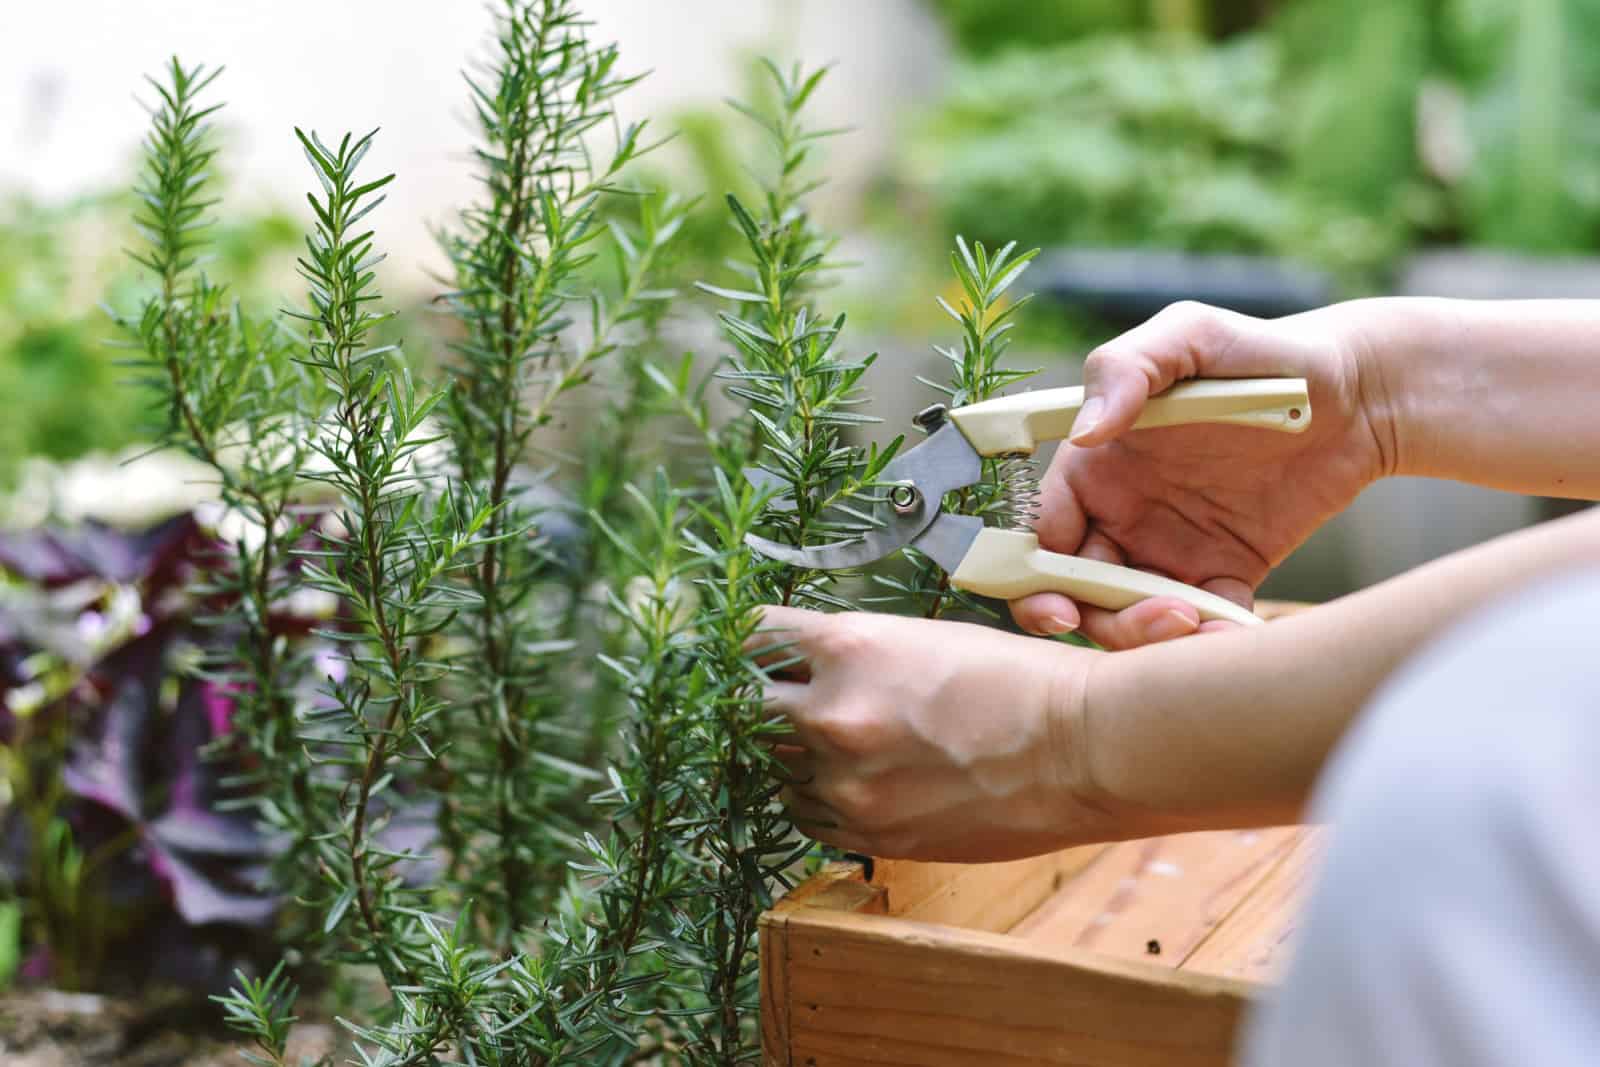
Whether you’re growing herbs in pots or in the ground, don’t forget to trim them. You can pinch their tops to encourage new growth and make them bushier.
You can also cut off their flowers once they appear so that the plant doesn’t spend its energy producing seeds instead of new growth that you’ll be able to use.
Some gardeners even advise cutting back herbs before transplanting them, but I haven’t seen many benefits to this method.
Whether you prune your herbs before or after the transplant is entirely up to you. You can experiment and trim back half the herbs before and half after moving them to see whether this process actually works.
Until next time!