5 Steps To Propagating Begonias From Leaf Cuttings
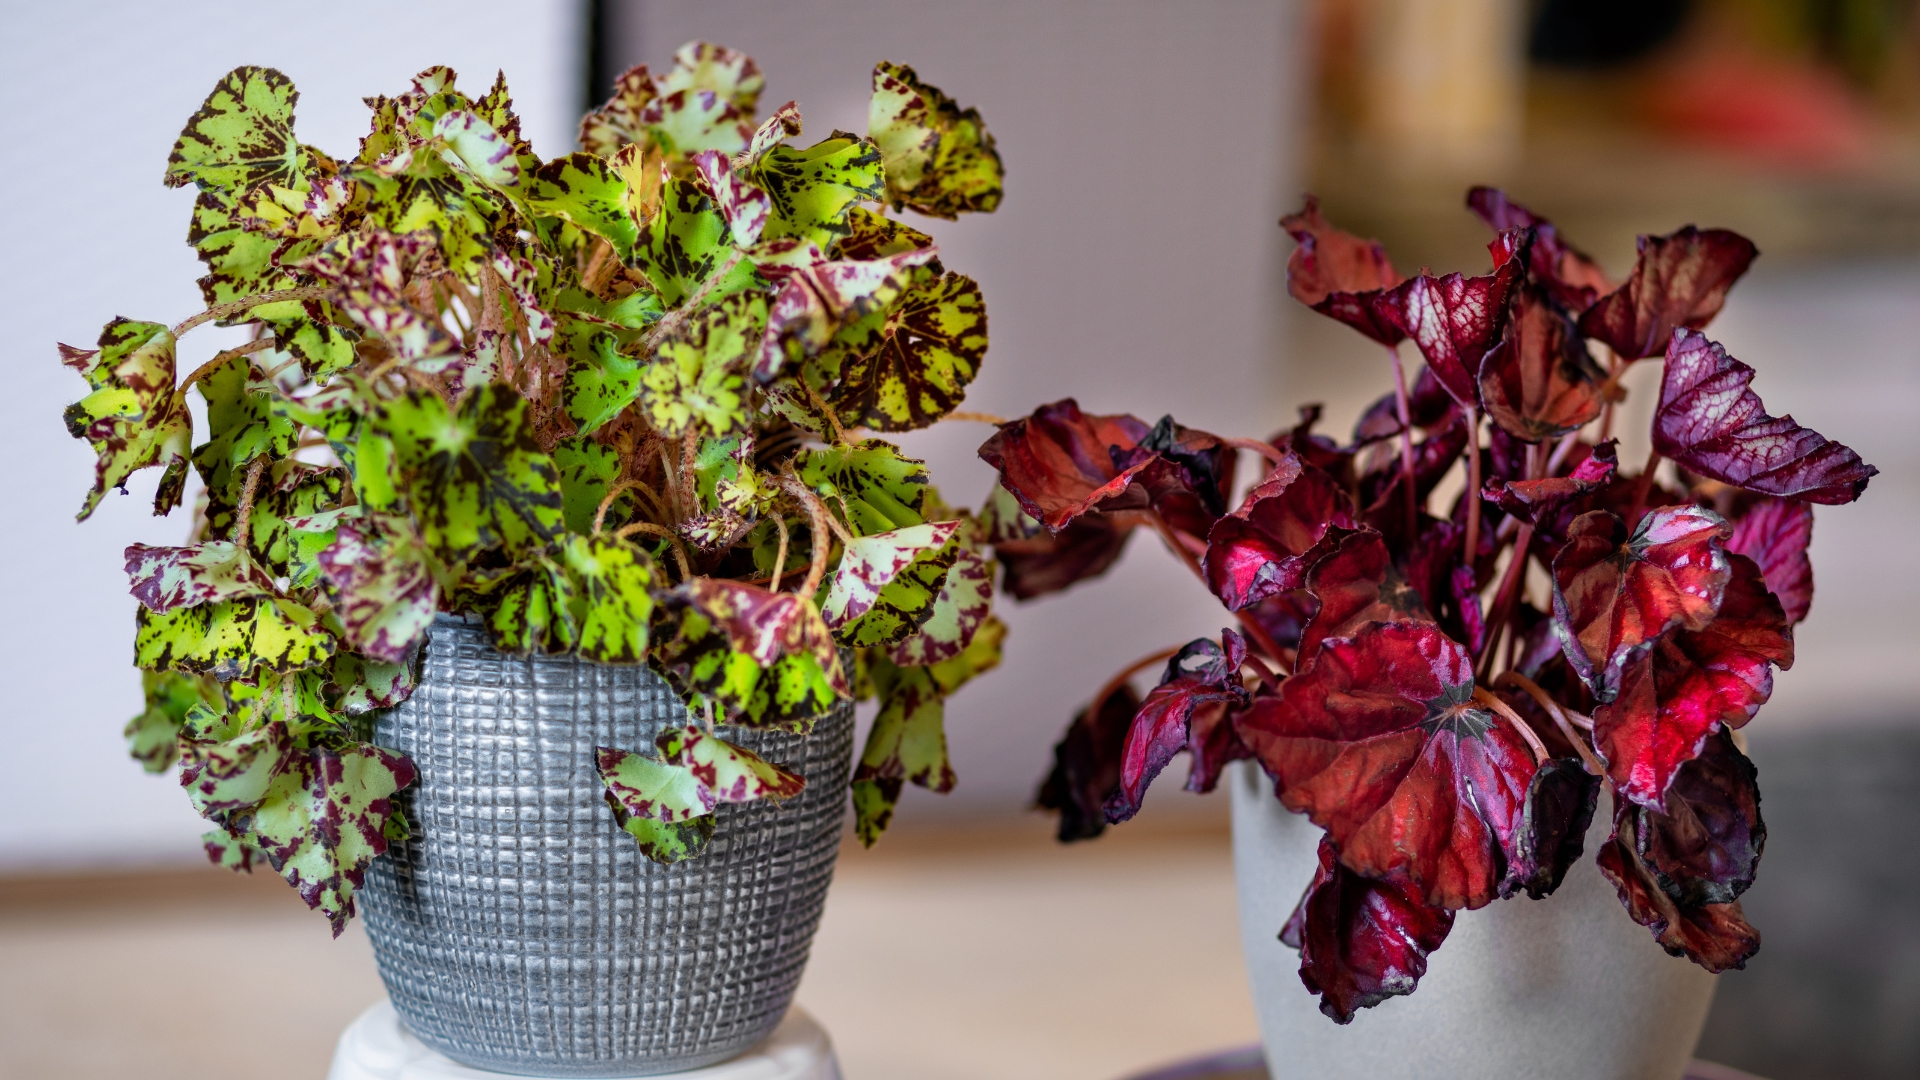
Multiplying begonias is a great way of getting more of these gorgeous plants. Yet, propagating them from leaves is only possible with leafy varieties such as rex begonias.
Tuberous and fibrous begonias that you grow outdoors in most cases aren’t suitable for this type of propagation.
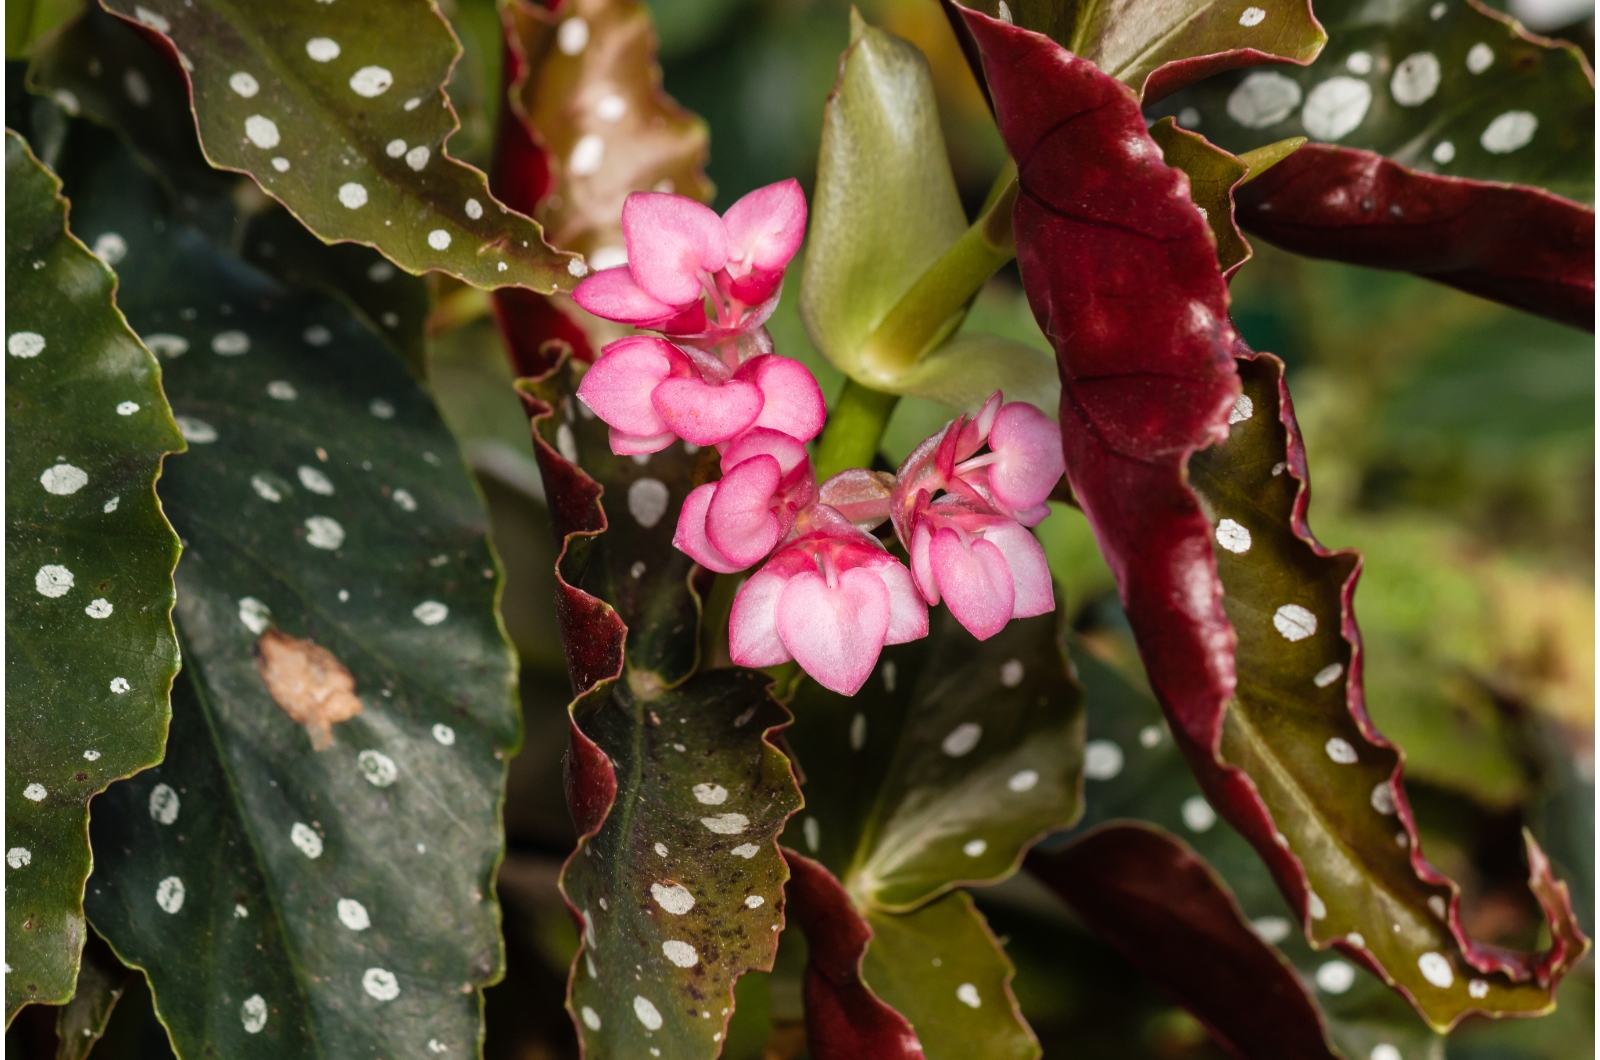
But if you have an ‘Angel Wing’ or some other cultivar, check out how you can use their leaves for creating more plants.
Let’s get started!
When To Take Begonia Cuttings
The best part about begonia leaf propagation is that you can do it any time of the year. As long as there is viable plant material, you can take begonia cuttings whenever you want.
The key is to give your ‘Angel Wing’ begonia (or any other variety) protection and the right environment. Give them some warmth and moisture, and they will thrive!
5 Steps To Propagating Begonia Leaf Cuttings
There are many varieties of rex begonias you can propagate from leaf cuttings. And no matter which one you have, there are five main steps that will make this process a lot easier.
#1 Get The Growing Medium Ready
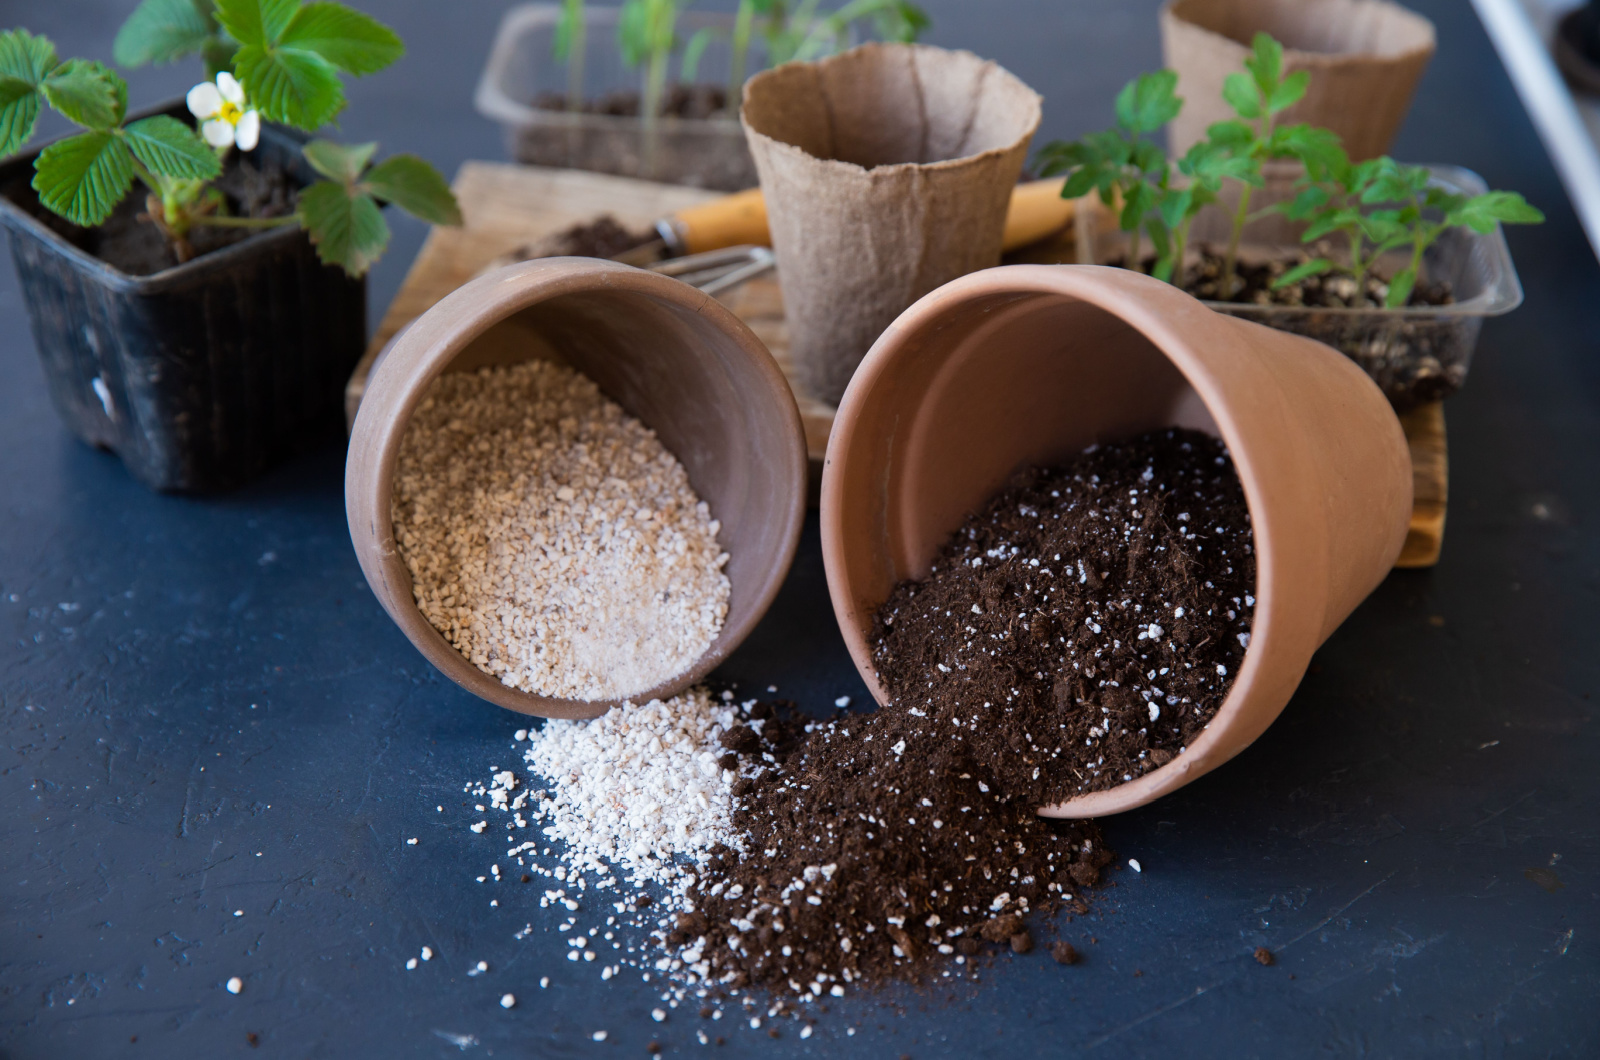
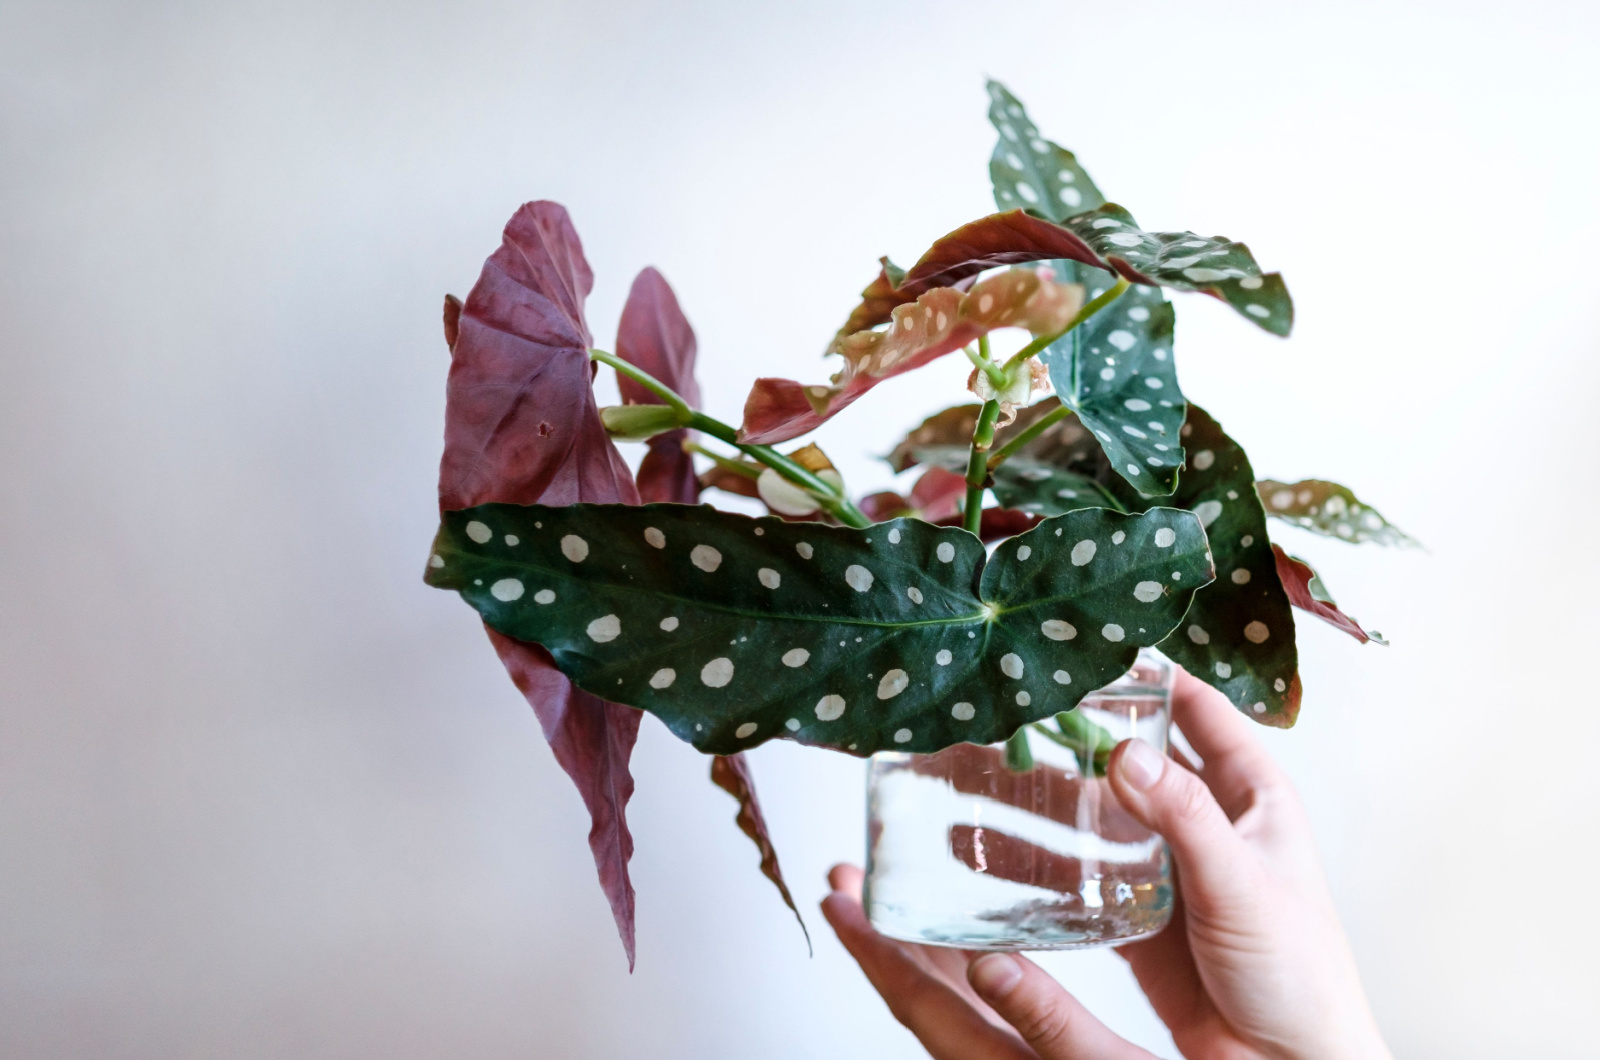
Begonias are one of those houseplants you can propagate in water vases. Yet, for leaf propagation, it is best to start them in a well-drained potting mix.
A peat-free compost and some perlite or grit will take you a long way. Make sure the growing medium is aerated and loose so that it doesn’t rot your cuttings.
The important thing is to moisten the potting mix before placing your leaf cutting onto it. This will ensure it grows roots and produces new leaves.
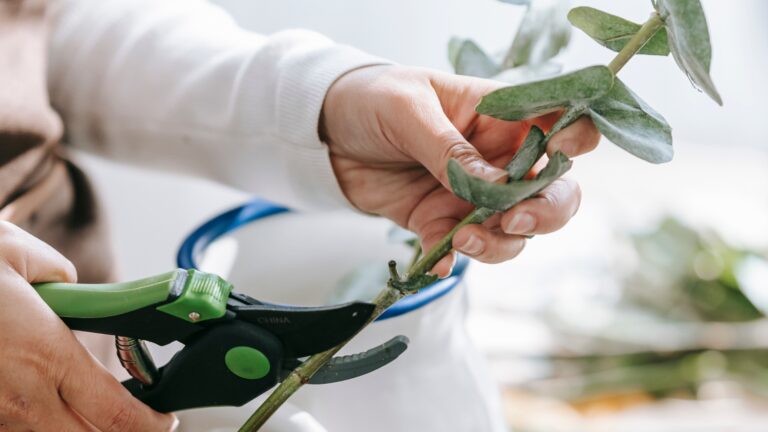
#2 Take The Cutting
When taking begonia foliage cuttings, cut a part of the stem together with some leaves. It will help weigh down the leaf and keep it on the surface once you prepare it for planting.
Afterwards, trim around the leaf to make it a bit smaller so that it can fit into your pot or a nursery tray.
#3 Prepare The Leaf
There are a few different ways to propagate Begonia maculata and other foliage varieties. You can plant the leaves directly into the soil if you don’t need many plants. But the method I prefer yields much better results and more begonias.
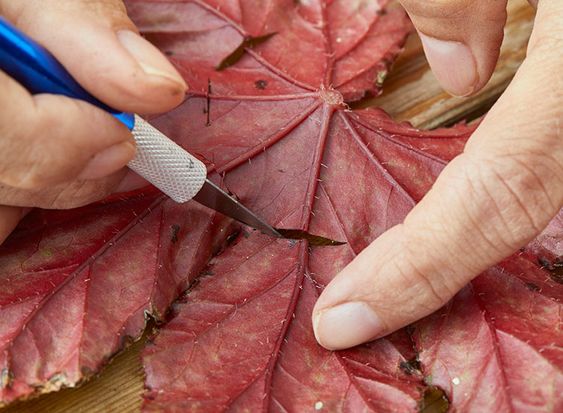
Turn the leaf to expose its back. You’ll see many veins running along it. Now take a clean and sharp scalpel, knife, or pair of scissors and make 2-3 incisions into each vein.
Each of these wounds will push out a new begonia plant. It may seem harsh on the plant, but it actually encourages it to grow!
Then, make a tiny hole in the potting mix, insert the stem of the leaf to anchor it, and that’s it.
P.S. Make sure that the back side with the incisions is in full contact with the growing medium.
#4 Secure The Cutting With Weights
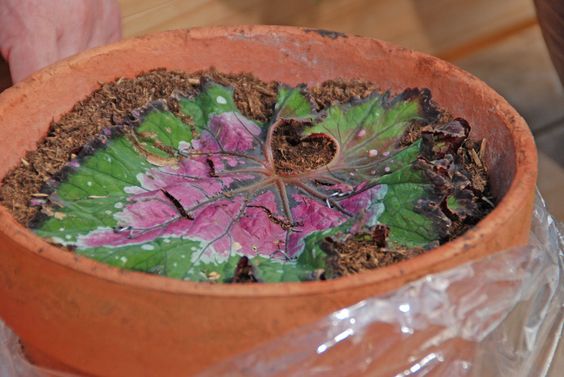
Now comes the time to secure the leaves with weights. You can use pebbles, stones, or even pins to achieve this.
If you’re using rocks, make sure not to crush the leaves beneath. Place them around the edges so that the cuttings can always be flat and in contact with the moist growing medium.
You can combine both pins and rocks to do this job. It will ensure more leaf surface is touching the soil, encouraging every part to produce more begonia babies.
#5 Move Them To A Suitable Spot
A propagator is a great tool to have, but don’t despair if you don’t own one. You can use a heating mat or a ledge above your radiators and heaters, especially in winter.
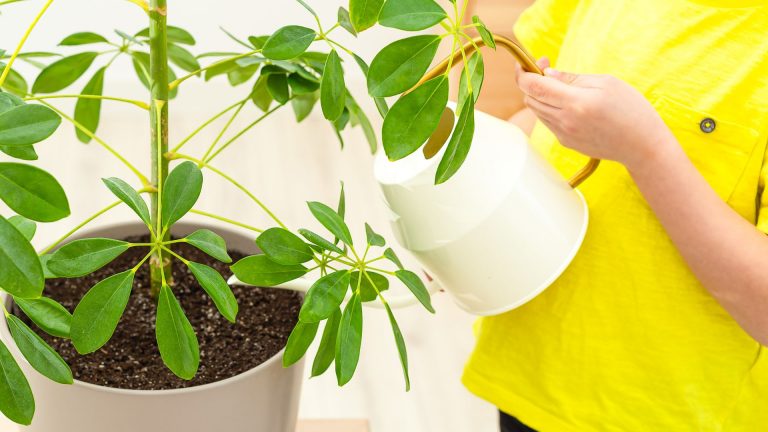
Keep your cuttings somewhere warm so that they can develop strong and healthy roots. You only have to pay attention to the moisture levels and ensure the soil never dries out.
Begonia cuttings need moist growing medium to develop roots. If they dry out, all this work could be for nothing!
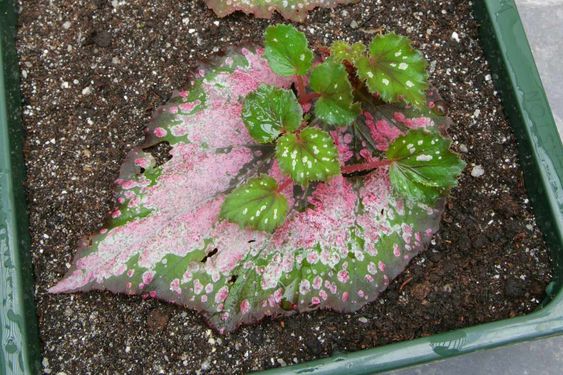
Within the following 2-3 months, you should see baby begonias springing from the leaf surface. When they get around 2 inches tall, you can remove them from the cutting and plant them in individual pots filled with a well-drained, loose, and gritty medium.