Follow These 8 Easy Steps To Propagate Your Clematis Plants – Softwood Cuttings Are Your Secret Weapon
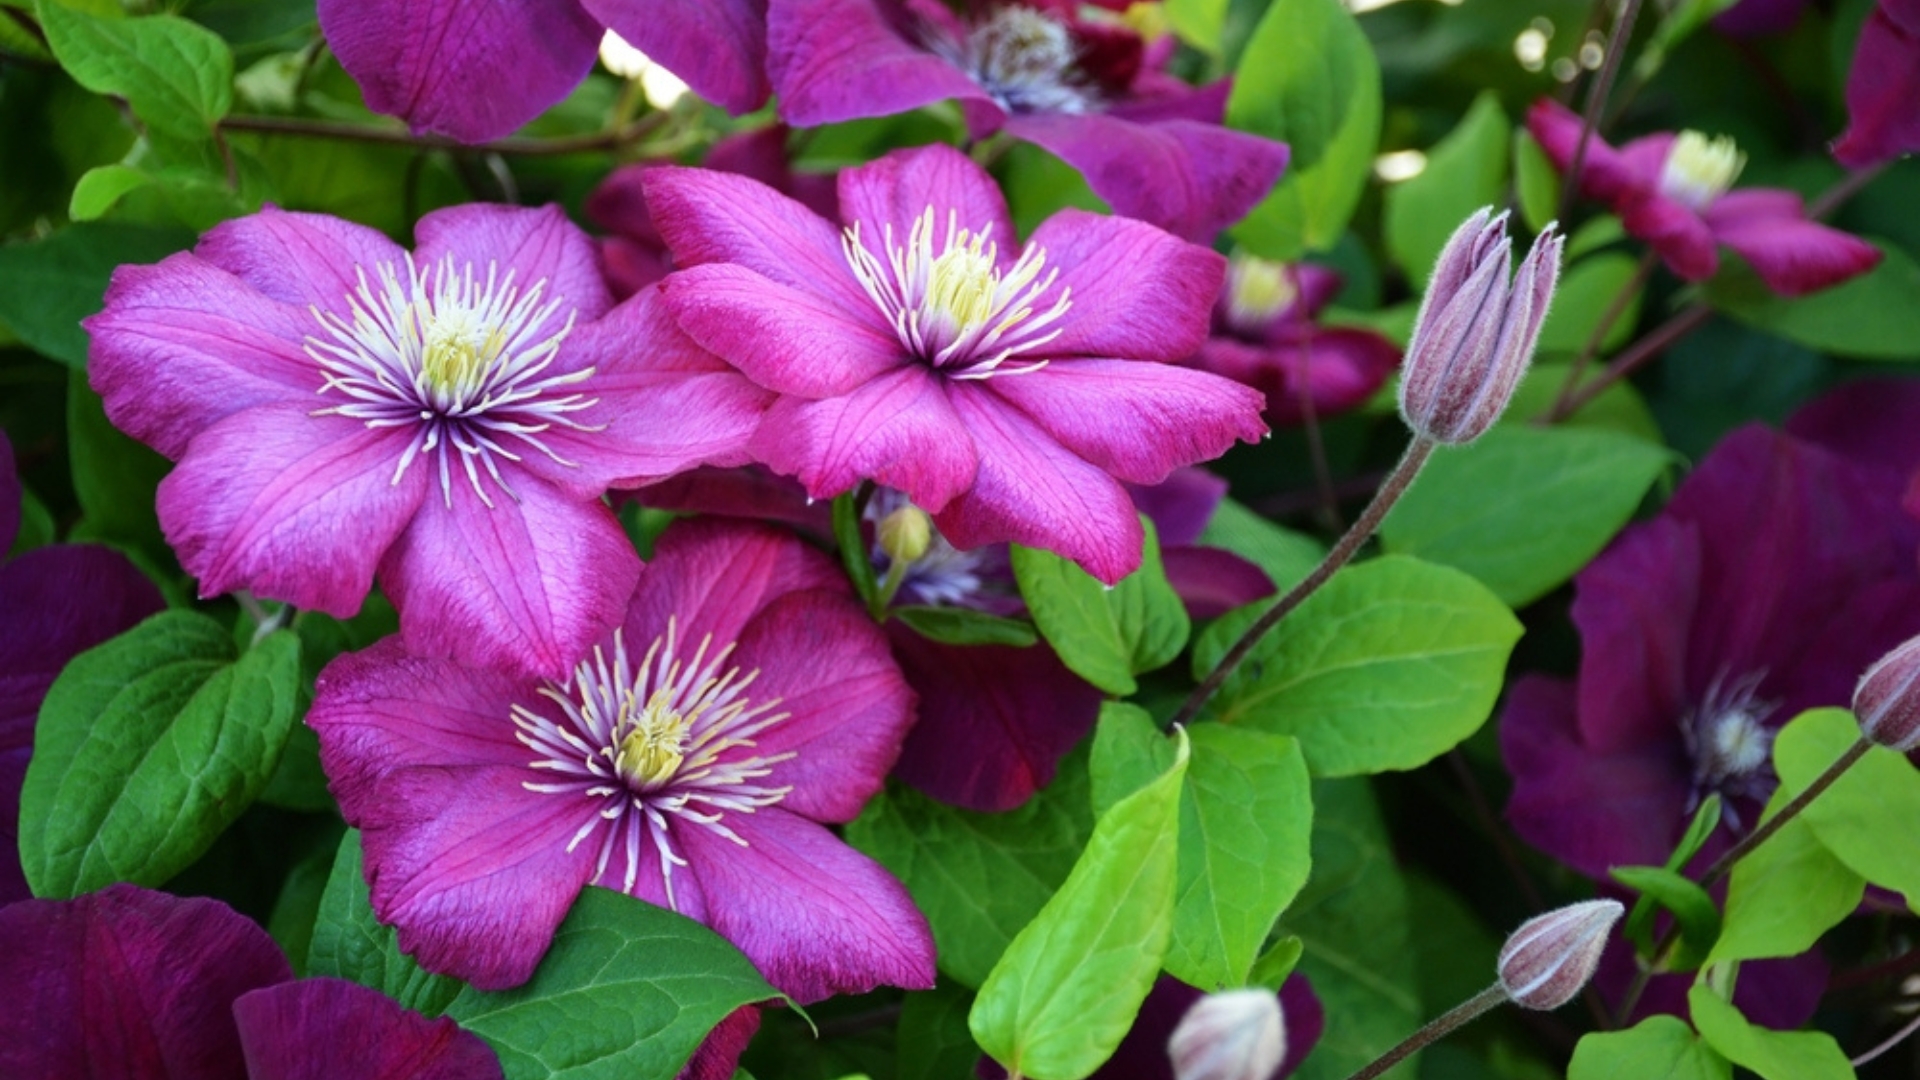
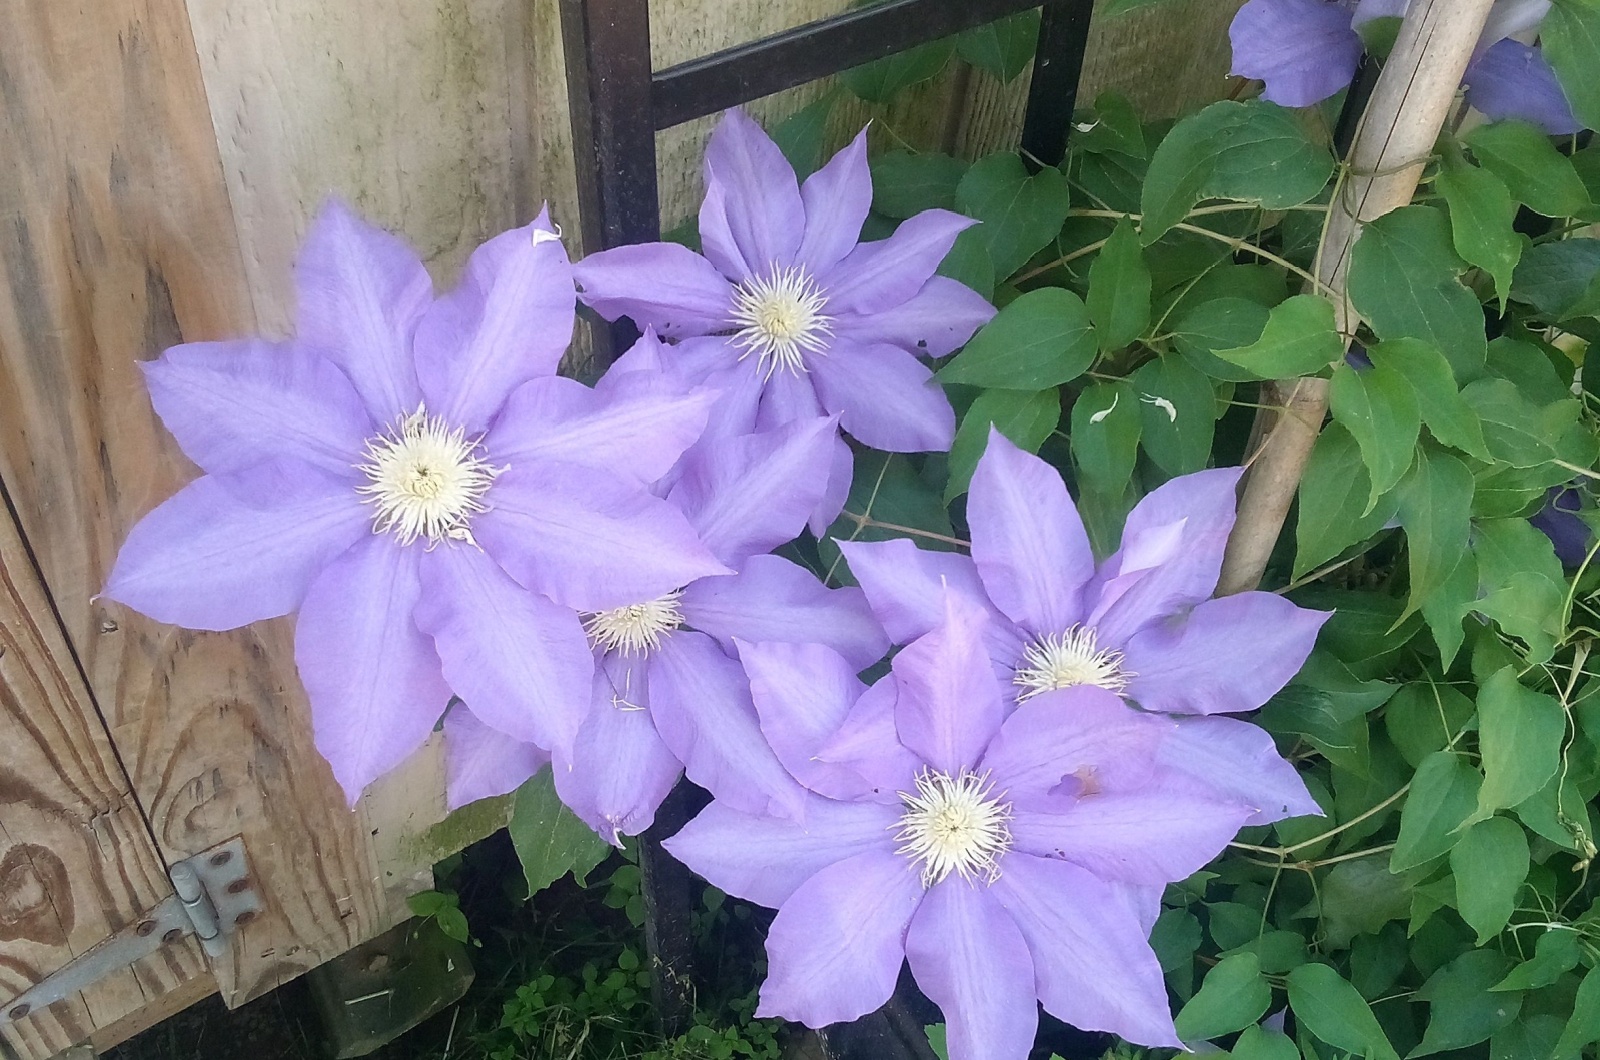
Growers often choose clematis for their fences, walls, and even pots, and I can’t blame them! These plants look absolutely spectacular, especially when in full bloom.
Once your clematis starts flowering, it will steal the show and transform your garden into a captivating display of colors. Call me poetic, but clematis flowers simply bring out the best in me.
If you feel the same, the only thing left to do is get more clematis plants. And the simplest way to do it is to propagate! It’s a zero-cost and super-easy method to expand your collection.
I’ve done it numerous times and I have to admit that it’s a fun and highly rewarding experience. And, of course, I’ll share it with you!
But, there’s one catch when multiplying these plants. If you want to propagate in spring, you’ll need to use softwood cuttings.
Yes, I know you’re eager to learn the secret to endless clematis blooms. But, there’s one thing you need to know before that.
First, Learn The Difference Between Softwood And Hardwood Cuttings
A few years ago, I thought that propagating plants through cuttings included only taking the cuttings, no matter which ones.
Well, I was obviously wrong and had (too) many failed attempts. Here’s the deal, there are two main types of cuttings you can find on clematis plants: softwood and hardwood.
If you want to propagate in spring, then the softwood types are what you need. Hardwood cuttings should be taken in the fall, but I avoid using them generally.
The reason? They take more time to generate new roots!
So, how to know the difference? Take a look at your clematis plant right now. It’s mid-spring and you should see plenty of new growth. And that’s exactly what you’re looking for!
This fresh growth will root quickly because it’s the growing season and it’ll have enough time to establish until temperatures drop!
After you identify your softwood clematis cuttings, it’s time to get to work!
1. Always Start With Gathering The Equipment
Luckily, you don’t need any special equipment to propagate your clematis. You’ll need a pair of sharp scissors or pruners but make sure you clean them thoroughly before cutting.
Now prepare a container that’s around 4 inches in diameter, which is enough for a few clematis cuttings.
You also need to fill the container with high-quality potting soil but make sure to water it before planting the cutting.
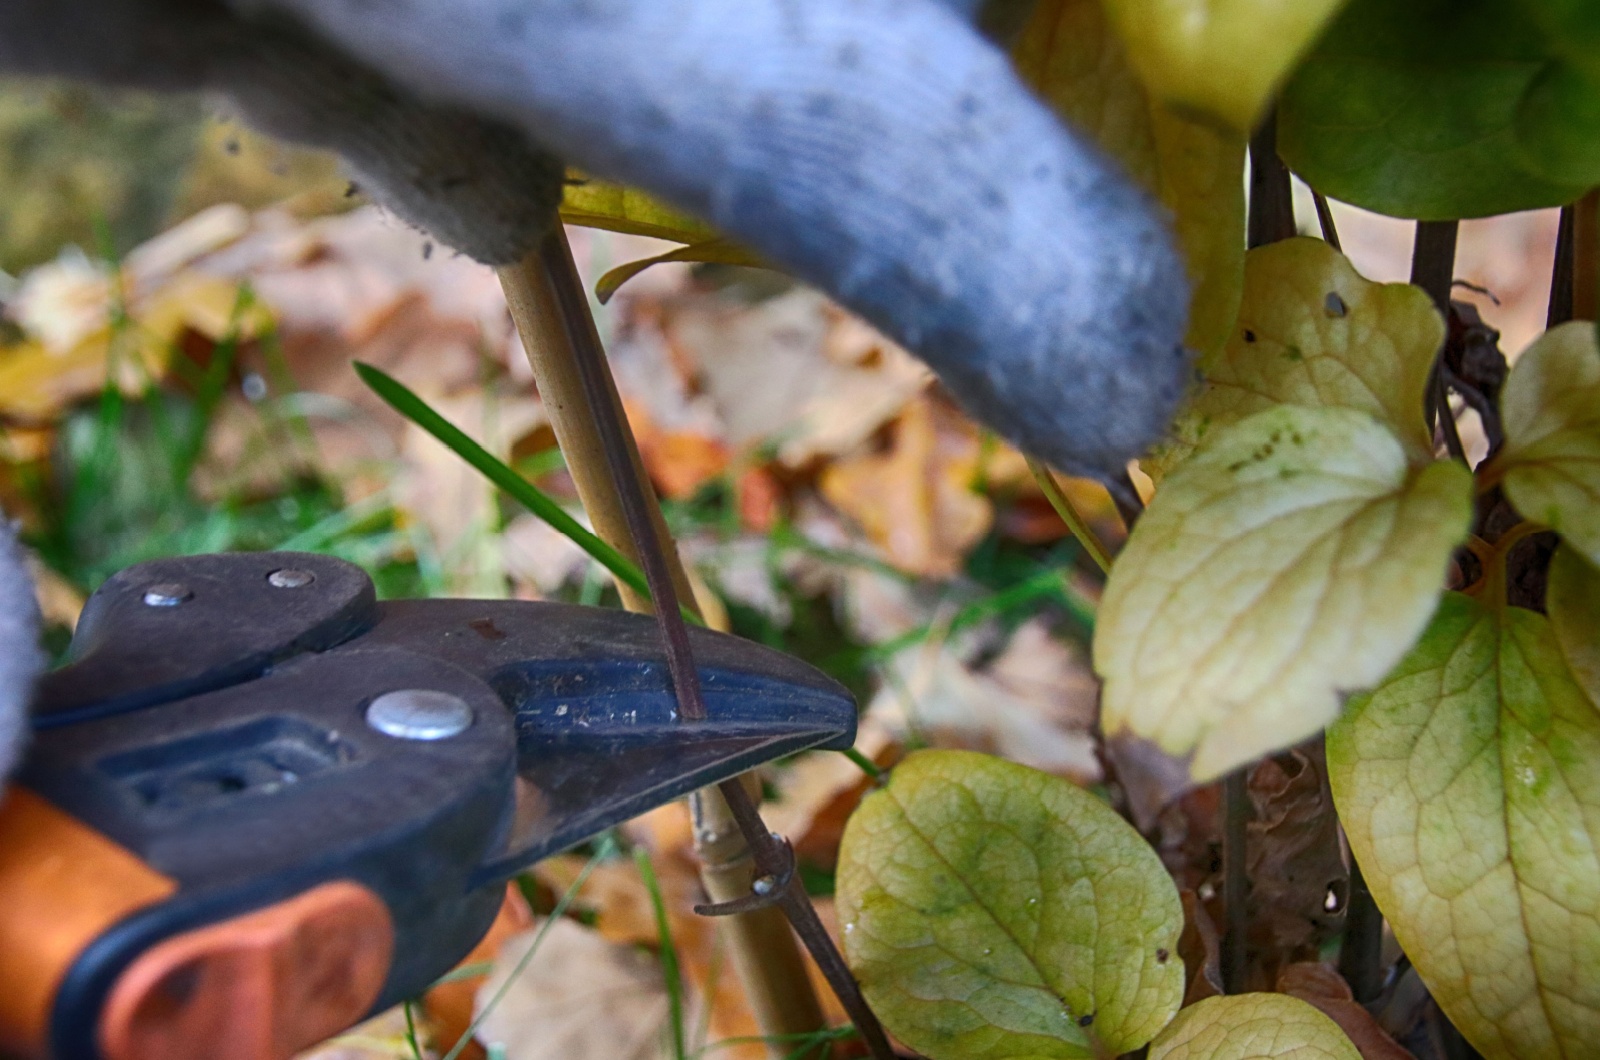
2. Now Take The Cutting
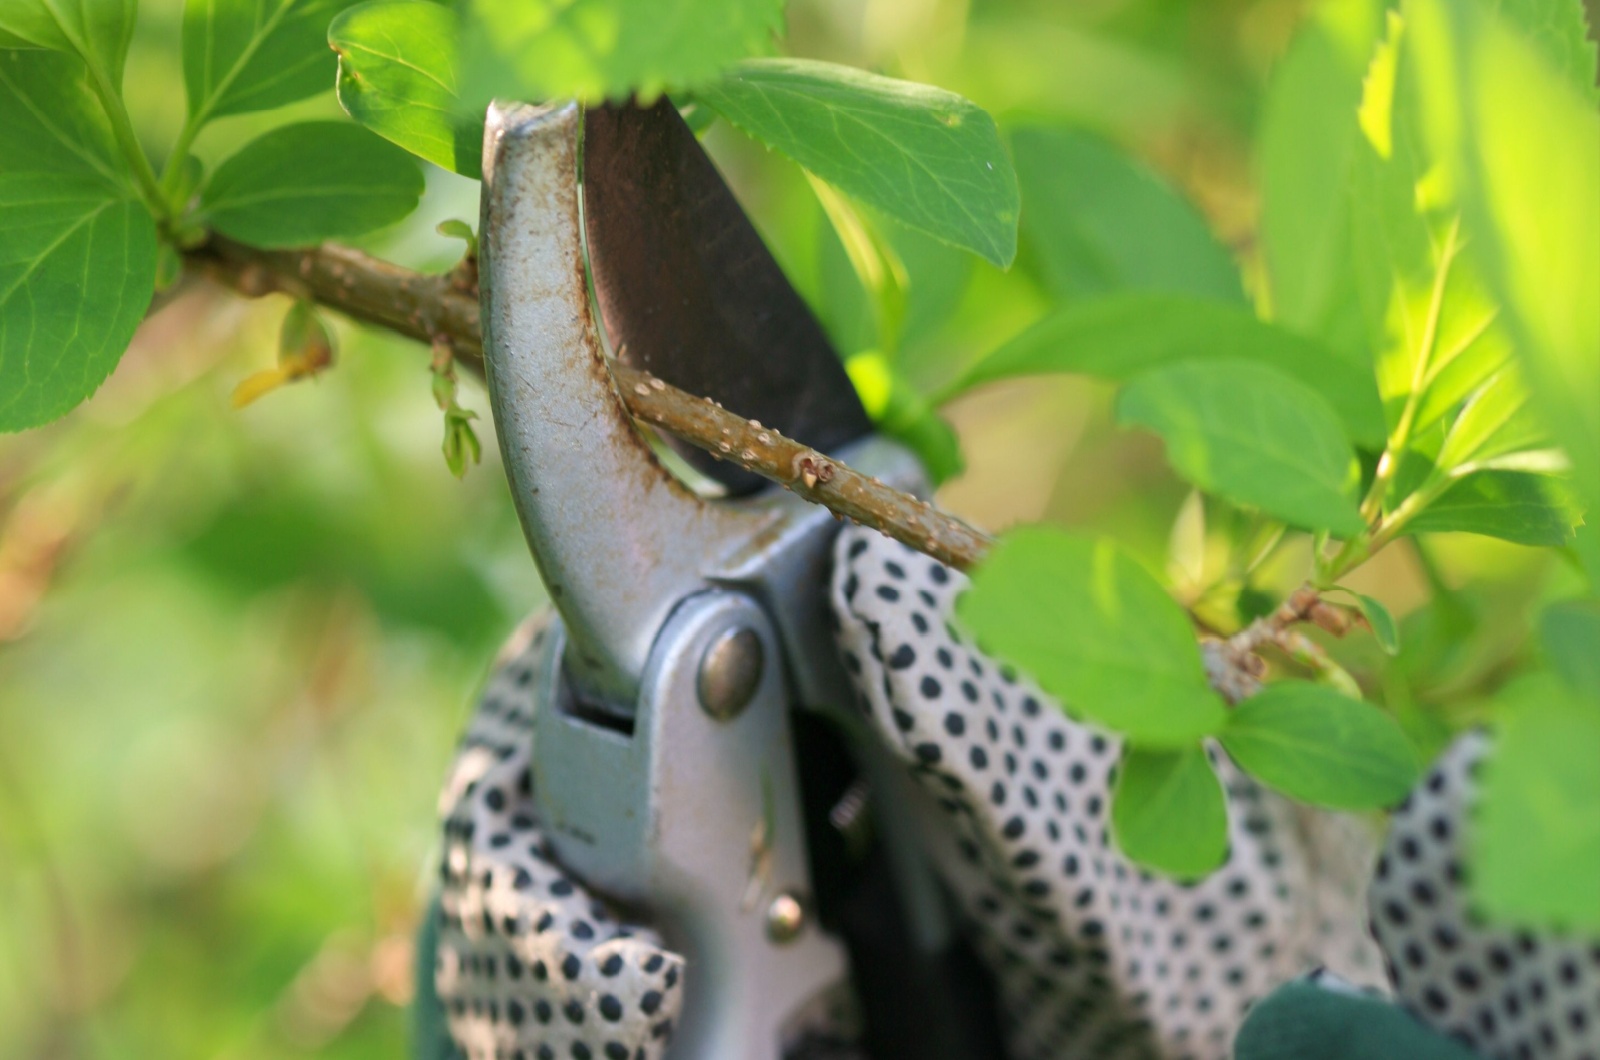
Since spring is the best time to prune clematis, you can snip a few cuttings and propagate. Win-win!
I recommend taking longer clematis cuttings when propagating. I typically snip off 3-foot long stems.
3. And Divide It Into Sections
Well, you won’t be planting a 3 feet long cutting, but rather dividing it into a few sections. Just be careful when doing it!
Each section should include a node, which is basically a part from which new leaves will form.
Simply identify these nodes and make cuts half an inch above and 2-3 inches below them.
And remember, only the cuttings with nodes will root successfully!
4. Clean The Cutting
It’s time to prepare the divided clematis sections! Of course, there will be a lot of leaves on each cutting but you can’t leave them all.
You should remove the leaves that are near the cut end. If you plant them in the soil, they could rot and destroy the cutting entirely.
I only leave 2-3 top leaves on each clematis cutting.
5. Boost The Growth With Rooting Hormone
I always say to my fellow gardeners that this step is optional but, honestly, it’s essential for me. I’m an impatient person, so why not speed things up if you have a chance?
Rooting hormone is your ally now and will help your clematis cutting to generate new roots faster.
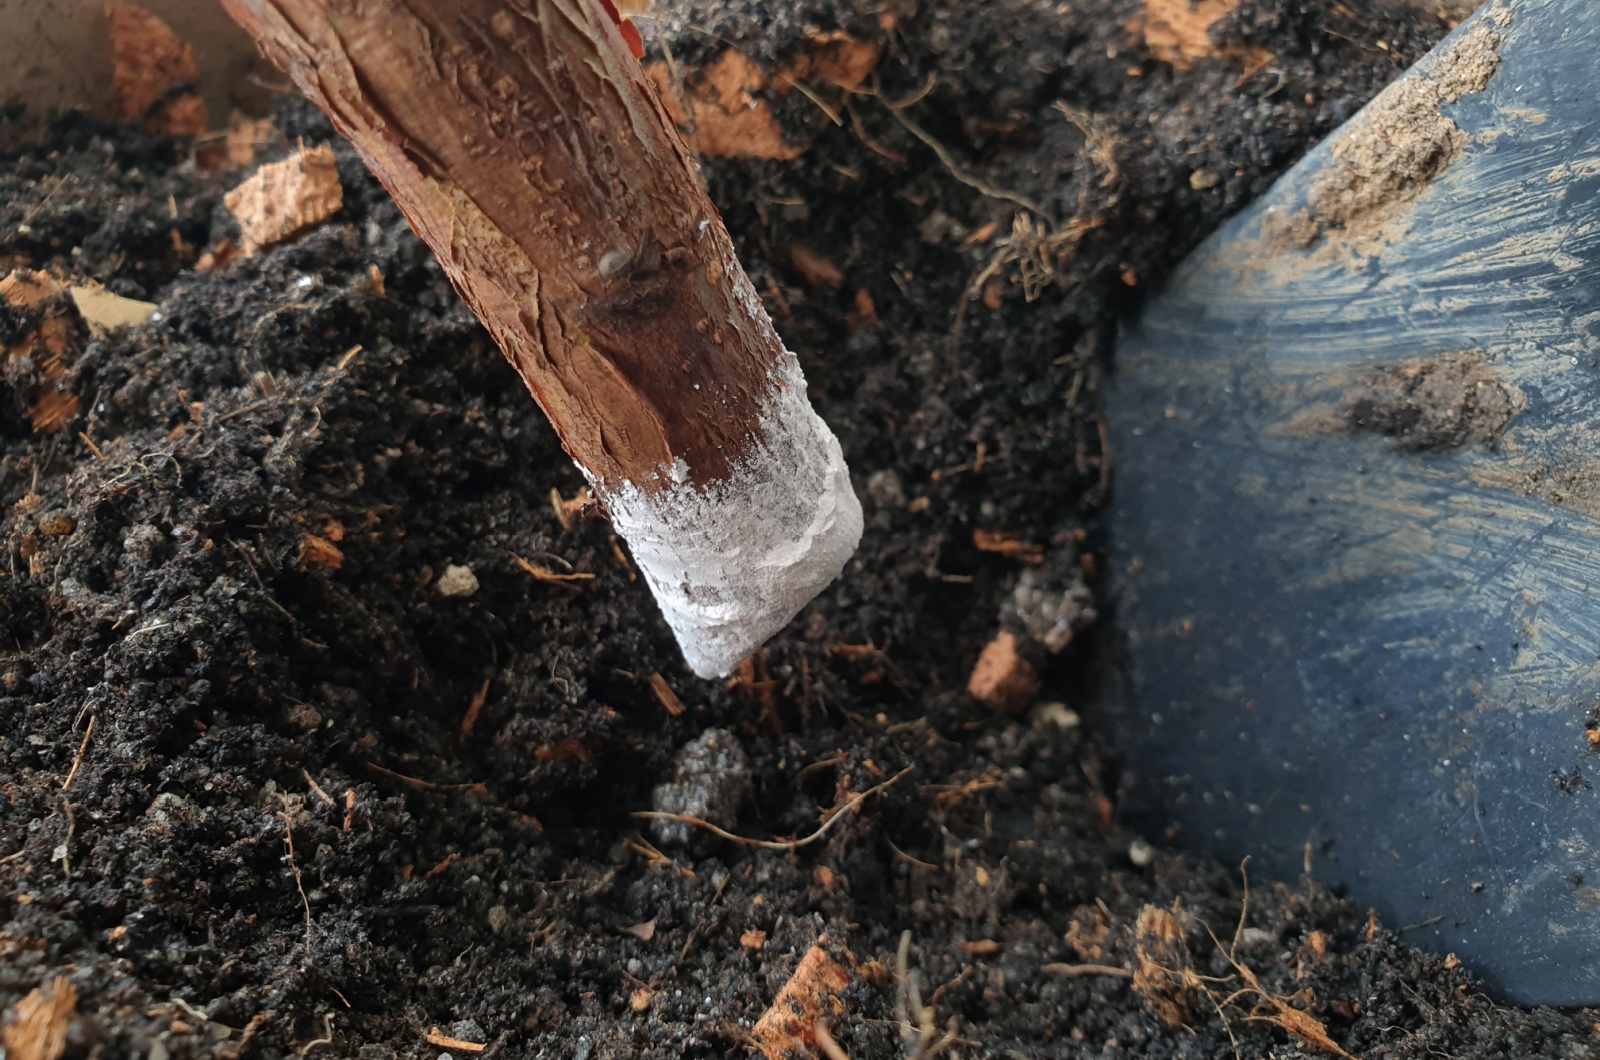
Simply dip the cut end in the hormone (powdered or liquid) and watch the magic!
6. It’s Time To Plant The Cuttings
Take a stick or a pencil and make a couple of holes in the prepared growing substrate. Now, insert each clematis cutting into the soil.
From my experience, the cuttings that are planted deeper root better, so leave only an inch above the soil surface.
Add more soil around the base and tap gently to free the soil of air pockets.
7. Trap Humidity
Soil indeed plays an important role in the development of clematis cuttings, but never forget about moisture!
There are many ways to maintain humidity around the cuttings but I always stick to the classic one: a plastic bag.
Carefully put a plastic bag over your clematis cutting and make sure to remove it every now and then to prevent mold.
8. Replant And Enjoy!
Keeping the cuttings in bright but indirect light is essential because lack of light decreases the rooting rate. Clematis cuttings typically need 4-6 weeks to develop roots if all the conditions are met.
You can gently pull the cutting, and if it shows resistance it’s ready for transplanting! All you need to do now is plant each clematis cutting in separate containers.
And that’s it! Now you know the secret to the endless clematis blossoms. Your garden next season will be the envy of the neighborhood!