How And When To Propagate Monstera In Water: Pro Tips
Monsteras are one of the easiest plants to propagate, which is great news as you’ll undoubtedly want more of them!
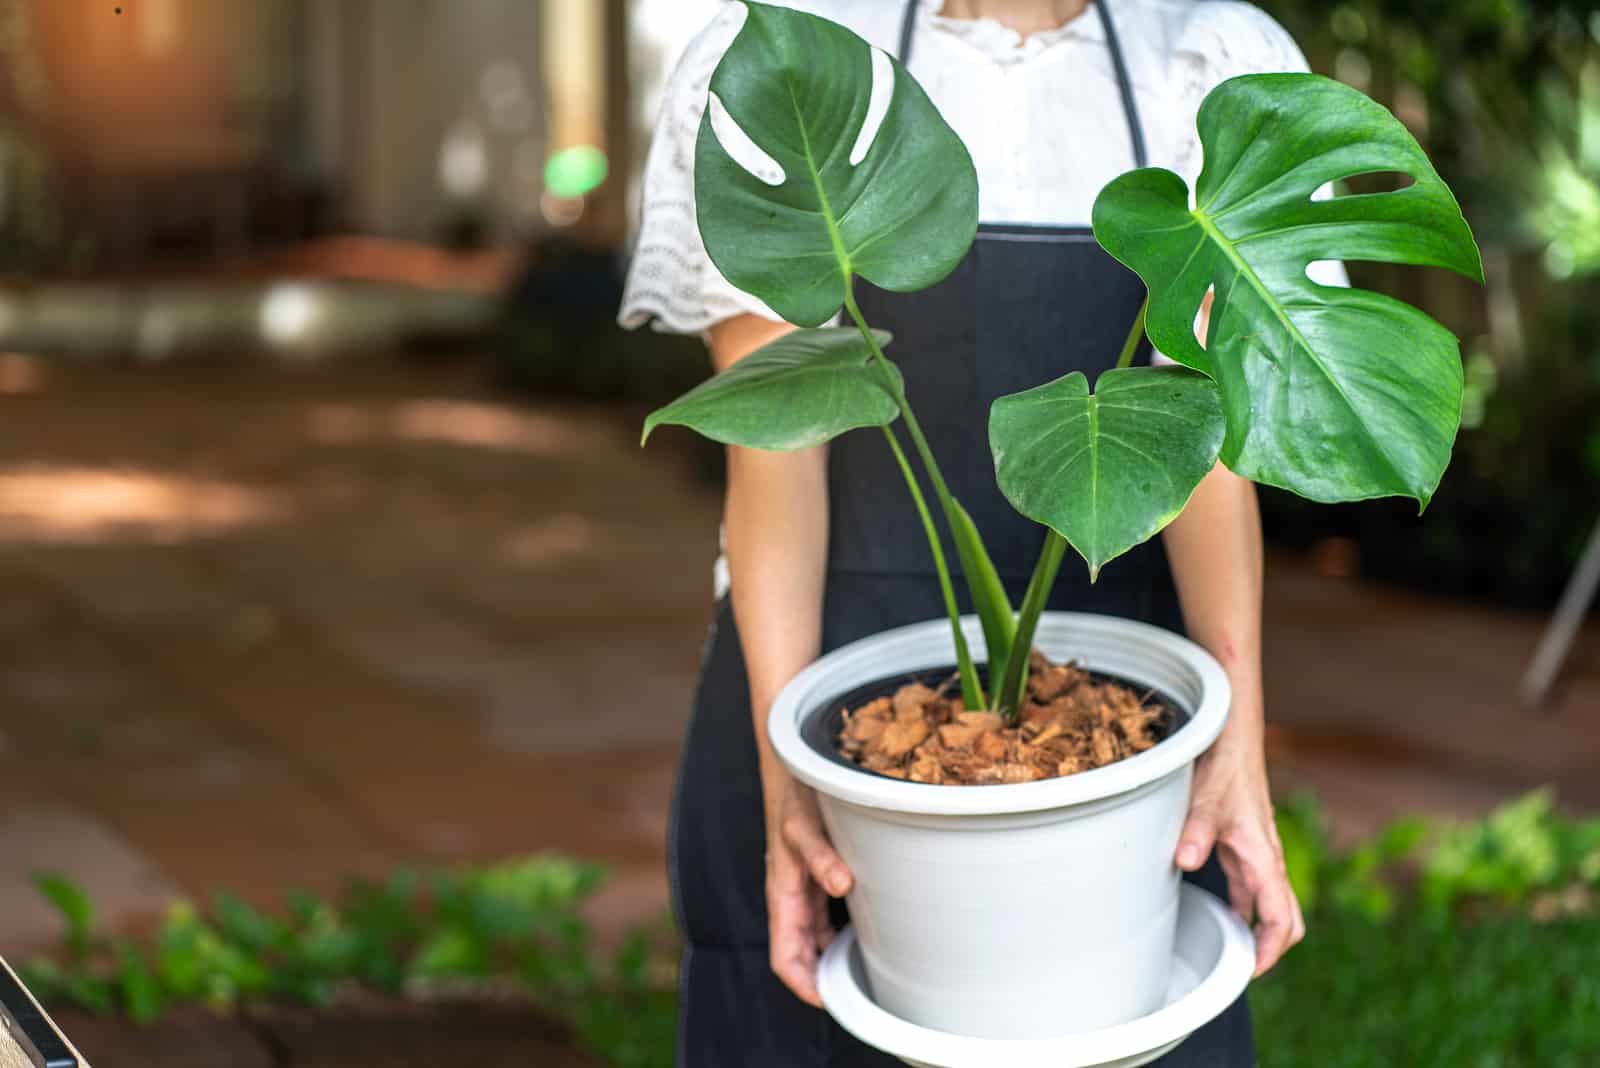
If you have a Monstera deliciosa that you are unsure how to propagate, you don’t need to look for a cutting in any nurseries as I’m going to show you how to get yourself a new plant!
The easiest propagation method for Monstera plants is the stem cutting method, so today I’ll show you exactly how and when to propagate Monstera in water.
We’ll also go through all the advantages and disadvantages of this type of propagation, as well as a step-by-step guide on how to do it.
We’ll then look at how to propagate Monstera deliciosa using other methods.
Let’s get started!
Propagate Monstera In Water Timing: Advantages & Disadvantages

The only time you can take cuttings from a Monstera is in the spring.
This is when it awakens from its winter dormancy state and begins its optimal growing phase.
Additionally, it lessens the stress on the mother plant. Propagation can be successful in the early fall, though it will likely go more slowly.
Advantages Of Water Propagation
Observing the cuttings as they grow is one of the major benefits of Monstera water propagation. This makes spotting possible issues early considerably simpler.
You can’t do much about a Monstera cutting that has started to rot or isn’t developing, but being able to watch how each cutting changes and develops will prevent you from being left in the dark about what’s going on with your plants.
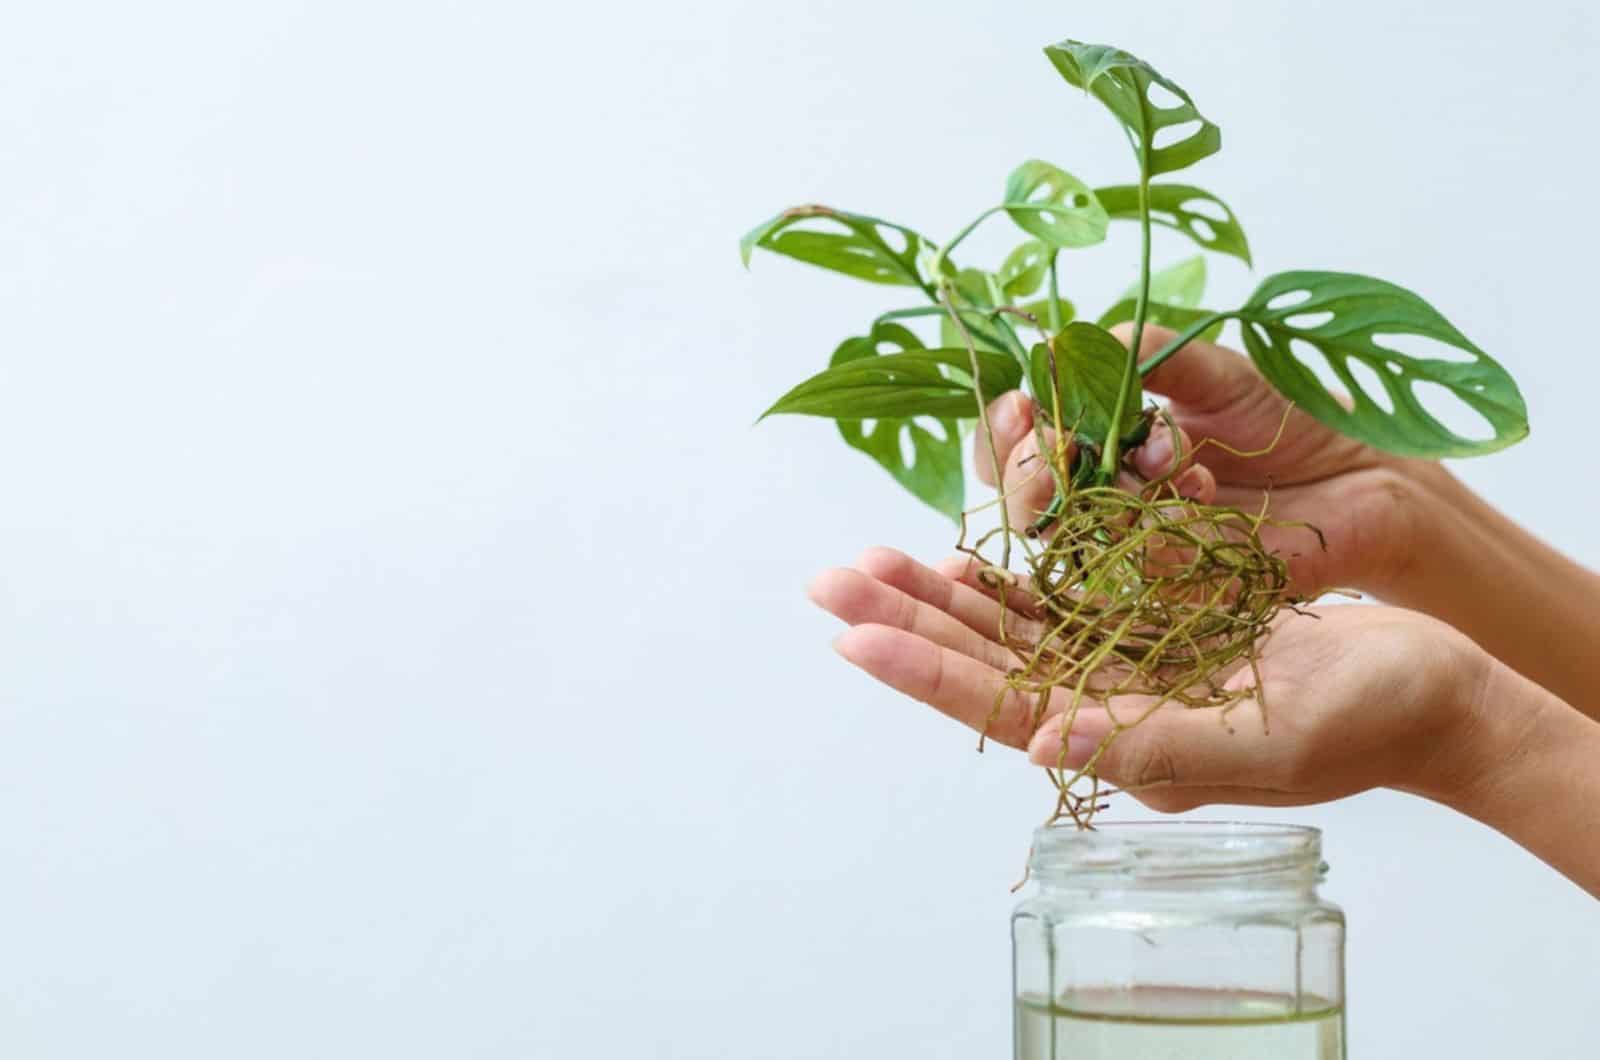
Observing how the roots develop is also a fascinating thing. Roots that develop in water are referred to as water roots, and are white and firm in appearance.
Furthermore, water propagation eliminates uncertainty when taking care of sensitive cuttings. You don’t need to amend the soil or change the potting mix, and watering is no longer an issue. All you need to do is occasionally rinse the roots and replace their water.
This is one of the reasons this type of propagation is a great option for beginners.
Disadvantages Of Water Propagation
One drawback of rooting Monstera cuttings in water is that roots which sprout in a container with water differ from those that develop in soil.
Water roots typically have a white and delicate appearance. Luckily, these plants quickly grow very strong roots, making fragility arbitrary.
However, the nutrient uptake and oxygen absorption of water roots remain different from the ones in soil.
This is the reason water roots may have a hard time adapting to soil conditions. They can also get transplant shock, which means that the chances of a successful propagation are lower.
However, if you follow the steps I’m about to show you, there’s no reason for the process to fail.
Let’s dive straight in!
How To Propagate Monstera Deliciosa In Water
For this propagation method you’ll need a healthy Monstera deliciosa. If any of it is damaged, solve the issue before you start propagating.
Here’s a step-by-step guide on propagating Monstera deliciosa in water!
What To Prepare Before Monstera Propagation
Let’s start with cutting tools. You can use whatever tools you like as long as they’re sharp. I mostly use shears for stem cuttings.
You’ll need to sterilize the tools before use. I recommend rubbing alcohol or bleach. Remember that your shears can be contaminated and carry dangerous diseases, so sterilize them each time you use them.
Monstera deliciosas are generally considered hardy plants, but exposing them to pests and diseases is never a good idea.
You can also use rooting hormone. It’s not a must but it may help promote new root growth.
The only thing left to prepare is a rooting medium and some water.
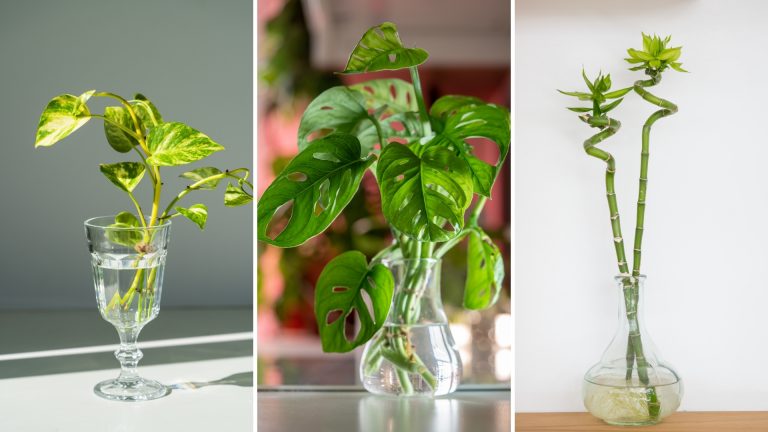
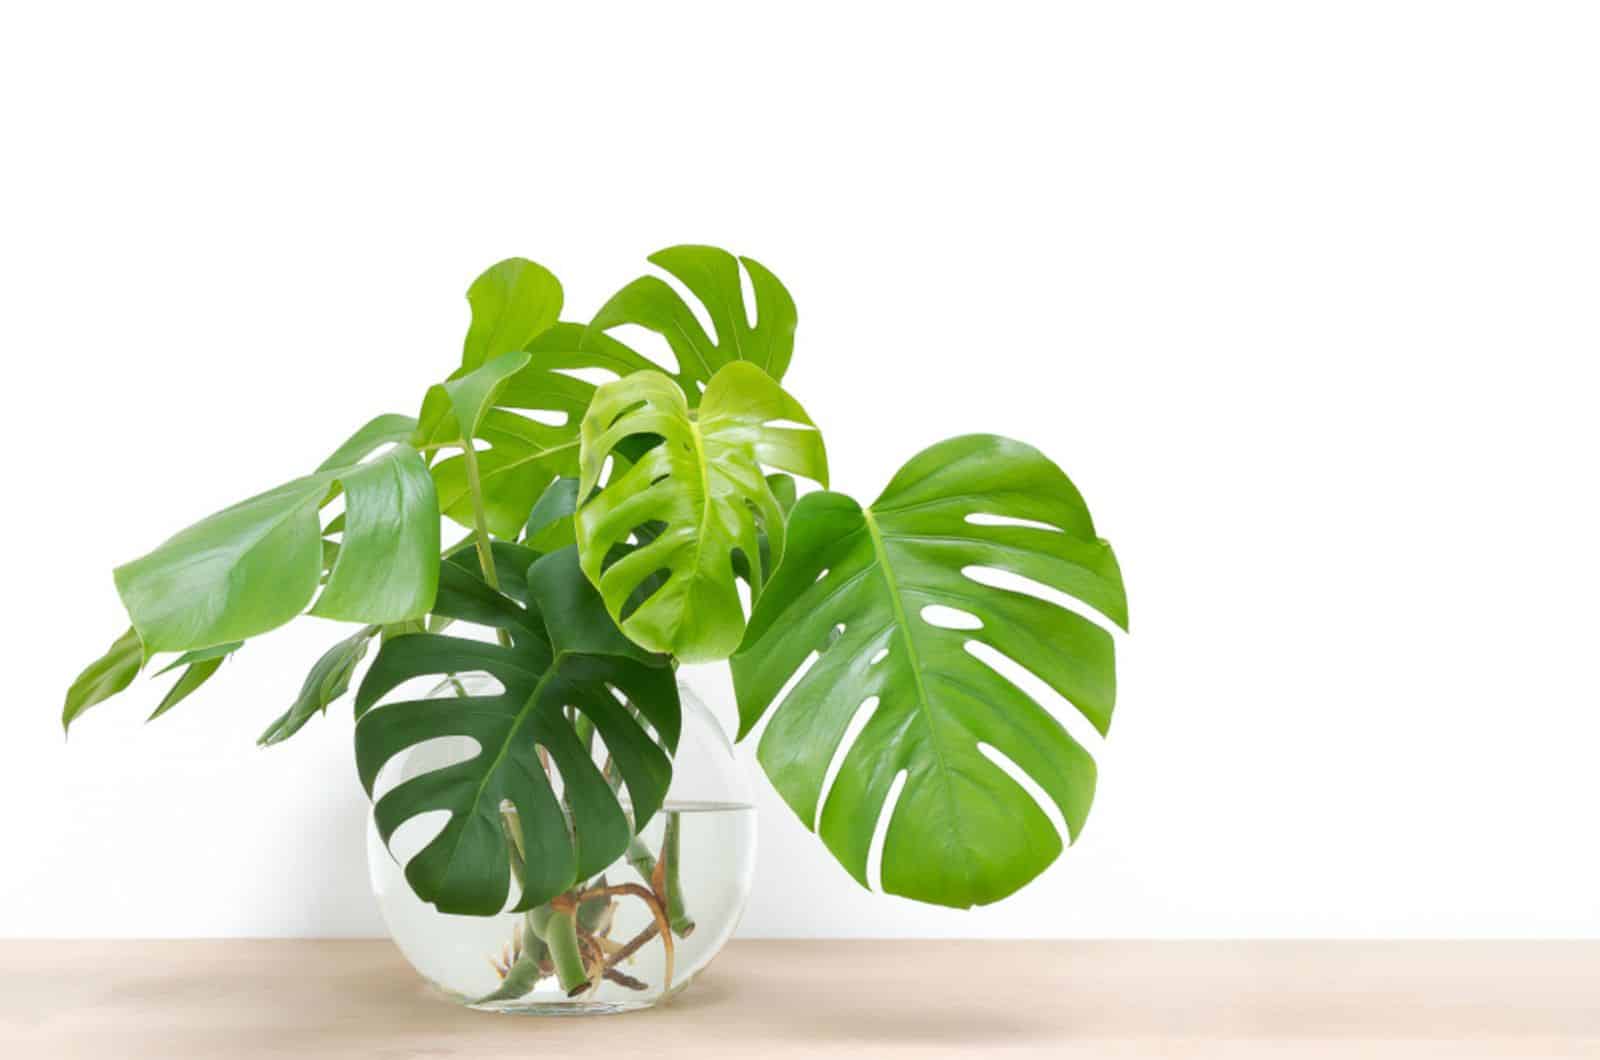
You can use jars, glasses, or even clear vases for your cutting.
You can use tap water if you let it sit overnight. Still, I highly recommend using filtered water to ensure no harmful chemicals affect the cutting.
Now that you have all the equipment, it’s time to take the cutting!
Take The Monstera Cutting
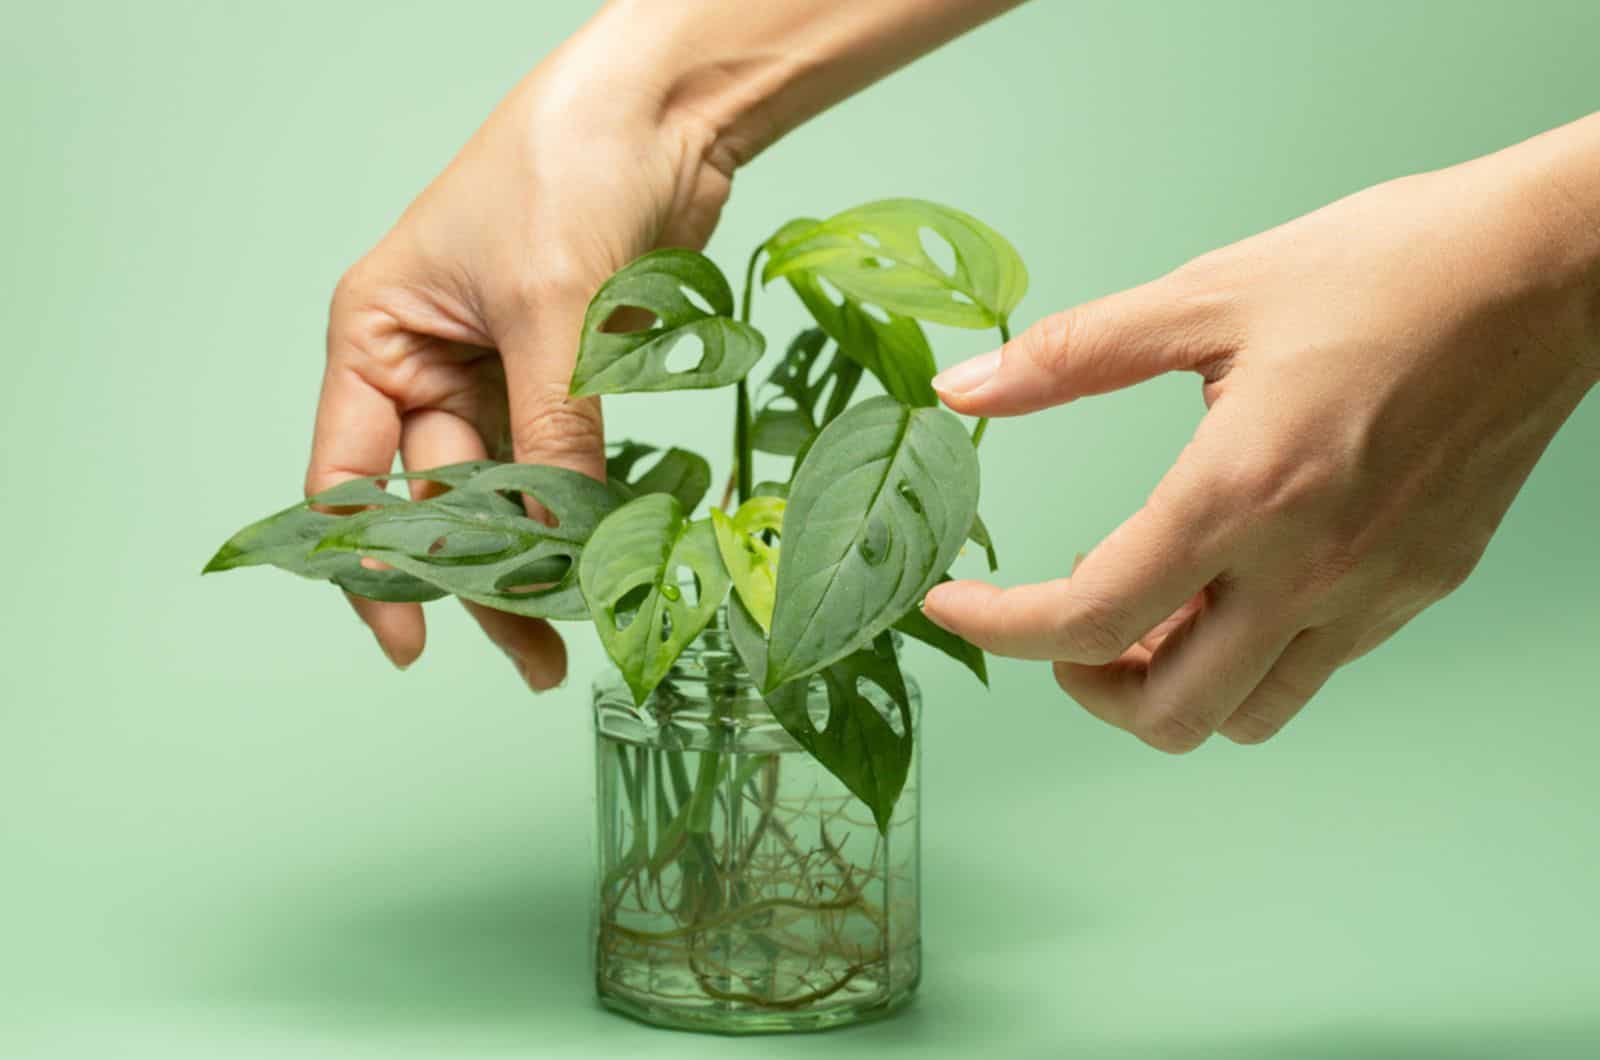
Your goal is to select a healthy portion of Monstera stem to propagate. Only stem cuttings with a node attached will result in a successful propagation.
Nodes are the only part capable of producing new growth.
Cut the Monstera with sharp shears half an inch below the node. Be gentle with the cutting as it’s fragile, and even slight damage may destroy the propagation process.
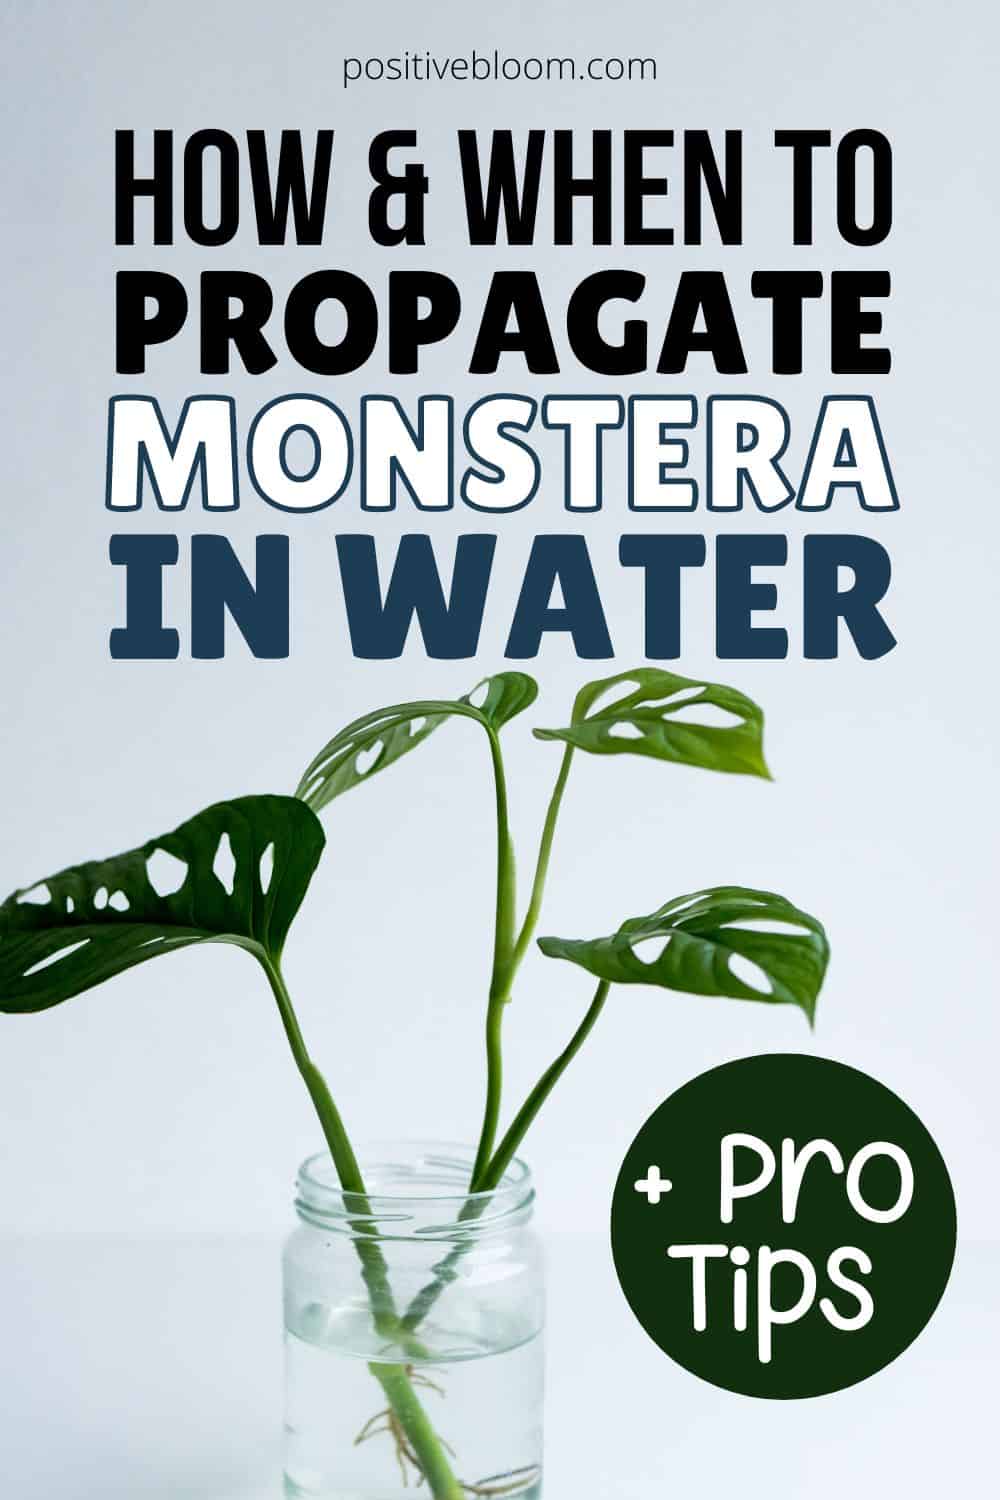
Place The Cutting In Water
First, clean the cuttings and then allow them to dry for approximately 10 minutes.
After that, gently put the cut ends in a container and add water. Make sure the Monstera node is immersed in water.
Now it’s time to find the perfect place for your cutting! The cutting needs a lot of light to develop a healthy and strong root system.
However, never place the cutting in direct sunlight as it will burn it, and the chances of getting a new Monstera will be significantly lower.
Find a spot where the Monstera cutting will receive bright indirect light.
Fresh water is the best way to ensure a safe environment for the cutting and to prevent it from rotting. I recommend refreshing the water every three days.
Wait Until New Roots Sprout
The only thing left to do now is be patient. Remember that you are growing a new plant, which isn’t something that happens overnight.
New roots should appear in clusters, and once you notice about five roots you can plant them in soil.
The roots should be a couple of inches long, and as long as they are not mushy or black they are ready for planting.
Let’s find out how to maintain Swiss cheese plant new roots.
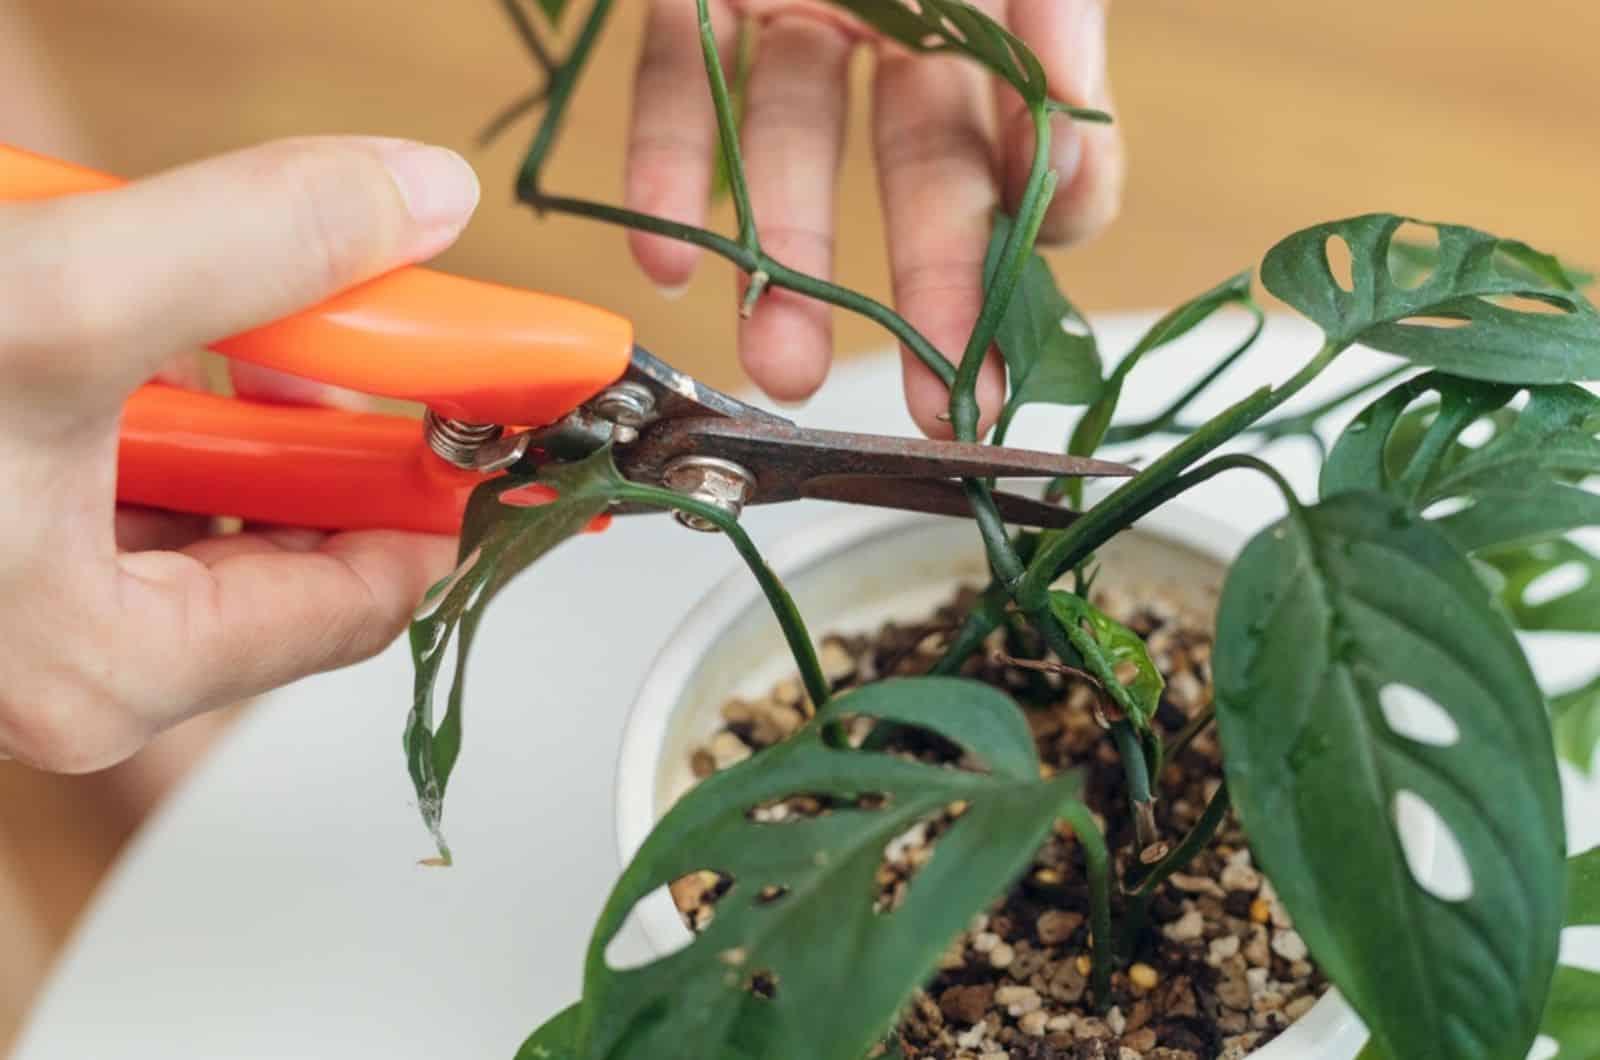
Maintain The Roots
Your task is to keep the roots healthy until they’re planted in the soil. Even slight damage to a single root can cause the entire process to fail.
Some sections of the roots may start displaying changes, such as browning. Additionally, the roots may seem mushy.
You can snip off these sections, but you need to consider a few things. First, look how many healthy roots there are.
The healthy roots of a Swiss cheese plant are white, light green, light brown, or yellowish.
Plant The Rooted Cuttings In Soil
After a few weeks, the Swiss cheese plant cutting should develop many roots, and when they are at least 6 inches long you can transplant them from water to soil.
Choose a container a few inches broader than the roots’ clusters. Gently insert the rooted cutting into the pot after adding a small amount of potting mix to the bottom.
After that, add the remaining soil to the container. Remember that the pot must have drainage holes in the bottom!
The Best Soil Type
The first thing to consider when it comes to soil type for Monsteras is structure. Bear in mind that the roots need oxygen, and the air spaces will be clogged if the soil is too compact. Additionally, it’s easy to overwater overly compact soil.
Therefore, you’ll need a light potting mix.
Second, the roots need nutrients to send to other parts of the plant. And third, you’ll need to ensure good drainage to avoid overwatering.
You therefore need a potting mix that meets the above requirements.
You can buy regular potting soil – it’s fertile and ensures all the nutrients a Monstera needs. However, this soil is too compact so it’ll need some amendments for drainage and air circulation.
I recommend adding perlite, orchid bark, and worm castings.
Alternatively, you can use 1/3 perlite + vermiculite, 1/3 peat moss + coco coir, and 1/3 sphagnum moss.
Many gardeners also claim that Monsteras grow well in LECA for plants, though there are pros and cons to this so it’s totally up to you whether to use it.
Care Guide For A Newly Developed Plant
Before I give you a couple of care tips for new Monsteras, I need to make you aware that your Philodendron Monstera will most likely get transplant shock after transferring from water to soil.
You’ll notice that the new leaves and stems are droopy.
Don’t worry, though, as it will recover pretty soon if you provide it with these conditions:
Keep the soil moist
Let’s start with soil moisture content. The cuttings have been growing in water for quite a long period, so you’ll need to ensure adequate soil moisture.
Be careful because growing Monsteras is all about avoiding waterlogging. These plants are susceptible to root rot!
On the other hand, don’t let the soil dry out. Remember that the new roots have spent their entire ‘lives’ in water. An underwatered Monstera will start wilting and stop developing fenestrations.
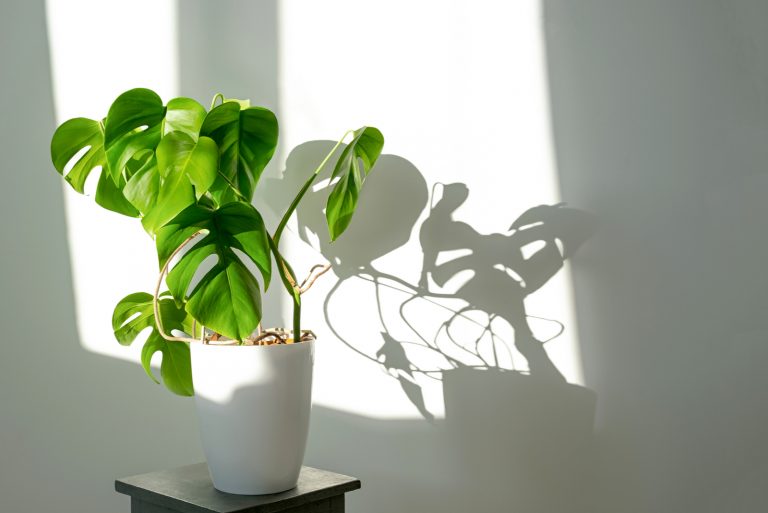
Ensure bright indirect light
The majority of tropical plants grown indoors prefer bright light, but there’s a catch. These plants live under tall trees that have dense foliage.
So, plants such as Monstera don’t actually receive direct sunlight. They do receive bright light, but it’s indirect due to the dense rainforest canopy.
Monsteras grown as houseplants need to be placed near sunny windows, but shouldn’t be exposed to direct sun. You can use sheer curtains to prevent the sun from reaching Monstera leaves, and if your Monstera doesn’t receive enough light you can use grow lights, which are readily available on Amazon.
Be careful with variegated Monsteras like the Monstera adansonii (friedrichsthalii) because variegated types need more bright light to preserve their variegations.
Ensure high humidity
Humidity is one of the most essential parts of plant care. Some plants can tolerate all levels of humidity, but Monsteras cannot.
They are used to higher humidity in their native habitat, so you’ll need to mimic such conditions if you want to grow Monstera as an indoor plant.
I highly recommend ensuring humidity over 50% as anything lower can damage your Monstera. I mentioned how the propagation process wouldn’t be successful without proper humidity, and the same goes for the other growth stages of this plant. You can use a humidifier to increase and monitor humidity, put a humidity/pebble tray below the pot, or move your Monstera to the kitchen or bathroom.
If you are growing other houseplants such as pothos, you can place your Monstera next to them so they can share transpired moisture.
Ensure warm temperatures
These tropical plants are also used to warmer temperatures in their native habitat.
Keep temperatures between 65 and 75 degrees Fahrenheit to avoid your Monstera wilting and drooping.
Monsteras will grow well in slightly higher or lower temperatures, but never leave them in temperatures lower than 50 degrees Fahrenheit as it could kill them.
Ensure support
I mentioned that Monsteras grow under tall trees in their natural habitat, which means that they climb to reach the light source.
These plants are climbers, and that can easily be achieved indoors if they are provided with support. You can encourage your Monstera to climb using a couple of methods.
One of the best methods is attaching it to a moss pole or something similar.
Repot your Monstera
A rule of thumb is to repot Monstera plants every two years. However, sometimes you’ll need to repot them more often.
As soon as you notice roots coming out of the drainage holes, your plant needs repotting!
Repotting is also the best way to save an overwatered Monstera. You’ll also need to remove damaged roots and refresh the soil mix in this case.
You’ll need a slightly larger new pot for your Monstera so that the roots have more space to extend.
How Long Does It Take A Monstera Plant To Root In Water?
There are several key elements that affect how long it takes a Swiss cheese plant to root. As always, how much sunlight the cuttings receive has a significant impact on how rapidly their roots form.
However, be cautious about using too much light as it can easily kill tender cuttings by burning the leaves and roots.
Another thing to take into account is temperature. I mentioned the perfect temperature range for these plants, and room temperature will encourage the cutting to develop roots.
Rooting time also depends on the time of year and dormancy. A Monstera should ideally only be propagated when it is beginning to grow. Cuttings taken too early may take longer to root, giving you the impression that they won’t take.
All things considered, the typical period it takes a Monstera cutting to develop roots is two weeks. On the cut end, you will likely initially notice little sprouts that resemble fuzzy hairs. This will develop into distinct roots in a few weeks.
However, sometimes propagation may take much longer. Don’t panic if it doesn’t happen quickly; as long as the cutting looks healthy, receives enough light, and the water in the jar is clean, the roots should be just about to sprout.
Common Mistakes When Propagating Monstera
Many things can affect the outcome of propagation, and the most common are stagnant water, improper light levels, and patience.
Let’s get into details!
The Water Isn’t Fresh
You should change the water regularly until the roots sprout. But why is that so important, and how long does it take for a Monstera cutting to rot?
The cutting will most likely rot in a couple of days if the water is contaminated. If an unpleasant smell is coming from the jar and the water doesn’t seem very clean, part of the cutting is already rotten.
The only thing you can do is try to find a healthy node you can use for propagation. If not, you would have to discard the cutting.
Too Much Or Not Enough Light
If your cutting doesn’t receive enough light, it won’t develop roots.
On the other hand, if your cutting receives too much direct light, it won’t develop roots, but also turn pale and droop.
Both cuttings and mature Monsteras need bright indirect light to grow healthy!
Patience
If you’ve never propagated before, and you think it won’t succeed because it’s taking too much time, I recommend checking all the conditions and the overall health of the cutting.
I know it may seem like forever, but once your cuttings start growing you’ll be ecstatic!
Other Monstera Propagation Methods
Growers adore Monsteras as they’re so easy to propagate! We’ve learned how to root stem cuttings in water, but there are some other methods used for multiplication.
You can also get new Monsteras through air layering and division. You can even use a leafless stem node for propagation, but remember that you can’t propagate Monstera without a node.
Let’s see the other ways of propagating Monsteras!
Air Layering
Air layering is one of my favorite methods of propagation as it’s straightforward and suitable for beginners.
Before propagating, prepare sphagnum moss, a sharp and sanitized knife, rooting hormone, a plastic bag, and string.
You need to leave the sphagnum moss to soak in water for 30 minutes and then wring it out to remove the excess water.
The next step is making a cut beneath the node or aerial root with a sharp, clean knife. Keep in mind that the node needs to be on a strong stem. The cutting will promote root development and provide the node with oxygen.
You can then soak the cutting’s top 2 inches in rooting hormone. This will hasten the formation of cell roots and prevent fungi from attacking the roots.
Wrap the sphagnum moss around the Monstera’s node. Cover it all with the plastic bag and fasten it with some string. You can also poke a few tiny holes in the plastic bag to promote air circulation.
Never let the sphagnum moss dry out – remember that roots need moisture to grow!
A couple of weeks later new roots will start to develop, and you should cut off the node and plant it in the soil.
Division
For this method, you need a parent plant that has developed a sucker. Add potting mix and organic matter to a new pot.
Remove the main plant from the pot and wiggle it gently to drain the extra soil and water. Then remove the sucker and plant it in a new potting mix.
Don’t forget to repot the mother plant. Remember that it’ll need some time to recover, so be patient and ensure all the conditions needed for healthy growth.
Leafless Stem Node
The last method I’ll show you is propagation using a leafless stem node. I’m sure you’re wondering how it’s possible to use a leafless node if leaves are required for photosynthesis. Well, the node has all the plant needs. Still, it will definitely take more time to develop roots than when propagating using the methods above!
Be aware that a leafless stem node can’t be rooted in water.
For this method, prepare a shallow dish, sphagnum moss, and a plastic bag.
First soak the sphagnum moss for 30 minutes in water and squeeze it to remove excess liquid.
Ensure that the Monstera nodes are placed horizontally on the sphagnum moss. Doing so will guarantee that the node meets the sphagnum moss and that the aerial root portion is oriented downward.
Place the plastic bag over the node and make tiny holes in it to prevent humidity from sudden temperature changes.
Make sure the sphagnum moss is always moist and that the node receives enough bright indirect light.
The time the node needs to develop roots depends on the factors I mentioned above. If it takes a few months, don’t worry; if all conditions are adequate it will root eventually.
After planting in a permanent pot, you’ll notice new stems and leaves growing in a matter of days.
FAQs

Can a Monstera grow in water forever?
Interestingly, Monsteras can grow in water, but there are a couple of things to consider. First, mature Monsteras need nutrients for the roots to send to other parts of the plant.
That is the best way to encourage a Monstera to reach its full size. Therefore, growing them in water for an extended period decreases the growth rate, and the plants don’t reach their full size.
The best would be to plant them in soil after a couple of months spent in water.
What is the best way to propagate Monstera?
There are a couple of ways to propagate Monsteras, and the best one depends on you. If you are a beginner and you want to propagate, I recommend using the stem cutting method and rooting the cuttings in water.
If you are a more experienced gardener, then the division and air layering methods are perfect for you.
If you like challenges and are very patient, I recommend propagating your Monstera using a leafless stem node.
Wrapping Up
Propagating new plants is a pretty demanding and ‘dirty’ job. Yes, your hands will be covered in soil most of the time, but I assure you it’s worth every second you spend on it!
The wonderful Monstera deliciosa plant is ideal for propagation, whether it’s to give them as gifts or decorate more of your house.
So, now you know how and when to propagate Monstera in water. What are you waiting for? Go grow some baby Monsteras right now!
Until next time!
Like this post? Share or pin it for later!