How to Protect Strawberry Plants With Straw Before a New York Winter
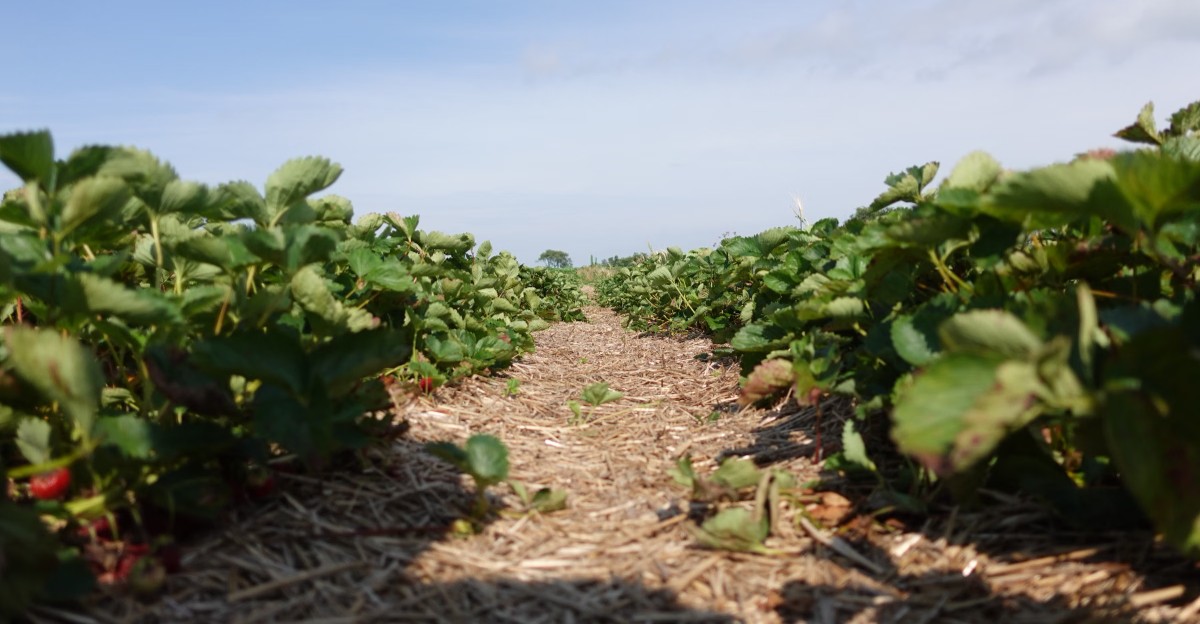
Next June’s berries are already tucked inside the plant right now. They formed as tiny flower buds back in late summer and early fall, and they sit in the crown all winter long.
Truth be told, I didn’t believe that the first time I read it in a Cornell guide. Then I lost half a bed to one wild January in New York, and the lesson stuck. Bare soil froze, thawed, and froze again until my plants were pushed up like corks.
Cold alone isn’t the main villain here. Researchers point to sudden swings, drying winds, and heaving soil as the bigger troublemakers. A crown exposed to temperatures in the teens can suffer real harm, even when the leaves look fine.
The fix costs a few dollars and has been used by farmers for generations. So why do so many backyard patches still go into winter bare?
Those Strawberry Crowns Are Holding Next Summer’s Harvest
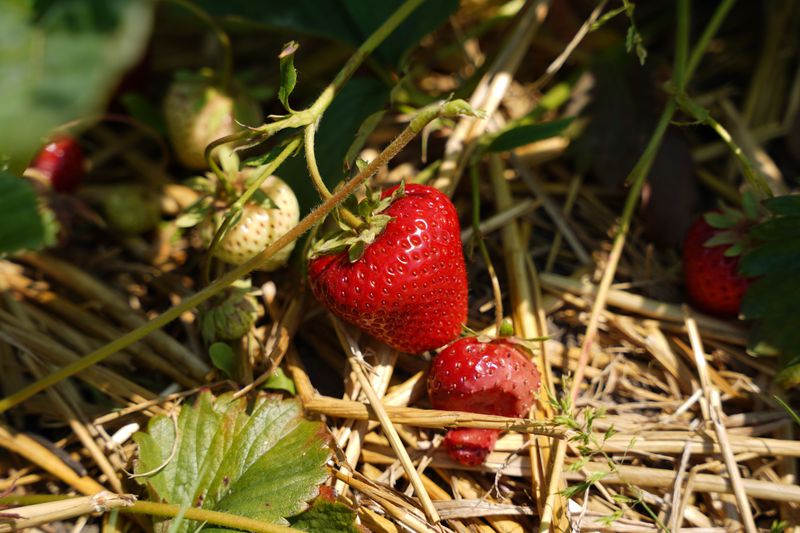
Gardeners often assume strawberries go to sleep once the leaves flatten in fall. In reality, the short days of late summer and autumn trigger the plant to form flower buds deep inside its crown.
That crown is the thick, stubby center where leaves, roots, and runners meet. Every berry you pick next June starts as a tiny bud packed in there right now.
Harm the crown, and you lose fruit before a single blossom opens.
Cornell and other extension programs note that crown tissue can be injured when temperatures drop into the mid-teens or lower. The leaves may still look green, so the problem hides until spring.
Cut a struggling crown open, and you might find brown, mushy tissue instead of healthy white or cream.
Cold isn’t the only threat, either. Repeated freezing and thawing makes soil expand and shrink, which can lift plants right out of the ground and snap their fine feeder roots.
Dry winter winds pull moisture from exposed crowns too.
In my experience, the patches that bounce back strongest are the ones that never felt those wild swings. A steady, insulated root zone keeps the plant calm through months of chaos above ground.
Straw delivers exactly that steadiness. It’s lightweight, inexpensive, and easy to remove later, which is why growers have trusted it for generations.
Wait for a Few Hard Frosts Before Spreading the Straw
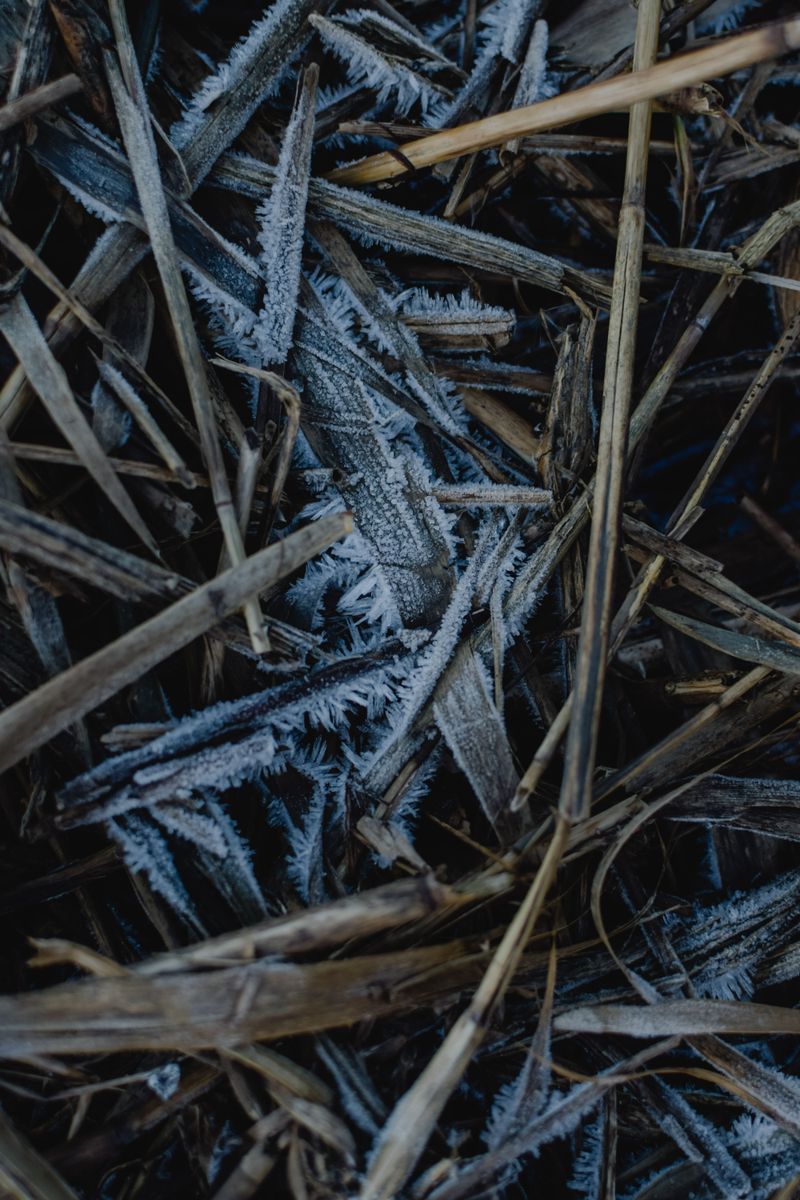
Patience pays off with this job. Mulch too early, and your plants miss the chilly nights they need to toughen up for winter.
Strawberries harden off gradually as temperatures fall. A handful of nights in the low to mid-20s Fahrenheit signals them to slow down and enter dormancy.
Covering them while they’re still actively growing can trap warmth and moisture, which invites rot and soft, tender growth.
So what’s the cue? Many extension guides recommend waiting until plants have experienced several nights around 20 to 25 degrees, or until the soil stays near 40 degrees.
The leaves usually flatten against the ground and may take on a reddish or bronze tint.
Across much of New York, that window lands between mid-November and early December. Gardeners in the Adirondacks, the Tug Hill area, or northern counties may hit it earlier.
Folks on Long Island and in New York City often wait until December.
I like to keep an eye on the ten-day forecast in November. When a stretch of hard freezes appears, I line up my straw so it’s ready the moment the plants are.
One more tip worth remembering. Don’t wait until a deep snow has buried the bed, since that makes spreading mulch messy and uneven.
Aim for a dry, cold afternoon instead.
Clean Wheat or Oat Straw Beats Hay Every Time
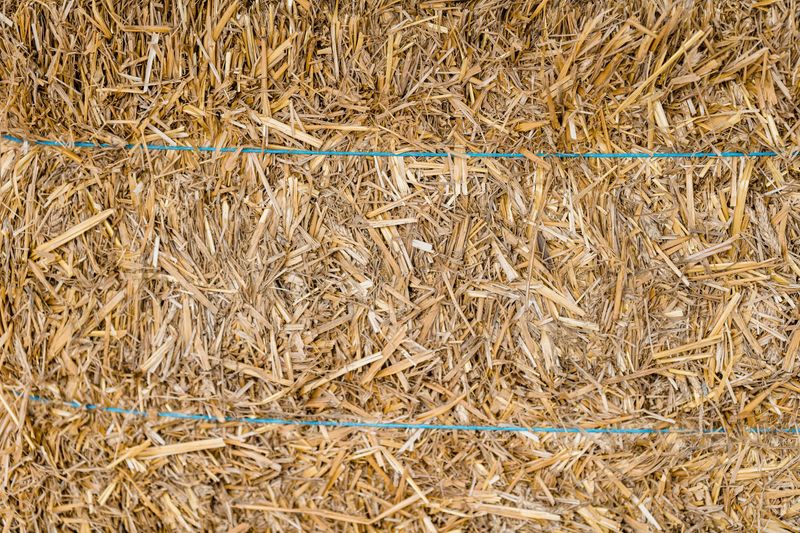
Here’s a mix-up that causes headaches every spring. Straw and hay look similar, but they’re very different products for your garden.
Straw is the hollow, dried stalk left after grains like wheat, oats, or rye are harvested. Those hollow stems trap air, which makes them fantastic insulators.
Straw also stays fluffy and drains well, so it rarely smothers plants.
Hay, on the other hand, is grass or legumes cut for animal feed. It often carries loads of seeds.
Spread hay over strawberries, and you may be pulling grass from your bed all next summer.
Shredded leaves sound tempting because they’re free, but they tend to mat down into a soggy layer. That wet blanket can block air and encourage fungal trouble around the crowns.
When I buy straw, I give the bale a quick sniff and look. It should smell clean and look golden, not musty, gray, or speckled with mold.
Ask the seller if it’s weed-free, since some farms certify their bales.
Pine needles can work in a pinch, and some growers use them happily. Still, clean grain straw remains the classic choice recommended by most northeastern extension programs.
One standard bale typically covers roughly 50 to 80 square feet, depending on depth, so plan ahead before shopping.
Fluff a Loose Straw Blanket Over Every Strawberry Row
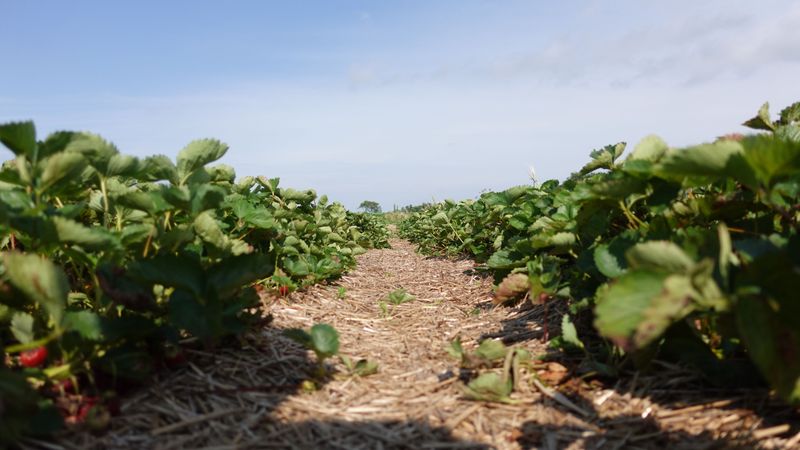
Spreading straw feels a bit like tucking kids into bed. You want it cozy, but not so tight that nobody can breathe.
Shake the straw apart as you go, letting it fall loosely over plants and the soil between them. Most extension guides suggest starting with about 3 to 4 inches, which settles down to roughly 2 to 3 inches over time.
Fluffy layers hold more air, and air is what does the insulating.
In colder parts of the state, such as the North Country, a slightly thicker layer of 4 to 6 inches offers extra security. The same goes for raised beds.
Their soil sits above ground level, so it freezes deeper and faster than in-ground rows.
Cover the crowns fully, along with the edges of the bed. Exposed edges are often where heaving starts.
Don’t pack it down with your hands or boots. Compressed straw loses much of its value and can hold too much moisture against the plants.
I usually work along the rows with a pitchfork, dropping clumps and teasing them apart. It takes maybe twenty minutes for a small backyard bed.
Afterward, step back and check for thin spots or bare patches. A light extra handful in those places can make a big difference by February.
Gusty Winter Winds Can Strip That Straw Away
Funny thing about straw is how light it is. That same airy quality that makes it insulating also lets a strong gust carry it off into your neighbor’s yard.
Wind is a sneaky problem in winter gardens. Exposed crowns can lose moisture to dry, cold air, a process called desiccation.
When the ground is frozen, roots can’t replace that lost water, so plants weaken.
Open sites near Lake Ontario, Lake Erie, or across hilltop farms catch especially strong winter winds. If your bed sits in a breezy spot, plan to anchor the mulch.
A few simple options work well:
Lay a lightweight row cover or old bird netting over the straw and pin it with landscape staples. Set a few flat stones or boards along the edges.
Lightly wet the straw after spreading so it settles and knits together.
Snow helps too, once it arrives. A steady snowpack acts as natural insulation and holds straw in place nicely.
I walk my beds after big storms throughout winter. Any bare patches get a fresh handful of straw right away.
That quick check takes two minutes and saves plants from sitting exposed during the next deep freeze.
Tidy the Strawberry Bed Before It Goes Under Cover

A little fall cleanup goes a long way. Whatever sits under the straw stays there all winter, so make it something you actually want.
Start by pulling weeds, especially perennial ones like dandelions and quackgrass. They’ll happily grow under mulch and steal nutrients come spring.
Snip off runners you don’t plan to keep, since overcrowded beds produce smaller berries.
Remove leaves with obvious spots, rot, or mold. Diseases like leaf spot and gray mold can overwinter on old plant debris.
Clearing it now reduces the chances of trouble next season.
Moisture matters too. Fall in New York can turn surprisingly dry some years.
If rain has been scarce, give the bed a deep drink before the ground freezes. Well-hydrated plants handle cold stress much better than thirsty ones.
Skip heavy nitrogen fertilizer this late in the year. It can push tender new growth that won’t harden off in time.
June-bearing types are usually fed after harvest during renovation, not right before winter.
I like to do this tidying a couple of weeks before mulching. That way, I’m not rushing on a freezing afternoon.
When the hard frosts arrive, the bed is clean, moist, and ready for its golden blanket.
Rake the Straw Into the Aisles When Green Leaves Peek Through
Spring brings its own little puzzle. Leave the straw on too long, and plants grow pale and weak underneath.
Pull it too soon, and a late frost might catch the blossoms.
Start checking under the mulch in late March or early April. Downstate gardens usually wake first, while northern areas may wait until late April.
Lift a corner and look for new leaves that are yellowish or pale green. That color means they’re hungry for sunlight.
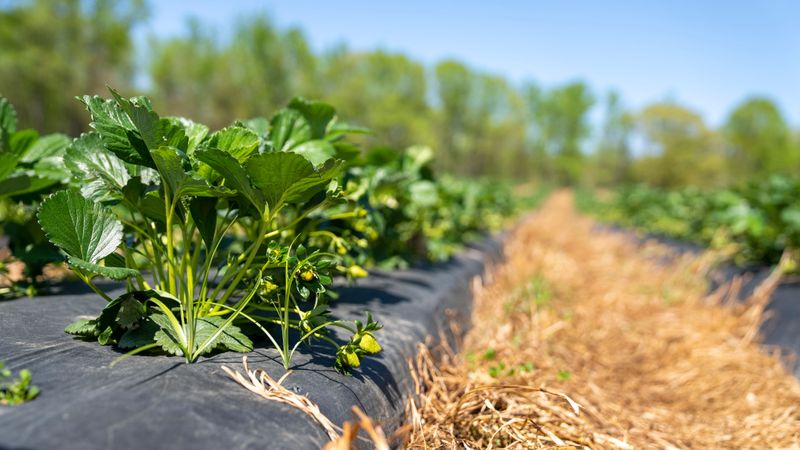
When growth begins, rake most of the straw off the plants and into the aisles. Leave a thin layer around the crowns if you like.
In the aisles, straw keeps weeds down, holds moisture, and later keeps ripening berries off the muddy soil.
That last point is actually how the fruit got its name, according to one popular theory. Growers have tucked straw around berries for centuries, though historians still debate the word’s true origin.
Keep your extra straw nearby through May. Open blossoms can be damaged around 30 degrees Fahrenheit.
If a frosty night is forecast, pull straw or a frost cloth back over the flowers for the night.
Remove it the next morning, so pollinators can reach the blooms. That small effort can save a big part of your crop.
Raised Beds and Containers Need Extra Strawberry Protection
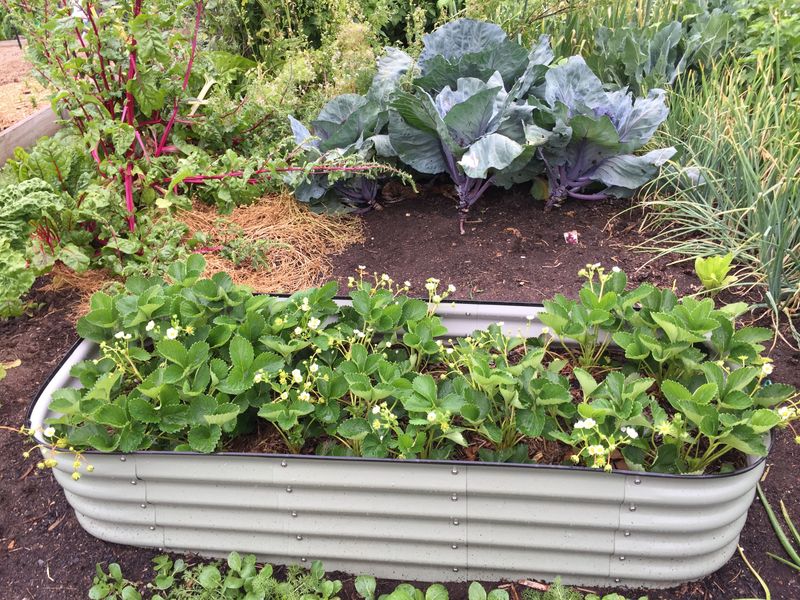
Raised beds are wonderful for drainage, but winter treats them differently. Soil above ground has cold air hitting it from the sides as well as the top.
That means roots freeze harder than they would in a regular garden row.
For raised beds, go thicker with your straw, around 4 to 6 inches. Adding a floating row cover on top gives another few degrees of protection and helps hold everything in place.
Some gardeners also stack straw bales against the outside walls for extra insulation.
Containers are even trickier. Strawberry pots, hanging baskets, and window boxes can freeze solid quickly.
Roots inside a pot rarely tolerate the cold that in-ground roots handle.
Here are a few options for potted plants. Move them into an unheated garage or shed once they’re dormant.
Sink the pots into the ground and mulch over them. Cluster pots together against a sheltered wall, then pile straw around and on top.
Water container plants lightly every few weeks if the soil dries out. Dormant doesn’t mean bone dry.
If you ask me, a little extra effort for these setups is well worth it. Healthy plants coming out of winter mean a June full of sweet, sun-warmed berries, and that’s a reward any gardener can appreciate.