How To Protect Your New York Rose Bushes Before The Ground Freezes
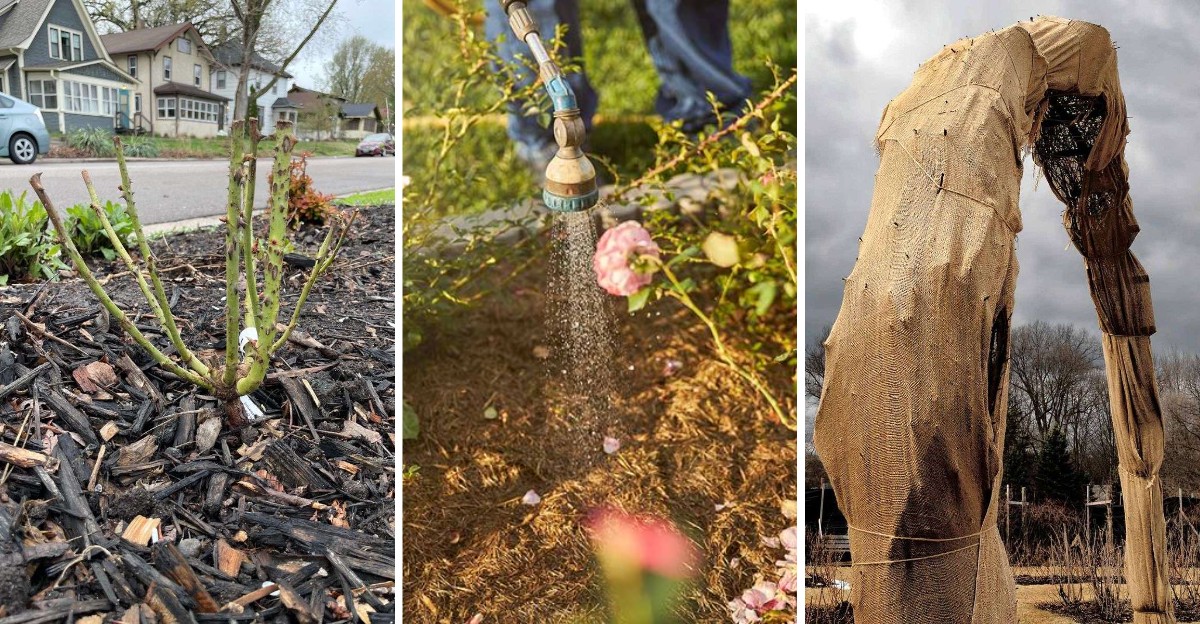
Bare winter soil can swing from frozen to thawed and back again many times, and that restless motion can actually push young shrubs up and out of the ground. Frost heaving is real, and it catches plenty of gardeners off guard.
Here in New York, winters range from mild coastal chills on Long Island to bitter Zone 4 nights in the Adirondacks. That wide spread means one-size-fits-all advice rarely works.
I love the quiet ritual of late fall garden chores. You get crisp air, crunchy leaves, and the feeling that you are setting up next June before anyone else is thinking about it.
The tricky part is timing. Move too early and you invite trouble, but wait too long and the soil turns to stone.
So which small steps actually matter most for those thorny favorites in your yard?
That Swollen Knob At The Base Of Your Rose Needs The Most Help
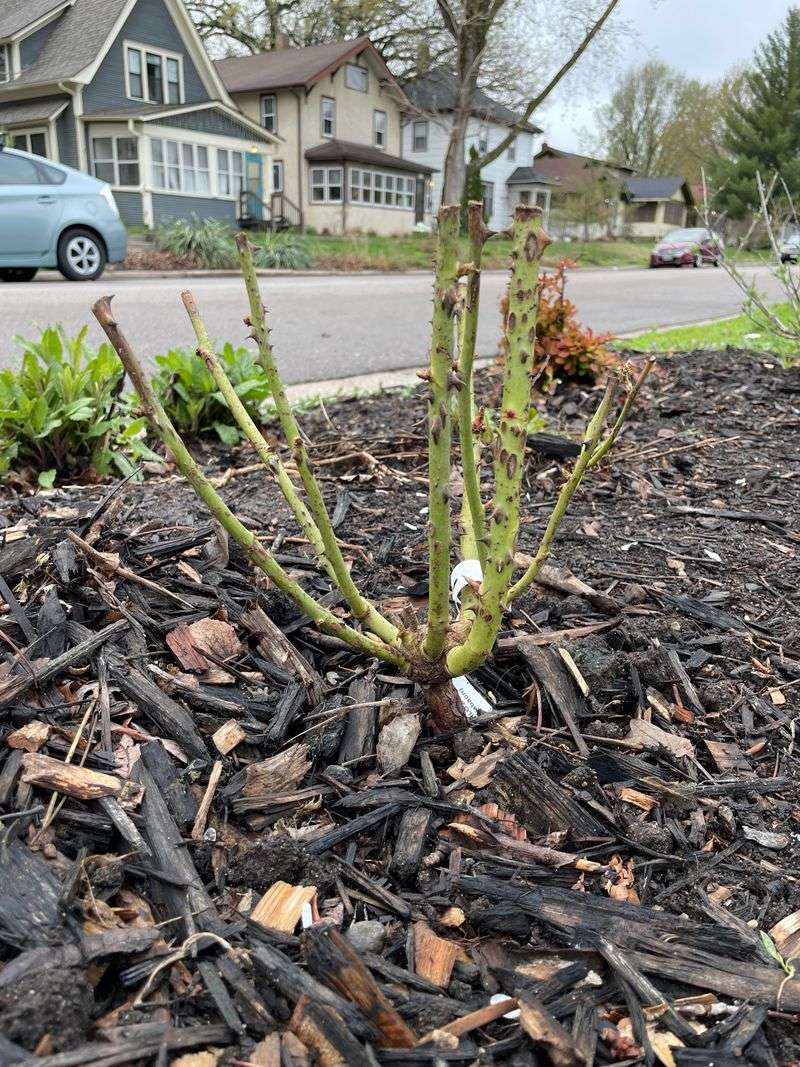
Look closely at the bottom of most hybrid tea and grandiflora roses. You will spot a bumpy knob where the stems meet the rootstock, called the graft or bud union.
That little knob is the heart of a grafted rose. If harsh cold injures it, the fancy variety on top can fail, and only the tougher rootstock may sprout back in spring.
Many gardeners have been surprised by a plain red rose popping up where a prized yellow one once grew.
Cold itself is only part of the problem. Repeated freezing and thawing, plus dry winter winds, stress the union and canes far more than one steady cold spell.
So your main goal before the ground freezes is simple. Insulate the base, keep temperatures steady, and shield the canes from drying out.
Own-root roses, such as many shrub and rugosa types, are usually tougher. They grow on their own roots, so even if the top suffers, new shoots come back true to the variety.
Check your plant tags or old receipts if you are unsure what you have. Knowing whether your roses are grafted helps you decide how much effort each bush really needs.
I like to make a quick list in fall of which plants are the fussy ones. That way, I spend my energy where it truly counts.
Wait For A Few Hard Frosts Before Tucking Roses In

Patience pays off big with winter rose care. Protection works best after your roses have gone dormant, not while they are still pushing out leaves.
Cornell Cooperative Extension guidance points to waiting until after several hard frosts, when temperatures dip into the mid-20s. In much of New York, that falls somewhere between early November and early December, depending on where you live.
Upstate and higher elevations usually reach that point sooner. New York City, the Hudson Valley lowlands, and Long Island often run a few weeks later.
Why not just do it early and be done? Covering roses while the weather is still mild can trap warmth and moisture around the stems.
Your New York Garden Changes Every Week. Your Plan Should Too.
Gardening in New York changes quickly throughout the season. Every Friday you’ll receive a simple weekly plan showing exactly what to plant, prune, fertilize, harvest, and protect so you never miss the right timing.
That can encourage soft new growth or fungal problems before winter even settles in.
A helpful plan is to gather your supplies in October. Stockpile compost, shredded leaves, or bagged soil while it is easy to find and the ground is soft.
Then watch the forecast. Once a few nights have turned your birdbath to ice, you are ready to act before the soil locks up for good.
Also, stop feeding your roses with fertilizer by late summer. Extra nitrogen late in the season pushes tender shoots that struggle when cold arrives.
Pile A Tall Mound Of Compost Around Each Rose Crown
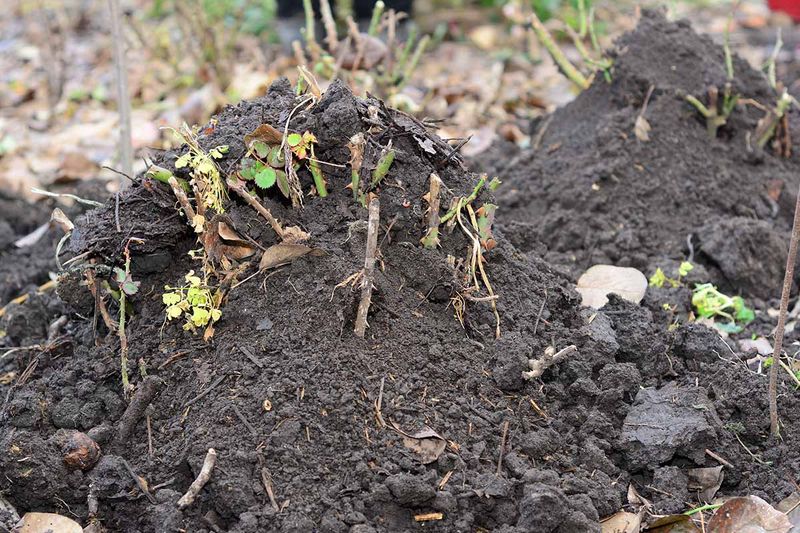
Hilling up roses is one of the oldest tricks in the rose world, and it still works beautifully. The idea is to cover the base and graft union with a loose, insulating mound.
Aim for a pile about 10 to 12 inches high around each plant. Use fresh garden soil, compost, or a mix of both, brought in from another spot in the yard.
Please do not scrape soil from right around the rose to build the mound. That exposes the very roots you are trying to protect.
Shredded leaves can be tucked on top of the soil mound for an extra fluffy layer. Whole leaves tend to mat down and stay soggy, so shredding them first helps a lot.
The mound does not keep the rose warm like a heater. Instead, it holds soil temperatures steadier, so the crown is not jolted by sudden warm days followed by icy nights.
Snow adds even more insulation once it falls on top. A good snow cover is one of the best natural blankets your garden can get.
In spring, once the hard freezes pass, gently pull the mound away. Spread the compost around the bed, and your roses get a free soil boost.
Give Rose Roots A Deep Drink Before The Soil Locks Up

Dry fall weather sneaks up on a lot of us. The air feels cool, so we forget that roots still need moisture heading into winter.
Roses go into the cold season healthier when the soil is evenly moist. Damp soil also holds and releases heat better than dry, dusty soil, which gives roots a little extra cushion.
If autumn has been dry, water deeply about once a week until the ground freezes. Soak the root zone slowly instead of giving a quick splash.
Morning is the best time to water. The soil can absorb the moisture during the day before temperatures drop at night.
Aim the water at the base, not the leaves. Wet foliage in cool weather can invite black spot and other fungal troubles.
A simple test helps. Push a finger a couple of inches into the soil, and if it feels dry, your roses are thirsty.
Once the ground is frozen hard, you can put the hose away. Disconnect it and drain it so your outdoor faucet does not crack in the first deep freeze.
Personally, I find this step the easiest one to skip and the most rewarding one to remember.
Burlap Wraps Help Tall Rose Canes Shrug Off Winter Wind

Winter wind is sneaky. It pulls moisture out of exposed canes, and roses cannot replace it while the ground is frozen.
That drying effect, called desiccation, often explains why canes look shriveled and brown in March. Cold gets the blame, but wind usually played a big part.
For taller hybrid teas and grandifloras, wrap the canes loosely in burlap. Tie the canes together gently with soft twine first, then wind the burlap around and secure it.
Burlap breathes, which matters a lot. Avoid wrapping roses in plastic, since it traps moisture and heat on sunny days.
Exposed spots need this most. Think of hilltop yards, open Finger Lakes properties, or beds facing harsh northwest winds.
Tall canes can also rock back and forth in strong gusts. That motion loosens roots in the soil, so tying them together keeps the whole plant steadier.
Another option is a simple ring of chicken wire around the bush. Fill it with shredded leaves or straw for a cozy, wind-blocking cage.
Take wraps off in early spring as buds begin to swell. Leaving them on too long can encourage weak growth hidden from the sun.
Climbing Roses On Trellises Need A Little Extra Care

Climbers stand tall and proud all summer, which makes them a target once winter arrives. Their long canes catch every gust and carry heavy loads of snow and ice.
Start by checking that canes are firmly tied to their support. Use soft, stretchy ties that will not cut into the bark.
Many climbers bloom on older wood, so protecting those canes matters for next year’s show. Losing them can mean fewer flowers in June.
In the coldest parts of the state, some gardeners carefully lay climbing canes on the ground. They pin them down and cover them with soil, leaves, or burlap.
Take this step slowly and only if your canes are flexible enough. Older, stiff canes can crack, so it works best with younger plants.
For most yards in milder areas, tying the canes snugly and mounding the base is plenty. A burlap screen on the windward side can add extra shelter.
Quick tip from experience: wear thick gloves and long sleeves for this job. Climber thorns seem to multiply in cold weather.
Once spring arrives, untie anything that was laid down and retrain the canes upward with care.
Put Those Rose Pruning Shears Away Until Spring

Fall cleanup fever makes many of us want to cut everything back. With roses, though, heavy fall pruning often backfires.
Big cuts can wake up buds and trigger fresh, tender growth. Those soft shoots rarely harden before cold weather, so they get damaged quickly.
Save major pruning for early spring. Many New York gardeners use forsythia bloom as their signal to start.
Light trimming in fall is fine, though. Remove canes that are broken, diseased, or clearly damaged.
Extra-long canes that whip around can be shortened by about a third. That reduces wind rock and keeps snow from snapping them.
Some rosarians also stop trimming in late summer. Letting a few flowers form hips signals the plant that it is time to slow down for the season.
Those hips have a fun bonus. Birds often snack on them during lean winter months, and rugosa hips glow bright orange red against the snow.
When you do cut, use clean, sharp shears. Wipe the blades between plants if you are removing diseased wood.
A little restraint now gives you stronger canes to shape later. Spring pruning lets you see exactly which parts made it through.
Rake Fallen Rose Leaves To Start Next Season Fresh
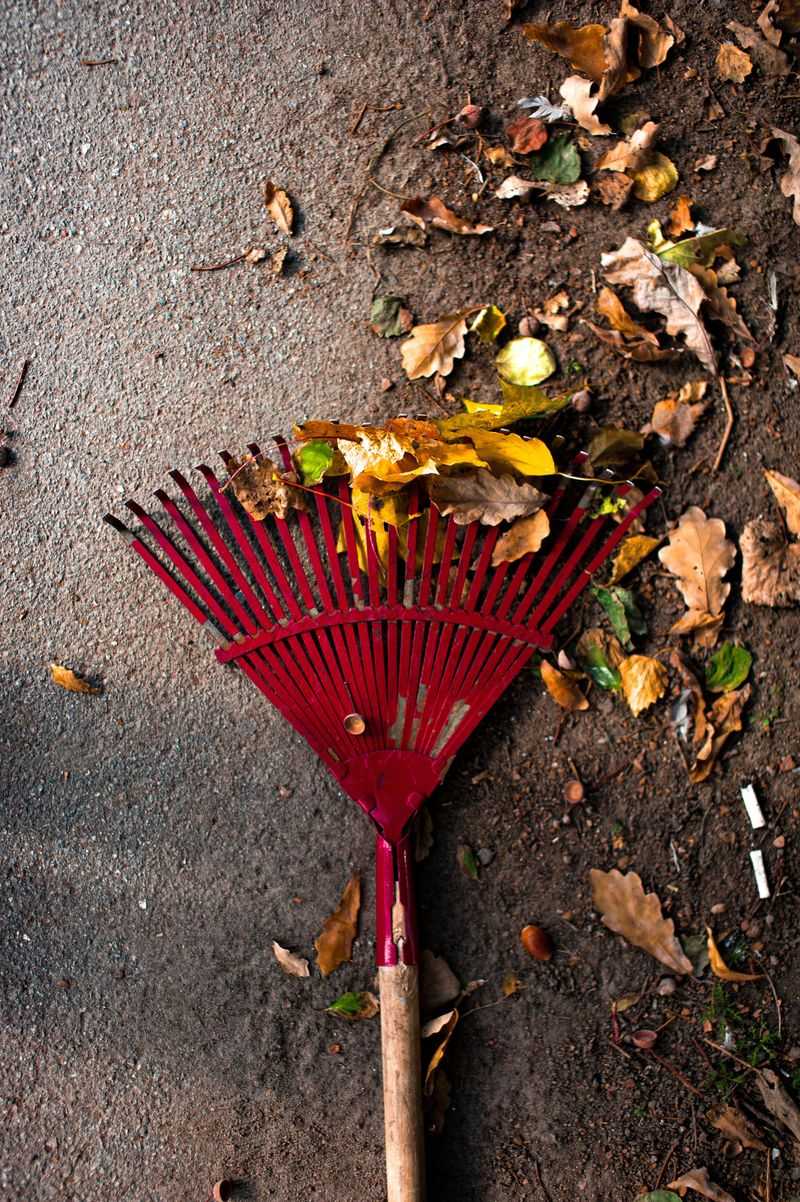
Those spotted yellow leaves under your rose bushes are more than a messy look. They can carry black spot spores right into next season.
Black spot and other fungal diseases often survive winter on fallen leaves and plant debris. When spring rain splashes, the spores land back on new foliage.
So grab a rake before you build your winter mounds. Clear old leaves, faded petals, and any weeds from around each plant.
Bag or trash diseased leaves instead of adding them to your compost pile. Home piles rarely get hot enough to break down disease spores reliably.
Healthy leaves from other trees can still be useful. Shredded maple or oak leaves make a fine insulating layer once the bed is clean.
After cleanup, finish with a layer of mulch such as shredded bark, straw, or pine needles across the bed. This helps steady soil temperatures and reduces frost heaving.
Plastic or wire rose collars can hold mulch in place on windy sites. Simply fill them with leaves or compost around each bush.
Then step back and enjoy the tidy beds. Your future self will be glad come June, when fresh leaves and buds open on clean, sturdy canes.