2 Best Ways To Revive A Yellowing Russian Sage Plant
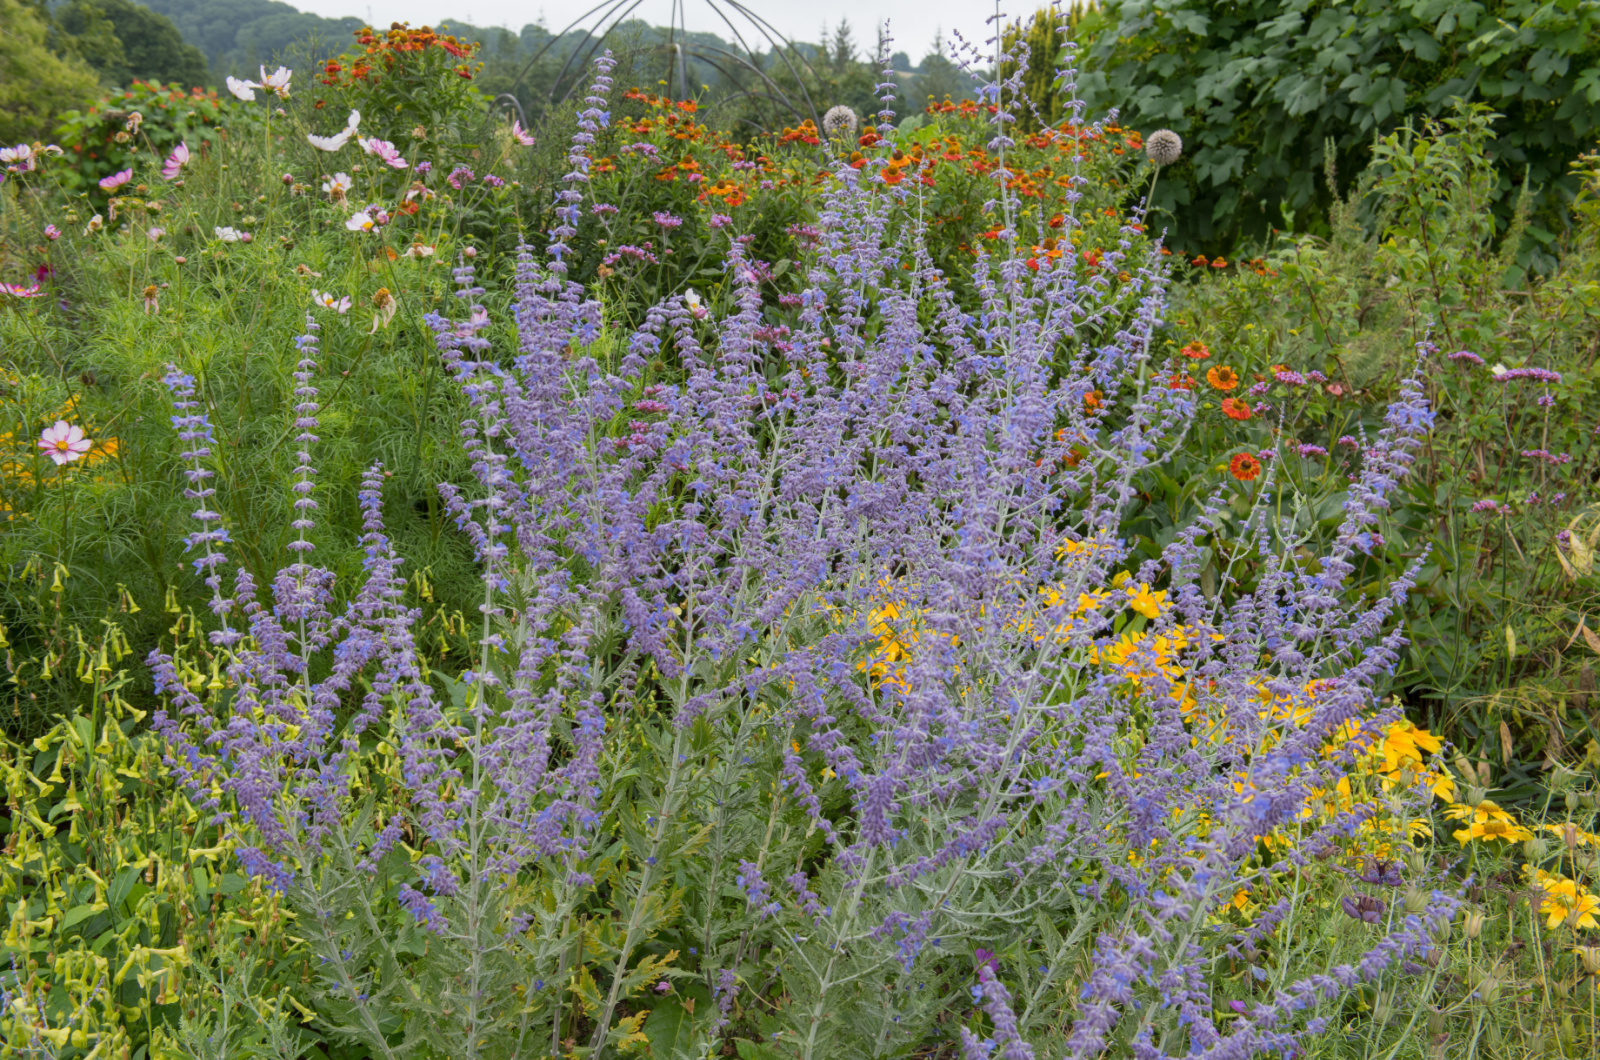
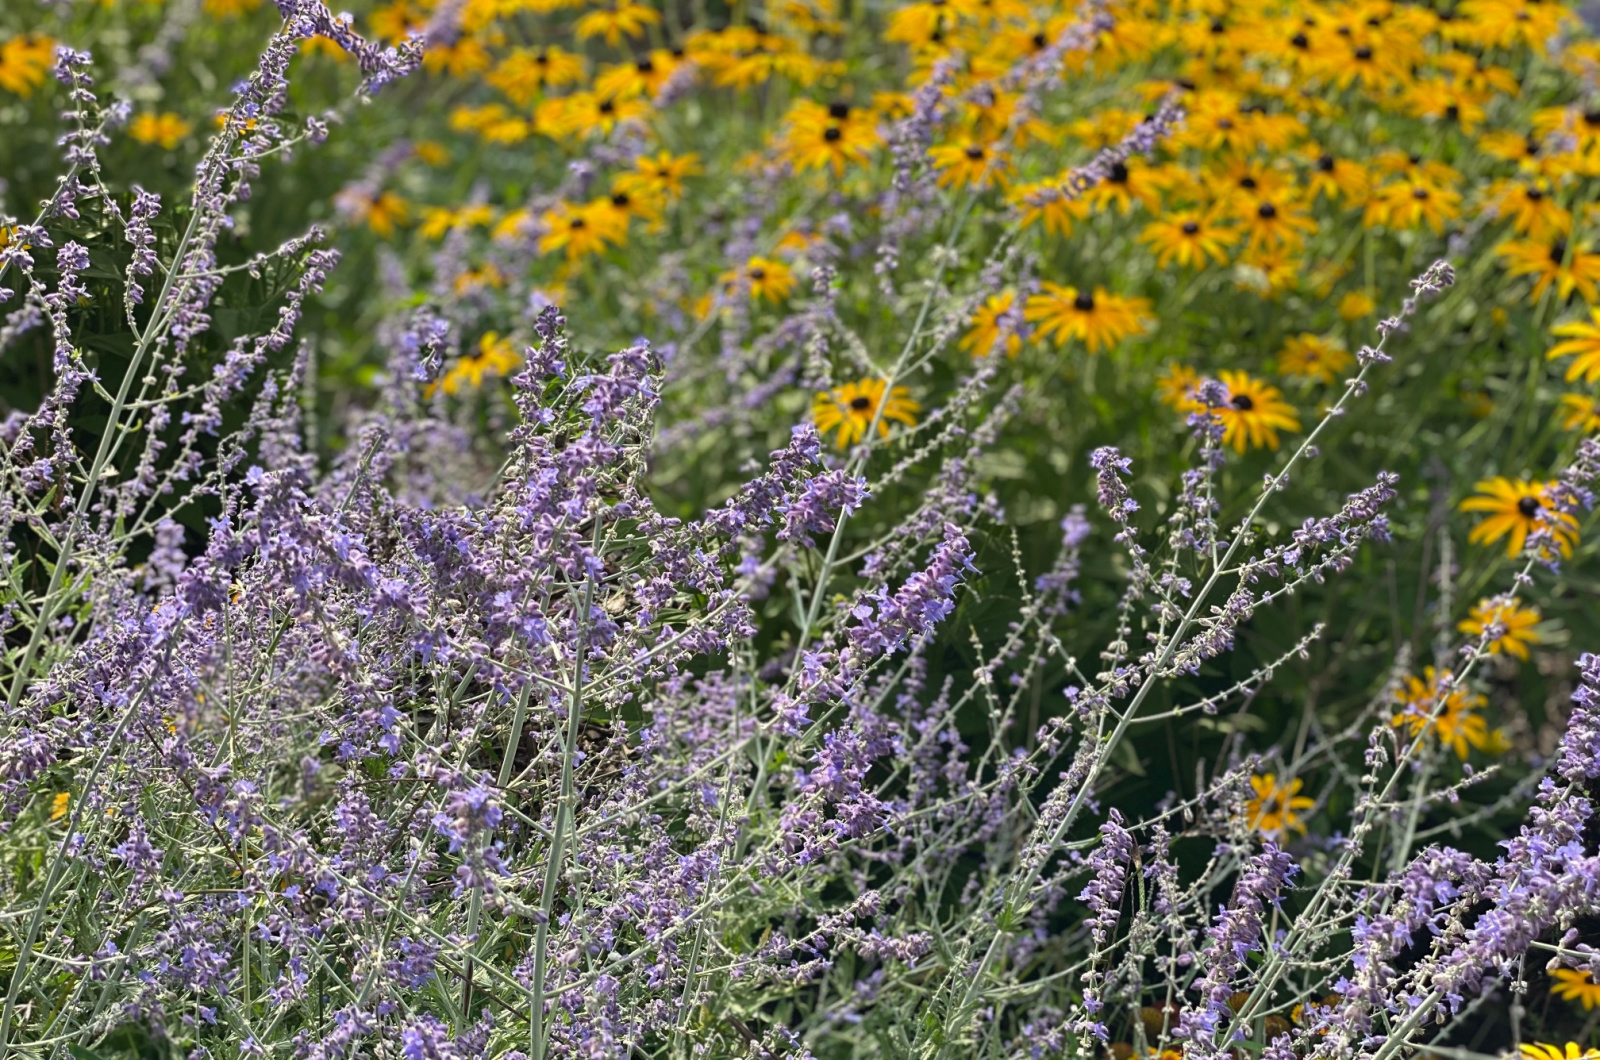
I always say that a garden isn’t fully complete if there aren’t any Russian sage plants. These plants always steal the show when their tubular, purplish-blue blossoms appear.
Even though these plants are considered resilient, some issues can occur. Many gardeners have experienced yellowing in Russian sage and I completely understand the concern.
So, in this article, I’ll show you why this happens and how to revive a yellowing Russian sage.
Let’s get started!
What Causes Yellowing In Russian Sage Plants?
Well, there’s no point in saving a plant without determining the cause of the issue, and yellowing isn’t an exception.
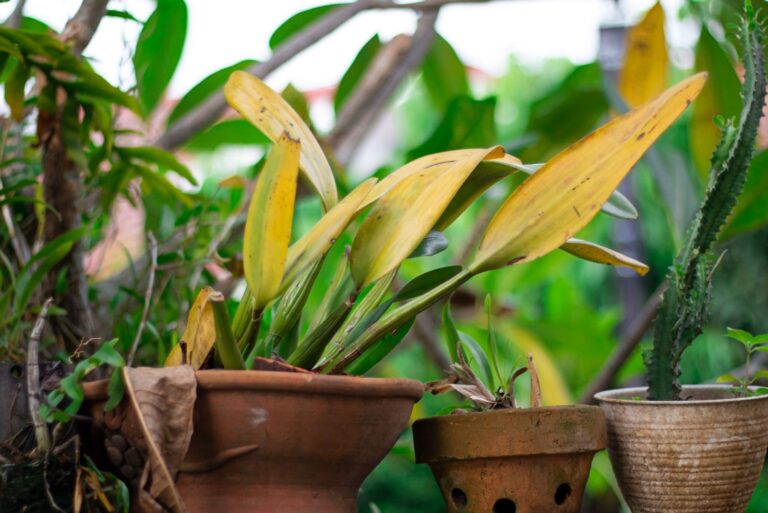
The first reason your Russian sage turned yellow is likely a lack of nutrients. Nitrogen is responsible for the production of chlorophyll, so there will be no green if there isn’t enough of this nutrient.
Lack of nitrogen leads to a decrease in chlorophyll and the plant turns yellow as a result. The first ones to display yellowing are the older lower leaves. The yellowing typically occurs on the entire surface of Russian sage leaves.
Another thing that can cause yellowing is poor soil drainage, which results in overwatering. If excess water stays in the soil instead of draining away, it will drown the roots and the plant will experience the notorious root rot!
When the roots are suffocated they can’t absorb nutrients or water anymore. One of the first signs of this disease in Russian sage is yellowing.
It’s typically accompanied by a wilting or drooping appearance and poor overall health.
When Russian sage is affected by root rot, its susceptibility to leaf mold and mildew significantly increases. Unfortunately, this is a common issue in all Salvia plants.
Now let’s see how to prevent and fix this issue with your Russian sage.
1. Fertilize Properly
The most logical solution for Russian sage yellowing caused by nitrogen deficiency is to fertilize the plant, i.e., supplement the nutrients.
However, it’s essential to know which fertilizer to use, the correct dosage, and when to apply it.
When it comes to this plant species, the best fertilizer is a slow-release type with an NPK ratio of 5-10-5. Russian sage plants benefit most from yearly fertilization. Interestingly, some growers don’t add any fertilizer and the plant still grows well.
If your plant suffers from yellowing and doesn’t have root rot, fertilization is essential.
You should be very careful not to overfertilize your Russian sage because it will result in various problems and can even kill the plant. For correct fertilizer usage, you should read the instructions that are written on the label.
The general rule is to sprinkle your selected fertilizer around the plant base. Make sure the leaves of your Russian sage aren’t in contact with fertilizer.
You can take a garden fork and carefully work the fertilizer. Your goal is to mix fertilizer with the top few inches of the soil. The roots may be damaged during this process so exercise caution.
The Best Time Of Year To Fertilize
As mentioned, the recommended feeding for Russian sage is once a year. However, it’s important to know which time of year to choose for fertilization.
The general rule is to feed your Russian sage at the beginning of the growing season, which is in early spring. Make sure you apply fertilizer before the plant displays new growth to avoid issues.
Your Russian sage plant will have all the nutrients and energy for growth and blossoming later in the season.
If yellowing continues even after fertilization, you can repeat the process in mid-summer. Again, read the instructions carefully because the size and age of the plant play a major role in the amount of fertilizer needed for healthy growth
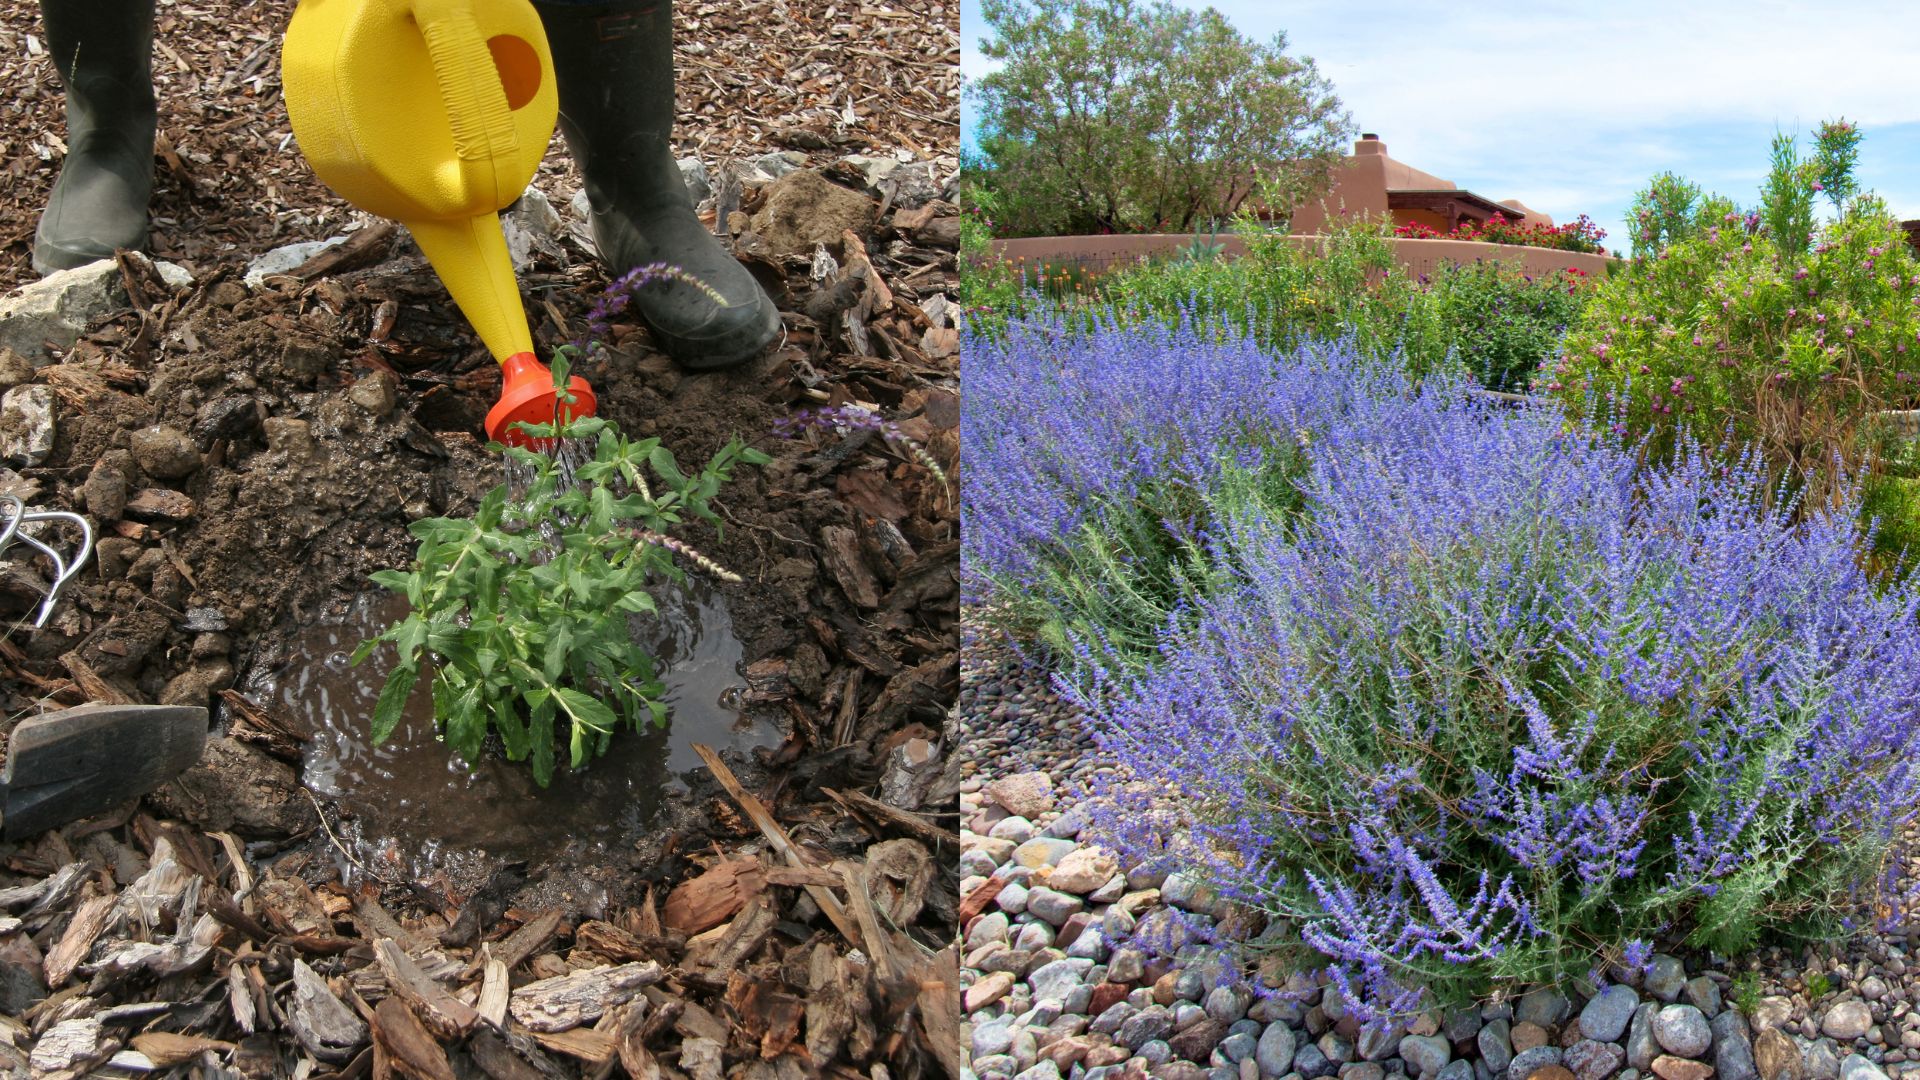
And don’t forget to irrigate your Russian sage after fertilization to help it absorb all the nutrients.
2. Enhance Drainage Through Aeration
Poor drainage leads to issues in almost all plant species. It is typically a result of too compact soil, which prevents water from draining well.
Even if the plant isn’t overwatered, the roots won’t develop healthily in compact soil due to restricted growth and poor nutrient and water uptake.
The easiest solution is to aerate the soil to enhance drainage and there are two ways to do it.
The first way is to dig around the Russian sage plant base using a garden fork or hand trowel. Be sure not to damage the roots and cause additional problems. Carefully loosen the soil and turn it over to enhance air circulation and water drainage.
The next step is to add a layer of organic mulch around your Russian sage plant. Well-rotted manure and compost are typically used because they improve soil structure and retain moisture according to plant needs.
Don’t pile mulch around the Russian sage stem because it can burn it.
The second method you can use to enhance drainage is called spike aeration. You’ll need a spike aerator tool and the best way to use it is to put the spikes in the soil at intervals; a depth of 2-3 inches will suffice.
The main goal of this process is to make small holes in the soil that will enhance air circulation and allow the water to drain correctly.
Similarly to the previous method, a layer of organic mulch is required after aeration.
If you have a juvenile Russian sage, make sure you irrigate it regularly during the first season. The established plant shows excellent tolerance to drought so it’s better to leave it without water than overwater it.
It’s not hard to prevent yellowing in this plant; feeding and proper drainage are the best ways to go. And don’t forget to prune your Russian sage for the busheist and healthiest plant!
References
1. Huang, C. H., Singh, G. P., Park, S. H., Chua, N., Ram, R. J., & Park, B. S. (2020). Early Diagnosis and Management of Nitrogen Deficiency in Plants Utilizing Raman Spectroscopy. Frontiers in Plant Science