How To Save North Carolina Impatiens With Cuttings Before The First Frost
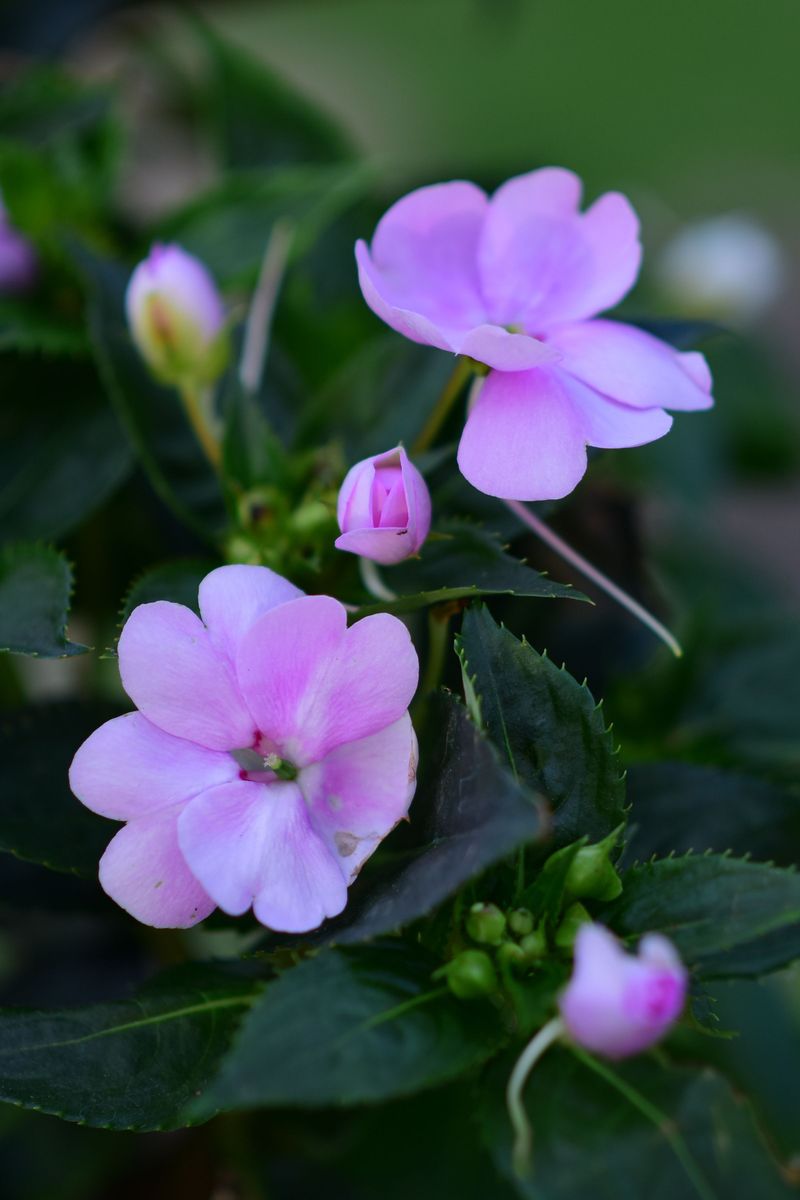
A three-inch snip from a summer flower can grow roots in a plain glass of water in about two weeks. No powder, no fancy kit, and no greenhouse required. I still remember the first time I spotted those fuzzy white threads and grinned like a kid.
The catch is the calendar. These shade-loving bloomers come from tropical East Africa, and one night at 32°F turns them into limp, soggy stems. In North Carolina, the mountains can see frost by early October, while the coast often holds out until mid-November.
I tend to think fall is the most underrated season for saving plants. You already paid for those flats in May, and you babied them through August heat.
Why hand them over to the first cold snap? A kitchen windowsill could hold next spring’s entire shade bed.
1. Those Impatiens Stems Are Racing a Cold Front You Can’t See Yet
Cold weather sneaks up quietly in the fall. Impatiens start sulking well before the actual frost, often slowing down once nights drop into the 50s.
That slowdown matters for you. Stems taken from stressed, chilled plants root more slowly and are more likely to rot. Healthy, actively growing shoots give you the best odds, so the sweet spot is late summer through early fall.
Timing in North Carolina depends a lot on where you live. Mountain towns like Boone can see a first frost in late September or early October. The Piedmont, around Raleigh and Charlotte, usually gets its first frost from late October into early November.
Coastal gardeners near Wilmington often have until mid-November or later. Check the average first frost date for your county through NC State Extension, then plan to take cuttings two to four weeks before it.
My rule is simple. Once the weather app shows a night near 40°F, I grab my snips that weekend.
A freeze turns impatiens tissue to mush because their stems are packed with water, and frosted stems rarely recover well enough to root. Beat the cold, and you keep your favorite colors on your side.
2. Snip Healthy Impatiens Tips Just Below a Leaf Node
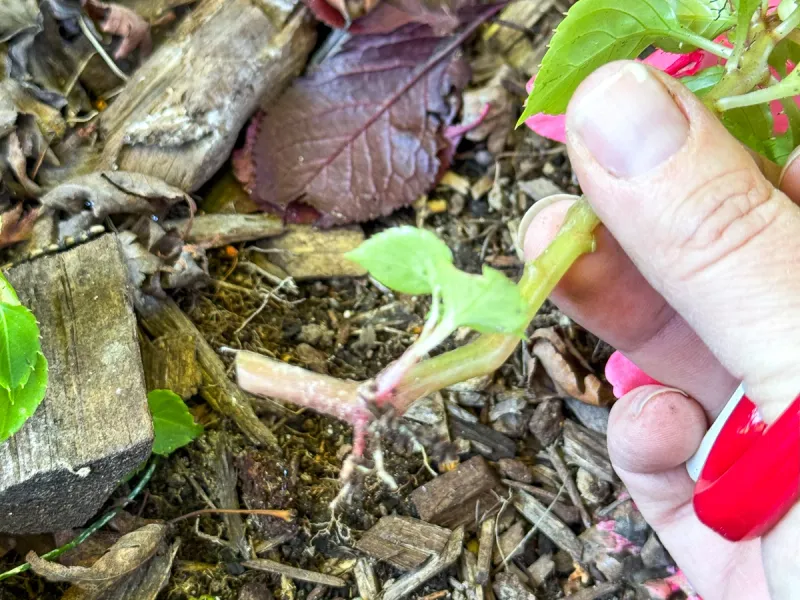
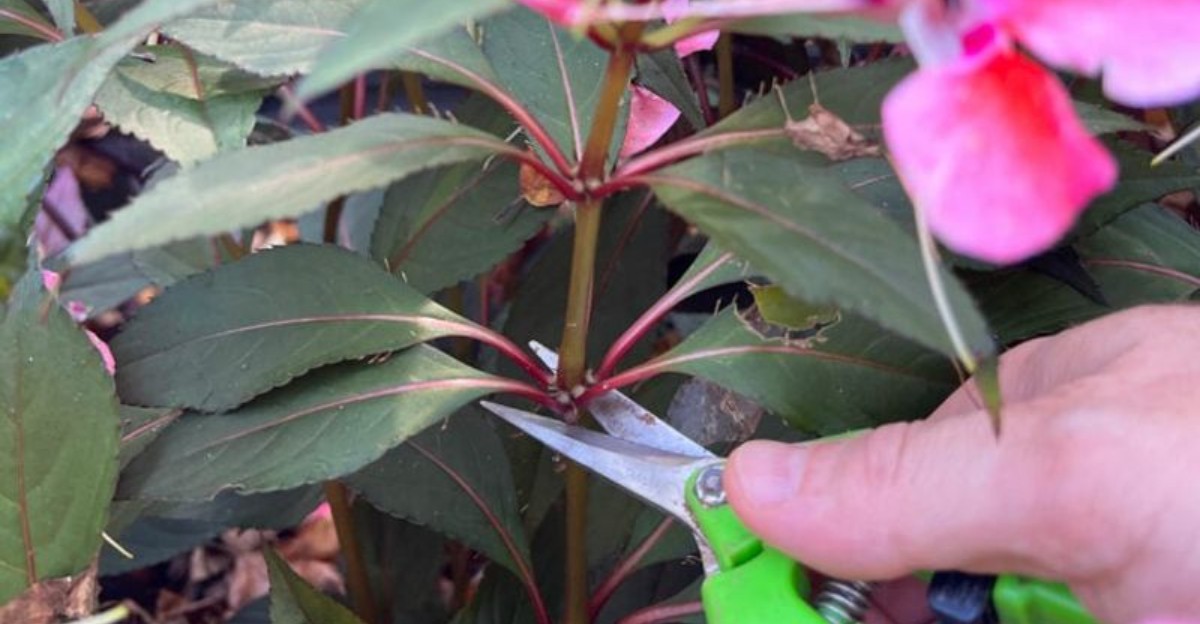
Picking the right stem is half the battle. Look for a sturdy, green shoot about 3 to 6 inches long with no flowers on it, if you can find one.
Wipe your scissors or pruners with rubbing alcohol first. Clean blades help keep fungus and bacteria out of fresh cuts. Then make a clean slice just below a leaf node, the little bump where leaves attach.
Why below a node? That spot is loaded with cells that can turn into roots. A cut in the middle of bare stem often leaves a stub that rots instead of sprouting.
Next, strip off the lower leaves so only two or three remain at the top. Pinch off any flowers or buds too. I know it feels a little sad, but blooms pull energy away from root growth.
Take more cuttings than you think you need. A few may fail, and extras make great gifts for friends. Morning is the best time to snip, since stems are full of water and less likely to wilt.
Drop each cutting into a cup of water right away while you work. Dry cut ends can seal over and slow rooting.
3. A Simple Glass of Water Can Root Impatiens Cuttings
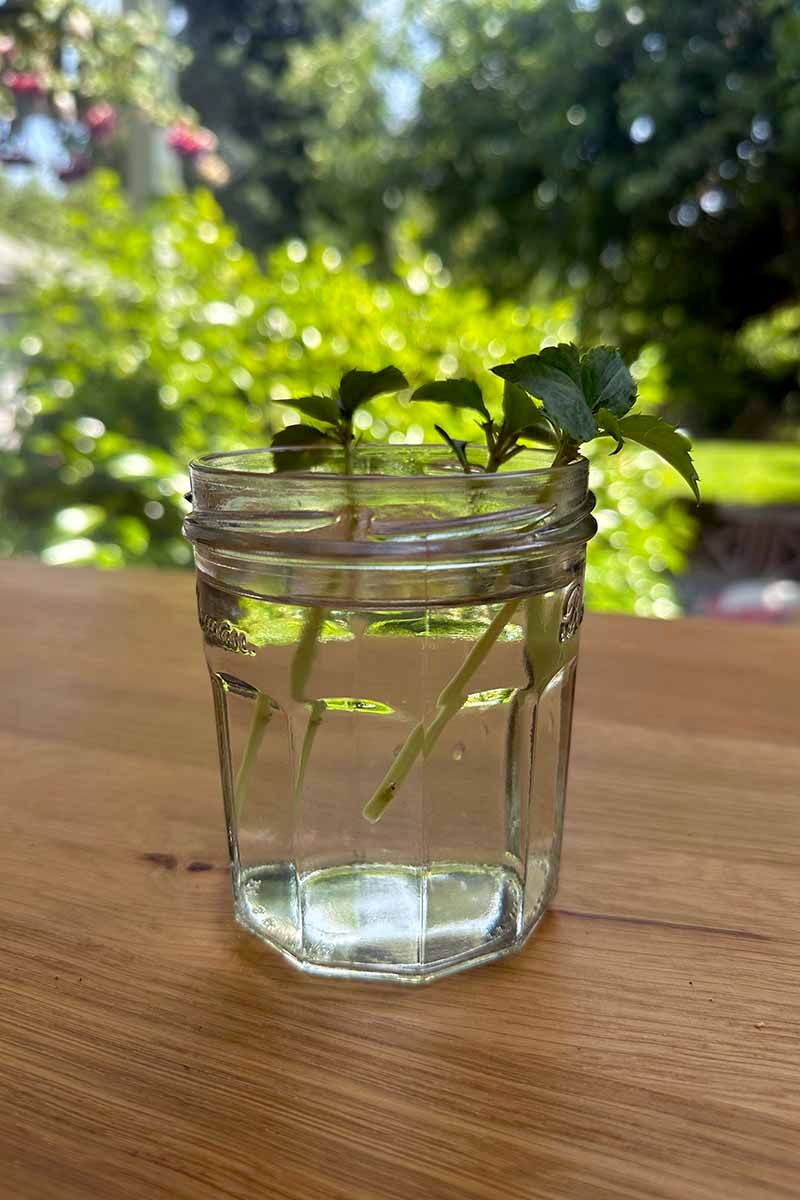
Honestly, this is my favorite method because you get a front-row seat. Impatiens are some of the easiest plants to root in water.
Grab a clear glass, jar, or old bottle. Fill it with room-temperature water and slide your cuttings in so the bare nodes sit underwater. Keep the leaves above the waterline, since soggy leaves turn slimy fast.
Set the glass in bright, indirect light. A north or east window works nicely, but harsh afternoon sun through glass can cook tender cuttings. Change the water every few days, or at least once a week, to keep it fresh and clear.
Within one to three weeks, tiny white roots usually appear. It feels a bit like magic every single time. Some gardeners in my circle keep a whole row of jars going all winter.
Fun fact: impatiens get their name from the Latin word for impatient. Their ripe seed pods burst open when touched, flinging seeds around, which is why some folks call them touch-me-nots.
That eager attitude shows up in rooting too. These plants clearly do not like to wait around.
4. Moist Potting Mix Gives Impatiens Cuttings a Sturdier Start
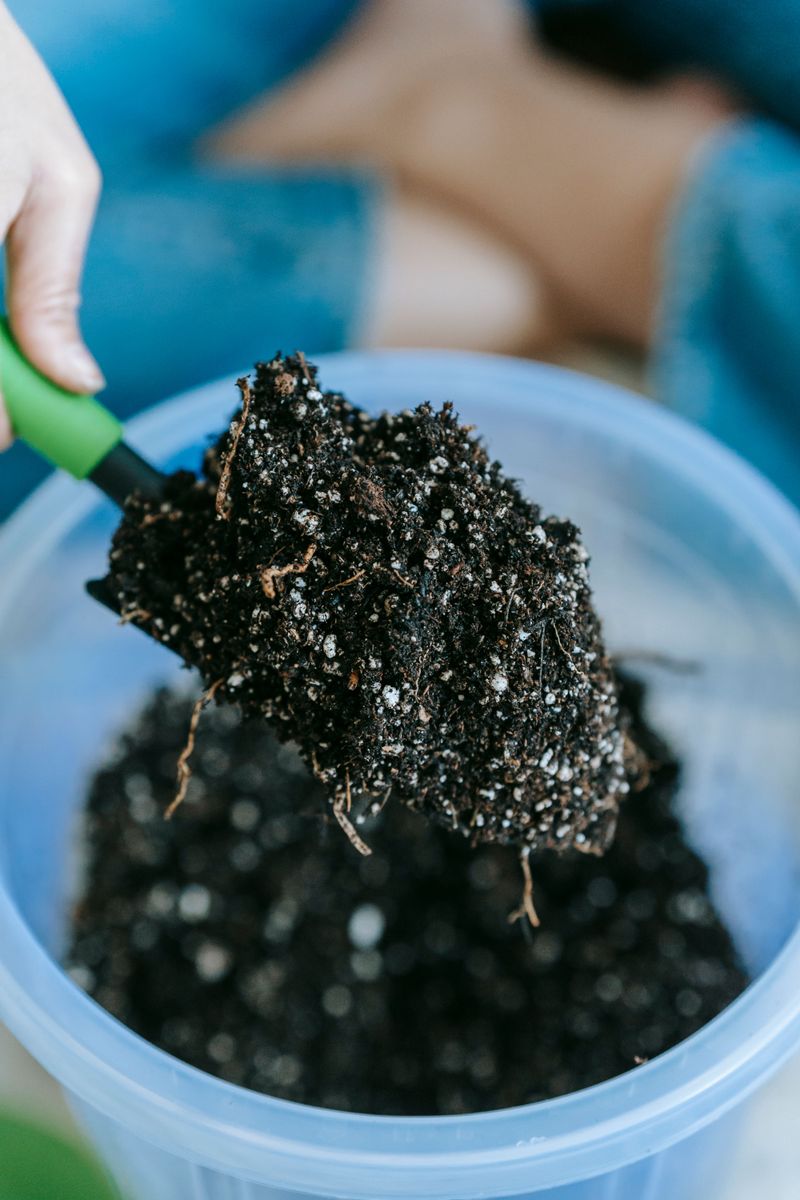
Prefer skipping the jar shuffle later? Rooting straight into soil saves a step, and roots grown in mix often handle transplanting a little better.
Use a light, well-draining blend. A good option is equal parts peat moss or coco coir with perlite. Regular garden dirt is too heavy and can hold disease, so leave that outside.
Moisten the mix until it feels like a wrung-out sponge. Poke a hole with a pencil, slide the cutting in so at least one node is buried, and firm the mix gently around it. Rooting hormone is optional for impatiens, though it may speed things along.
Humidity is your friend here. Cover the pot loosely with a clear plastic bag or a cut soda bottle to hold in moisture. Open it for a few minutes each day so air can move and mold stays away.
Keep the cuttings in bright, indirect light and warm temperatures, ideally in the 70s. Water only when the surface starts to dry.
After two to four weeks, give a very gentle tug. Slight resistance means roots have grabbed hold, and that is a happy moment.
5. Those Fuzzy White Impatiens Roots Tell You When to Pot Up
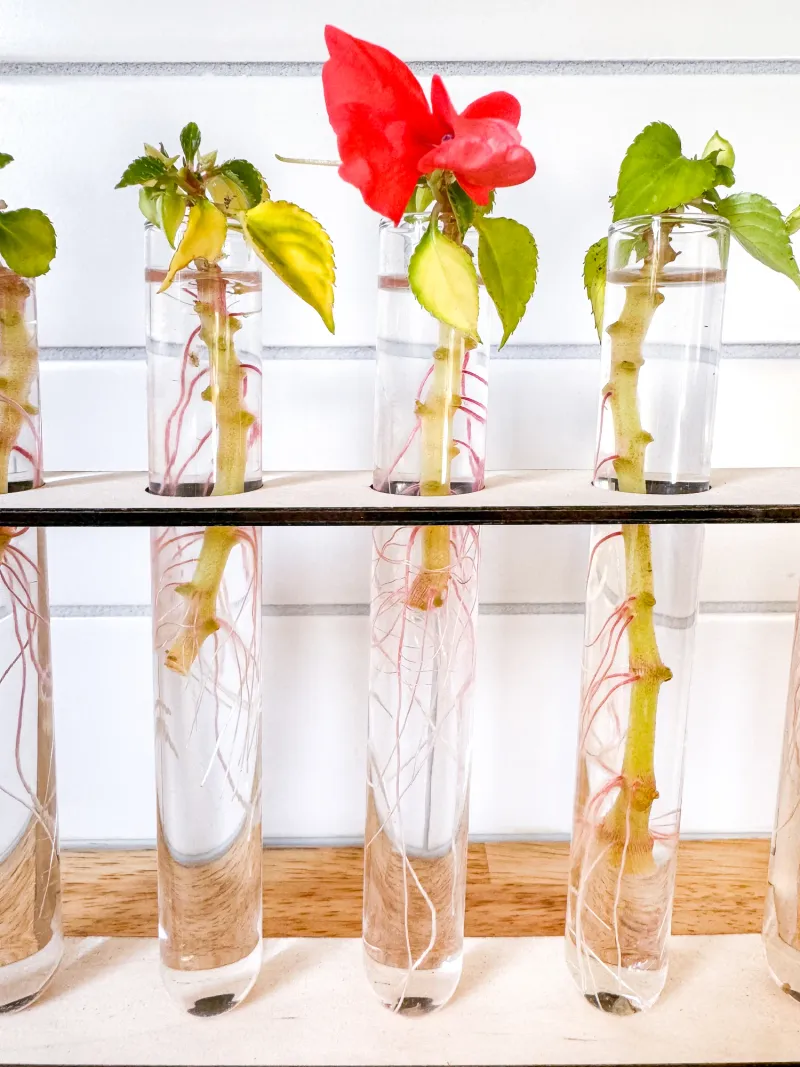
Patience pays off, even with a plant named for being impatient. Watching for root signs keeps you from moving cuttings too early.
For water-rooted stems, wait until roots reach about an inch long. Some growers like a small cluster of roots rather than one long strand. Short, stubby roots often struggle when shifted into soil.
Soil-rooted cuttings give quieter clues. Fresh new leaves at the tip are a great sign, and so is that gentle resistance when you tug. Roots peeking from the drainage hole mean it is definitely time.
Not every cutting cooperates, and that is okay. A stem that turns black, mushy, or smelly at the base has likely rotted. Toss it, rinse the jar, and move on with the others.
Brown, wilted leaves can mean too much direct sun or dry air. Yellowing lower leaves are often normal as the cutting shifts energy to roots.
I keep a little sticky note on each jar with the date I started it. That small habit helps me spot slow growers and learn which colors root fastest. It turns guesswork into something you can actually track.
6. Potted Impatiens Need a Bright, Warm Window All Winter
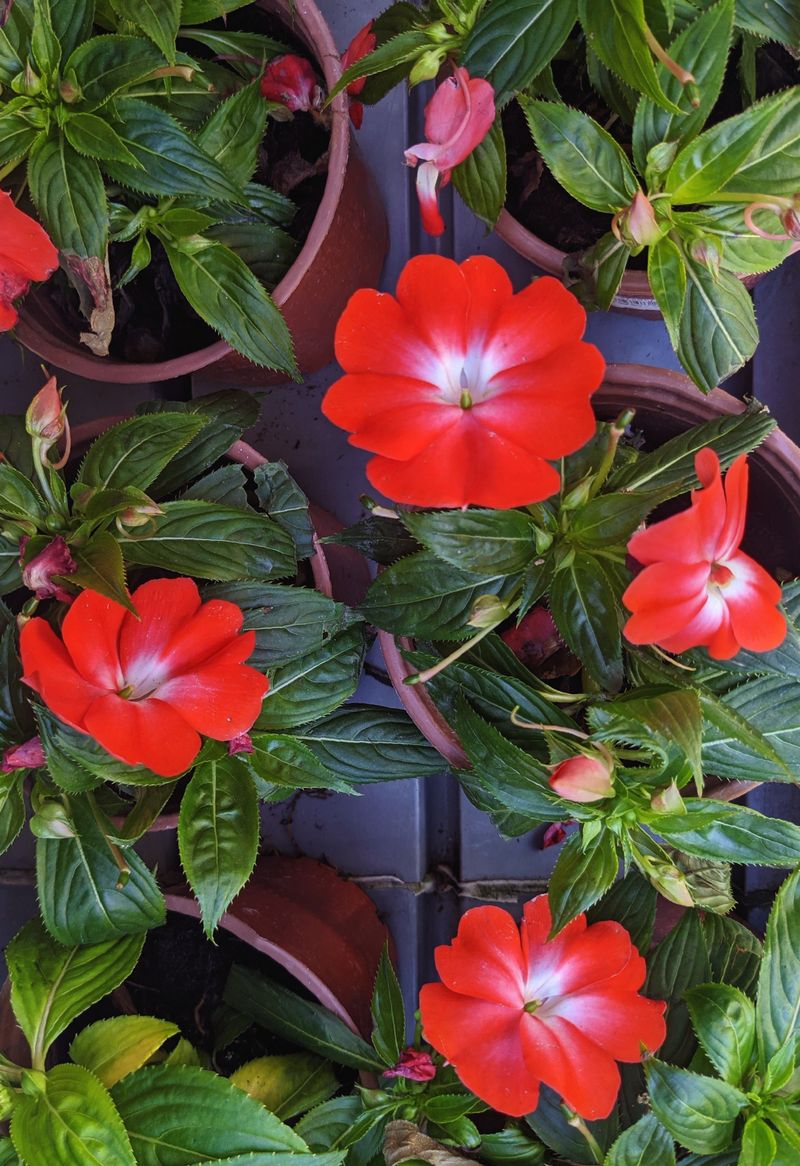
Moving day is exciting. Plant each rooted cutting into a small pot, about 4 inches wide, filled with fresh potting mix and good drainage holes.
Light is the biggest challenge indoors during short winter days. A bright east or south window works well, though you may need to pull plants back from hot glass. If stems get tall and floppy, they are reaching for more light.
An inexpensive LED grow light fixes that quickly. Run it 12 to 14 hours a day, a few inches above the plants. Your impatiens may even bloom a bit in January.
Keep temperatures above 55°F, and warmer is better. Avoid cold drafts from doors and blasts from heating vents. Dry indoor air can stress leaves, so a pebble tray with water nearby can help.
Water when the top of the soil feels dry. Soggy pots invite root rot, which is a common winter problem.
Go easy on fertilizer while growth is slow. A diluted dose once a month is plenty if plants are actively putting out leaves. Pinch growing tips occasionally to keep them bushy instead of leggy.
7. Check Impatiens Leaves for Hitchhiking Pests and Mildew First
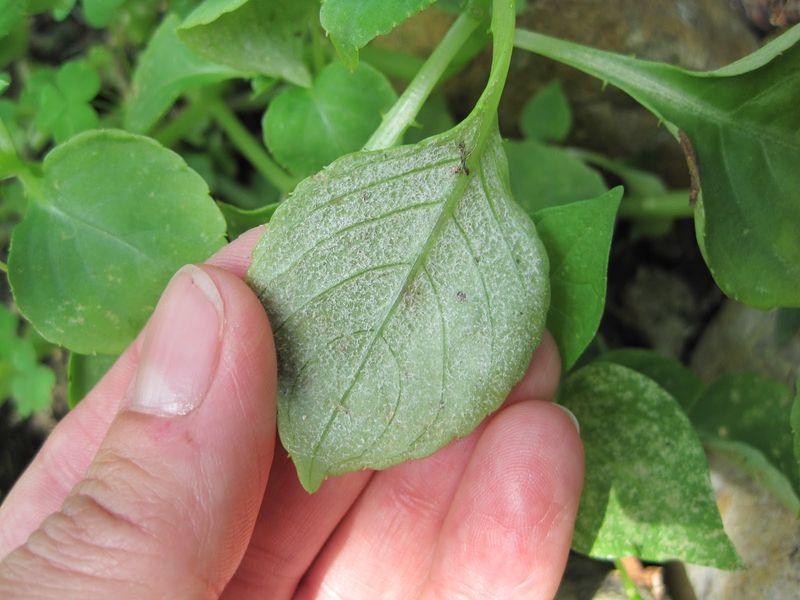
Nobody wants to invite aphids to winter dinner. Outdoor plants often carry tiny pests that explode once they hit warm indoor air.
Flip leaves over and look closely before bringing cuttings inside. Aphids, spider mites, whiteflies, and thrips like to hide on undersides. Fine webbing or speckled leaves often point to spider mites.
Rinse cuttings under lukewarm water before rooting them. For pests that stick around, insecticidal soap works well when used according to the label. Keep new plants away from other houseplants for a couple of weeks just in case.
Here is something many gardeners miss. Common garden impatiens, Impatiens walleriana, can get impatiens downy mildew, a disease that has caused trouble in the Southeast.
Watch for yellowish leaves with white, fuzzy growth underneath, plus dropping leaves and flowers. NC State Extension notes this disease spreads easily, so do not take cuttings from infected plants. Bag and remove sick plants instead of composting them.
New Guinea impatiens and newer types like Beacon and SunPatiens have strong resistance. If mildew wiped out your beds before, those are smart choices for cuttings. A careful check now saves you a lot of headaches later.
8. Spring Shade Beds Can Burst With Your Homegrown Impatiens
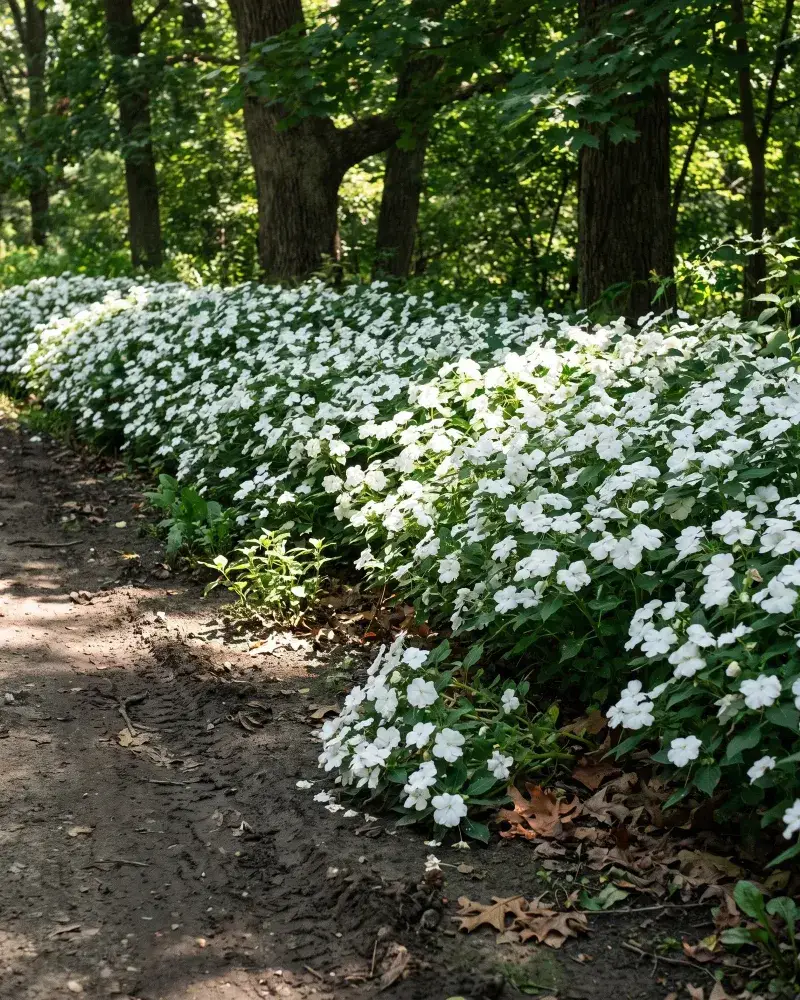
Spring feels different when your shade bed is already sitting on the windowsill. All that winter care turns into free color right when you need it.
Wait until frost danger has passed before planting outside. In much of the North Carolina Piedmont, that is usually mid-April to early May. Mountain gardeners often wait until mid-May, while coastal areas may plant earlier.
Impatiens also like warm soil, so do not rush them. Nights should stay above 50°F before they head outdoors for good.
Harden plants off first. Set them in a shady, sheltered spot outside for a few hours, then gradually leave them out longer over a week or so. This helps their leaves adjust to wind and sun.
Here is a bonus trick. Take fresh cuttings from your overwintered plants in March, and you can multiply one pot into a dozen. A handful of plants can easily become a full border.
Plant in rich, moist soil in partial to full shade, and water regularly during summer heat. Then, come fall, start the cycle again. I love that one smart habit can keep a favorite color going for years.