How To Save Tomato Seeds
I’m sure you’ll agree with me when I say that gardening is a pretty pricey practice once the growing season begins. Spending money on veggie seeds year after year makes us think if there’s any other, cheaper way.
I have great news! You can actually save the seeds of the plants you’ve just harvested. This might surprise you but this method works perfectly even on tomato plants.
It doesn’t require any special skill or equipment and you can do it even if this was your first tomato harvest.
This method won’t only save you some money but it will result in healthier and more robust tomato plants for the next season. And you know what that means; an abundance of plump and juicy tomatoes no one can resist!
Here’s how to save tomato seeds!
Choosing The Seeds To Save
First thing first, you can’t choose any tomato and start the seed-saving process. These veggies come in two types, open-pollinated and hybrid.
The term hybrid refers to the tomatoes that are the result of crossing two species to get a whole new plant. Some examples are the famous varieties Better Boy and Early Girl.
The essential thing to understand about hybrid varieties is that you won’t get the same plant as the one you’re taking the seeds of.
What you can get is either a clone of one of the parent plants or a whole new plant with a new mutation. No gardeners want to take this risk, which is the main reason why we want to save the seeds from open-pollinated varieties only.
These varieties rely on pollinators and some may even be self-pollinated. Once you save seeds from these varieties, the plants you get will be exactly the same, or with the same traits, to be more precise.
The best examples are heirloom varieties. These plants have been passed down from generation to generation and you can’t make a mistake if you choose any of these varieties.
Now the main question is how to differentiate between these two types of tomato plants. Let’s see.
Hybrid vs Open-pollinated Tomatoes
Unfortunately, you can’t determine which tomato type you have by just looking at the plant. The only thing that can help you is the seed package.
Seed companies mark the plant type in most cases. If they don’t, the easiest way to find out is by going to the website of the seed company online. To be honest, I haven’t seen any unlabeled packages yet.
Some of the most popular hybrid varieties are Sun Gold, Supertasty, and Midnight Snack, whereas Cherokee Purple and Black Krim are some of the best known heirloom varieties.
How To Save The Seeds
If you have some experience with saving the seeds of zucchini, cucumbers, or peppers, you likely know that all you need to do is take the seeds out and dry them.
Well, you can’t really employ this technique on your tomatoes. The essential step is to remove the gelatinous coating. This substance is found around the seeds and if you don’t get rid of it, you decrease the chances of successful seed germination the next year.
In the ‘wild’, once this veggie falls to the ground, the gelatinous coating rots and decomposes, just like the plant itself. The seeds then go through the natural process.
Well, we’re saving the seeds in a controlled environment so we can’t skip coating removal because it won’t disappear on its own.
So, how to do it? The only way is to ferment the seeds. Don’t worry, this isn’t as complicated as it seems.
How To Ferment The Seeds
The seed fermentation process has three steps so let’s look at each separately.
Choose The Best Tomato
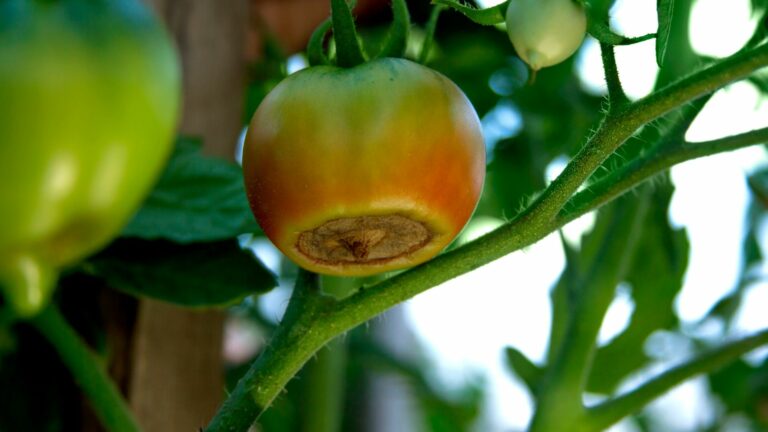
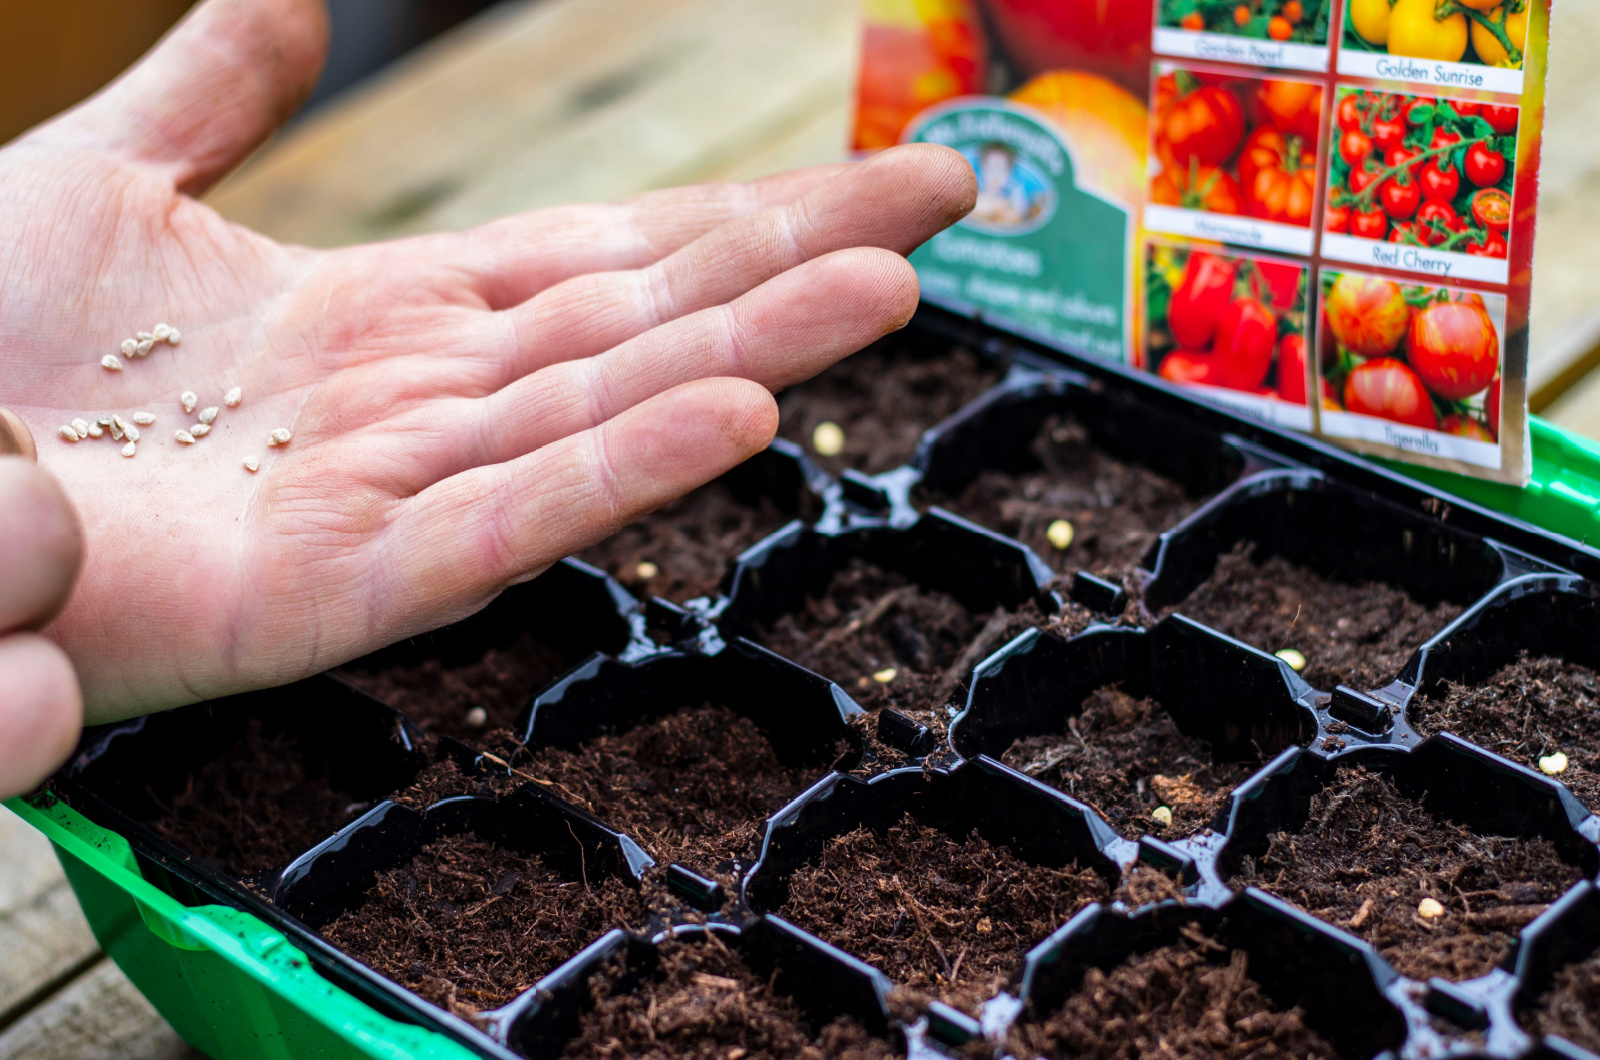
You should start by selecting the perfect plant; the seeds should be viable and strong. What does this mean? Select a large and ripe tomato fruit; look for the healthiest plant but make sure it’s not a hybrid!
After you choose the best fruit, things get way easier. The healthiest plants basically have the best genetics so your future plants will keep these traits and characteristics.
Make A Fermentation Jar
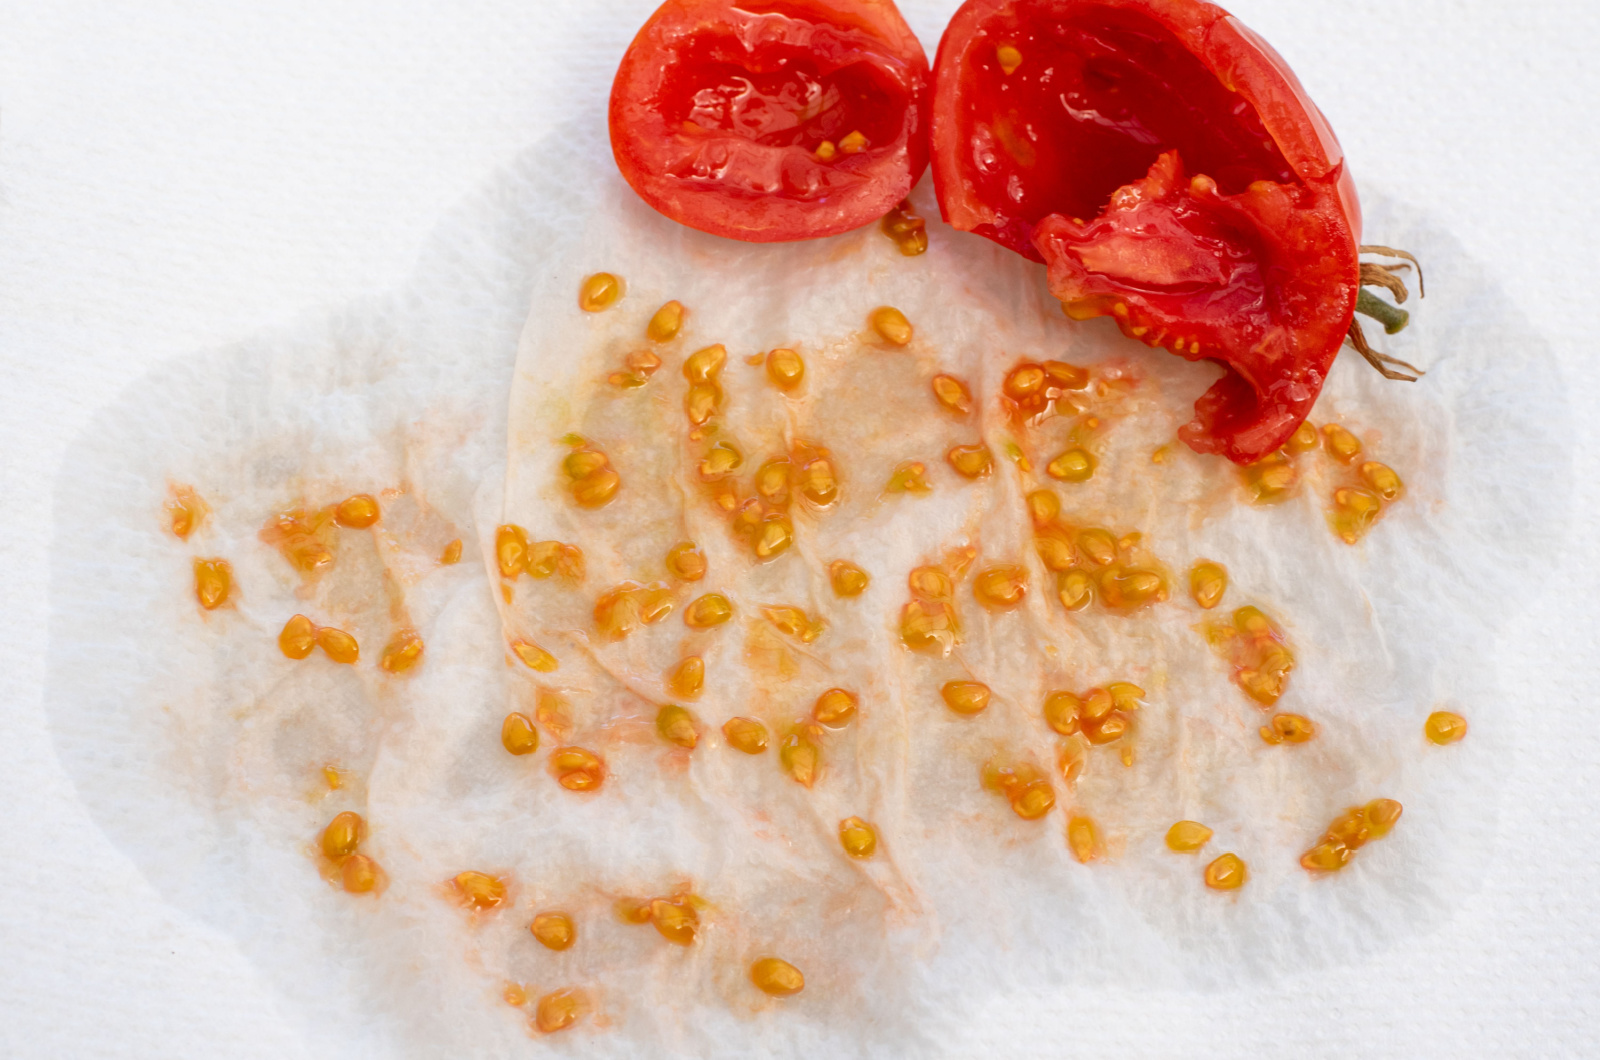
The next thing you need to do is cut the fruit in half so that you can clearly see the seeds and jelly-like coating around them.
Now, you should take it all out; the easiest way is to scoop it out using a spoon. Transfer the seeds along with the surrounding substance into a mason jar.
Don’t let any seeds stay in the fruits; never discard the rest of the fruits but rather enjoy their heavenly taste.
You need to cover the jar; cheesecloth or paper towel both work well for this purpose. Place the cover and secure everything with a rubber band. Technically, you can leave the jar open but fruit flies may come by and that’s the last thing we want.
We use porous materials as covers because the fermentation process requires good air circulation.
Take the jar to a warm spot with bright indirect light. An unpleasant smell will start spreading in a matter of days, so it would be best to keep the jar in a room where there’s no traffic. Do not uncover the jar for the next few days.
The coating typically takes about a week to decompose, at which point you should see a layer of white or green mold on the seeds. It may look like something is wrong, but this color and texture are exactly what we want to achieve.
Wash And Rinse
White or green colors are the signal that you need to take everything out and wash and rinse it well.
The process is simple; pour some water into the jar and shake gently. Here comes the magical part. The healthy, i.e. vital tomato seeds, will settle at the bottom of the container whereas the spoiled ones will remain on the surface.
Pour out the water along with the spoiled seeds and repeat the process a few times until the seeds are entirely clean.
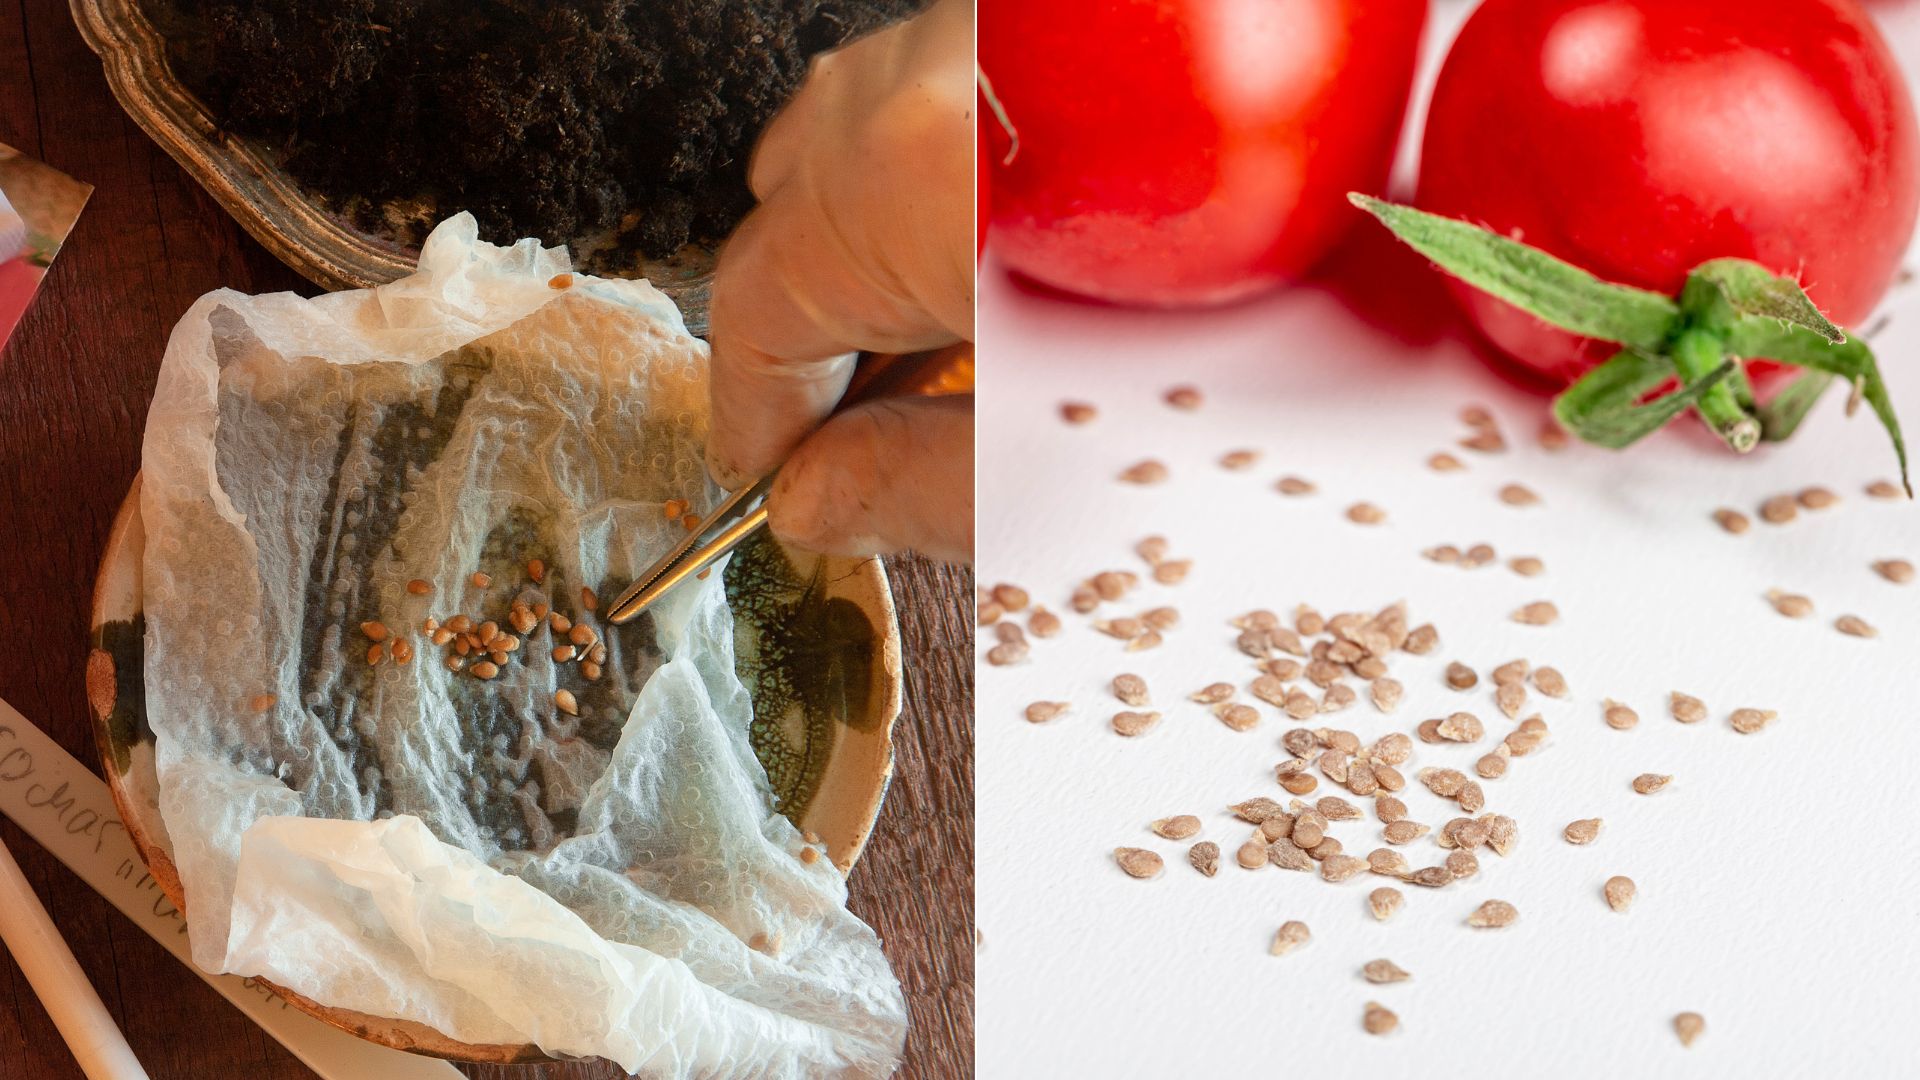
The next step is to dry the seeds by laying them on a paper towel and leaving them undisturbed for a few days.
Check them after a couple of days and make sure they’re fully dry because if some are wet they could spoil after you store them.
Finally, the storing time has come! You can use a jar with a lid, a sealed plastic bag, or an envelope. Make sure to mark the date and the variety and put the seeds in a dark, cool, and well-ventilated area.
That’s it! As soon as spring arrives, you can start with the germination process and enjoy many healthy tomato plants in no time!