How To Store Dahlia Tubers So They Don’t Rot In An Ohio Basement
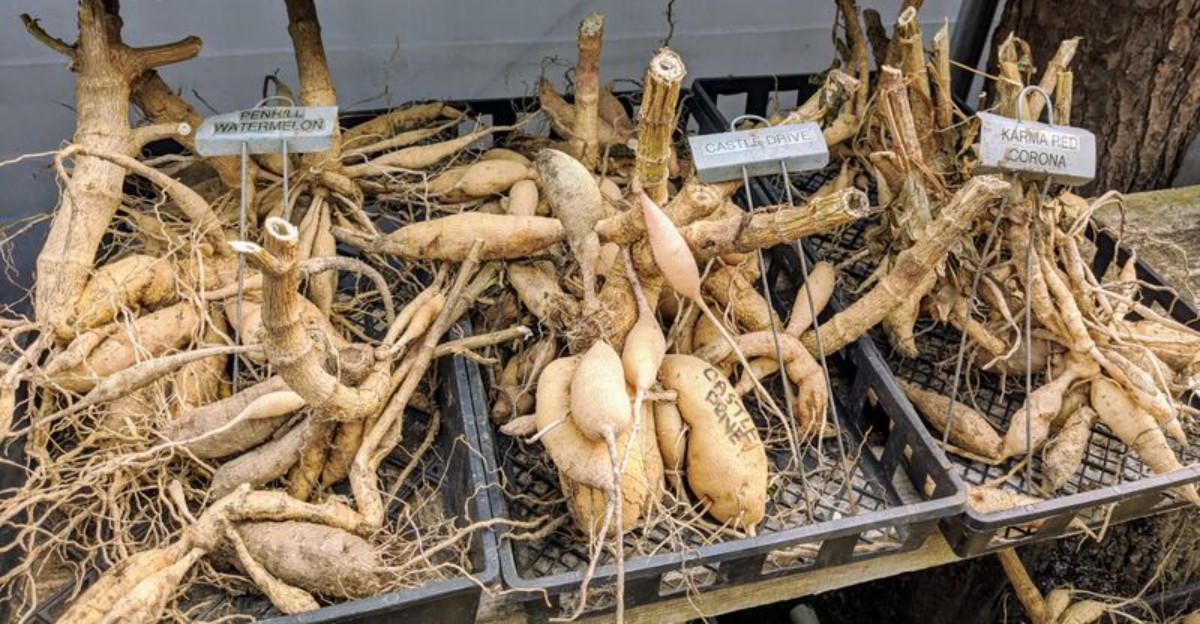
Dig up a dahlia tuber in spring and find a soft, moldy lump, and you’ll know how a whole season of blooms goes down the drain.
Ohio basements look like the perfect hideout for these tubers. Cool, dark, out of the way.
Yet plenty of gardeners open the box in April to a sad mess of mush and fuzz, and the culprit usually sits in a detail they never gave a second thought.
Moisture, air, and the material packed around each tuber all play a part. Tip one of them the wrong way and rot moves in fast.
Sort out your storage plan before the tubers come out of the ground. Get it right once and next summer’s flowers are practically in the bank.
1. Wait For Frost To Blacken The Foliage
Patience feels hard when the forecast turns chilly and your flower bed looks tired. Still, the plant has one more job to finish before you grab a shovel.
When the first hard frost hits, the leaves turn black or brown almost overnight. It looks sad, but that dark foliage is a helpful signal from nature.
During those last cool weeks, the plant pulls sugars and starches down into its roots. Those stored foods act like a packed lunch that carries the tubers through a long winter.
Dig too early, and you may end up with soft, immature tubers with thin skins. Those weak spots invite mold and rot once they sit in a damp basement.
In most of Ohio, the first hard frost arrives between early October and early November. Counties near Lake Erie often see it a bit later because the big lake holds summer warmth.
Keep an eye on your weather app and look for nights dipping to about 28 degrees. A light frost may only nip the top leaves, so wait until most of the plant darkens.
Fun fact: dahlias come from the mountains of Mexico, where hard frost is rare. That history explains why they wilt so dramatically the moment Ohio cold shows up.
2. Cut The Stems And Let Tubers Cure In The Ground
Picture a fresh potato from the store compared to one that sat in the garden a while. The older one has tougher skin, and that toughness is exactly what your tubers need.
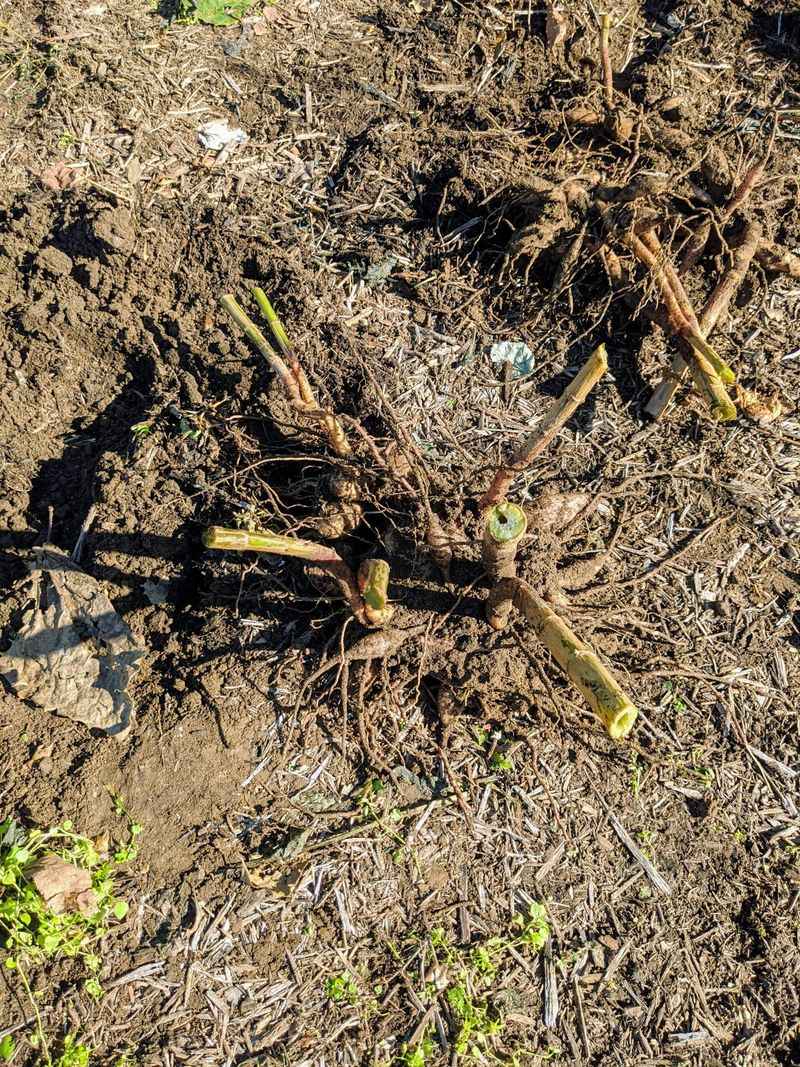
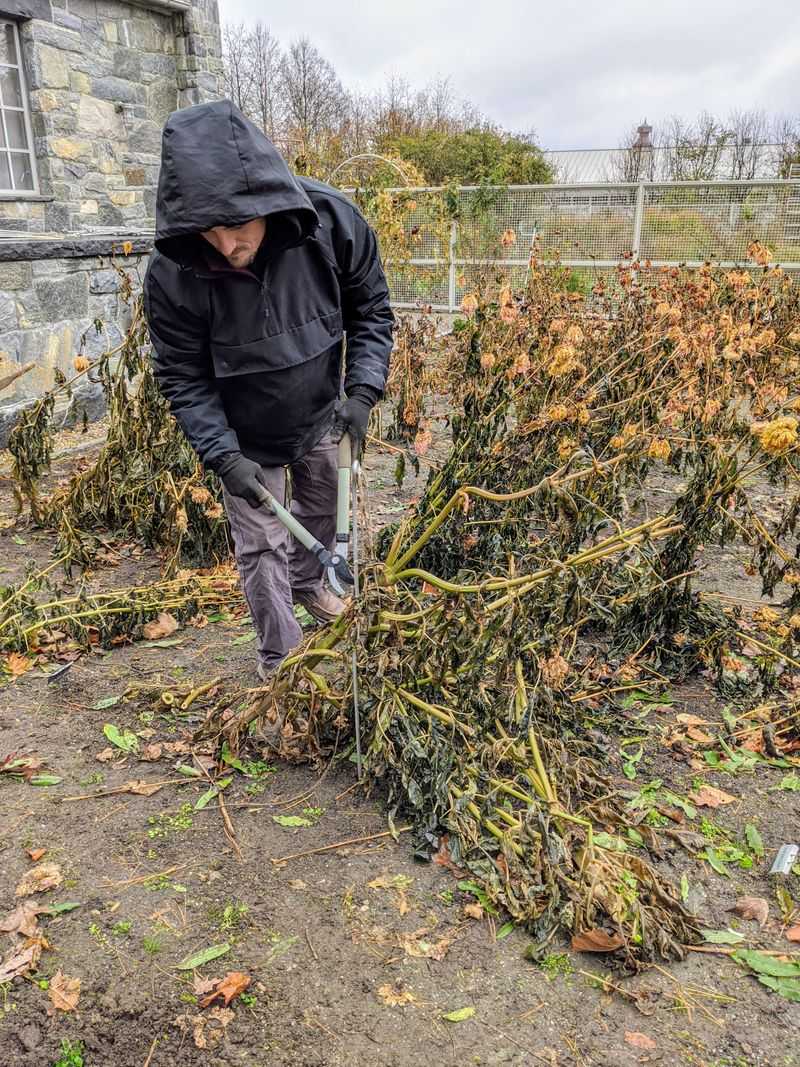
Once frost darkens the plant, take sharp pruners and cut the stalks down to about 3 to 6 inches. Leave a little stub so you can find the plant again later.
Next comes the easy part, which is doing nothing at all for one to two weeks. Gardeners call this resting time curing in the ground.
While the clumps sit in cool soil, their skins thicken and their moisture levels settle down. That firmer outer layer works like a raincoat against decay during storage.
Freshly dug tubers have thin, delicate skin that bruises and dries out fast. A short wait outdoors helps them handle months in a box without trouble.
One handy tip is to cover the cut stalks with foil or a small cup. Hollow stems can collect rainwater, and that water may trickle down toward the crown.
Your Ohio Garden Changes Every Week. Your Plan Should Too.
Gardening in Ohio changes quickly throughout the season. Every Friday you’ll receive a simple weekly plan showing exactly what to plant, prune, fertilize, harvest, and protect so you never miss the right timing.
Also, tie a plant tag to each stub before the leaves blow away. Come spring, you will be glad you know which clump grows red blooms and which grows pink.
3. Dig By Early November If Frost Holds Off
Some Ohio autumns feel stuck on repeat, with mild days rolling on and on. When frost seems to take a vacation, you can nudge the plant into its winter rest yourself.
Cut the stalks to about six inches above the soil around late October or early November. Then wait roughly ten days so the skins can start toughening up.
The main goal is to lift everything before the ground freezes solid. Frozen tubers turn to mush, and there is no fixing them once that happens.
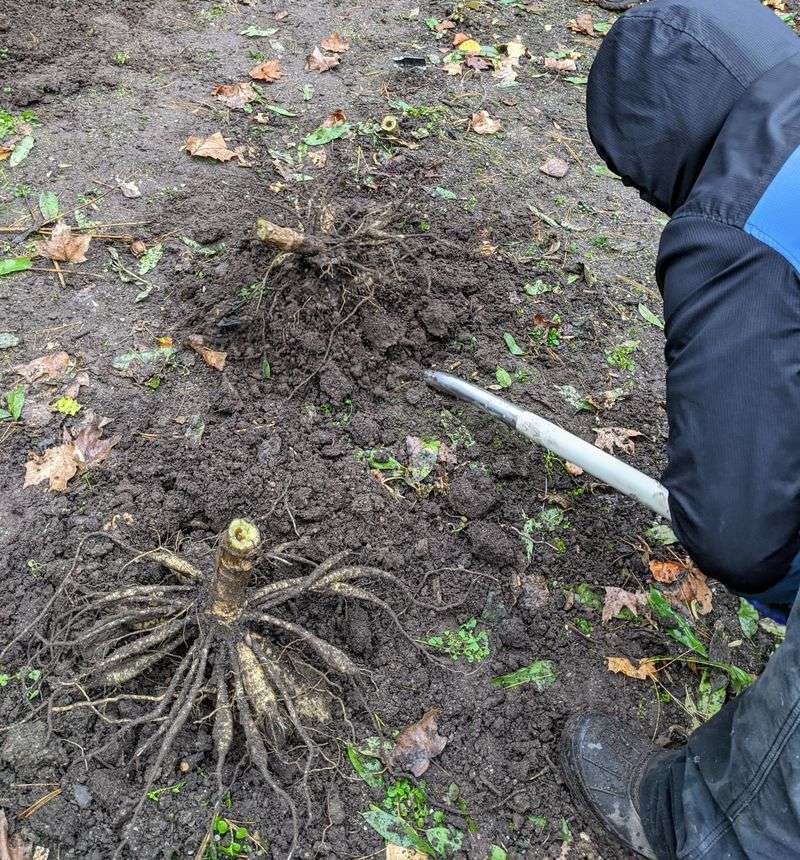
For digging, a pitchfork usually works better than a sharp spade. Start about a foot away from the main stalk and work in a wide circle.
Gently rock the fork back and forth to loosen the soil. Then lift the whole clump from underneath instead of yanking it up by the stem.
The thin neck connecting each tuber to the crown snaps easily, almost like a breadstick. A tuber with a broken neck usually cannot sprout, so slow and steady wins here.
Heavy clay soil, common across much of Ohio, can cling tightly to the roots. If the ground is soggy after rain, wait a day or two so the clumps come up cleaner and easier.
4. Wash Off The Soil And Let The Clumps Dry
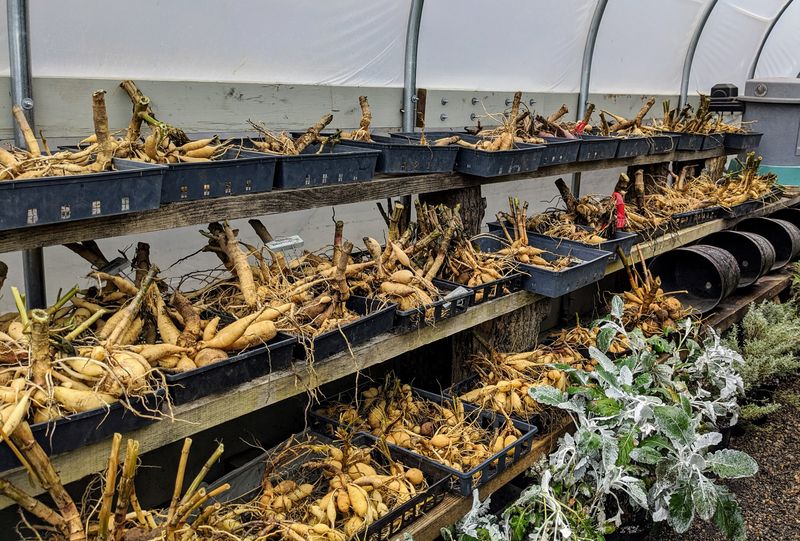
Mud might look harmless, but it can carry tiny fungi and bacteria. Those hitchhikers love to party in a dark basement all winter long.
Grab a garden hose and spray each clump with a gentle stream of water. Work the dirt out from between the tubers without blasting so hard that you scrape the skin.
A clean clump also lets you spot damage, bugs, or soft areas much more easily. Think of it as giving your tubers a checkup before their long nap.
After washing, set the clumps upside down so water drains out of the hollow stems. A wire rack, an old window screen, or a few layers of newspaper all work fine.
Choose a cool, shaded spot with good airflow, like a garage or covered porch. Direct sunlight can scorch the skins, so keep them out of bright rays.
Let them dry for at least one or two days, and sometimes up to a week. Watch for the skin to wrinkle just a tiny bit, which means extra moisture has left.
If a hard freeze is forecast, bring the clumps inside overnight. Ohio garages can drop below freezing fast in late November.
5. Toss Any Tuber That Feels Mushy
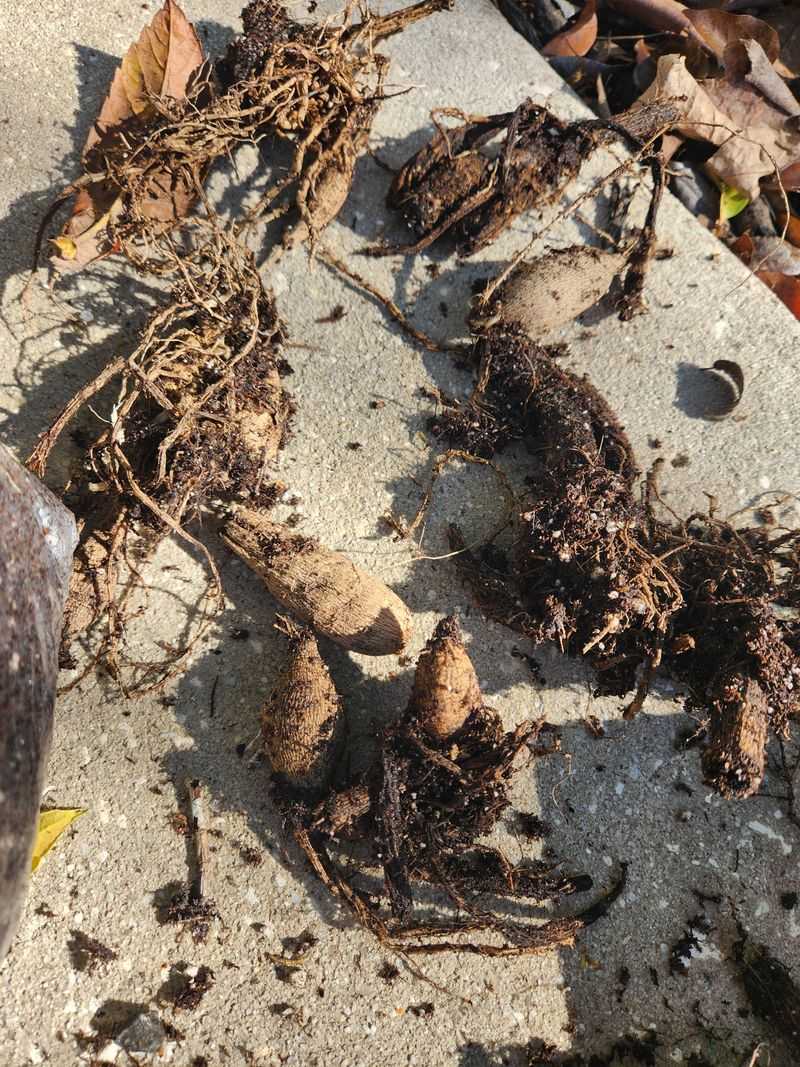
Here is a quick test that anyone can master in about five seconds. Give each tuber a gentle squeeze, just like checking a potato at the grocery store.
A healthy tuber feels firm and solid in your hand. A bad one feels soft, squishy, or even a little wet.
Toss anything that oozes, smells sour, or shows dark, sunken patches. Rot spreads like gossip in a small town, so one bad tuber can spoil the whole box.
Pay close attention to the crown, which is the spot where the stem meets the tubers. If it crumbles or looks dark, that section may not sprout next spring.
Small soft spots can sometimes be saved with a little surgery. Use a sharp knife wiped with rubbing alcohol and trim back to clean, white flesh.
Let the cut surface dry for about 24 hours before storing. A callus will form over the wound and help seal out germs.
However, if rot has reached the neck or crown, it is wiser to let that piece go. Tossing it into the trash instead of the compost pile keeps fungus away from next year’s garden.
6. Pack Tubers In Peat Moss, Vermiculite Or Wood Shavings
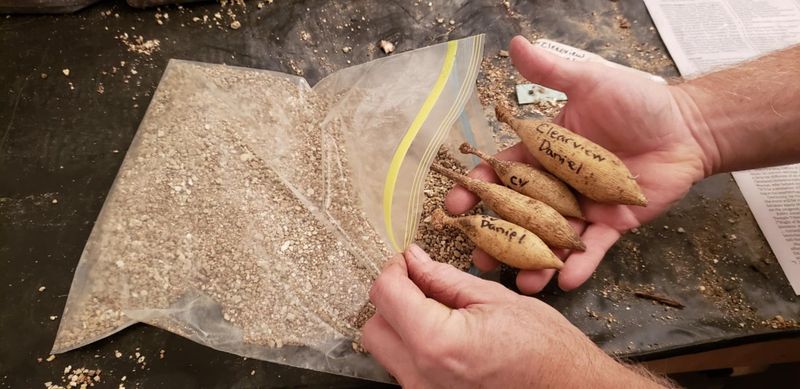
Imagine trying to sleep all winter in a soggy sleeping bag. Your tubers feel the same way, which is why the right bedding matters so much.
Peat moss, vermiculite, and wood shavings are the three favorite choices among growers. Each one helps balance moisture and airflow so the tubers stay plump without getting wet.
Pine shavings, sold as pet bedding, are cheap, clean, and full of tiny air pockets. Just make sure they are not bone dry, or they may pull moisture from the tubers.
Vermiculite is light and fluffy, and it lets air move around freely. It works well in basements that feel a bit damp.
Peat moss holds lots of water, so it suits drier spaces best. Be sure tubers are fully dry before you tuck them in, or they could stay too moist.
For containers, try plastic bins, cardboard boxes, or wooden crates. Poke a few holes in plastic lids so humid air can escape.
Cardboard and wood can wick moisture away, so lining them with newspaper helps. Label every box with variety names and the date, because winter memory gets fuzzy by April.
7. Keep The Tubers From Touching
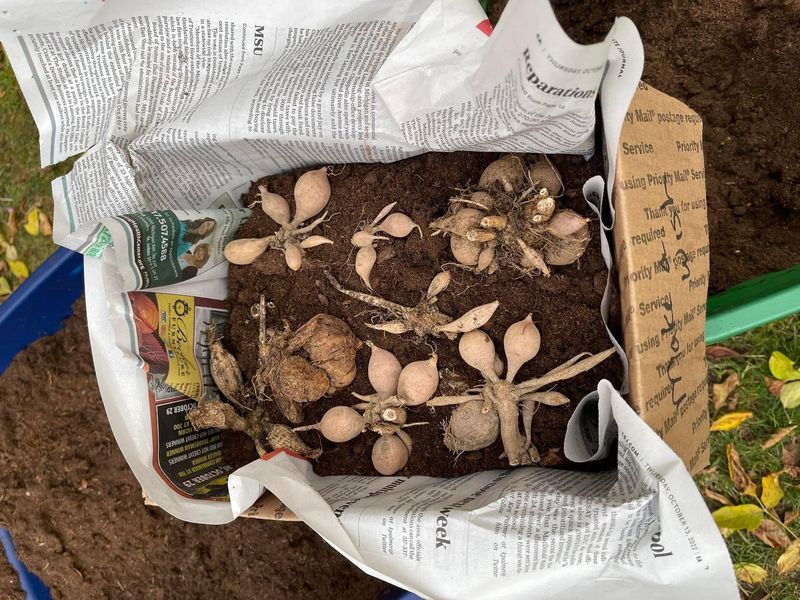
Ever had one moldy strawberry ruin the whole carton? Tubers act the same way when they snuggle up too close in storage.
If one starts to rot, it can quickly pass the problem to its neighbors. A little space between each piece acts like a firewall against trouble.
Start with a few inches of packing material on the bottom of your container. Lay down a single row of tubers, leaving gaps so none of them bump together.
Cover that row with more material until the tubers disappear. Then repeat the pattern, building layers like a lasagna until the box is nearly full.
Some gardeners take a different route and wrap each tuber in plastic wrap. The tight seal holds in moisture and keeps every piece in its own private bubble.
Wrapped tubers take up less room, which helps if your basement shelves are crowded. Still, make sure each one is dry and healthy before wrapping, since trapped moisture can cause rot.
Whichever method you pick, avoid stacking boxes too high. Heavy layers can squash the bottom tubers and bruise their delicate skins.
8. Aim For A Basement Between 40 And 50 Degrees
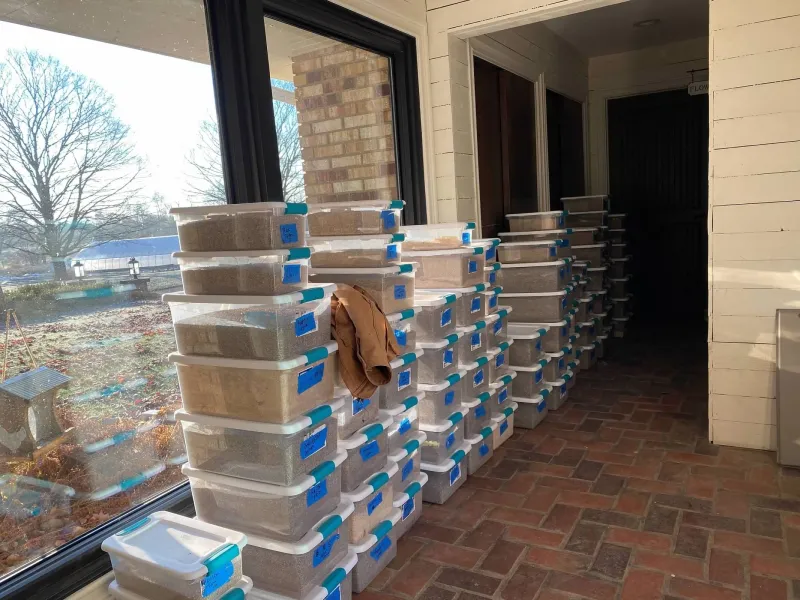
Think of the perfect storage spot as a chilly cave, not a cozy den. Tubers rest best when the air stays between 40 and 50 degrees Fahrenheit.
Many Ohio basements land right in that sweet spot, especially along outside walls. Spaces near the furnace or water heater often run far too warm.
Above about 50 degrees, tubers may sprout early or shrivel up like raisins. Below 32 degrees, they freeze and turn to mush.
Moisture matters just as much as temperature. Aim for humidity around 70 to 90 percent, which keeps tubers firm without making them soggy.
A cheap digital thermometer with a humidity reader costs only a few dollars. Set one near your boxes and check it during cold snaps.
If your basement feels dry, lightly mist the packing material or set a bowl of water nearby. If it feels damp and musty, a small fan can keep air moving.
Here is a fun bit of history: root cellars were common on Ohio farms long before refrigerators arrived. Families stored potatoes, carrots, and apples at nearly the same temperatures your tubers enjoy today.
9. Check Stored Tubers Once A Month
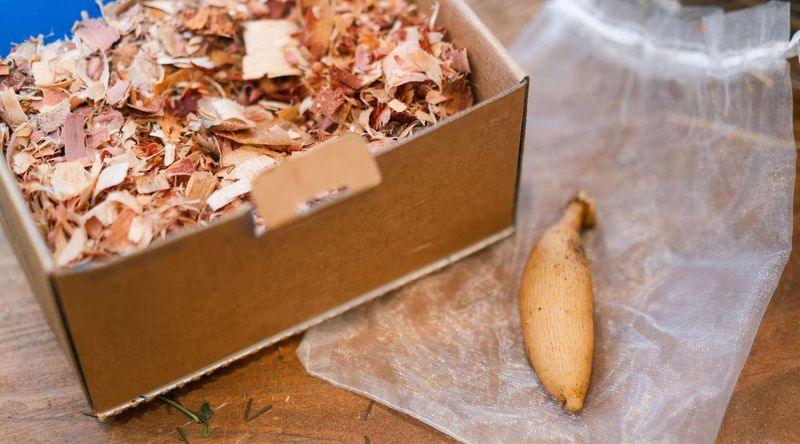
Set a reminder on your phone for the first Saturday of every month. A quick basement visit can save a whole season of blooms.
Open each box and gently dig around with your fingers. Look for mold, mushy spots, or tubers that look wrinkled and shrunken.
Pull out any rotting pieces right away so the trouble cannot spread. A little white fuzz on the surface can often be wiped off and dusted with cinnamon.
Shriveled tubers are thirsty, so lightly mist the packing material with a spray bottle. Just a few spritzes will do, since soaking them invites rot.
On the flip side, water droplets inside the lid mean the box is too humid. Prop the lid open for a day or two so extra moisture can escape.
By March, you might notice tiny pink or white eyes starting to swell. That is a sign your tubers are waking up and ready for spring.
Most Ohio gardeners plant in mid to late May, after the last frost passes. With steady monthly checks, you can greet that day with a box full of firm, healthy tubers.