How To Winter Sow Seeds In 7 Beginner-Friendly Steps

Everyone is sad once the festive season is over, except for gardeners who are looking forward to the new growing season!
The great news is that you can start prepping for the season as soon as January arrives. Winter sowing is an excellent and cost-effective method with a high success rate.
It doesn’t require any special skill and the tools needed are typically found in every household.
In this article, I’ll show you how to winter sow seeds in a few easy steps.
Let’s get started!
Why Winter Sow The Seeds?
This method is probably the most attractive to impatient gardeners who can’t wait for the new season to begin. But this isn’t the only benefit.
One of the major advantages of this method is that the seedlings are hardier and adapt easier after transplantation.
You’ll winter sow the seeds outdoors so you can skip the hardening off method, which saves time and effort.
Damping off typically doesn’t affect the seedlings, as is commonly the case with indoor started seeds.
Another great thing is that your seedlings will get enough sun and they won’t become leggy.
With this method, you’ll save your indoor space and your seeds won’t be washed away or eaten by wildlife.
There’s no need to stratify the seeds in the fridge and seeds are way cheaper than transplants.
When To Start
You should sow the seeds approximately 2 months before you intend to transplant the seedlings.
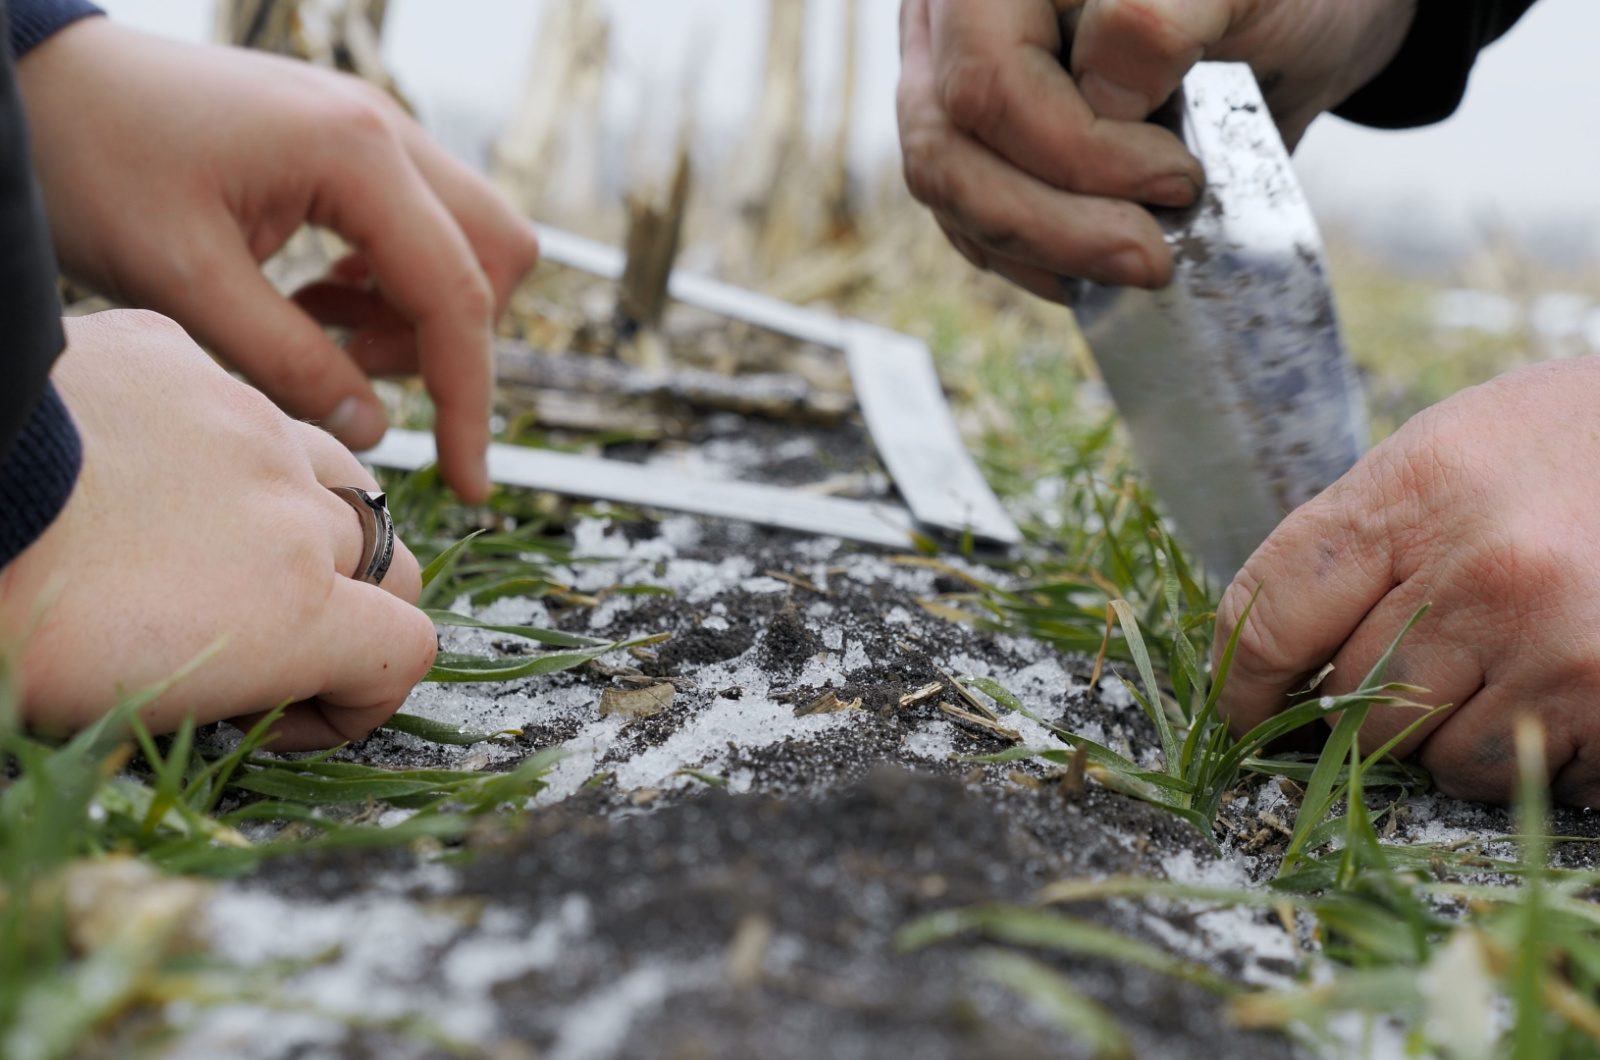
As soon as the freezing temperatures begin, you can start winter sowing. If you’re planting seeds that typically need cold stratification, you can start them earlier.
Don’t plant too early because the seeds could germinate and that’s not something you want at this point.
The time for transplantation is basically the same as for store-bought seedlings or ones started indoors.
What To Prepare
As mentioned, you don’t need any special tools for this method. You can use different containers you already have at home.
Standard potting mix works well for this purpose.
Apart from potting mix and containers, you also need ziplock bags, a sharp knife, water, seeds, and a screwdriver (for making holes).
Now let’s see the steps!
1. Select The Seeds
The first step, of course, is to select the seeds of your favorite plants. Even though many claim that only cold-hardy plants survive these conditions, that’s not the case and you can sow the seeds of almost every plant.
Plants such as broccoli or other brassicas will adapt easier because they’re already fans of cooler weather.
Remember that you’ll create greenhouse conditions and the seeds will germinate only when temperatures rise.
If you plan to start the seeds of tender annuals and your region experiences sudden temperature changes, I highly recommend sowing the seeds later.
Lettuce, kale, and hardy perennials are also great choices for winter sowing. Lupines, hollyhocks, and delphiniums are other top choices.
2. Prepare Your Planters

As mentioned, you can use different containers, but make sure they are clear so that the light can reach the seeds.
When choosing your containers, make sure there is enough space for the roots; make sure it can fit about 3-4 inches of potting soil.
You should also have containers with drainage holes; you can drill or cut them yourself if you don’t have any.
Clear milk jugs are typically used for winter sowing and you should leave the caps on them.
Plastic ziploc bags, restaurant containers (with lids), or soda bottles are other options.
3. Fill And Plant
There’s no need to spend a fortune on potting soils; the standard one will work just as well as the store-bought seed starting mix.
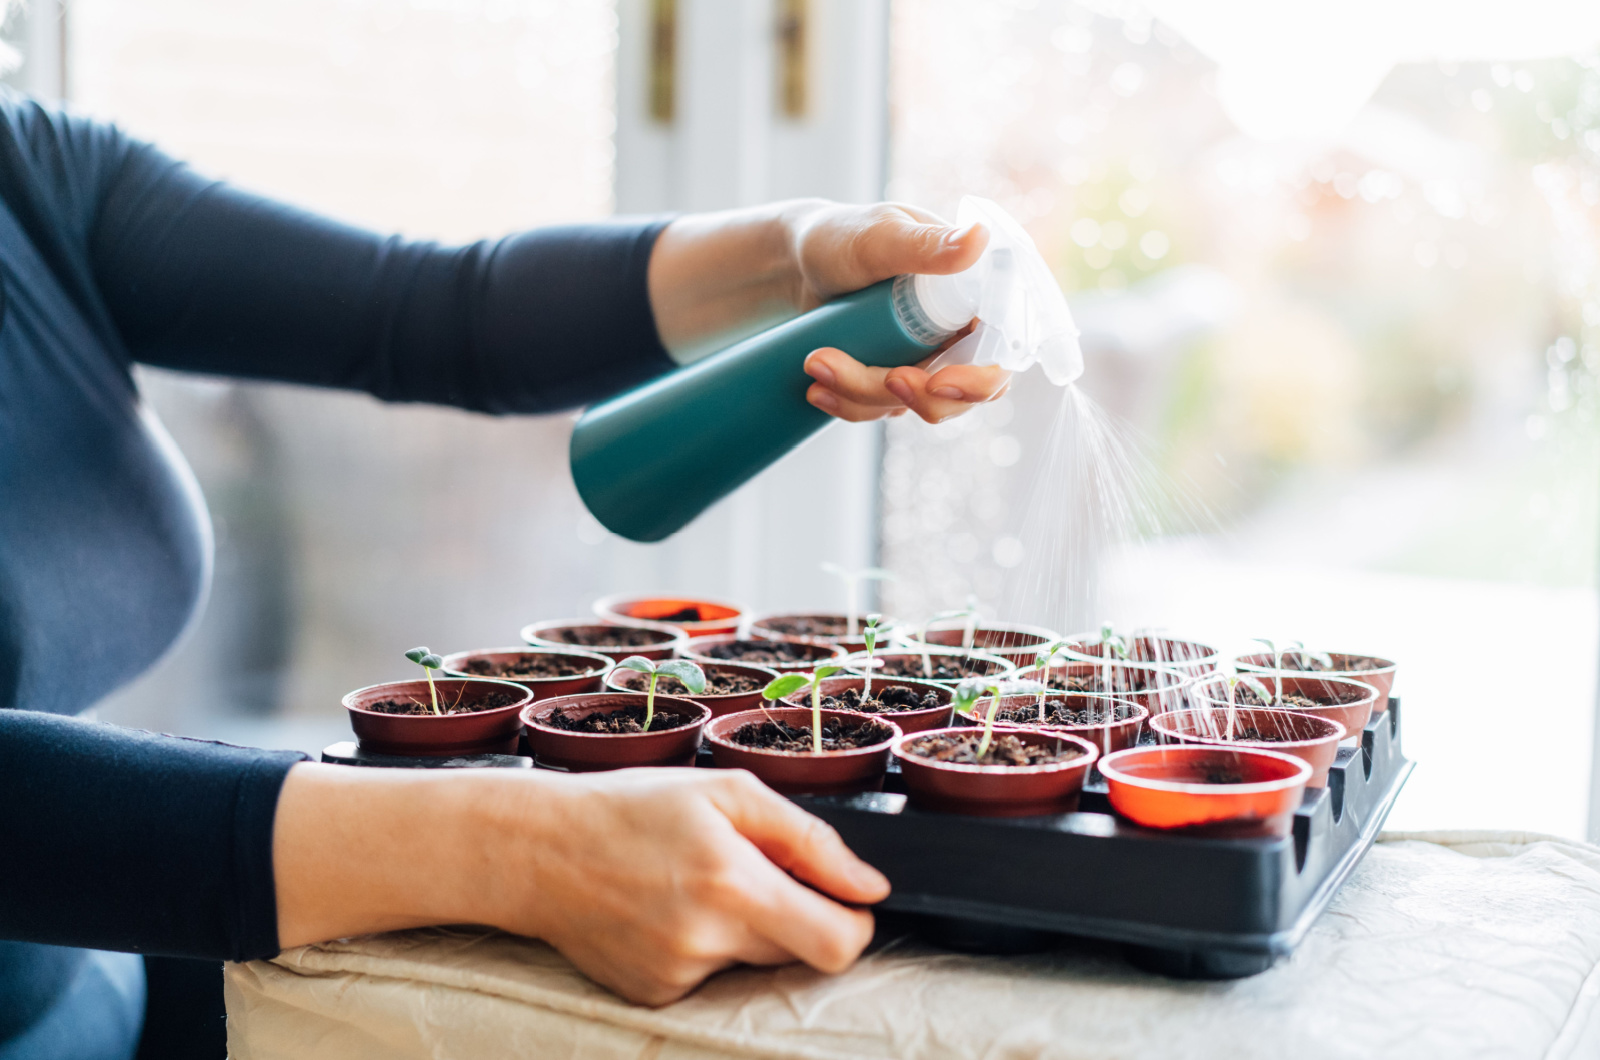
Take your containers and fill them with 3-4 inches of the growing substrate. Mist the substrate but make sure it never gets soggy and waterlogged.
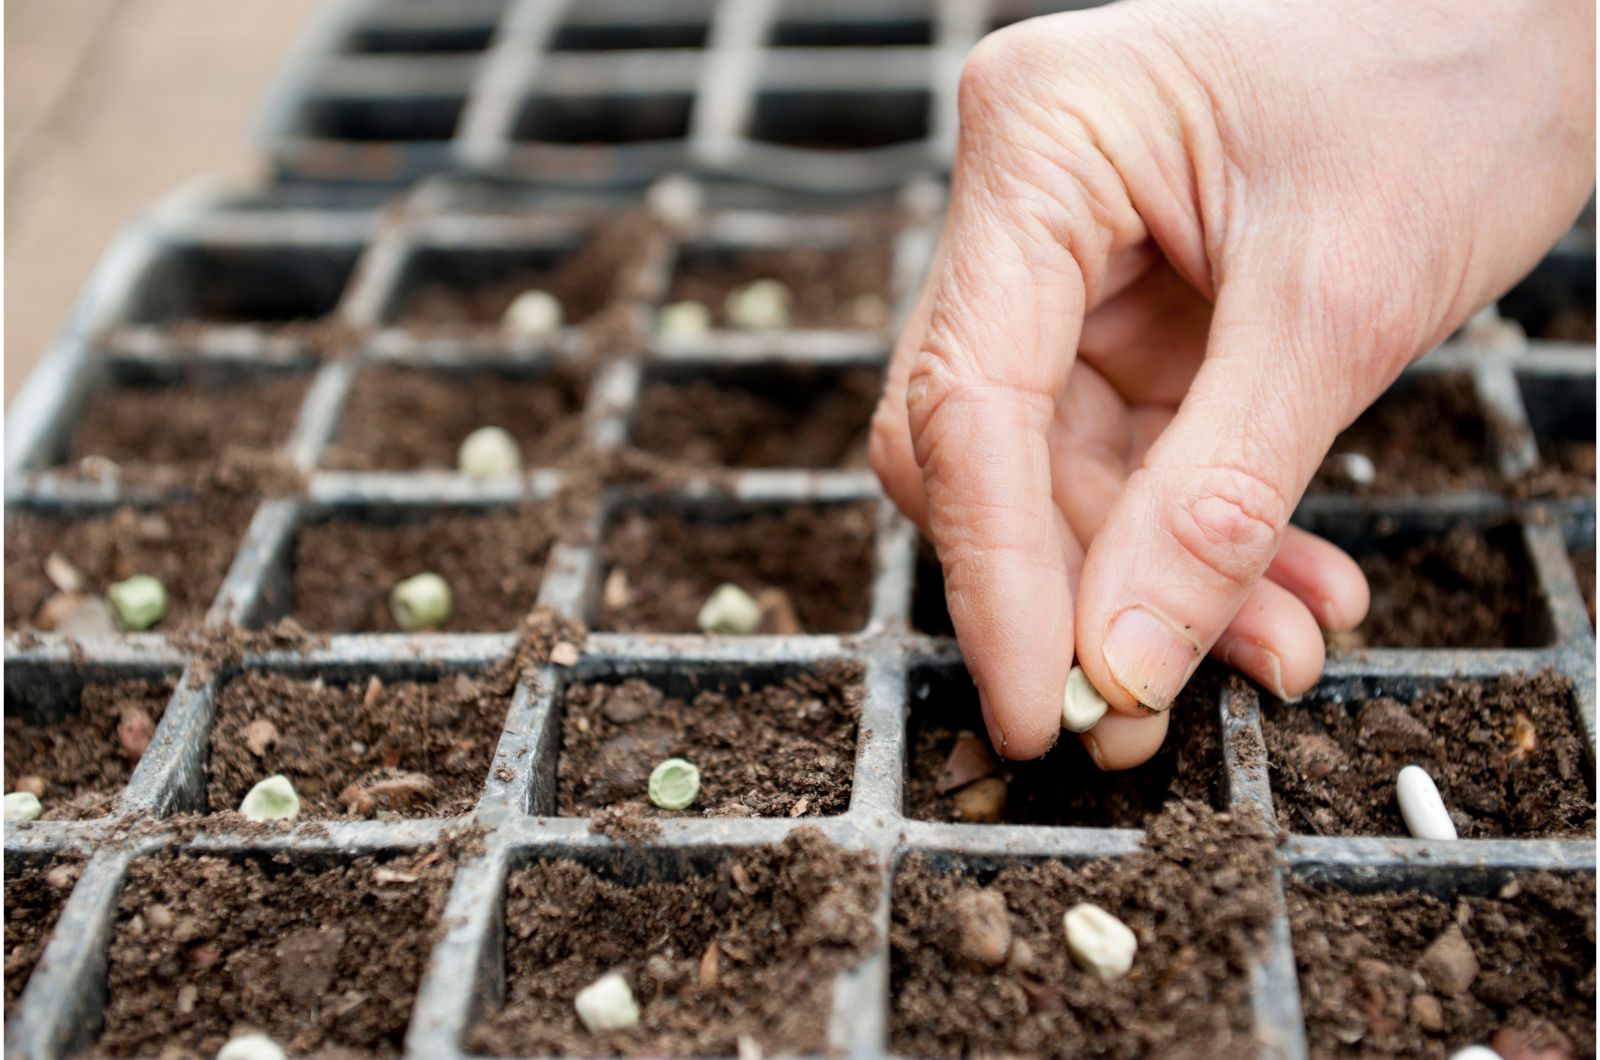
Sprinkle your selected seeds; plant them densely or use a couple per container. If you’re using the first method, make sure to thin them later.
After you sow the seeds, sprinkle some soil over them.
4. Secure The Planters

If you sow the seeds in milk jugs, wrap the cut with tape and close the lid. You’ll most likely need to open the jugs right before planting or, in some cases, you may need to provide the seedlings with more light.
Seedlings planted in ziploc bags will need some airflow, so make sure to leave a tiny opening in the bag.
Rain and snow can cause these bags to become floppy, so keep them upright by inserting skewers in the top of the bag. Use smaller branches to keep the bags in place.
After your containers are secured, you should label them.
5. Choose The Location
Sun plays a major role in winter sown seeds, so make sure you select a well-lit location. Don’t be afraid of wind, rain, and snow because these conditions will make the seedlings hardier.
Aluminum trays can provide extra sturdiness if the weather is too windy.
6. Monitor The Seedlings
Winter sown seeds take more time to germinate than indoor-started ones. The conditions you create using milk jugs won’t cause the seeds to sprout. Germination will occur only when the outdoor temperatures rise.
Even if the seeds don’t germinate until spring, don’t worry, they most certainly will. Remember that they will be hardier and that’s their main advantage.
Pay attention to the moisture content in your containers if you live in drier climates. If the seeds sprout earlier than expected, you can open the containers on warm and sunny days, just make sure you put the lid back on.
7. Transplant
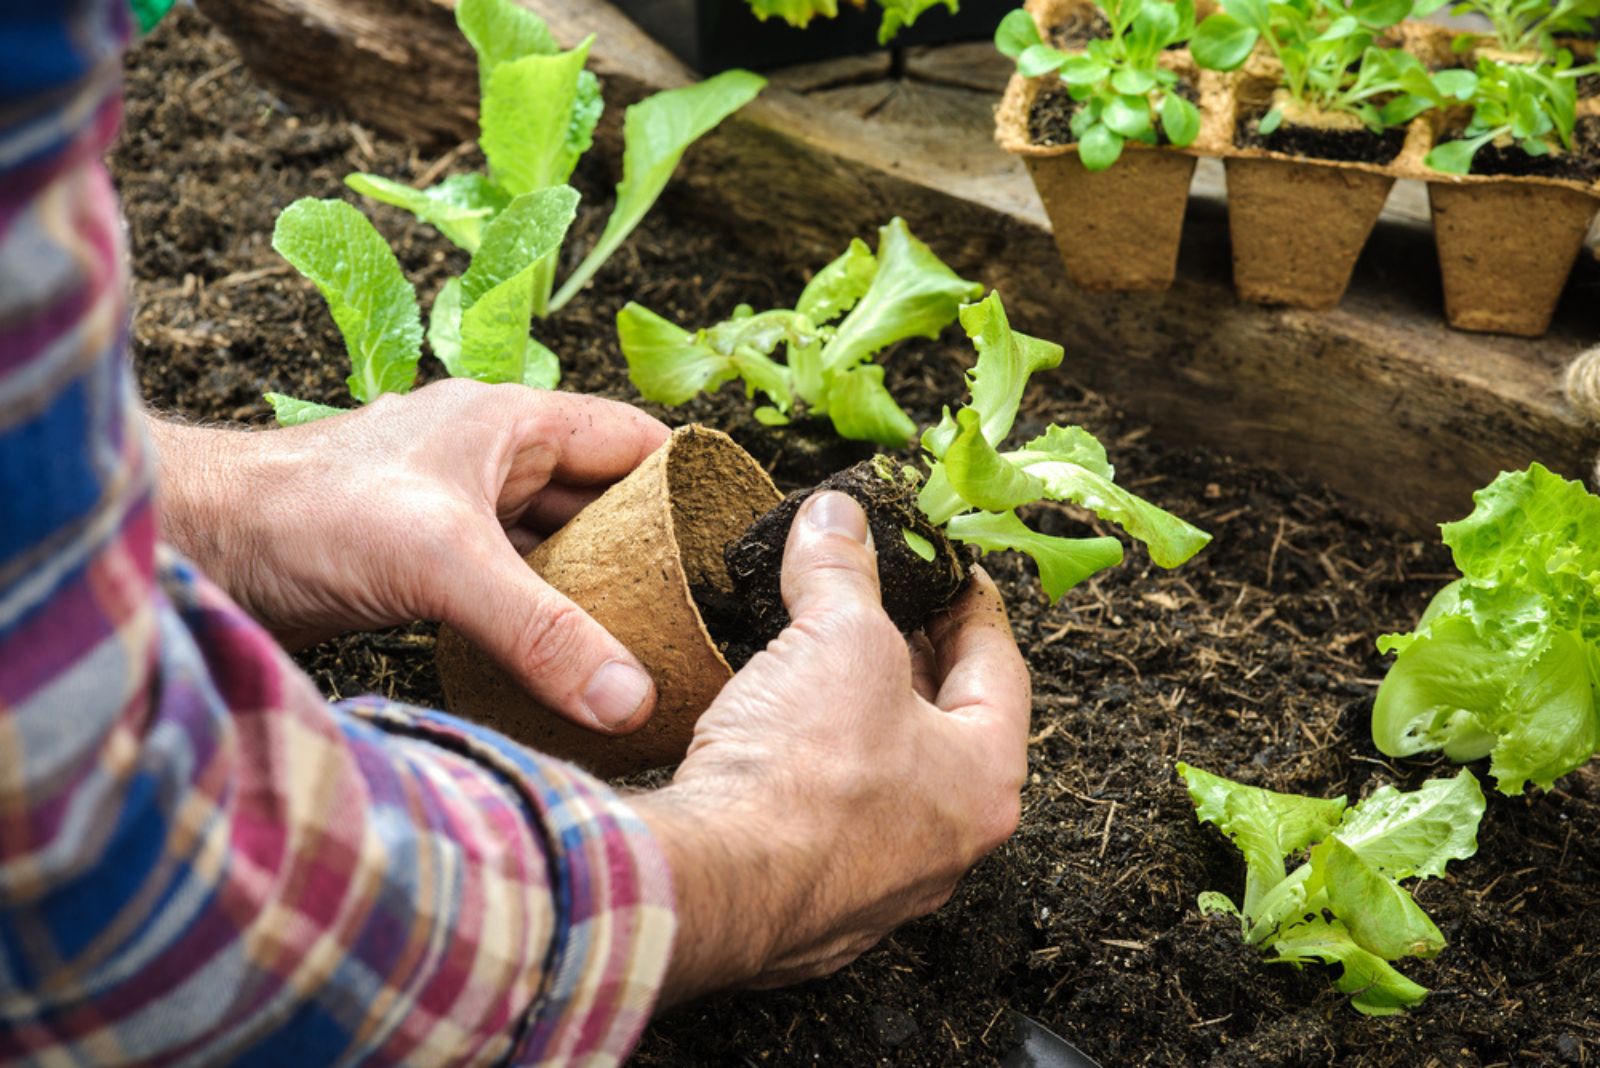
The best time to transplant winter sown seeds is after the last expected frost. The best thing is that you can transfer the seedlings directly into the ground.
All you need to do is separate the roots carefully and plant them according to the recommended plant spacing.
Winter sown seeds have a high germination rate, which makes this technique perfect for gardeners. Just follow our tips and make sure to enjoy either the blossoms or the fruits you harvest!