4 Steps For Winterizing A Sprinkler System
There are some outdoor tools I can’t imagine gardening without. A sprinkler system is definitely one of them. It helps us maintain a healthy and green lawn, which isn’t an easy task, especially for those with larger lawns.
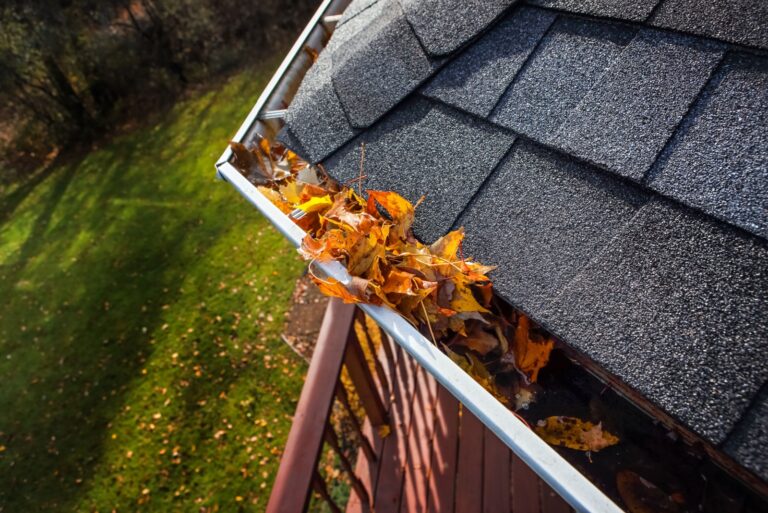
These systems aren’t really beneficial during the winter months, so fall is the perfect time to store them properly.
In this article, I’ll show you how to winterize a sprinkler system and explain if this method is really necessary.
Let’s get started!
Should You Winterize Your Sprinkler System?
Yes, you should include winterizing your sprinkler system on your fall to-do list.
The main reason why you should do it is because frost can damage it severely. It can cause leaks and the pipes may burst. The trickiest thing is that you can’t notice any leaks until you start using the system the following year.
I’ll show you a few simple steps on how to winterize your sprinkler system and protect it from any damage.
If you don’t winterize it accordingly, you’ll most likely get a repair bill so high that you’ll rethink if you really need this tool. But don’t worry, all you need to do is follow the guidelines I’ll show you below and your sprinkler will be ready to use next season.
You should start by checking the forecast and the first expected frost. The date may depend on your hardiness zone but it’s crucial to winterize a few weeks before.
Is the date coming closer? Here’s what to do!
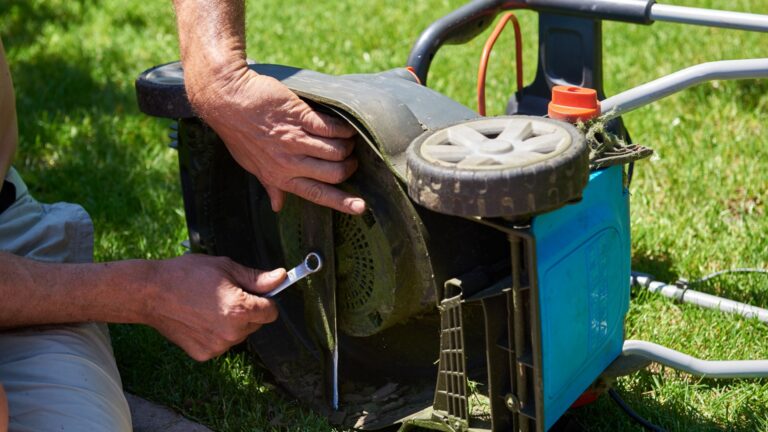
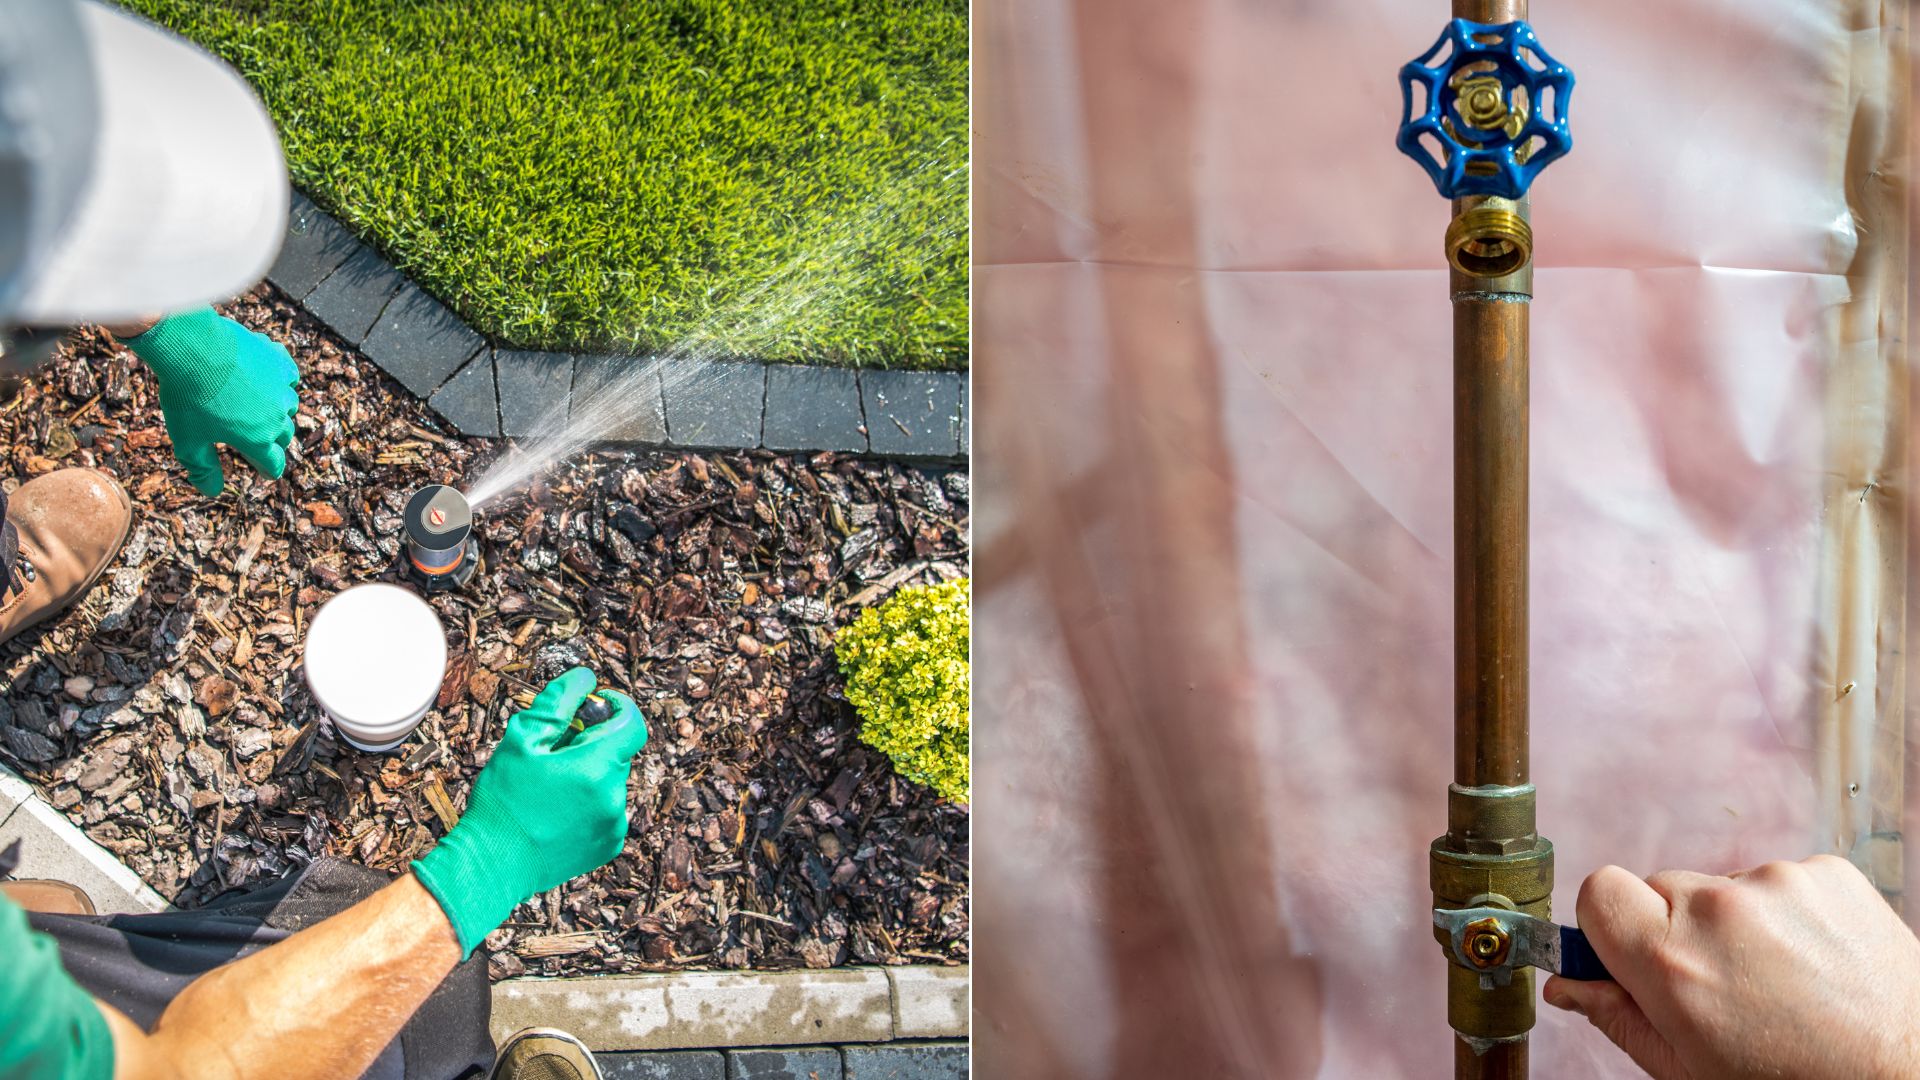
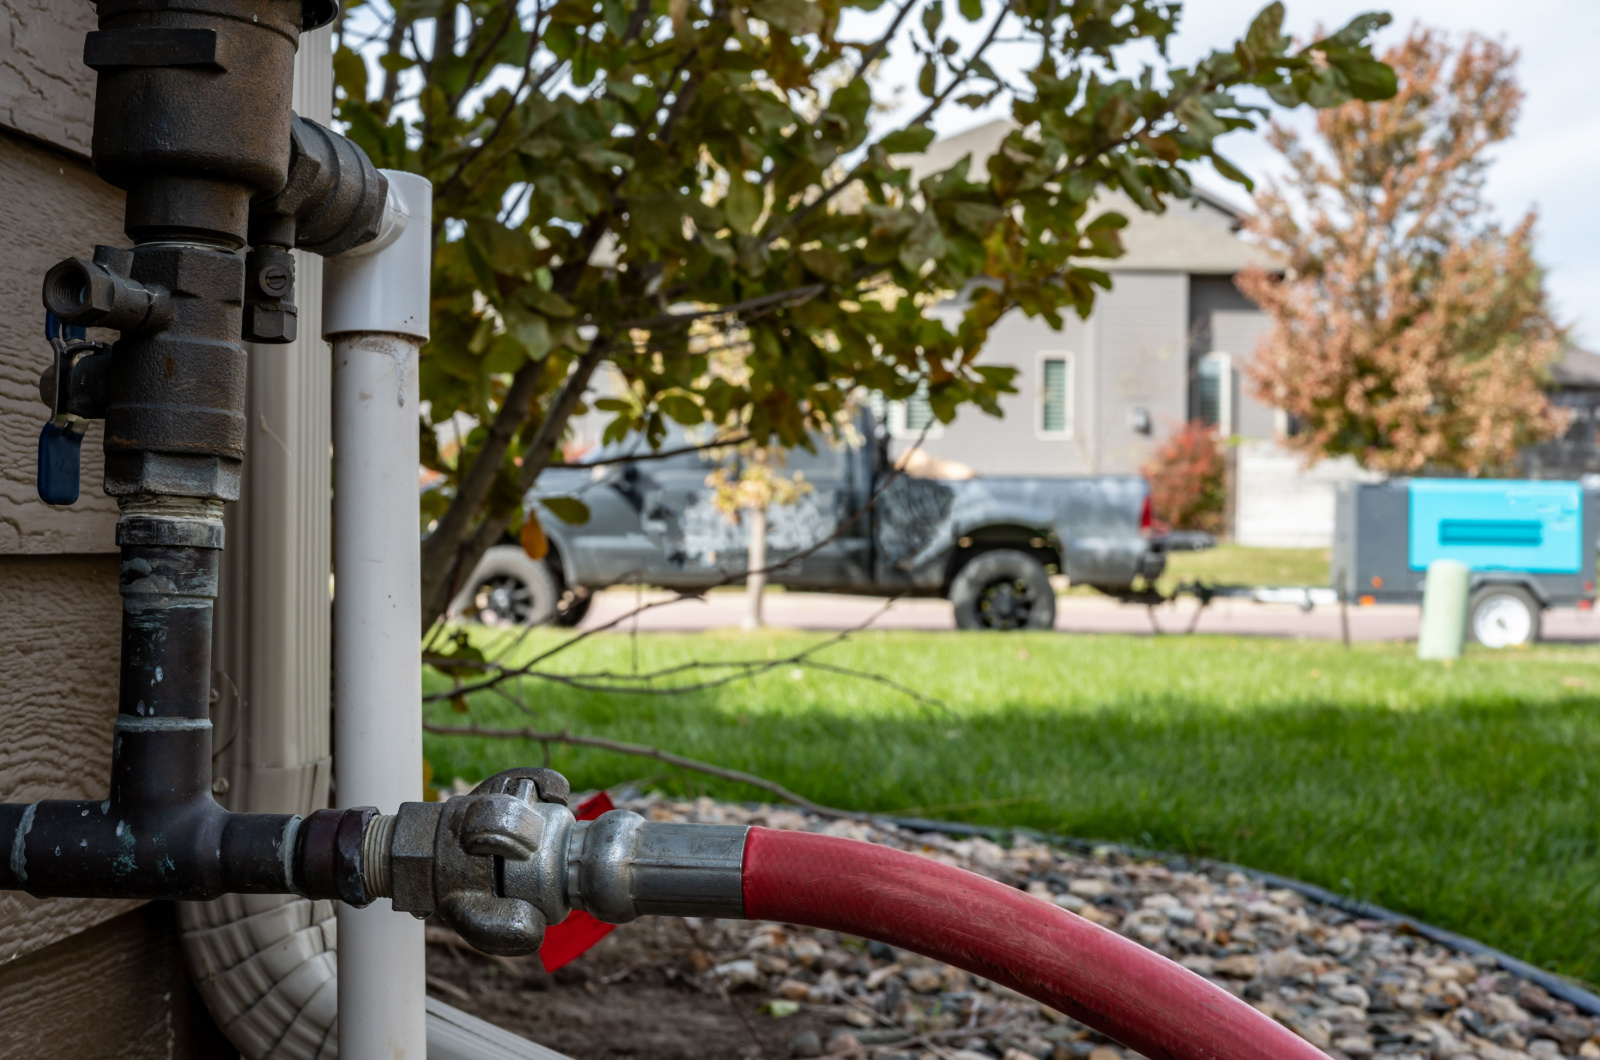
1. Turn Off Water Supply
Everything starts with turning off the main water supply. If you aren’t sure where the valve is, simply check near the water meter.
Some systems feature more valves that serve to prevent backflow. Remember that each valve should be shut off for this method to succeed.
If your system uses potable water, there may not be any valves for backflow prevention. But it’s better to check!
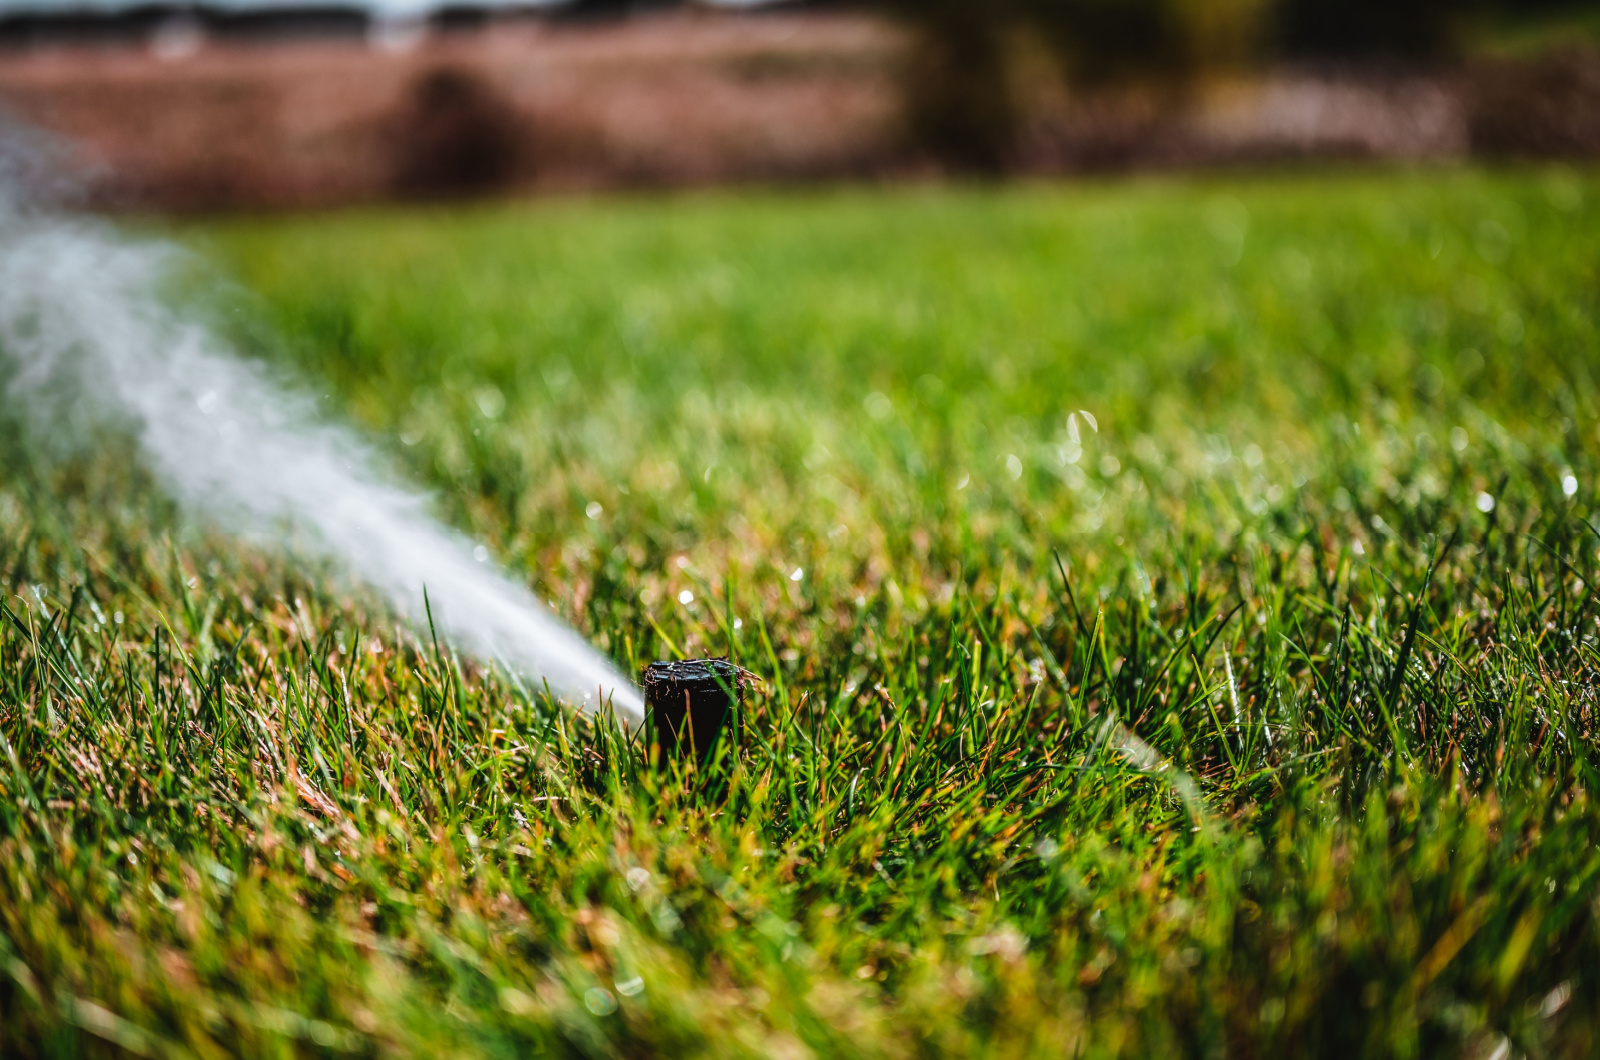
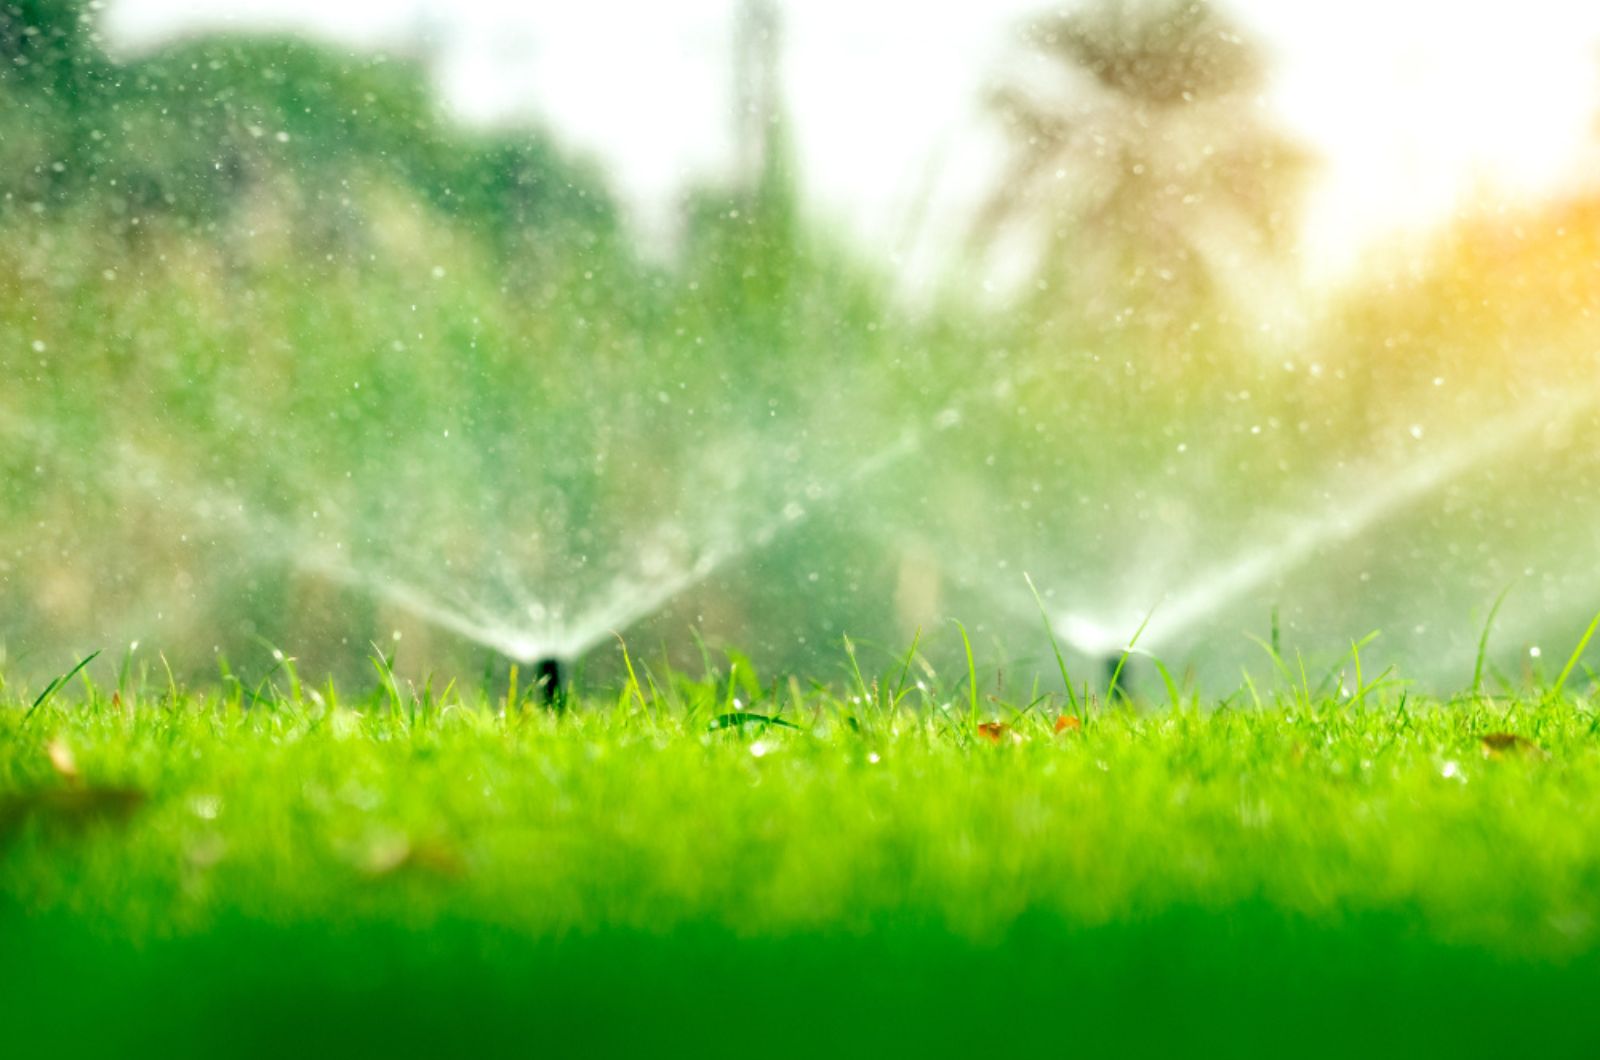
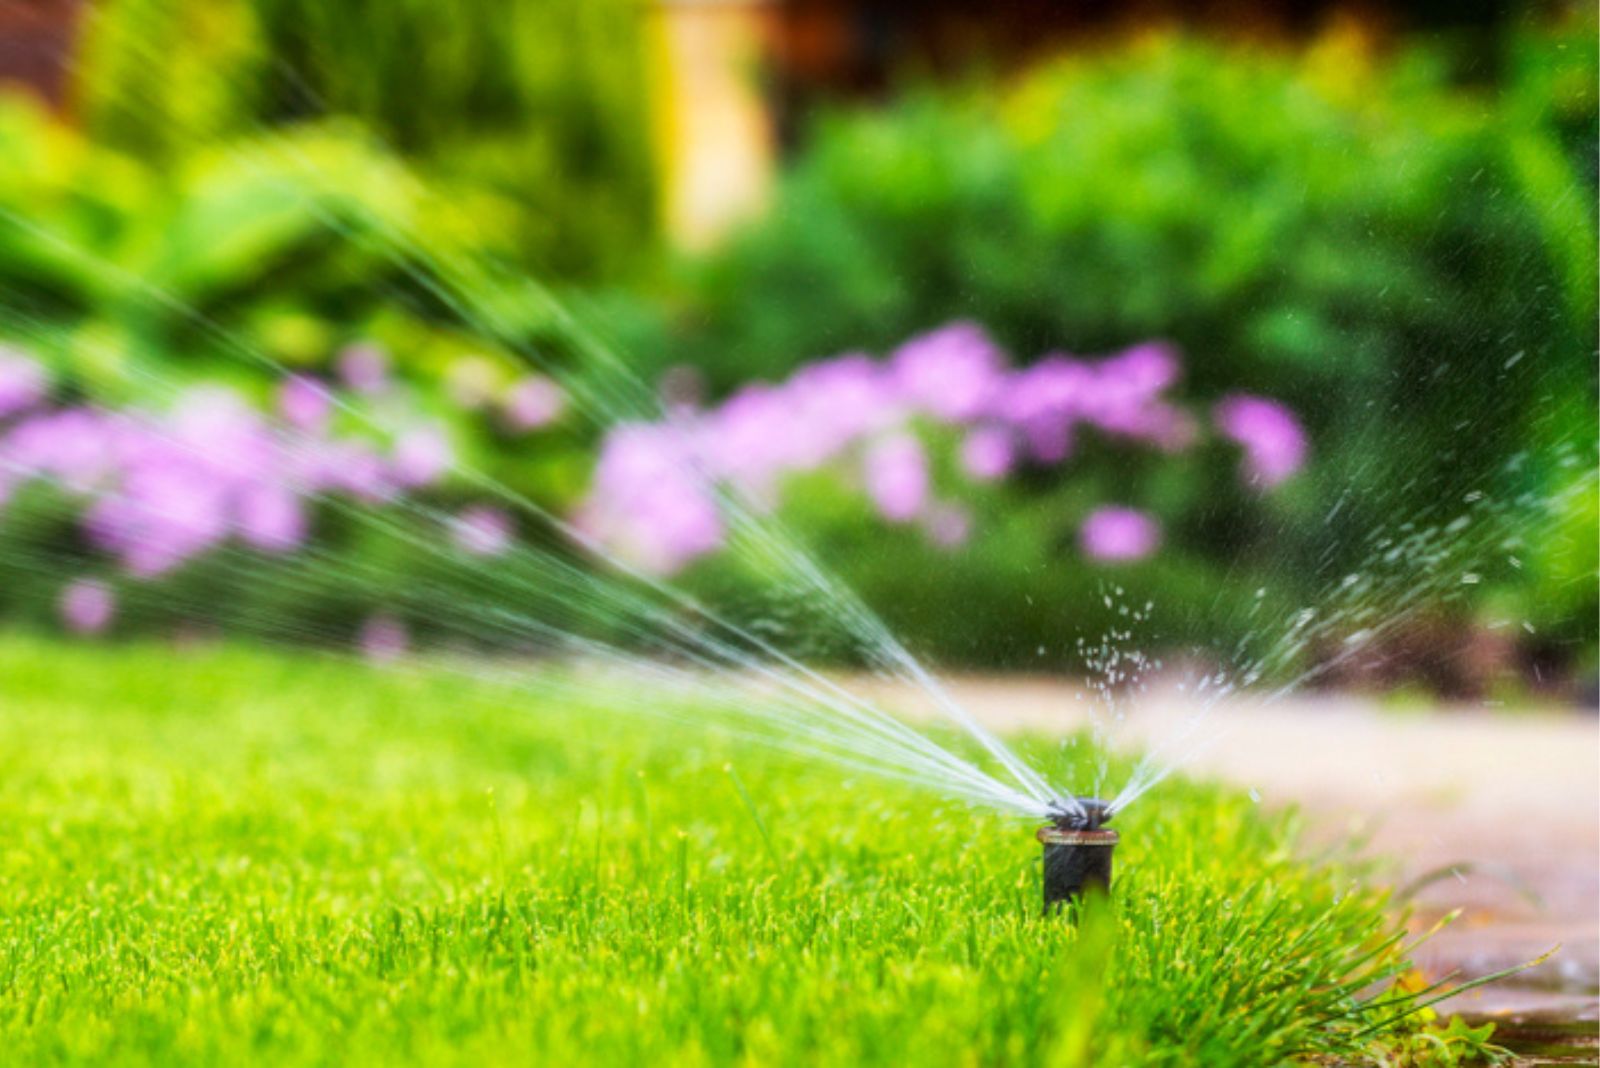
2. Drain The System
You can use different techniques for draining the system, such as the manual drain method, the air-blow method, and the auto drain method.
The factor that can help you determine the right technique for you is the type of sprinkler system you own. It’s essential to read the manufacturer’s instructions to find the best draining method.
Some sprinklers feature manual valves at the low points; if yours is manual, you’ll need to open these valves to allow the water to drain.
The automatic sprinkler types will open themselves as soon as the pressure drops.
The blow-out method is definitely the most effective and involves using compressed air to remove any of the remaining water from the sprinkler.
If you live in regions with freezing temperatures, this method is the best choice by far.
However, it does require some skill because using the wrong pressure can cause severe damage to your sprinkler system. The average psi is from 50 to 80 but it may vary depending on the sprinkler type.
If you don’t have any experience, I highly recommend contacting professionals to avoid damaging your sprinkler permanently.
3. Ensure Protection By Insulation
The parts of your sprinkler system that are above the ground will be exposed to cool temperatures and frost can damage them severely.
So, after you turn off the water supply and drain the system, you should protect the valves and backflows by insulating them. There are different types of insulators to use but the most common ones are foam tape and insulation bags.
4. Shut Down Timer

The last step for winterizing a sprinkler system is shutting down the timers or controllers. Alternatively, switch them to rain mode if you’re afraid that the controller will lose its settings.
Preparing sprinkler systems for winter following the steps above is essential to prevent damage caused by freezing temperatures.
No matter if you have DIY irrigation systems or store-bought ones, you should follow the winterizing procedure. High repair bills or new systems are definitely something you don’t need the following season.