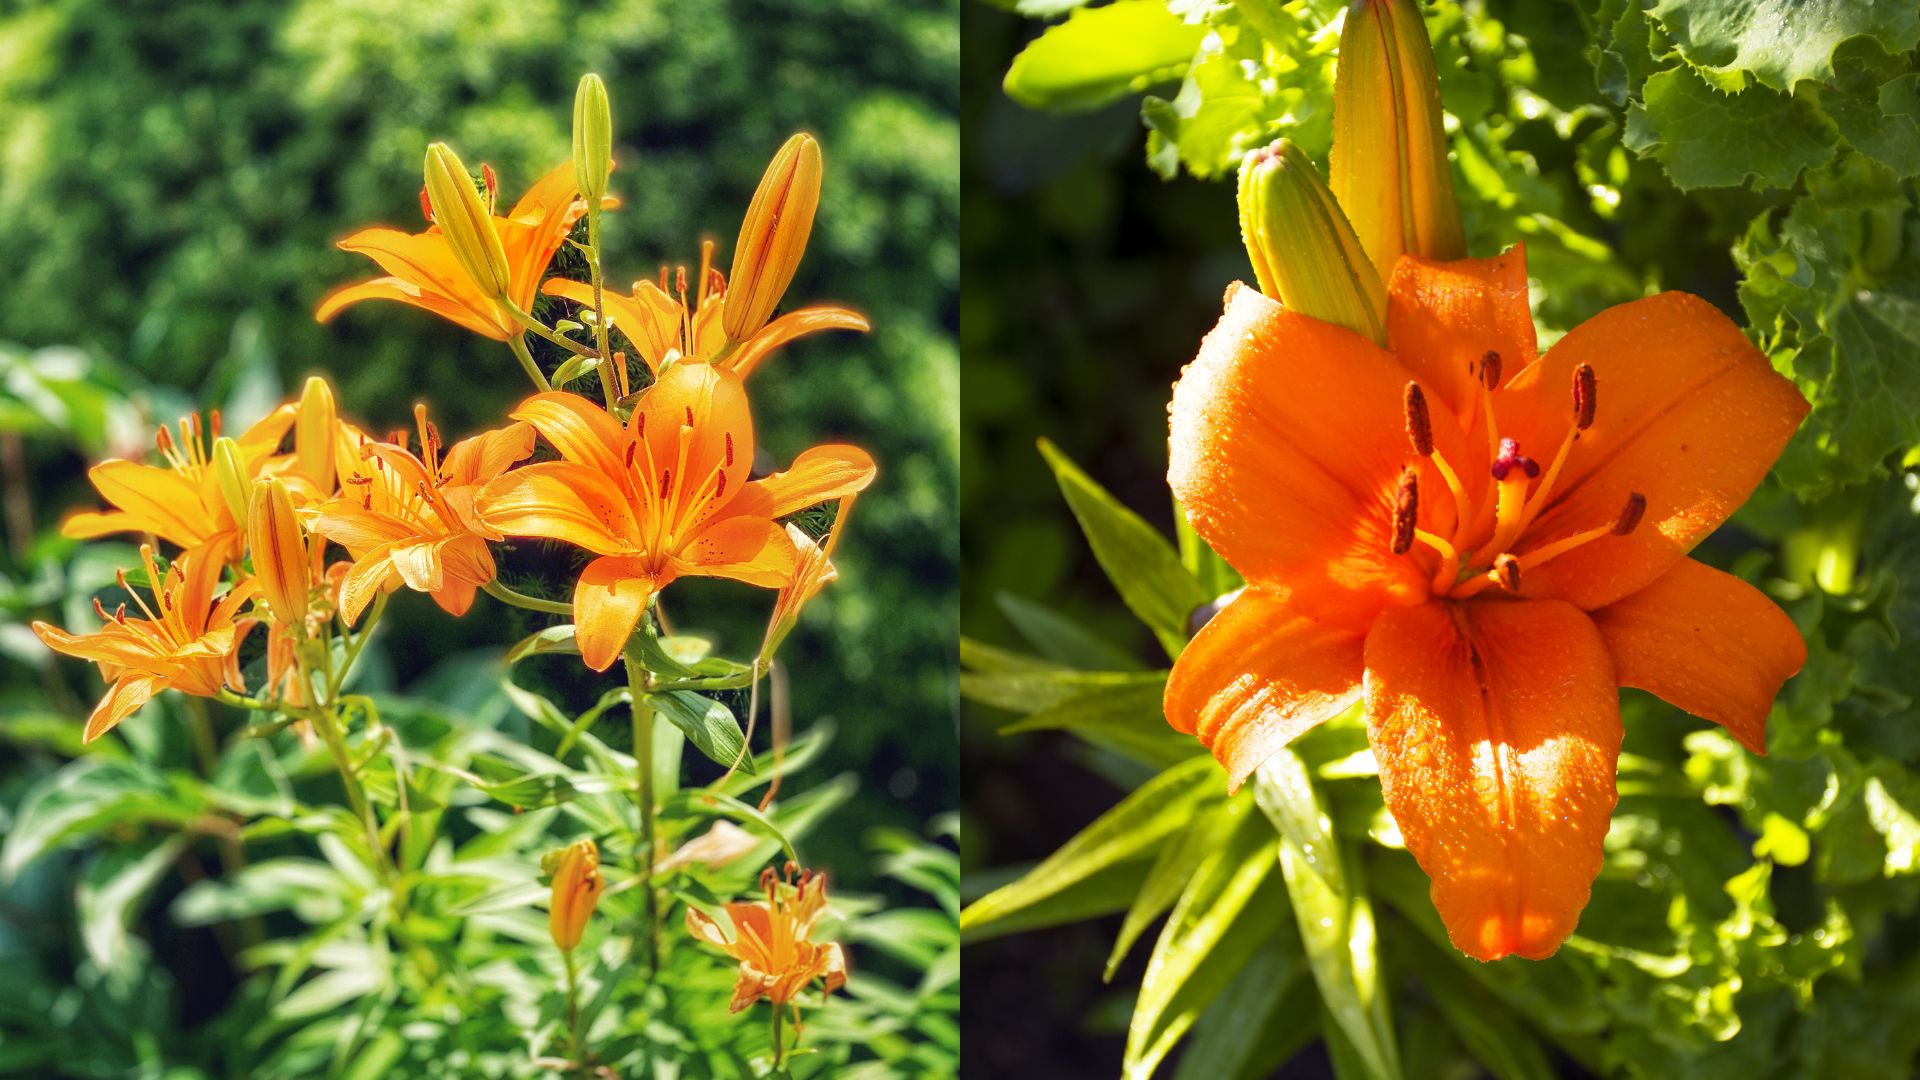
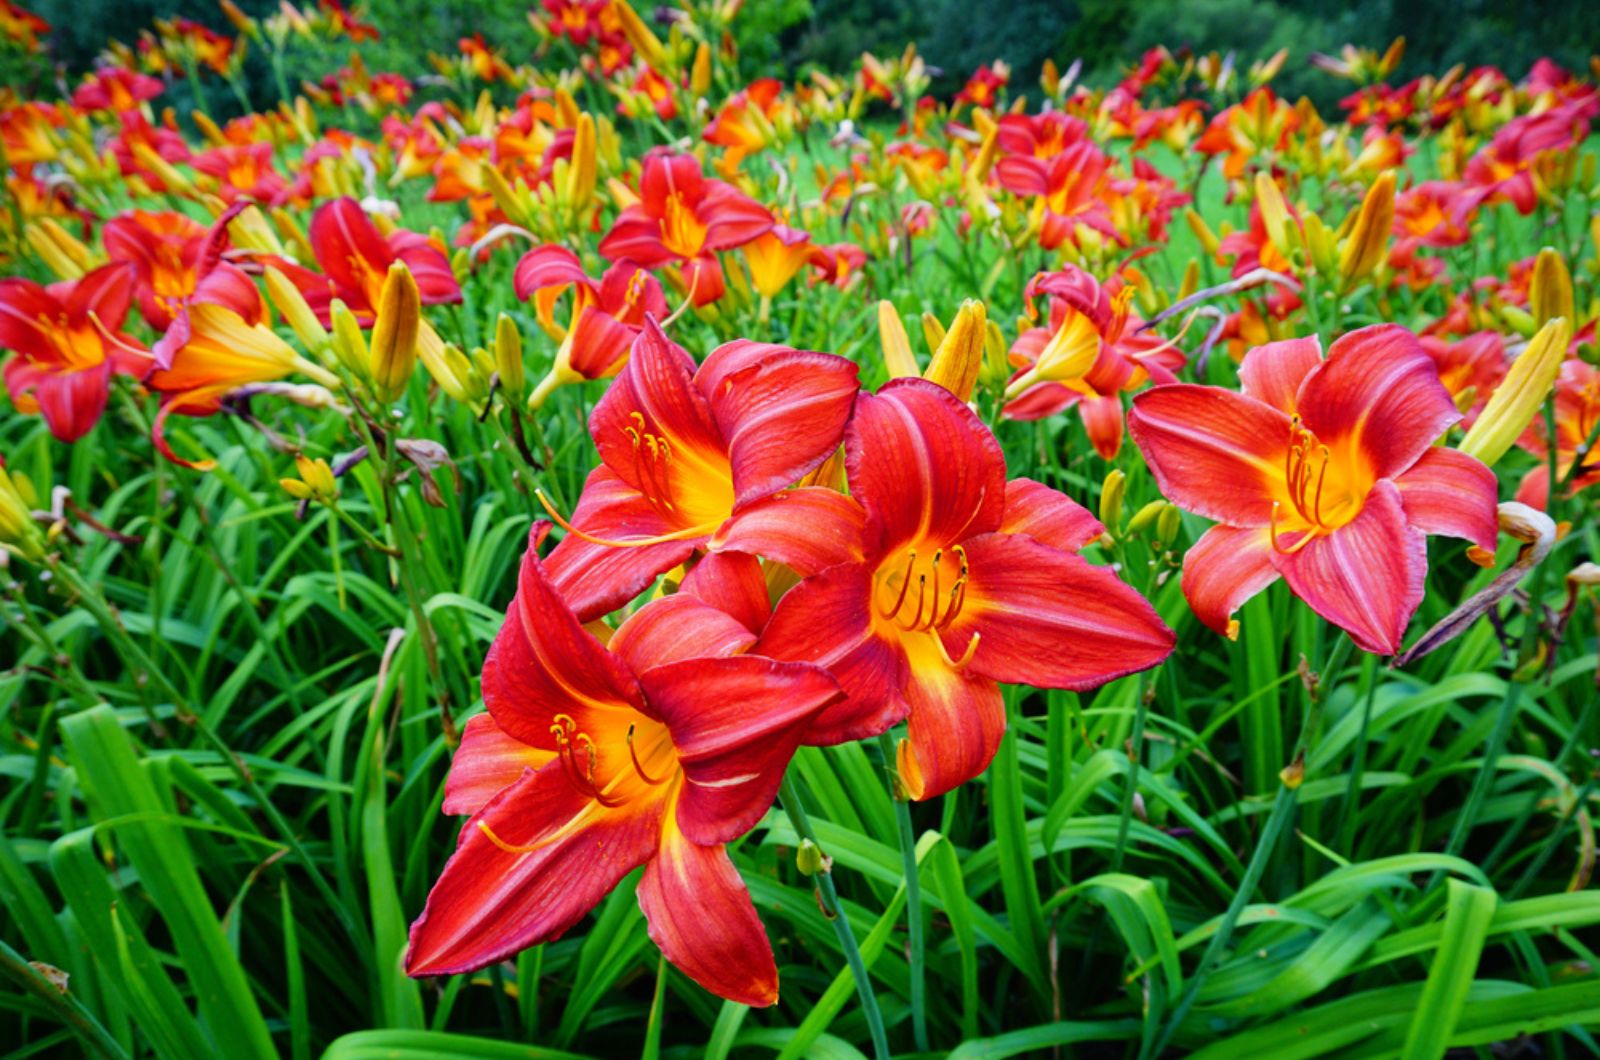
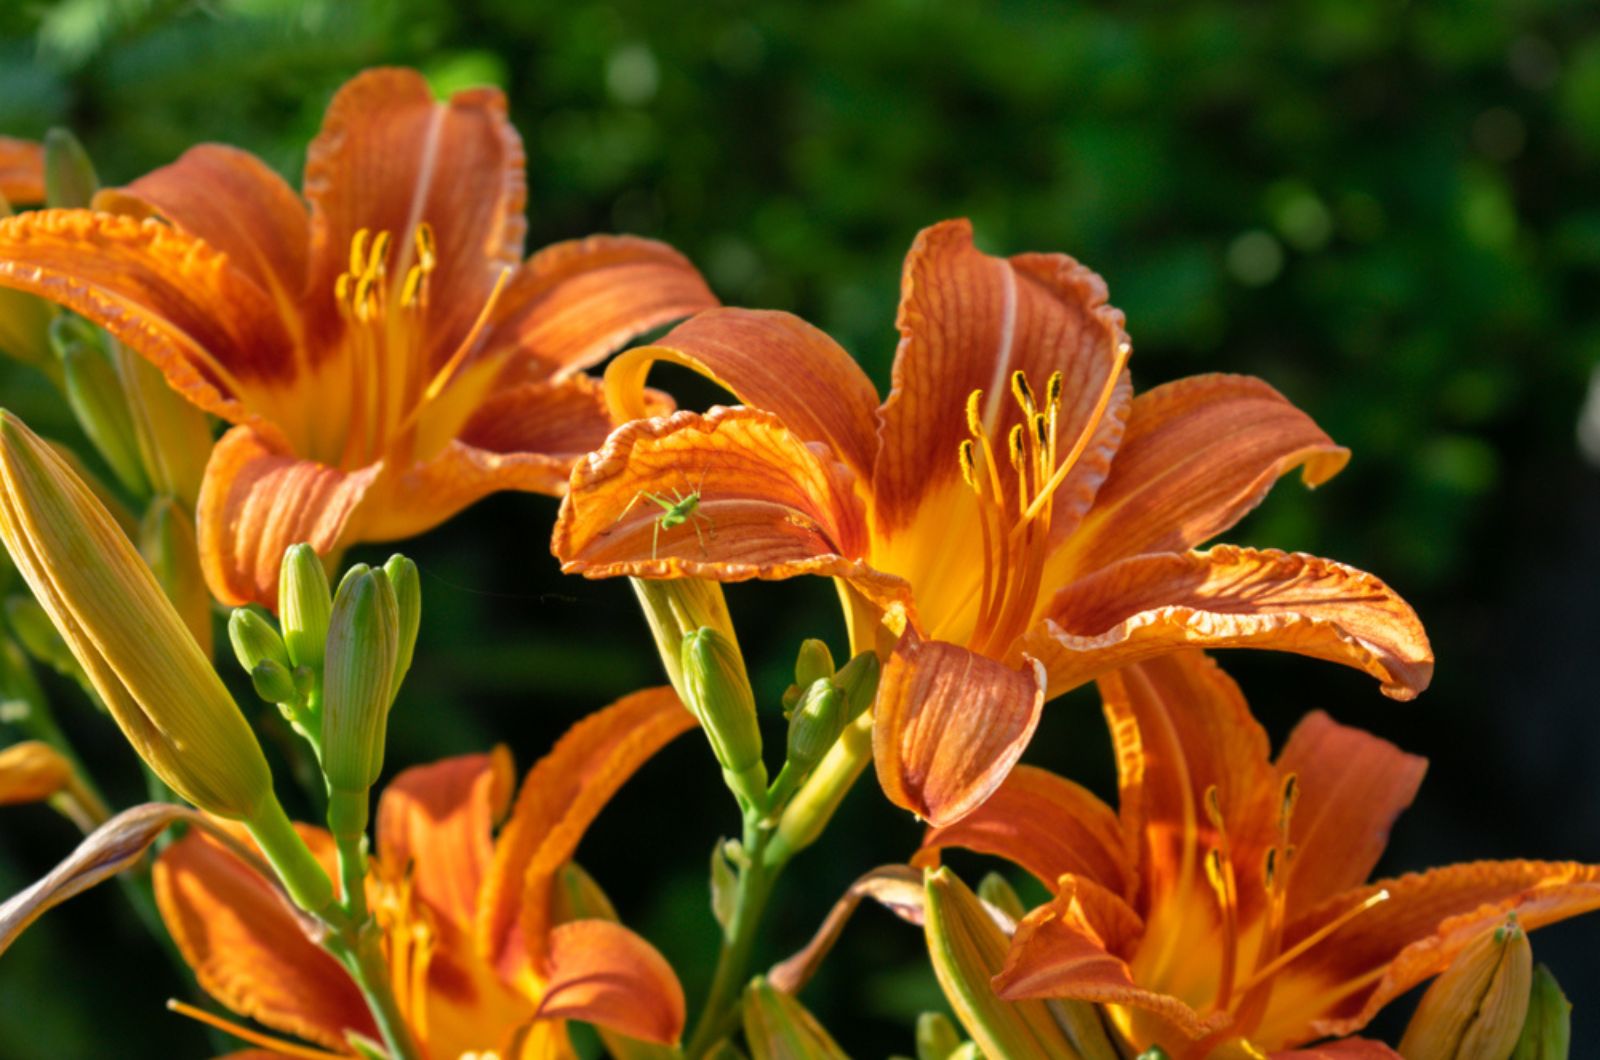
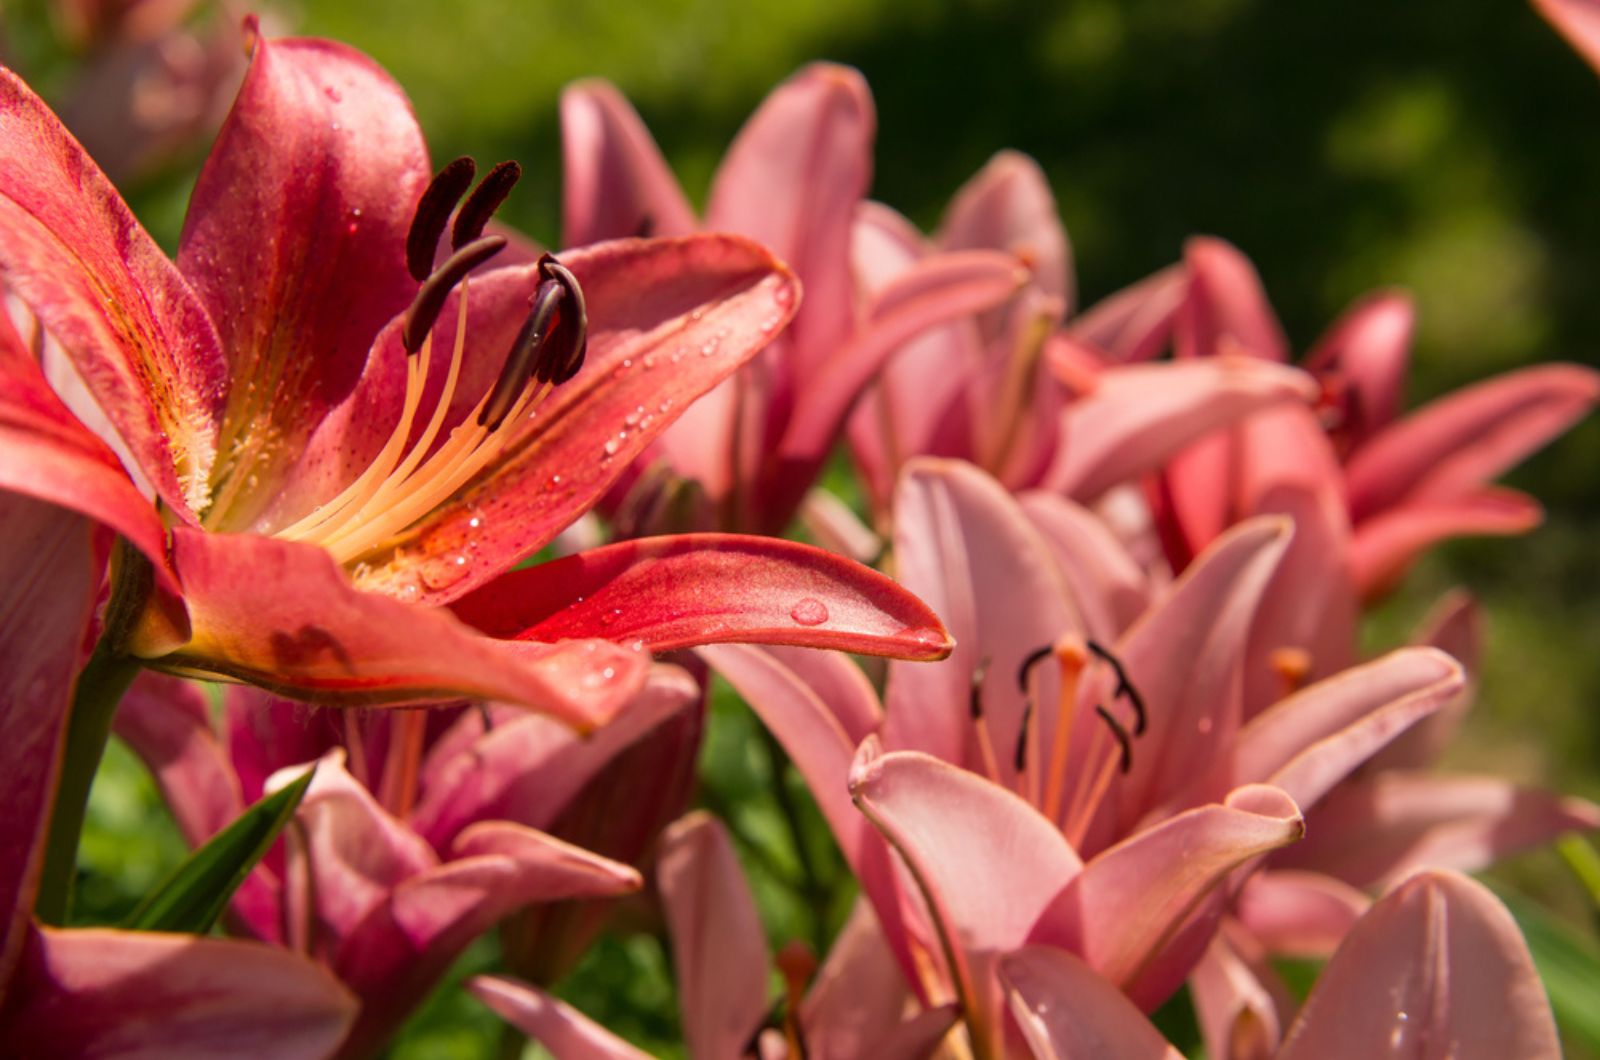
Many growers decide on day lily plants for two reasons. The first one is because these perennial species produce an abundance of blossoms from the beginning of July up until early August. And the second reason is, of course, their captivating appearance!
You may see flowers earlier in the season if you choose such varieties. But you can also enjoy blossoms in late summer if you have re-bloomers.
One of the things I especially like about day liles is that they produce blossoms every day during the season and each one typically lasts for a day, hence the name.
Unfortunately, the flowering season must end, but I’ll show you how to keep your day lily plants looking neat after flowering!
Let’s get started!
Removing Foliage And Spent Blossoms
First things first, the leaves of day lily plants may look messy after the flowering season ends. Luckily, you can keep these plants neat easily by cleaning them up.
So, the first step is to cut off the dead leaves from the base of your plant. Once you are done with the foliage, you can apply the deadheading technique to encourage the production of new blossoms.
There’s one thing you need to be aware of; knowing which day lily variety you have will help you determine when to remove foliage.
For instance, if you have varieties that can produce the second set of blossoms, you should wait and remove foliage after the second flowering because new buds will form.
On the other hand, if your day lilies bloom only once, then prune the leaves in late summer or early fall so that new leaves can take their place.
Trimming Day Lily Plants
Once these long-blooming perennials finish their season, you can do three things. The first one is to allow the leaves to fade naturally and remove them in late fall after you ‘put your garden to bed’.
The second thing you can do is allow the foliage to fade naturally and leave it until spring. Once the spring approaches, you can do the standard clean-up and cut back the old leaves.
The last option is to cut the leaves back to approximately 2-3 inches above the soil surface. This way you’ll encourage new and healthy growth and fresh leaves will form in a matter of weeks.
When it comes to the cutting tools, I recommend using either a pair of garden shears or hand-held pruners. Some growers use a weed whacker but I find it impractical because the final cut edge looks uneven.
Here are some tried-and-true tips for trimming day lily plants.
• Start with removing the dead or dry leaves so that the base of your day lily is clearly visible.
• If you’re using hand pruners, a good method is to gather the leaves and prune them all at once. Simply hold the leaves with one hand and trim with the other.
• Those who use larger shears should put them beneath the day lily plant and cut approximately 2-3 inches above the soil line.
• If you have mature and larger day lilies, you need to trim them into sections no matter which cutting tools you use.
What Else Can You Do To Keep Your Day Lilies Looking Neat?
Once you remove the dead foliage, you’ll notice the plant generating new growth in the central crown of the leaves.
First shoots will most likely appear in a couple of days and the leaves will develop fully in approximately 3 weeks. You should start cleaning your plant’s base before the leaves enter the final growth stage. Make sure you get rid of any debris or old foliage.
This is also a good time to add a new layer of mulch around the base of your day lilies if you’re using this gardening method.
Another thing you can do at this point is divide your day lilies if they’re too large. After dividing and replanting each section, you’ll notice the new growth forming where you trimmed the leaves.
Best of all, you’ll get new day lily plants with tidy clumps of foliage and your fall garden will have a splendid display!
Caring for the divided day lily plants is basically the same as for the established ones. Make sure to keep their soil constantly moist and I also recommend adding a layer of compost or well-aged manure to boost the nutrient levels in the soil.
That’s it! These methods will keep your day lilies healthy and they’ll look neater than ever!


