The Lavender Growth Stages: All The Info Right Here

Lavender is a multipurpose flower with medicinal and aesthetic qualities, it can even be used to make sachets that repel moths and silverfish from your clothes and mosquitoes from your skin!
It can also be used as an essential oil when diluted with other oils like coconut or argan, and as an everyday lotion. You can use lavender to make candles and decorate your home and fill it with irresistible fragrances! You can even make potpourri, soaps, or cookies and lemonade – the options are endless.
Now I’m sure you understand why everyone wants to know more about the lavender growth stages!
Before we dive into that subject, let’s look at some general specifics about lavender:
[table id=187 /]Below you’ll find all the information you need about the lavender growing stages, whether you want to grow the Hidcote or Munstead cultivar.
This article also has some great tips for ideal lavender care, and you’ll soon feel like you’re in Provence every time you look at and smell your garden.
The 8 Lavender Growth Stages
There are eight stages of lavender growth, whether you decide to grow it in your herb garden or a pot. Preparation and planting are the most crucial stages because if they aren’t done properly your plant will probably not grow in the first place.
However, all the other stages are equally important because even though the plant is resistant and drought-tolerant, you can’t simply neglect it.
That’s why learning as much as possible about its life cycle can help you nurture your lavender plants, so you’ll finally have what you need to start an awesome flower project like the ones in these books about flowers .
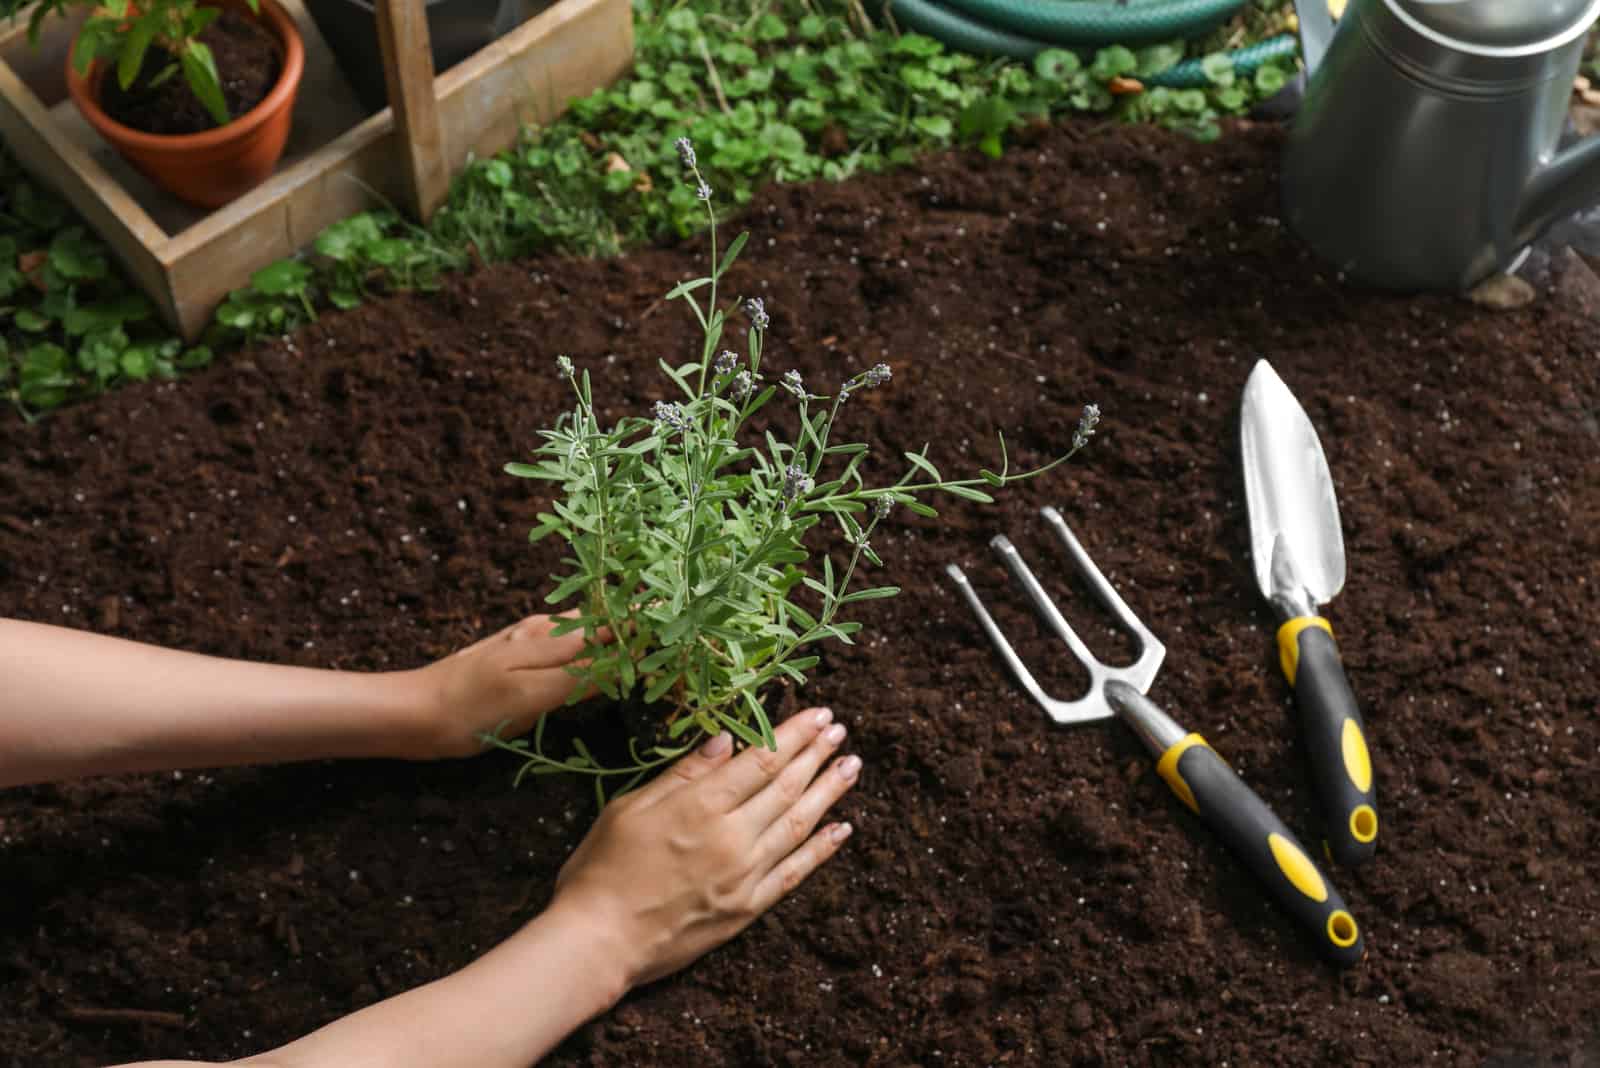
1. Preparation And Planting

Whether you choose English lavender (Lavandula angustifolia), Spanish lavender (Lavandula stoechas), or French lavender (Lavandula dentata), the preparation and planting stage is the same.
All these varieties require full sun to produce the prettiest and most fragrant flower spikes. Therefore, the first thing you should do is choose a location with plenty of sunlight.
If you plan on planting lavender outside, you should try and find a place that will offer it both protection and sunlight because strong winter winds can make it leggy.
Soil Preparation
Preparing the soil is extremely important because lavender cannot grow in substrates that retain too much water. Sandy soil is the best option, but it’s acidic, which is something that lavender doesn’t really tolerate. However, you can always use some specialized lime and make it more alkaline.
Lavender can also grow in silt or clay soils, but the pores may get clogged and reduce airflow. This is an issue that is easily fixed by installing a drip irrigation system and taking into account the type of soil you planted your lavender in.
If the soil is sandy, irrigation can be faster, but if it’s clay or silt you must adjust the water to drip more slowly.
The good news is that you don’t have to worry too much about preparing the soil. Simply choose a potting soil with good drainage and aeration to avoid overwatering and root rot. Lavender is a plant native to the Mediterranean and has adapted to low-fertility soils.
This means you don’t have to add compost or humus to improve its growing conditions. However, if you use compost as a means of fertilization you can spread an inch (2.5 cm) around your lavender plant after it wakes up from dormancy.
Another way to ensure good drainage is by planting your lavender on a raised bed, which will allow the excess water to drain more easily. If you plan on growing your lavender in a pot you should choose a container with drainage holes in the bottom.
Time Of Planting
The best time to plant lavender seeds is in the spring so they can grow and develop a bit before the winter arrives. However, if you want to start a lavender field in the middle of summer you don’t have to wait a year before making your dream come true.
You can plant lavender in the fall, but not the seeds. Use established plants from your local nursery because they have the best chance of surviving winter conditions.
Planting Lavender
Planting lavender seeds is not an easy task, but with a little bit of knowledge and luck, your plant will be ready to survive its first winter.
We prefer starting lavender seeds indoors as this method is more reliable and has a higher success rate. However, you can always start them outside if you want to avoid transplant shock.
If you’re starting the lavender seeds in a seedling tray, plant one seed per slot and use a soil mix designed for seeds to lightly cover them. You already know that lavender needs full sun to thrive, and if you cover the seeds with too much planting medium they will germinate more slowly.
Place the seedling tray in a warm and sunny spot and don’t water it too often. The seedlings can easily catch fungal infections, so letting the soil dry in between waterings can be a literal life saver.
However, watering is also incredibly important at this stage and you should strive to keep the soil moist.
You can start the seeds indoors 4-6 weeks before the last frost and then transplant them once the danger of frost has passed.
However, if you want to either plant the seeds outside immediately or transplant a young lavender plant to a garden bed, you should wait until the threat of frost is gone.
Plant the new plants 2-3 feet (60-90 cm) apart so they don’t get in each other’s way.
2. Seed Germination
Lavender seeds germinate quite slowly, and if you’re lucky the process might take only a couple of weeks. Of course, you need to ensure they receive enough light and are in a warm place, so you might want to invest in some heat lamps for plants .
However, if the seeds are covered in soil and lack either light or warmth, the germination process can take up to a month.
The ideal temperature for germination is between 70 and 75°F (21-24°C).
3. Sprouting
After the seeds have completely germinated, you’ll notice tiny green sprouts protruding from the bottom. This new growth is known as seed leaves and is much more sensitive than the true leaves.
Speaking of true leaves, they start developing soon after the appearance of seed leaves and have that signature lavender shape.
Lavender takes a long time to grow, but after sprouting that process is sped up by photosynthesis. The true leaves photosynthesize and produce the food and energy necessary for the plant’s growth.
After the true leaves have appeared and grown a bit, it’s time to transplant them into a bigger pot. Use a well-draining potting mix that contains perlite and preferably coir dust to fill a 2-inch (5 cm) pot.
You can mix the smallest amount of balanced, slow-release fertilizer into the growing medium, dig a hole, and place your lavender in its new home.
4. Appearance Of Seedlings
Lavender will still grow slowly, especially during its first year, but you’ll notice an increased number of green leaves that will start to spread its fragrance sooner than you expect.
Once the seedlings reach a height of three inches (7.5 cm) they can be transplanted into a larger container or outside, although it will take anywhere between 1-3 months.
If you wish to transplant your seedlings outside you should harden them once the third set of true leaves forms. Start taking them outdoors, but don’t place them in direct sunlight as they will definitely be damaged by the sun.
Leave them in a sheltered location for some time and then take them back inside. Repeat this process every day, increasing the amount of light and the length of time the seedlings spend outside gradually.
After a few weeks of hardening (and approximately two months after planting), your lavender is ready to be transplanted. Water it thoroughly to ease the transplant shock. It also wouldn’t be a bad idea to move it on a cloudy day to increase the possibility of a successful transplant.
Water the transplant every two days for the first week after transplantation, and then reduce the watering to every three days for the next three months.
After that, water the lavender only when it’s dry, although you won’t have to water it at all if your region gets plenty of rain.
5. Budding
Once your plant adjusts to the new soil, you will see an increase in lavender stems and even some flower buds appearing.
However, not all varieties of lavender are the same, and English lavender, for instance, takes a whole year to start producing flowers.
Therefore, you should prune the lavender buds in the first year to encourage faster growth. At this time, most of the plant’s energy is directed towards the roots and the development of its leaves and stems, so removing the buds will speed up its growth so you’ll be able to enjoy lavender blooms the following year.
You should also mulch lavender once the cooler weather approaches because it can harm your plant. Apply some pea gravel, pine needles, or crushed rocks to keep the soil warm. However, leave approximately six inches (15 cm) of free space around the lavender stem to ensure good air circulation.
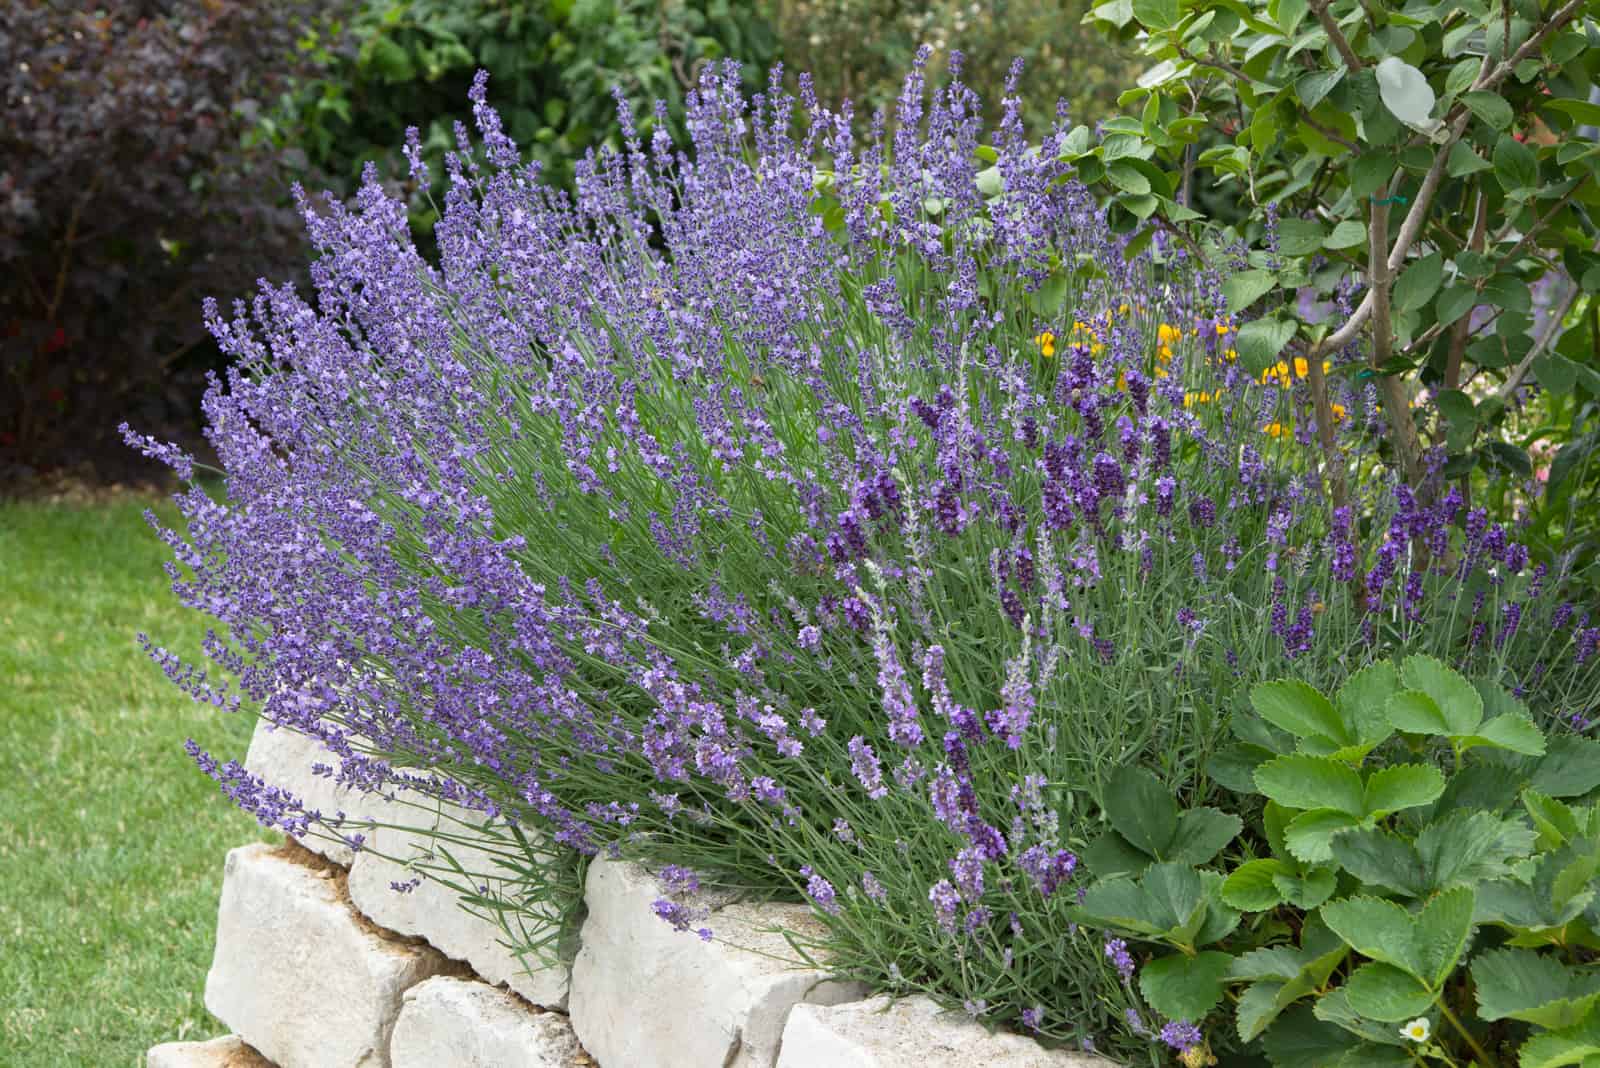
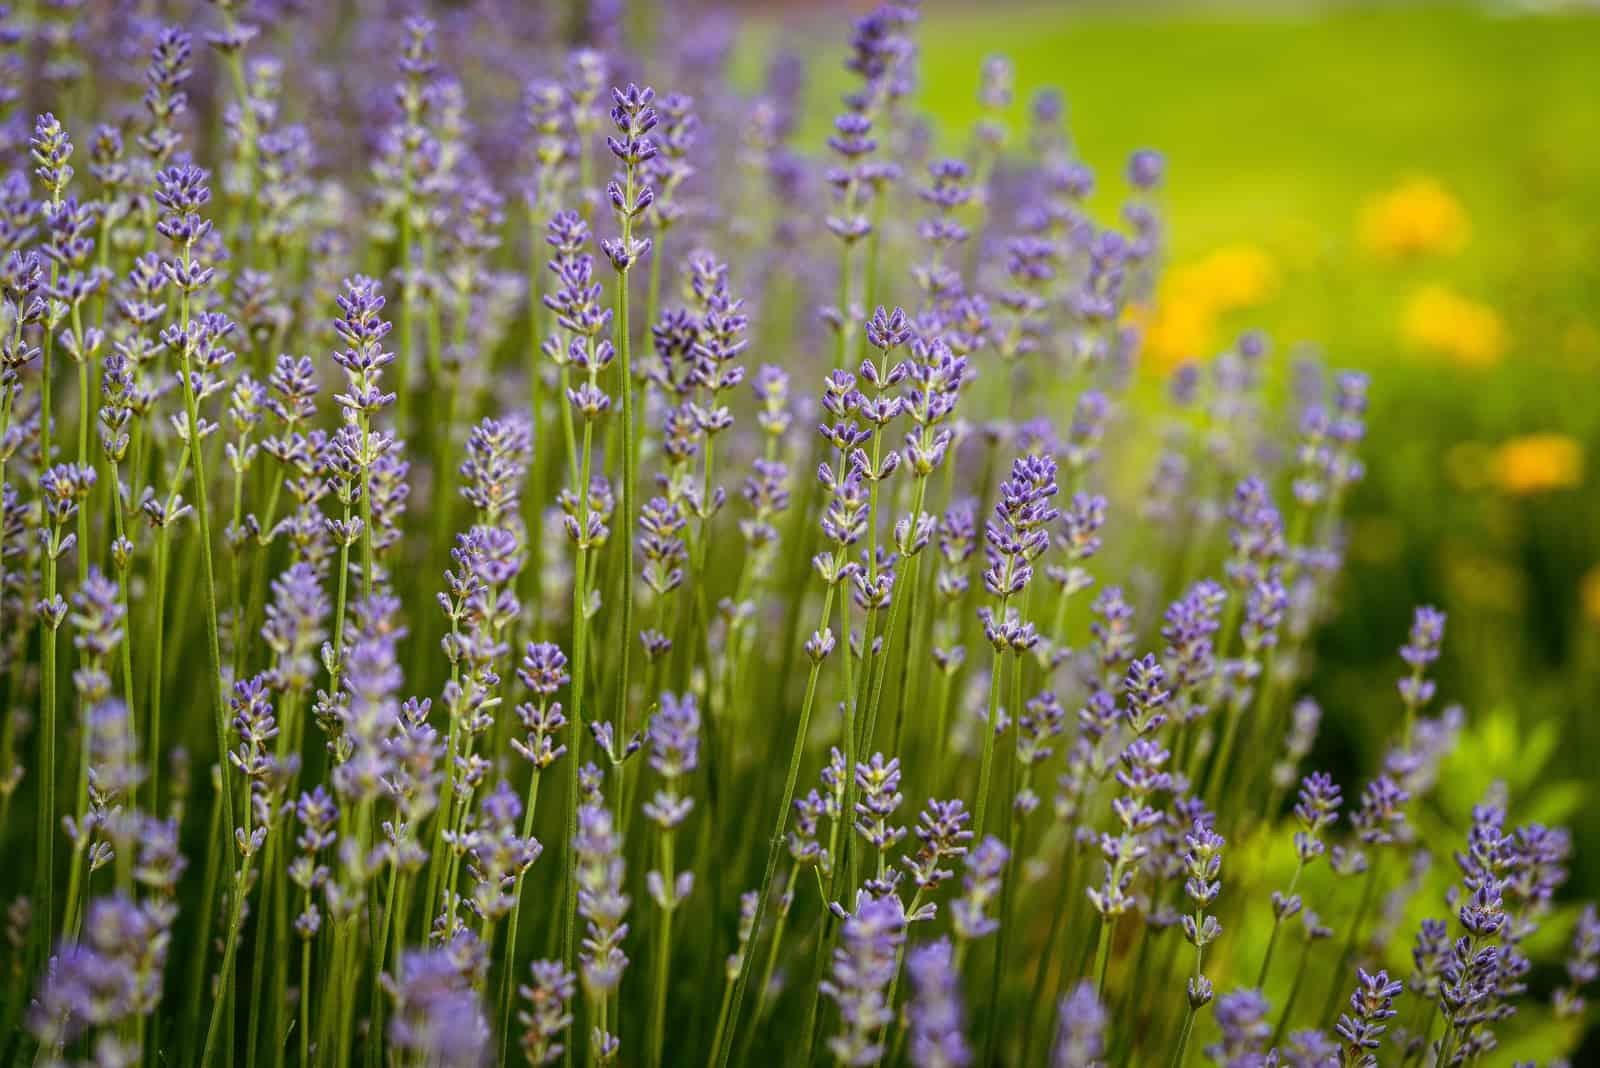
6. Production Of Flowers
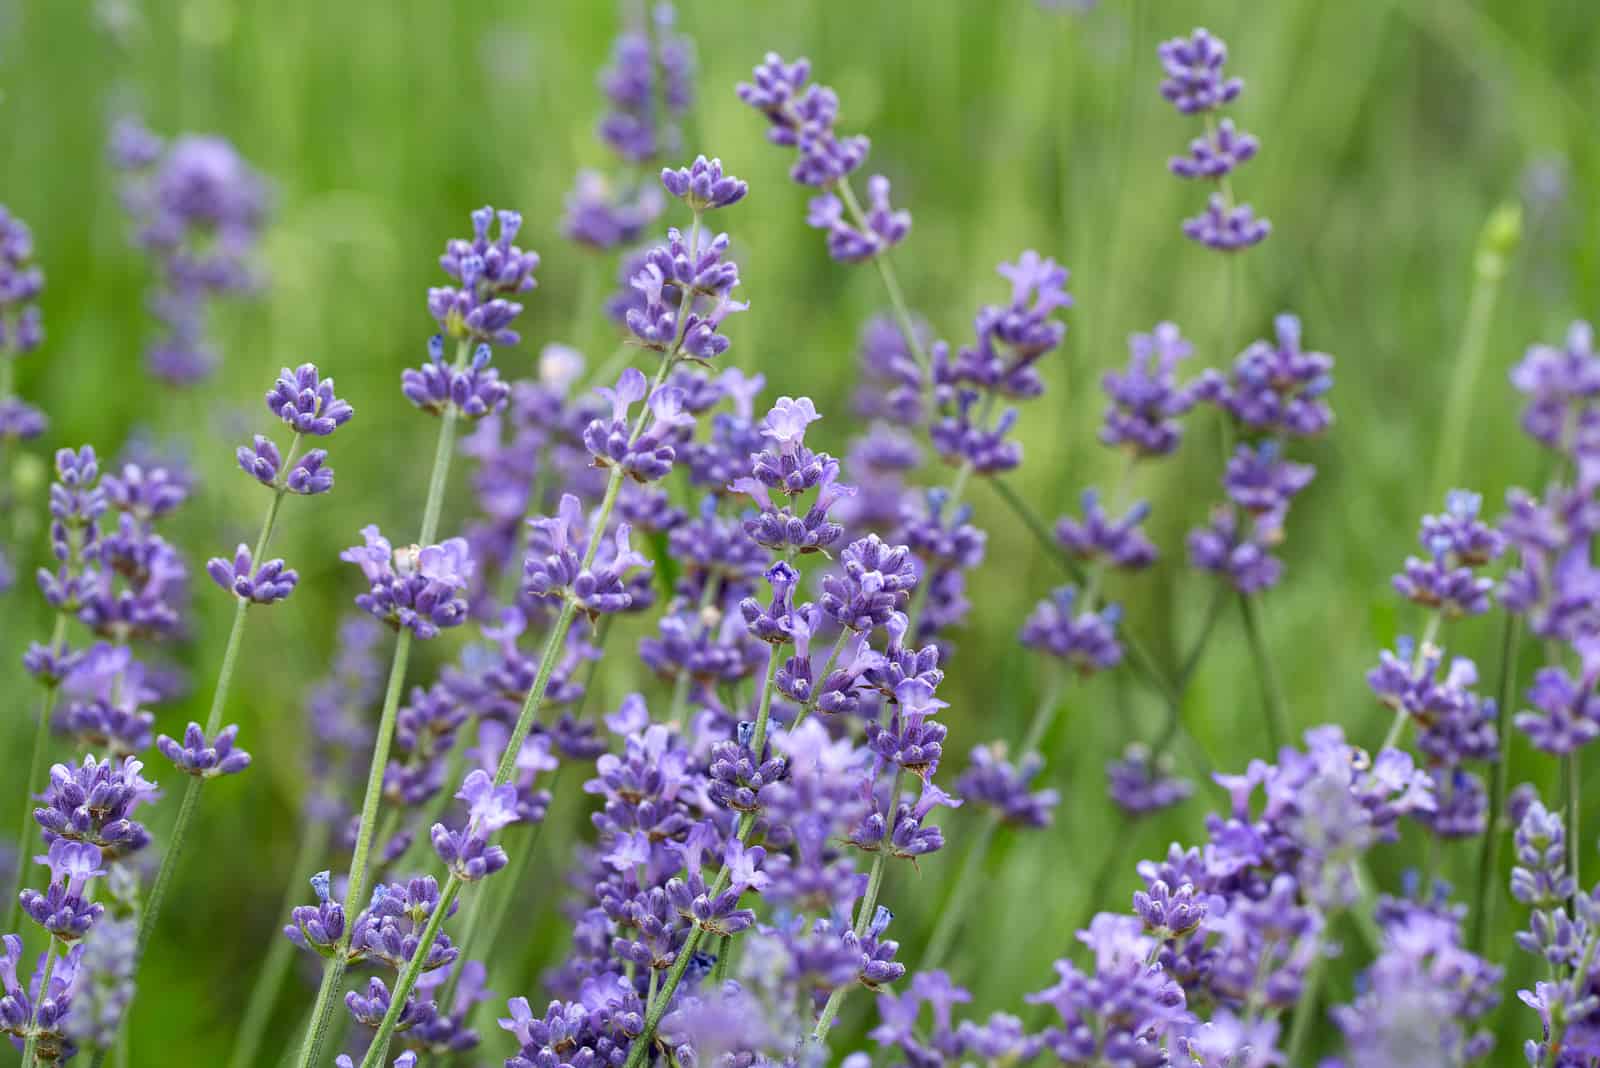
One year after planting the seeds you’ll be able to enjoy the calming effect of lavender flowers. Not all varieties produce flowers at the same time, so it’s good to know when different lavender varieties bloom to prepare you for the harvest.
Typically, lavender blooms from late spring to early fall, but it all depends on the variety and weather conditions. The purple flowers attract many different pollinators, which makes lavender a desired plant for your garden.
7. Harvesting
Once the blooms appear you can harvest your own lavender, but the first harvesting season will bring you only a few bunches. However, once the spring of the third year after planting the seeds arrives, you’ll be able to harvest a lot of bunches.
If you plan on using lavender in cooking you can pick just a few flower spikes, but if you want to make sachets or essential oil you’ll need much more.
However, the harvesting method and technique are the same. When harvesting mature plants, you should always do it in the morning before the midday heat because that’s when the plant oils are at their most intense.
You should harvest lavender in the early spring to give it plenty of time to produce new flowers for you to collect in the summer and fall.
Cut the lavender stems once half of the buds open with a sharp and sterilized pair of garden shears.
Finally, don’t cut the woody stems because it can harm the plant and lead to rot, and you won’t have much use for them anyway.
8. Producing Fruit
The last stage of lavender growth is fruit production. If the flowers have been properly pollinated, lavender can set and produce nut-like fruit filled with lavender seeds.
However, plants in cultivation seldom produce fruit so you probably won’t be able to grow a new Lavandin plant from the seeds you’ve cultivated. But don’t let this disappoint you because you can always propagate your plant through cuttings or root division.
How Long Does Lavender Take To Grow?
Lavender is a rather slow-growing plant and it may take up to three years for it to mature, which is really unfortunate considering more delicate varieties live up to five years.
However, some varieties can live to be 10 or even 15 years old. You do need to take good care of it and regularly prune it in addition to placing it somewhere it can get eight hours of sunlight every day.
Lavender Care Guide
Caring for lavender plants isn’t that hard, especially when you take into account its relatively low water requirements.
You simply need to pick a sunny location and plant it there, right? There’s actually a bit more to it, and if you want your lavender to see old age you should plant it in a substrate with good drainage, fertilize it, and never skip pruning.
You can learn all the ins and outs of lavender care in this section, and you’ll be able to grow this fragrant shrub in the comfort of your own home garden.
Light Requirements
Lavender plants require full sun to thrive, which means that it needs at least eight hours of sunlight a day. However, if the temperatures are scorching it might do well with a little bit of shade in the afternoon.
Remember that this plant is native to the Mediterranean, so you should try and mimic those conditions. Prolonged exposure to shade can inhibit its growth and flowering, which may be disheartening.
Therefore, even though you should plant lavender where it will be protected from the cold winter temperatures, you should also bear in mind that the spot should be sunny. So, don’t plant it at the base of tall trees with enormous crowns.
Water And Humidity
Lavender doesn’t need that much water and can survive in relatively dry soil. If you live in a region with a good amount of rainfall you shouldn’t water your lavender at all.
Instead, you should grow it on a raised bed and in well-draining soil so it doesn’t get waterlogged.
However, if you live in a dry climate you should water lavender every two weeks during the growing season, and if there’s been rain during that two-week period you should wait until the soil has dried out completely before watering.
Potted lavender grown outdoors or indoors also needs to be watered every other week during its growing season.
Outdoor lavender doesn’t need water at all in winter, while potted ones taken indoors should be watered every month or month and a half.
Humidity
Lavender doesn’t do well in humid environments, and although it can tolerate moderate humidity, high humidity levels could be the death of it.
This only makes things easier because you don’t have to mist it or buy a humidifier from Amazon to meet its basic needs.
However, the problems arise when we really want that lavender hedge or field and the humidity outside is dangerously high. Unfortunately, you’ll have to say goodbye to your idea of having a fragrant lavender hedge, but the field could work if you’re lucky and you reduce watering.
The only way to grow lavender in a region with high humidity is to leave plenty of room between the lavender plants when planting, as this will ensure good air circulation and give your plants a fighting chance.
Temperature
Ideally, you should grow lavender in temperatures between 70 and 75°F (21-24°C). However, most of the time that’s not possible, especially if you grow it outside.
But don’t worry, the Mediterranean is not that cool and is lavender’s native habitat.
Therefore, the temperature range that lavender can tolerate is a bit wider, and in summer it can thrive in temperatures between 68 and 86°F (20-30°C).
Winter is a whole different story. Lavender can survive night temperatures as low as 45°F (7°C), while the day temperatures should exceed 65°F (18°C).
Of course, just like you and me and all the other plants, it doesn’t tolerate drafts, so don’t place it below AC or near drafty windows and doors, etc.
Soil And Fertilizer
Lavender can flourish in soils with pH levels between 6.5-8.0, although it prefers alkaline soils to slightly acidic ones.
The good thing about this plant is that it can grow in a variety of mediums, including sandy, clay, and silt soils. However, its watering needs would differ as water infiltrates sandy soils faster than clay and silt substrates.
Also, the growing medium should be well-draining because lavender is very susceptible to overwatering, so adding sand is an excellent way of increasing drainage.
Finally, lavender doesn’t need fertile substrate to prosper (actually, it doesn’t want it), so don’t amend the soil with organic material before planting.
Fertilizer
You’ve probably noticed by now that lavender is really not all that demanding, and its fertilizer requirements are equally humble.
This plant doesn’t require fertilization at all. However, it is rather slow-growing, and if you want to speed up that process you can add general-purpose fertilizer twice a year during its growing season.
Fertilize the lavender some time in early spring and then again in fall, and that’s it. However, dilute the fertilizer in water so that you don’t accidentally over-fertilize your plant.
Pruning
Pruning lavender should be done regularly to avoid it turning woody, especially during the first two years when the plant is still young.
Remove all new growth after planting, including flower spikes. Try to mold it within the first year into a circle or a ball.
It will require extra pruning the following year. Lavender blossoms should be pruned in the spring to encourage greater blossoming. Then, when the fall comes knocking at your door, trim it again and deadhead the flower spikes to acclimate it to harvesting and shaping.
Even though both spring and fall pruning are important, your plant won’t immediately die if you forget to prune it in the fall.
No matter how easy it is to care for, lavender still requires some attention, so check out this video you can watch if you have any questions about springtime lavender care:
Q&A Corner
Lavender is a fantastic plant, and there are still some questions that require our attention.
That’s why we decided to answer them in this Q&A and complete this article with some fun facts about lavender plants.
How long can you harvest lavender?
You can harvest lavender as long as there are flowers to harvest, which means you can start in early spring and finish in fall before the plant enters dormancy.
Lavender flowers more than once during its season if there’s space for new flower spikes, so harvesting it in the early spring will ensure you get another good batch of lavender before winter.
How long does lavender live?
Lavender is not a plant with a long life span, and it usually lives somewhere between 5-7 years if you prune it, fertilize it, water it properly, and provide it with enough sunlight.
However, it also depends on the variety, and French lavender usually lives up to 5 years old, whereas English lavender has a slightly longer life expectancy.
French and Spanish lavender need milder climates, so they cannot live in colder temperatures like English lavender can, which can live up to 15 years if you take good care of it.
Final Thoughts
Knowledge about the lavender growth stages can really help you transform your garden or home into a Provence-style place. It is essential to know these stages as established lavender doesn’t need water at all if there’s enough rain, whereas lavender seedlings require water every 2-3 days.
These facts can help you grow a healthy lavender plant and start harvesting it as soon as the second year after planting arrives.
We also included some care tips for growing lavender so you know exactly how much light and fertilizer it needs, what type of soil to plant it in, and how to prune it.
Good luck growing your fragrant garden, and send us a picture of your lavender field – we’d love to see it!
Until next time!
Like this post? Share or pin it for later!