Leave Pumpkins On The Vine Until This Happens – But Watch The Ohio Frost Forecast
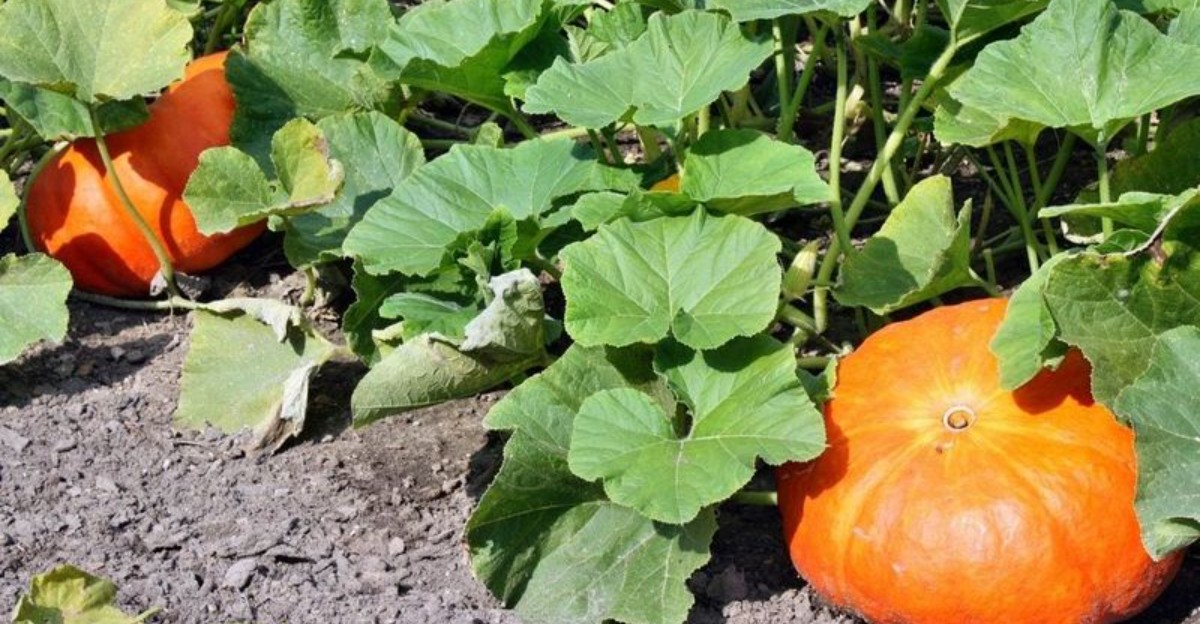
Pull your pumpkins too soon, and you’re settling for less flavor and a shorter shelf life than you could’ve had.
Homeowners tend to grab pumpkins off the vine based on size or a rough guess at timing, but one specific sign tells you they’re actually ready, and it has nothing to do with how big they look.
Pumpkins pulled before that point never fully develop the flavor or storage life the ones left a little longer end up with.
Ohio frost complicates the wait though. That same patience that improves your pumpkin can backfire fast if a hard freeze catches the vine before you’ve made your move.
Watch both signals closely this week, the plant’s cue and the forecast. Getting the timing right decides whether you’re carving pumpkins that lasted the season or replacing ones that didn’t.
1. Leave Pumpkins On The Vine Until Their Color Deepens
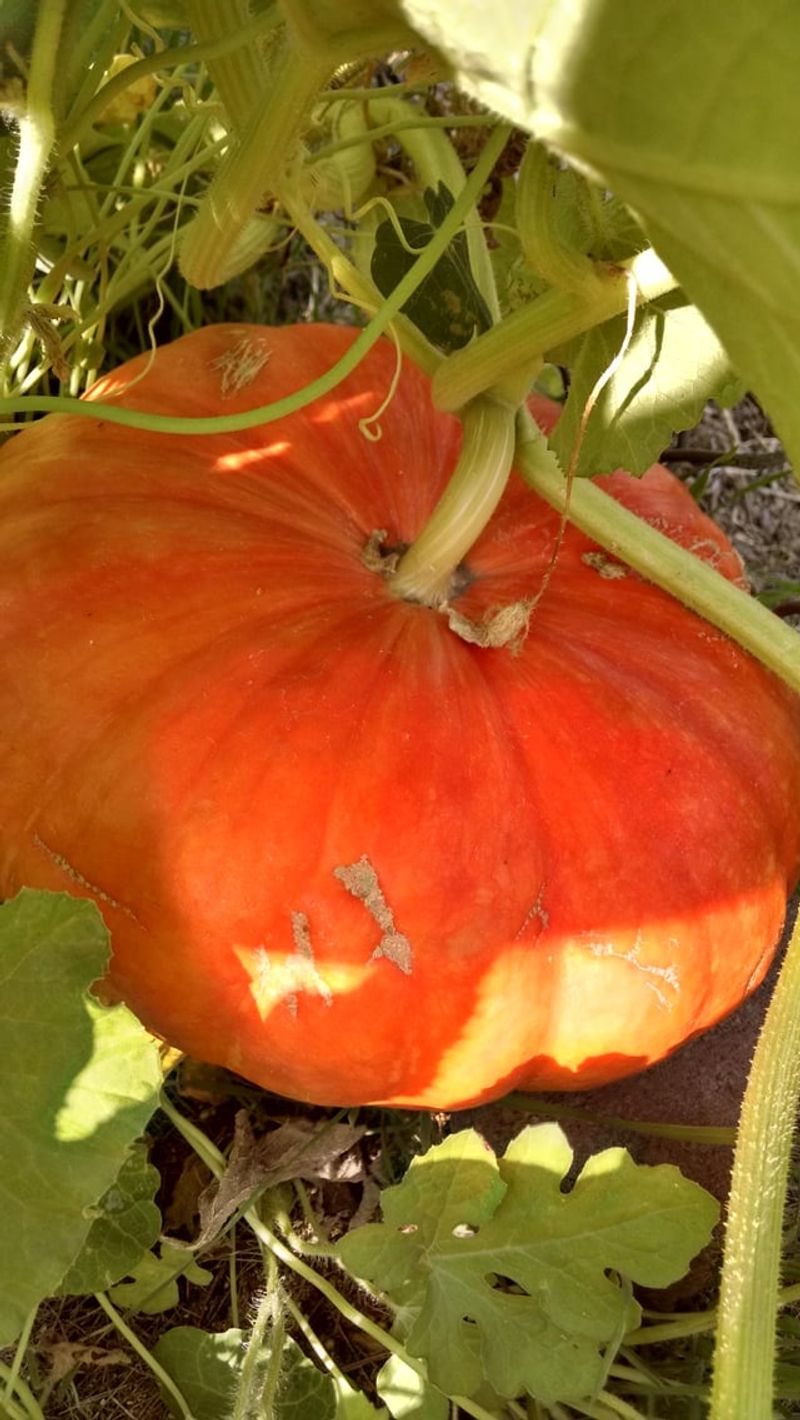
Picture a pumpkin blushing from pale yellow to a bold, glowing orange. That slow color change is the plant telling you it is nearly finished with its work.
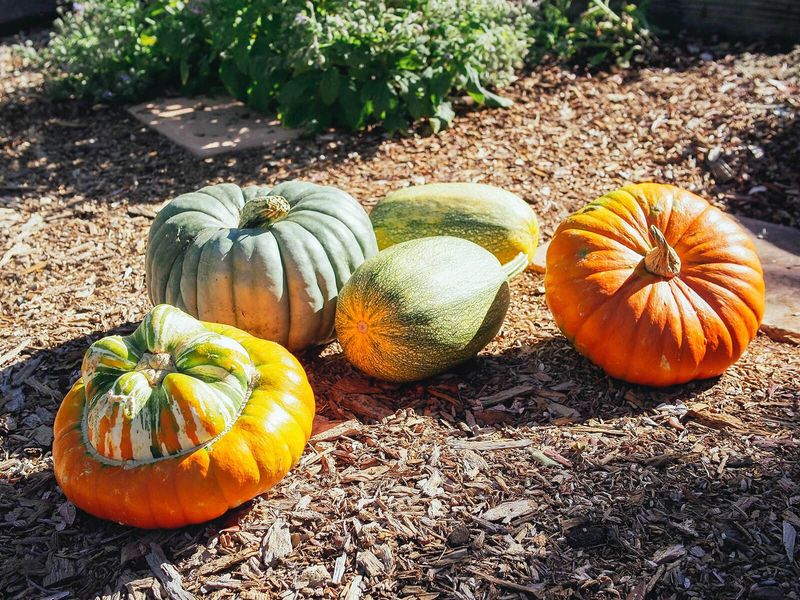
Every variety has its own ripe shade, so check the seed packet first. Some turn bright orange, while others ripen to white, tan, or even blue-gray.
Green patches on an orange pumpkin usually mean it needs more time. The inside is still filling out, and the sugars are still building up.
Walk your patch every few days and look at the whole fruit. Roll it gently to peek at the underside, since the spot touching soil often ripens last.
A pale belly is normal on many types. Still, the top and sides should look rich and even before you think about cutting.
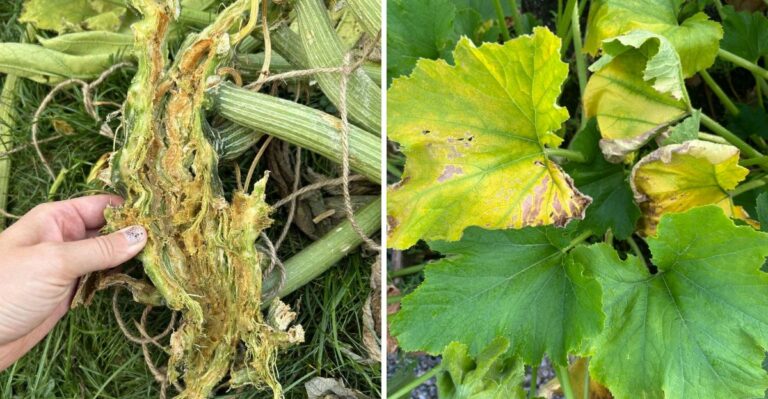
Vines give helpful hints too. As fall settles in, the leaves may wilt, yellow, and lose their bright green look.
That fading is not a bad sign at all. It often means the plant is pulling back and letting the fruit finish up.
Patience pays off here. A pumpkin picked with full color tends to taste sweeter and hold its shape longer on the porch.
Fun fact: pumpkins are technically fruits, and they belong to the same family as cucumbers and melons. Their color comes from natural pigments called carotenoids.
2. A Hardened Rind Signals Better Harvest Timing
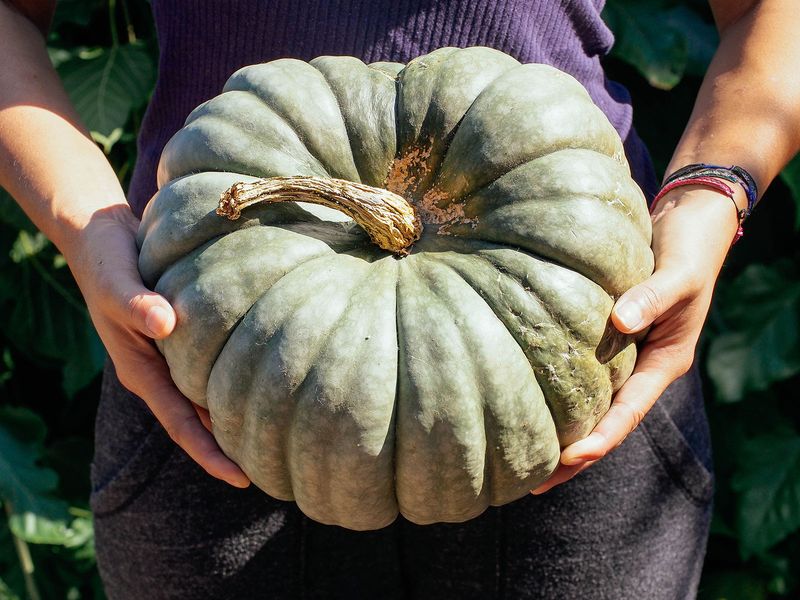
Here is a quick test that costs nothing but a thumbnail. Press your nail gently into the pumpkin skin and see what happens.
If the rind dents or scratches easily, the fruit is still soft inside its shell. Give it more time in the sun.
A ripe pumpkin pushes back. The skin feels tough, almost like a hard plastic bowl, and your nail barely leaves a mark.
Try tapping it lightly with your knuckles next. A mature pumpkin often makes a hollow, drum-like sound, a bit like knocking on a wooden door.
Kids love this part, so invite them along. Turning harvest checks into a game makes garden chores feel like an adventure.
Why does the rind matter so much? That tough outer layer is the armor that keeps moisture in and germs out.
Your Ohio Garden Changes Every Week. Your Plan Should Too.
Gardening in Ohio changes quickly throughout the season. Every Friday you’ll receive a simple weekly plan showing exactly what to plant, prune, fertilize, harvest, and protect so you never miss the right timing.
A soft shell lets rot sneak in quickly after picking. A hard one helps the pumpkin last for weeks or even months. Be gentle while testing, though. Pressing too hard in one spot can bruise the skin you are trying to protect.
Test a few different spots on each pumpkin. One side may harden before the other, especially if part of it sat in shade.
Once the whole rind passes the nail test, you are getting very close to picking day.
3. The Stem Should Begin To Dry And Harden
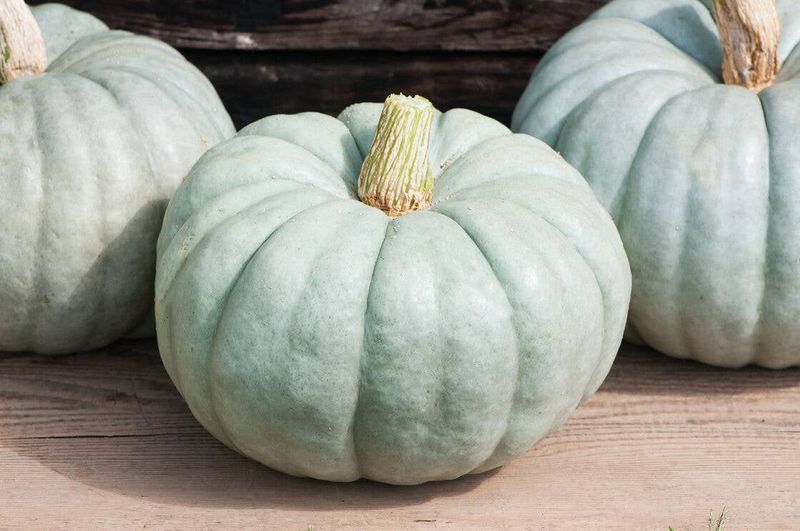
Old-time farmers liked to say the stem tells the truth. They were onto something smart.
Early in the season, a pumpkin stem is green, bendy, and full of juice. It works like a straw, carrying water and food from the vine.
As the fruit matures, that stem slowly turns brown. It dries out, cracks a little, and feels woody, almost like a small branch.
Look at the curly tendril closest to the pumpkin too. When it browns and shrivels, the plant has mostly stopped feeding that fruit.
These two clues together are some of the best signs you will find. Combined with deep color and a hard rind, they point to harvest time.
When you cut, use sharp pruners or a clean knife. Leave about 3 to 5 inches of stem attached to the pumpkin.
That little handle acts like a cork in a bottle. It helps seal the fruit and slows down decay after picking.
A pumpkin with no stem left often spoils much sooner. Germs slip right into the open spot at the top. Resist the urge to twist or yank the fruit free. A clean cut protects both the pumpkin and any remaining vine.
Wipe your tools between plants to keep things tidy and healthy.
4. Watch For Frost Before Waiting Too Long
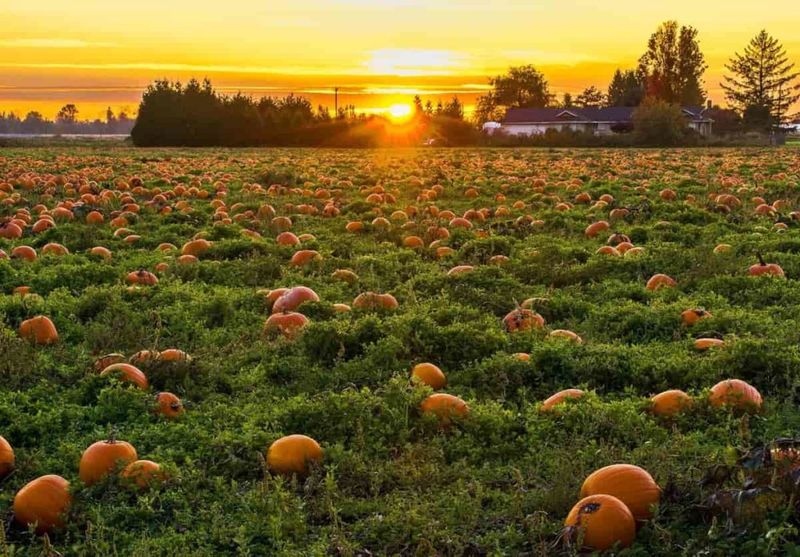
Ohio weather loves a surprise. One week feels like summer, and the next you are scraping your windshield before school.
Pumpkins are warm-season plants, and they start to struggle once temperatures dip below about 45 degrees. That makes fall forecasts your best garden tool.
Most of Ohio sees its first frost somewhere between early and late October. Northern areas and low valleys often get chilly nights sooner than southern spots.
A light frost, around 32 degrees, usually damages leaves and vines first. Mature pumpkins with tough rinds can often handle it without much harm.
Some growers even believe a small frost helps firm up the skin. Still, frost does not make pumpkins taste better or store longer.
In fact, cold exposure tends to shorten how long they keep. So waiting for frost on purpose is not a clever plan.
Check a trusted weather app or the local news each evening once October arrives. Look for overnight lows, not just daytime highs. Clear skies and calm winds often bring the coldest nights. Clouds act like a blanket and hold warmth close to the ground.
If a chilly night is coming and your pumpkins look ready, go ahead and pick them. There is no prize for cutting it close.
5. Cover Developing Pumpkins During A Brief Cold Snap
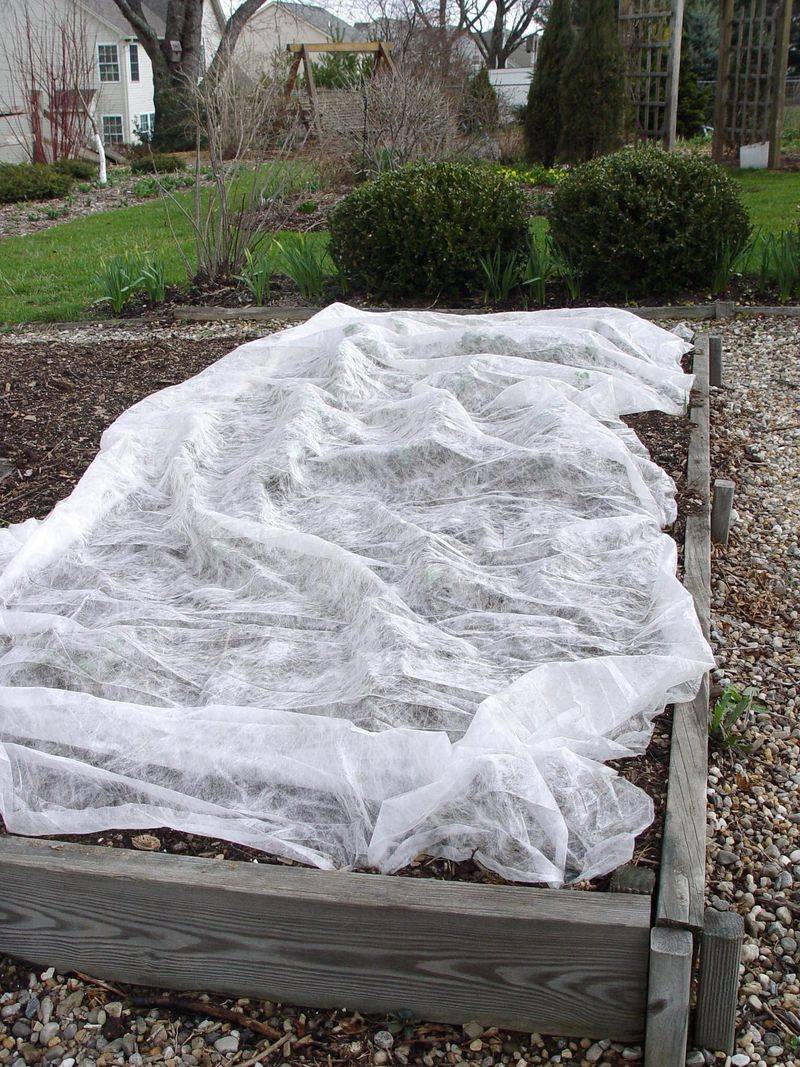
Sometimes a pumpkin just needs one more week. Then a cold night shows up uninvited, like a guest who arrives too early.
Good news: you can protect it. An old bedsheet, blanket, or garden row cover makes a cozy tent for unripe fruit.
The goal is trapping warmth that rises from the soil. Drape the cover loosely so it reaches the ground on every side.
That creates a small pocket of warmer air around the pumpkin. Weigh the edges down with rocks or bricks so wind cannot sneak underneath.
Skip plastic sheets touching the rind directly. Plastic can pass the cold straight through and actually harm the skin.
If plastic is all you have, lay a cloth layer under it first. Fabric is your friend here.
Tucking straw beneath the pumpkins helps too. It lifts them off the cold, damp ground and adds a little insulation.
Put covers on in the late afternoon while the soil still holds the day’s heat. Remove them the next morning once the air warms up.
Leaving covers on during sunny days can trap too much moisture. That invites mold, which you do not want.
This trick works well for short chills, not long freezes. Think of it as buying time, not beating winter.
6. Harvest Before A Hard Freeze Reaches The Garden
Twenty-eight degrees is the magic number to remember. Once the thermometer drops that low, you are facing a hard freeze.
A light frost mostly nips the leaves. A hard freeze goes deeper and can reach the flesh inside the pumpkin.
Frozen flesh does not bounce back well. As it thaws, you may see soft, water-soaked patches that look darker than the rest of the skin.
Those spots break down fast. A pumpkin that looked perfect on Monday might turn mushy by the weekend.
So when the forecast mentions temperatures in the upper 20s, head outside. Pick every pumpkin that is ready, and even some that are close.
Fruit with mostly good color will often keep ripening a little indoors. Green, soft ones rarely improve, but they can still work as short-term decorations.
Plan your harvest for a dry afternoon if you can. Wet pumpkins carry more risk of rot once they are brought inside.
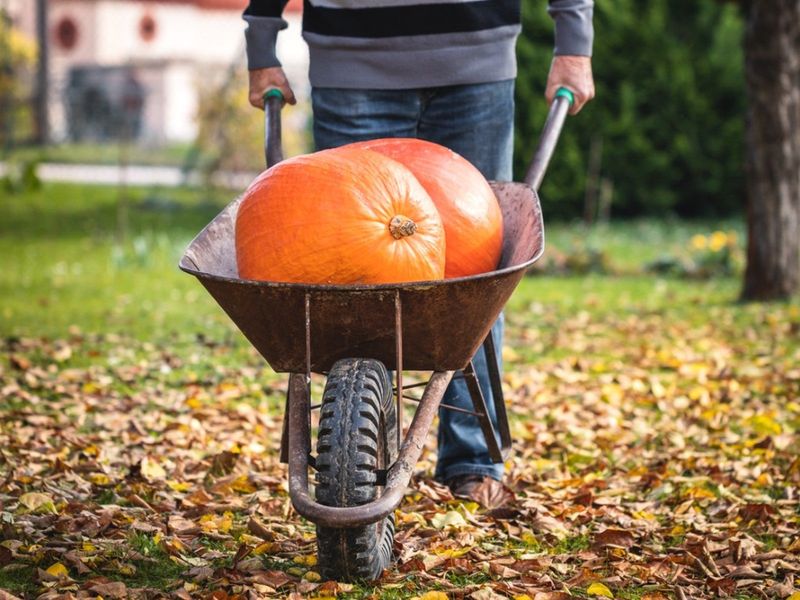
Grab pruners, gloves, and a wagon or wheelbarrow lined with an old towel. Having everything ready makes the job quick and calm.
Picking a day early feels much better than losing your crop overnight. Your future pumpkin pie will thank you for acting fast.
Consider it a friendly race against the weather, and one you can win.
7. Handle Pumpkins Gently To Prevent Hidden Bruises
Treat your pumpkins like a carton of eggs. They may look tough, but they bruise more easily than you would guess.
A small bump today can become a soft, rotten spot next month. Bruises often hide under the skin, where you cannot see them right away.
Cuts and punctures are even riskier. They open a doorway for mold and bacteria to move in and start spoiling the fruit.
Here is a common mistake: lifting a pumpkin by its stem. It feels like a built-in handle, yet stems can snap under the weight.
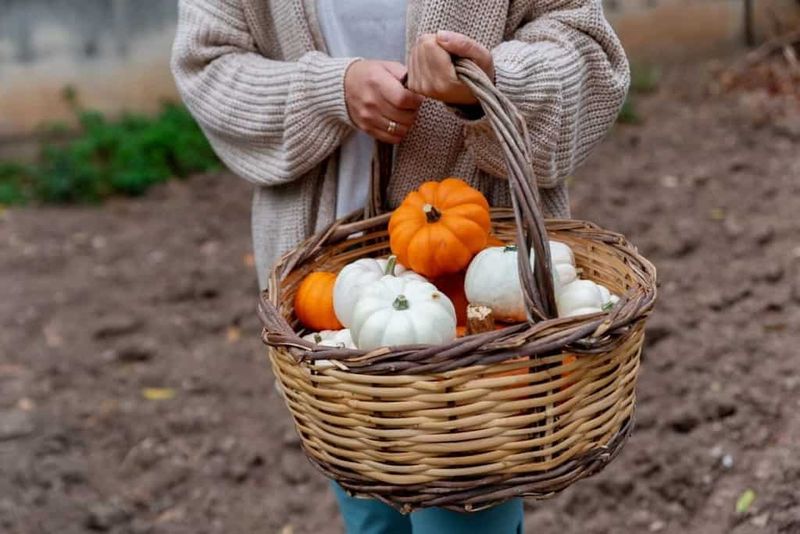
Instead, slide both hands under the pumpkin and carry it from the bottom. Hug big ones close to your body for extra support.
Line your wagon, wheelbarrow, or car trunk with blankets, towels, or straw. Soft padding stops pumpkins from rolling and knocking together.
Set each one down slowly rather than dropping it. Even a short fall onto hard ground can cause trouble.
Wear gloves while you work. Pumpkin vines and stems have prickly hairs that can scratch your hands and arms.
If a pumpkin does get damaged, keep it separate. Use it first for cooking, carving, or baking so nothing goes to waste. A little care now means a lot more pumpkins lasting until Thanksgiving.
8. Cure Mature Pumpkins In A Warm, Dry Spot
Curing sounds fancy, but it is basically a spa week for pumpkins. A little warmth and rest help them get ready for the long months ahead.
During curing, the rind hardens even more. Tiny scratches heal over, and the skin becomes a stronger shield against rot.
Find a warm, dry spot with good airflow. A sunny porch corner, a garage, or a well-ventilated shed can all work nicely.
Aim for temperatures between about 60 and 85 degrees. Many experts suggest the warmer end, around 80 to 85, for the best results.
Moderate humidity helps as well. Too damp invites mold, while too dry can make the pumpkins shrivel.
Spread them out in one layer so they do not touch. Air should move freely around each fruit. Keep them out of harsh direct sunlight. Strong rays can scorch or fade the rind over several days.
Let them cure for about 7 to 14 days. Check them every couple of days and turn them gently if one side feels damp.
Pull out any pumpkin that shows soft spots. One bad fruit can spread trouble to its neighbors.
Once the skin feels tough and dry all over, your pumpkins are ready for their next home.
9. Move Fully Ripe Pumpkins Into Winter Storage
Imagine slicing into a homegrown pumpkin in January while snow piles up outside. Good storage makes that cozy moment possible.
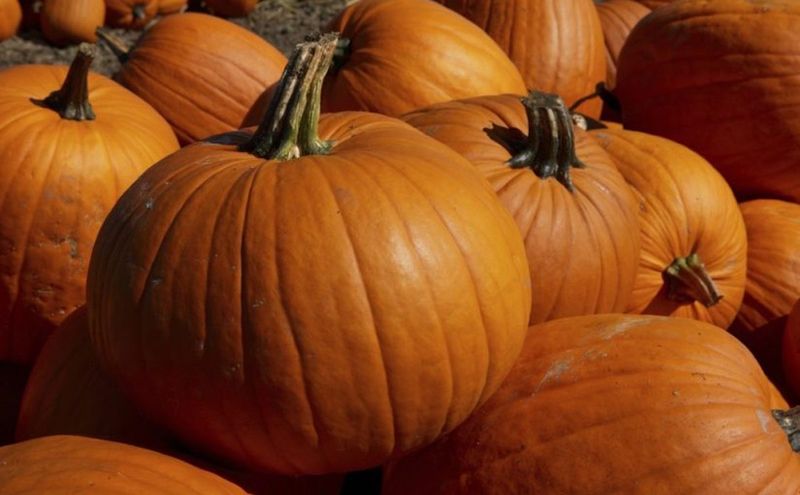
After curing, move your pumpkins somewhere cool, dry, and dark. A basement, cool closet, or unheated spare room often works well in Ohio homes.
Try to keep the space between 50 and 60 degrees. Colder than that can cause chill damage, while warmer rooms shorten storage life.
Humidity should stay moderate, roughly 50 to 75 percent. Air that is too damp encourages rot, and air that is too dry leads to wrinkling.
Place pumpkins in a single layer with space between each one. Touching fruit can trap moisture and pass spoilage along.
Skip bare concrete floors. Set them on wooden pallets, cardboard, or a few sheets of newspaper instead.
Good airflow matters here too. A small fan or an open doorway can help keep the air fresh.
Check your stash once a week. Look for soft spots, leaking, or fuzzy mold, and remove any troublemakers right away. Well-stored pumpkins can last two to three months, and some thick-skinned types go even longer.
Fun fact: pie pumpkins and winter squash usually outlast big carving pumpkins in storage. Their dense flesh holds up better through the cold months.