8 Mistakes New Yorkers Make When Storing Garden Tools For Winter
Water swells by roughly nine percent when it freezes, and that tiny stretch can split a hose overnight. I learned that lesson one January morning, holding a cracked coil that looked fine just days before.
New York winters bring repeated freeze and thaw cycles, plus damp air that creeps into sheds and garages. Unprotected steel left in those conditions can grow orange freckles of rust within a few short weeks.
You work hard on your beds all season, and your tools quietly carry most of that heavy lifting. After I tested a few simple storage habits, my spring chores started faster and felt far less frustrating.
Most of the slipups I see across New York come from good intentions and a busy autumn schedule. So which small habits are secretly costing you money, and how easy are they to fix this year?
1. Muddy Shovels Packed Away Without A Good Scrub
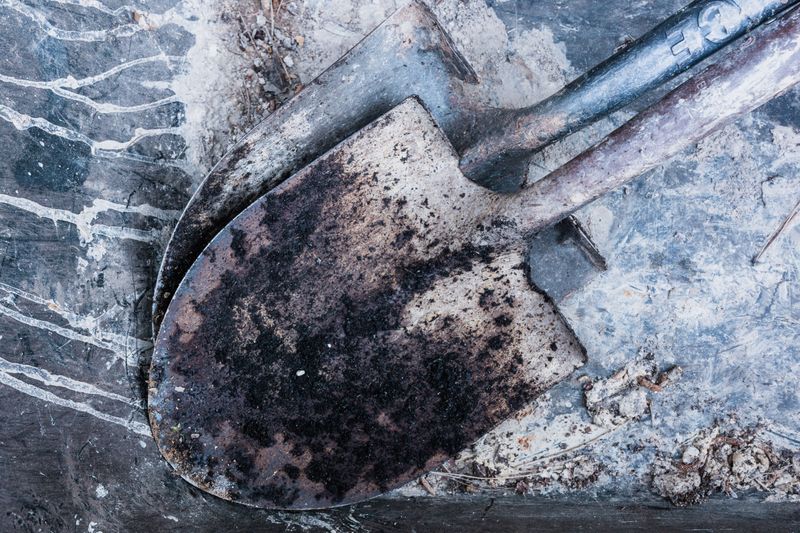
Scrape a crust of October mud off a spade in a New York garden, and you will often find a damp, gritty layer underneath. That hidden soil holds moisture against the steel for months, which gives rust a comfortable place to start.
Soil can also carry fungal spores and bacteria from plants that struggled with blight or leaf spot this year. Bring those along into spring, and you might spread trouble to fresh seedlings without realizing it at all.
I start by knocking off loose clumps with a stiff brush, then use a putty knife on stubborn spots. A bucket of warm, soapy water softens most caked mud on shovels and garden forks in a few minutes.
Pruners and loppers deserve extra attention because their blades touch living tissue every time you make a cut. Many university extension services, including those across New York, suggest wiping them with seventy percent rubbing alcohol to reduce lingering plant pathogens.
Household bleach works too, but it can pit metal, so rinse and dry blades soon after using it. I prefer alcohol for small tools because it evaporates fast and leaves no corrosive residue behind on steel.
Sticky sap on pruning blades responds well to a little mineral spirits or a dab of household cleaner. Wipe the hinge area carefully, since gunk loves to hide where the two blades pivot against each other.
You might notice that a clean tool simply feels nicer in your hand when the first warm day arrives. Ten minutes of scrubbing now saves a frustrating hour of scraping rust and dried soil next April in New York.
2. Damp Pruners Tossed Into A Drawer Too Soon
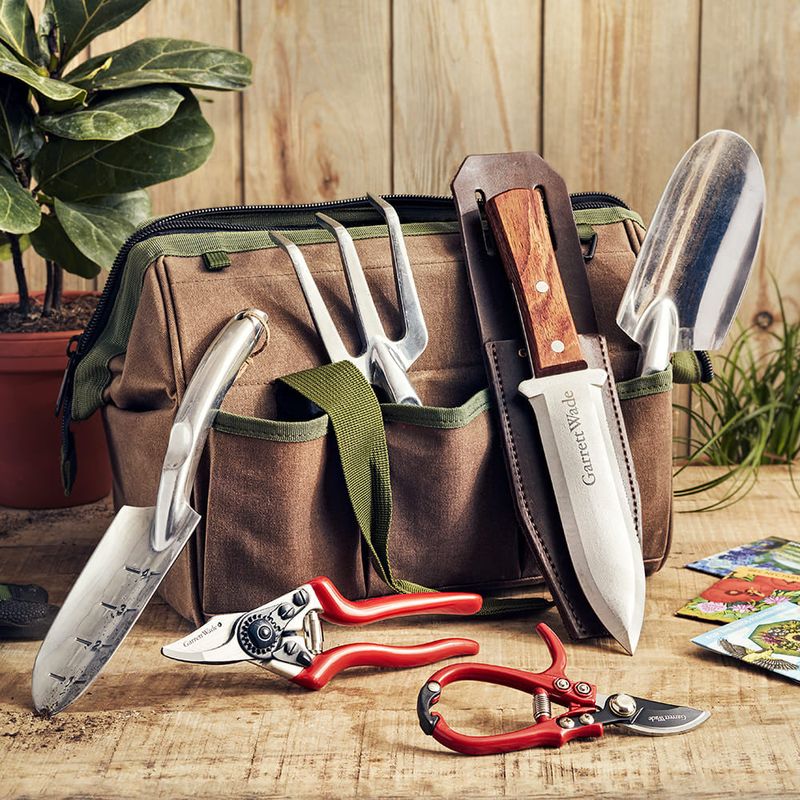
Fresh from the wash bucket, wet pruners look sparkling clean, yet they are quietly inviting rust into every crevice. Water clings inside hinges and springs, where a quick swipe with a towel rarely reaches the hidden moisture.
I skipped the drying step one fall and opened my tool drawer to find orange spots spreading everywhere. Even stainless steel can show some staining when water sits against it for weeks inside a closed space.
Start with a clean, absorbent rag and wipe every blade and joint until no shiny film of water remains. Then set tools somewhere warm and airy for at least twenty minutes so leftover dampness can evaporate.
Open pruners and shears fully during drying, because a closed hinge can trap a surprising amount of water. Hanging them on a hook near a sunny window or a gentle fan speeds things along nicely.
Wooden handles need patience too, since wood absorbs water and swells slightly when it soaks in a bucket. Store a damp handle in freezing weather, and that trapped moisture can encourage cracks along the grain.
A hair dryer on a low setting works wonders for tricky spots like springs and narrow locking mechanisms. Just keep it moving so you warm the metal gently rather than blasting one small area for too long.
Once everything feels dry to the touch, you are ready for oiling and proper storage in a safe spot. Rushing this simple step undoes all your scrubbing, and honestly, that feels like the bigger heartbreak to me.
3. Tools Stored In A Damp Basement Or Leaky Shed
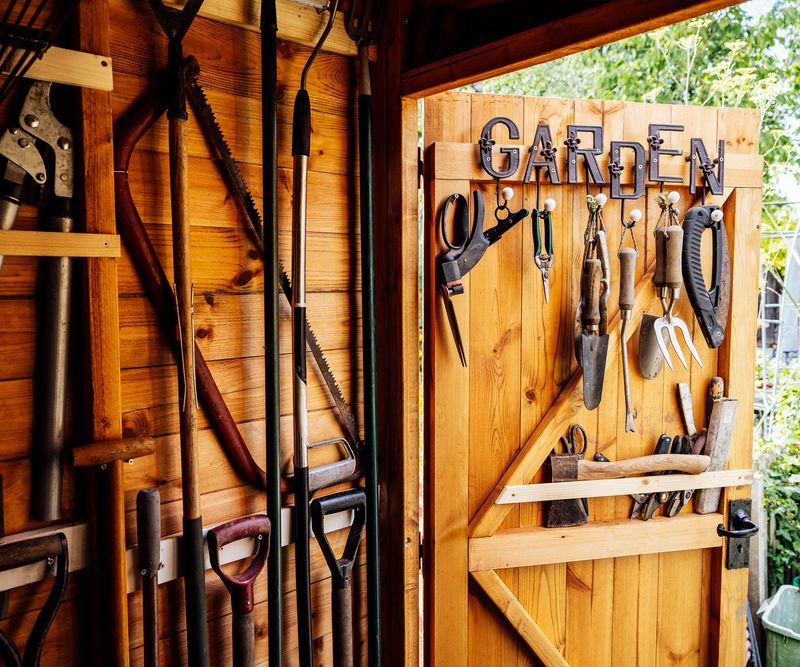
Basements in older New York homes can feel cozy, but many hold a humidity level that metal quietly resents. Damp air settles onto cold blades and forms tiny beads of condensation that feed rust all winter long.
Uninsulated sheds bring their own problems, since temperatures swing hard between sunny afternoons and frigid nights. Each swing can push moisture onto metal surfaces, especially when warm, humid air meets a chilly tool.
Most extension guides recommend storing tools in a dry, sheltered spot with decent airflow through the colder months. An attached garage often works well, as long as the roof does not leak and puddles do not form.
If the basement is your only option, a small dehumidifier can lower moisture levels and protect your gear. Aim for relative humidity around fifty percent or lower, which also helps keep mold away from wooden handles.
I keep a cheap hygrometer on a shelf near my tools, and it tells me more than guesswork. Those little gauges often cost less than a new trowel, so they pay for themselves rather quickly.
Shed owners can seal gaps around the door and add a small vent to keep air moving gently. Moisture-absorbing packets or a tub of calcium chloride crystals can help in tight spaces without electricity.
You build your garden with real care, so your tools deserve a home that treats them kindly too. A dry corner with steady conditions beats a fancy shed that drips every time the snow begins melting.
4. Rakes And Hoes Piled On A Cold Concrete Floor
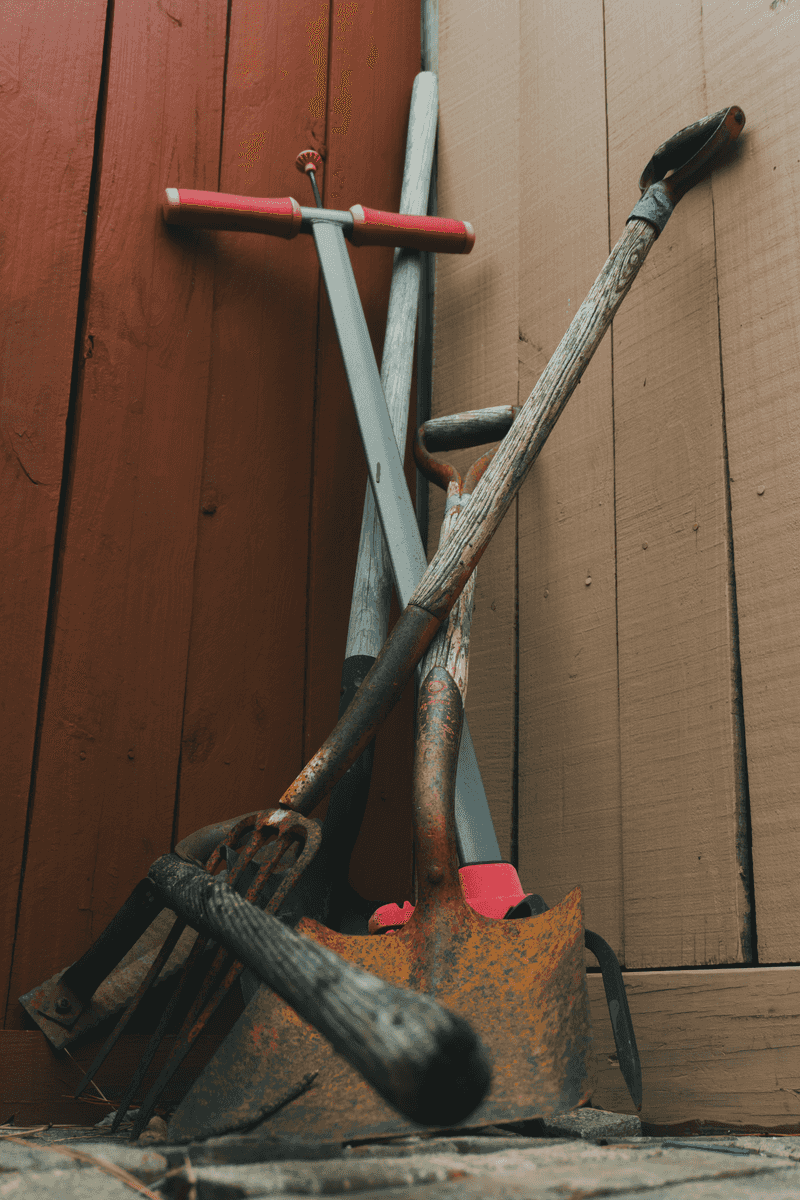
Concrete floors look solid and dry, yet they often wick moisture up from the ground beneath them all winter. Lean a rake against that chilly slab, and its metal tines will sit in a damp microclimate for months.
Piled tools also bump and scrape against each other whenever you reach for something at the bottom. Sharp edges on hoes and spades dull quickly when they knock against other steel in a crowded heap.
Wooden handles can warp when they lean at an angle for weeks, carrying weight unevenly along their length. A slightly bent handle might not seem like much until you feel it wobble during spring digging.
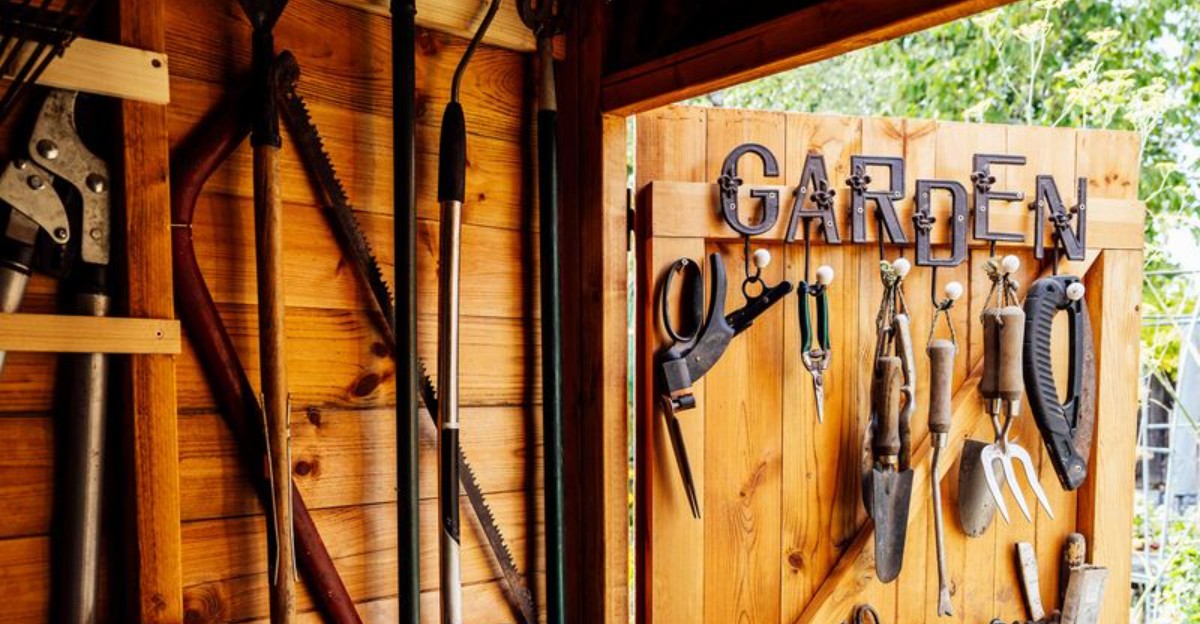
Wall hooks and pegboards are my favorite fix because they keep every tool visible and easy to grab. Hanging each piece separately lets air circulate around the metal, which helps any lingering moisture dry out naturally.
Long-handled tools fit nicely in a simple rack with the heads pointing up and away from the floor. Small hand tools can rest in a shallow bin on a shelf rather than rattling around together.
For heavier items that cannot hang, set a wooden pallet or a couple of boards under them first. That small gap between steel and concrete reduces moisture contact and keeps rust from creeping along the edges.
I still smile at how calm an organized wall makes a cramped garage feel during those gray months. Plus, you will spend less time tripping over handles when you only came looking for the snow shovel.
5. Bare Steel Blades Left Without A Coat Of Oil

Rust is basically iron reacting with oxygen and water, and bare steel gives it an easy surface to grab. A thin film of oil blocks that contact, acting like a raincoat for your blades during the damp months.
Many gardeners scrub and dry their tools beautifully, then stop just short of this simple protective step. Without a coating, even a clean shovel can develop speckled rust after a few weeks in humid storage.
Before oiling, I sharpen dull edges with a file or a whetstone, since clean metal shows nicks clearly. Sharpening in fall means you can grab a ready tool on the first warm spring morning without delays.
Next, put a few drops of oil on a clean rag and wipe a light coat over every metal surface. You want a thin sheen rather than a dripping mess, because excess oil collects dust and grime over time.
Light machine oil and camellia oil both work well, and many gardeners like a quick spray lubricant too. Some people use vegetable oil, though it can turn sticky or rancid if tools sit unused for months.
Older advice suggested dipping tools into a bucket of sand mixed with used motor oil for storage. Most experts now discourage used motor oil because it contains contaminants you do not want soaking into garden soil.
Pay special attention to pruner pivots, since a drop of oil there keeps the action smooth and responsive. Work the handles open and closed a few times to spread the oil deep into the joint itself.
6. Dry Cracked Wooden Handles Left Untreated
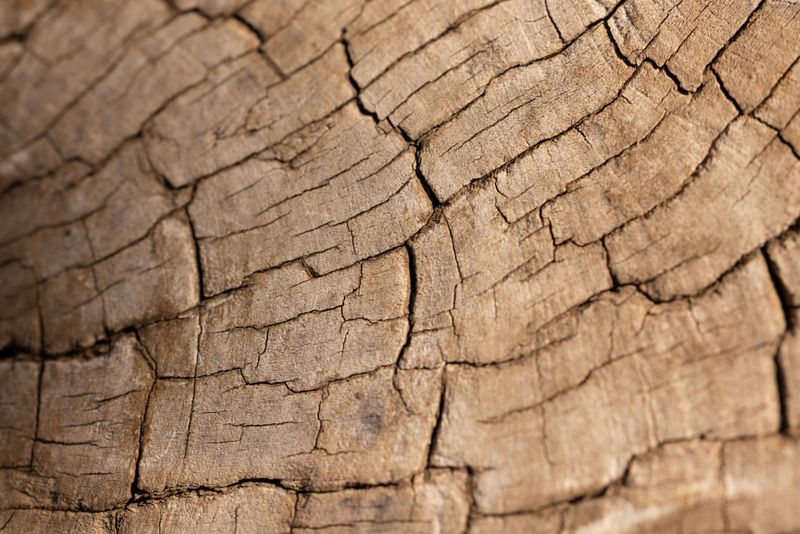
Run your palm along an old ash handle in winter, and you might feel tiny splinters waiting to bite. Wood loses moisture in dry indoor air, and those shifts can open cracks along the grain over time.
A rough handle is more than an annoyance, since splinters and blisters make long digging sessions miserable. A deep crack can also weaken the handle, which raises the chance of a sudden snap under heavy loads.
I start with a damp cloth to wipe away soil and sap, then let the wood dry fully. Medium sandpaper smooths rough patches, and a finer grit afterward leaves the surface feeling silky under your fingers.
Boiled linseed oil is a classic finish for tool handles, and it soaks deeply into the wood fibers. Rub on a thin coat, then wipe away whatever the wood has not absorbed after about fifteen minutes.
Safety matters here, because rags soaked with linseed oil can heat up and catch fire on their own. Lay used rags flat outdoors to dry, or seal them in a metal can filled with water.
Tung oil and commercial wood conditioners work too, so pick whatever product you find easiest to use. Painted or varnished handles mostly need cleaning, plus a light sanding wherever the finish has chipped away.
After I tested this routine on a battered rake, it felt almost new when spring cleanup rolled around. Old handles carry plenty of stories, and a little oil helps them stay comfortable for many more seasons.
7. Gas Mowers And Batteries Skipped During Winter Prep
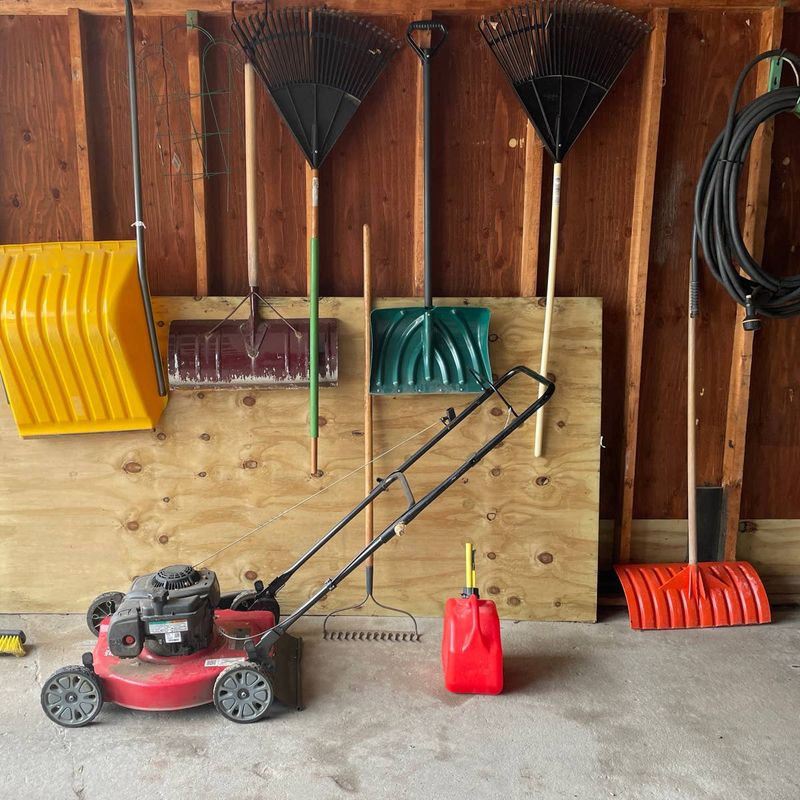
Gasoline can start breaking down in as little as a month, leaving gummy varnish inside small engines. That sticky residue clogs carburetor passages, which explains why so many mowers refuse to start every April.
Gasoline blended with ethanol, common at pumps across New York, also attracts moisture while it sits idle. Water mixing into fuel can cause corrosion and rough running, so stale gas becomes a real headache.
Many manufacturers suggest adding fuel stabilizer to a full tank, then running the engine for several minutes. Running it briefly pulls treated fuel through the system, so the carburetor stays protected during the long break.
Others prefer draining the tank and running the engine until it stops, which leaves little fuel behind. Your owner’s manual knows your specific machine best, so check it before choosing either approach for storage.
Battery tools need different care, since lithium-ion packs dislike sitting fully drained or stored in freezing temperatures. Many makers recommend storing batteries partly charged, often around forty to sixty percent, in a cool indoor spot.
Remove batteries from the tools themselves, and keep them away from loose metal objects like nails or keys. A closet shelf inside the house usually works better than an unheated garage during deep winter cold snaps.
I am surprised how many repair shops stay busy each spring fixing problems a little fall prep prevents. A clean mower deck and a fresh spark plug check now can spare you a costly service visit later.
8. Garden Hoses Left Full Of Water On The Spigot
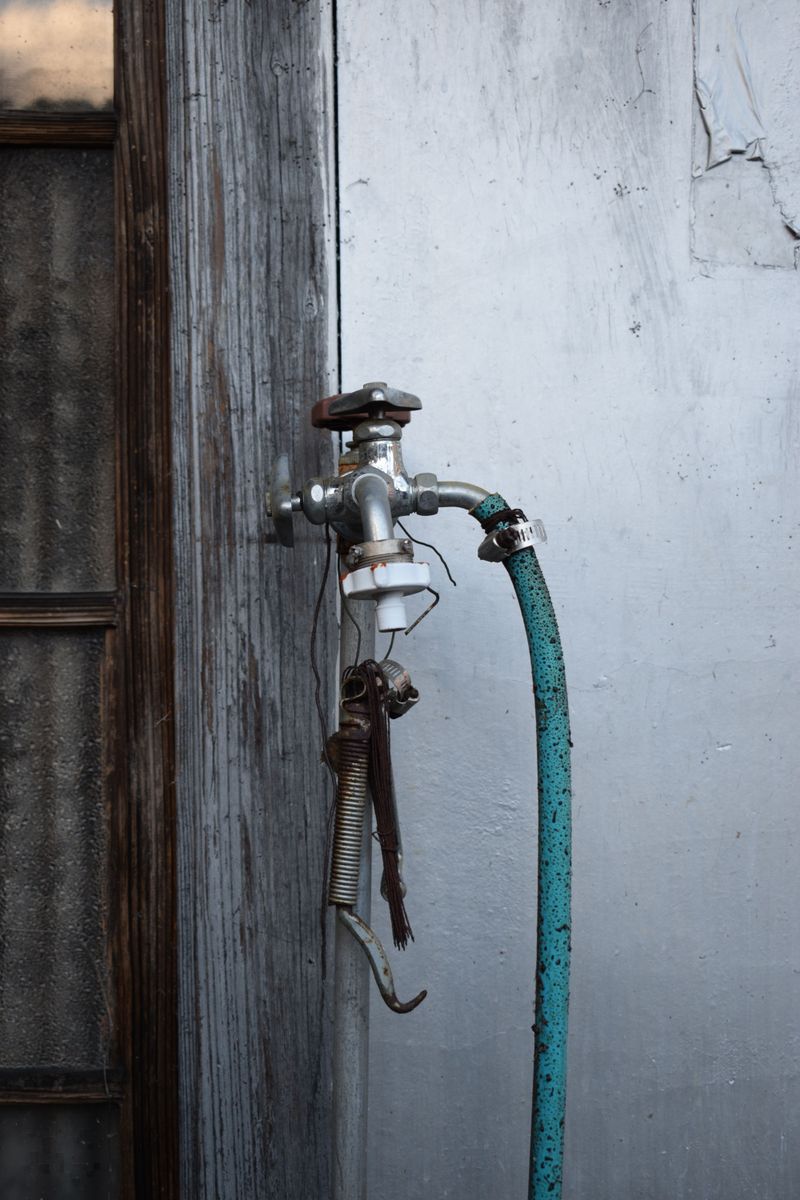
A garden hose left attached to an outdoor faucet can turn into an ice plug during the first hard freeze. That ice can push back into the spigot and pipe inside the wall, sometimes causing a burst pipe.
Frost-free sillcocks are common in newer homes, but they only work properly when the hose is disconnected. Water trapped by an attached hose stays inside the valve, which defeats the clever design meant to protect it.
Disconnect every hose before nights dip below freezing, then stretch each one out on a gentle slope. Let gravity drain the water, and walk the length lifting sections so stubborn pockets run out the end.
Coil drained hoses loosely and store them indoors, since cold rubber and vinyl crack more easily when bent. A hose reel or a large bucket in the garage keeps them tidy and away from sharp tools.
Many homes have an indoor shutoff valve for outdoor faucets, and closing it adds valuable protection. Open the outside spigot afterward so remaining water drains out, then add an insulated foam cover for extra security.
Spray nozzles and battery hose timers should come inside too, since freezing water can crack their plastic housings. In-ground sprinkler systems usually need a professional blowout with compressed air, which many landscapers offer every fall.
Watering cans and rain barrels deserve a quick empty as well, because ice can split plastic seams. Turns out the easiest winter chore might also be the one that saves you the priciest plumbing repair.