How To Take Care Of The Monstera Acacoyaguensis
Monstera plants are relatively common houseplants, and their large, tropical leaves decorate many homes all over the globe!
However, some Monsteras are rare plants that aren’t cultivated frequently. This especially refers to the Monstera Acacoyaguensis plant, also known as the Swiss Cheese plant.
It is a climbing, tropical plant that is native to Mexico, Belize, and Guatemala. What’s interesting about this plant is that it produces flowers, which is rather uncommon for the majority of Monstera species.
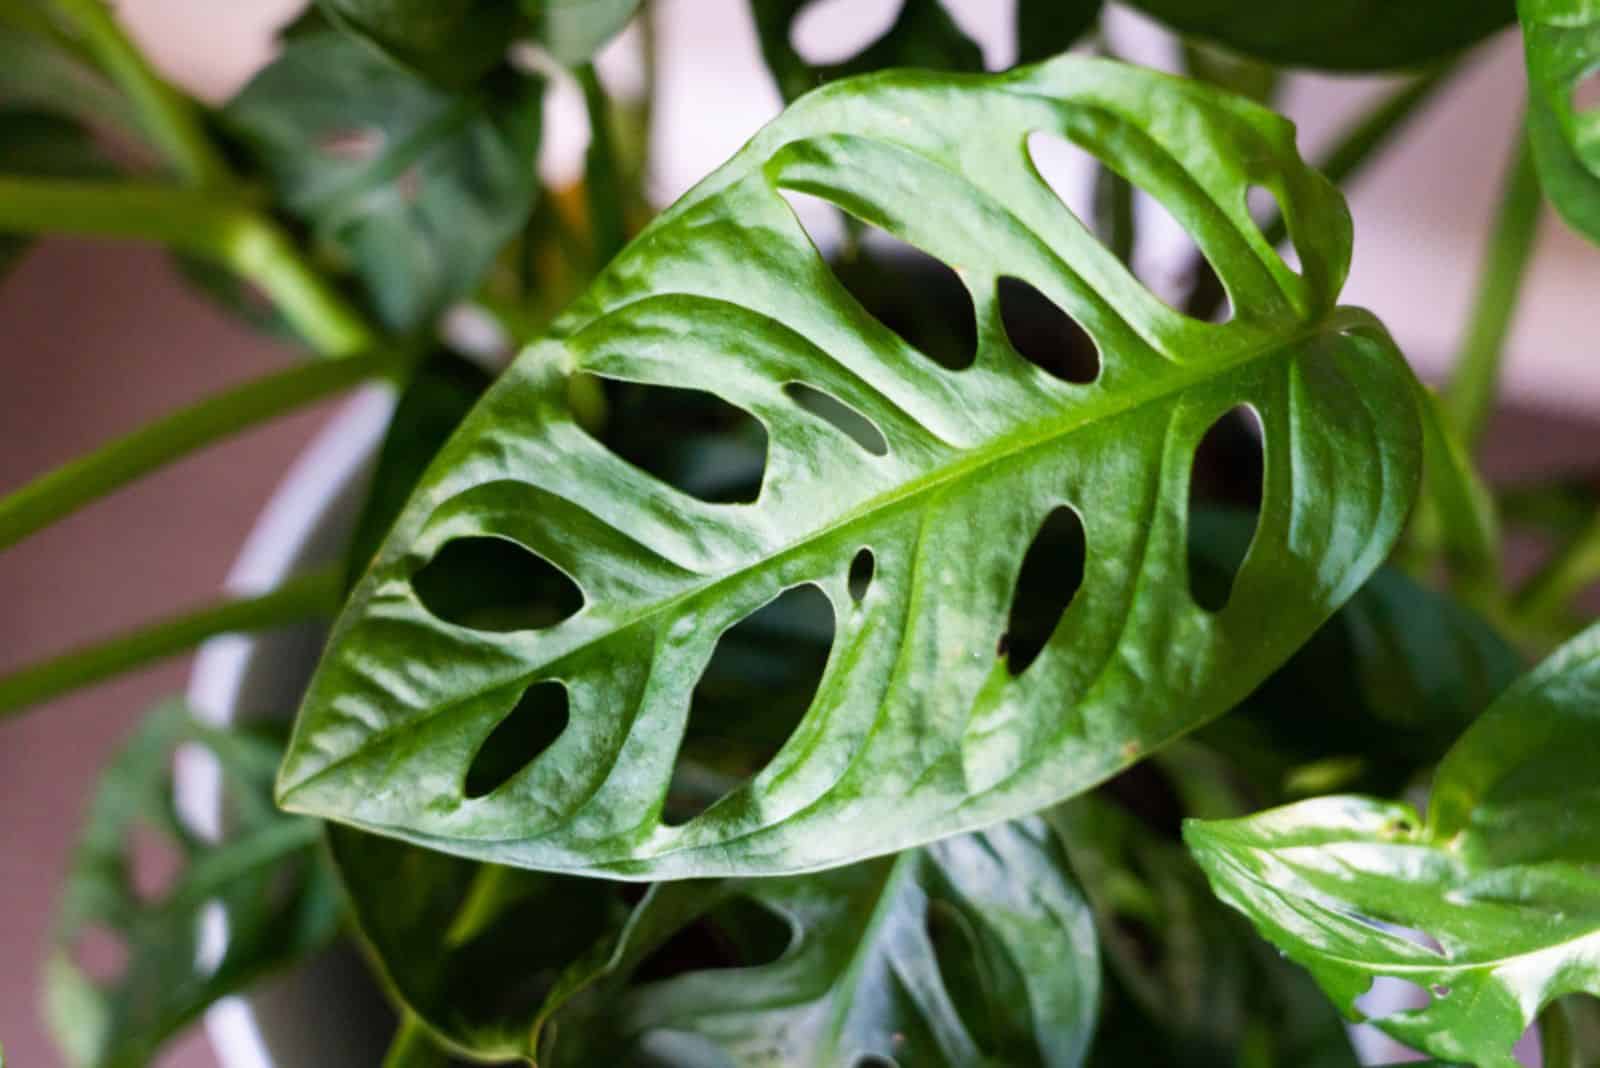
Monstera Acacoyaguensis leaves are definitely the reason this plant is so extraordinary. The leaves are fenestrated, but the margins of the leaves don’t break, so you ultimately end up with something that looks more like the skeleton of a plant.
Spooky, right?
If you want to know more about the Monstera Acacoyaguensis and its plant care guide, keep reading!
Monstera Acacoyaguensis: Common Features
First, let’s look at some of the basic information regarding Monstera Acacoyaguensis:
[table id=480 /]
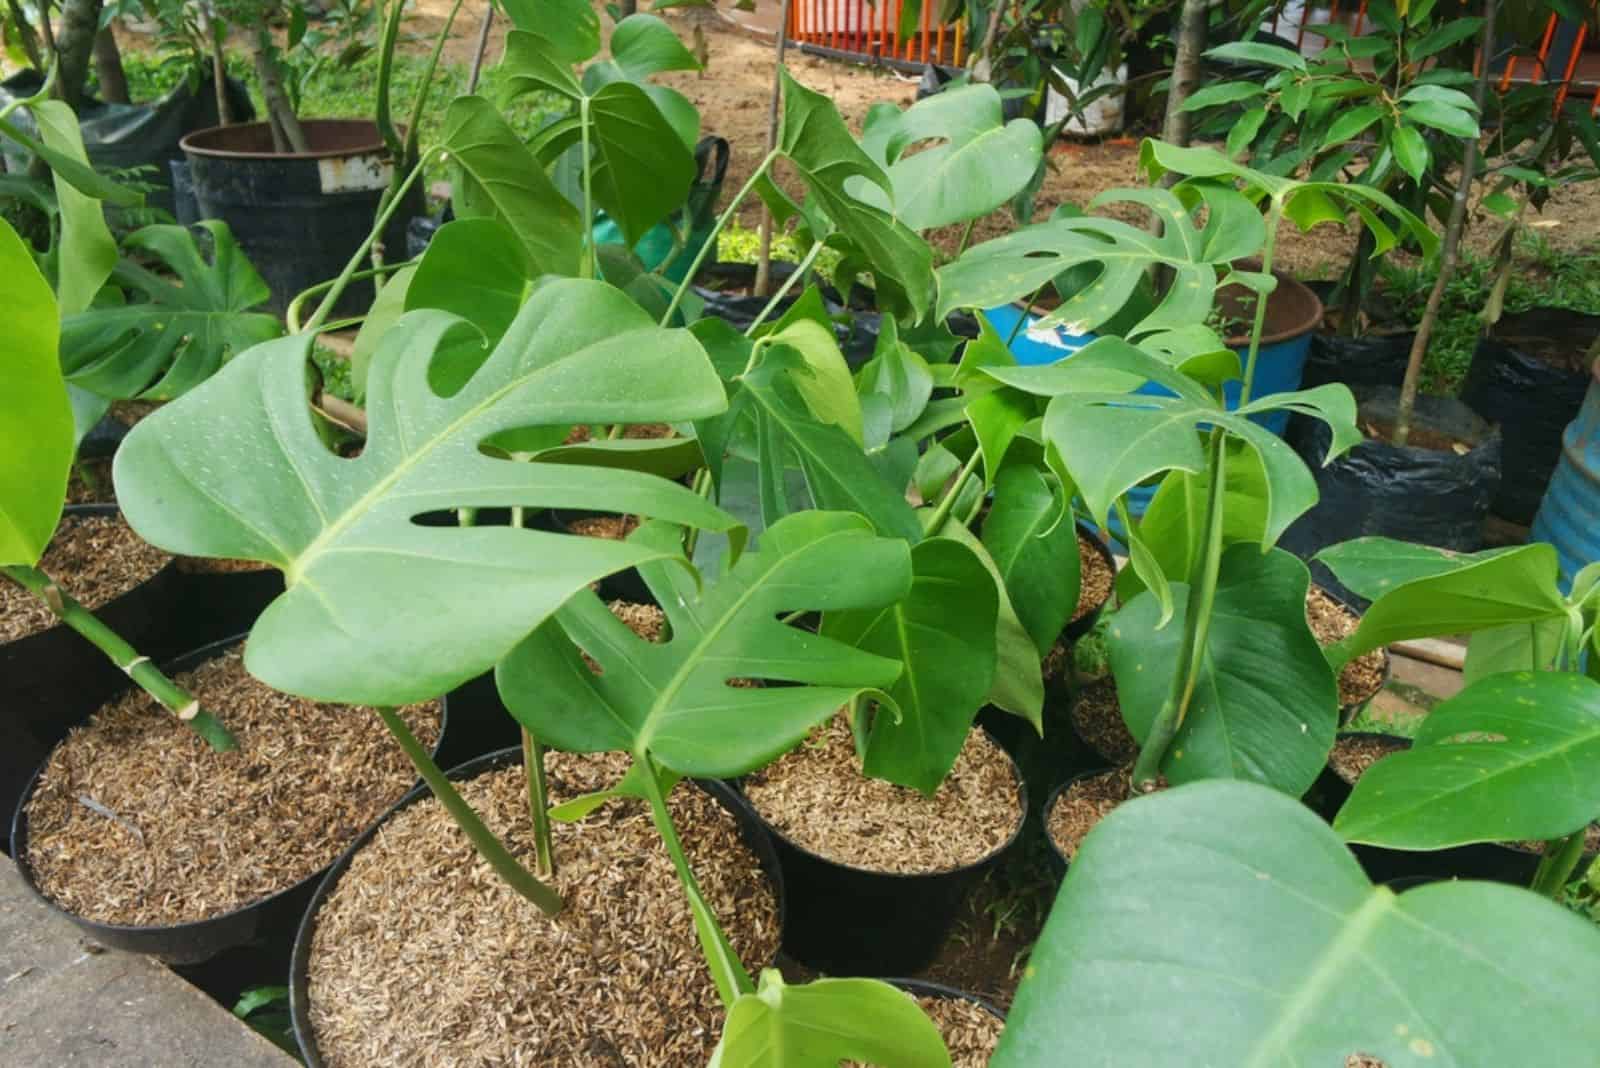
Plant Size
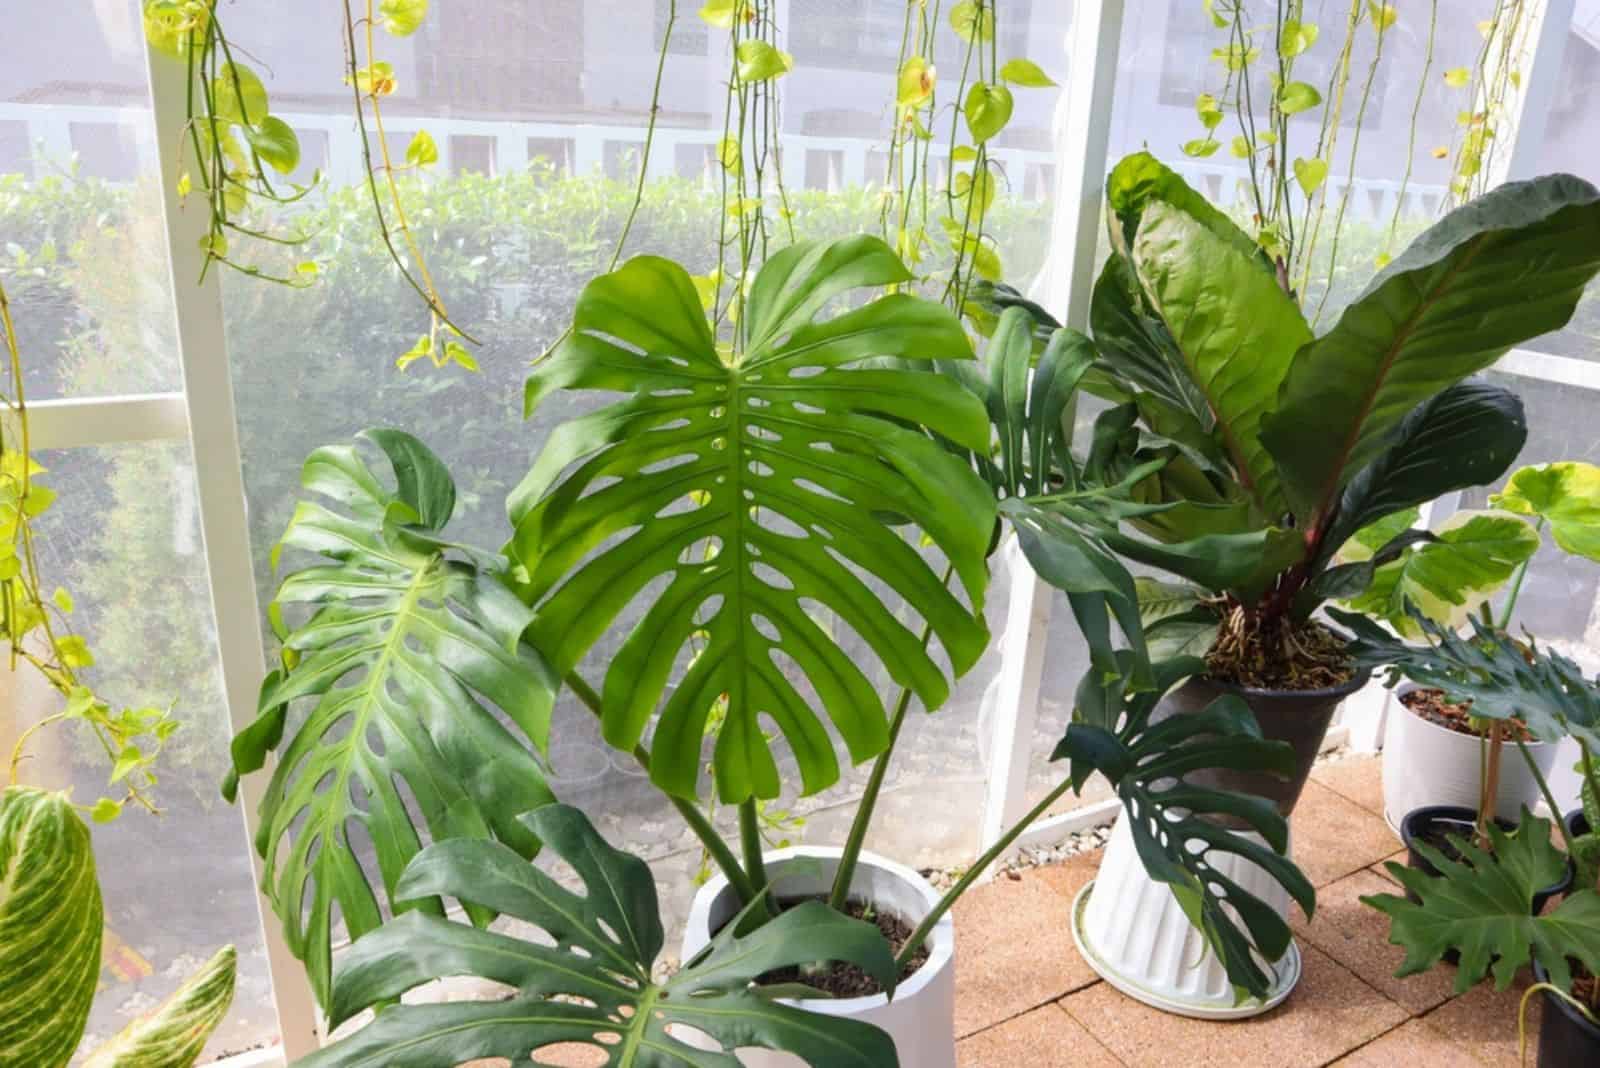
In its natural habitat, this Monstera species can grow up to 20 feet tall!
However, the growing conditions indoors significantly differ, which is why this plant is able to grow from 4 to 6 feet tall under perfect conditions. This is actually a good thing because who could maintain a 20 feet tall plant?
Growth Habits
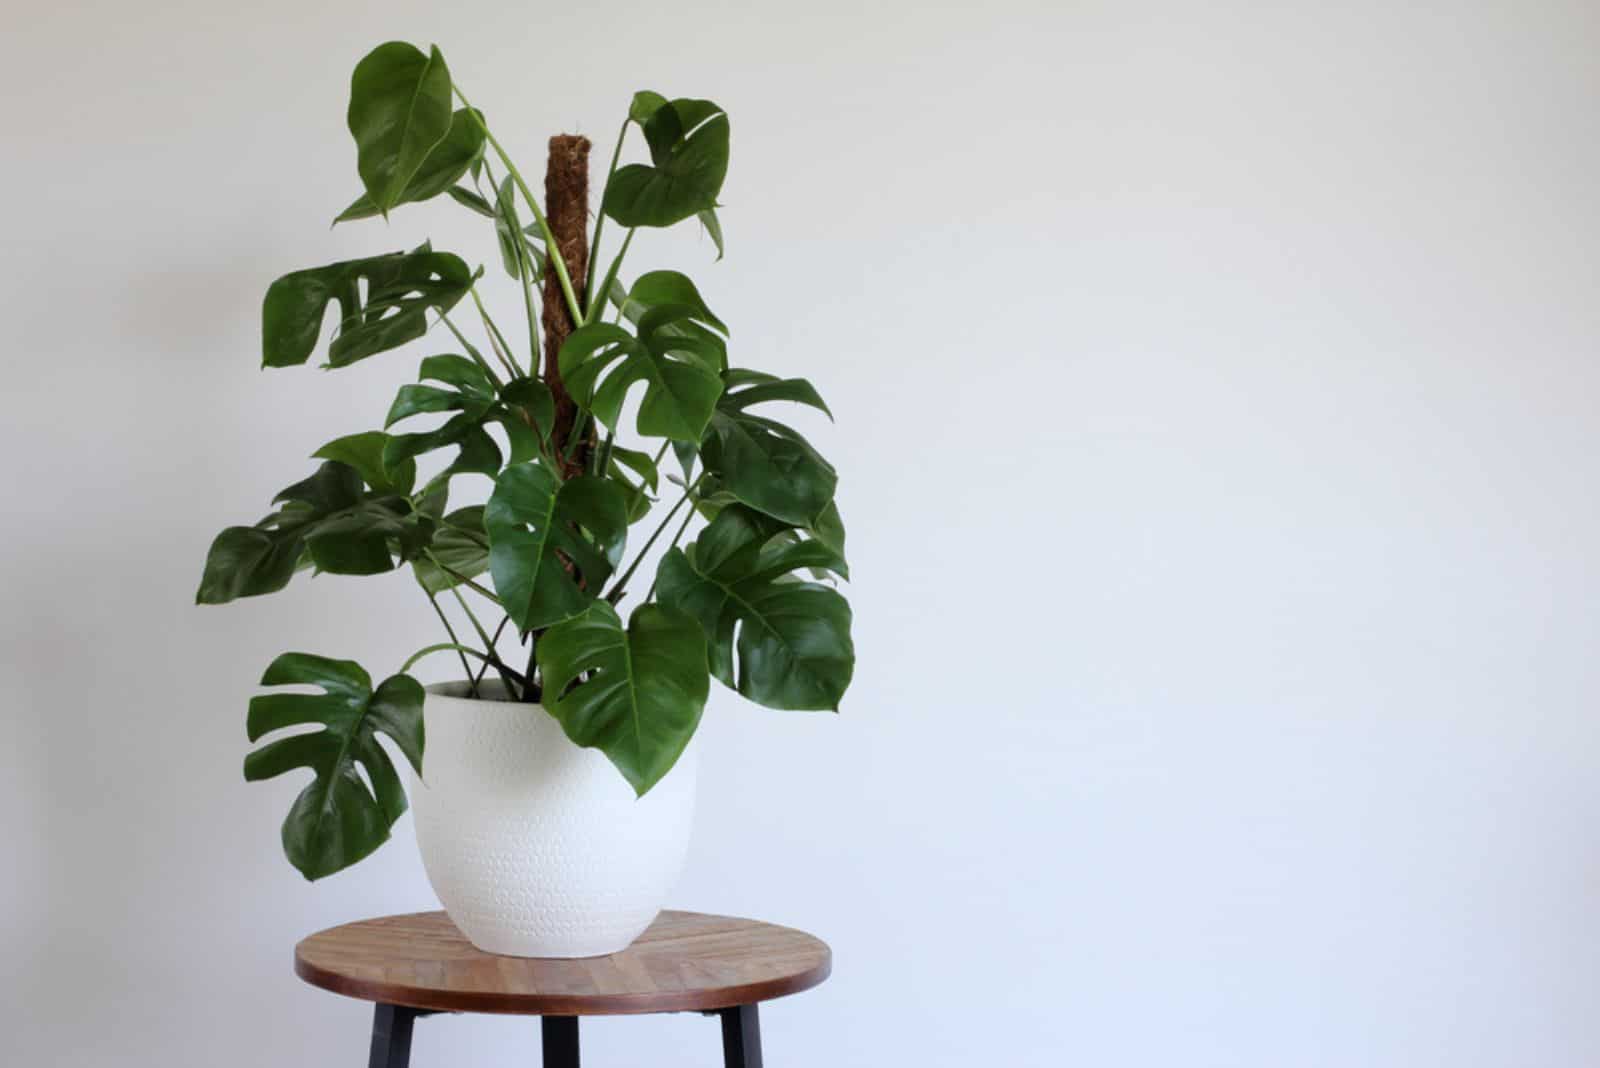
This plant is a hemiepiphyte climber, which means that juvenile plants grow on other trees or plants (epiphyte) and as a terrestrial (starts crawling on the ground).
When cultivated indoors, the Monstera Acacoyaguensis has to have some kind of support. You can either install a trellis or use a moss pole for your Monstera.
This Monstera has a medium growth rate, though other growing conditions, such as light, water, temperature, and humidity, can affect its growing habits. Ultimately, you don’t have to worry about repotting it every year. Monstera plants are usually repotted once they have outgrown their current pots or in case of root rot.
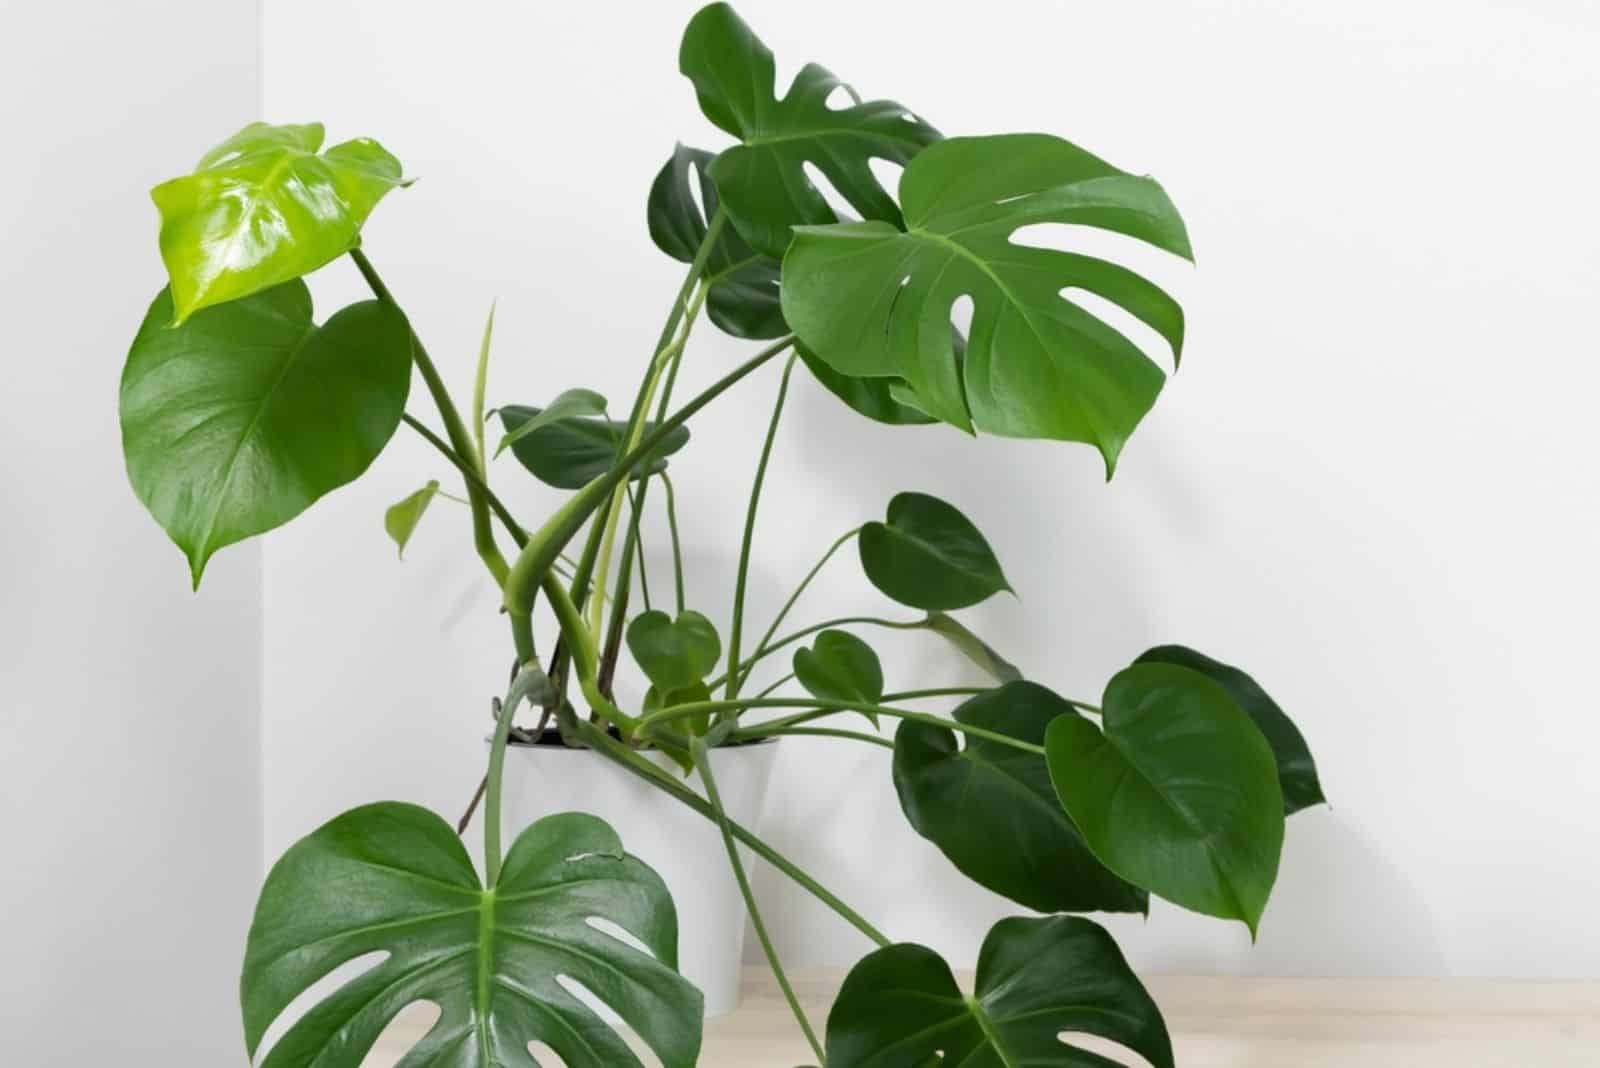
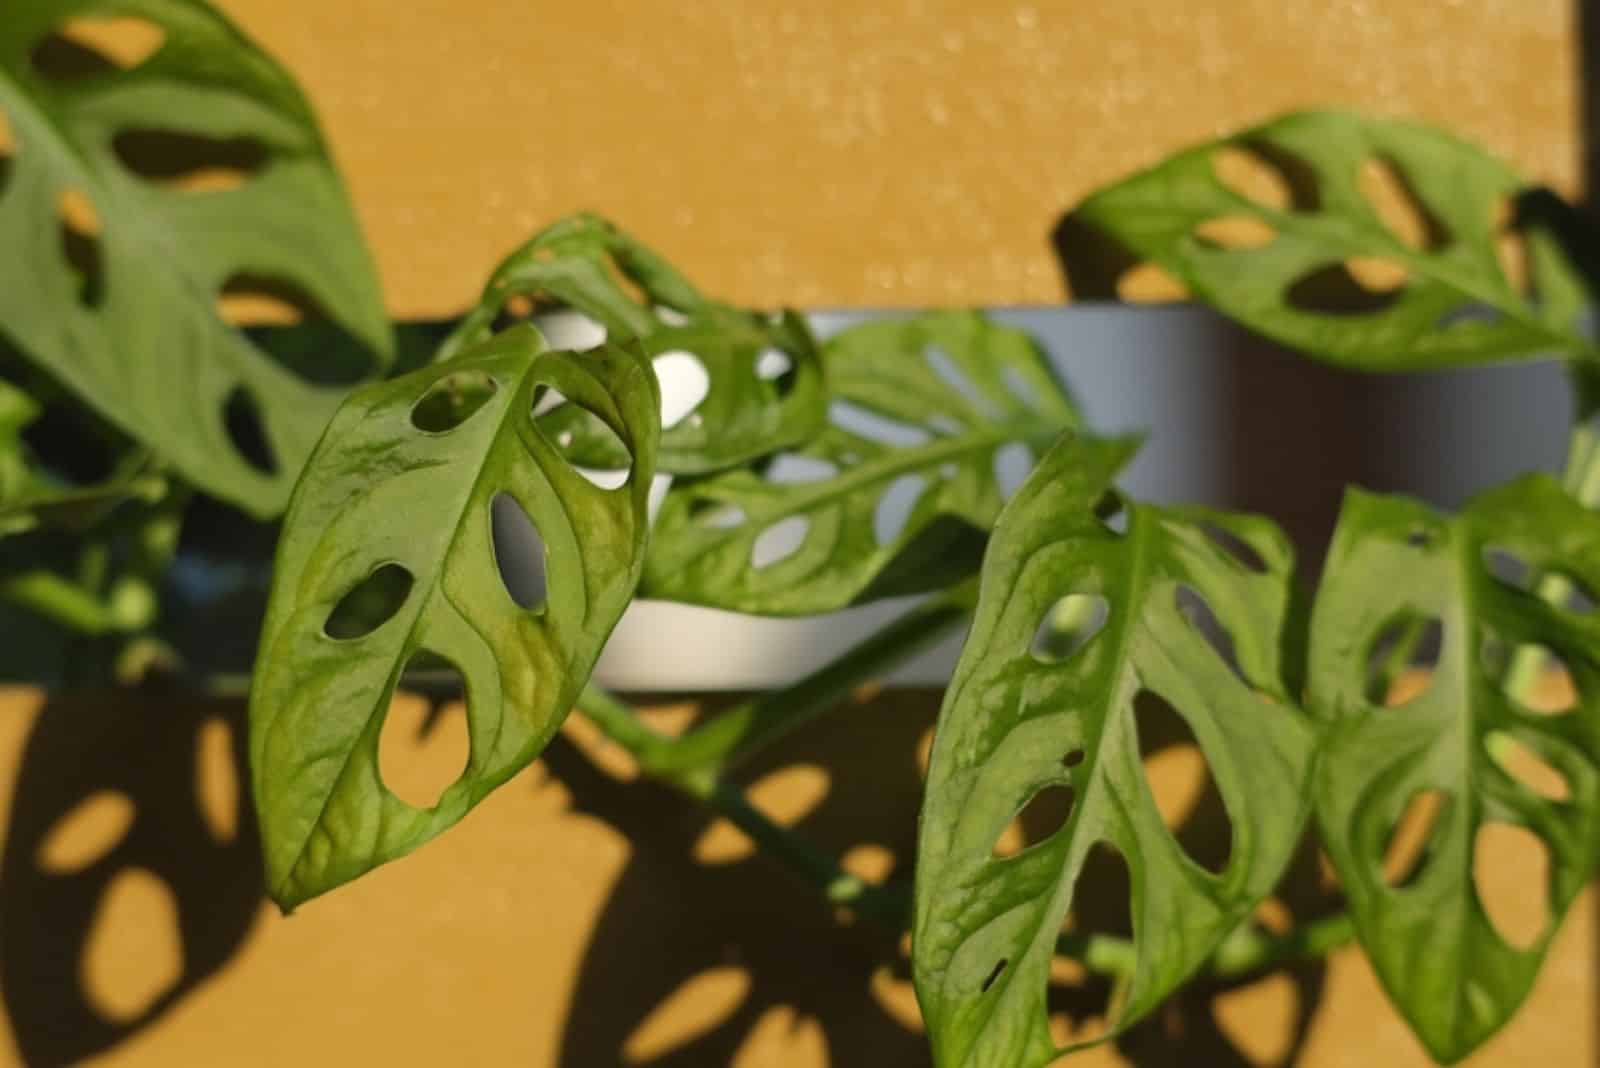
Leaves
We are all used to Monstera plants having fenestrated leaves, however, this is not your typical Monstera species. Although they have fenestrations, they significantly differ from those of Monstera Deliciosa, Monstera Pinnatipartita, or Monstera adansonii varieties.
This plant looks like a Monstera Lechleriana or Monstera Acuminata when matured.
Monstera Acacoyaguensis leaves are deep green, glossy, and oval-shaped. The juvenile plant has much smaller leaves, and its petioles are around the same length as the leaf blade.
However, a mature Monstera Acacoyaguensis has much larger leaves — they can be 33 inches long and 18 inches wide!
The mature leaves are perforated, but the leaf edges don’t break at all, so it looks like there are holes in them. The holes often come in one or two series. They are normally 1.5 to 4.7 inches long and 0.8 to 2 inches wide, and they range in shape from oval to elliptical.
These leaves have a leathery texture, and they are much paler on the underside.
Nonetheless, they are absolutely unique and stunning, and this plant is a great conversation piece for any plant lover out there!
Stems
This is a climbing plant, so the stems look like long vines instead of traditional firm stems.
Young plants have smooth, greenish stems with internodes that are from 0.8 to 1.6 inches long. On the other hand, more mature plants have leaf scars and internodes that are from 1.1 to 2 inches long.
Flowers
As well as those extravagant leaves, these plants also produce lovely yellow flowers!
This Monstera has a cylinder-shaped spadix with yellowish inflorescence flowers. A thick, leathery, light yellow to green spathe covers the flowers. The spadix is followed by a terete, smooth blossom stalk that is longer.
These delicate yellow flowers can definitely make your room look more lively. However, you will have to wait until the plant reaches maturity because this is when the blooming time begins!
Toxicity
Monstera plants are toxic to both pets and humans because they contain calcium oxalate. Calcium oxalate crystals have needle-like and acute edges that can be found in the plant’s leaves.
They have a negative effect on health when ingested.
These crystals usually cause gastrointestinal problems, nausea, rashes, vomiting, and swelling. If you want to learn more about what monsteras can do to your cats, click here.
Monstera Acacoyaguensis: Plant Care Guide
When it comes to Monstera Acacoyaguensis care, we can conclude that it requires low to medium care. The care guide is quite similar to that of other Monstera plants — keep the soil moist, give them plenty of fertilizers, and provide them with bright light, and you are good to go!
If you were lucky enough to get ahold of this rare plant, or if you have any Monstera species in your plant collection, you can follow this plant care guide.
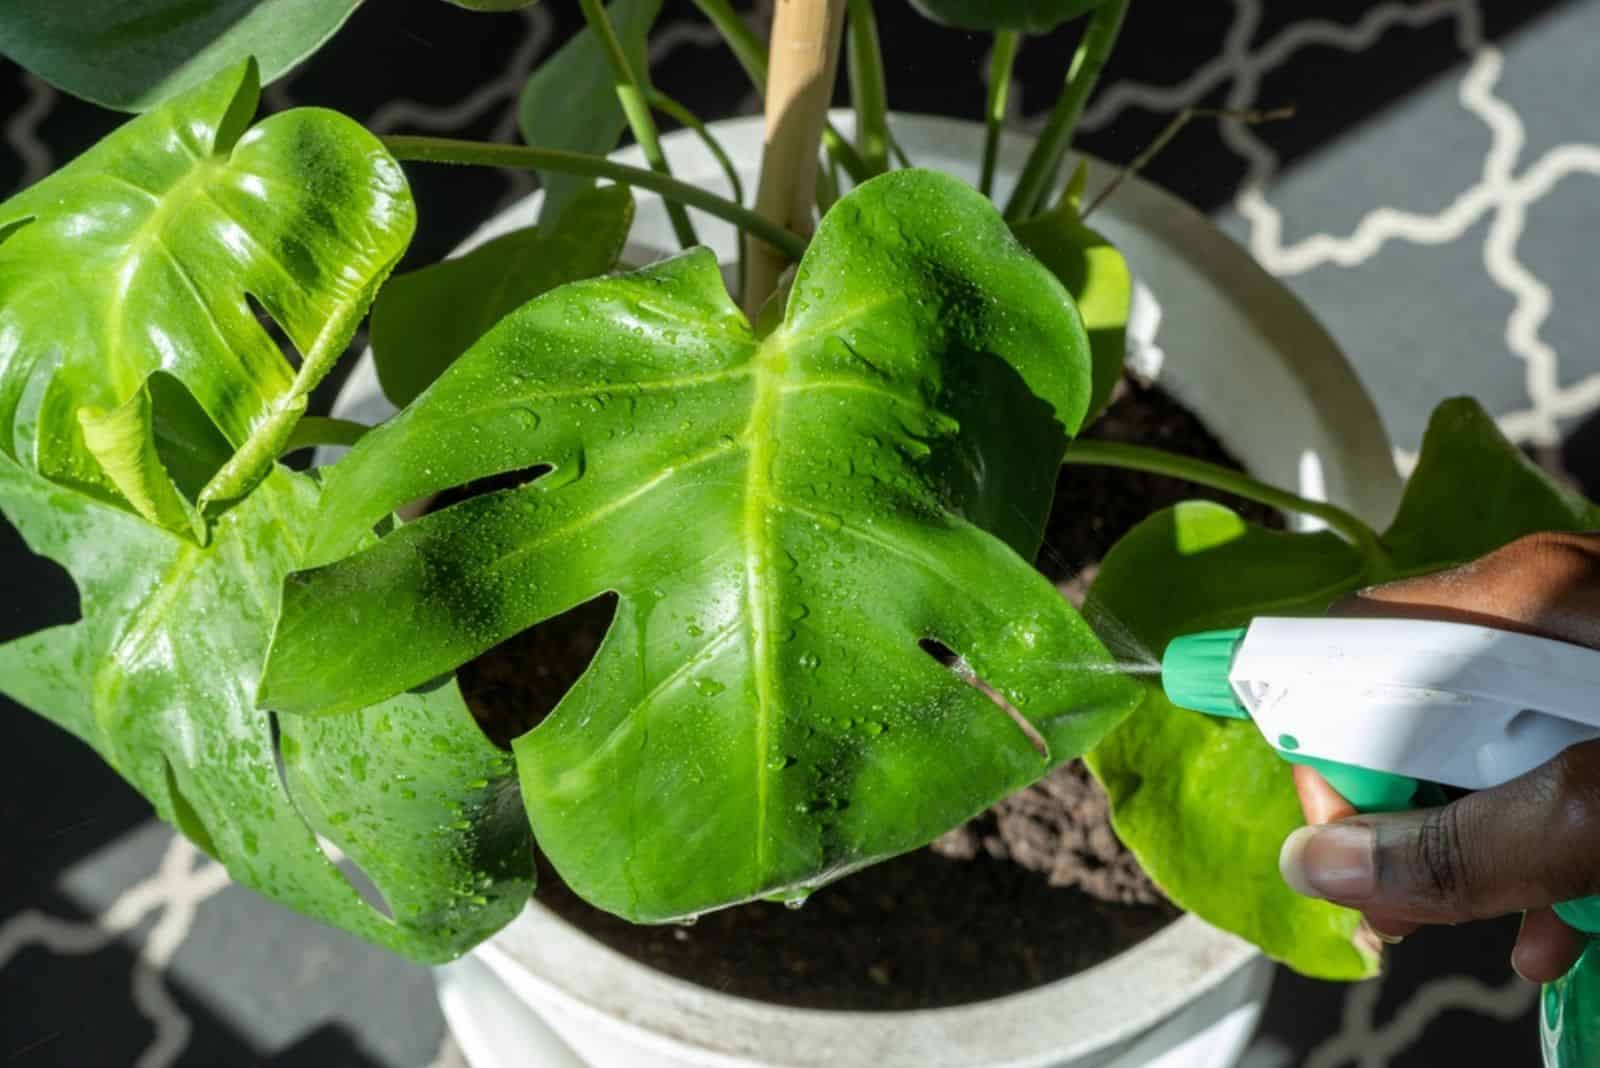
Water Requirements
It is recommended to water your Monstera until water starts to flow through the drainage holes. The most straightforward technique for avoiding problems is to let the top 2-3 inches of soil dry between waterings. Overwatering is one of the most common Monstera problems that causes root rot, which can kill your plant totally.
The frequency of watering is affected by temperature, light, and humidity. Of course, your Monstera will drain its soil more quickly the more direct sunlight it receives.
The same holds true for warmer temperatures, so throughout the hot summer months, you’ll need to water your Monstera more frequently.
Delaying watering until the humidity rises will help the soil retain moisture.
Make sure the soil is moist because these plants love it! This means not letting the soil completely dry out, otherwise you will end up with an unwatered Monstera plant.
Soil Requirements
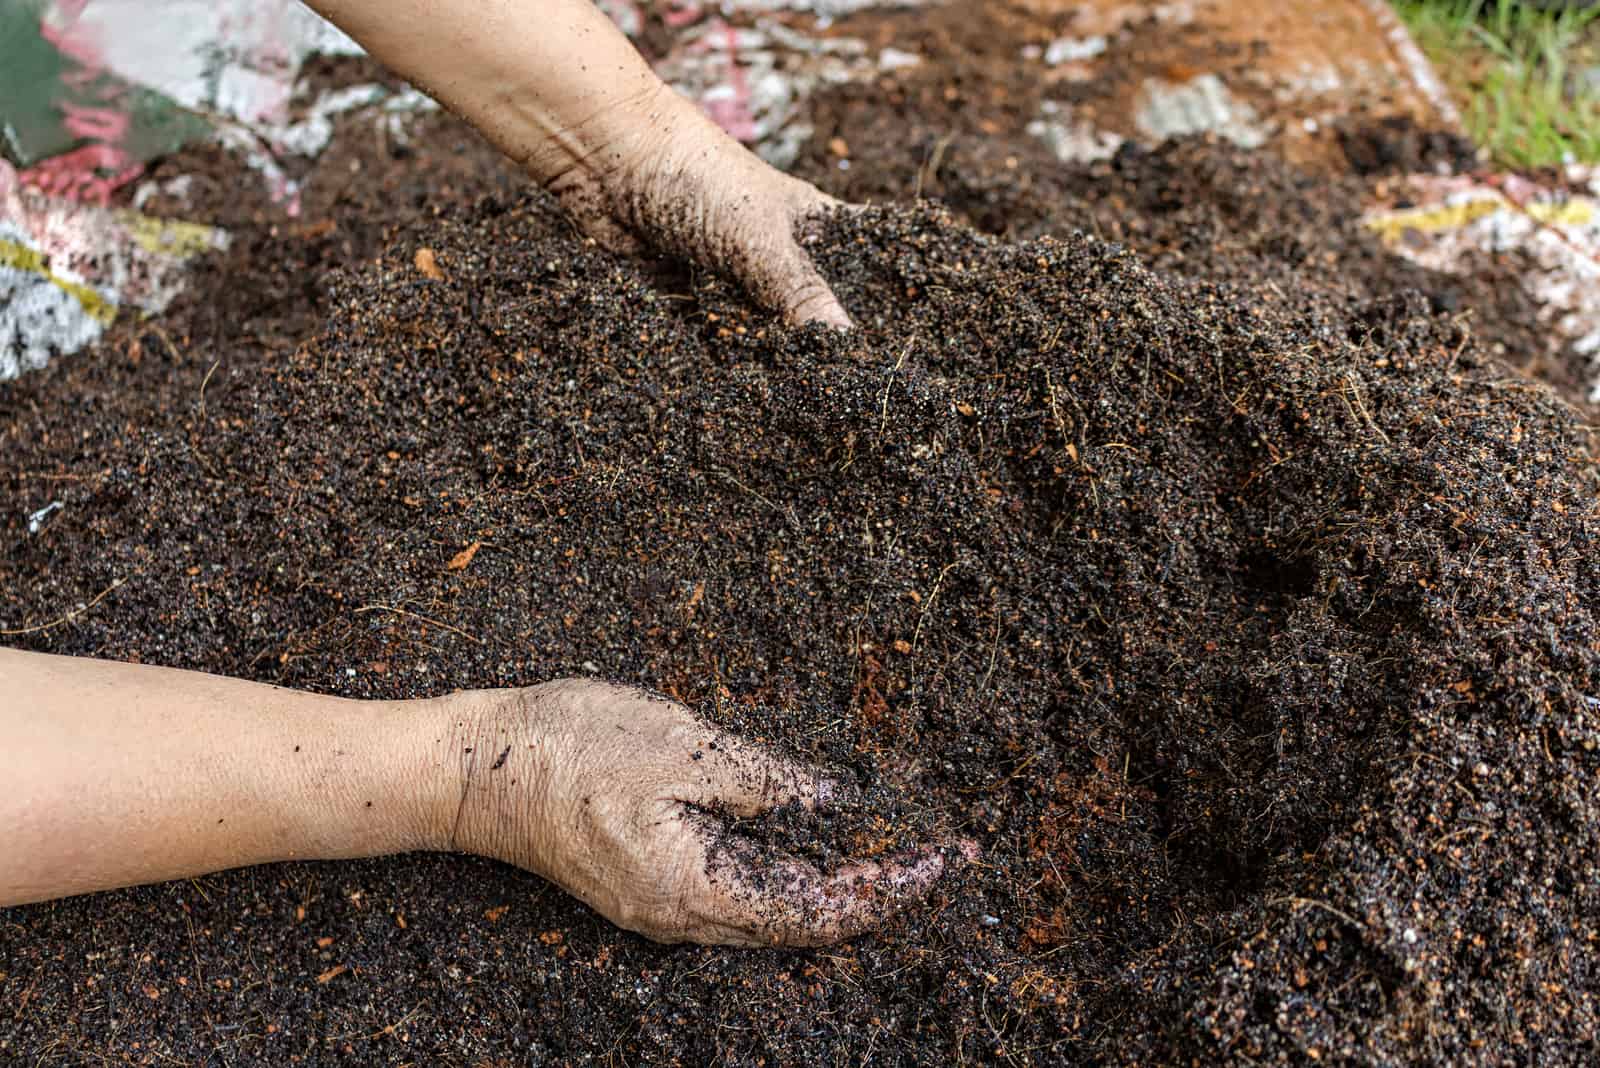
The soil needs of the majority of Monstera houseplants are similar. For instance, because these plants thrive in somewhat damp soil, the pH of the soil should be between 5.5 and 7.0, and it should be loose and well-draining.
Additionally, because they need a lot of nitrogen to produce new leaves, they also favor growing in soil that is rich in nutrients.
Select a peat moss and perlite-rich potting mix made specifically for aroid plants to obtain better drainage and moisture absorption. Although peat moss lowers pH, your plant will thrive in it due to the abundance of nutrients it contains.
You could also combine fifty percent all-purpose potting soil, thirty percent orchid bark, ten percent peat moss, and ten percent perlite with one part each of peat moss, pumice, coco coir, perlite, and sphagnum moss.
Light Requirements
It’s important to keep in mind that tropical plants thrive in the shade of the jungle, receiving small amounts of direct sunlight.
Despite the fact that this Monstera plant can thrive in low light, I advise providing bright indirect light to help the plant develop more quickly and healthily. It’s possible that low light will prevent leaves from becoming perforated.
For optimal results, put the plant close to an east-facing window.
This way, the plant will receive some direct sunlight at sunrise, which is what it needs, without being harmed because it will spend the rest of the day in a space with indirect light.
The plant can also be put in a north-facing window, where it will develop slowly but healthily.
A north-facing window’s only drawback is that the plant may not get enough sunlight in the winter. In this situation, relocate your Monstera throughout the winter to a brighter location.
Think about purchasing artificial lighting (on Etsy or Amazon) if you can’t find a space in your house where the Monstera plant can get about 10 hours of light. On the other hand, if the sunlight is too intense, cover the window with sheer curtains.
If you are unsure of the amount of light in the space where you are growing this plant, you can always use a light meter.
Humidity Requirements
Because Monsteras need to grow in humid environments, anything over 50% should be acceptable.
However, if the humidity drops below 50%, your plant will lose its special glow. The ideal humidity levels for the Monstera Acacoyaguensis are from 50% to 80%.
Because humidity levels in homes are normally low, you will need to find a way to increase them.
Thankfully, there are a few techniques for raising humidity that stand a high chance of working. For instance, you can construct a pebble tray or purchase a humidifier.
Another inexpensive alternative is to mist your plants frequently and place them in rooms with more humidity, such as the kitchen or bathroom.
Moving and combining plants to create a microclimate is another efficient method to increase low humidity levels. The amount of humidity does not greatly rise as a result, however.
If you live in a dry environment where indoor humidity doesn’t exceed 30%, this method wouldn’t be particularly useful on its own.
Place your Monstera close to Pothos, Philodendron, or Fiddle Leaf Figs (if you grow any of these), and use another do-it-yourself method for increasing humidity in addition.
Temperature Requirements
These Monstera plants prefer a temperature range of 65 to 85 degrees Fahrenheit. Most homes should find it simple to maintain this.
Temperatures as low as 55 degrees Fahrenheit and as high as 85 degrees Fahrenheit are not a problem for this unique plant. As the temperature rises, make sure it is sufficiently hydrated.
These plants are not frost-resistant, though. If the temperature falls below 50 degrees Fahrenheit, bring your Monstera inside.
Keep your plant away from vents and air conditioners because they can’t tolerate cold drafts. These Monsteras should be kept away from heaters and fireplaces as they will be harmed by sudden temperature changes.
Fertilizer Requirements
Monstera plants require nutrient-rich soil to thrive and grow. Therefore, you will have to fertilize them during the growing season. Once you apply fertilizers, you can expect new growth and leaf production.
Nitrogen is an essential nutrient for lush and vibrant leaf growth, so you should definitely use nitrogen-rich fertilizers.
For instance, a fertilizer with a 20-20-20 formula should be diluted because it may burn the leaves.
The optimum fertilizing method is to use liquid plant food because it is simpler to apply and has a slower rate of release.
You can also use a slow-release fertilizer — the best time of the year to apply this fertilizer would be in the spring. Water the plant first before fertilizing it.
If you are using organic fertilizer, you should apply it once a month during the growing season. Be careful not to overfertilize your Monstera because it might lead to chemical build-up in the soil, which prevents the plant’s roots from absorbing nutrients and water.
You should also avoid fertilizing in the winter season because this plant enters dormancy, at which point it does not require fertilizing or watering as much.
Repotting
Monstera plants are not fast growers, so you won’t have to repot them every growing season. However, these plants are usually repotted every 2 to 3 years, and the ideal time to do so is at the beginning of the growing season.
Prepare a new pot, new potting soil, sterile shears, and water the plant before beginning to repot it.
Given that the roots can’t survive with too much soil surrounding them, the size of the pot you choose for your Monstera should not be significantly larger than the one you previously used (usually about 2 inches larger).
Additionally, take into account the material of the pot because some can help with water retention while others help with water evaporation.
The best Monstera pots are terracotta pots with drainage holes in the bottom. Additionally, the fresh potting mixture needs to be porous and well-draining.
Pulling your Monstera out of its pot could damage the roots, so proceed with great caution. To help the plant slide out, tilt the pot to one side and give it a little tap.
The next step is to clear the roots of as much soil as you can. This is also a wonderful time to look for any diseases in the plant’s roots. You must use sanitized shears to remove them if they are infected.
Set your plant in the middle of the container after adding fresh soil to one-third of it. After adding additional soil and watering the plant, you have successfully repotted your Monstera!
Pruning
When it comes to Swiss cheese plant care, pruning doesn’t rank highly. The best course of action is to remove any damaged or discolored leaves whenever you spot them. I always trim off leaves that are turning yellow.
By pruning a few branches at the start of the growing season, you can regulate the shape and growth of your plant, especially because it is a vining plant. I would recommend you get rid of damaged vines as well.
Propagation
If you want to propagate Monstera Acacoyaguensis, you can follow the basic guide for propagating Monstera plants. There are numerous ways to propagate this Monstera plant, but it must have a node in order to work.
Although it can be propagated throughout the summer as well, the best time to do it is in the early spring. The plant might not have enough time to establish itself if you propagate in the summer. The winter dormancy of these plants makes propagation rather difficult.
You can place the stem cutting directly in the soil or you can put it in water first.
Stem Cutting In Water
Propagating plants via stem cutting in water is a little more difficult as it takes longer and there is a greater chance of transplant shock.
You will be able to observe the rooting process, though.
Fill half a jar with water and submerge the cutting (after taking the stems and dipping them in a rooting hormone).
Make sure to cover the nodes to let the roots emerge rather than dipping the leaves.
Place the jar in a spot with bright indirect light. Every 3 to 4 days, you should replace the water in the jar. Refill the jar if you see that the water has evaporated. You should cover the jar with a plastic bag to increase humidity.
In 4-6 weeks, the cutting will develop strong roots.
Stem Cutting In Soil
• Fill the new container with soil. Sphagnum moss and perlite can be combined to create a potting mix, or you can use just sphagnum moss. After placing it, give it a good watering. Use sphagnum moss after soaking and wringing it out.
• Pick a sturdy stem (4-6 inches). Ensure that it is connected to two nodes or more. Cut below the lowest node with sterile pruners or scissors. To clean the scissors or pruners, you can either buy a disinfectant or use bleach or alcohol.
• Trim the bottom leaves, then dunk the cuttings in a rooting hormone (only the part that goes in the soil).
• Dig a hole in the soil or potting mix, then put the two nodes there. Gently wiggle the cutting’s surrounding soil.
• Spray the cutting and cover it with a plastic bag that can be closed (this locks humidity and promotes rooting). Create a hole in the bag so that air can reach the cutting. The leaves shouldn’t be hidden by the bag.
• Make sure it’s placed in a warm area with enough bright indirect light.
• Be sure to monitor the soil’s moisture level; if it appears to be dry, mist it. Every 4-5 days, take the plastic bag out and keep it open for about 3 hours to let the plant breathe.
The plant should begin to root in about a month, and be prepared for transplantation in about two months. Depending on the conditions you provide, it can take more or less time to grow.
Common Issues
Unfortunately, these rare plants can run across some issues regarding their plant care, pests, and plant diseases. However, these issues are easily fixable!
The best preventative measure that you can do is meet your plant’s needs and keep it healthy.
Though it’s possible that you will ultimately experience some problems, the following section will teach you how to resolve them quickly.
Discolored Leaves
The most frequent reason for the browning and yellowing of plant leaves is overwatering. Browning or yellowing can also happen as a result of direct sunlight.
If you notice the leaves becoming yellow or brown, check the light levels and adjust your watering to avoid root rot.
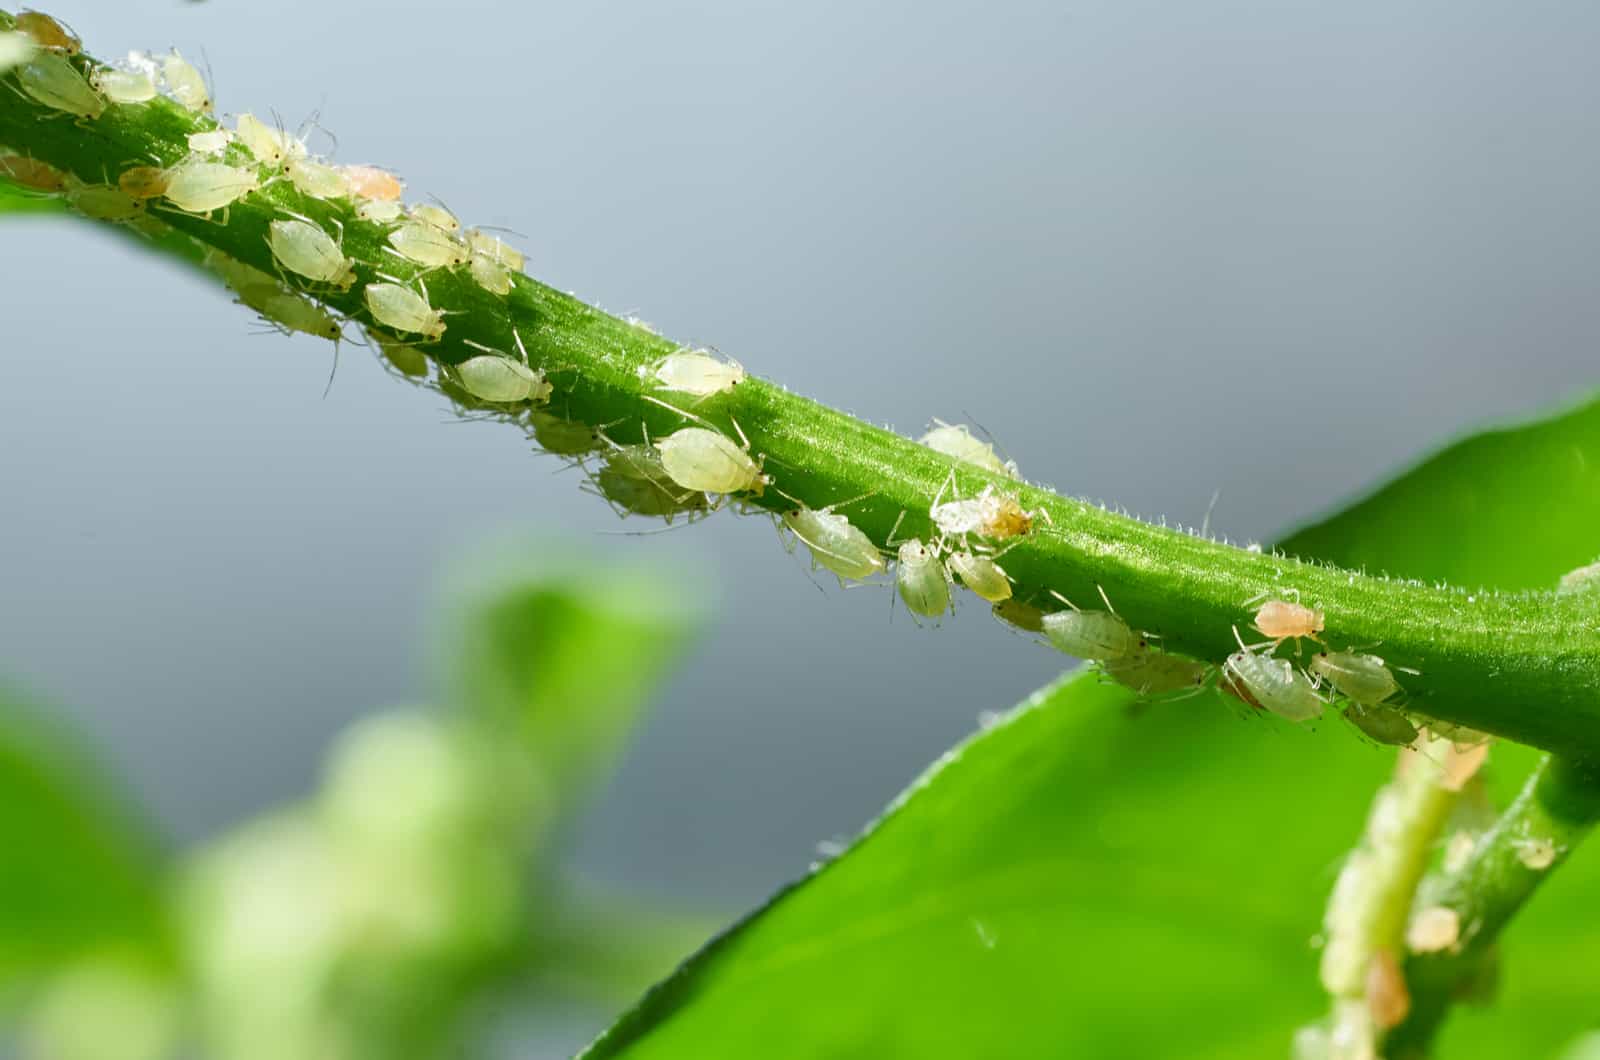
Pests
The most common pests that attack Monsteras are scale and spider mites. If you notice any webbing on the leaves, check the underside of the leaves because this is where spider mites usually settle.
A cotton swab dipped in alcohol can be used to eradicate spider mites. However, this only works when there aren’t too many of them.
The majority of growers advise using neem oil if you have a scale or spider mite infestation. Neem oil should be sprayed over the entire surface of the leaves and stems.
Ultimately, you can use insecticides or pesticides.
To Sum Up
The Monstera Acacoyaguensis is not your typical Monstera plant that can be found in local nurseries or garden centers. This is a rare plant that can take your breath away with its beautiful green leaves and unique fenestrations.
Luckily, it can be cultivated like any other Monstera species!
If you manage to get your hands on this plant, I would suggest you propagate it when the time comes. You can use it as a thoughtful gift to your friend, or you can simply grow two Monstera Acacoyaguensis plants.
I hope this article was helpful.
Until next time!
Like this post? Share or pin it for later!