10 Symptoms And Solutions For An Overwatered Peace Lily
This houseplant has two things to offer: attractive foliage and breathtaking flowers.
However, an overwatered peace lily isn’t an awe-inspiring sight, and if you need to nurture your green friend back to health, there are a couple of things you can do.
Before we mention the tricks for fixing this overwatered plant, we first need to look at the symptoms and learn to distinguish this diagnosis from the rest.
Now, let’s look into some general specifics about the peace lily, and then we’ll talk about the signs of overwatering and their solutions:
[table id=483 /]
10 Signs Of An Overwatered Peace Lily
There are many overwatering symptoms, such as peace lily leaves turning black or yellow, droopiness, disfiguration, edema, root rot, stunted growth, etc.
These signs can help you recognize this issue and allow you to act accordingly, as well as avoid confusing overwatering with excess light, overfertilization, nutrient deficiency, or something else that may befall this houseplant.
We will describe ten common symptoms of overwatering below, which can help you successfully diagnose this issue.
1. Wilting
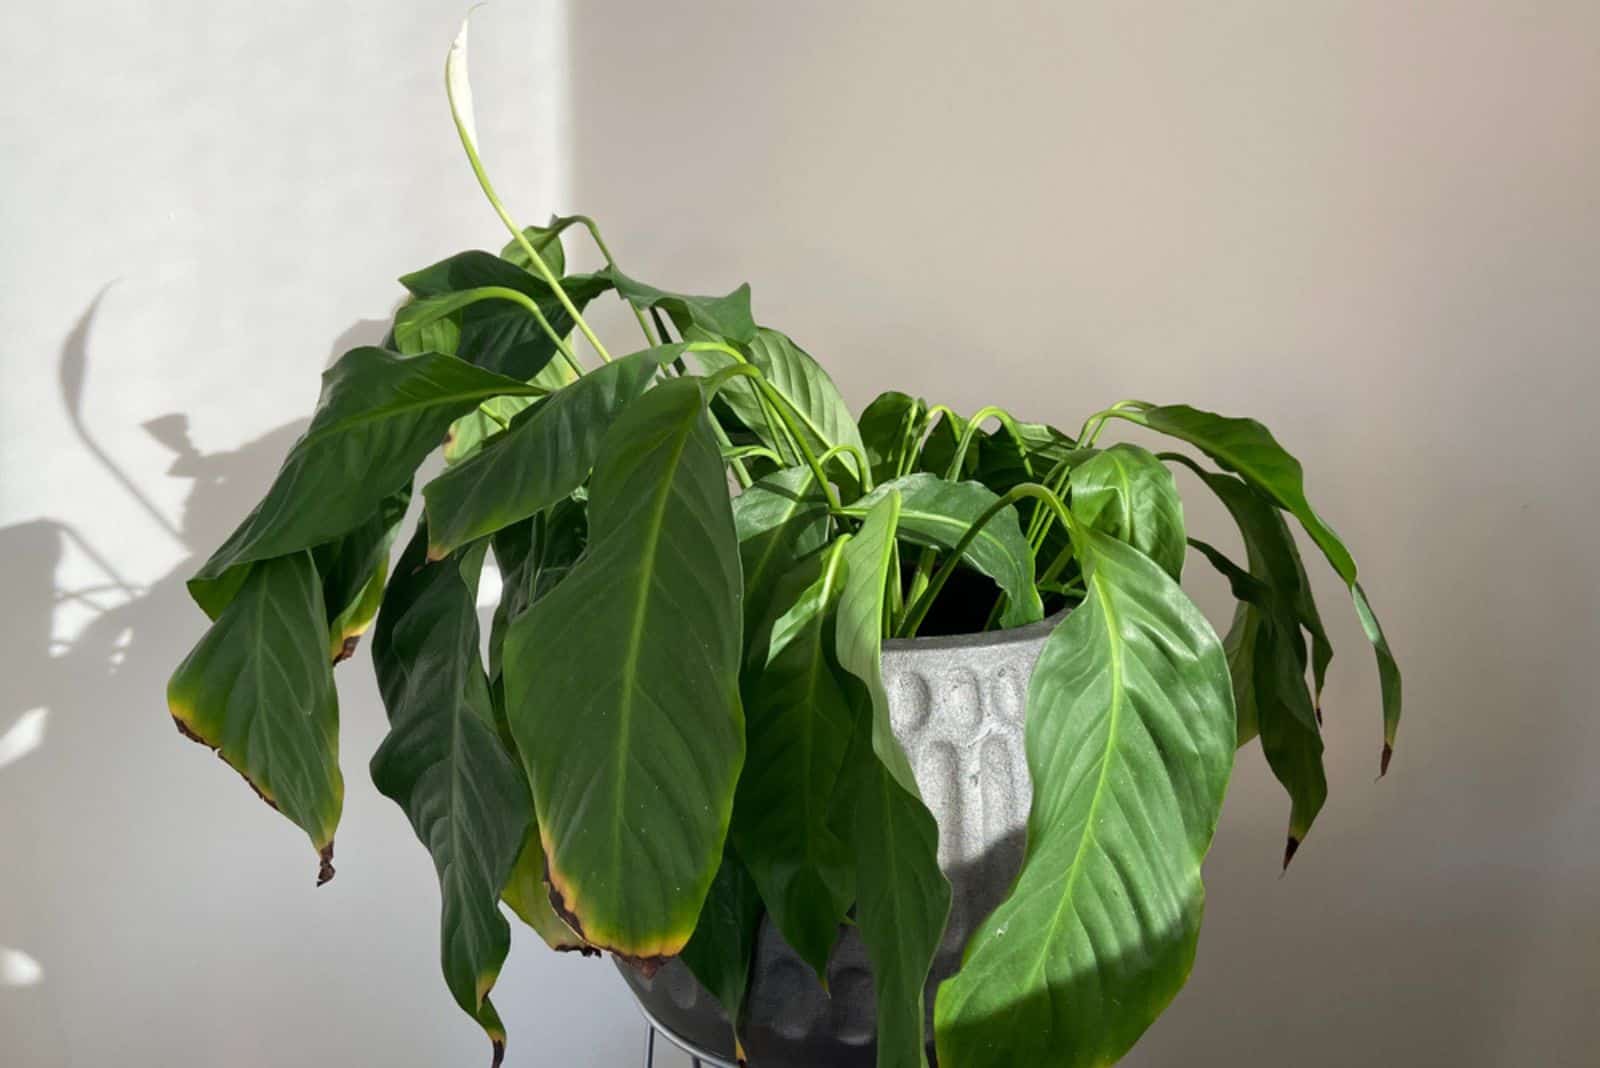
One of the first signs of overwatering is your peace lily drooping. Too much moisture in the soil will disrupt the plant’s structure, and as a result, you end up with drooping leaves.
But the good news is that you can still save your plant at this stage as the damage may not be too extensive, so check for soggy soil and adjust your watering accordingly.
2. Yellow Leaves
Yellowing of the foliage is also among the first symptoms of overwatering. However, leaves won’t turn yellow in an instant. The foliage will first become paler and paler, and only then will the true yellowing take place.
This discoloration first affects the bottommost leaves, which are older, but if you do nothing, it will spread to the younger leaves, and that really becomes a problem.
Yellow foliage lacks chlorophyll and cannot photosynthesize, which means your plant won’t have enough food or energy to sustain its growth.
3. Leaf Edema
If you continue to overwater your peace lily, it may develop leaf edema, which is characterized by water blisters.
The plant’s root system absorbs moisture too fast, and your plant can neither use it nor can it transpire that quickly.
Turgor (water pressure) builds up in the leaf cells, leading to rupturing. This process leaves dead cells, which we see as blisters, and they mainly appear on the leaf undersides.
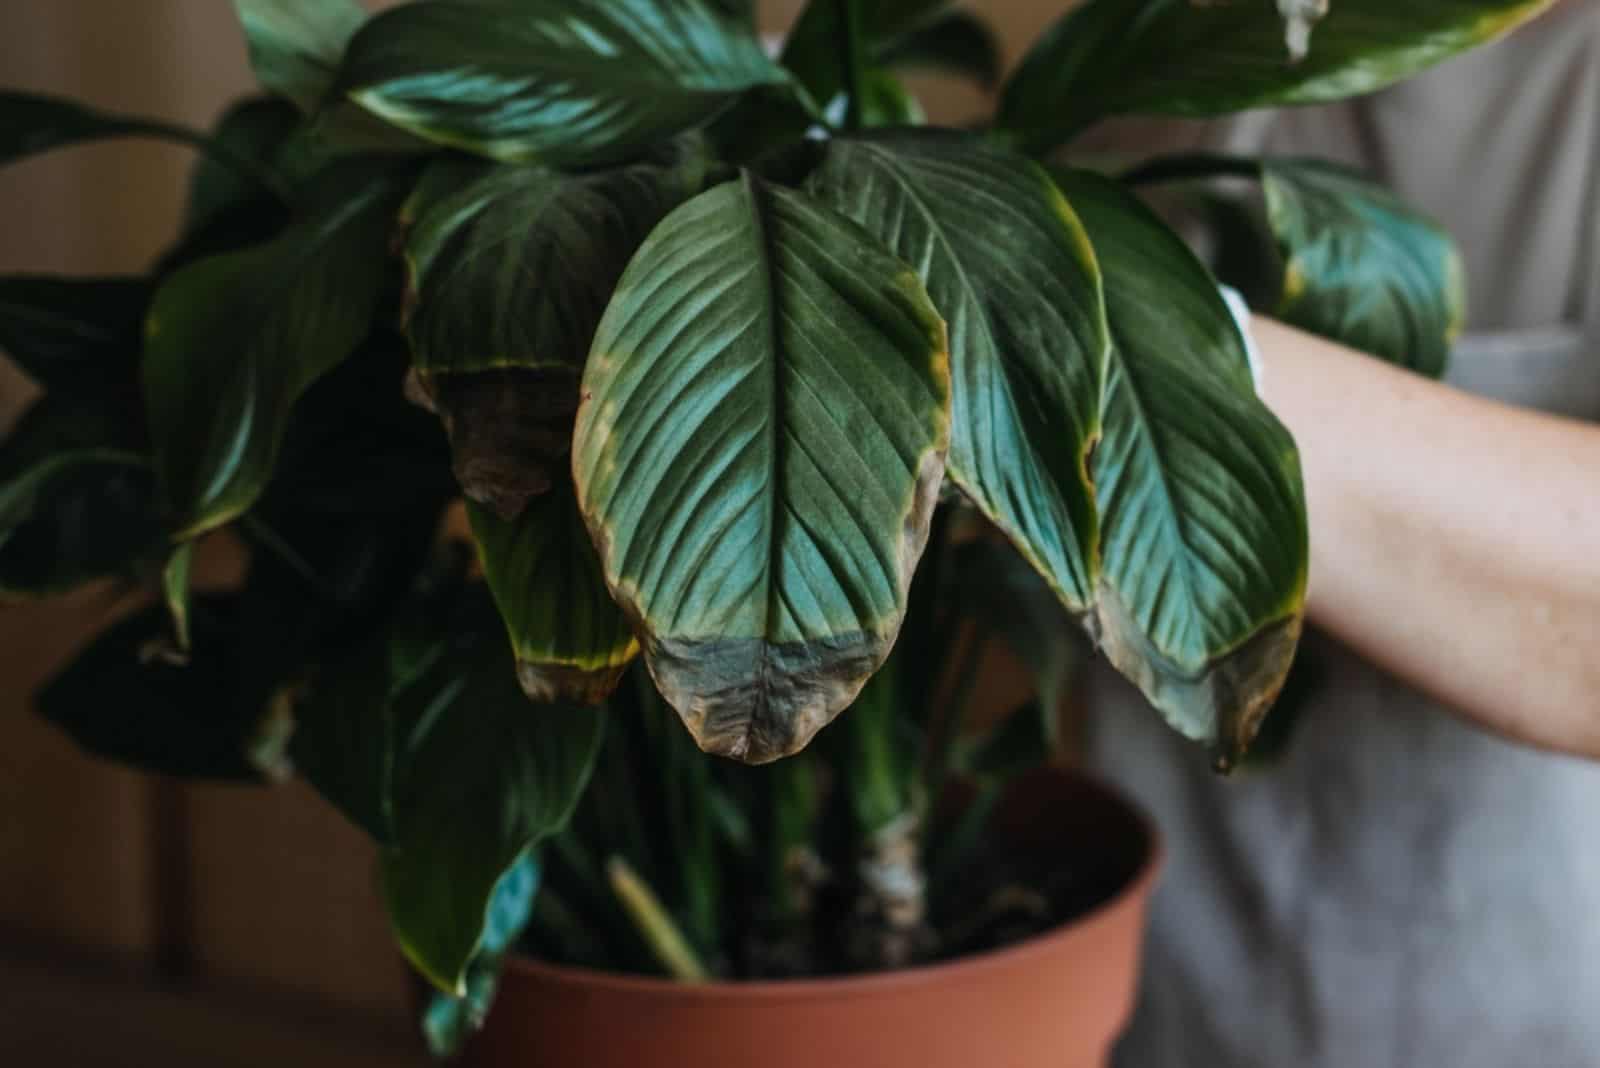
4. Brown Tips And Margins
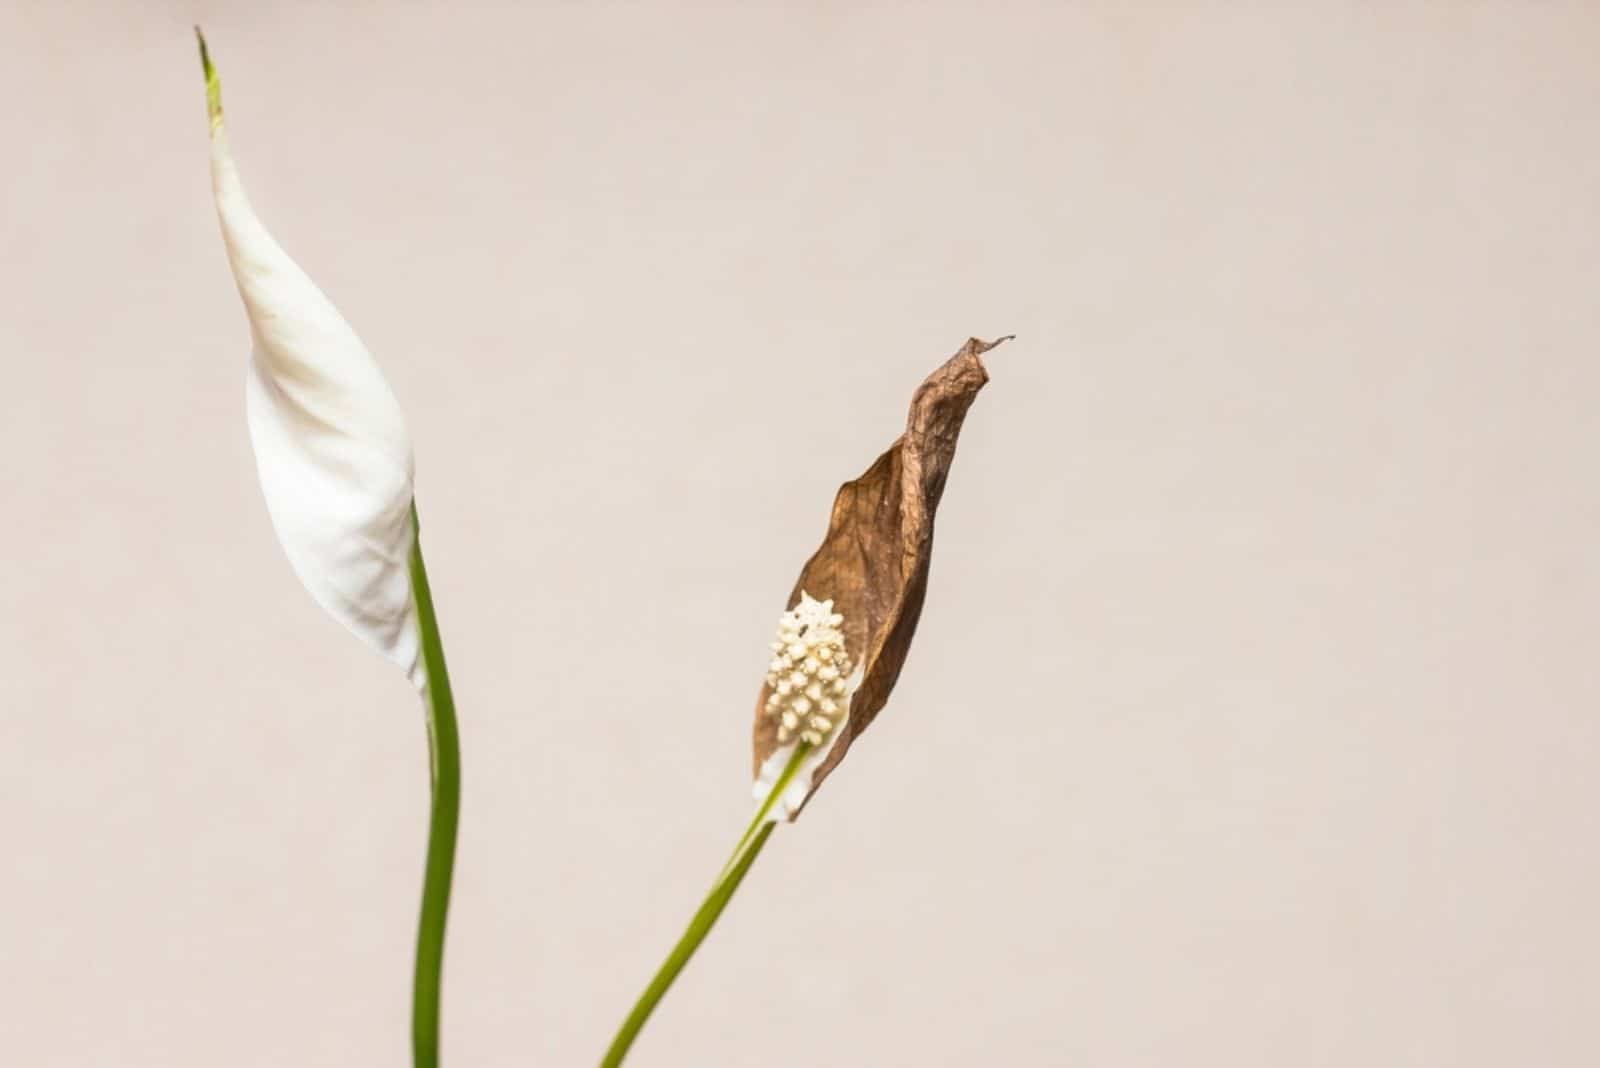
Even though we’re used to seeing brown leaf tips and edges as a consequence of underwatering or sun damage, it can also be caused by too much water in the soil.
The entire plant needs a healthy root system to transport nutrients and moisture, but if there is a lack of oxygen in the soil due to water clogging, they won’t be able to perform their function correctly.
5. Stunted Growth
One of the biggest overwatering problems is your plant not growing. If it remains in a wet substrate for too long, the roots won’t have enough oxygen and will begin to rot.
Subsequently, the plant won’t get enough nutrients, moisture, or oxygen to photosynthesize, and its growth rate will slow down or completely cease if the situation is too far gone.
6. Curly Foliage
It might seem a bit contradictory that leaves curl due to overwatering, but it can happen (although not that frequently). Too much water in the soil mix will prevent the peace lily root system from absorbing moisture, leading to curling of the leaf tips.
However, the same can happen because of underwatering, so make sure to check the potting soil before doing anything.
7. Leaf Drop
Excess water in the soil may also cause the plant’s leaves to start falling off. Moisture will flood the entire plant, and it’ll begin to lose its structure.
A waterlogged peace lily won’t be able to support the weight of its foliage, and will drop some of them.
8. Soft Stem
One of the signs that your plant is getting too much water is a softened stem. Excess moisture affects the plant’s entire structure, including the stem, and it’ll lose its firmness as a result.
It won’t be able to support the plant, leading to a whole set of new problems.
9. Fungal Diseases (Root Rot)
The end result of overwatering is root rot, the worst fear for everyone who owns potted plants. This fungal disease can quickly destroy your green buddy’s roots, turning them into dark and mushy structures that only hinder your plant’s growth and development.
Wet soil is the breeding ground for this disease, and many different fungi can attack your plant’s roots.
Therefore, we’ll describe the most common ones below so that you can try and recognize them and treat them more effectively.
Cylindrocladium
This fungus causes chlorosis of the older, bottommost leaves, although it is not the only manifestation. The leaf petioles may turn dark brown as well.
However, these symptoms appear only after the damage has already been done to the plant’s roots. If you take your peace lily out of its pot and examine its roots, you’ll notice that they have red-brown lesions.
Phytophthora
This fungus is one of the most common causes of root rot in plants, and the frightening thing is that the visible symptoms don’t appear until the disease is too far gone.
Common signs of root rot are wilting, yellowing of the older leaves, and branch dieback.
Rhizoctonia
This fungus grows on the surface of the growing substrate, so it usually attacks the upper parts of the root system and stems close to the base of the plant.
The affected parts rot quickly, and you may notice brown or red-brown spots on the stems that grow bigger and form lesions and cankers.
These ulcers restrict water and nutrient uptake, leading to drooping, yellowing, etc.
Finally, this fungus causes most damage to germinated seeds and seedlings, but older plants aren’t immune to it!
Pythium
This fungus first infects the youngest parts, such as the root tips and germinated seeds. It quickly spreads, and the primary root turns brown and black.
If you don’t treat it, the disease will move onto the stem!
Of course, fungal root rot manifests similarly regardless of the fungus, so it may not be easy to recognize it.
But if you’re into that stuff, you can always take a small sample and have it examined in a lab!
10. Wet Soil
Finally, one of the first signs that your plant is overwatered is soggy soil. Many plants love moist soil conditions, but a constantly wet substrate will suffocate the roots.
Therefore, if you notice any signs of overwatering and root rot, such as leaf discoloration, wilting, stunted growth, etc., always check the growing medium before doing anything.
Many of these symptoms mentioned above are typical for underwatering, excess light, etc., which means your plant might not always need less moisture.
Overwatered vs Underwatered Peace Lily
As overwatered and underwatered plants can look similar, we put together some quick tips that can help you tell them apart.
| OVERWATERED PLANT | UNDERWATERED PLANT |
| • Soggy soil and droopy plant | • Dry soil and wilting plant |
| • Yellow leaves | • Yellow, dry, and crispy foliage |
| • Brown tips and margins | • Brown tips and margins |
| • Mushy roots | • Brittle roots |
| • Lesions on the foliage | • Yellowing, followed by browning |
| • Leaf curling (not always) | • Leaf curling in earlier stages |
How To Save An Overwatered Peace Lily
Now you know how to recognize overwatering and distinguish it from underwatering, it’s time to learn how to save your overwatered peace lily before it reaches the point of no return.
The main thing you need to bear in mind is repotting, as it allows you to get a real insight into the situation.
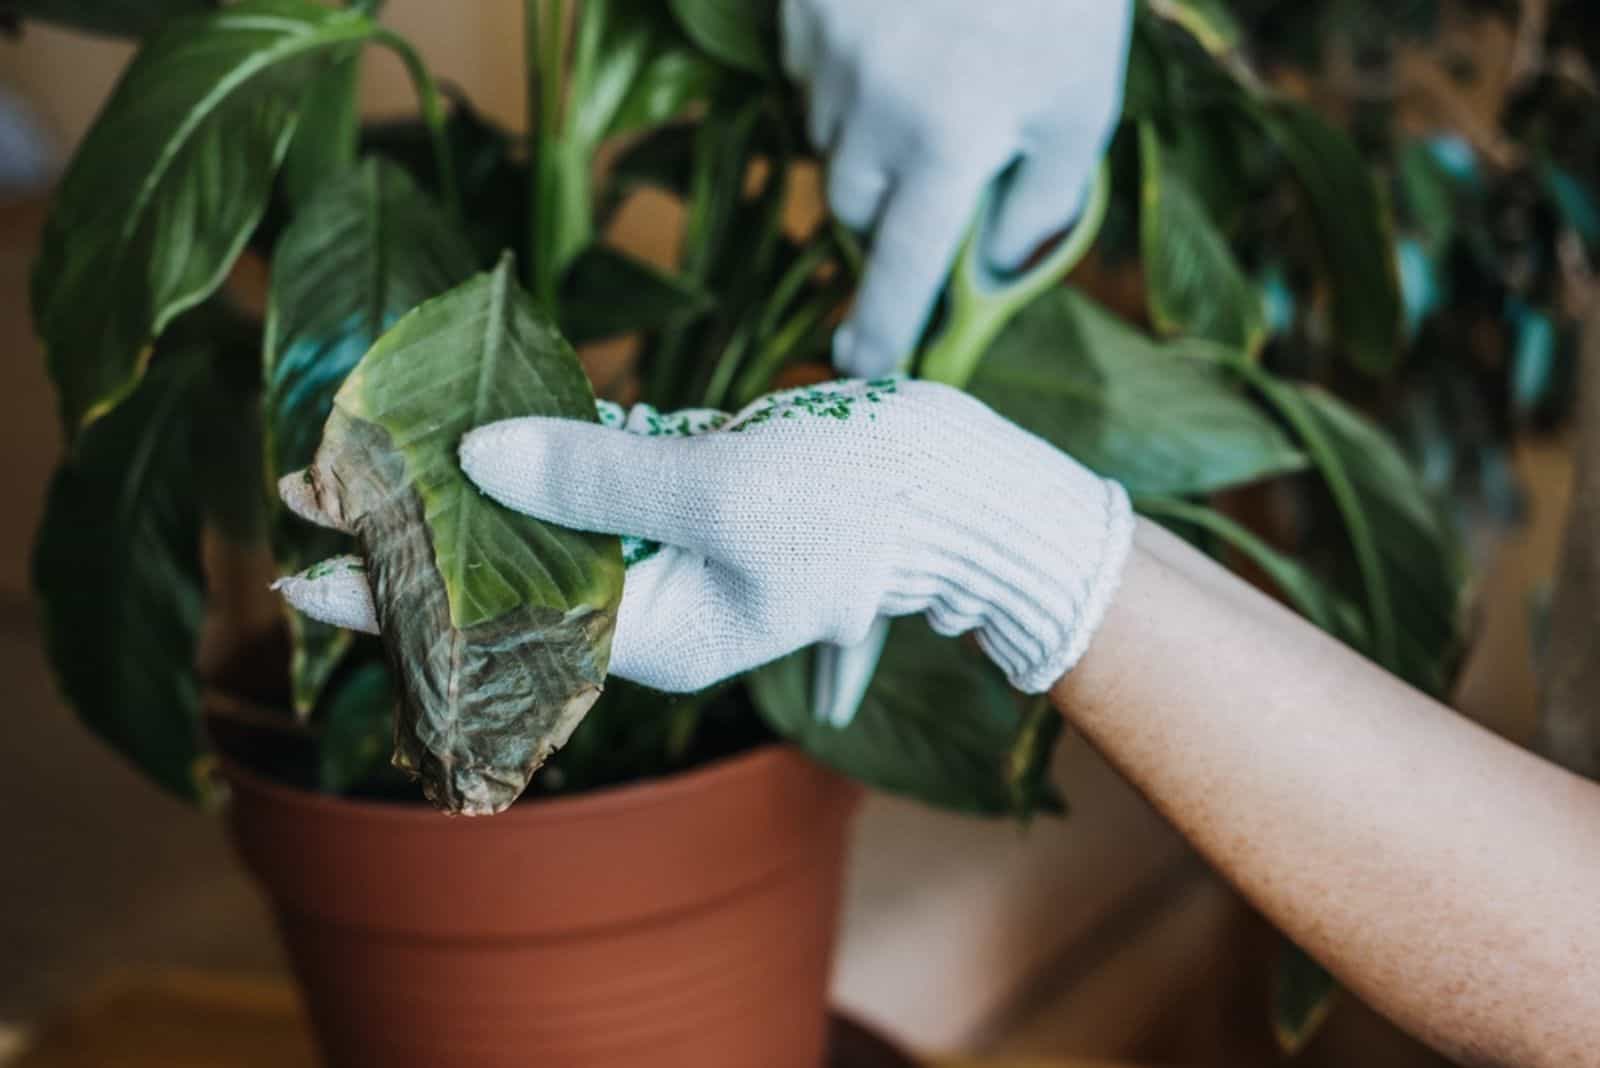
Therefore, put on your gloves, grab some pruners, fungicide, and a new pot (or thoroughly clean the old one if it’s not too small for your plant), mix a fresh potting blend, and get ready for transplanting!
Remove The Diseased Roots
The first thing you need to do is expose the roots so that you can see how much damage (if any) has been done.
Take the plant out of its container, remove the dirt around the roots, put them under slow-running water, and carefully clean them.
Then, take your pruners and remove all parts infected with root rot.
Treat The Roots With A Fungicide

After removing the diseased roots, it is time to apply a fungicide to the remaining parts. If you can recognize the fungus, you can get a narrow-spectrum fungicide that targets the specific fungus.
But don’t worry if you can’t tell the difference between the Pythium and Phytophthora fungi. You can get a broad-spectrum fungicide that will target a large spectrum of fungi.
Of course, a narrow-spectrum fungicide will act faster, but if you cannot identify the fungi, target as many choices as possible!
Choose A Suitable Pot Size, Drainage, And Material
Once you clean the roots and apply fungicide, it is time to repot them. Before you can do that, consider the importance of the pot size, appropriate drainage, and the material of the planter.
Container size is essential, as pots that are too big for a plant can lead to waterlogging. Also, always choose a planter with drainage holes for your peace lily, as they will allow the excess water to seep right through so the soil will dry faster.
Finally, when choosing a peace lily pot, consider the material of the container. Plastic pots are known to retain more moisture and slow down evaporation. Thankfully, you can use clay or terracotta planters, which allow the best drainage.
Use A Proper Potting Mix
It isn’t just the plant pot that can help with drainage – it is the soil as well. Clay or heavy mediums are terrible for your peace lily, which requires fast-draining and loose substrate.
Thankfully, you can get some ready-made mixes, or you can make your own by combining some loam, peat moss, perlite, and coconut coir.
Adjust Watering
Finally, you should be careful about the amount of water you give your plant. A fixed watering schedule is the worst thing you can do because the medium will always remain too moist (or dry).
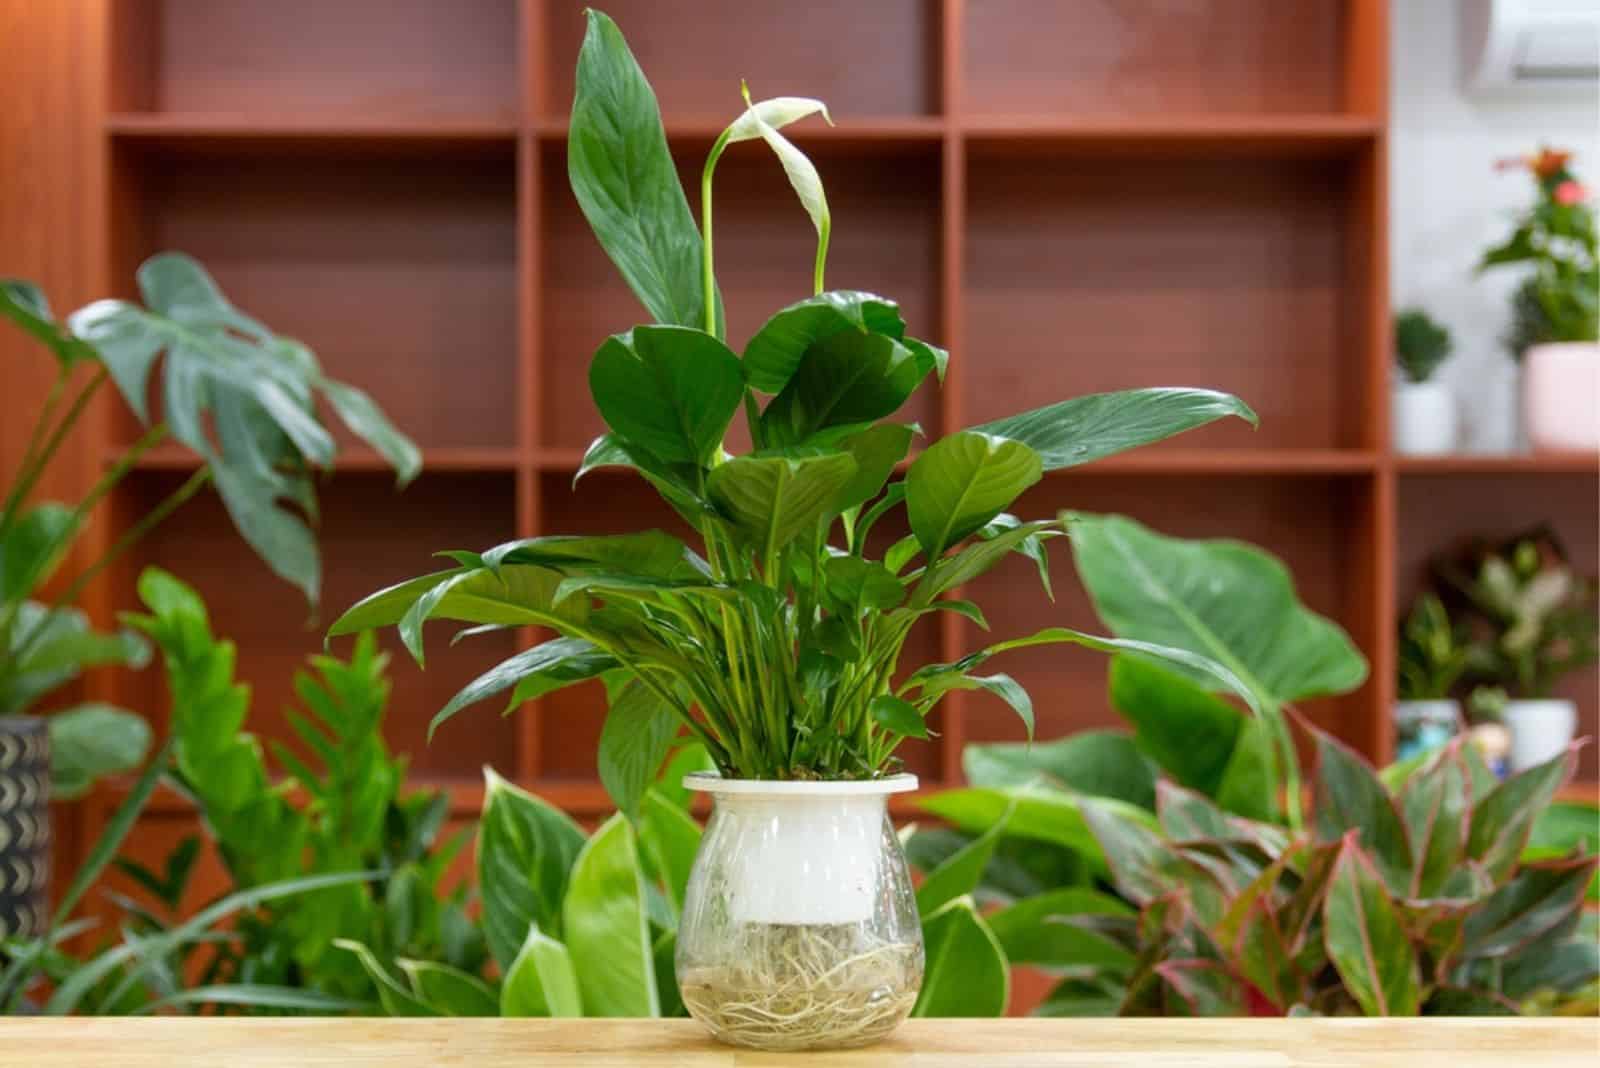
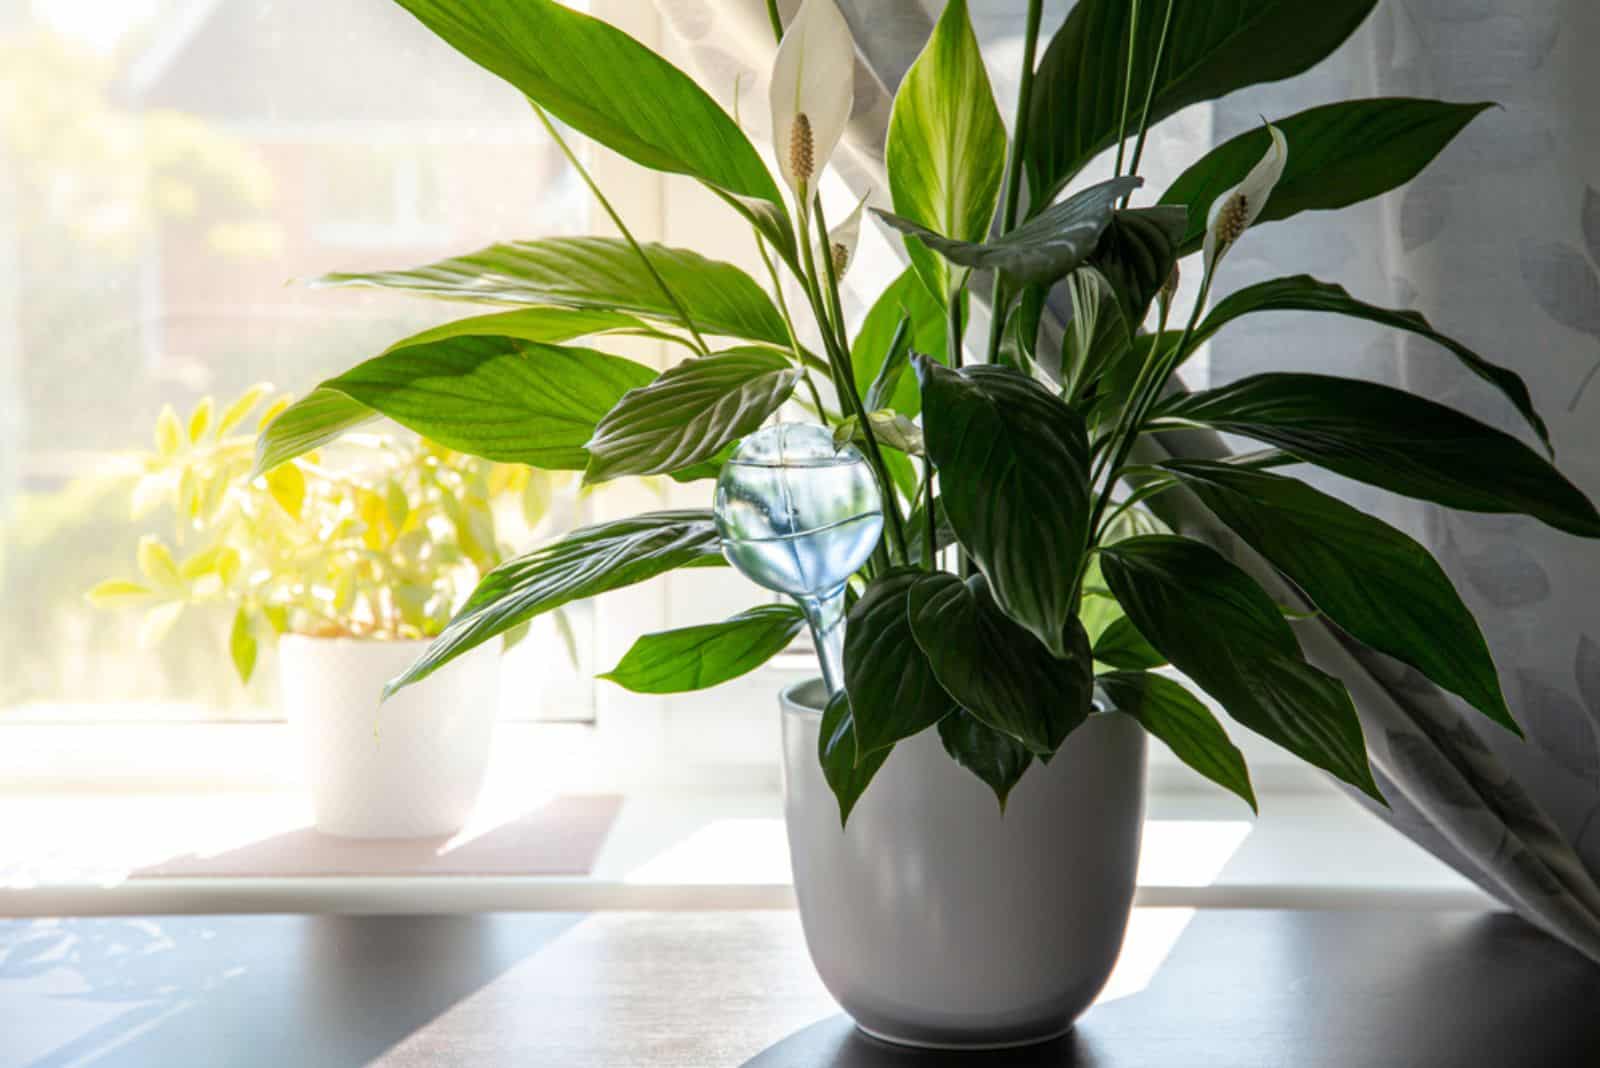
The peace lily plant is suitable for self-watering pots, so you can use them to reduce your watering chores. You can always irrigate your plants the old-fashioned way; just let the top few inches of the soil dry before watering them.
You can use a moisture meter to help you with this or stick your finger into the medium (up until your knuckles, if you can), and if it’s dry, you can irrigate your peace lily.
Finally, when watering this plant, make sure to use distilled or rainwater as they don’t contain chlorine, and irrigate them slowly until you can see that the moisture has started to drain out through the potholes.
Empty the bottom tray after about half an hour, and that’s it!
Peace Lily Care Tips That Affect Watering
Watering your peace lily isn’t the only thing you need to bear in mind.
Other growing conditions, such as lighting, temperature, and humidity levels, can affect irrigation, so we’ll discuss some of them in the following sections.
Maintain Proper Light Exposure
This plant cannot tolerate direct sunlight and thrives best in indirect sun and lower-light conditions.
This is important because there is a direct link between sunlight and water: plants that don’t get plenty of light need less moisture.
Of course, you should always check the soil before irrigating your plant, but you should know that your plant won’t need too much water in lower-light levels, so you’ll have to give it something to drink less frequently.
Adjust The Temperature
This plant tolerates temperatures between 68-85°F and slightly cooler nighttime temperatures (about 10°F).
Of course, if the temperatures are higher, the plant will need more moisture because the transpiration rate speeds up.
But, if you keep your plant in cooler temperatures, you’ll have to irrigate it less frequently because it doesn’t transpire as much.
Consider Humidity Levels
This plant loves humidity so much that it’s even on the list of bathroom plants that absorb moisture. Consequently, the plant will need less frequent irrigation if the humidity levels are high.
However, always remember to check the soil before watering as you don’t want to underwater your peace lily by accident.
Final Thoughts
This article examined the ten most common signs of an overwatered peace lily. The plant first starts wilting, and its leaves become paler and paler until they eventually turn yellow.
Soon, leaf edema, browning of the foliage, stunted growth, curling, dropping, and softening of the stem occurs.
These are also the symptoms of root rot, but you should always examine the entire plant before doing anything.
However, the same signs can indicate underwatering, so we discussed the differences between these two conditions to help you distinguish between them.
Finally, we examined some solutions you can implement to nurture your peace lily back to health.
Good luck, and until next time!
Like this post? Share or pin it for later!