10 Most Common Peace Lily Problems And Brilliant Ways To Fix Them
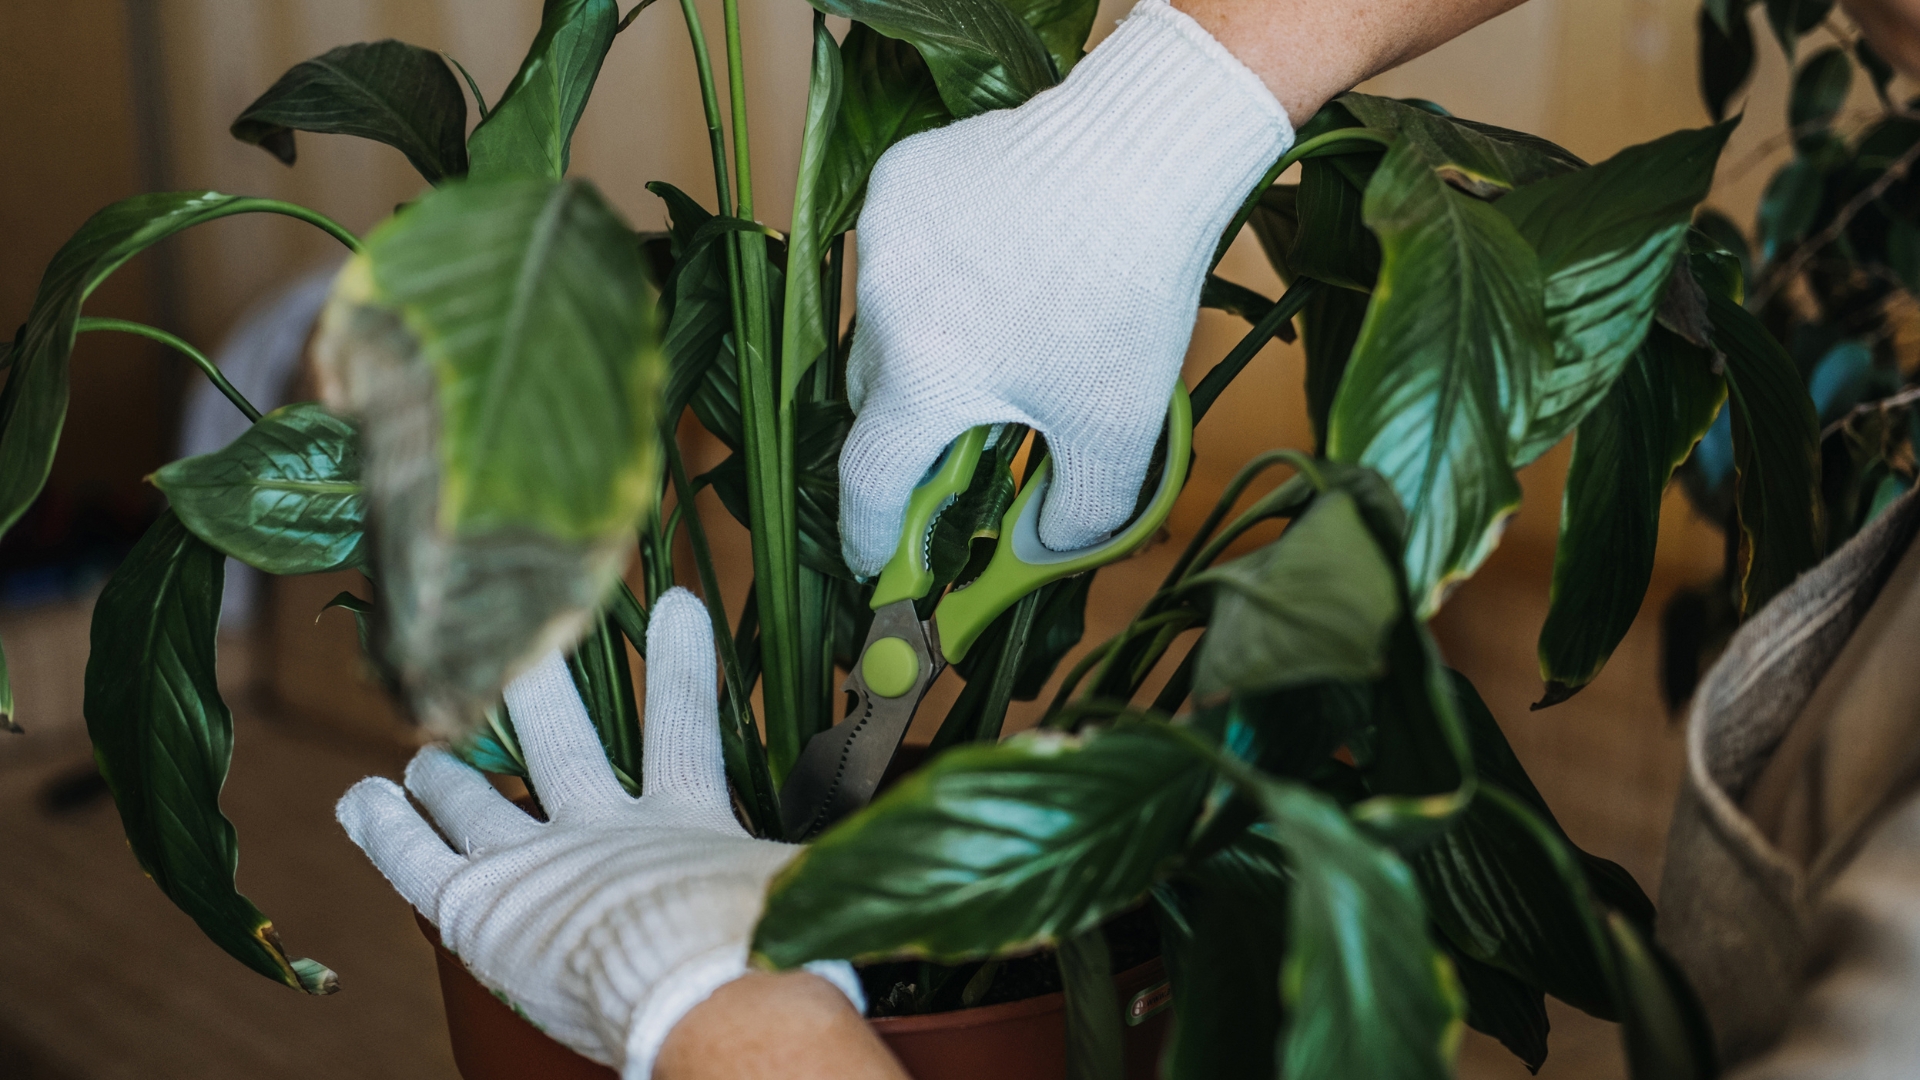
I would recommend the peace lily plant to any grower no matter their gardening experience. These plants have a good reputation regarding maintenance and their beauty is incomparable.
However, the peace lily is still a plant and it depends on us and the conditions we provide it with. Some issues can occur but, luckily, they can easily be solved if treated on time.
In this article, I’ll show you some of the most common peace lily problems, how to deal with them, and how to prevent them from happening ever again!
1. Yellow Leaves
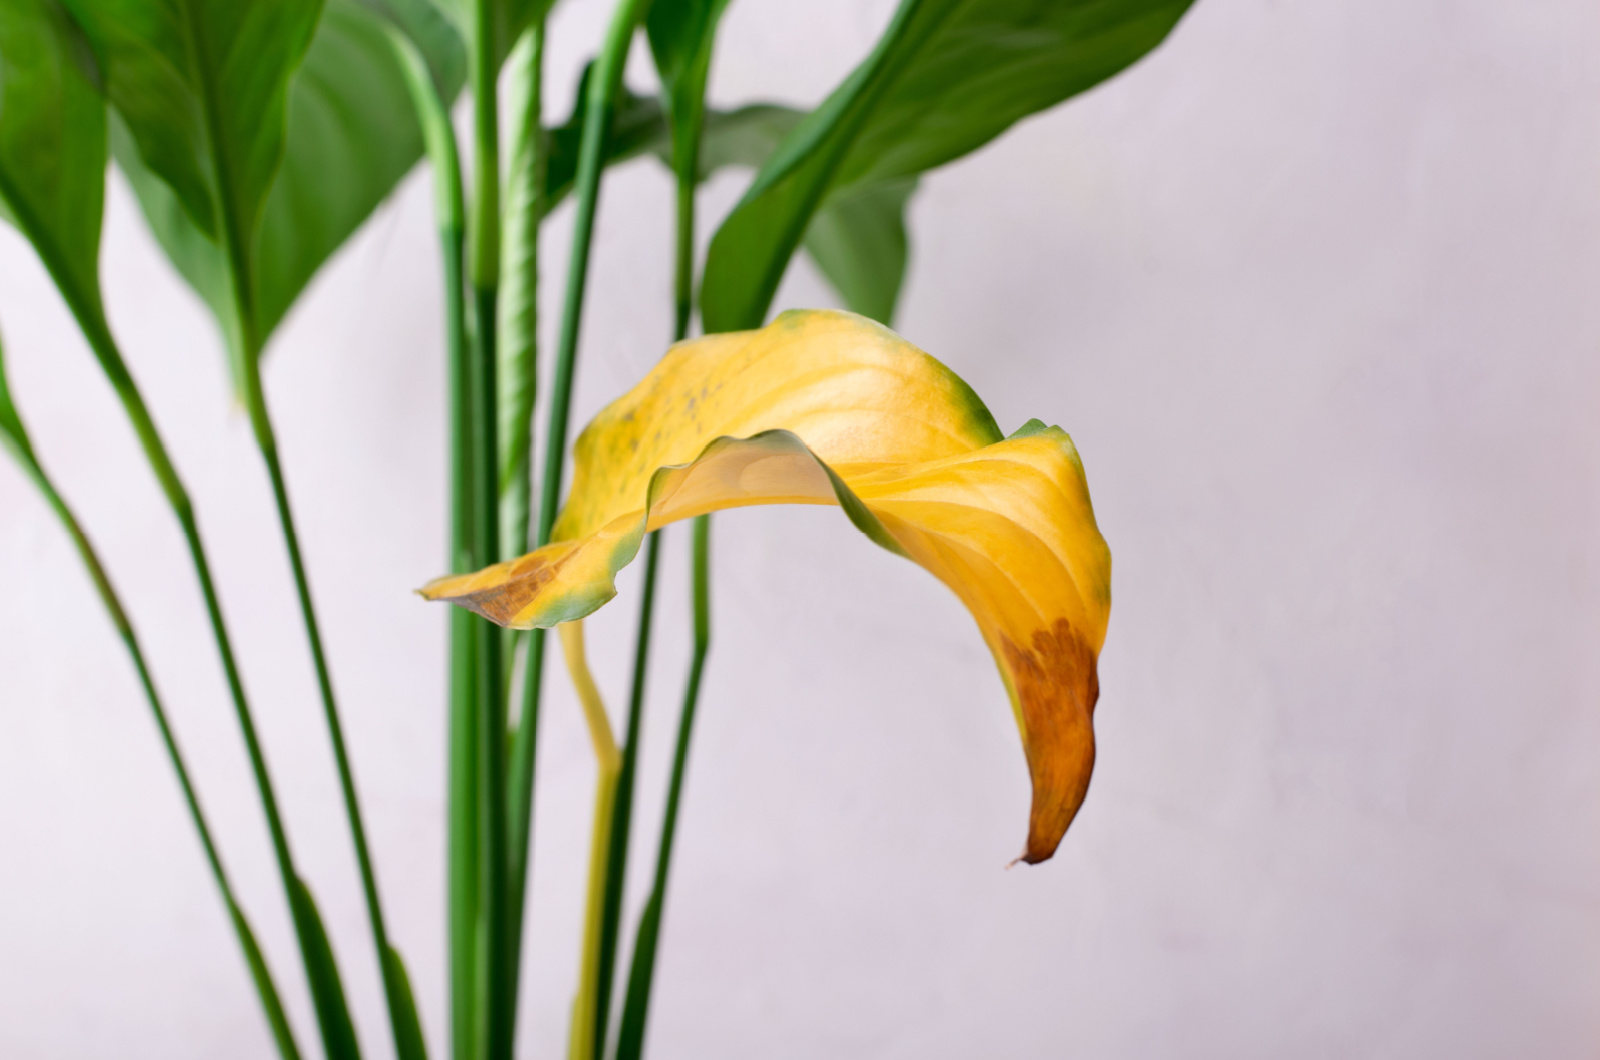
Almost every grower has dealt with yellowing of the leaves of their precious plants. Sometimes, plant foliage can turn yellow as the plant matures and that’s completely normal.
For peace lilies, things are a little bit different. The most common cause of yellow leaves in Spathiphyllum plants is overwatering.
Waterlogging a plant’s growing substrate can have fatal consequences on a plant’s health. The roots will suffocate in standing water and stop sending nutrients to the leaves. As a result, peace lily leaves will display yellowing.
If the soil of your Spathiphyllum is dark, mushy, and has a foul odor, you most likely overwatered it, and the fungus that causes root rot settled in.
Another reason why this tropical plant displays yellowing is temperature fluctuations. Putting your peace lily near doors and windows that open and close too frequently can lead to discoloration.
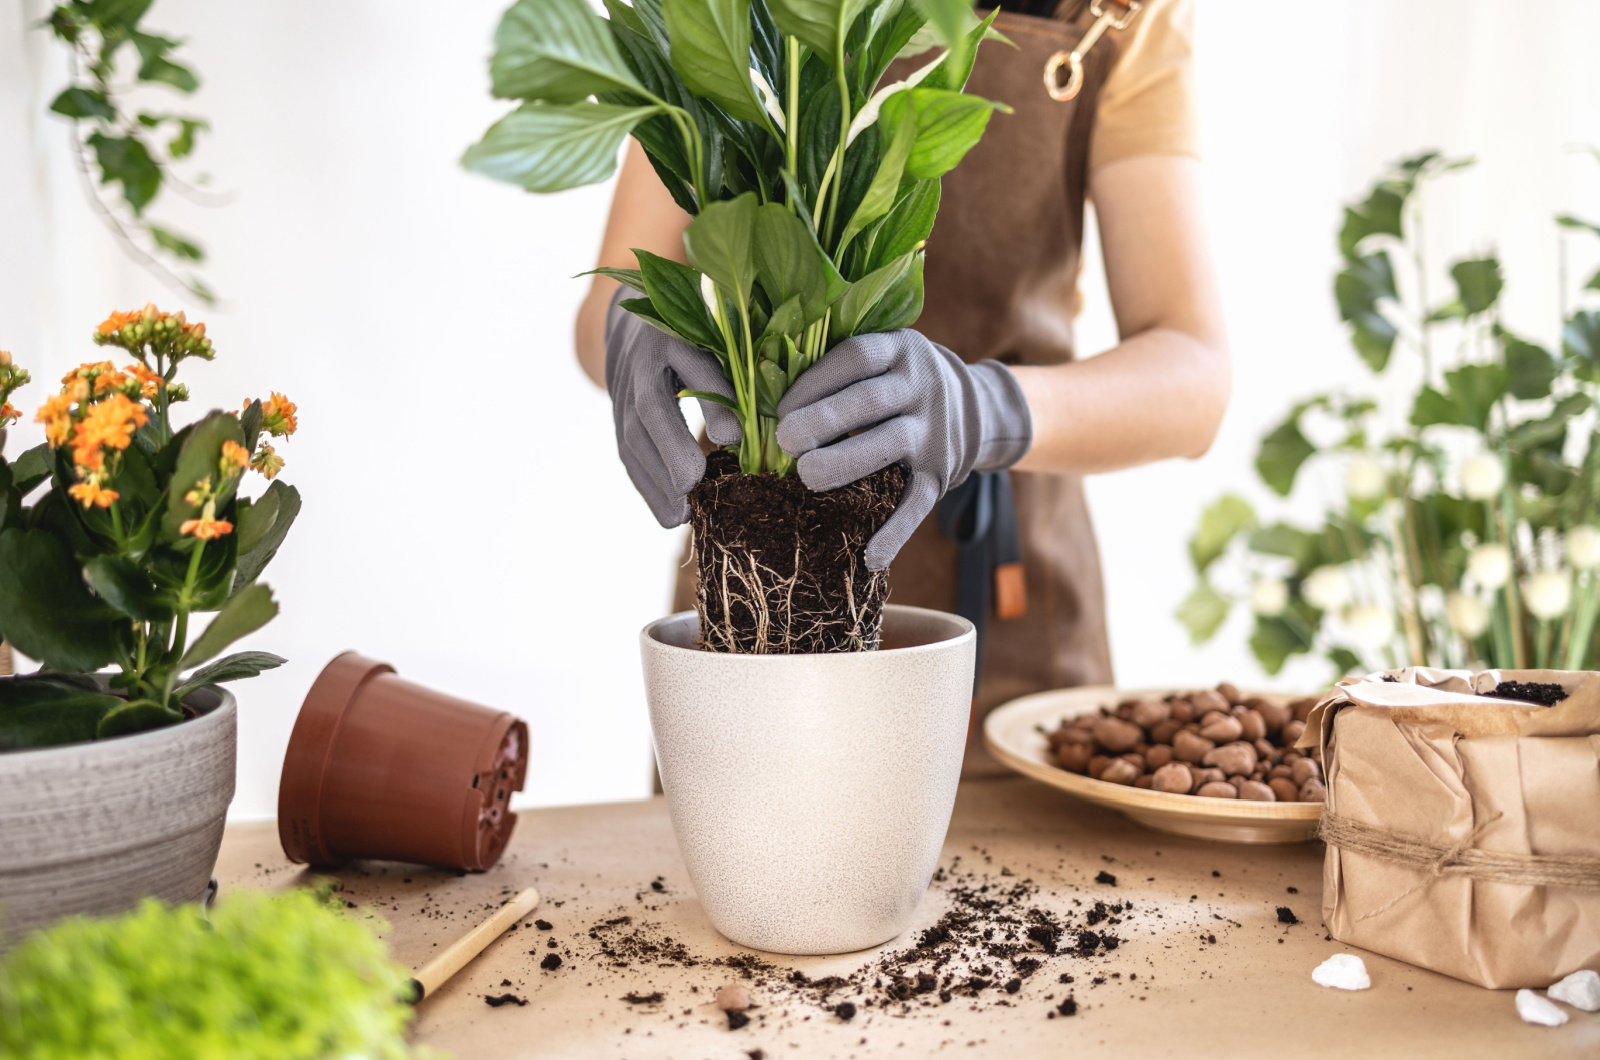
If you’re dealing with an overwatered peace lily, you’ll need to take the plant out of its pot to repot it.
When you remove your peace lily from the container, check if the roots are white and plump. If so, put the plant back in the container, and allow it to dry well.
2. Leaves Turning Brown
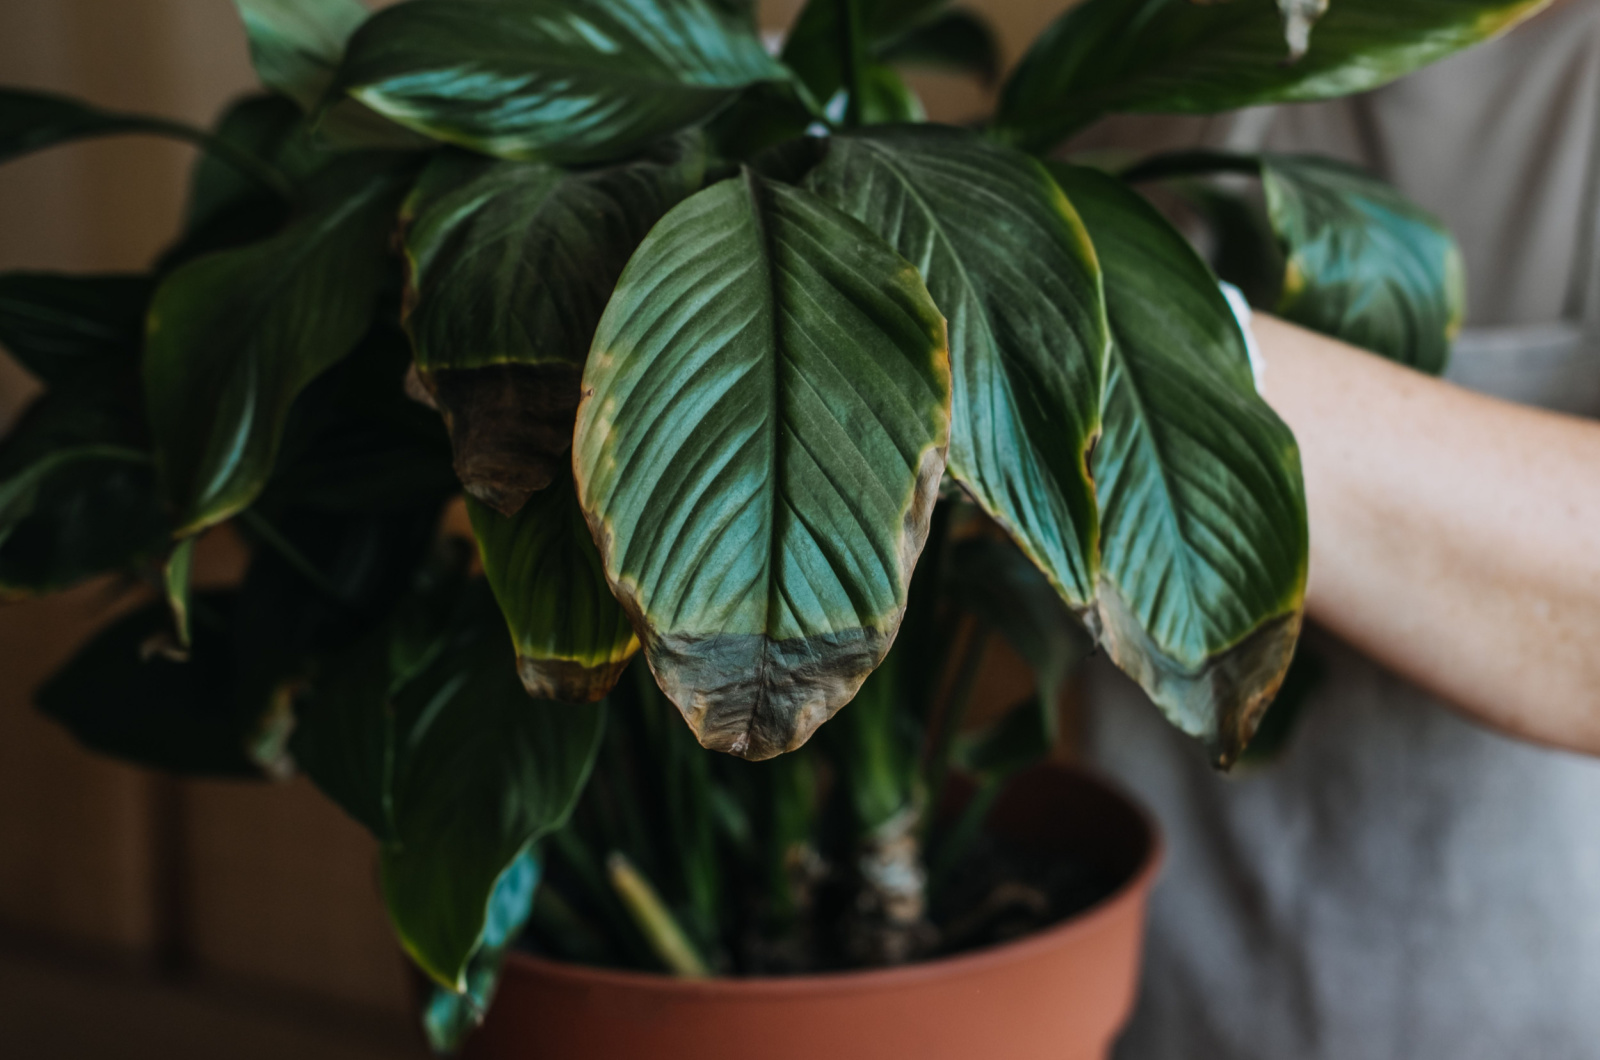
Browning in peace lily foliage is another problem you may encounter. There are a few causes of such discoloration in Spathiphyllum plants. If browning isn’t severe, too much direct sun is most likely the cause.
These plants don’t need a lot of light and harsh sun rays can quickly damage it. If your peace lily is located too close to a sunny window, you have the culprit.
Overfeeding can also cause browning in peace lily foliage as well as too much or too little water. However, in these cases, some other signs may appear on the plant.
Fluoride and chlorine found in tap water can cause the leaves of your Spath to turn brown. If all other conditions are suitable, the problem may be in the type of water you use.
You need to find a new location for your peace lily where it will be exposed to bright but indirect light.
If overfeeding caused the browning in your Spath, make sure to flush its growing substrate with clean water. Feed your peace lily monthly during the growing season using a balanced fertilizer diluted to half strength.
3. Wilting
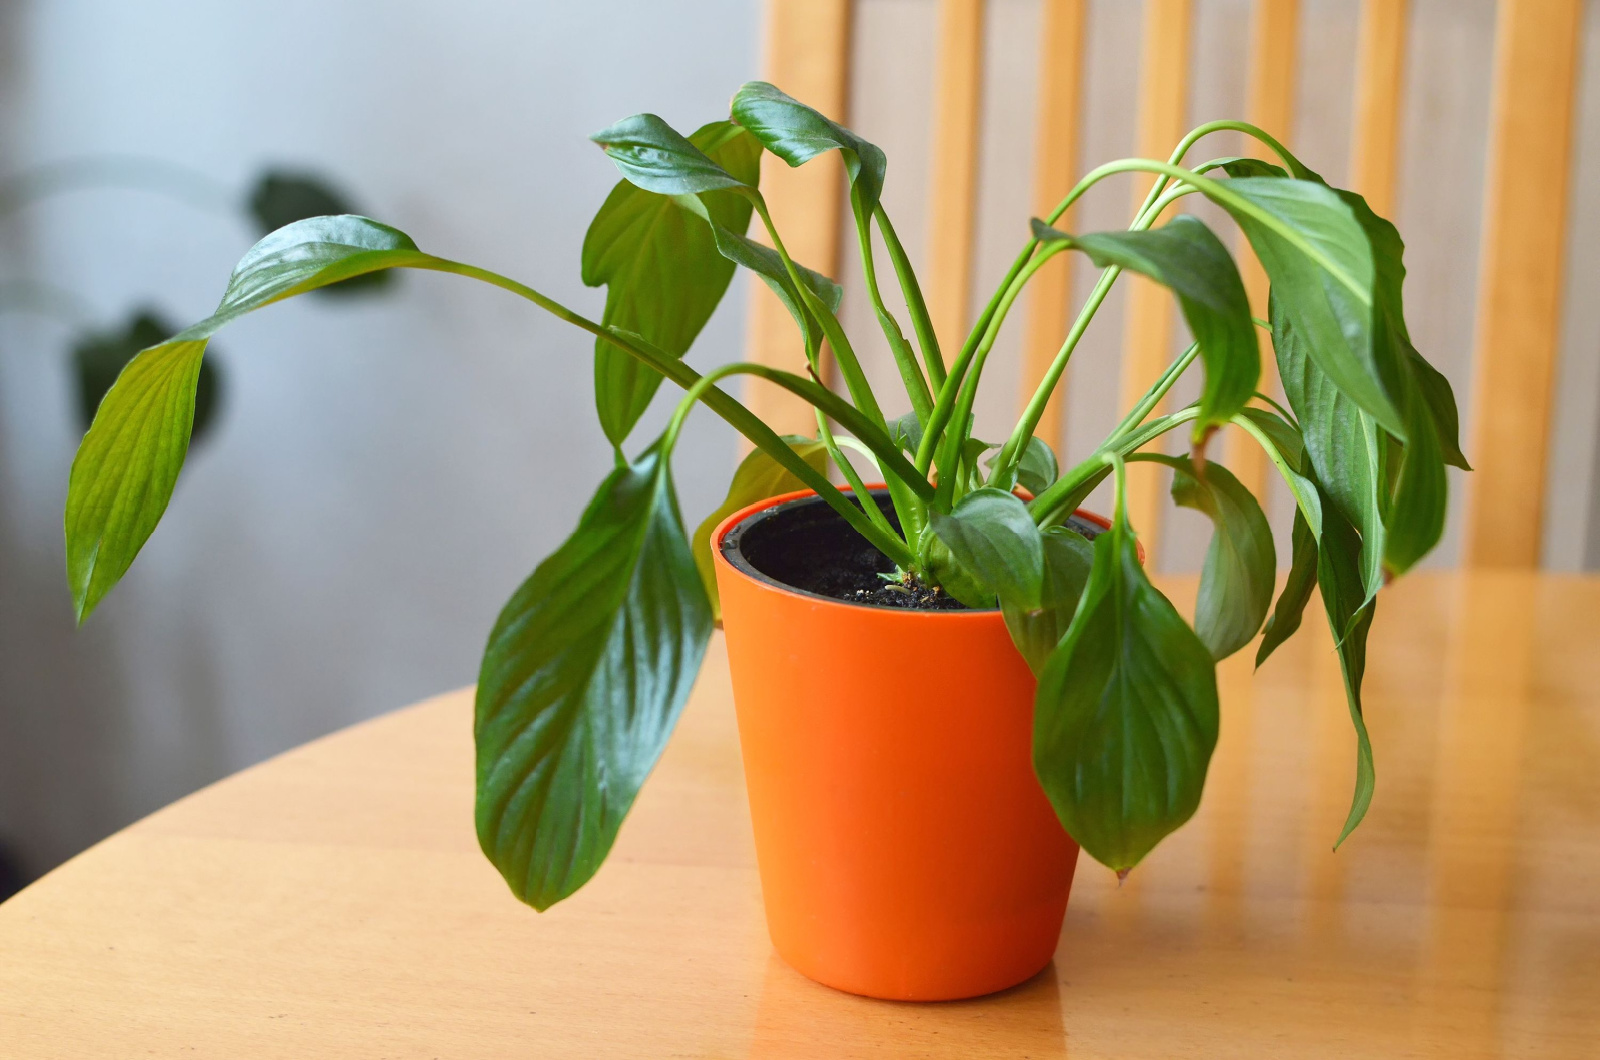
Beginners are frequently dealing with wilting peace lilies. The two most common reasons why this occurs are overwatering and underwatering.
Underwatering isn’t too dangerous and your peace lily can quickly recover from this condition. Well, things are way different when it comes to overwatering and it can have fatal consequences for your plant.
The trickiest part is to determine if your Spath is overwatered or dehydrated. First, take a look at the growing substrate; if it’s light, dry, and crumbles when touched, underwatering is to blame.
On the other hand, dark, mushy, and soggy soil is a telltale sign of overirrigation in Spath plants. Yellowing can also occur and it primarily affects the lower leaves.
In the case of overwatering, I’ve already told you that you’ll need to repot your peace lily.
You can also water your peace lily using the bottom watering method, i.e., put the pot in a sink filled with water and leave it so that the soil can absorb water gradually.
If there are some brown or dry leaf tips, don’t remove them immediately but rather wait for a few weeks to avoid stressing your peace lily even more.
4. Pest Infestation
One of the reasons I love peace lilies is because annoying pests typically avoid these plants. But if the plant is weak and has other issues, pests are more likely to attack it.
Spider mites, aphids, and mealybugs can be found on the surface and the undersides of the Spath’s foliage. This is pretty common if you put already infested plants near your peace lily.
It’s essential to inspect the plant carefully and start treating it if you notice any pests.
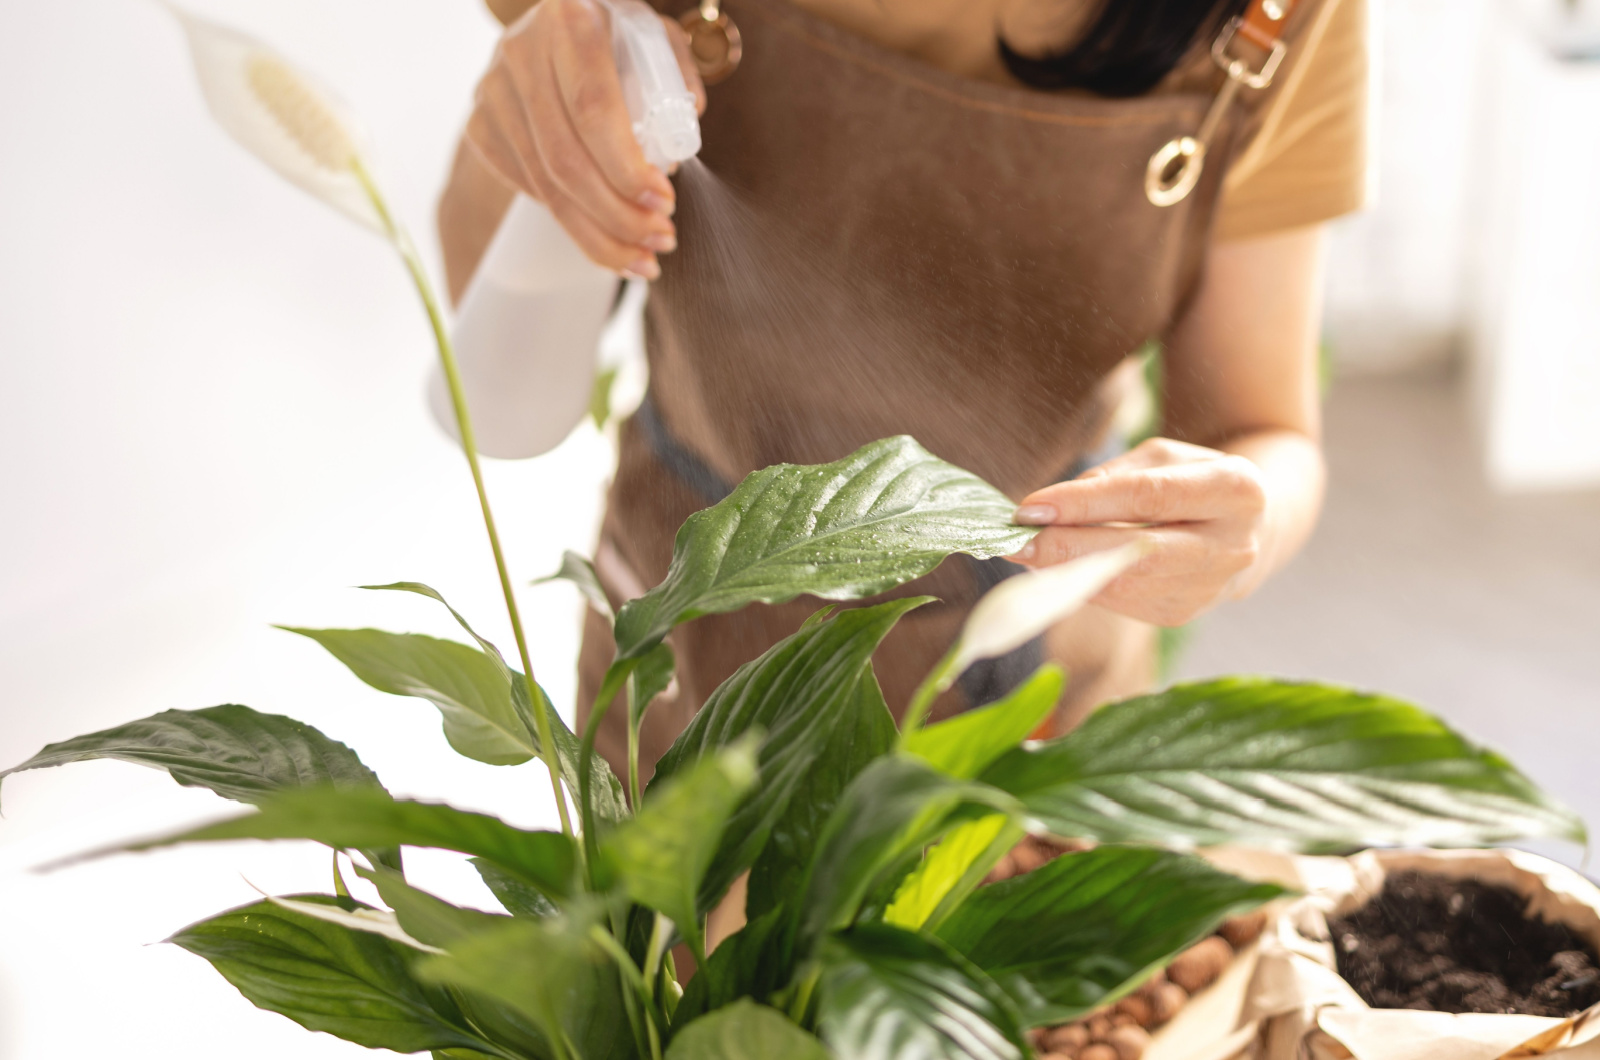
I always advise new growers to wipe and inspect the leaves of their Spath regularly. If the infestation isn’t severe, spraying the plant with water will most likely fix the issue.
Neem oil, insecticidal oil, and other pest control techniques are used if the number of pests is larger and they are damaging the plant.
If the pests were on a new plant you bought, I recommend isolating it until you fix the issue. This technique is frequently used by growers that have more plants in their collections.
5. Non-blooming Peace Lily
These plants are renowned for their captivating white flowers and if the plant doesn’t have any, lack of light is most frequently the culprit.
You may have heard numerous times that the peace lily tolerates low light. It really does and will be healthy, but it can’t produce more blooms in these conditions.
Light gives energy to your Spath and encourages it to flower.
Rarely, underfeeding may result in the absence of blooms in Spathiphyllum plants. If you haven’t fertilized or repotted your Spath for a while, this can affect the blooming stage.
To encourage your peace lily to bloom, you’ll need to expose it to more light. Bright indirect light will trigger blooming, but make sure harsh sun rays don’t touch the leaves of your Spath.
If you forgot to feed your Spath, apply a dose of fertilizer and your plant will be back on track pretty soon.
6. Leaves Turning Black
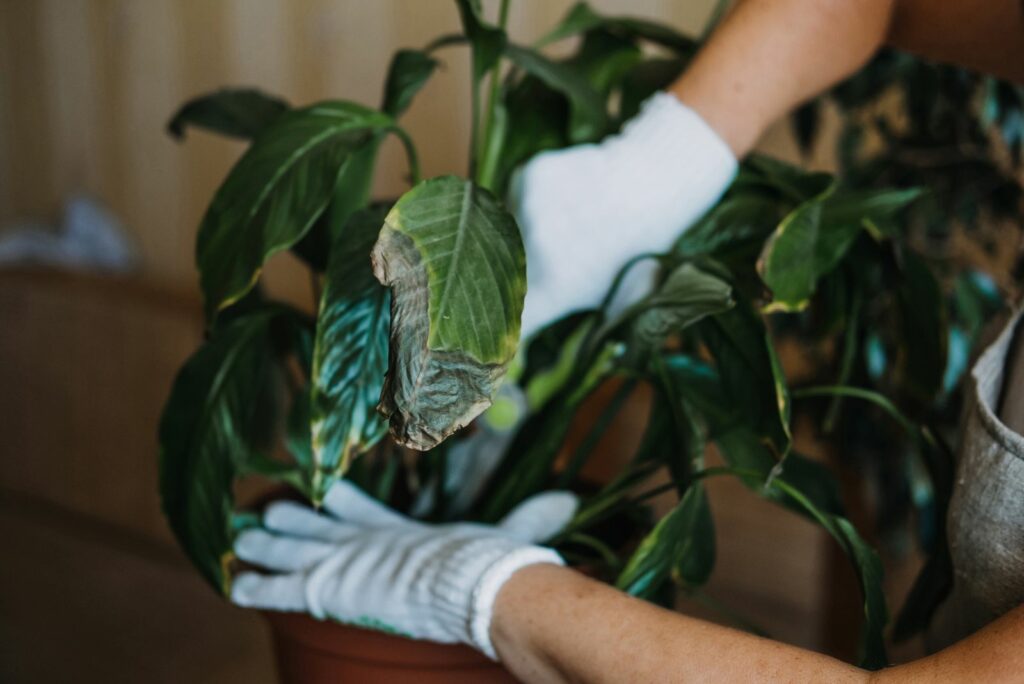
When your peace lily’s lush green leaves start turning black, it’s as if the plant is sending out an SOS. Black leaves are often a sign of trouble, caused by extreme temperature swings, drafts, or even fertilizer overload.
To nurse your peace lily back to health, start by placing it in a stable environment—away from drafty windows, heating vents, or air conditioners.
If you suspect over-fertilizing, flush the soil thoroughly with water to remove excess salts and scale back to feeding it only once a month during the growing season.
Trim off any blackened leaves to encourage fresh growth and ensure your plant’s energy is directed toward thriving, not just surviving.
7. Stunted Growth
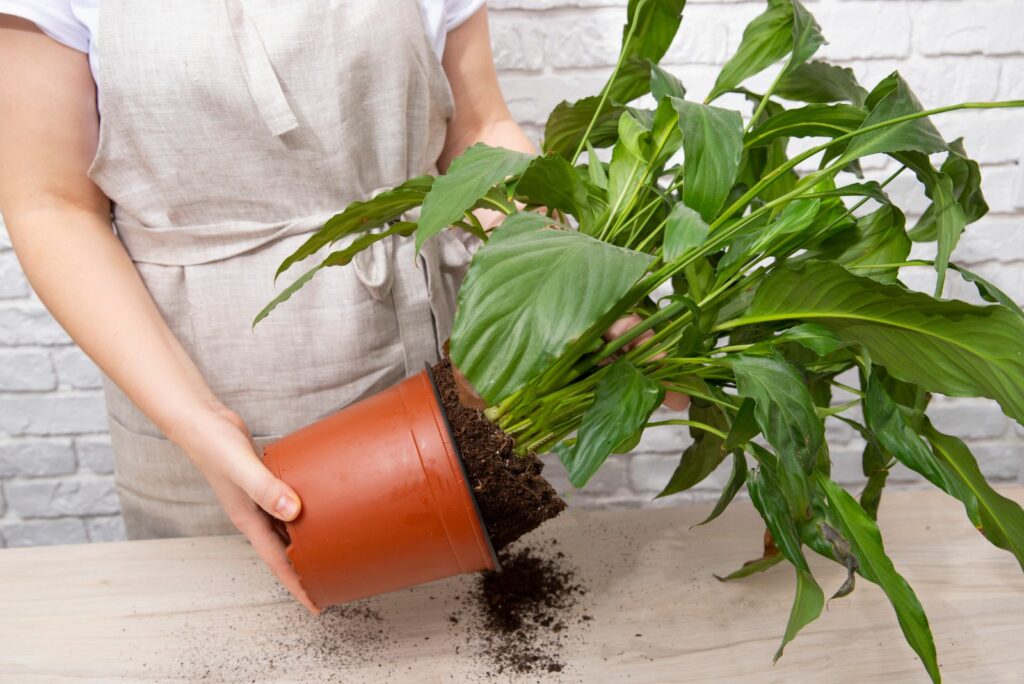
If your plant seems frozen in time, refusing to produce new leaves or flowers, it’s a clear sign something’s off. The usual suspects? A nutrient deficiency, compacted soil, or a root-bound plant desperately needing a roomier home.
Without the right conditions, your peace lily simply can’t stretch its roots—or its wings!
Start by repotting it in fresh soil if it’s been in the same pot for over a year. Use a high-quality, well-draining mix and a slightly larger pot to give its roots room to grow.
Feed your plant a balanced liquid fertilizer every month during spring and summer to replenish essential nutrients. Lastly, ensure it’s getting enough bright, indirect light—its favorite growing condition.
8. Drooping Leaves
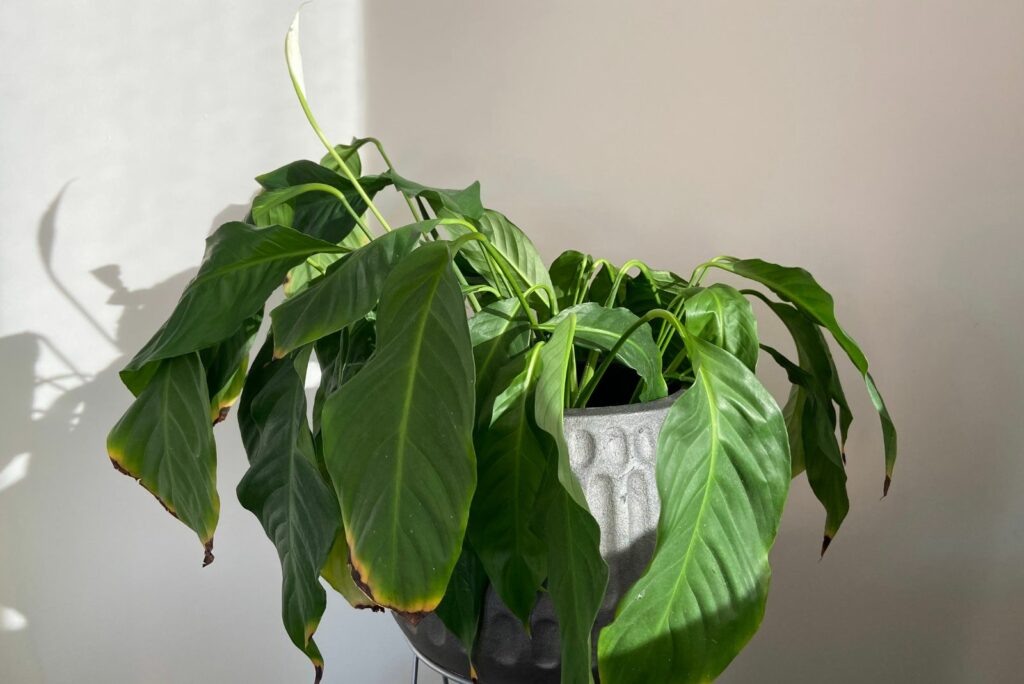
Drooping leaves on a peace lily can feel like your plant is throwing in the towel. While these graceful plants are known for their resilience, sagging leaves are their way of shouting, “Help!”
The most common culprits? Watering woes. Too much water can drown the roots, while too little leaves them parched. Other factors like sudden temperature changes or stress from relocation can also leave your peace lily looking droopy and defeated.
If the soil is waterlogged, it’s time to let it dry out or repot with fresh, well-draining soil. Keep your peace lily in a stable spot away from drafts or direct sunlight.
9. White Residue on Soil Surface
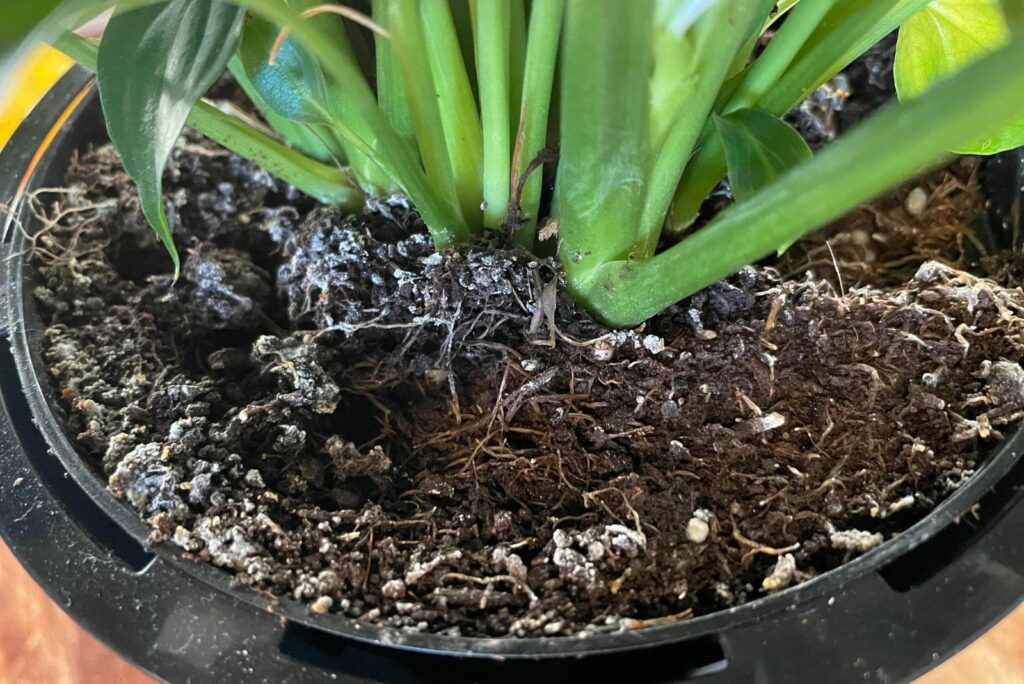
If you spot a mysterious white residue on the surface of your peace lily’s soil, it might look like a harmless dusting, but it’s actually a sign that something’s off.
That white coating is usually mineral salts, the result of overfertilizing or using hard tap water with high mineral content. While your plant may still be doing fine, this residue can build up over time, blocking nutrients and leading to a less-than-happy lily.
The solution to salt build up is repotting and if you’re using tap water, consider switching to distilled or rainwater to prevent mineral buildup in the future.
10. Fungal Issues
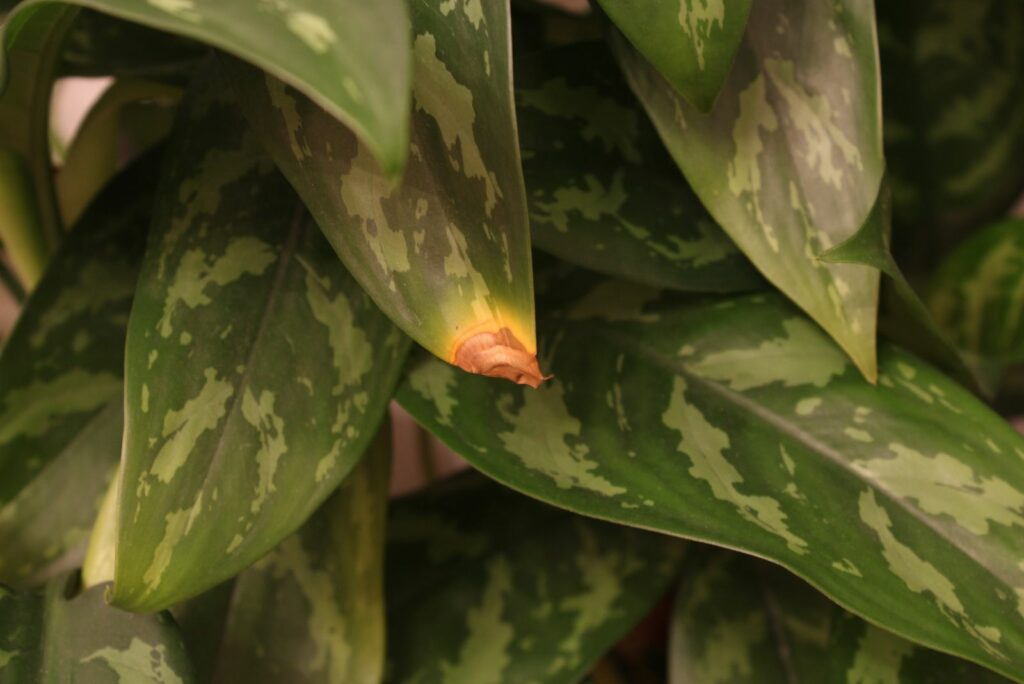
Discolored spots, mold, or a musty smell are all signs of fungal issues, They are often caused by overwatering or poor air circulation, creating the perfect breeding ground for mold and mildew.
Left untreated, fungi can spread quickly, affecting the leaves, stems, and roots, and may even lead to the plant’s decline.
To eliminate the threat, first remove any affected leaves and dispose of them to stop the fungus from spreading. Ensure your peace lily is in a well-ventilated area, and avoid watering the plant too frequently—let the soil dry out between waterings.
With regular care and inspection, you’ll avoid these problems in your peace lily. And if some occur, just follow our guidelines to fix it and restore the beauty of your prized Spath.

