How To Grow A Peach Tree From Planting To Harvest
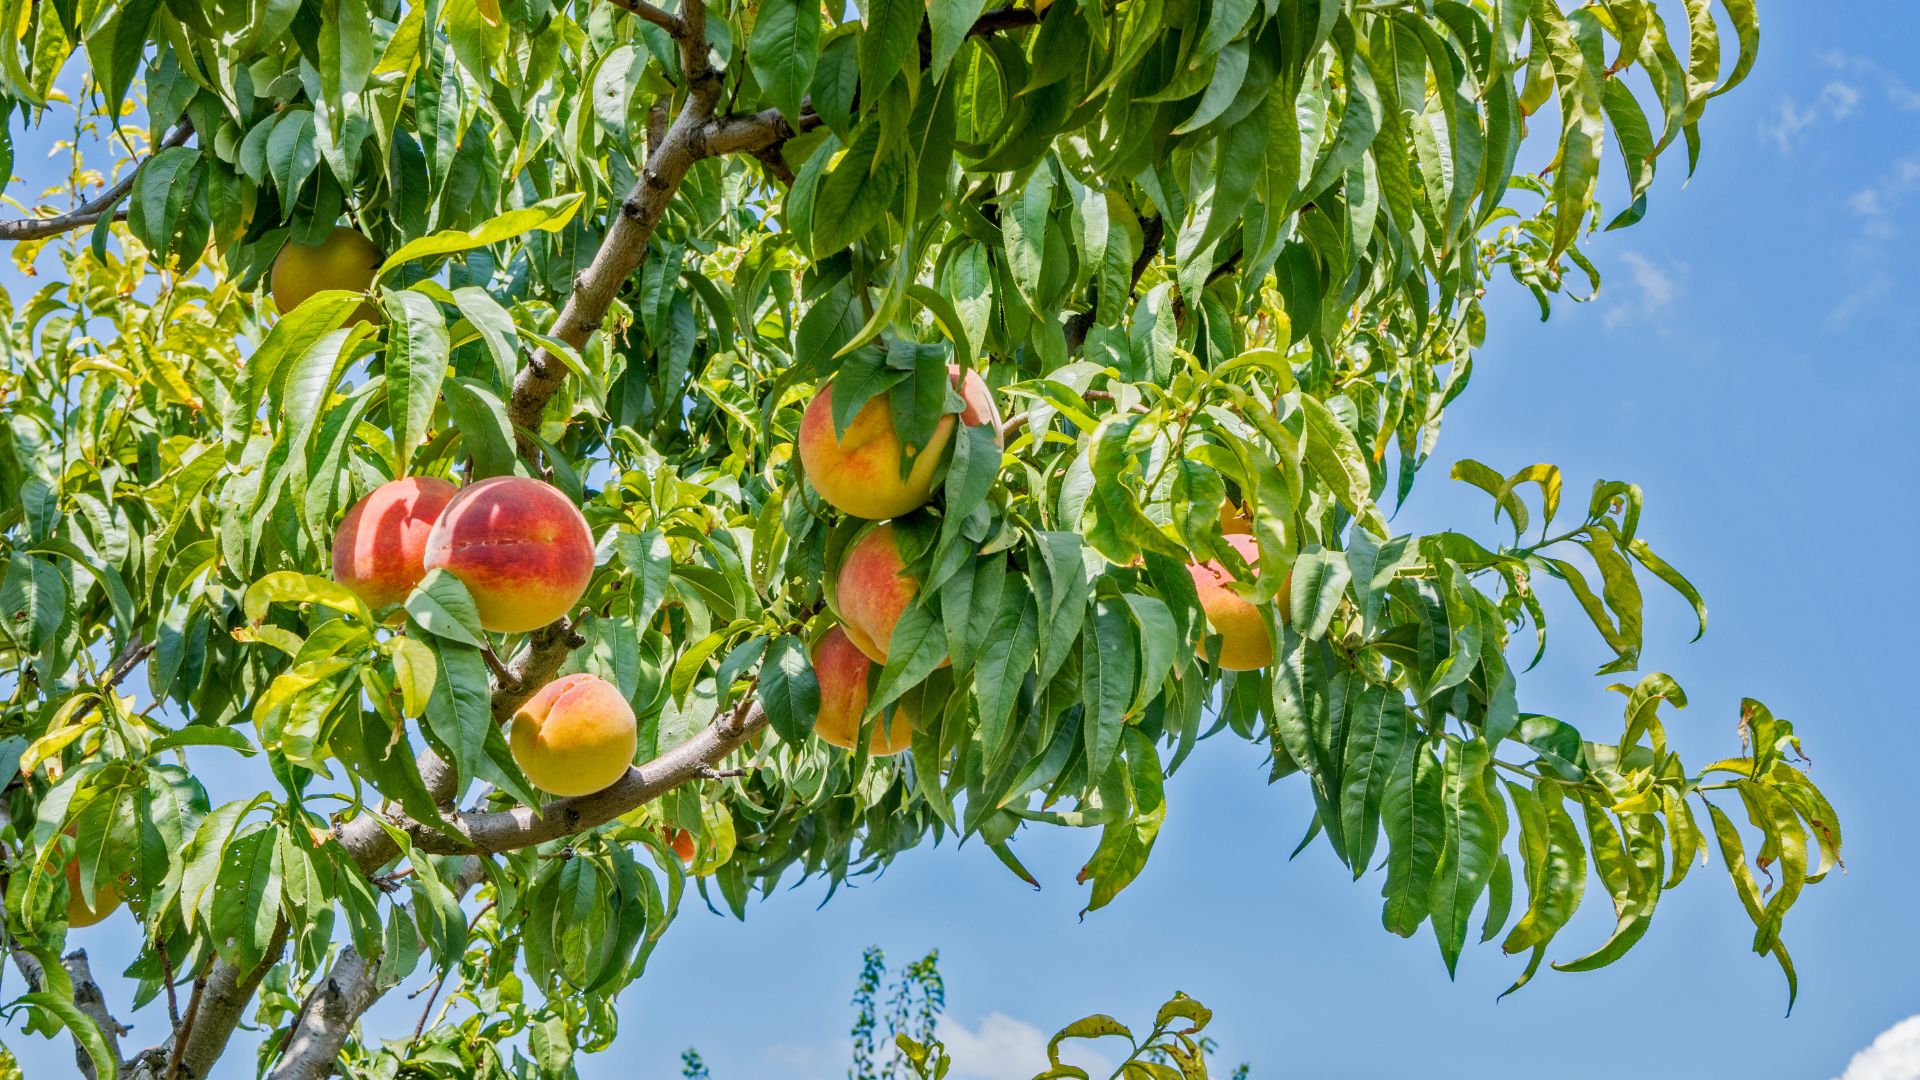
Are you ready for the juiciest journey of them all? Nothing screams summer better than a bite of a homegrown flavorful peach.
Guess what? You can successfully grow your own peach tree! Although it requires some skills, time, and patience, the reward is so big and it’s definitely worth every second you spend on growing this amazing plant.
Let’s see what it takes to get a bountiful peach harvest!
Growing Your Own Peaches
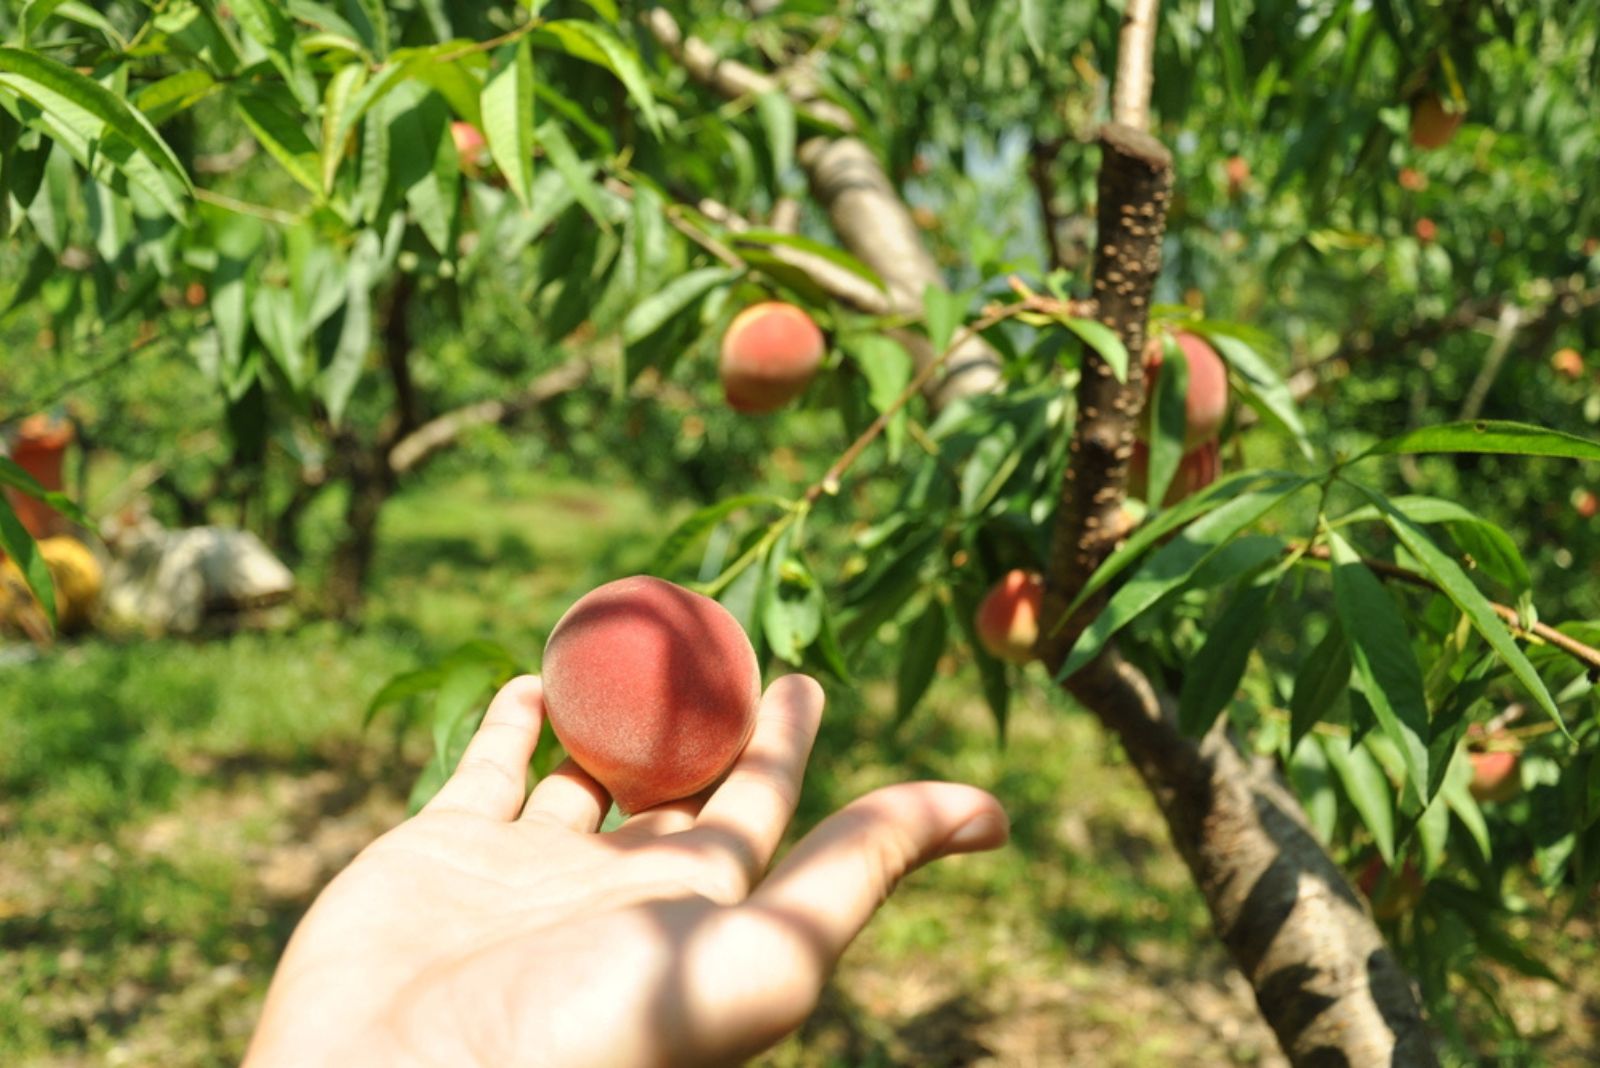
When we think of a specific fruit we would like to add to our garden, we mainly think about when it’ll be ready for harvest.
Well, the road from planting to harvesting peaches is pretty long and everything starts with a seed or sapling.
You may have seen that some growers take seeds from peaches and root them in water. There’s a possibility that the peaches you start this way won’t produce fruit, but you know what they say, you don’t know until you try.
Another way to start peaches is by using a propagation method known as grafting rootstock. This method includes using the base and the root portion of a grafted peach tree.
I don’t recommend grafting to beginner growers but if you like a challenge here’s how to do it:
If you want to keep it simple and be on the safe side, simply go to a local nursery store and purchase the tree. The only thing to pay attention to is to select a suitable peach variety for your climate.
Let’s see how to do it!
How To Select The Perfect Peach Variety

The tricky thing about growing a peach tree is selecting the right variety. The first thing to understand is that these trees won’t grow well in every USDA hardiness zone.
You’ll get the best results if you live in USDA zones 6 through 9. However, they do quite well in lower zones, precisely 4 and 5.
If you live in cold zones, you can still grow peaches but it would be best to select cold-resistant varieties that taste less sweet.
Make sure you select the type of peach tree based on its taste (if you live in warmer zones) and the way you’ll be using them (canned, fresh, dehydrated).
Preferred Use
Here are some examples of peach varieties used for different purposes.
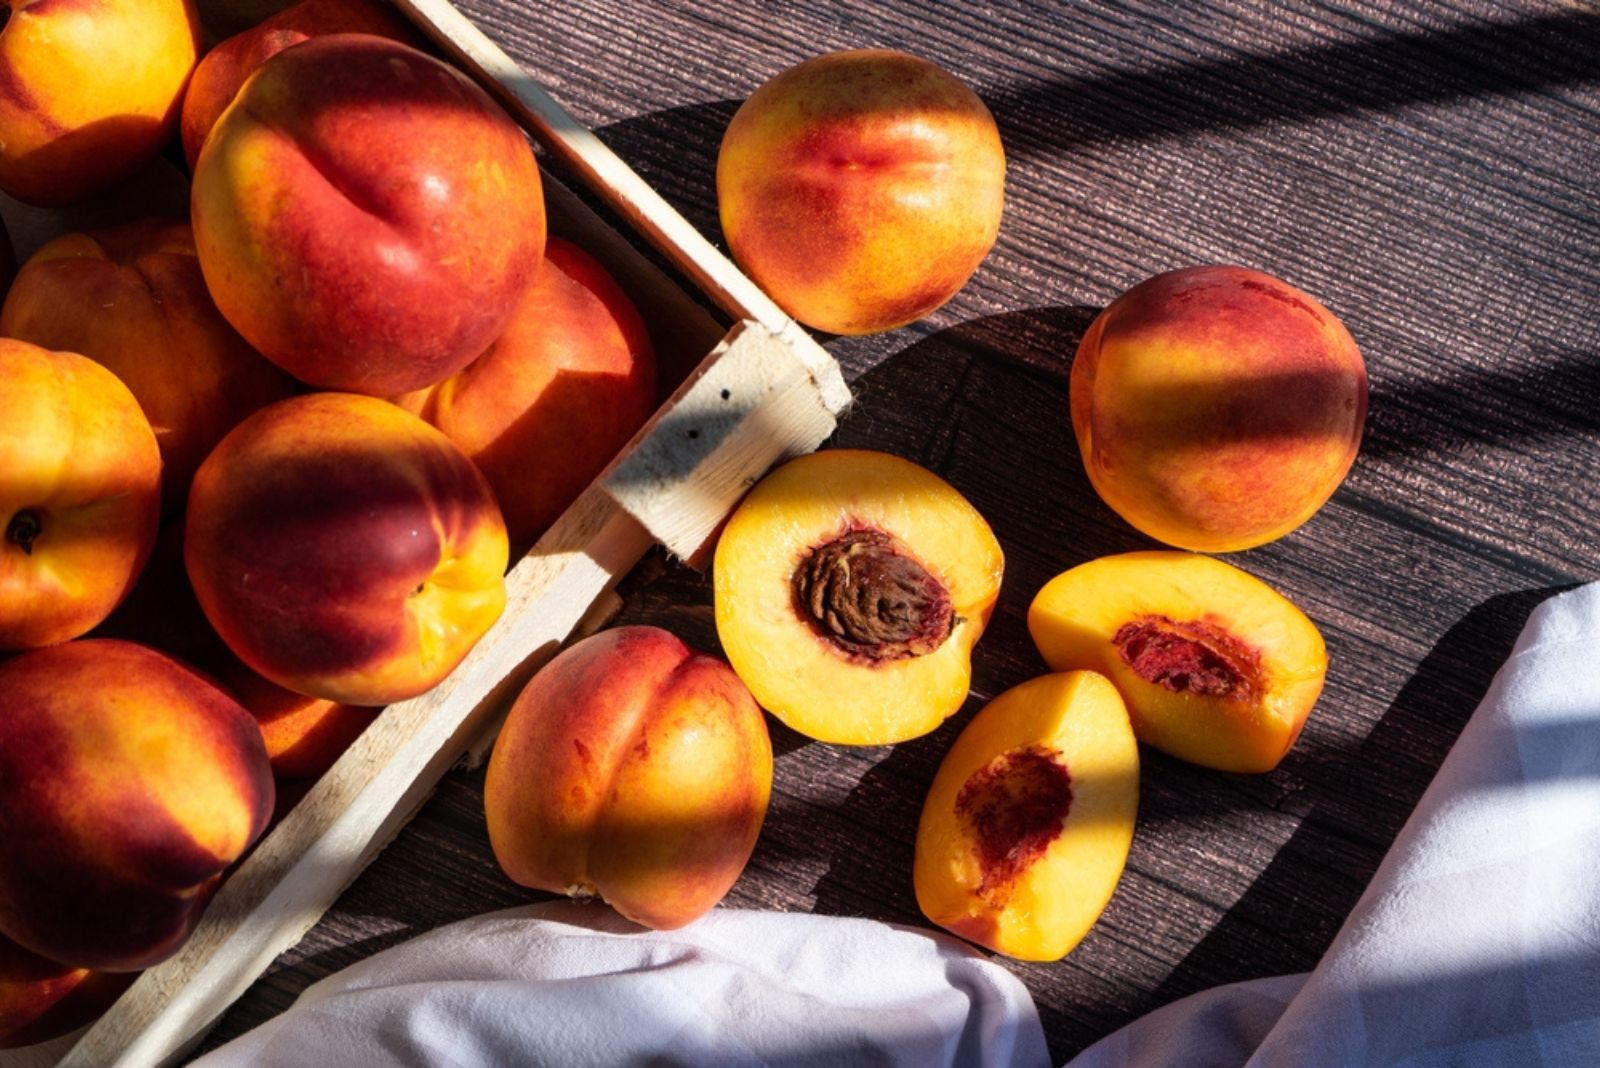
• Freestone: you can separate the pit from the fruits easily and these peaches are good for slicing. They’re larger in size and aren’t as juicy as the next variety on this list. Freestone peaches are suitable for canning and freezing but they also taste great fresh.
• Clingstone: you’ll need to put more effort into separating the pit from the fruit. However, these varieties ripen early, and their fruits are juicy and sweet. Clingstone peaches are frequently used in jellies and jams.
• Semi-free/semi-clingstone: These varieties are juicy and sweet and the pit falls out easily from the fruit. You can use them fresh, can or freeze them, or make jellies and jams.
Preferred Texture
Another thing you should consider is what texture you would like your peaches to have. These fruits are divided into 2 groups, melting and non-melting.
Melting ones ripen fast and are best consumed fresh.
On the other hand, non-melting varieties remain firm, which means you can slice them and store them in a jar.
Preferred Color
The two main colors of the meat of these delicious fruits are yellow and white. Of course, the yellow ones are the most common and you can find them in many tasty cakes, eat them raw, and cook or grill them.
They also make an excellent addition to a cheese platter.
White peaches are pretty rare and in my opinion, that’s exactly what makes them special. They have more sugar and you’ll find them mainly in salads, sodas, and syrups.
Best Varieties To Grow At Home
Once the season of peaches begins, your efforts will be rewarded. The season depends on the climate and selected variety.
If you have a hard time choosing the best variety for you, here are some recommendations.
• Early Amber
• Fiesta Gem
• Gala
• Galaxy
• July Prince
• Dixie Red
Did you choose your variety? Let’s plant it!
A Guide For Planting Peach Trees
Ornamental and fruit trees do best when planted in late winter, i.e., when they’re dormant.
If you live in cooler climates, wait until the soil temperatures raise and the ground starts to thaw.
The first thing you need to do is dig a hole that fits the sapling and add some well-rotted manure. Insert the sapling in the hole, add soil, and irrigate well.
It would be best if you could plant the rootstock the same day you bought it. This will reduce the transplant shock that plants typically go through after transplanting.
If you decide on container cultivation, you can plant the rootstock a few days after purchasing.
How To Choose The Planting Site
Like every other fruit tree, peaches need a lot of full sun exposure to develop healthily and produce fruits.
The best idea would be to ensure about 8 hours of direct sunlight daily and, if possible, choose a planting site that receives morning sun because it will help the morning dew to dry out.
Soil type for this plant species should be free-draining because peach tree roots can’t survive in waterlogged soil. The pH level should be anywhere between 6 and 6.5.
Remember not to plant your peaches in a low spot to prevent frost damage. Areas in your yard with the highest ground levels will be least affected by frost, so plant your peaches there.
If you are planning to have a peach orchard, make sure there is approximately 15 to 20 feet of distance between each tree.
Peach Tree Care Guide
The good thing about peach trees is that they’re self-fertile, which basically means you’ll only need to plant one tree to get fruits.
If you are lucky enough to have a lot of space in your yard, plant various varieties of peach trees to get a diversity of fruits regarding sweetness and texture.
Let’s see how to maintain your peaches until they reach the harvesting stage.
How To Fertilize
Peaches love food and you should start fertilizing them about a week after planting. The best fertilizer to use for these trees is a balanced triple 10.
The essential thing about fertilizer is that it’s balanced, so if you have a triple 12 or triple 20 at hand, you can use them on your peaches.
The second fertilization should occur about 8 weeks after planting.
When feeding your freshly planted peaches, don’t use more than half a cup of fertilizer per plant. You can increase the quantity of fertilizer to about 5 pounds per plant once your peaches are in the mature growth stage.
Pay attention to where you add fertilizer; avoid applying it near the base of the tree, about 8 inches away from the main trunk should suffice.
Your peaches need food only during the spring and mid-summer; applying food during the fall will do more harm than good.
If you notice that there are too many leaves and less fruit than expected, cut back on feeding the next season.
How To Prune
Never skip pruning peach trees! If left unpruned for a few years, susceptibility to diseases significantly increases and fruit production is severely inhibited.
Luckily, pruning these fruit trees isn’t a hard task. You should start by pruning damaged, dead, or diseased peach tree branches in the spring before the flowering season begins. Your peach tree is still dormant and you won’t stress it.
Suckers and crossing branches should also be pruned off because it will enhance air circulation once the canopy opens up. Additionally, this will ensure enough light for every part of the peach tree.
The second-year wood is actually the one that produces the fruits so yearly pruning is an inevitable part of peach tree care.
Pests And Diseases
Gardeners who have a lot of experience growing fruits won’t have many problems if they add peach trees to their collection. This doesn’t necessarily mean that beginners won’t be able to harvest these delicious fruits, though.
If you meet all its requirements, your peach tree has no reason not to reward you with a bountiful harvest.
Some pests or diseases may occur but if you regularly check on your peach tree, you’ll notice any issues in time and prevent further damage.
You can use different pest control methods if you notice any critters munching on these delicious fruits. Always have neem oil or insecticidal soap at hand and use them on any type of pests you discover.
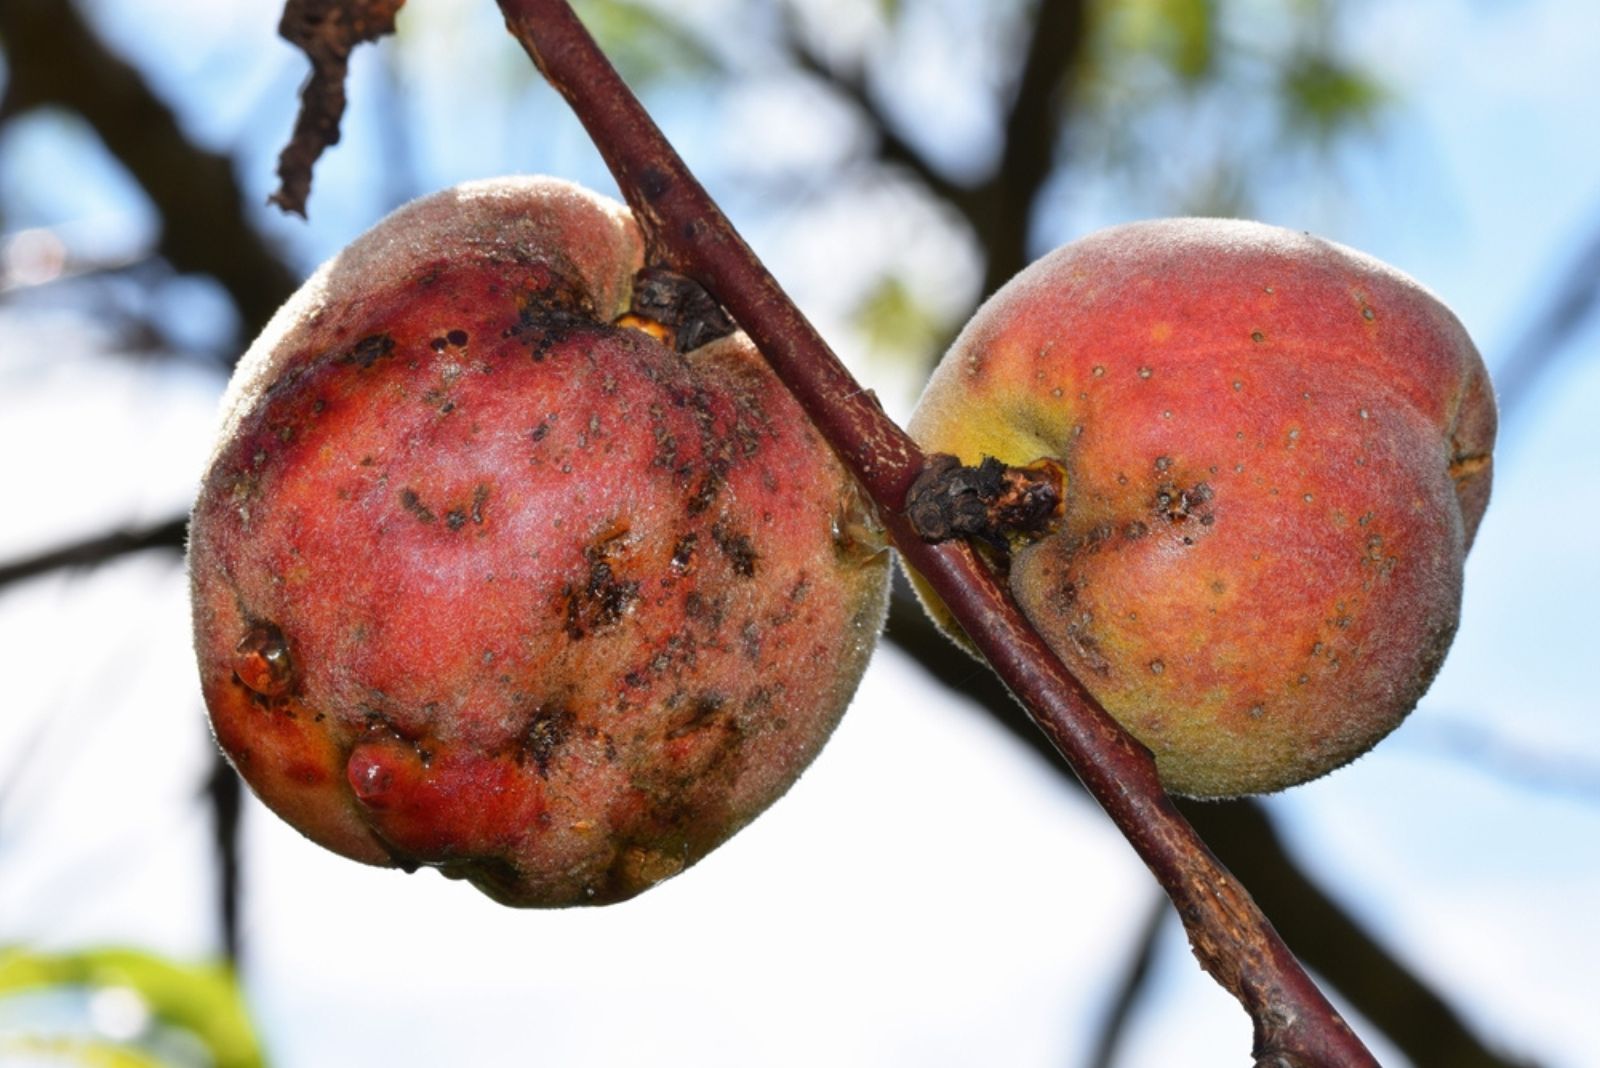
Here’s a list of potential problems.
• Brown rot
• Leaf curl
• Gummosis
• Powdery mildew
• Crown gall
• Bacterial leaf spot
Remember, these issues won’t occur in your peach tree all of a sudden; the key lies in ensuring the necessary conditions and regular inspection.
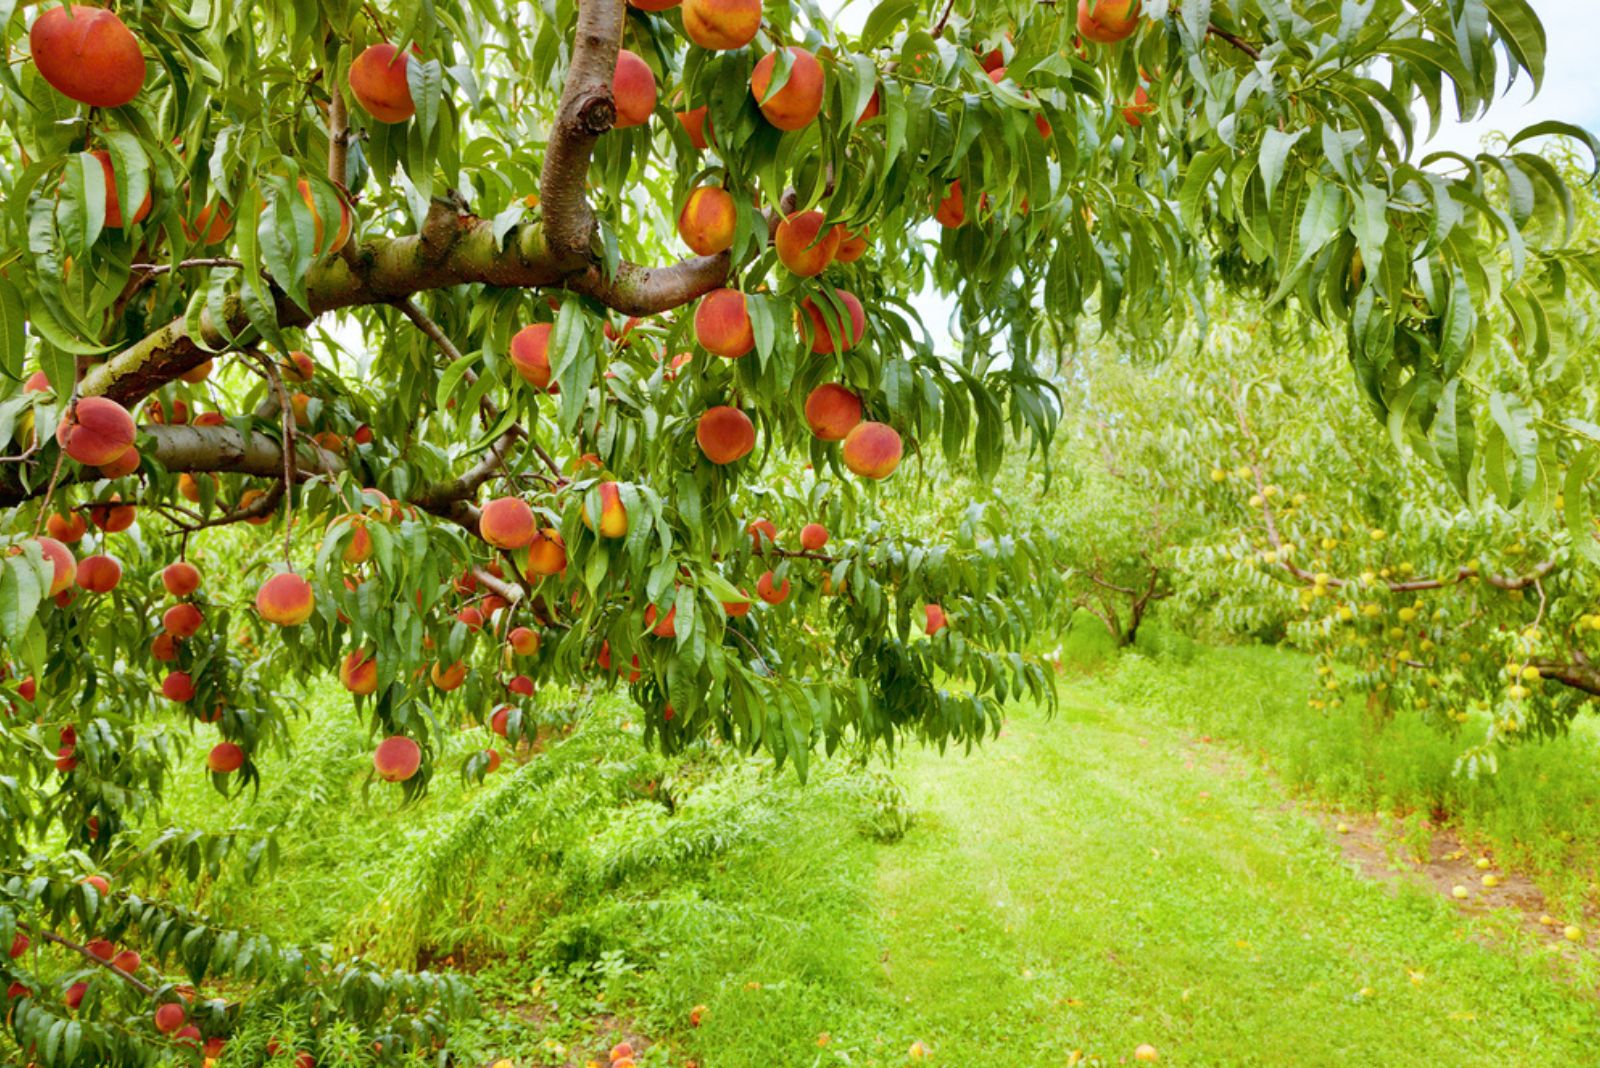
Harvesting Peaches
Once the harvesting season begins, your hard effort will pay off and you’ll taste the unique flavor of homegrown peaches.
I’m not saying that store-bought peaches aren’t tasty but honestly, you can’t compare them with ones you grow in your garden.
You don’t necessarily need to wait until the fruit is fully ripe to harvest it. Picking the fruits a little bit earlier and placing them in a paper bag will allow you to enjoy your peaches longer.
How To Store Your Peaches
After you harvest your peaches, here’s how to store them.
Short-term Storage
The general rule is to keep your peaches in the fridge for up to 5 days. I recommend using them for cooking after this period.
If you can’t eat all of your peaches while they’re still fresh, you can always make a delicious jam or peach butter.
You can also make a cobbler; if you can’t eat it all at once, feel free to freeze what’s left.
Long-term Storage
Canned peaches became my faves after my first harvest and this is definitely the best option for long-term storage.
Freezing is another option and the best thing is that your peaches will retain flavor, shape, and color if stored in this way. Smoothies and oatmeal with frozen peaches taste heavenly!
Adding sugar isn’t necessary; juiciness and sweetness will still be there.