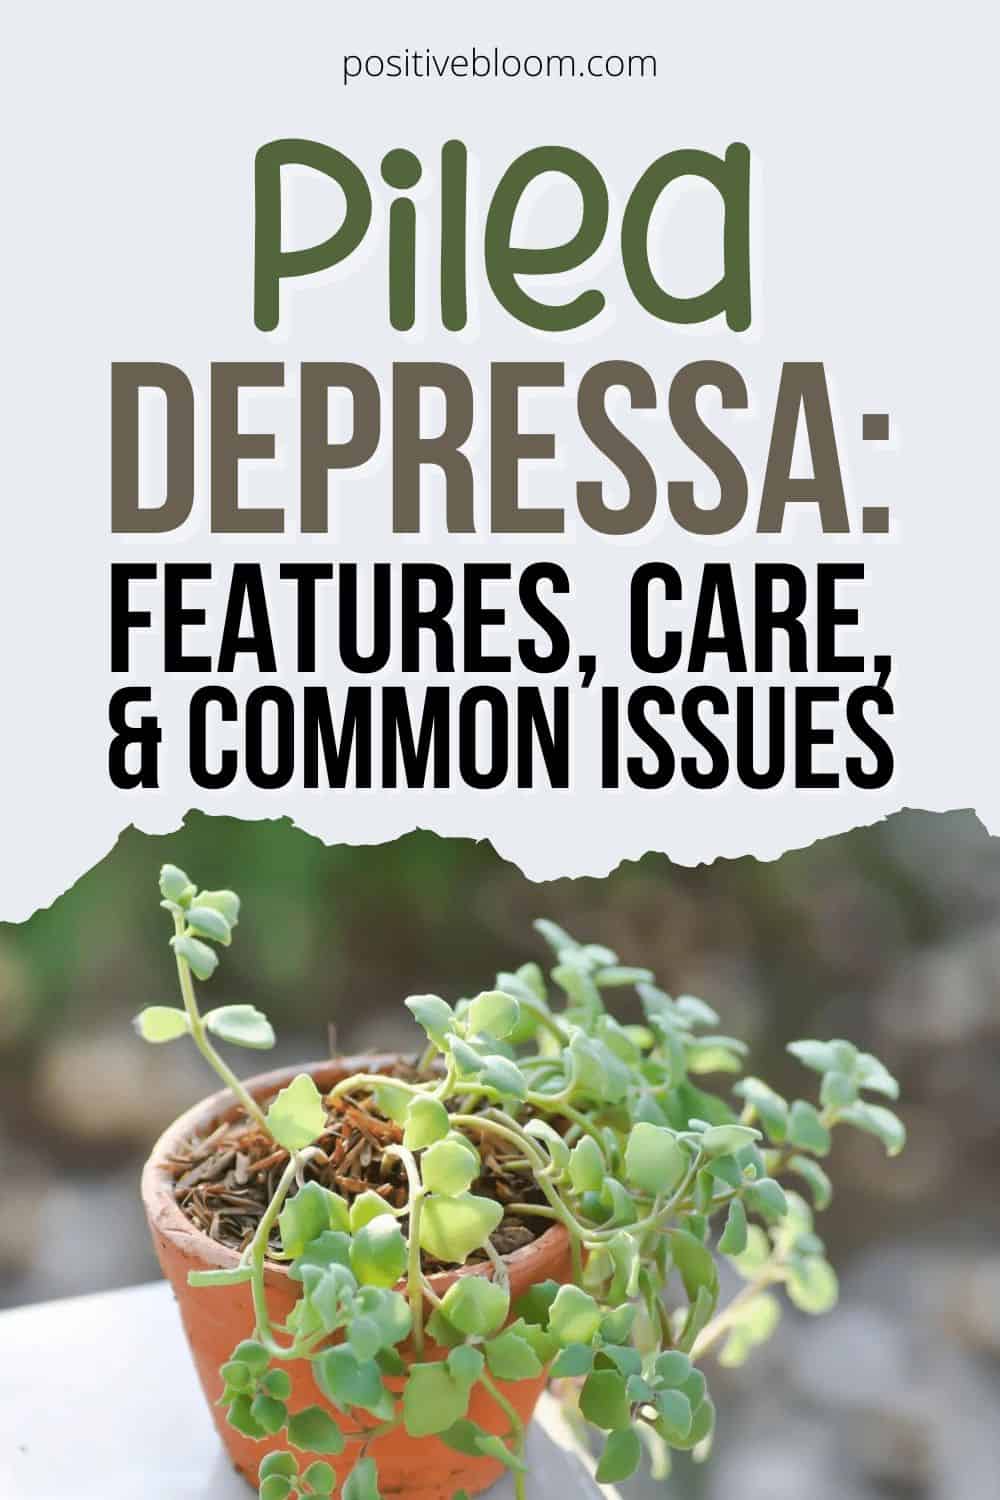
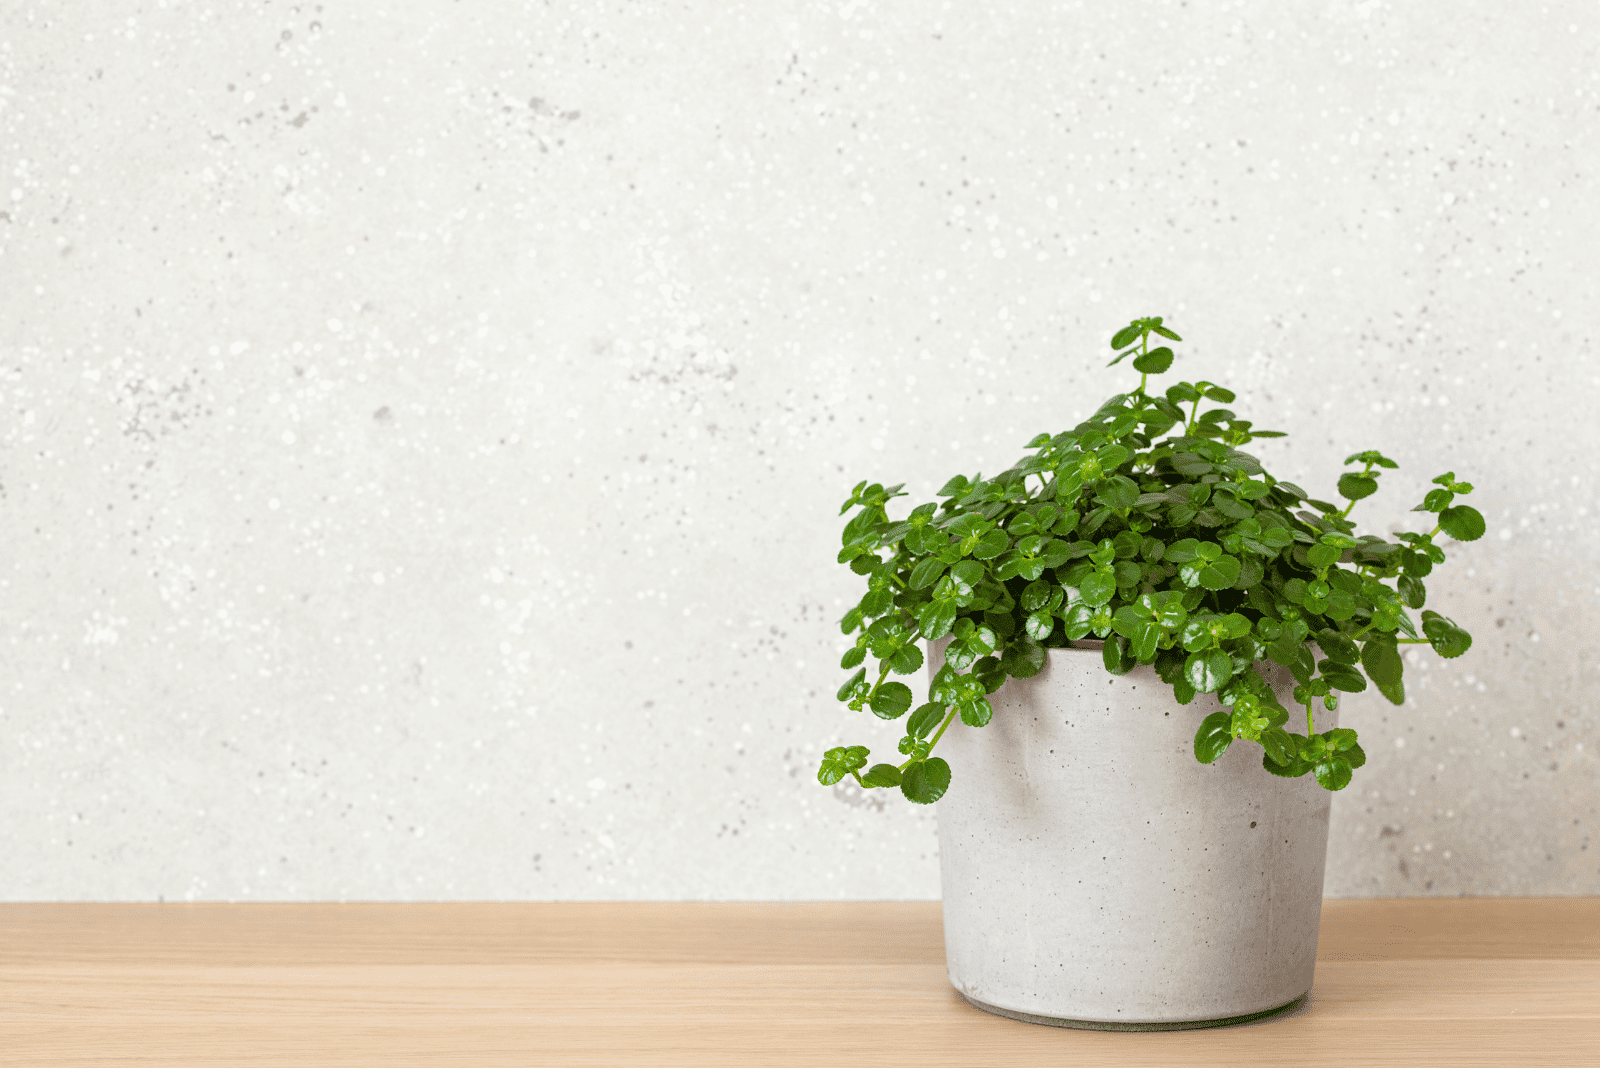
Pilea Depressa: Features, Care, And Common Issues
There are many plants that have interesting and cheerful names. Well, today I’m going to tell you more about a plant with an interesting, but not so cheerful name!
Actually, it’s far from positive.
Pilea depressa, also known as baby tears, is a plant from the Pilea genus.
First, this plant isn’t hard to maintain, and caring for it properly will reward you with plenty of magnificent leaves. Additionally, you can grow this stunning plant as a groundcover, vine, or climbing plant.
I’m going to show you what this plant looks like, how to care for it indoors and outdoors, how to propagate it, and also discuss some issues that may occur.
Before I say anything else, here’s some basic info:
[table id=293 /]
Let’s get started!
What Does The Pilea Depressa Look Like?
Before I tell you more about the growth and appearance of this plant, I need to resolve some confusion.
You may end up with another plant with this nickname if you are looking for a baby tears in plant stores or online.
Soleirolia soleirolii, or the ‘true’ baby tears, is a plant from the Soleirolia genus and resembles the Pilea depressa plant.
The main difference between these two plants is in the leaf edges. Soleirolii has round leaf edges, unlike depressa’s wavy edges.
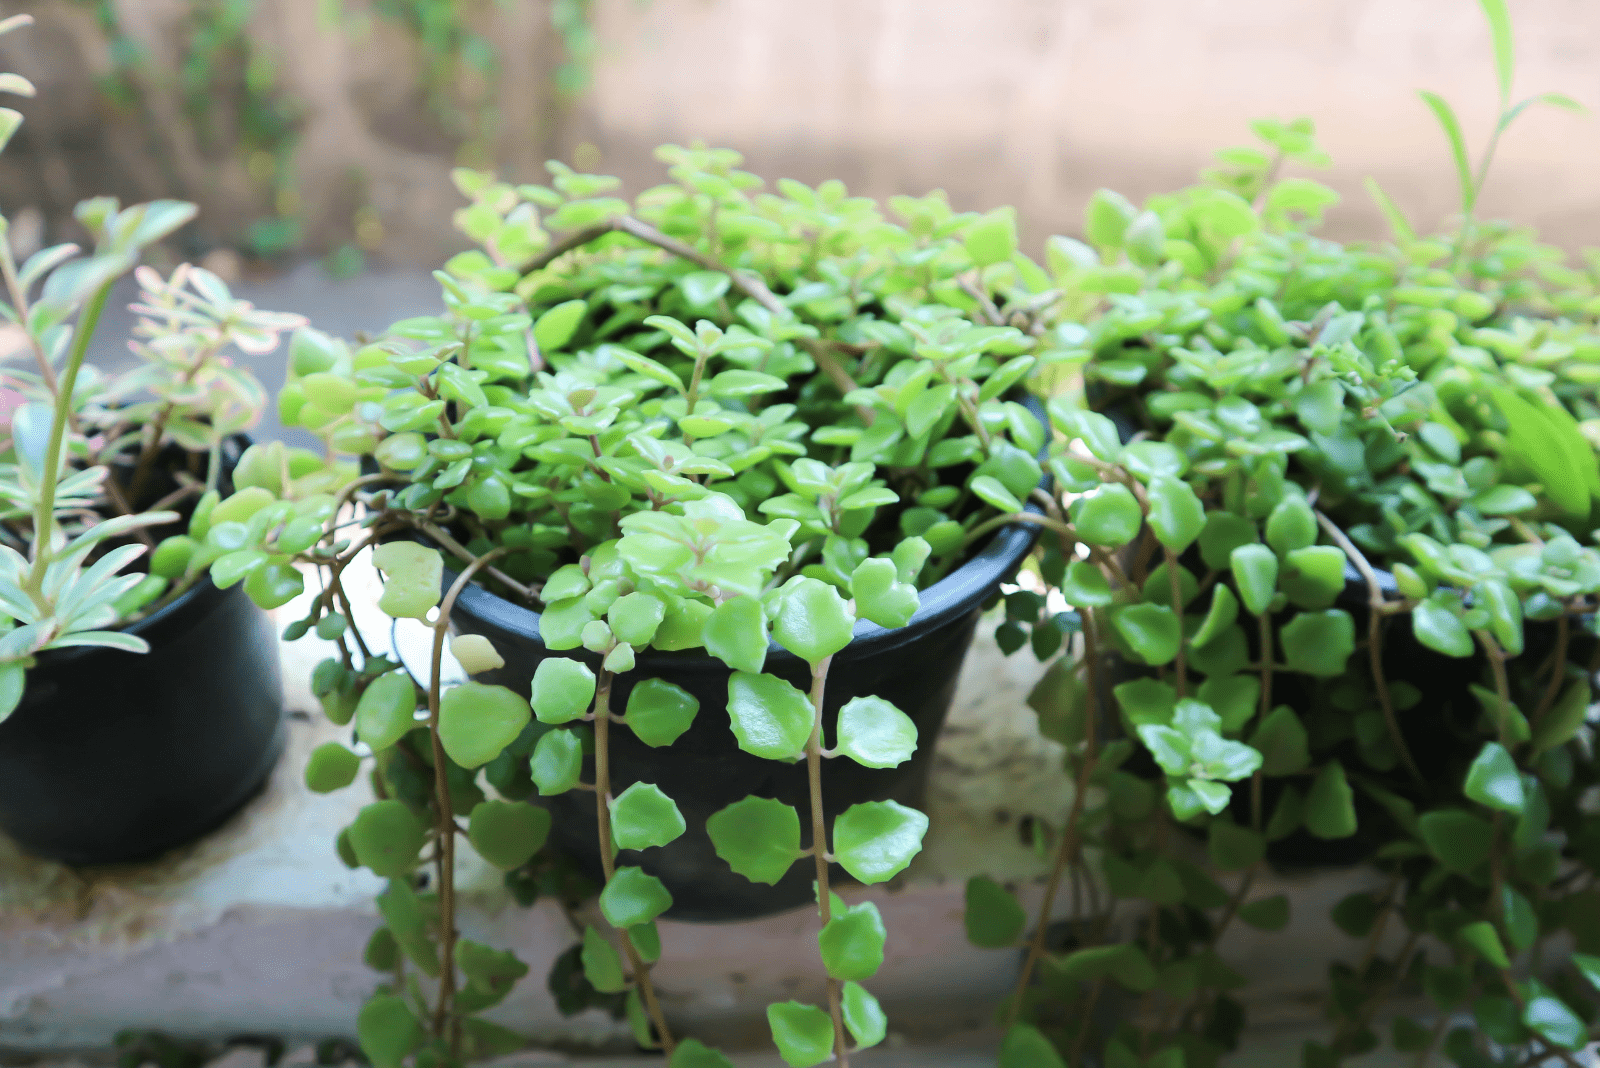
This Pilea develops extremely quickly in the ideal environment. Because of this, it is particularly desired as a ground cover. It produces plenty of fascinating green leaves, similar to the smaller version, Pilea tiny tears.
However, the growth rate differs when this plant is grown indoors and outdoors. When grown indoors the growth rate decreases, but division and repotting are still required once a year.
This plant is an evergreen perennial, so its appearance doesn’t change throughout the year. There are cases where the leaves become paler in winter when growing outdoors, but your Pilea will be back on track as soon as the spring arrives.
Pilea Depressa Care Guide
Let’s find out how to care for this eye-catching plant!
Light Conditions
To ensure the perfect light level for this Pilea plant, we need to take into consideration its native habitat.
Pilea depressa doesn’t receive direct sunlight in the areas where it grows naturally. Large plants with massive leaves protect it from the intense sun rays. It only gets bright light, not direct! Therefore, we need to mimic such conditions in our homes.
First, let’s see where to avoid placing this Pilea plant.
South-facing window sills receive the most direct sun, so you need to either place your Pilea somewhere else or get some protection for it.
Sheer curtains will block the direct sun from reaching the delicate leaves of this Pilea, which means that you won’t be dealing with scorching, wilting, or sunburn.
Avoid placing your depressa near north-facing windows as the light level they provide isn’t sufficient for this type of plant.
Your Pilea needs bright indirect light; therefore, the best place to put your depressed clearweed is in an east or west-facing window.
This Pilea responds well to artificial light, so you can use them if it isn’t getting enough natural light.
A great device for beginner growers in particular is a light meter, which will give you an accurate assessment of the light conditions.
Temperature Conditions
Just as with light, we need to look at the native habitat of these plants to find the perfect temperature for them.
The ‘false’ baby tears plant grows in warmer climates, so if you want a healthy plant you’ll need to ensure slightly warmer temperatures.
I recommend keeping the temperature between 65 and 75 degrees Fahrenheit. Although it can tolerate slightly lower temperatures, it’s better to be on the safe side and keep it above 65 degrees Fahrenheit.
The biggest issues are caused by temperature fluctuations.
Here’s how to avoid it:
• Don’t place your Pilea near radiators, fireplaces, or other heating sources.
• Avoid placing it near vents, air-conditioners, or windows and doors you often open and close.
Humidity Conditions
This Pilea plant is a little bit fussier about humidity levels than other common houseplants. These plants originate from humid environments, so it may be tricky to mimic such conditions indoors as typical households don’t have high humidity.
I recommend ensuring humidity is around 75%. That’s pretty high, so you’ll need to figure out how to reach that level.
Luckily, I have a few great methods for raising the humidity. The best thing is that you can combine the methods, so humidity shouldn’t be a problem anymore.
Let’s see!
Move Your Plant To A More Humid Room
Naturally, the rooms with water sources have higher humidity, such as kitchens and bathrooms.
I recommend moving your Pilea to one of these areas. Many people think plants look better in living rooms or bedrooms, but in my opinion, each area in your home should have at least one plant.
Pebble Tray Method
If you have plant-loving friends, I’m sure you’ve seen decorative pebbles below their plants pots.
Believe it or not, the pebble tray isn’t there just to decorate the pot – it has its purpose. The pebble tray method is one of the most popular ways of increasing humidity levels.
Many gardeners wonder if pebble trays work for humidity, and from my own experience I can tell you they do. However, you can’t increase humidity to over 60% with this method alone.
The great thing about this method is that you can make your own humidity tray. For a DIY version, you only need a shallow dish, pebbles, and water.
Place the pebbles in the dish, add water, and put your Pilea on it. The water will evaporate and increase humidity for your Pilea.
This method has one drawback if you aren’t careful. The roots of this plant are very sensitive, and if they are in the water for even a short time, they can rot.
So, don’t pour too much water into the pot at once; it’s better to refill than endanger your plant.
Create A Microclimate
When I first learned about the benefits of creating a microclimate for plants, I thought it was something special that demands investment, research, and a lot of knowledge.
But, it’s a pretty simple and efficient method of increasing humidity.
If you have other houseplants, such as Begonias or Pilea glaucas, place them near your depressed clearweed. I guess it’ll be less depressed if it has company!
All jokes aside, creating a microclimate by putting your plants together is an efficient and straightforward method of increasing humidity.
Additionally, it makes your plant collection look even prettier.
Two Pots Method
Another great method for increasing humidity is the two pots method. You’ll need two pots and some sphagnum moss for this.
You should purchase a larger pot so that the original one with your depressa can fit in. There should be about two inches between the rims.
Then, you’ll add sphagnum moss and water to the bottom of the new pot. Place the original pot on the moss and let nature do the rest.
As the water evaporates from the sphagnum moss, the humidity level around your Pilea will increase.
Use A Humidifier
Last, but definitely not least, you can increase humidity by using a humidifier.
Compared to the other methods I described above, this may seem a bit pricey.
That is a drawback, but this is by far the most efficient method for reaching the humidity level your depressa plant needs.
Most new humidifiers now have the option to monitor humidity, so all you need to do is set the humidity level and let the device do the rest.
This may seem a bit too expensive if you are a beginner grower, but remember that it’s better to buy this device than new plants that would otherwise die due to the incorrect humidity levels.
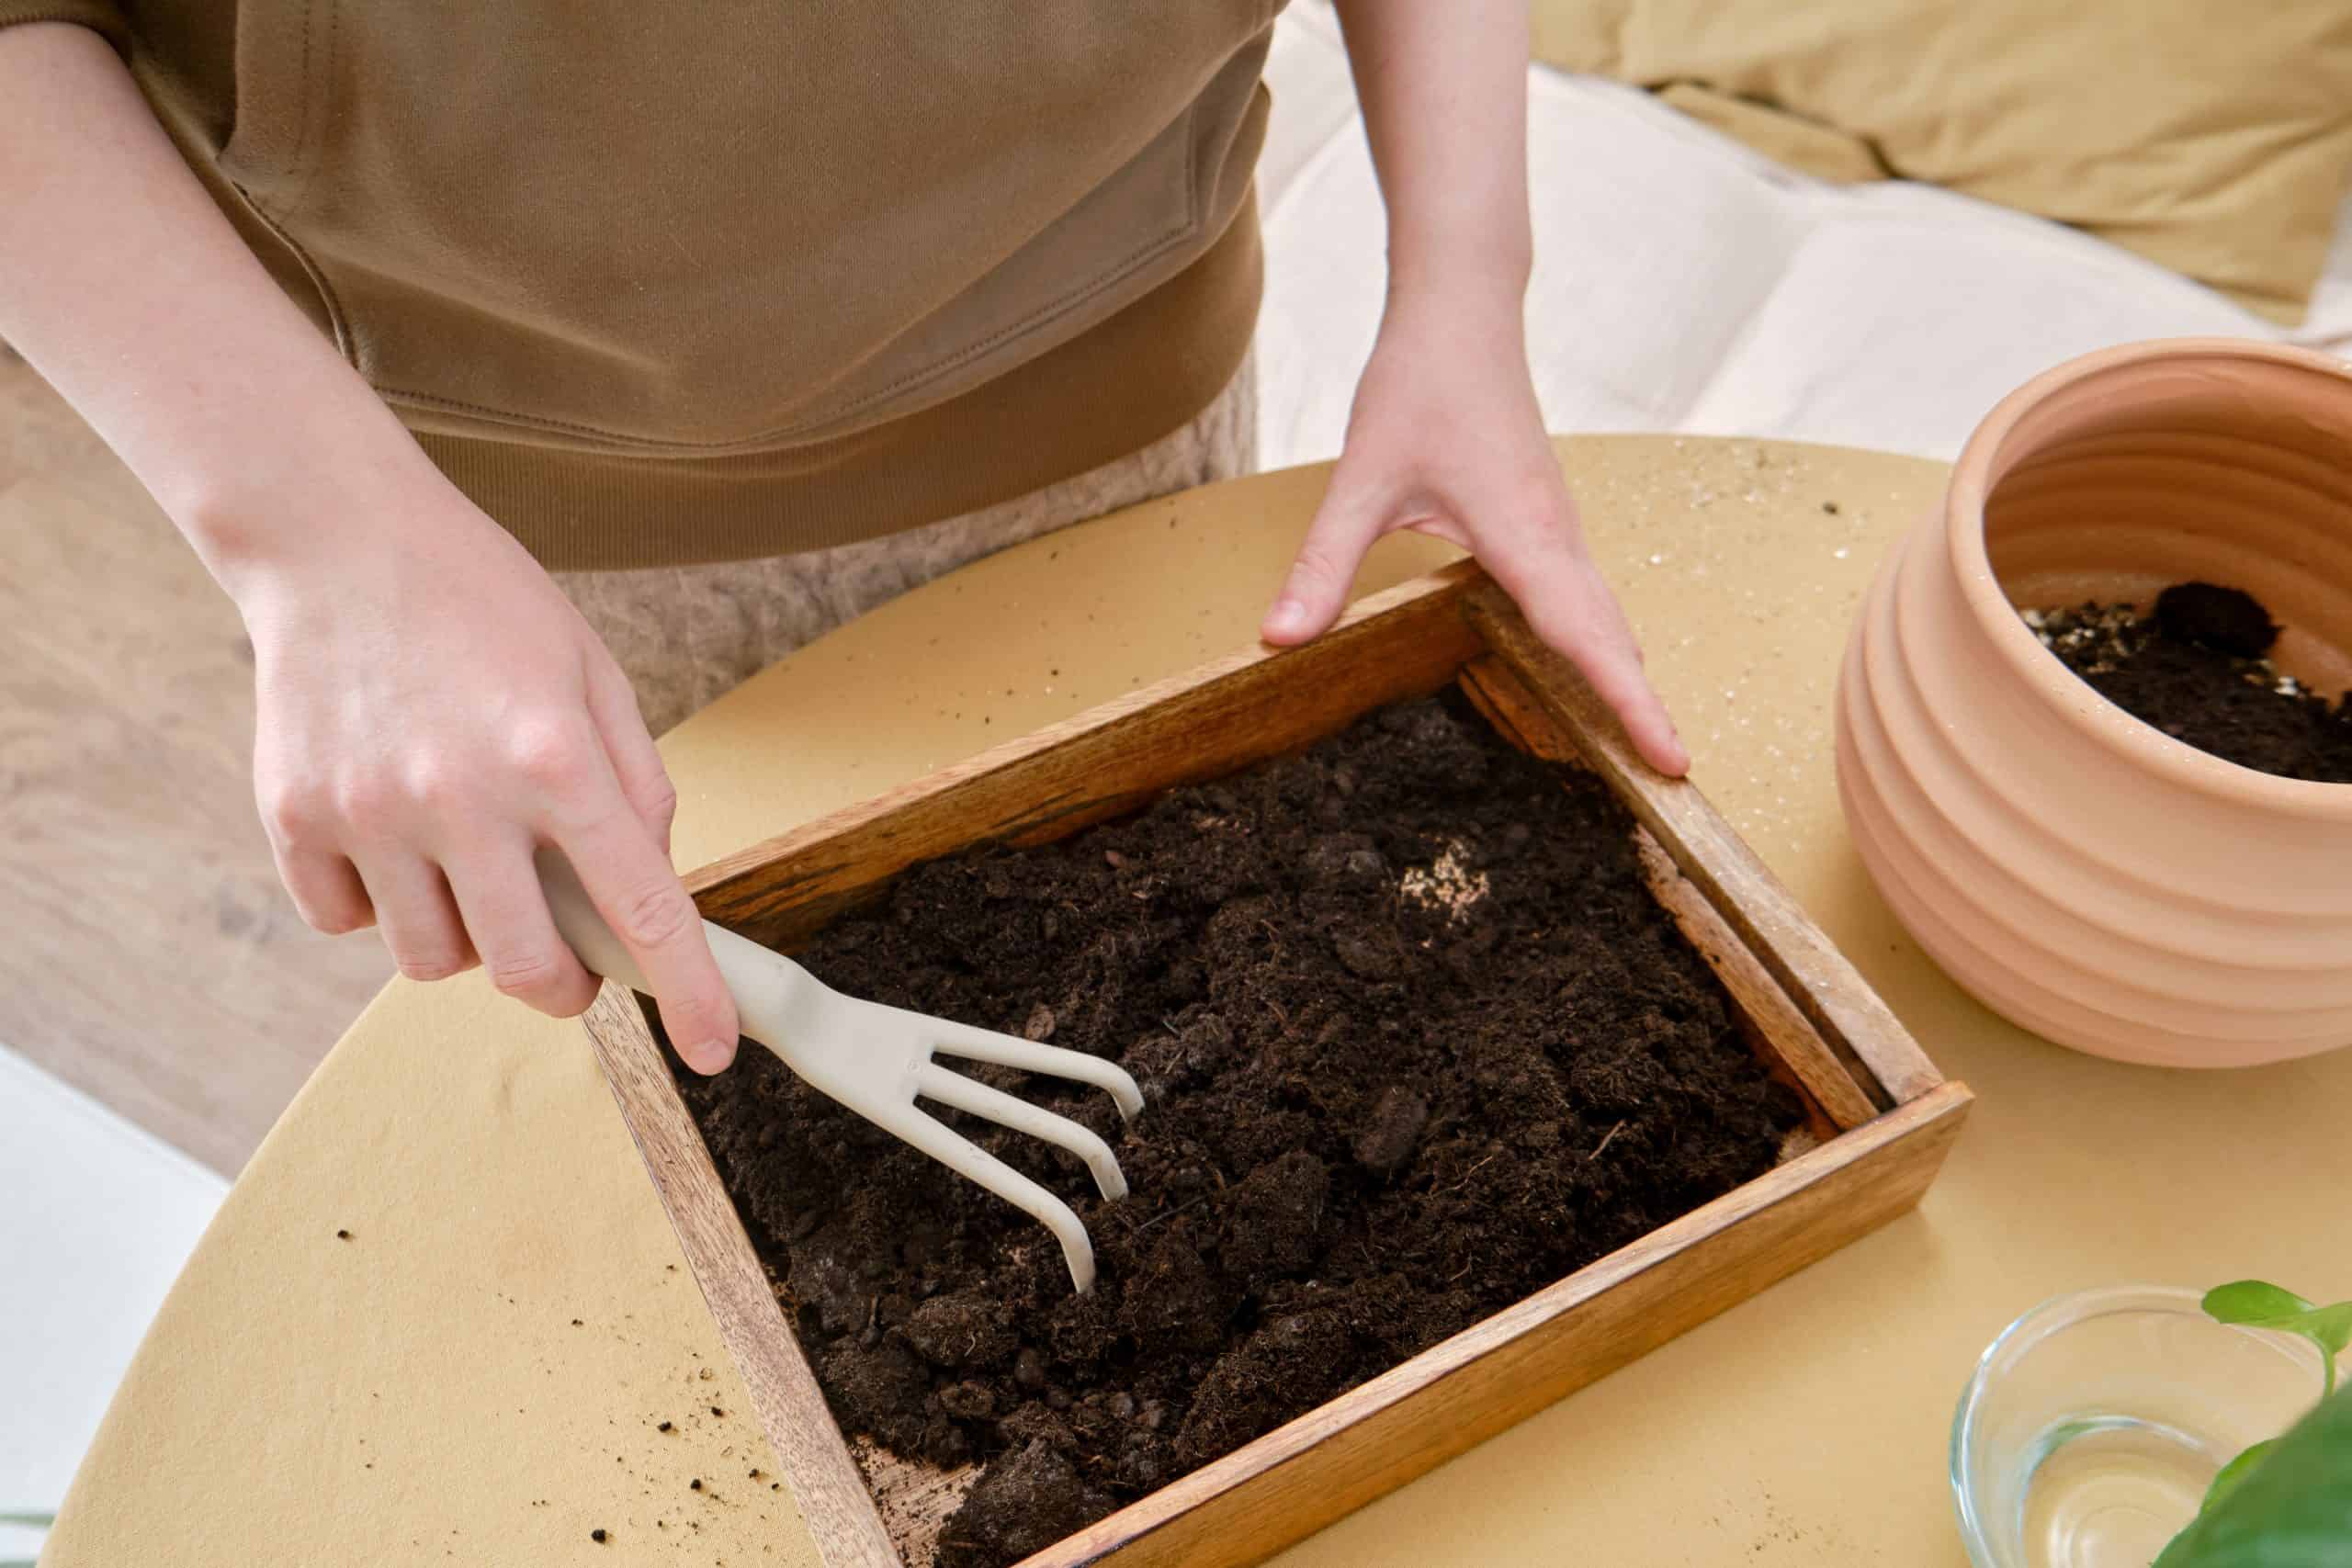
Soil Requirements
Four things are essential when it comes to the perfect soil for depressed clearweed: pH level, drainage, nutrition, and water retention.
I recommend you test the soil before putting your Pilea in it.
The first thing to find out is the perfect pH level. The Jacob’s tear plant requires slightly acidic soil, so you’ll need to keep it between 5.0 and 6.0 for your Pilea to thrive.
The next thing is drainage. You’ll need a potting mix that consists of materials that prevent the excess water from staying in the soil.
However, this Pilea plant also requires well-moisturized soil, so the potting mix should also contain materials that retain water well.
You can use a combination of peat moss and perlite or purchase a regular potting mix and add perlite yourself.
Adequate potting soil is crucial for drainage, but you can also improve drainage by using a specific pot. I recommend buying pots that have drainage holes. They may look unattractive, but you can always purchase a cache pot and place the unattractive one in it.
Watering
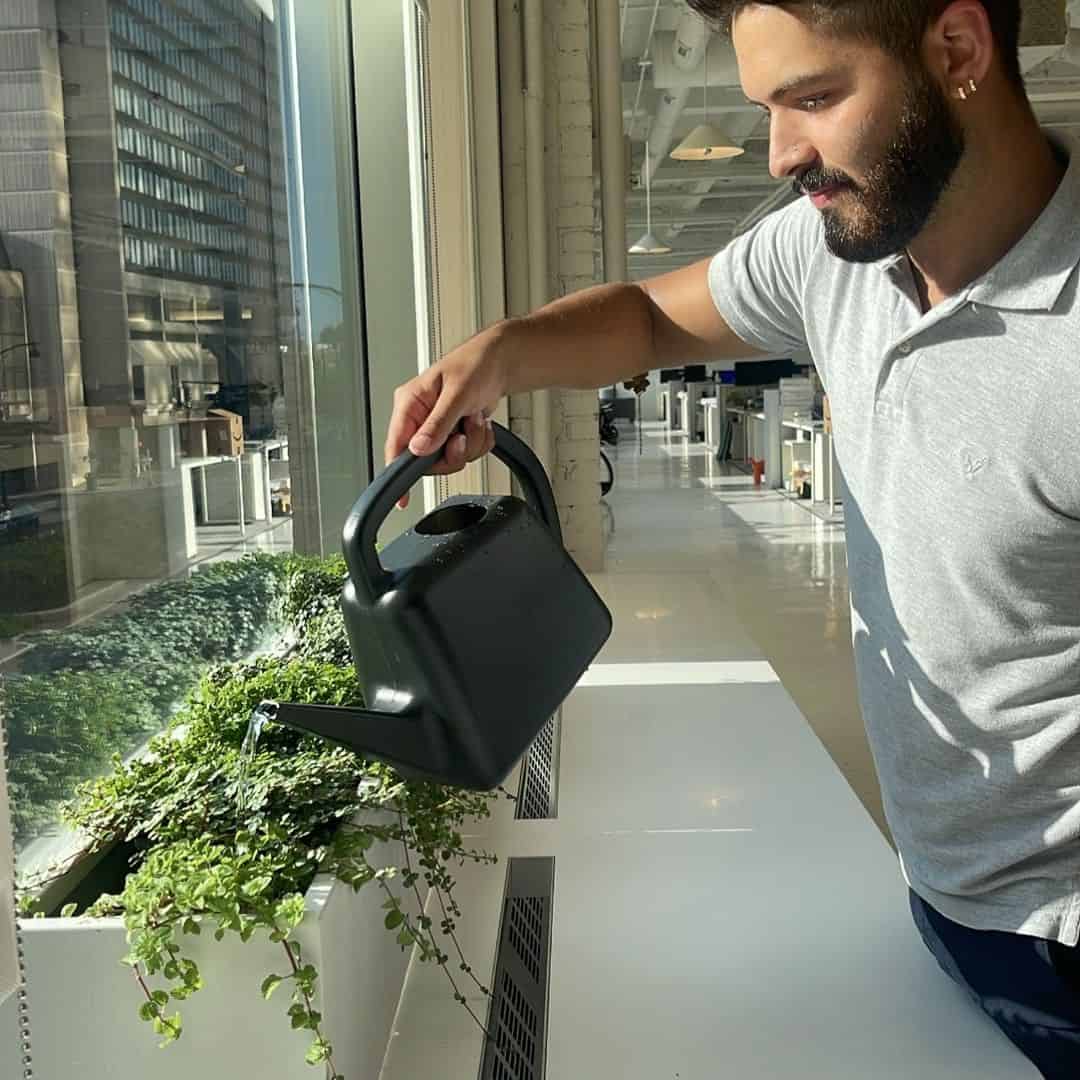
Photo from: @amentaemma
Let’s find out everything!
How Often Should You Water A Pilea Depressa?
The watering schedule for this type of plant depends on many factors, but generally you’ll either need to water it every 4 or 8 days.
How can you know when to water it? The ideal time for watering this plant depends on the soil moisture content; you need to keep it moist and never let it dry out entirely.
However, moist in this case doesn’t mean overly wet. If the roots sit in the water, they’ll most likely rot.
To avoid this scenario, you’ll need to determine how much moisture is in the soil. Luckily, you can use a couple of methods to determine if your Pilea needs water.
Insert your finger into the soil
Get ready to get your hands dirty! This is the most commonly used method for checking moisture. Experienced gardeners rely only on this method, but for beginner growers it may be challenging to determine the moisture content in the soil in this way.
It’s pretty simple – you insert a finger and see how wet the soil is. You can proceed with watering if it’s dry an inch below the soil line.
If it’s wet, recheck the next day. You can combine this method with the ones I’ll show you below until you gain some experience.
Alternatively, take a wooden stick and put it about an inch or two into the soil. If the stick is dry and no soil remains on it, you can water your Pilea.
Check the soil color
Things get darker when you add water, and the same goes for soil! Topsoil that has started drying will be light brown, which means it needs watering.
Soil that doesn’t need to be watered will be dark brown, and if it’s mushy you have a problem.
Keep reading to find out more.
Lift your plant
Lifting the plant’s pot is another method for determining moisture. This method works perfectly for smaller plants like succulents and, in this case, Pileas.
The heavier the pot, the less water your Pilea needs. To master this technique you’ll also need time as you don’t know how much a plant usually weighs.
Use a moisture meter
There’s one safe and completely reliable method for checking soil moisture levels. A moisture meter is a device I would recommend to any gardener who is entering the plant world.
Consider getting a moisture meter that also detects the pH level in the soil.
Watering Technique
Now it’s time to show you the watering technique that suits this plant best.
The first method is called top watering. This refers to pouring water on the topsoil, but never over the leaves!
You’ll need a watering can with a long neck to control the water flow better. Gradually add water until it starts running out of the drainage holes.
The other technique is known as bottom watering. I use a larger bucket for this watering method. First, I fill half of the bucket and place my Pilea in it. I leave it for 15 minutes to sit in water, and when I take it out I leave it to dry.
Both techniques work well, and it’s totally up to you which one to use.
Type Of Water
When it comes to the perfect water type for plants, the water they receive in their natural habitat is the best way to go.
If you can’t use rainwater, filtered will do fine. Tap water should be the last choice because it may contain high concentrations of chlorine and fluoride, which can damage your Pilea.
Leaving tap water to sit overnight is a good method for reducing harmful chemicals, so if you have to use tap water please let it sit first.
Fertilizing
This Pilea plant doesn’t require much food but can benefit from monthly feeding during its growing season.
Remember that your Pilea won’t need any food during the winter months. The dormancy period is for resting, so the plant growth rate slows down to a minimum.
The ideal fertilizer for your Pilea depressa is liquid houseplant fertilizer, which will give your plant everything it needs.
Pruning
Depending on how you are growing it, you may need to prune your pilea depressa.
For instance, this plant will need occasional pruning when grown as a houseplant. If you keep your depressa plant in a hanging pot, it will also need to be pruned from time to time.
You can always choose to just let it grow naturally if it’s planted outdoors, usually as a vine or ground cover. Cut off the affected leaves if you’re trying to train your Pilea to grow in a particular manner.
Shears should work well for pruning, but don’t forget to sanitize them before each trim.
Repotting
This Pilea has a slightly faster growth rate compared to other common indoor plants. Due to this feature, it will benefit from repotting once a year or so.
How can you tell when it’s time to repot this plant? The roots will let you know when it’s time for repotting; when they become thick, compact, and start to come out through drainage holes, you’ll need to get a larger pot.
If you grow a depressa indoors, the best idea would be to repot it in spring to avoid transplant shock. You’ll need a garden spade so that you can carefully remove the root ball.
When you take your Pilea depressa out of its pot, brush away the soil that surrounds the roots. Transfer your plant to another pot filled with adequate potting mix.
You can gently tap the soil around the plant base and then water it.
Staking
Depending on how you are growing it, your depressed clearweed may need staking. For instance, it will need some assistance in order to develop into a climbing vine.
Small sections of the stalk are frequently tied to a trellis or moss pole in order to get the plant to climb. You might discover that there’s no need to support the vine as it gets older.
Drooping frequently occurs as the plant vines extend. You won’t need to provide any staking if you have your depressa in a hanging basket because you’ll probably love how it looks!
However, you might need some assistance if you prefer a more traditional ornamental plant.
Pilea Depressa ‘Baby Tears’ Plant: Propagation
If you want to add more Pilea depressas to your fairy gardens or terrariums, you can quickly do so by propagation.
Pilea depressa propagation involves either stem cutting or division.
Let’s find out more about them both!
Stem Cutting Method
If you decide to propagate your Jacob’s tears plant, you’ll need shears, new potting mix, a nursery pot, and a jar of water.
Prepare a sterilizing solution for the shears with bleach or rubbing alcohol to avoid contamination.
Make a six to eight inch incision with at least two to three nodes, then place the cutting in a jar filled with lukewarm water.
When submerging the cutting, ensure that one of the nodes is in the water.
Place the jar with your Pilea depressa stem cutting in bright indirect light. Don’t forget to check on the jar regularly because some parts of the cutting may rot and render your propagation a failure. The best thing would be to change the water in the jar every two to three days.
After a few weeks you’ll notice new roots forming. When they are approximately two inches long you can transfer them to the pot.
Division
Propagating this Pilea plant by division is straightforward.
All you need to do is select a part below one of the stems to make a cutting. Using a garden spade, dig below the stem until you collect a few roots.
Divide the stem with the roots and transplant it to another pot full of adequate potting soil.
That’s it! You should notice new growth after a few weeks.
How To Grow A Pilea Depressa Outdoors
I mentioned that this Pilea looks fascinating when grown as a ground cover outdoors.
Here’s what to pay attention to when growing your Pilea as a ground cover.
First, you need to know what time of year to plant your Pilea. The essential thing for planting is to wait until the threat of frost passes and the temperatures slightly increase.
When it comes to daytime temperatures, they should be higher than 70 degrees Fahrenheit for the Pilea to fully establish. In contrast, the soil temperatures should be over 60 degrees Fahrenheit.
When the temperatures start to drop, established outside plants are usually resilient enough to be brought indoors.
When planting single Pilea plants outdoors, make sure they are about twelve inches apart.
If you are using the plant as a ground cover, plant it in a grid pattern with the same spacing as for single plants. The space between the rows should be from 8 to 10 inches.
Baby tears thrive outdoors in partial shade, and if you grow it in a pot you can place it below the trees.
Mulching is not really necessary because this plant serves as a groundcover. However, if the potting soil doesn’t drain effectively you could choose to put your Pilea inside a pebble or rock garden. The rocks will act as a barrier between the leaves and the stagnant water, preventing the growth of fungus.
Common Issues
Here are some issues that may occur with your Pilea plant, and how to solve them!
Diseases
The most common disease that affects this Pilea plant is root rot, and it’s most commonly caused by overwatering.
If your depressa suffers from root rot, it will actually look depressed. Yellowing, browning and wilting leaves, mushy soil, discolored roots, foul odor, and drooping are all signs of root rot.
You’ll need to take your Pilea out of its pot and remove the affected roots with sanitized tools if this happens. After removing the roots, repot your Pilea in a new pot filled with a fresh potting mix.
Pests
Whiteflies are tiny pests often seen on the undersides of Pilea’s leaves. Whiteflies resemble moths but are often the same size as gnats. These little creatures leave honeydew, a sticky fluid that might eventually cause mildew.
Other common pests that visit depressa plants are aphids. They can be dangerous, and infestation may cause your Pilea to wither and die. Your baby tears may be suffering from aphids if the leaves are drooping, turning yellow, or have a black substance that resembles mold on top of them.
The best way to treat these creatures is with rubbing alcohol or neem oil. Take a soft sponge, dip it in one of the two solutions, and rub the infested leaves.
Yellow And Brown Leaves
As well as root rot, yellow or brown leaves can also be caused by direct sunlight.
If your Pilea is exposed to direct sun for an extended period, it will most likely get sunburned. This could result in the above mentioned changes or even death.
The best idea would be to remove the affected leaves and find a new spot for your Pilea using the techniques mentioned earlier in the article.
Wilting
Problems with overwatering are the most common when it comes to watering. However, if you forget to water your Pilea or wait too long between waterings, you’ll be dealing with an underwatered plant.
The most common sign of an underwatered baby tears is wilting.
Your Pilea needs a generous soak in this case! Water it more often until you see signs of improvement.
FAQs
Is the Pilea Depressa toxic?
No, the Pilea depressa isn’t a toxic plant; it’s safe for humans and pets. Therefore, you can grow it as a houseplant, vining or climbing plant, or as a ground cover outdoors without worrying about it doing harm to your loved ones.
Is the Pilea depressa a hardy plant?
The Pilea depressa is thought of as a hardy plant. It can be successfully grown in many areas and will thrive in warmer climates when grown outdoors. It’s a low-maintenance plant, just pay special attention to watering and light, and your depressa will not be depressed!
Wrapping Up
Pileas are becoming more and more popular as houseplants. The Pilea depressa is one of the new varieties that will leave everyone breathless when it reaches its full potential.
Your depressa will be happy with bright indirect light, high humidity, warm temperatures, and well-draining soil. Water the plant when an inch below the soil line is dry and fertilize it monthly during the growing season.
The great thing is that you can easily propagate it and gift it to your plant-loving friends!
Until next time!
Like this post? Share or pin it for later!