Positive Bloom is an Amazon Associate and we earn from qualifying purchases through these links at no extra cost to you.
When I got my first Monstera, I was thrilled to hear that Monsteras are easily propagated.
There are many ways to propagate your Monstera plant.
However, propagating Monstera without node is impossible. You need a node, a leaf, and a healthy stem to successfully propagate a Monstera plant.
This means that if you have a Monstera cutting without a node, it will be impossible to propagate it.
As there are other propagation methods, you will be able to get new baby Monsteras in no time.
Let’s find out more.
Propagating Monstera Without Node
A node is an area on the stem, and the part which connects the node and the Monstera leaf is called the internode.
Axial buds, leaves, aerial roots, and flowers grow at the node. Nodes ensure new leaves grow.
Additionally, a Monstera node has green or brown rings so it is easy to spot.
If the aerial roots grow from a stem, the roots will grow faster.
Many plants can be propagated by nodes, but Monsteras can’t.
For example, you can quickly propagate Peperomias, Sansevierias, cacti, or Philodendrons with a node.
As propagating Monstera without node is impossible, let’s look at some other propagation methods.
The Propagation Methods For Monstera Plants
There are many different ways to get new Monsteras. Each propagation method needs a different part of the plant and a different technique.
Let’s dig deeper!
Propagation By Stem Cuttings In Water & Soil
This type of propagation will depend on the quality of stem you take. Before you proceed with propagation, you have to make sure that the stem isn’t suffering from any diseases or has any pests.
Now, let’s look at how to take a perfect stem cutting.
How To Take A Stem Cutting
You will need to take at least two nodes about 6-8 inches long.
This way, you will ensure the propagation process is successful. The aerial root on the stem will accelerate the process, but it’s not obligatory.
If you have a variegated Monstera, make sure that at least one healthy leaf on the node is variegated.
These cuttings can be used for propagation in water or in soil.
Let’s find out how!
Monstera Propagation By Stem Cuttings In Water
There are three benefits of water propagation:
1. This method is not messy.
2. As the roots are visible, you can monitor their growth and rot cases.
3. It can serve as a decoration on tables.
On the other hand, there are three disadvantages of propagating Monstera in water:
1. New Monstera won’t get many nutrients.
2. This method takes longer.
3. The plant is more susceptible to transplant shock after rooting.
If the advantages prevail and you decide to propagate in water, follow these five steps:
1. Using sterilized scissors or pruners, cut a healthy stem with at least two leaves (if the stem has more than two leaves, cut the bottom ones). The leaves will help the plant to perform photosynthesis.
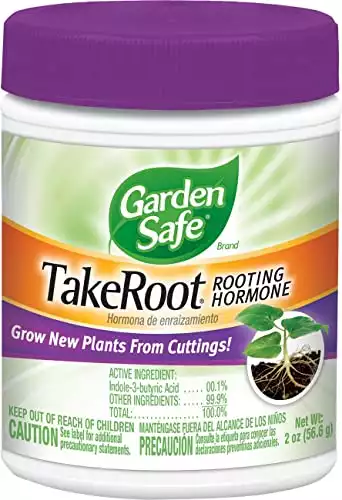
2. Immerse 2 inches of the new stems in a rooting hormone to help the cell roots form faster. The rooting hormone will prevent root rot, especially the one caused by fungi.
I recommend:
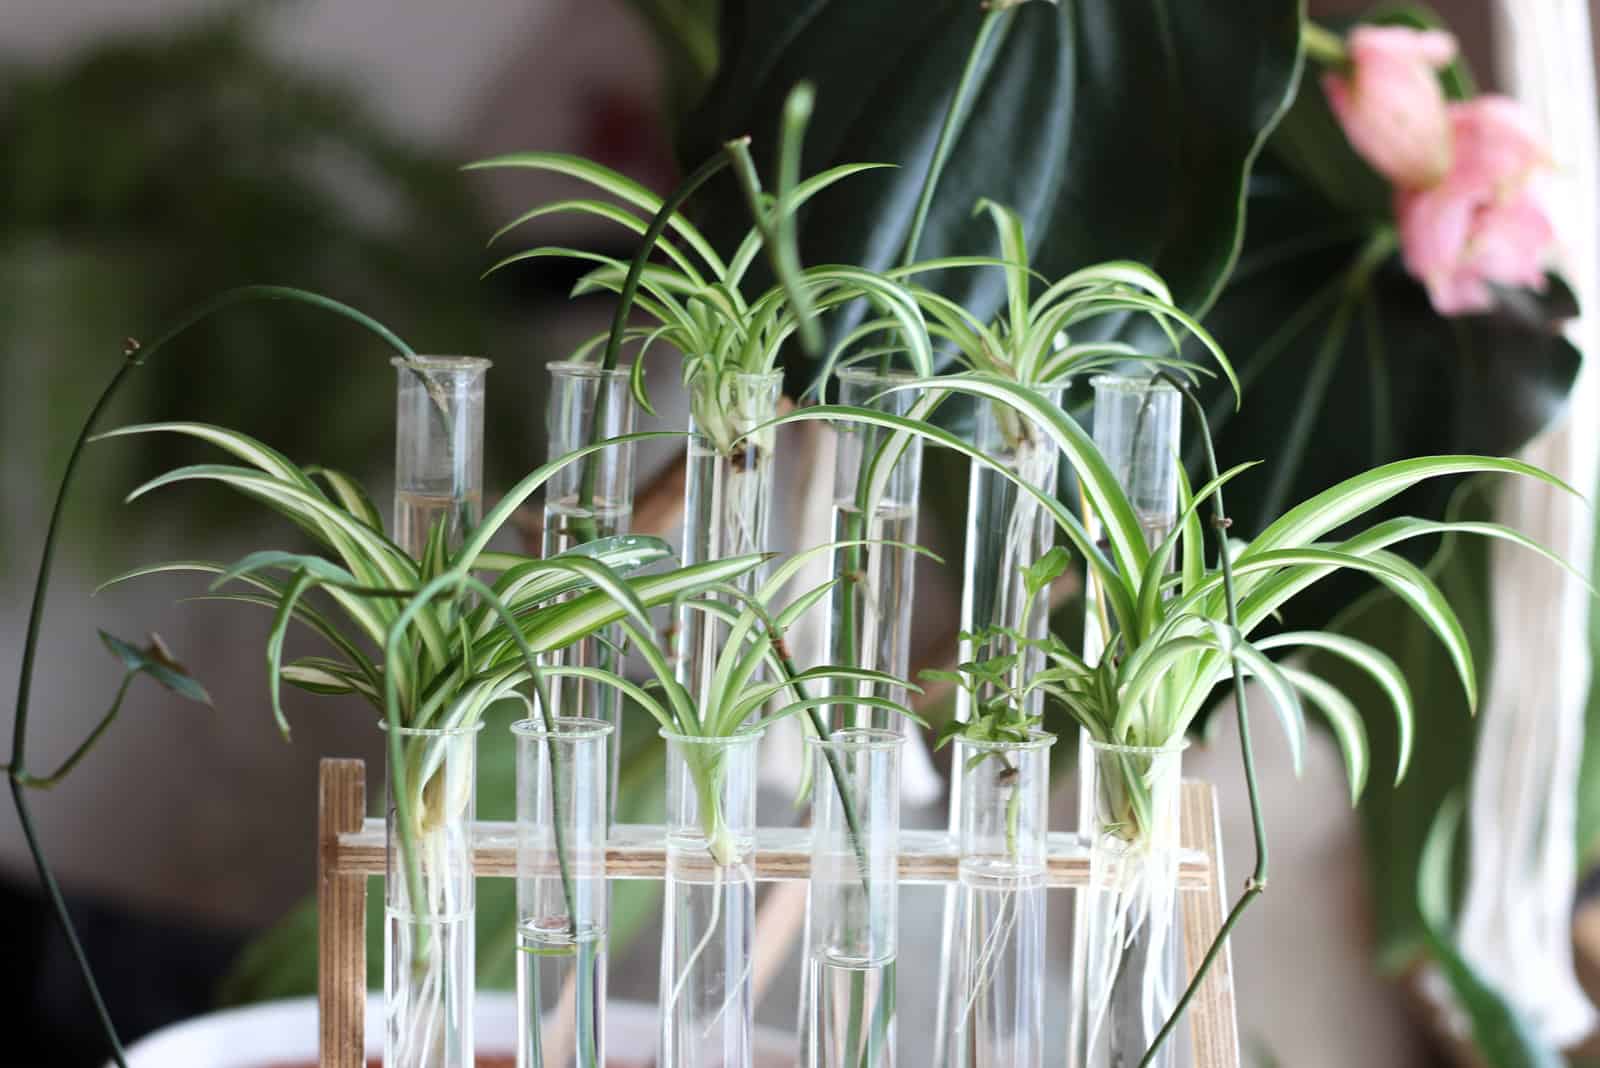
3. Fill half a jar with water and immerse the cutting (the water should cover a node to sprout the roots), and remember not to dip the leaves.
4. Find a warm place to put the cutting. The ideal temperature ranges from 70 to 77°F. Ensure bright indirect light for the cutting.
5. Remember to change the water every 3-4 days. If the water goes down (evaporates), refill the jar.
When to expect new growth?
It will take 4 to 6 weeks for the cutting to grow healthy roots. The plant will be ready for planting, and you can expect new leaf growth.
Here’s a video:
Monstera Propagation By Stem Cuttings In Soil
Although this is a messy method and the root isn’t visible, it will take less time, provide more nutrients for the plant, and prevent transplant shock after rooting.
You will need a plastic bag (one you can seal up), a nursery pot (with drainage holes), and potting mix.
Potting mix is an essential part of the soil and will improve the propagation. An ideal potting mix for a stem cutting node is:
- Peat-based potting mix
- Perlite based
- Aroid mix
- Potting mix with only one substance, such as sphagnum moss
If you decide to propagate your Monstera by stem cuttings in soil, follow these 7 steps:
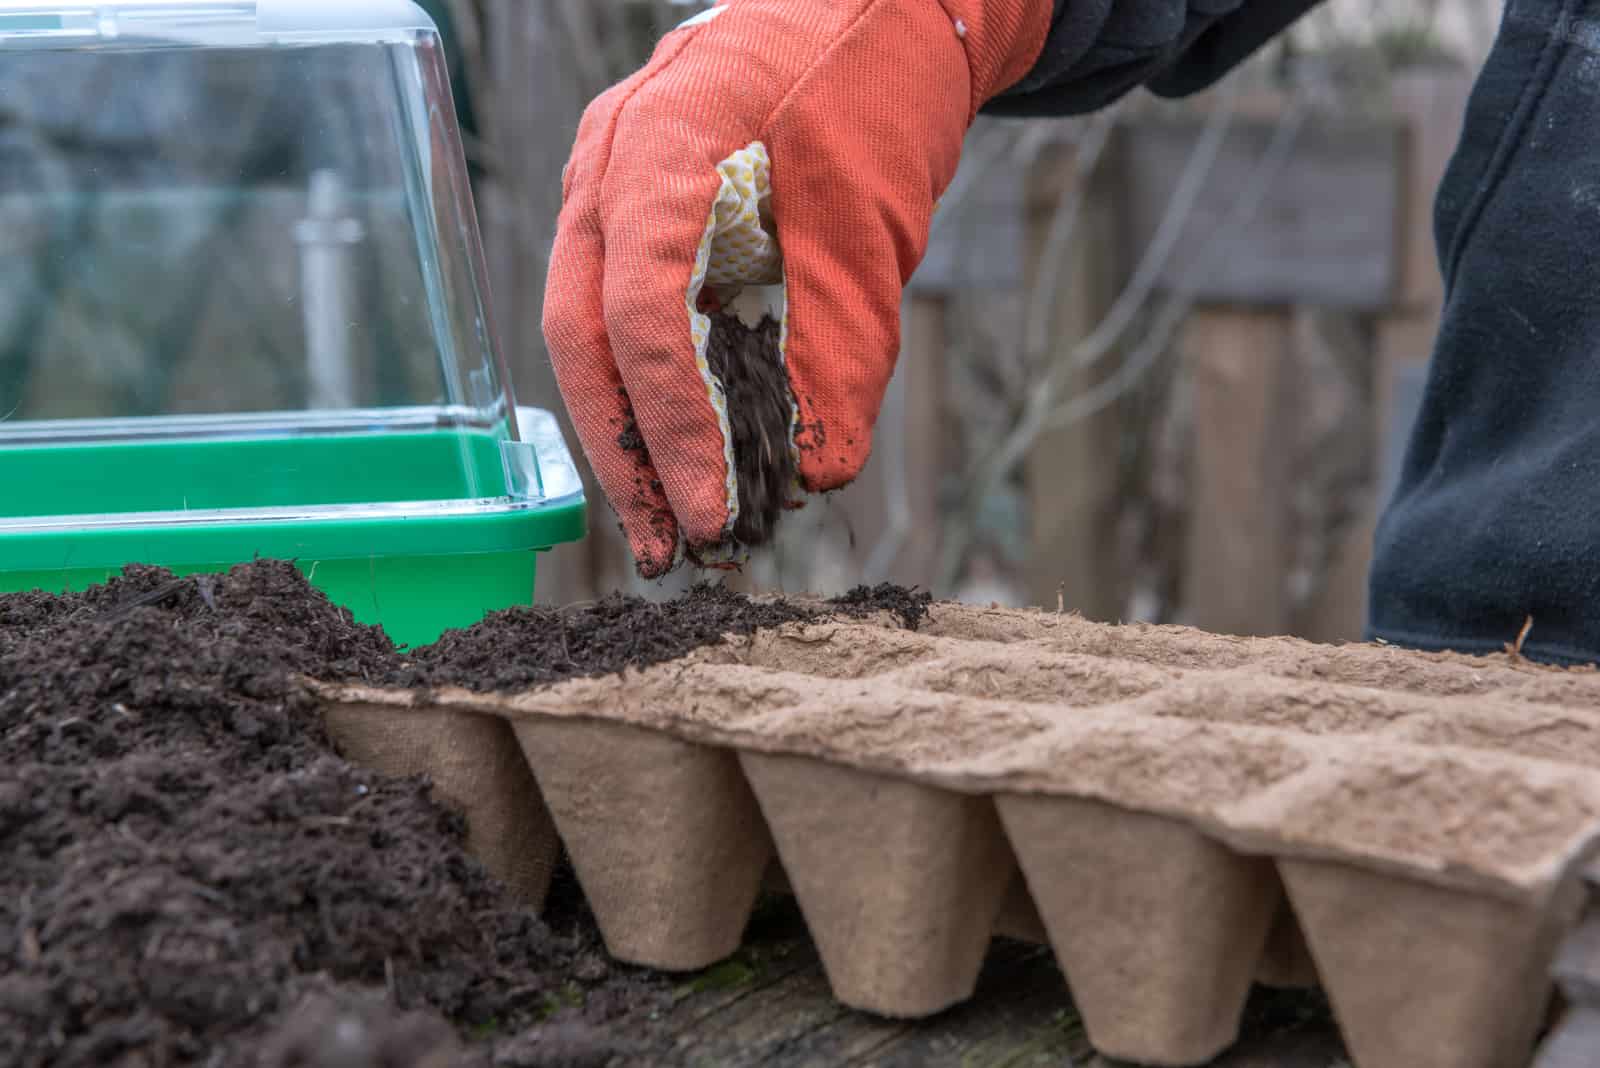
1. Take the nursery pot and fill it with potting mix. Place a pebble tray under the nursery pot. Soak the potting mix with water and wait until you see excess water flowing from the drainage holes. You should also discard any water from the tray. If the soil consists of sphagnum moss only, you should soak the soil for about an hour and then wring it.
2. Using sterilized scissors or pruners, cut a healthy stem with at least two leaves (if the stem has more than two leaves, cut the bottom ones).
3. Immerse 2 inches of the cutting in a rooting hormone as the cell roots will form faster and the rooting hormone will prevent root rot, especially the one caused by fungi. You can skip this part if you don’t want to use rooting hormone.
4. Using your finger, make a hole in the potting mix. The hole should be about 2 inches deep and cover a lower node. Gently press the soil, ensuring the cutting stands upright.
5. Take a plastic bag and cover the cutting, making sure it doesn’t touch the leaves. Make a small hole in the bag so that the humidity doesn’t change.
6. Find a warm place to put the cutting. The ideal temperature ranges from 70 to 77°F. Ensure bright indirect light for the cutting.
7. Make sure to uncover the soil every few days. This way, you will ensure oxygen for the plant, and if the soil dries you can mist it.
When to expect new growth?
It will take 3 to 5 weeks for the cutting to grow roots. The plant will then be ready for planting.
If you want to make sure that the plant is ready for transplanting, try to pull the plant gently. If it comes out easily, you will need to wait longer until it becomes hard to pull it out.
Propagating Monstera From Seeds
One more way to get baby Monsteras is by propagating the plant from seeds. The Swiss Cheese Plant Or Monstera Deliciosa’s seeds are easy to find and don’t cost much ($1-$5).
You have to remember one important thing when buying Monstera seeds: there’s no such thing as seeds for variegated Monsteras.
For example, Monstera Albo or Monstera Adansonii are developed by genetic mutations.
These plants are costly, and many sellers will try to sell the seeds of these plants.
After you buy Monstera Deliciosa or Swiss Cheese Plant’s seeds, store them in a cool and moist place.
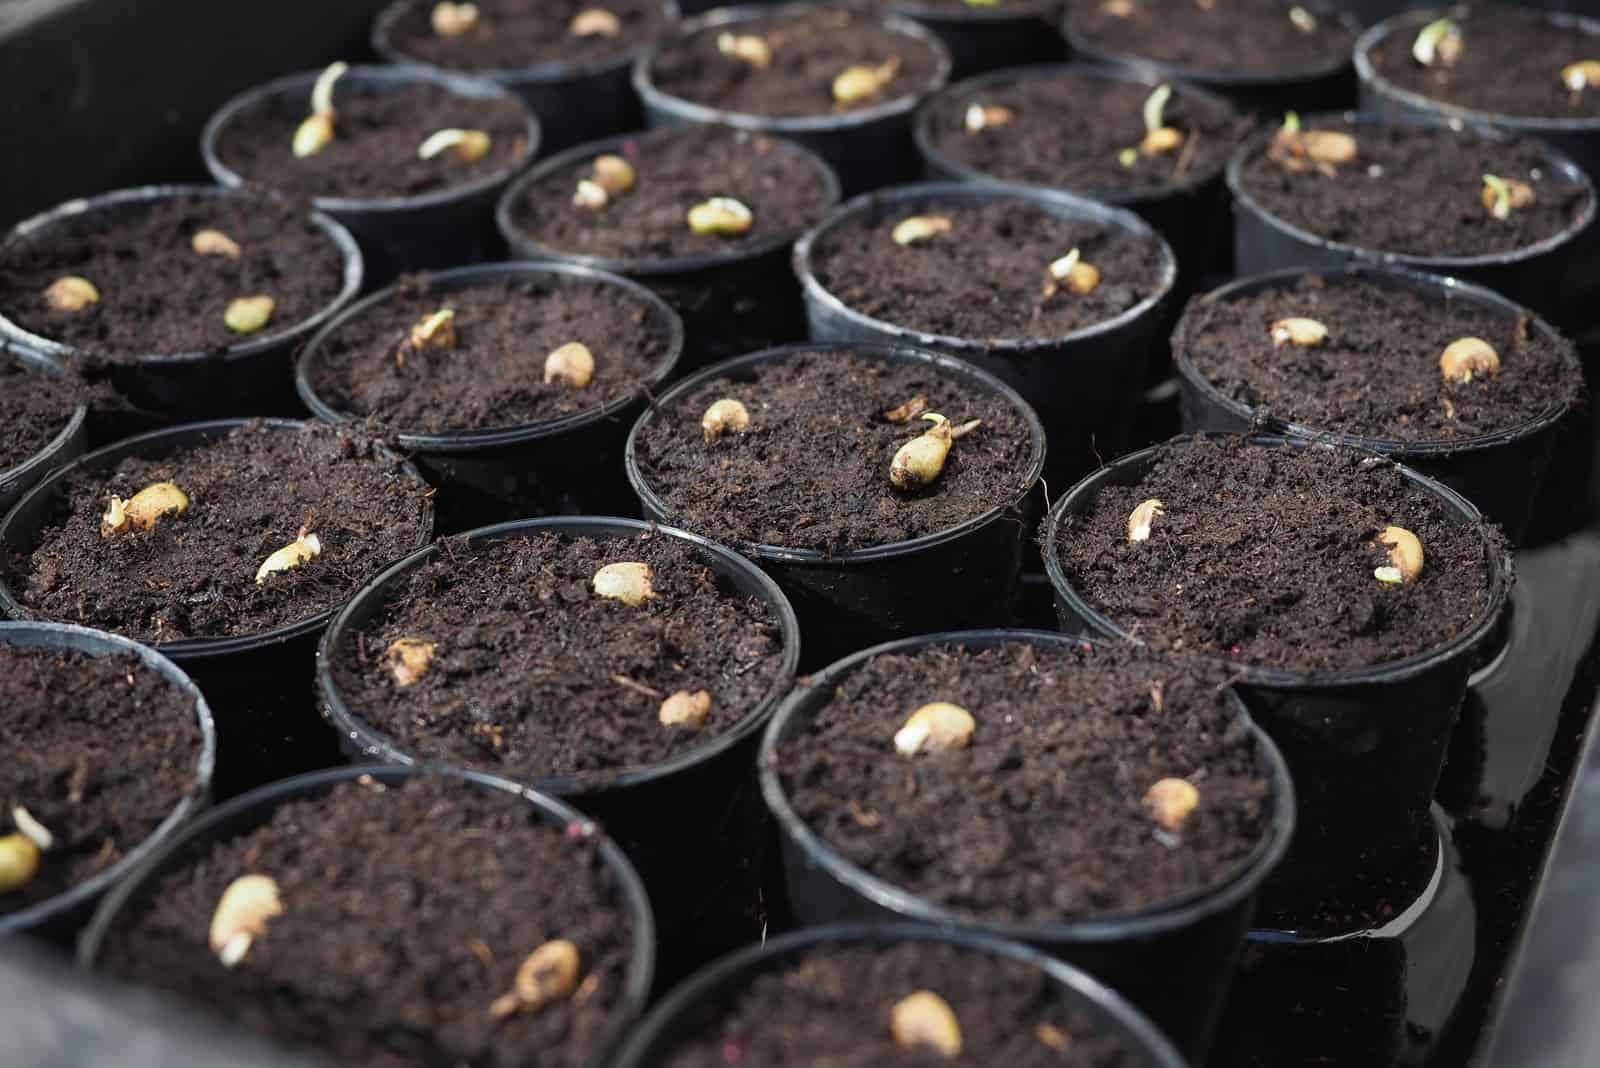
Make sure you use viable seeds for propagation. Prepare a germination tray. You can also use a container, but it should be shallow.
Again, you will need well-draining potting soil.
There are 5 steps you should follow if you decide to use seeds for propagation:
1. To speed up germination, soak the seeds for one day.
2. Fill the germination tray or shallow container with moistened potting mix. If you decide to use a germination tray, make a hole in the potting mix with your finger. The hole should be about 2 inches deep and cover a lower node. If you decide to use a shallow container, just sprinkle the seeds and cover them with soil.
3. Take a plastic bag and cover the germination tray. Make a small hole in the bag so that the humidity doesn’t change.
4. Find a warm place to put the seeds. The ideal temperature ranges from 70 to 77°F. Ensure bright indirect light for the seeds.
5. If you notice that the soil is dry, mist it.
Propagation By Air-layering
This method is by far the most successful, and is also interesting. The new plant will be directly attached to the mother plant.
Before you start propagating with this method, prepare the following:
• Sphagnum moss
• Plastic bag
• Rooting hormone (speeds up the process)
• Twist ties or string (to secure the plastic bag)
• Sharp knife
There are 5 steps to air-layering for propagation:
1. Immerse the sphagnum moss in water for half an hour. Wring it after soaking.
2. Using a sharp, sterilized knife, make a cut below the node. Remember, the node has to be on a healthy Monstera stem. The cut will improve root growth and ensure oxygen for the node.
3. Immerse 2 inches of the cutting in rooting hormone. This will help the cell roots form faster and the rooting hormone will prevent root rot, especially the one caused by fungi.
4. Take a handful of sphagnum moss and carefully wrap it around the node. Using string or twist ties, secure the plastic bag. Make small holes in the bag and cover the nodes.
5. If you notice that the sphagnum moss is dry, mist it.
When to expect new growth?
You will see new roots after a couple of weeks. When you notice new roots, cut off the node using sterilized scissors and plant your new Monstera Deliciosa.
Propagation By Division
Although this method is mainly used for Philodendrons or Snake plants, you can also use it to get a new Monstera plant.
The method refers to splitting the mother plant.
Monstera plants often don’t have any suckers (vertical growth coming from the root system or lower Monstera main stem).
If your Monstera has one sucker, you can use it for propagation.
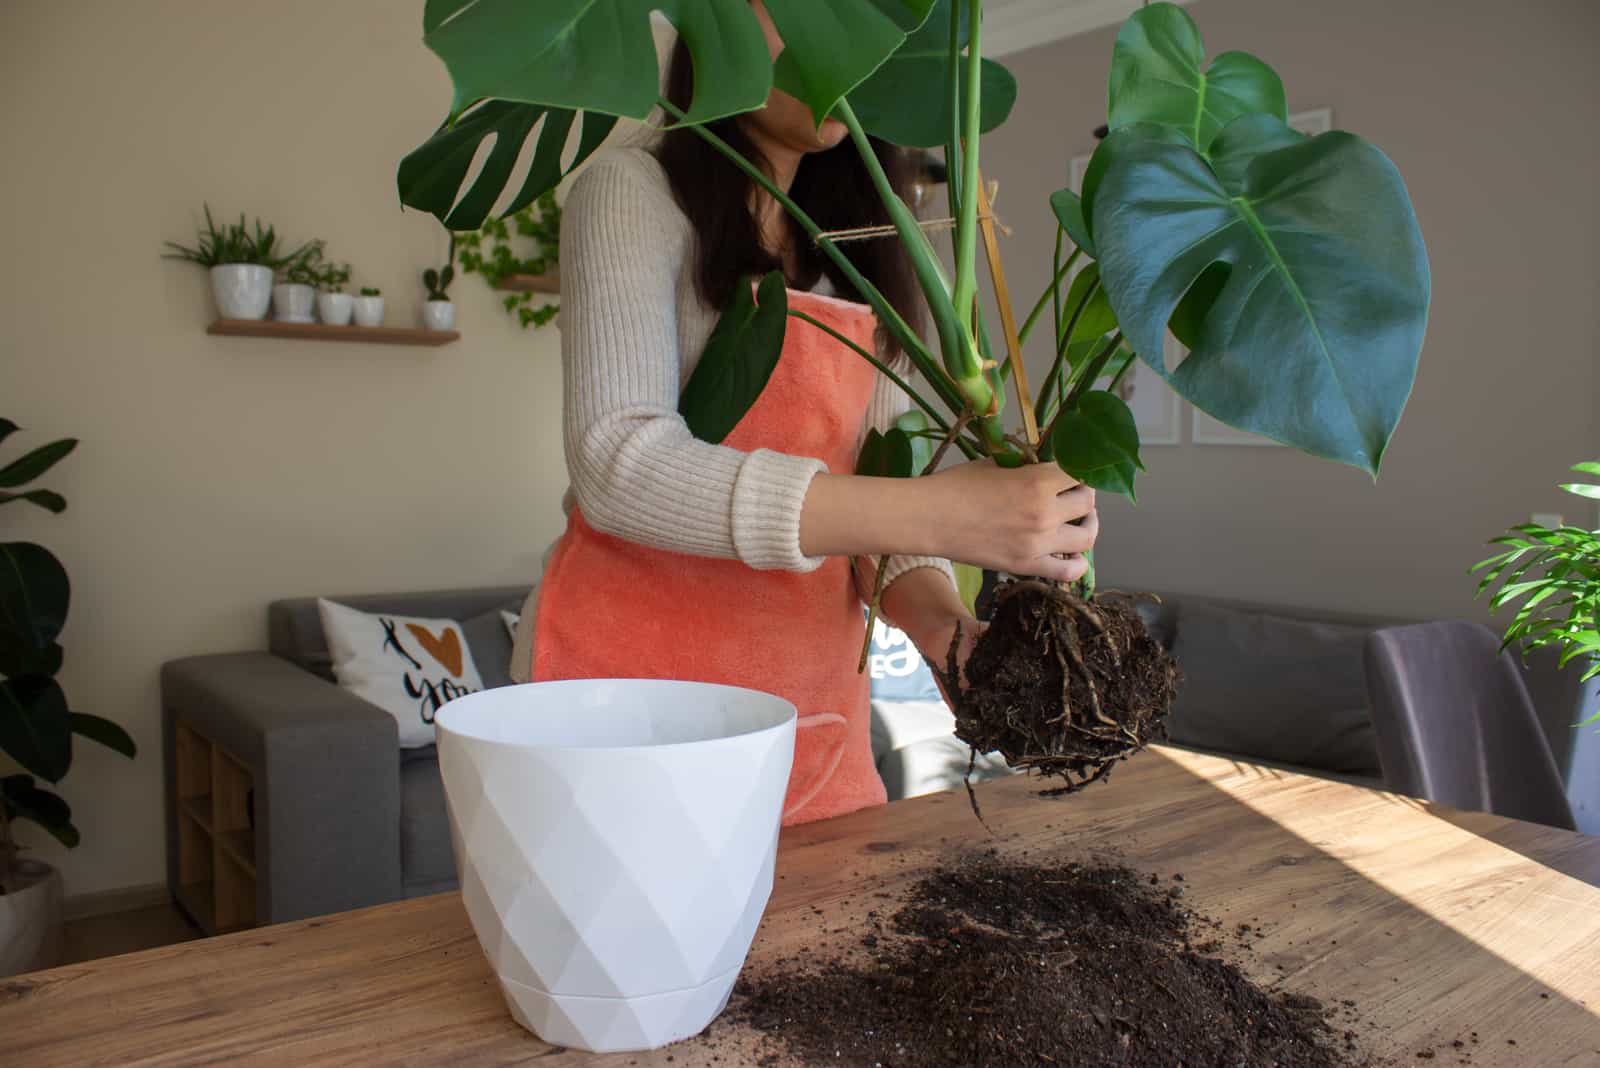
For this type of propagation, you can use a sharp knife and a new pot filled with well-draining potting mix, possibly one which contains a more significant amount of organic matter.
If you want to propagate Monstera by division, follow these 5 steps:
1. Place potting mix in the pot (1/3 of the pot should be filled).
2. Take the mother plant out of the pot and loosen it to get rid of the soil and excess water.
3. Take the knife and cut a sucker from the mother plant.
4. Place the sucker in a pot and fill the rest of the pot with potting mix.
5. Repot the main plant.
Propagation By Leafless Stem Node
If you see someone selling some leafless stems from Monstera plants, otherwise known as wet sticks, don’t worry, it isn’t a trick.
You can’t propagate this houseplant by leaf cuttings.
On the other hand, it is possible to propagate a leafless stem node, but you can’t do it in water.
Let’s find out how!
You will need sphagnum moss, a shallow container or tray, and a plastic bag.
To propagate a stem node without leaves, follow these five steps:
1. Immerse the sphagnum moss in water for half an hour. Wring it after soaking.
2. Make sure to lay the nodes on the sphagnum moss horizontally. This way, you will ensure the node touches the sphagnum moss, and the part with aerial roots will be facing down.
3. Take a plastic bag and cover the node, ensuring it doesn’t touch the leaves. Make a small hole in the bag so that the humidity doesn’t change.
4. Find a warm place to put the node cutting. The ideal temperature ranges from 70 to 77° F. Ensure bright indirect light for the node.
5. Make sure to uncover the sphagnum moss every few days. This way, you will ensure oxygen for the plant, and if the sphagnum moss dries, you can mist it.
When to expect new growth?
It will take between a few weeks and months for the new bud to emerge. Once you notice a rooted cutting, transplant the plant.
How To Care For New Monstera Plants
After propagation, it’s important to take good care of the new plant. Here are some care tips to help your new Monstera become a full plant and thrive as soon as possible.
Soil Moisture: Soil needs to be moist in the first days. Avoid overwatering the potting soil mix as it can cause root rot and destroy the plant. It will take longer for Monsteras propagated in water to adjust.
Light: The plant enjoys bright indirect light. Avoid places with direct sunlight or low lighting. If you are not sure about the light level, you can use a grow light.
Humidity: New Monsteras will grow best in humidity over 60%. You can use a humidifier or a pebble tray to increase humidity. Avoid places with air conditioners or vents.
Temperature: The ideal temperature ranges from 65 to 85° F. Avoid placing new houseplants near heating sources like radiators or fireplaces.
Pruning: Young plants don’t need pruning unless there are any damaged or dead leaves. Remember to use sterilized shears for pruning.
Fertilizing: As potting mix already contains fertilizers, wait for 3 to 6 months until you add more fertilizer to the plant.
Check for pests: Even though it may seem impossible for a new plant to be invaded by pests, you should always check for them. As Monsteras are prone to pests, it’s always better to prevent them from spreading. The most common pests that affect Monsteras are mealybugs, aphids, spider mites, and fungus gnats.
FAQs
What do you do if the leaf is too small?
You should improve the conditions in which your plant is growing. Leaf size depends on many factors such as light, humidity, watering, fertilizing, and temperature. Adjust each of these elements to fit the needs of the plant.
Why does my Monstera have a leafless node?
Because the leaves can’t grow from a Monstera that doesn’t have a node. This is also why you can’t propagate your Monstera using air roots, leaf, petiole, or a Monstera without a node.
Wrapping Up
Propagating Monstera without node is impossible.
However, there are many other ways to propagate this houseplant, so there’s no need to worry.
Using one of our methods will get you a new Monstera plant in no time.
Until next time!
Like this post? Share or pin it for later!

