5 Easy Steps For Properly Sealing Your Backyard Patio Pavers
A patio definitely adds a special touch of beauty to landscapes. But over time, environmental conditions, foot traffic, and other elements can make it discolored and more sensitive to damage.
The best way to prevent this is by properly sealing your backyard patio pavers. I’ll show you 5 easy steps to do it and ensure they stand the test of time.
Let’s get started!
1. Gather The Tools
Preparing the right equipment is the first thing we should do no matter the type of job. When it comes to sealing patio pavers, you’ll need a few things.
First, get yourself a broom with thick-bristles. The next thing is a hose. A pressure washer with a suitable garden hose is a lifesaver in this process.
I also recommend purchasing a cleaning solution; there are some excellent products specifically designed for pavers.
You should also get protective gloves and eyewear when you start sealing. We’ll discuss the perfect type of sealer in the following paragraphs, but you need to prepare a sprayer or roller and a paint tray for application.
2. Clean The Surface
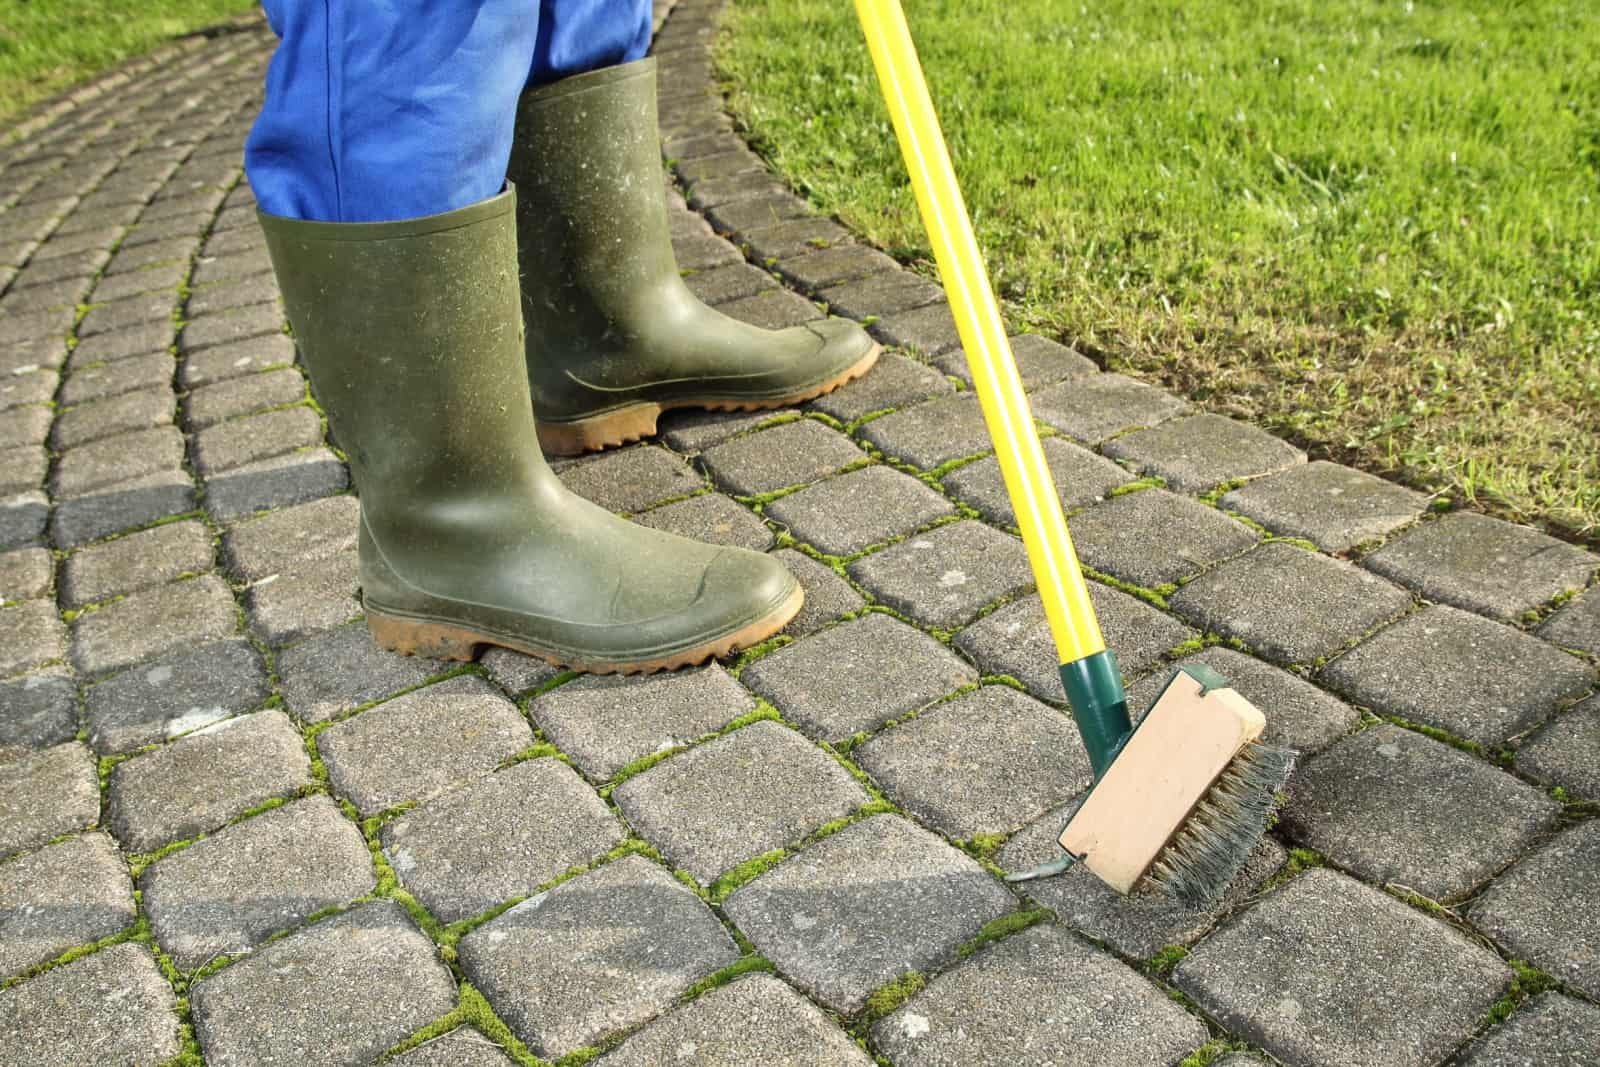
You’ve got a lot of cleaning products so, yes, you need to start with cleaning! First clear the area of furniture and debris.
Take a broom and sweep the entire surface to remove any leaves or loose dirt. It’s not uncommon for patio pavers to have embedded stains and dirt, so use a hose to wash everything well.
If there are any stains left or some moss and weeds, take a cleaning solution and apply it carefully.
You must allow the entire area to dry well before applying the sealer. It typically won’t take more than a few hours. While it’s drying, ask your household to stay away from the patio.
3. Choose The Sealer

When you go to the market and look for a sealer for your patio pavers, you’ll see there are many options, so how can you know which is the best one?
There are 3 main types of sealer: acrylic-based, penetrating, and film-forming. All have pros and cons, so let’s go through each to help you decide.
Acrylic-based Sealers
These types of sealers are great for protecting your patio from the sun, water damage, and stains.
Another advantage of this sealer is that it’s cost-effective. You can choose between matte or glossy finishes. They typically don’t take more than an hour to dry fully.
The main disadvantage of this sealer is that it requires more maintenance compared to the types described below.
Penetrating Sealers
If you need a water-repellent sealer to prevent mold and mildew, these types will do the job. I also recommend them if your patio is made of porous material such as slate or limestone.
You can choose between water- and oil-based penetrating sealer types. Both will work well and protect your patio from environmental or other damage.
Film-forming Sealers
If your patio is made of non-porous materials, then these sealers are the best choice. They’ll give your patio a glossy finish.
Film-forming types will protect your patio from stains, acid rain, salts, and sand. Many homeowners decide on granite patios without realizing they need regular maintenance. If you have this type of patio, I recommend using film-forming sealers.
4. Test And Apply The Sealer
After purchasing the sealer, it would be beneficial to test it by applying it to a smaller, inconspicuous area. If you get the desired effect, you can continue with the application.
Pour the sealer into a paint tray, dip the roller, and remove the excess sealer by rolling it against the tray ridges.
Carefully apply the sealer making sure you don’t miss any edges and joints. This is essential because these patio parts are susceptible to weed growth and mold.
Read the instructions on the label of the sealer to check how many layers you need.
5. Allow It To Dry Well
Go through the instructions on the label again to check how much time each layer needs to dry. It can take a few hours, but I recommend leaving it overnight for the best results.
Don’t walk over your patio until the sealer is completely dry. Avoid placing furniture or any other heavy objects on it until the sealer is completely cured, which typically takes about a week.
I’m often asked about the timeframe and when to reseal. It depends on many factors, such as foot traffic and weather conditions, but a general guideline is to reseal every 4 years.
Sealing the patio pavers will help you maintain their visual appeal and promote resilience. It’s not a hard task and if you follow our guidelines, you shouldn’t have any problems.
Good luck and until next time!