How And When To Repot Snake Plant: A Complete Guide
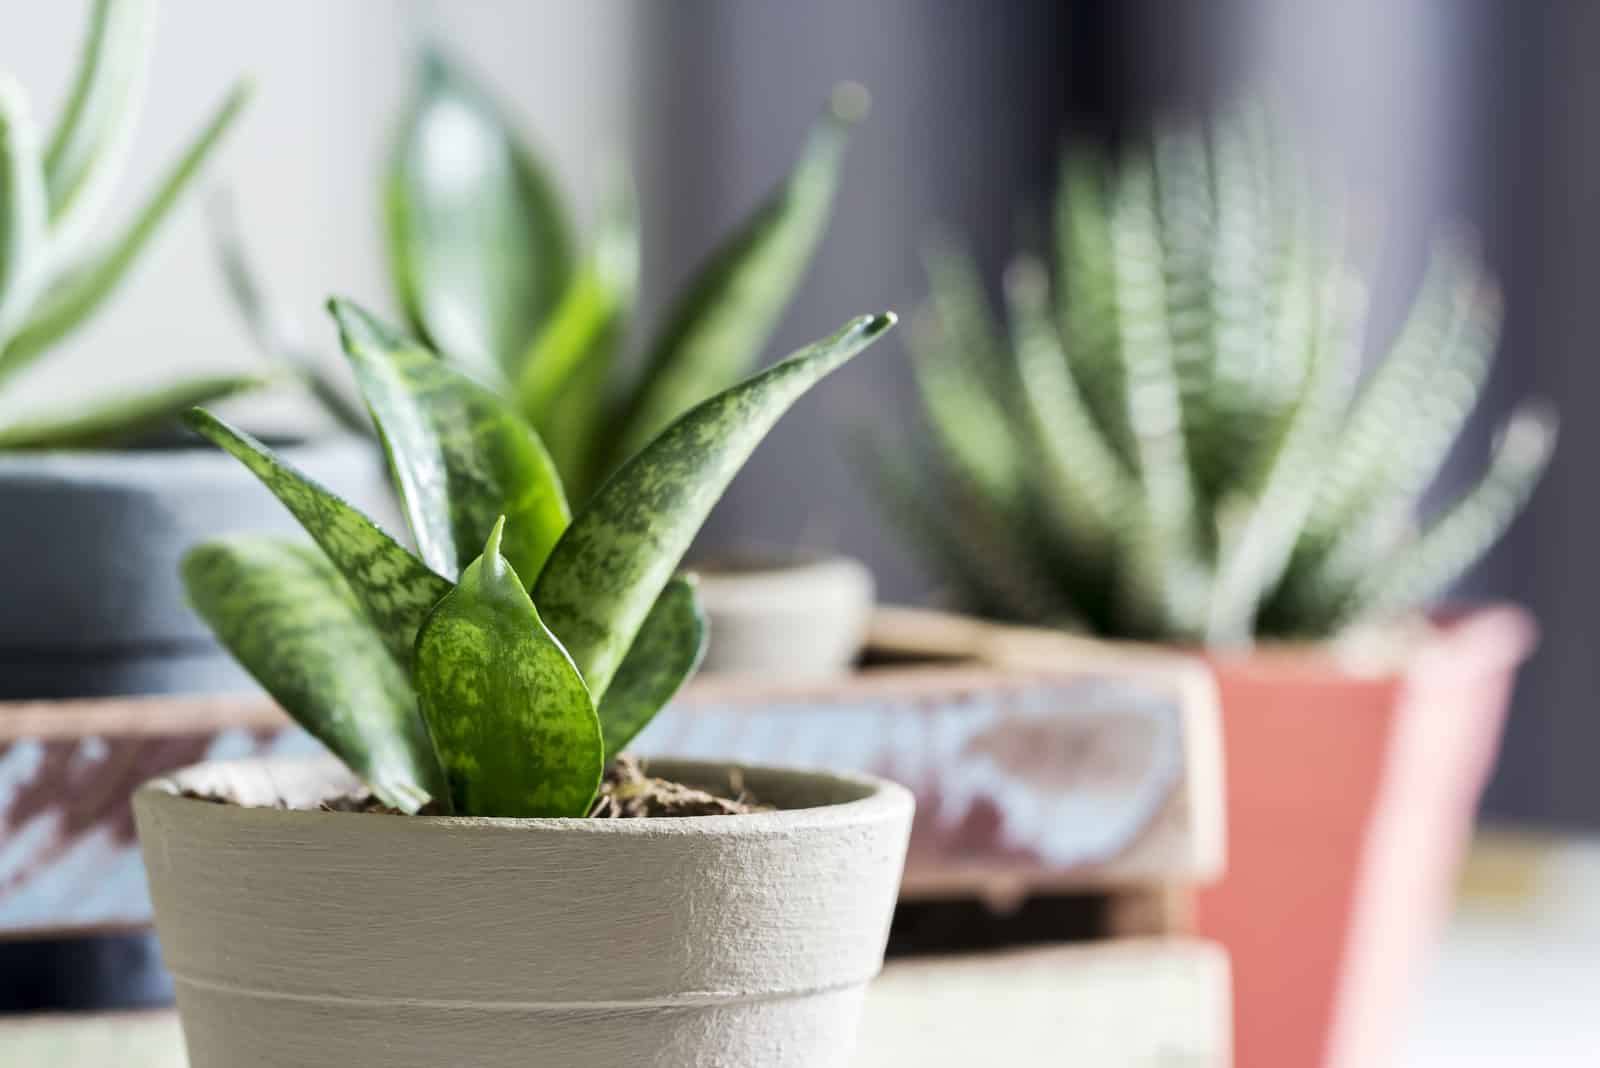
Snake plants are very popular because they’re easy to maintain and look magnificent! Although these houseplants are low-maintenance, they still need to be provided with some essential conditions in order to survive.
You’ll need to give enough light to your Mother-in-law’s tongue plant, as well as enough humidity, appropriate temperatures, an adequate soil type, and enough water and food.
There’s one more thing your snake plant needs, and that’s to be repotted from time to time. All potted plants will need new containers sooner or later, and the snake plant isn’t an exception.
To that end, I made this complete guide to help you learn when and how to repot snake plant!
Repotting snake plants isn’t rocket science, but there are some things to be careful about. After reading this article, repotting will be like child’s play.
Let’s get started!
When To Repot Snake Plant
Before I show you how to transplant your snake plant, it’s essential to learn when to do so. Generally speaking, these plants will need a fresh start every couple of years due to the snake plant growth rate.
However, there are a couple of signs you may notice that will tell you if your snake plant needs a new pot and soil sooner.
The signs that your snake plant requires repotting are poor soil drainage, stunted growth, leaf discoloration, and wilting.
When it comes to the perfect time of the year to repot snake plants, I recommend you do it in late winter or early spring when these plants start their growing season.
Let’s begin!
Roots Poking Out Of The Drainage Holes
Indoor plants need a new pot once their roots overgrow their current pot, i.e., when they start poking out of the drainage holes.
Once the roots fill the soil in the pot they will keep growing, but this time from the drainage holes. It’s completely logical as the plant can’t keep growing if the roots don’t grow.
Snake plant roots uptake nutrients and water from the soil; the bigger the roots, the more water and food they will need.
Once it becomes root-bound, the snake plant may not display new growth.
The problem is that the roots that have access to water and food may die, and it would be disastrous if the roots stopped functioning.
Check the bottom of the pot regularly, and prepare for repotting once you spot this sign.
Another thing that may happen to your snake plant is that it becomes top-heavy and falls over.
The Soil Doesn’t Retain Water
Snake plants don’t require much water as they have succulent features, which means they can survive without water for long periods of time.
Your snake plant does need water to grow healthily, and the best way to ensure they get enough moisture is by providing them with the correct type of soil.
The appropriate potting mix is important, just remember that the soil constantly receives water and provides the roots with food.
This leads to it losing its structure and quality, so water and food can no longer be delivered to the snake plant’s roots.
You’ll need to refresh the soil mix by repotting your Sansevieria trifasciata.
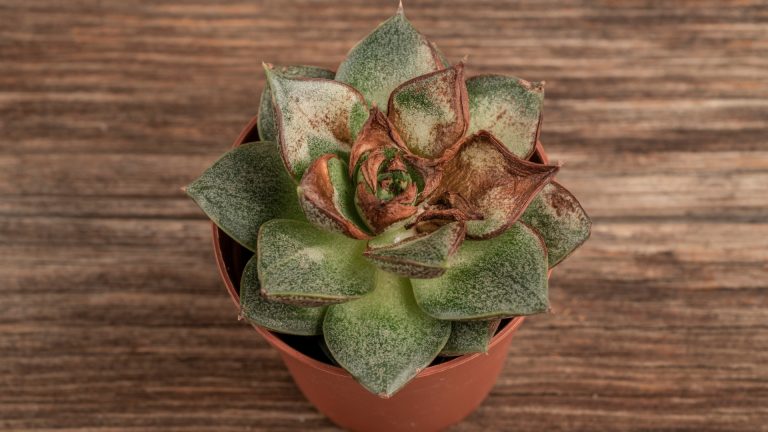
Leaf Discoloration Or Wilting
Every grower knows that leaf discoloration or wilting isn’t always related to inappropriate conditions like light level, humidity, or temperature.
These are the most common reasons, but if your snake plant roots don’t have enough space to extend, they may die. As a result, succulent leaves won’t receive any food or water and start yellowing, browning, and will eventually wilt.
If you spot any of the signs above, consider refreshing the soil and purchasing a new pot.
How To Repot Snake Plant
Once you conclude that your Dracaena (formerly Sansevieria) needs repotting, you’ll need to prepare all the equipment, including the tools, a new pot, and a new potting soil. Your snake plant will then need to be removed from its pot so the root ball can be exposed. You’ll need to clean it and transfer it to another pot.
Let’s get into details!
Prepare The Tools
You should never start repotting if you haven’t prepared the tools first, unless you want to search for them in the middle of the process!
Get yourself some gloves, and pay attention to their material and size; make sure they’re not too rough or too large/small.
Prepare some old newspapers so that you don’t have to clean up after repotting.
You’ll need sharp scissors or shears to remove the pups (if any), and make sure you sanitize them beforehand.
Choose A New Pot
Choosing the perfect plant pot can be challenging as you need to pay attention to size and material. Many beginner growers choose pots according to appearance, but that’s not a good idea.
Believe it or not, you can kill your plant if the pot isn’t suitable.
A general rule is to choose a larger pot made of well-draining materials that also holds moisture well.
Keep reading to find out what that really means.
Size
What size do we mean when we say larger pot? Well, you can’t just choose a large pot because you think the bigger, the better.
Your snake plant will appreciate it if you choose a container that’s approximately 2 inches larger in diameter than the previous one.
Pot size is so important because, if you purchase too large a pot, it will contain more soil that will retain moisture and affect the roots.
When it comes to the depth of the pot, 8 to 12 inches is perfectly fine.
Material
I recommend terracotta for your snake plant pot. These pots ensure good air circulation, which means they aid drainage.
Additionally, these pots look amazing and perfectly complement the lovely appearance of snake plants.
Many growers purchase plastic pots, which aren’t as porous as those made of terracotta. However, if you purchase a plastic pot with drainage holes, it will fulfill the needs of your snake plant.
If you are not satisfied with the looks of a plastic pot, you can always put them in a pretty ceramic pot.
Drainage Holes
When purchasing pots for your lovely Dracaenas, you must always get them with holes in the bottom.
You may have a pot that’s the right size and material, and an appropriate potting mix, but none of that matters if the pot doesn’t have these holes.
Water will pool around the snake plant roots and attract harmful pathogens, which will likely result in root rot.
Even if the pot doesn’t look very pretty, as long as it’s porous and has drainage holes your plant will be happy.
Check out more of our tips to help you choose the best snake plant pot.
Choose The Best Soil
Choosing a suitable potting mix can be challenging for many plant growers. When it comes to indoor plants like snake plants, they require well-draining, well-aerated soil mix with good water-holding capacity.
You want to avoid overwatering, underwatering, and compact soil. Therefore, you need to choose materials that will help you achieve these conditions.
Let’s start with drainage; if you want well-draining soil, you’ll need to amend the soil with materials such as perlite or pumice.
If you want porous soil, you should add coco coir and similar porous materials.
Sphagnum or peat moss will aid in water retention, so consider using these materials when making the soil for your snake plant.
One of the best combinations of materials for snake plant soil mix consists of potting soil, perlite, coco coir, and bark (3:1:1:1).
A soil that consists of orchid bark, coconut coir, and perlite (1:1:2) is another excellent mix for Dracaena plants.
Although many gardeners recommend using succulent or cactus soil only, I wouldn’t rely on that soil mix as the water-holding capacity isn’t perfect. If using these soils you should add materials that aid water retention, such as peat moss.
Take Your Snake Plant Out Of Its Pot
Now comes the fun part, taking your snake plant out of its current pot!
You’ll need to be extra careful with this step, as you don’t want to destroy the root system.
Instead of pulling on your snake plant, you can squeeze the sides of the pot until there’s a little space between the soil and the rim.
It will help if you don’t water your snake plant for a couple of days before repotting.
Next, flip the snake plant over and carefully remove it from the pot. If your snake plant is stubborn and doesn’t want to come out because it’s too pot-bound, you can break the pot open.
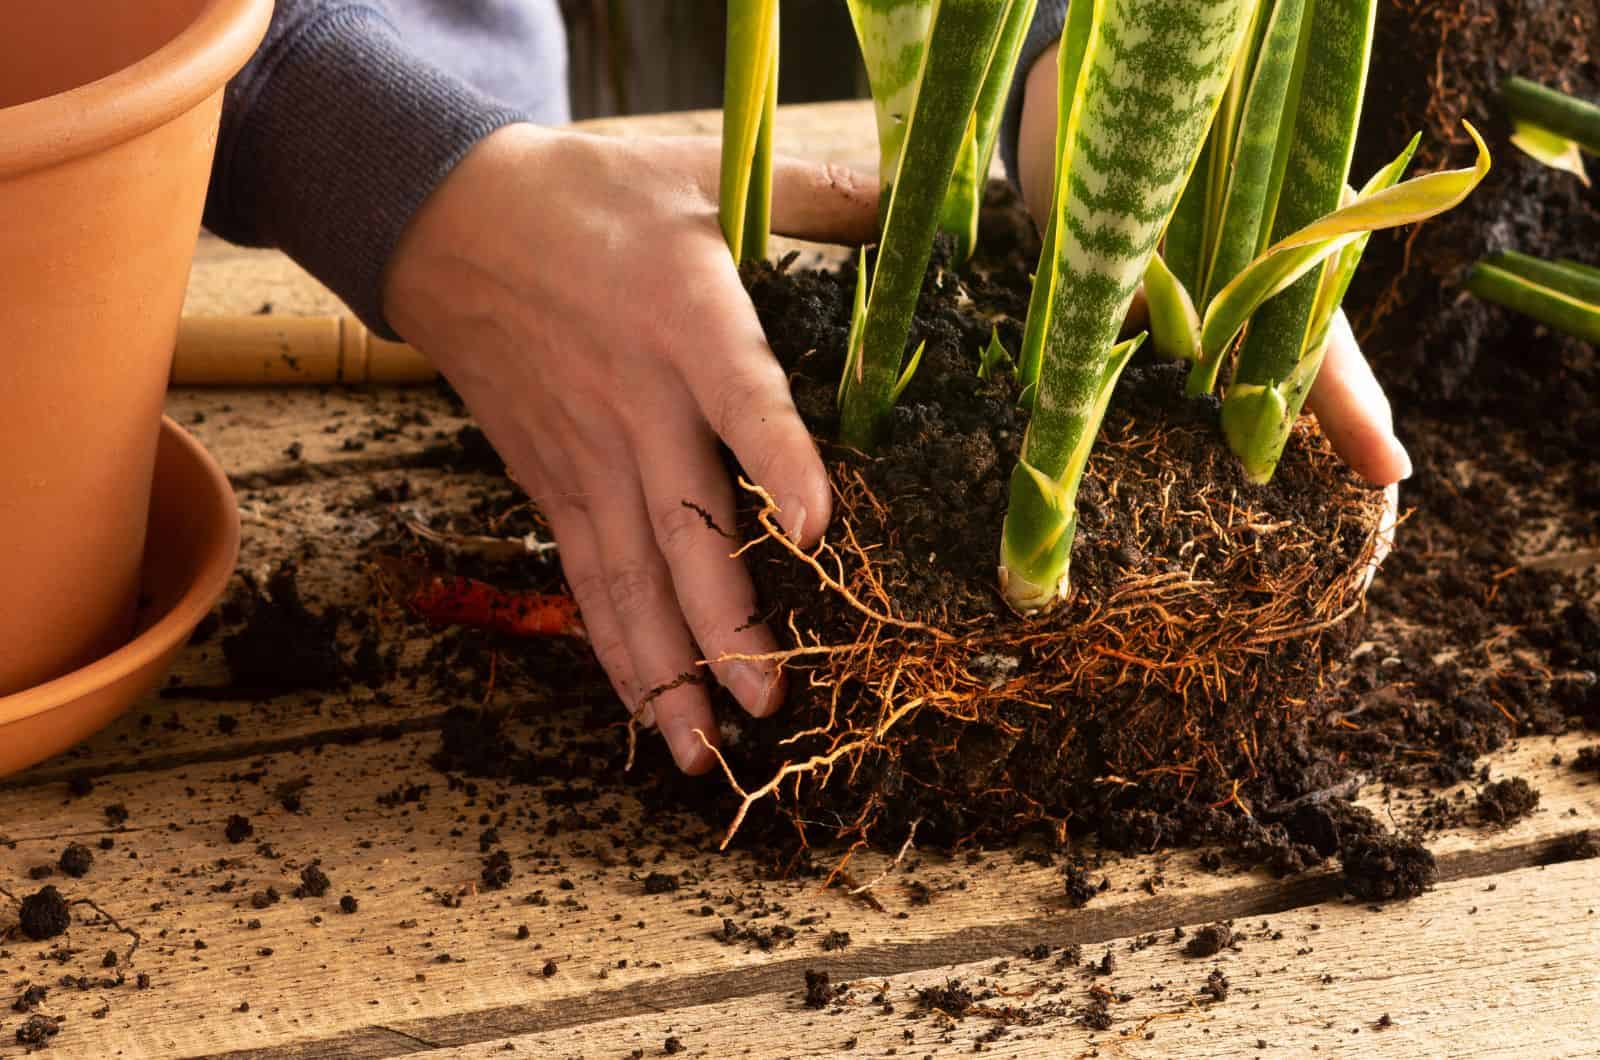
Remove The Old Soil
At this point, you need to see the root system clearly. Remember, you’ll need to untangle the roots so that they can spread in the right direction.
The only way to do this is by removing as much soil mix as you can.
You can use a brush or your hands, or wash out the root ball. If you notice any diseased or discolored roots, you should remove them. Keep reading to find out how to repot a snake plant with root rot.
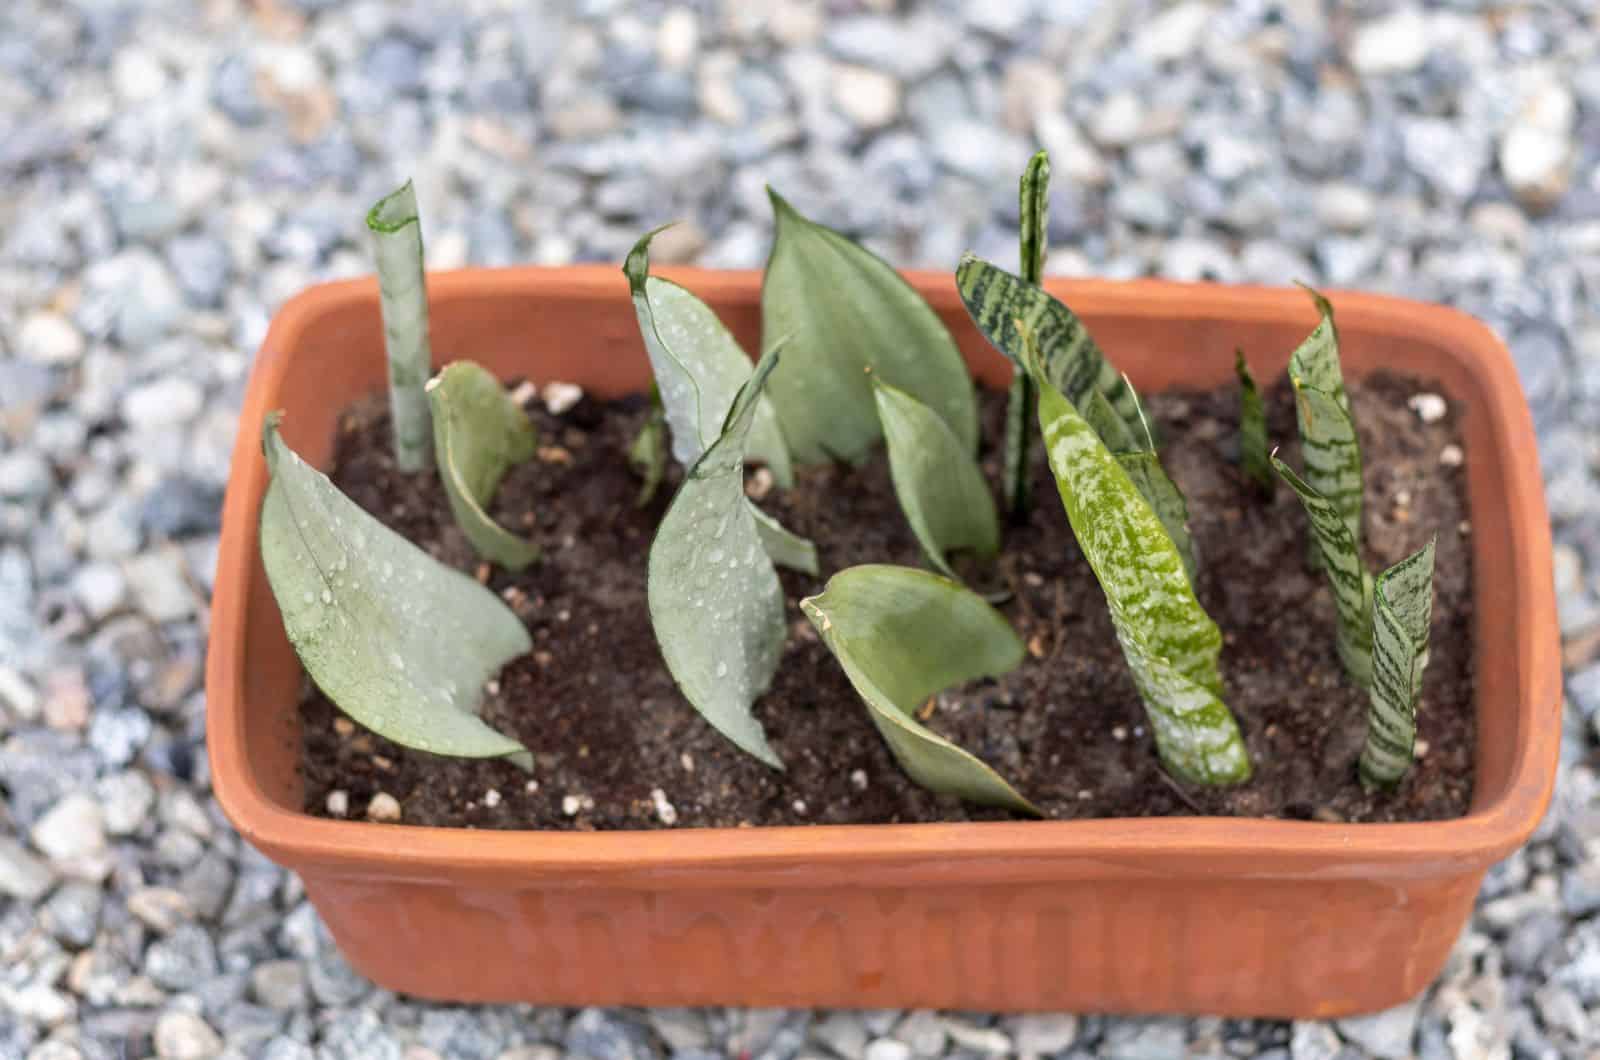
Remove Pups
All snake plants, including laurentii and hahnii, develop pups. You can use the rhizomes for snake plant propagation when you notice them.
The thing is that these pups don’t need to be removed, but new plants develop from them. This means you’ll need to repot your snake plant once you notice new growth.
To avoid this, I recommend removing the pups and using them to propagate snake plants.
Make sure the snake plant roots are properly cleaned and that the rhizomes are exposed. After that, use a very sharp knife to make a clean incision through the rhizome.
Remember that the roots won’t develop if each portion doesn’t have enough roots. You shouldn’t remove portions without roots; leave them so that they can develop further.
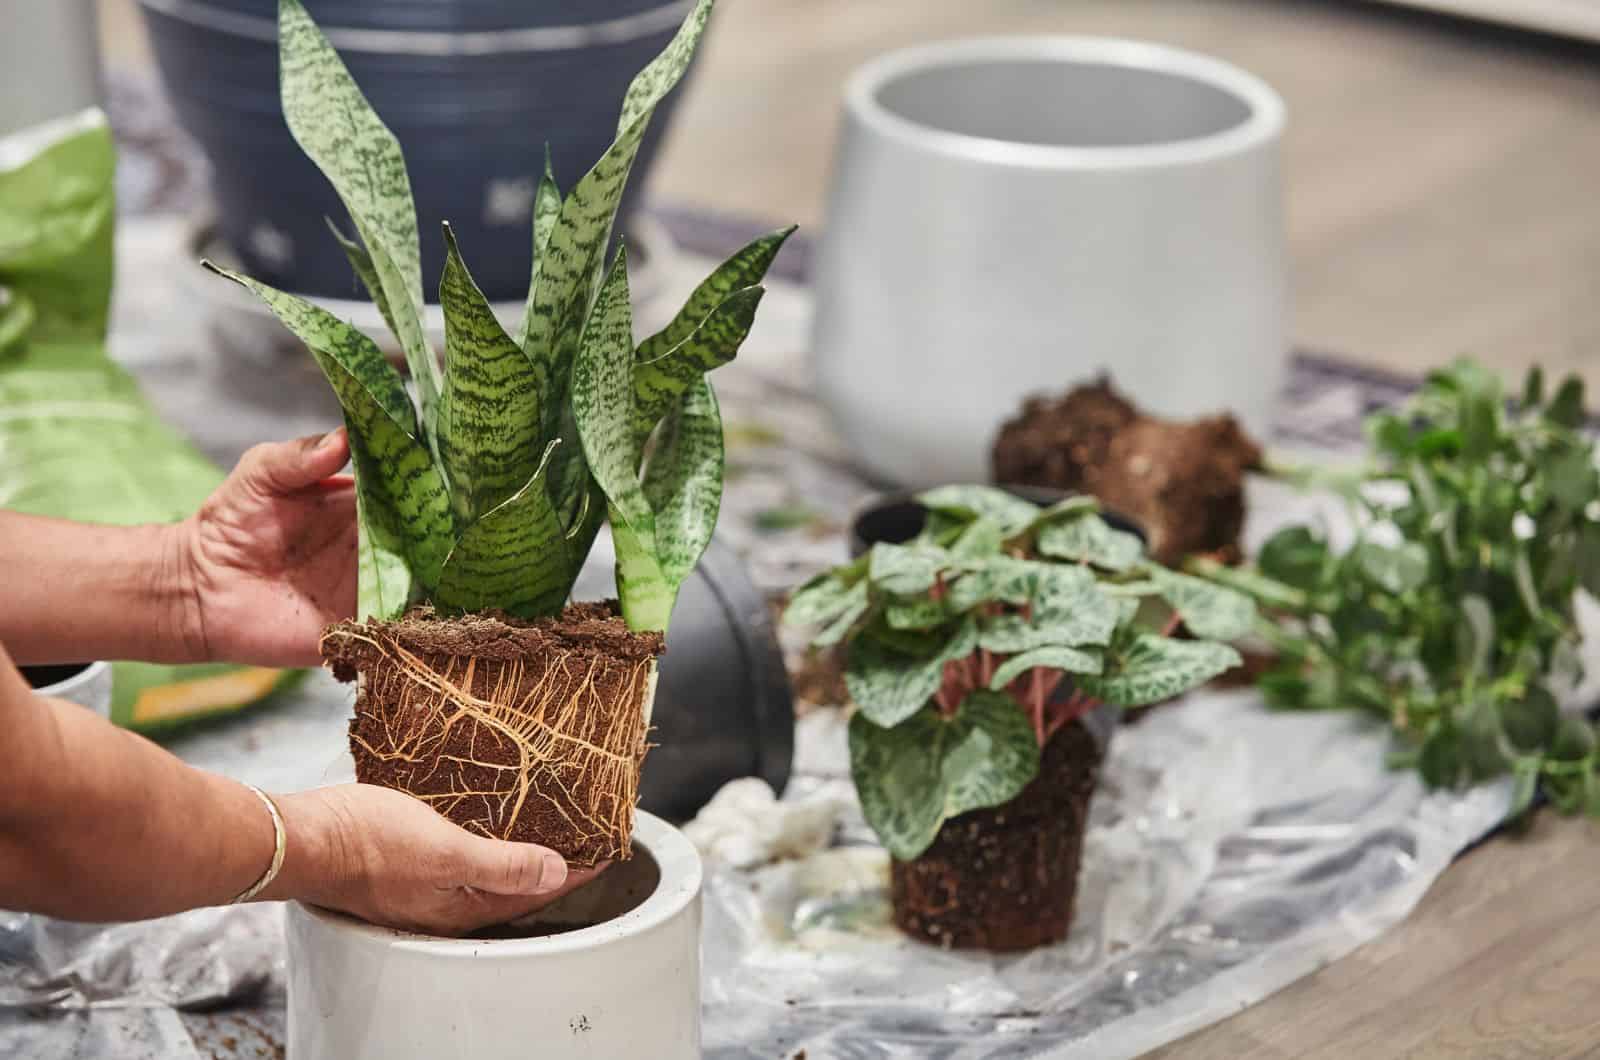
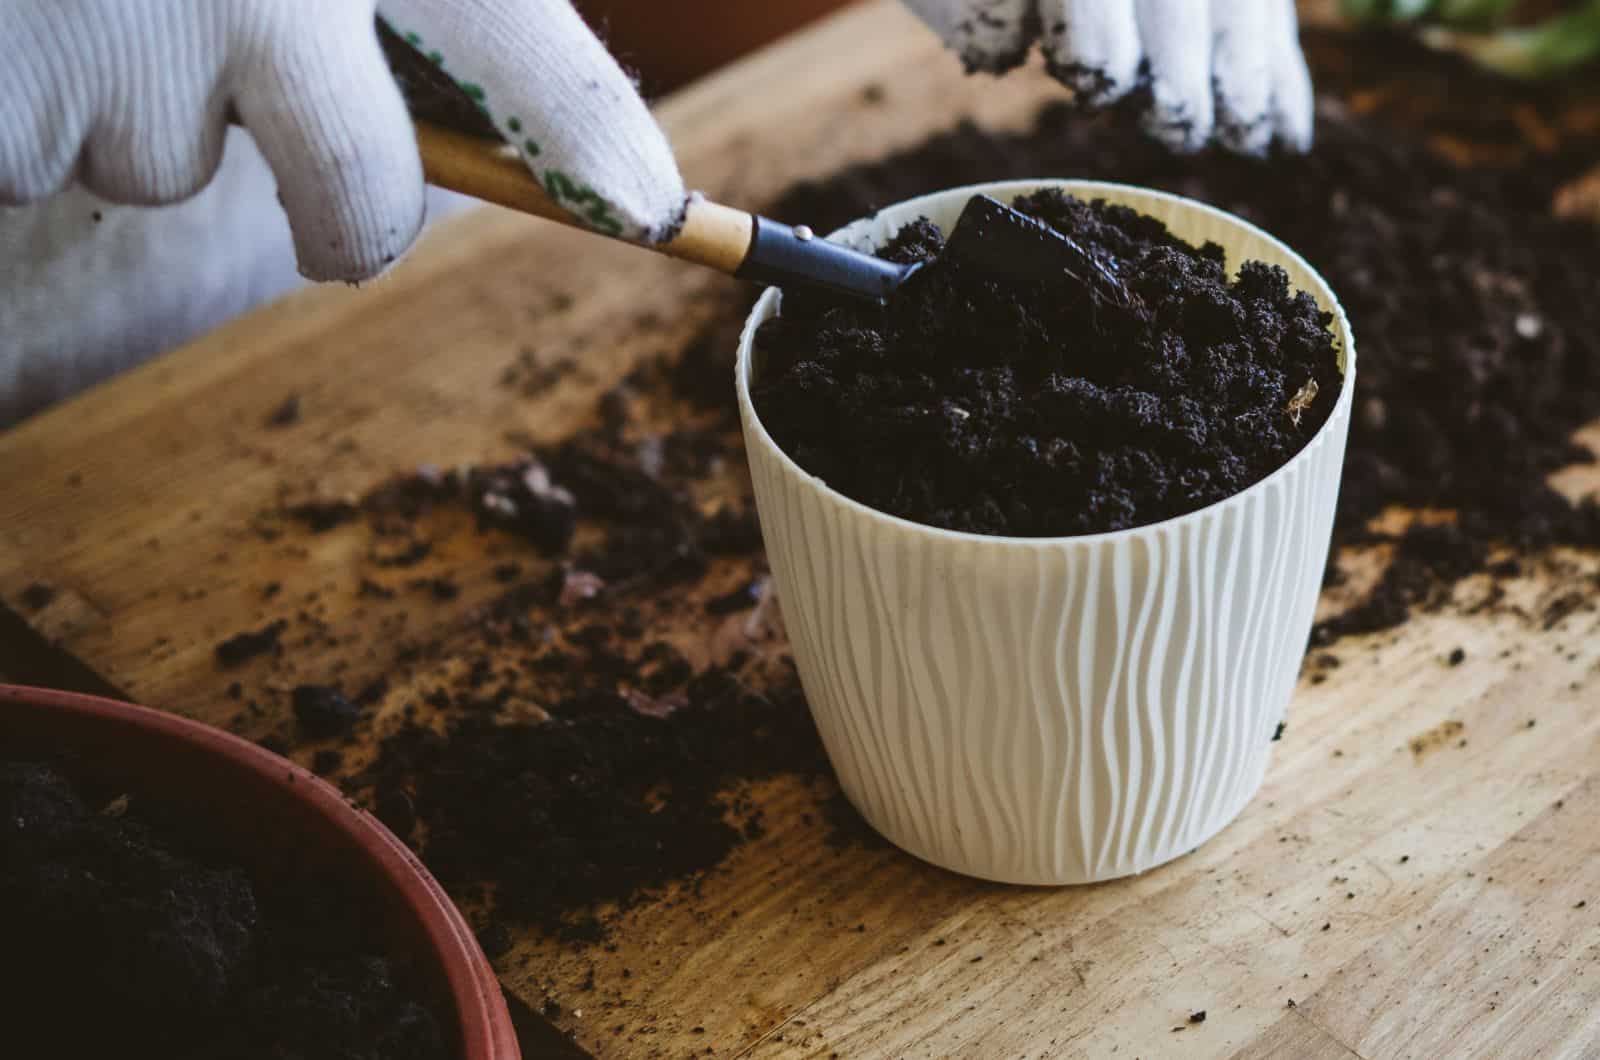
Put Your Snake Plant In A New Pot
Fill the bottom third of the new pot with new soil.
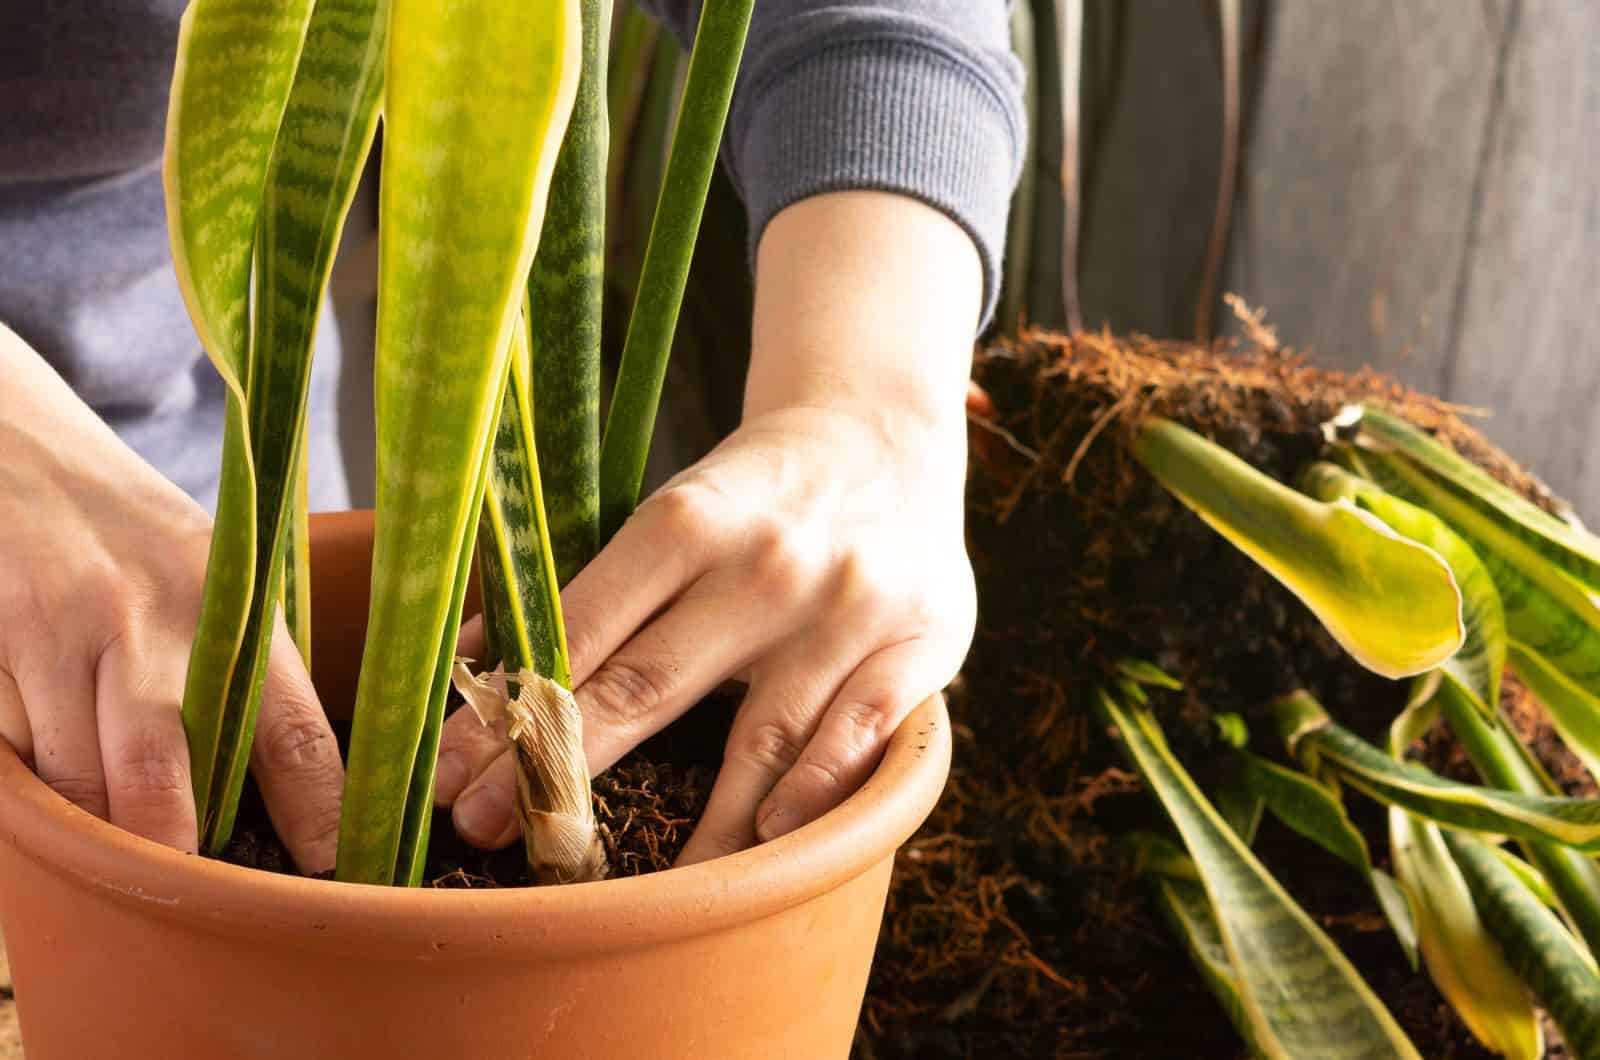
Position your snake plant in the center of the pot and, keeping your plant in position, add additional mix around the roots and leave the top few inches soil-free.
Make sure the crown isn’t covered in soil as this can cause it to rot.
When full of soil, carefully press down on the top layer of the potting soil. This will hold the mother-in-law’s tongue plant firmly in place and eliminate any significant air spaces in the pot.
After transplanting, give your Dracaena plant plenty of water to help the roots grow. This will also help your precious snake plant to deal with transplant shock.
Now you need to put your plant in indirect light and resume with usual snake plant care. Keep reading to learn about the perfect conditions for snake plants.
How To Repot Snake Plant With Root Rot
Dracaenas are popular houseplants, especially among forgetful beginners. This is because these plants don’t need much water to thrive.
Snake plants are susceptible to root rot, which is most likely to happen if you overwater your plant. Excess water in potting soil will cause the roots to become mushy and change color from grayish white to black or brown.
Signs of root rot will first appear on the leaves before spreading to the entire plant. You may notice the snake plant leaves splitting, yellowing, browning, wilting, or drooping if you accidentally overwater your plant.
The soil will also be mushy and smell pretty bad. If your snake plant suffers from this disease, you’ll need to repot it.
The rules are the same: remove your snake plant from its current pot, clean the roots, refresh the potting soil, and put the plant in a new pot.
When taking your snake plant out of its pot, you’ll need to be extra careful as it’s very weak at this point and any further damage could quickly kill it.
Once it’s out and you’ve cleaned the root ball, you’ll need to sanitize your knife or scissors and remove any mushy, dead, or discolored roots. After you remove the root rot, apply fungicide to the rootball.
Dispose of the old pot and soil because you don’t want any of your other houseplants to catch the disease.
The Benefits Of Repotting A Snake Plant
The most significant benefit of repotting snake plants is giving them a fresh start, which means a lot of things.
First, you give your Dracaena new nutrients to encourage its growth. Second, you improve drainage and aeration, which helps you avoid watering issues.
Third, you make sure that the snake plant roots are healthy. If there are any rotten roots, you just remove them.
Finally, when you are repotting mother-in-law’s tongue plants, it’s a great opportunity to divide the rootball and use the sections for propagation.
You can expand your plant collection or find a new home for the propagated snake plant by gifting it to your friends.
If you meet all requirements, including repotting, you might be able to see lovely snake plant flowers.
Many growers have discussed the disadvantages of snake plants, though I think that these plants are awesome because they are air purifiers, easy to maintain, and look fascinating.
What Will Happen If You Don’t Repot A Sansevieria Plant?
We’ve discussed when to repot the Sansevieria trifasciata plant and why it’s beneficial to do so, but what will happen if you skip repotting?
I don’t want to scare you, but repotting is an essential part of houseplant care, and it could be lethal for your plant if you skip it!
Your snake plant might stop growing, display leaf discoloration, and start wilting, and each of these conditions may result in death.
The biggest problem is that if you don’t repot your snake plant and it gets root rot, the disease may spread to your entire houseplant collection.
Repotting a Dracaena isn’t a complex task, and the fact that you don’t need to do it too often means there’s no space for excuses.
Snake Plant Care Guide After Repotting
Each plant goes through transplant shock after repotting, and to make it easier for the plant to overcome it, you must ensure the best conditions.
Snake plants aren’t fussy, and you can make them happy by providing minimum care.
Here are the conditions that will help your Dracaena to grow healthy and thrive.
Snake Plant Needs: How Much Light?
Light conditions have a direct impact on how well your mother-in-law’s tongue plant will grow.
The snake plant usually adapts well to various light conditions. Still, if you want it to develop more quickly, you should put your Dracaena somewhere it can get a lot of bright indirect light.
If your snake plant is exposed to direct sunlight for an extended period, it can get sunburn and the leaves will most likely scorch and wilt.
On the other hand, your snake plant may grow slower if you keep it in low light, so move it somewhere brighter in this case.
Temperature & Humidity
Snake plants can tolerate different temperatures, but I recommend staying on the safe side and ensuring a temperature range of 65 to 85 degrees Fahrenheit.
Inadequate temperatures may cause snake plant leaves to develop brown tips and edges, start wilting or drooping, and split.
Snake plants prefer moderate humidity levels and will grow well in households with average humidity.
If you aren’t sure about humidity, consider purchasing a humidifier that can monitor the levels from Amazon.
When And How To Water Snake Plants
Figuring out the perfect watering schedule for snake plants may be the most challenging part of its care!
The best idea would be to wait until the soil dries out before watering it. However, don’t forget about your plant for too long as it can get dehydrated and suffer from unnecessary issues.
The best advice I can give you is to check the moisture in the soil regularly. It’s simple – if the soil is moist, don’t water it.
You’ll need to pay more attention to moisture content during the summer. High temperatures will cause the soil to lose water faster.
The snake plant is dormant during the winter, so the amount of nutrients it needs from watering reduces dramatically.
Always try to avoid getting water on the leaves because they are fleshy and can store water. This means they would quickly rot if they get wet.
Fertilizing
Your snake plant will appreciate it if you feed it once or twice during the growing season.
You can feed your snake plant with a balanced, liquid, all-purpose fertilizer for houseplants.
It’s important to note that the fertilizer should be diluted in accordance with the directions on the packaging.
As soon as the fall arrives you can forget about fertilization because the snake plant will enter dormancy until the early spring.
Wrapping Up
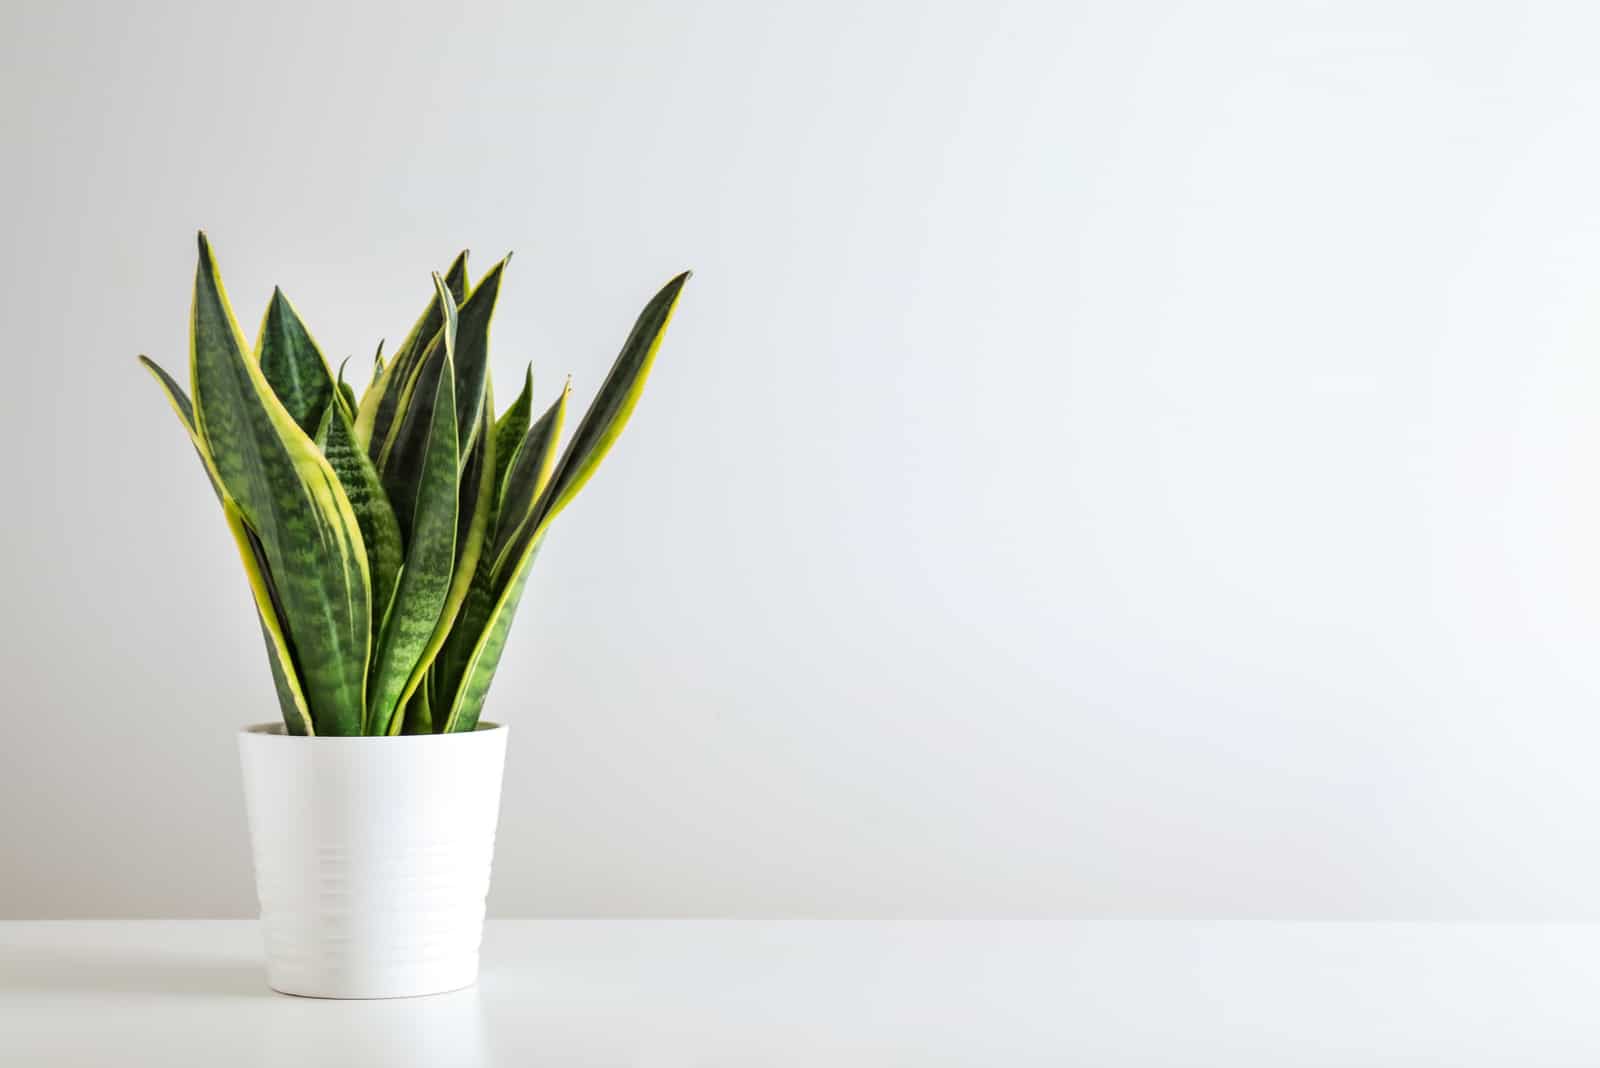
Snake plants are now classified as Dracaenas, but are still known by their former name, Sansevierias. No matter what you call them, I’m sure you’ll agree when I say that they are among the most beautiful indoor plants!
They really don’t need much; once you give them enough light, humidity, water, proper temperatures, and adequate soil, they’ll reward you with their glossy, amazingly patterned leaves.
Don’t forget to repot snake plant! It’s not a challenging task, and your plant will significantly benefit from it.
Just follow all the steps above, and I’m sure you won’t have any issues.
Good luck, and until next time!
Like this post? Share or pin it for later!