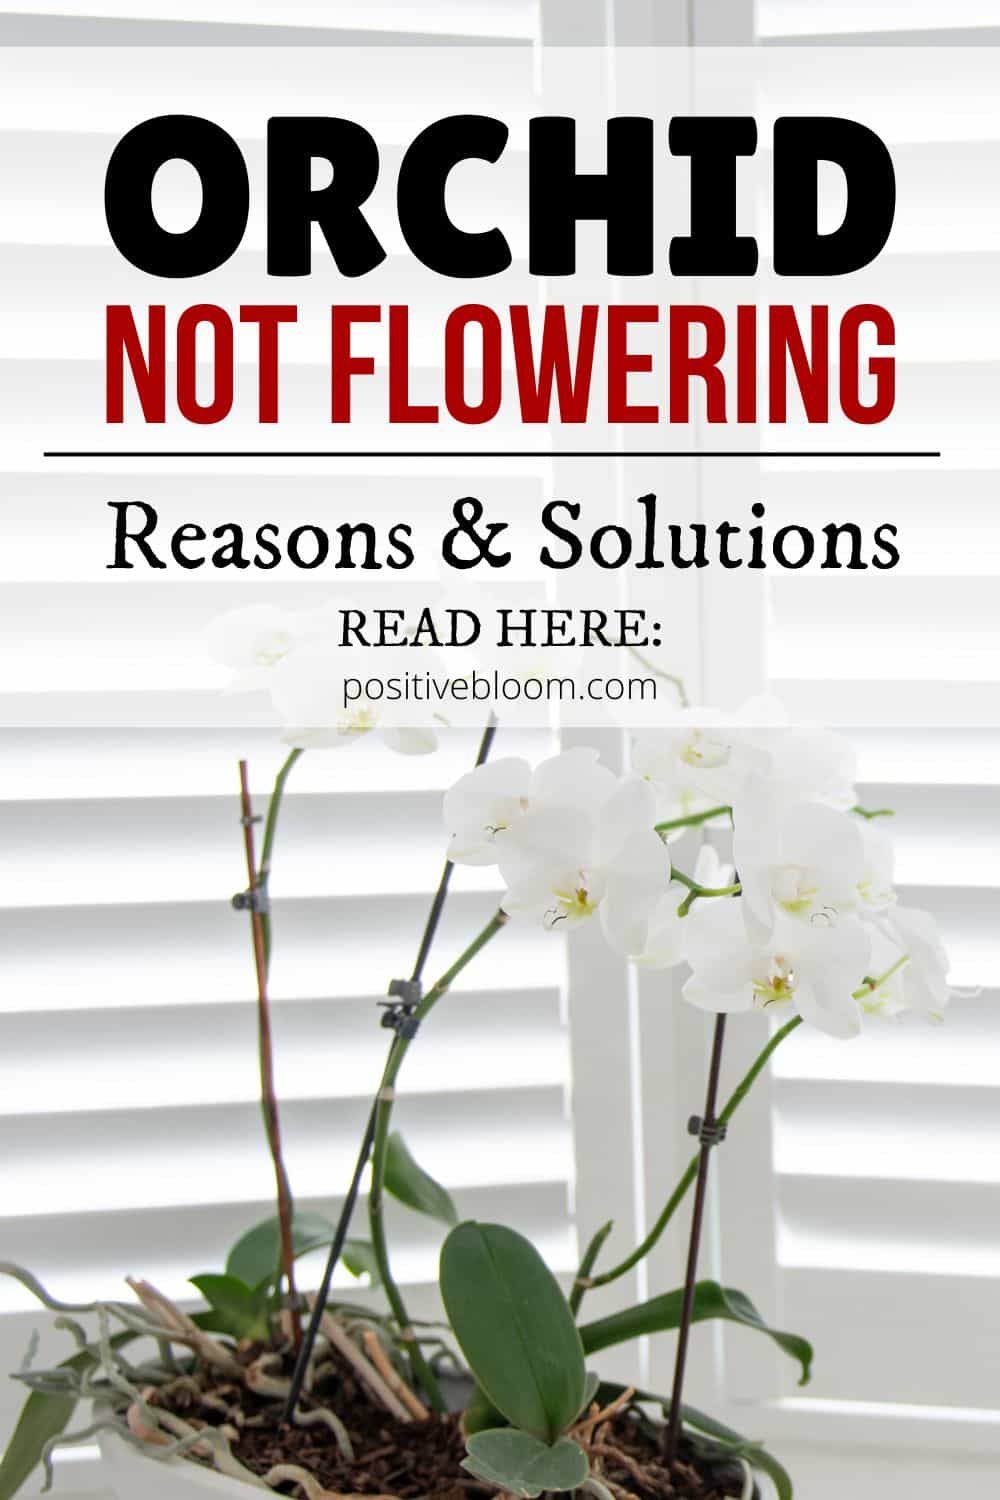
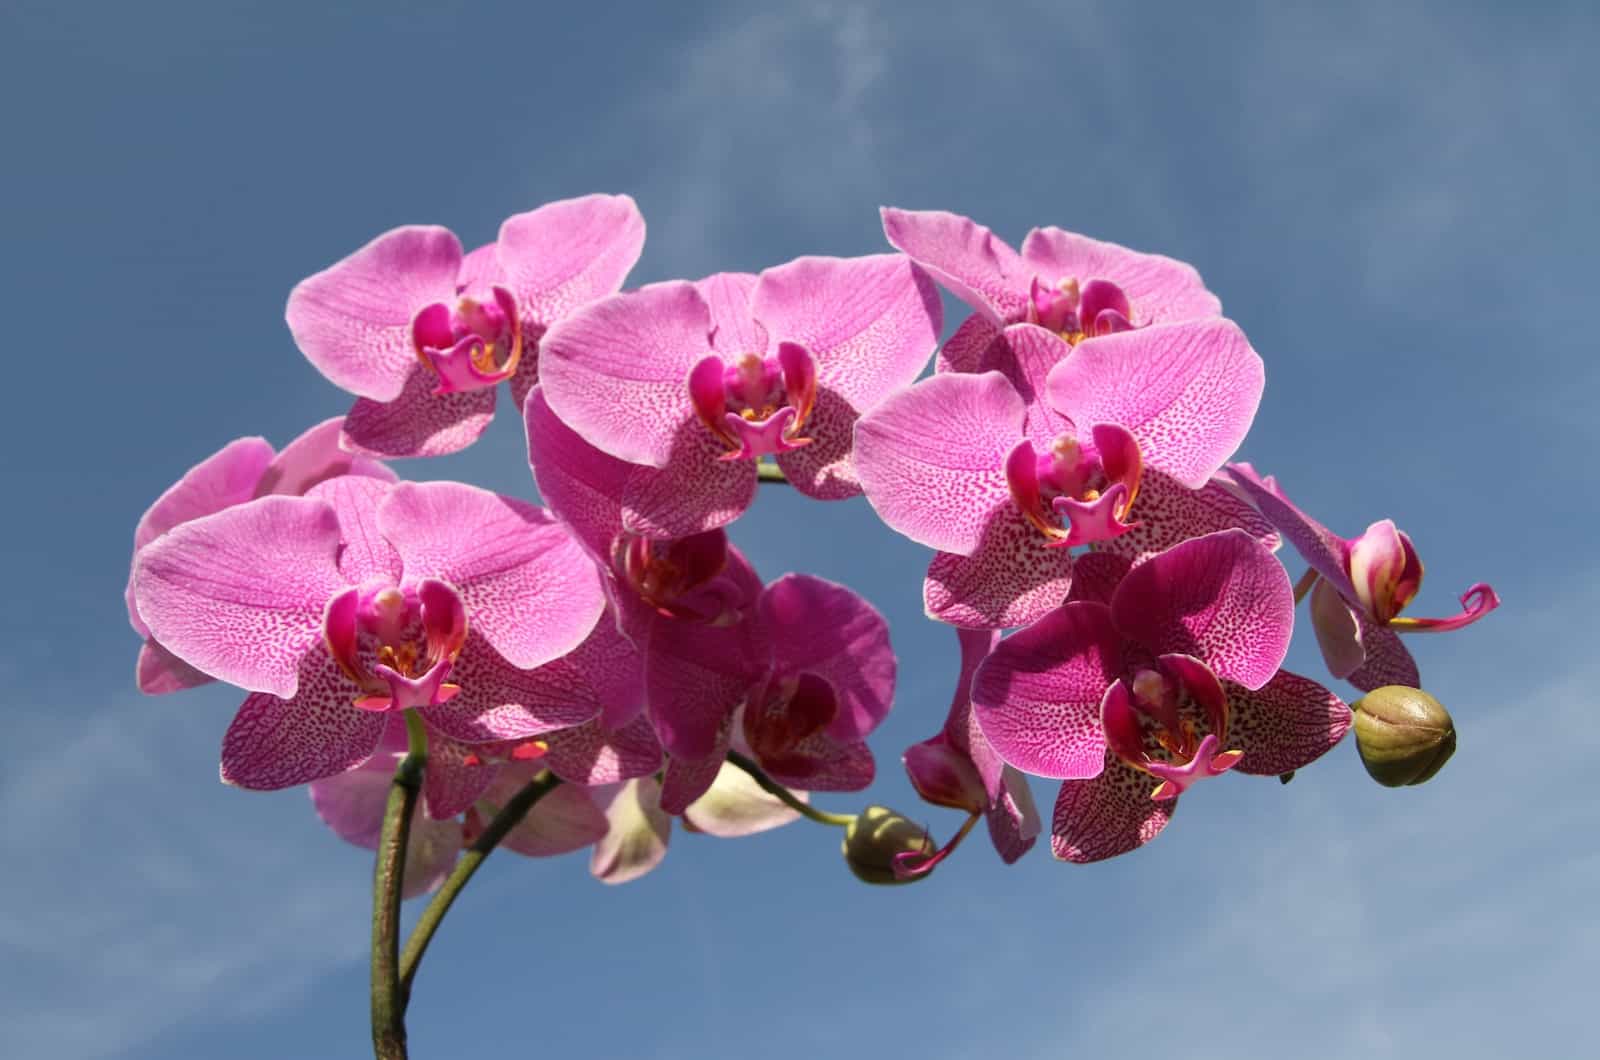
15 Common Reasons And Solutions For An Orchid Not Flowering
There are many different houseplants in the world, but orchids are definitely one of the prettier ones.
Therefore, it’s not surprising that we want to enjoy their blooms as much as we can.
However, it is common to have a Phalaenopsis orchid (or any other variety) completely stop blooming for no apparent reason.
Or, so we think!
There are many causes of an orchid not flowering, such as inadequate temperature, lighting, and watering, and we’ll discuss the most common in today’s article.
1. Inadequate Temperature
Orchids are used to specific temperatures during the day and night, just like all other plants.
These colorful creatures love mild temperatures all day long, but the nighttime temperatures should be slightly cooler.
For instance, most orchids thrive in day temperatures between 66-75°F, while night temperatures should be cooler by about 5°F at least.
This slight fluctuation in temperatures is essential for your orchids as they will continue to grow and develop healthily, but they will not bear flowers (which is the main reason we own this plant).
However, sudden and plunging temperature drops (and rises) can cause other problems that seriously harm your plant.
There are simple solutions to this problem, and you can read about them below!
How To Fix Inadequate Temperature
The simplest way we can think of is to adjust the thermostat to between 55-66°F.
The best thing you can do to stimulate flowering is to ensure that the nighttime temperatures are cooler by about 10°F, and after about a month (or even as little as 2 weeks), your plant will produce healthy flower stems.
Furthermore, sudden temperature swings can stress out your plant and lead it to a state of shock from which it can be difficult for it to recover, so you should avoid places that experience these fluctuations, such as drafty windows, AC vents, and near heaters.
2. Not Enough Light
Lack of sunlight is a serious issue for moth orchids, which are the most common commercial variety.
These plants are native to exotic Asian forests, where they bask in plenty of indirect light. However, if we grow it in a dark corner or a north-facing window, the blossoms will stop appearing.
Low light levels equal a low photosynthesis rate, which means that your plant will not have enough food to produce new flowers. Everything will be redirected towards the orchid’s roots so that it can survive this rough patch.
But don’t worry, your Cymbidium or Cattleya orchids can get better with a little bit of care.
How To Fix A Lack Of Light
If you live in a north-facing home, you can always invest in some artificial lights for plants to give your orchid everything it needs.
However, if you can find a well-lit windowsill, it will be fine to place your plant there, although not all types of orchids require the same amount of light.
For instance, Cymbidium or Cattleya orchids can handle a lot of light, so you can place them near bright windows. Another thing that can help you decide whether these plants require more sun exposure is the color of their leaves.
Cattleya and Cymbidium orchids will not bloom if their foliage is deep green, and light or yellowish green leaves mean that this plant has received enough light for flowering.
Moth orchids require less sunlight, so they will do great near an east-facing window.
Finally, you cannot just take your plant from darkness to light because the sudden change would be too much for your plant.
Instead, gradually introduce your orchid to light. Move it to a well-lit spot, leave it there for a couple of hours, and then take it back to its previous location. Repeat the process every day, prolonging the period you leave your plant in the sun.
After about a week, your Paphiopedilum orchid can be permanently moved to its new home.
3. Too Much Light
According to the American Orchid Society, west-facing windowsills are too hot for these plants as direct sunlight can burn them, which may lead to a non-flowering Oncidium.
However, you can also burn your plant with grow lights if you place them too close to your orchid.
Too much light can also mess with the plant’s natural cycle. There are fall-blooming varieties, such as Cattleya, which require shorter days to produce flowers, and spring-blooming orchids, such as Phalaenopsis, that need longer days.
There are certain things you can do to help your plants thrive, and you can learn more about them in the following paragraphs.
How To Fix An Excess Of Light
If you grow your orchid in the direct sun of a west-facing window, there are a couple of things you can do.
You can either put a curtain on the window so the sun rays are more filtered and less harsh or move your orchid to an east-facing windowsill where the morning sunlight won’t hurt the delicate leaves.
Remember, these plants require indirect sunlight for optimal growth!
Furthermore, if you grow orchids under artificial lighting, you should ensure that they are at least a foot away from them and that you give your orchid some time in the dark so that it can sleep.
The best way to do this is by setting a timer so that the grow lights can turn off after 12-16 hours (the amount most orchids need).
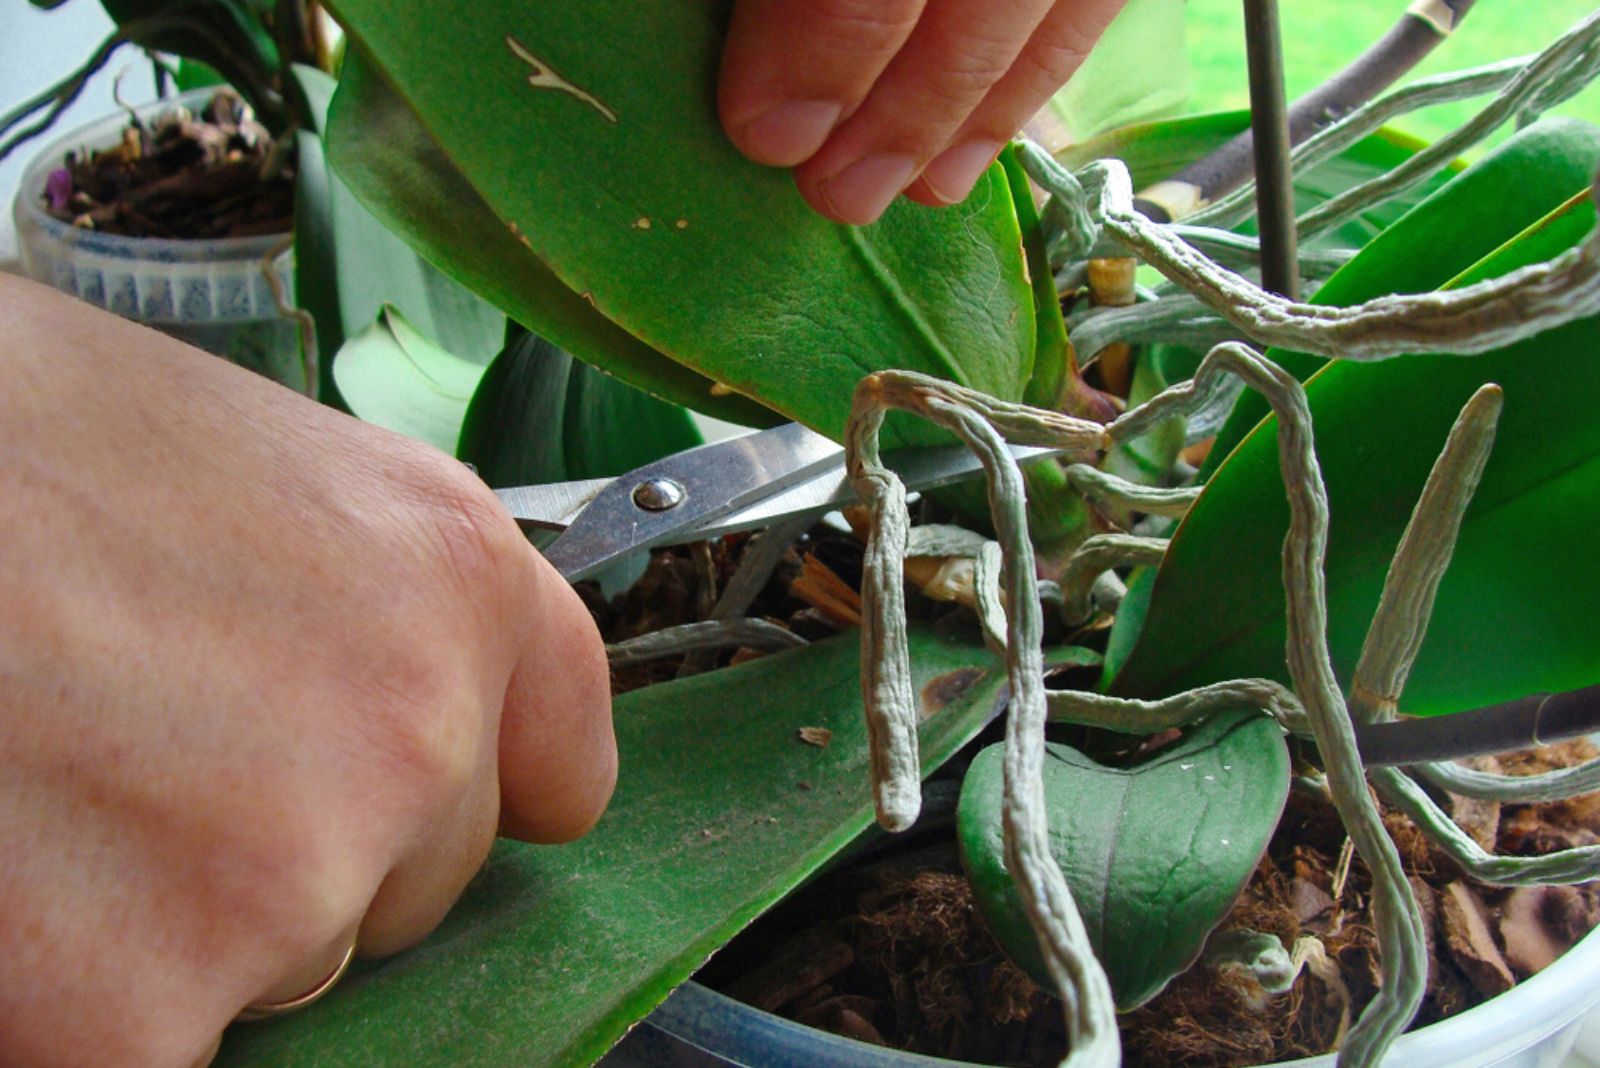
4. Spent Flower Spikes
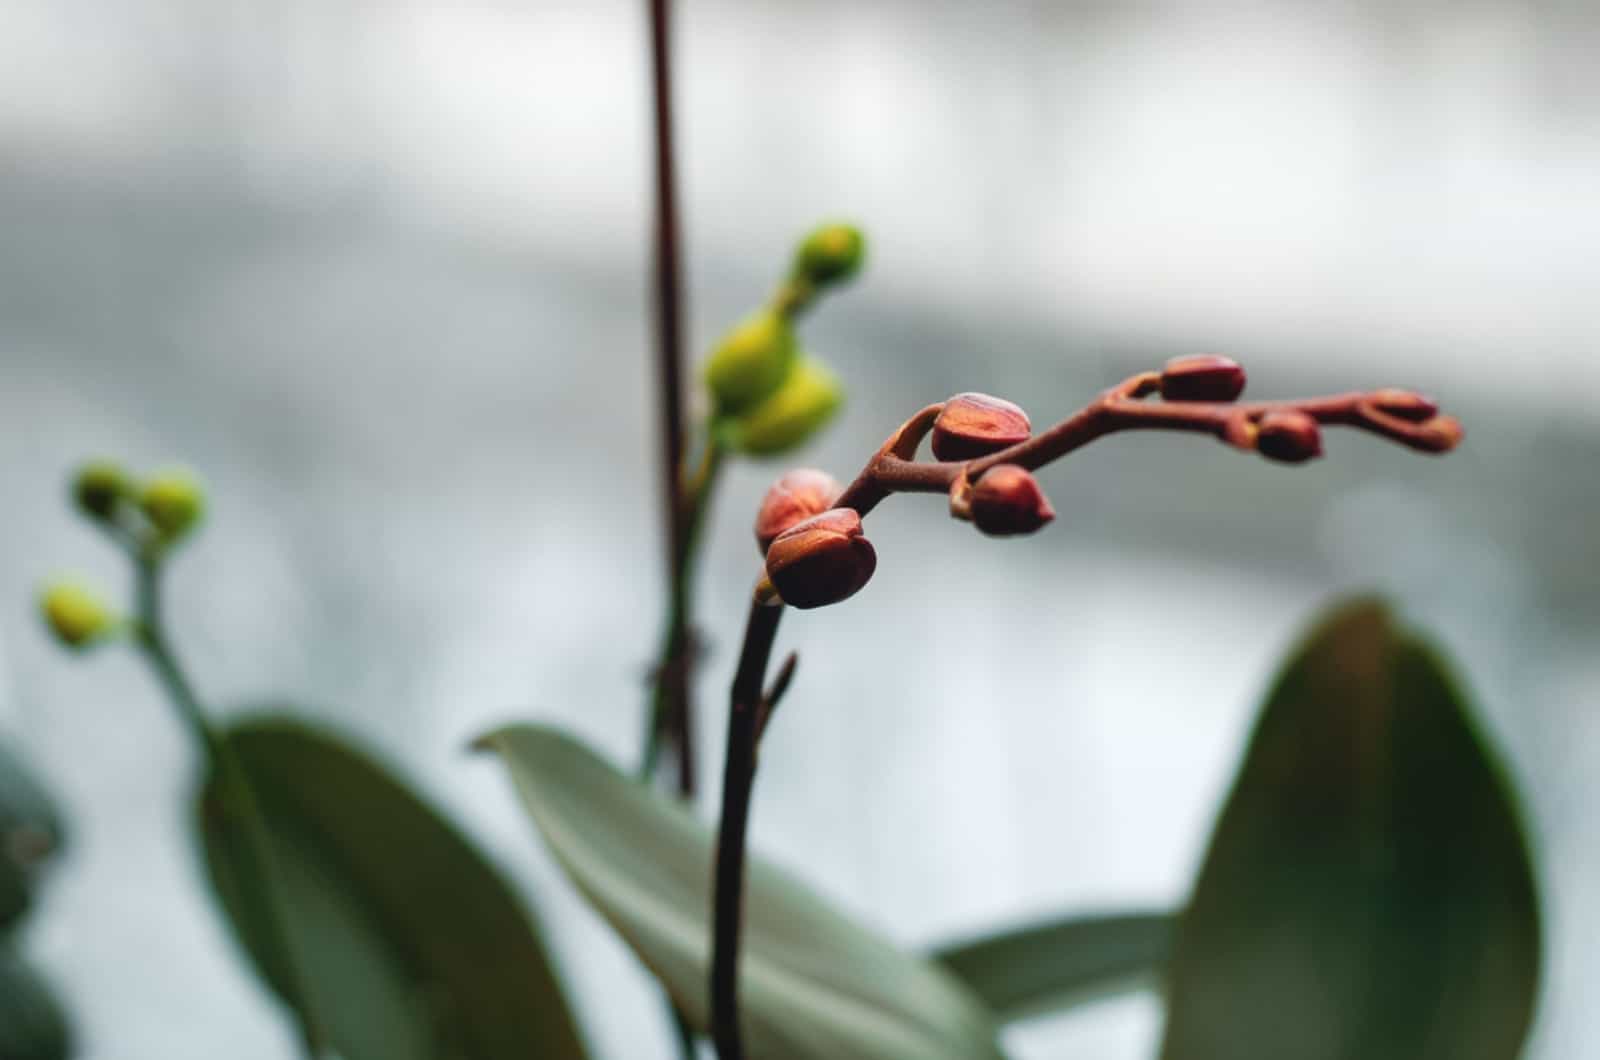
Orchids won’t usually produce new flower buds on spikes that have already flowered, and you might even notice the orchid stem turning yellow, which might be the result of a normal blooming cycle or a sign that something is not right with your plant.
In the latter case, you should examine your plant’s potting medium and test it for nutrients to see whether it needs more (or less) water, nutrients, etc.
Even though the process is entirely natural, there are still some things you should do, and we’ll discuss them below.
What To Do About Spent Flower Spikes
Whenever you notice a yellow or brown orchid stem, you should trim it back to the base of the plant, even if the flower spike is just spent.
Pruning these stems will ensure more room for the new flower spikes to emerge and bear more blossoms.
Sometimes, the spike of your orchid plant will remain green but still not produce flowers. In that case, you should prune it about 1/2 inch above the node to encourage blooming.
This method will prompt new growth that can produce blossoms.
These new shoots need cooler temperatures to grow, so don’t forget to lower the temperatures at night by about 10°F.
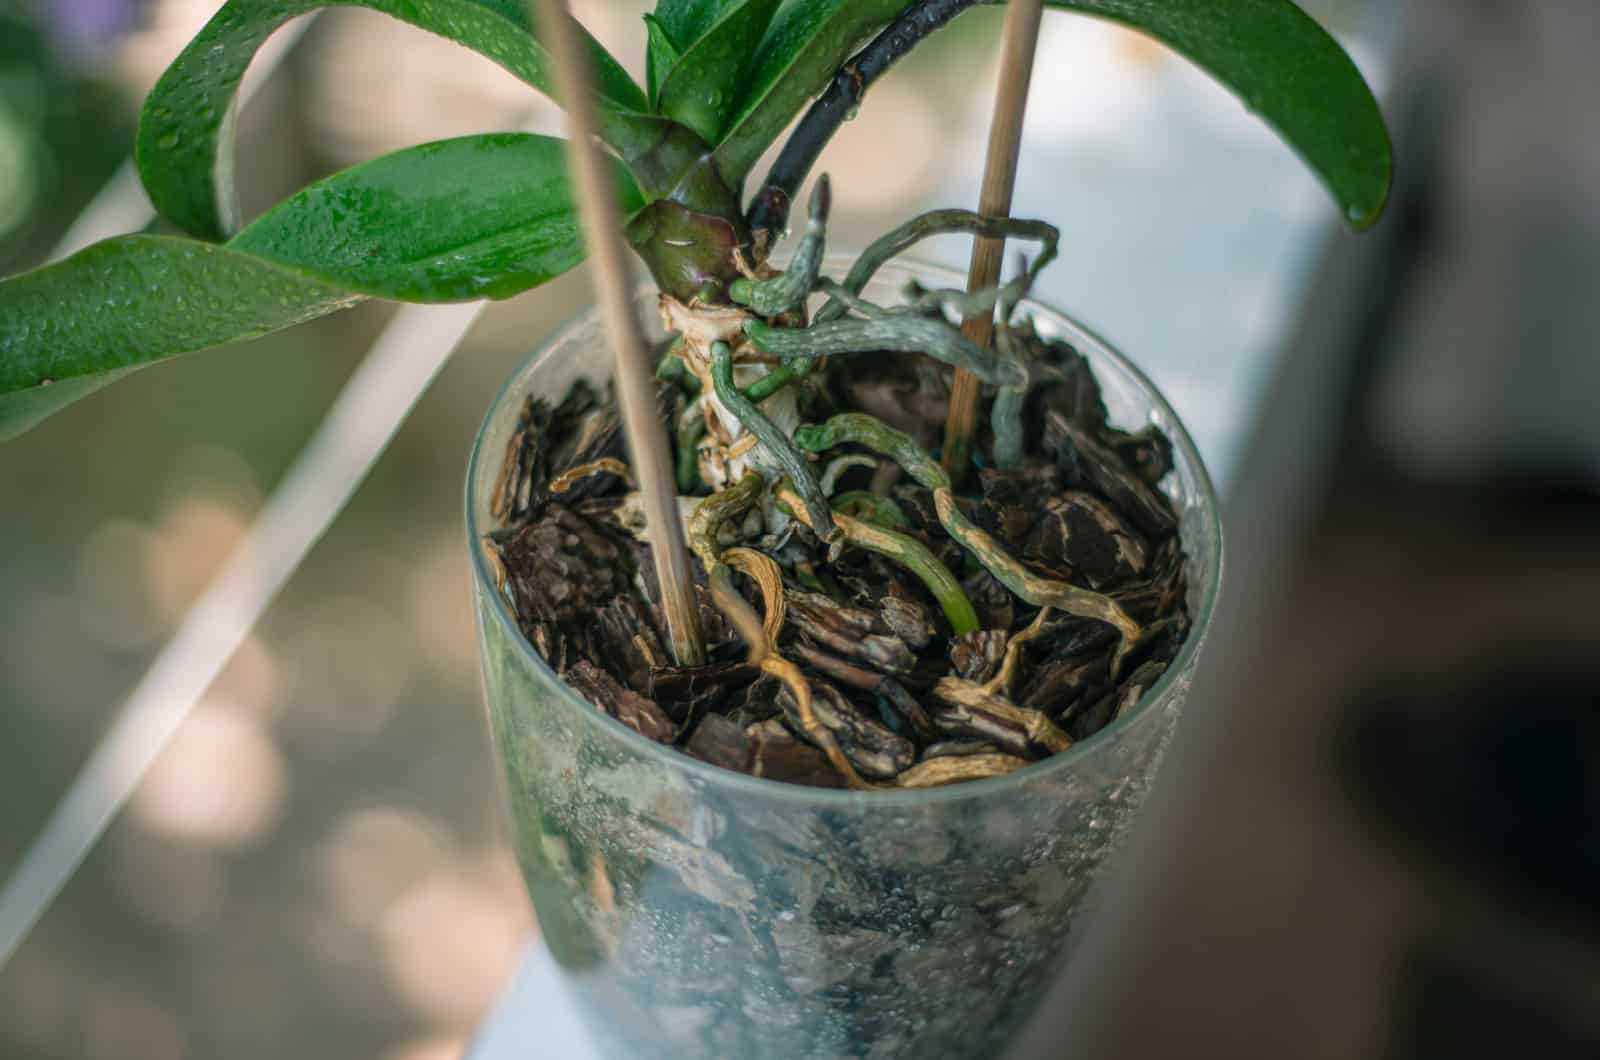
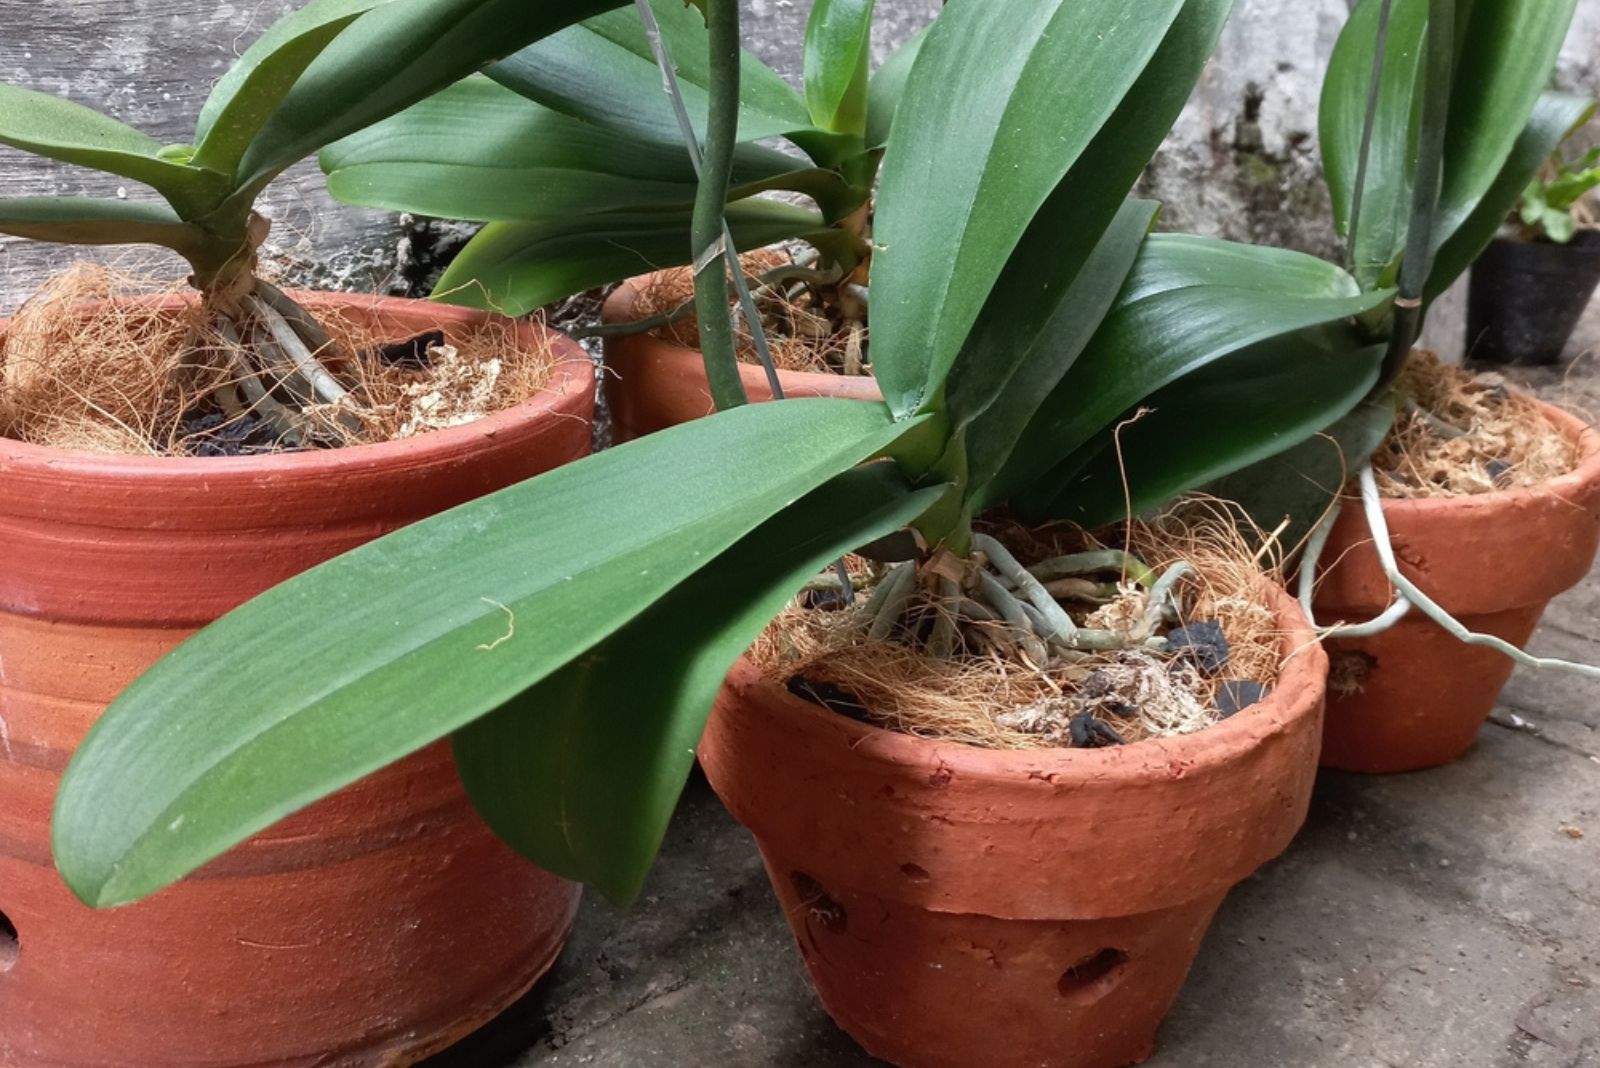
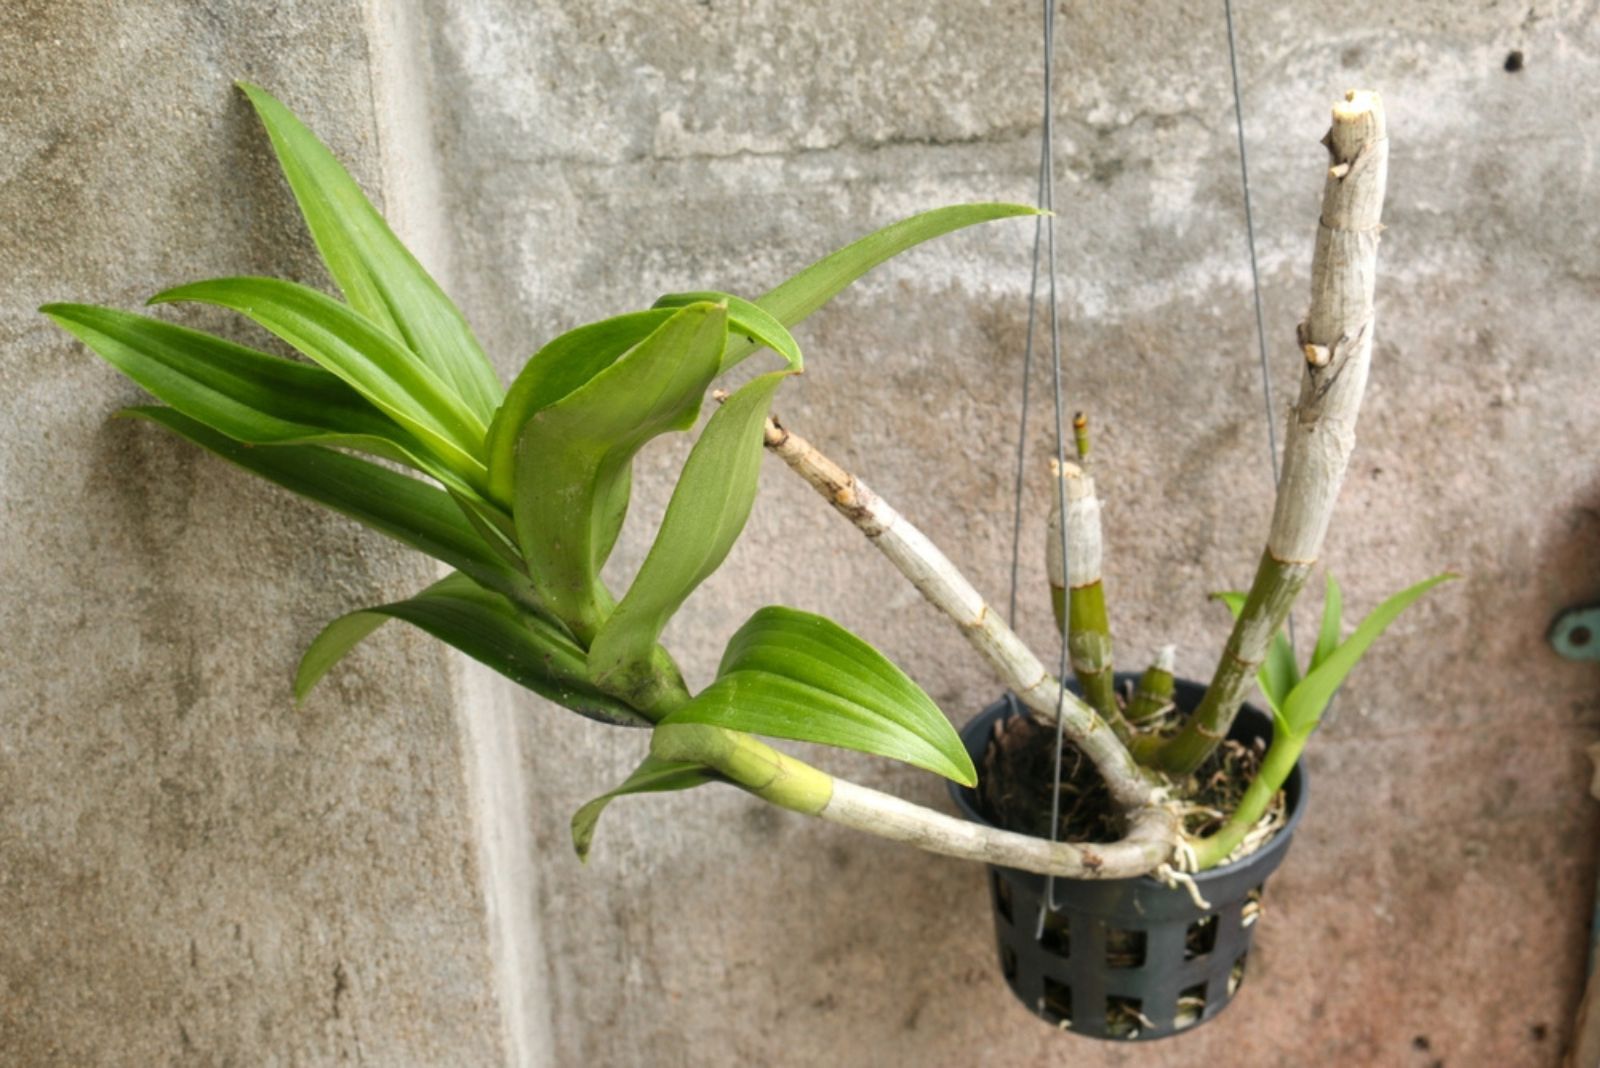
5. The Plant Needs Repotting
Orchid growers try to delay repotting their plants as much as possible, but it cannot be entirely avoided.
The potting mix breaks down over time and loses its structure, which provides air circulation and ensures proper oxygen levels to the orchid’s roots.
If you don’t repot your plant, it might suffocate. But then again, if you do move it to another container, your orchid may stop blooming for 6-12 months.
There is a solution to these repotting issues, and you can find it below!
How And When To Repot Orchids
You should only move this plant to a different container once you notice its roots coming out of the pot or if the plant’s root system has started to die out.
In the first case, you should choose a pot 1-2 sizes larger than the previous one, fill it with an orchid potting medium, and water it thoroughly.
However, if your orchid’s roots have started to rot, you should remove the dead roots, repot the plant into a pot with fresh potting mix, and water it deeply. In this case, you can use the same container, but you must clean it properly to remove all the debris and any possible fungi and bacteria.
Orchids also require excellent airflow, so you should choose a container with drainage holes in the bottom and ventilation holes on the side.
These will prevent waterlogging and help you nurture your plant back to health.
Here are some useful tips for repotting moth orchids:
6. Lack Of Fertilizer

A healthy orchid gets enough water, sufficient light, and nutrients, which all help it grow.
A lack of fertilizer may prevent blooming, turn the leaves yellow, cause droopiness, stunted growth, etc., so you shouldn’t skip this part of your plant’s care routine.
Orchid potting medium doesn’t contain soil (it is usually a mix of moss and bark), so it doesn’t contain nutrients on its own.
Therefore, you should feed these plants regularly to ensure enough minerals for proper growth.
How To Fertilize Orchids
The easiest way to feed these plants is by getting an orchid fertilizer and following the instructions on the package.
However, the American Orchid Society maintains that you can use any houseplant fertilizer, and triple 14 plant food is a good option.
You should always dilute these fertilizers so that they don’t burn your orchid’s roots.
Many gardeners recommend feeding these tropical plants once a week, but you should dilute the fertilizer to a quarter-strength so that you don’t burn them.
Finally, don’t forget to water your orchid before feeding it, as the fertilizer can be too strong and burn its root system.
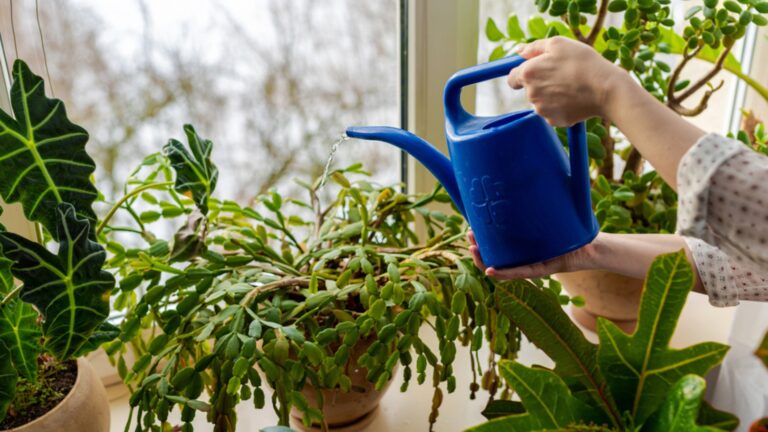
7. Underwatering
Most orchids, such as Phalaenopsis, Dendrobium, Vanda, and Cattleya, are tropical plants that are used to frequent rainfall.
Therefore, if you neglect your plant and aren’t careful about irrigation, it will suffer from drought stress.
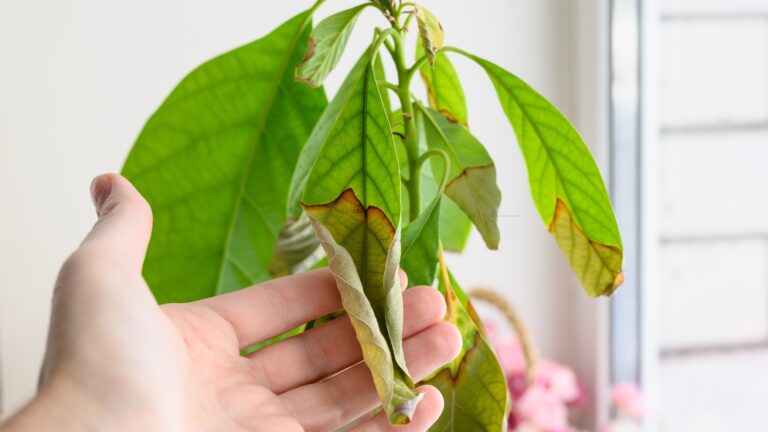
Underwatering can lead to many different issues, such as your plant not flowering, orchid leaves wrinkling and wilting, shrinking, and paper-like roots, etc.
Thankfully, the solution to this issue is relatively simple, and you can read about it in the following paragraphs.
How To Fix Underwatering
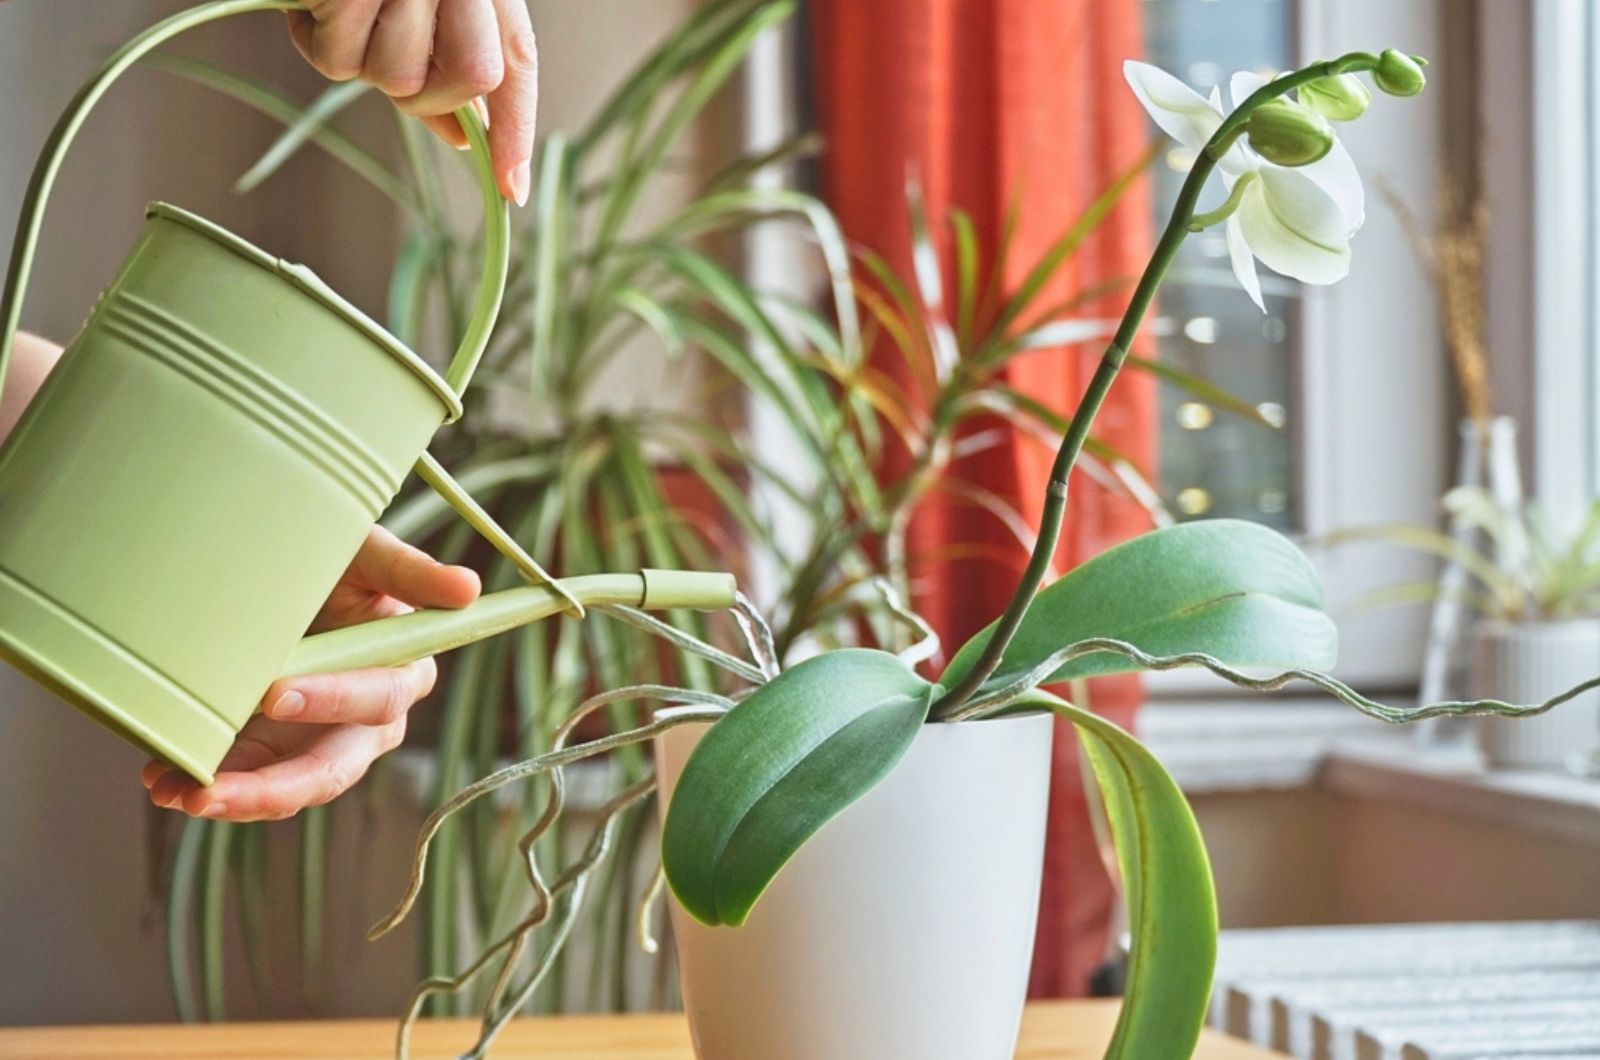
The critical part of irrigating orchids is choosing the best water, such as distilled or rainwater. You can use tap water if it’s not hard, and you allow it to sit in the air for 24 hours so the chlorine can evaporate.
Many people recommend using ice cubes instead of actual water, and even though it will prevent over and underwatering, it will likely damage your orchid’s roots with time.
Instead, use warm or lukewarm water and apply it to the base of the plant in order to prevent pooling.
The best time to irrigate this plant is once its roots become silvery-green, as that indicates that they are dry.
Here are some more tips for watering orchids in different mediums:
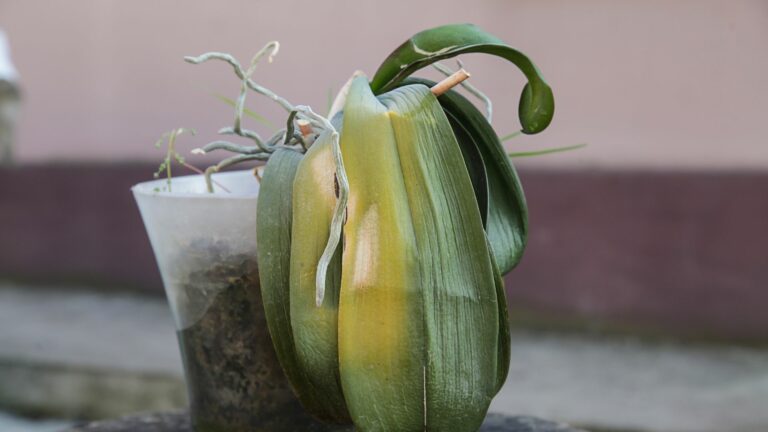
8. Overwatering And Root Rot

Overwatering is a serious issue because it may lead to root rot. Identifying and treating root rot symptoms is much more difficult than dealing with overwatering, so you should avoid irrigating your plant if its roots aren’t dry.
Rotting and dead roots cannot uptake water and nutrients, and the overall health of your orchid will suffer as a result.
Root rot will lead to yellowing of the leaves, stunted growth, non-flowering, wilting, soft and soggy roots, and even death if not caught in time.
Thankfully, there are some things you can do.
How To Fix Overwatering And Root Rot
If you notice that your plant is overwatered and the growing substrate is constantly wet, you should stop irrigating it until it dries out.
Another option is repotting the plant into fresh medium and watering it only when the roots are silvery-green, but not when they’re bright green and plump.
However, if the watering issue has already led to root rot, there are a couple of things you can do.
When you notice discolored roots, you should take your orchid out of the pot and cut away any diseased and mushy roots you find, as they cannot absorb water and nutrients.
You can even spray them with a fungicide to ensure that all the fungi spores are dead and gone.
Finally, repot the orchid into a fresh potting medium. Your plant will soon start producing new leaves and enter its blooming cycle (if it’s the right season).
9. Low Humidity
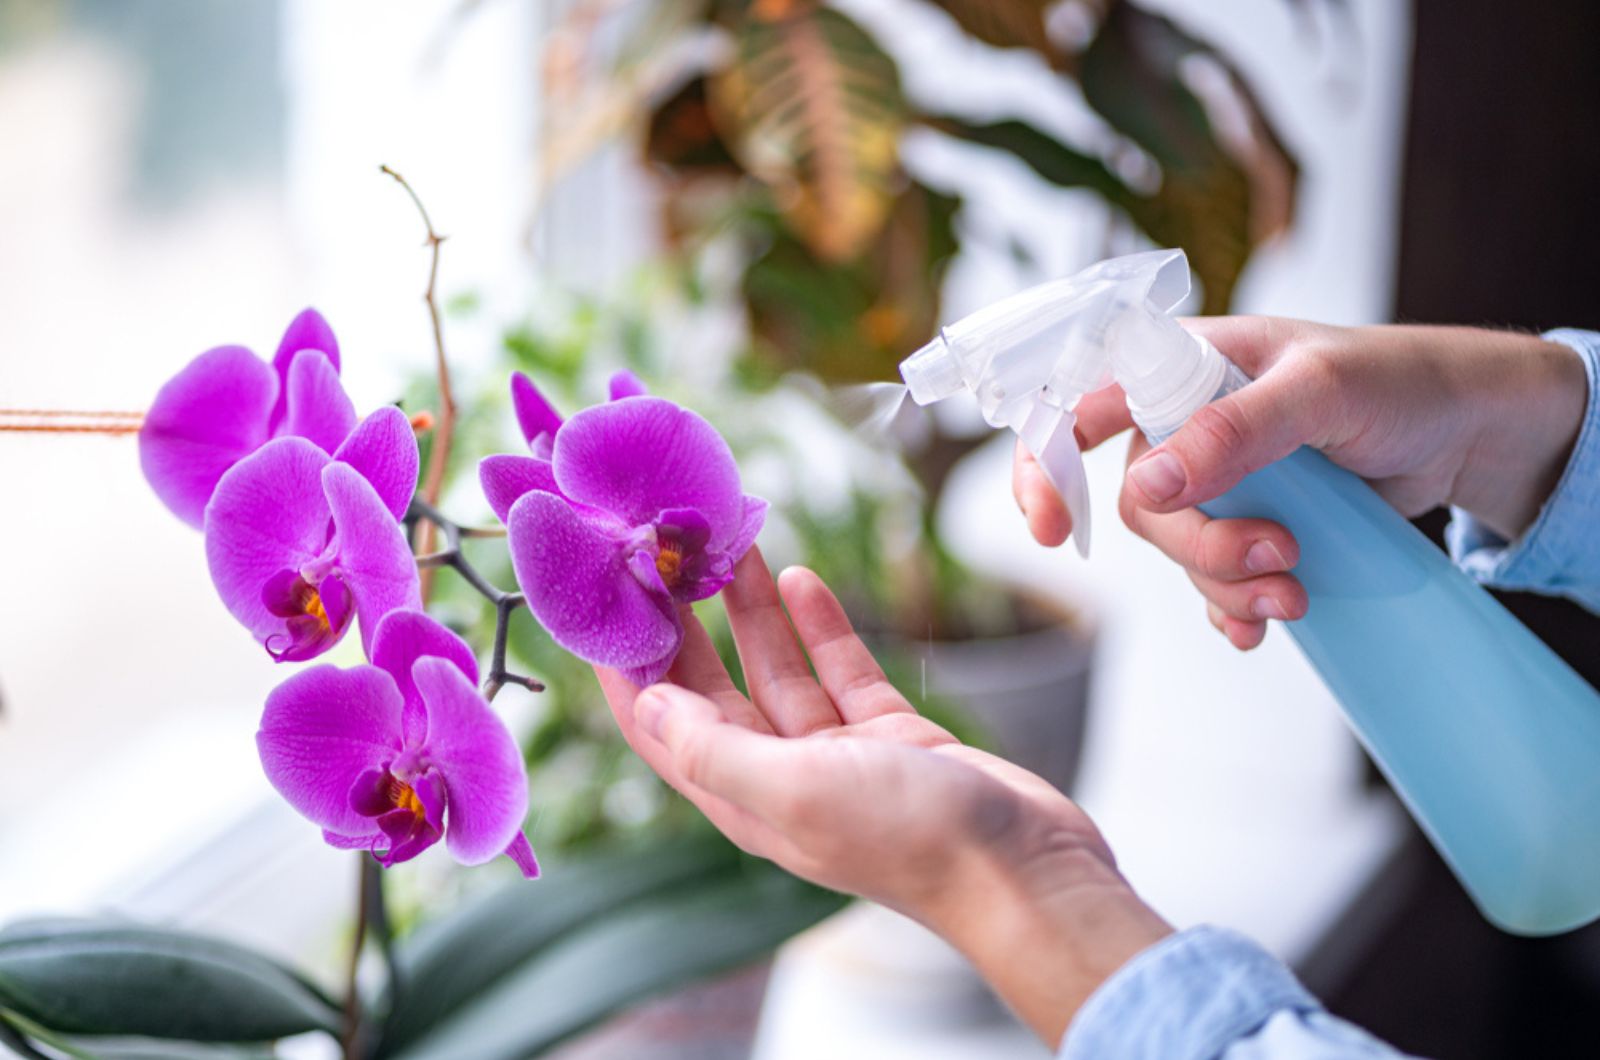
Most orchids are tropical plants, which means they require higher humidity levels (around 40-70%). Unfortunately, most households are much less humid than that, so we have to find ways to increase air moisture levels.
If humidity remains low, the roots will shrivel, the flowers will drop, and they won’t grow back again.
Thankfully, there are many great ways of increasing air moisture, and we’ll discuss a couple of them in the following paragraphs.
How To Increase Humidity
The best way to provide your orchid with the moisture it needs is by investing in a humidifier that will maintain the proper humidity levels.
However, this isn’t the only way, and if you don’t want to spend money, can’t wait for it to arrive, or don’t feel like going to the store to get one, you can always mist your orchids a couple of times a week.
However, you should ensure that the leaves are completely dry between spraying them because wet and warm conditions are perfect for mildew.
Furthermore, growing orchids in more humid parts of your home, such as bathrooms and kitchens, is also an option, but don’t forget to provide sufficient light too.
Humidity trays aren’t the best option, especially if you live in an arid region. This technique can only raise the humidity by 7% (during the hottest season), which is not enough for this plant.
10. Lack Of Rest Period
Another thing that prevents your orchid reblooming is a lack of rest period or dormancy during winter.
Many orchids experience temperature cycles in their native habitats and go dormant when the temperatures are cold, only to wake up after they rise again in spring.
If the light and temperature conditions are the same in winter as throughout the year, your orchid might not be able to produce flowers when the time comes.
There isn’t a solution to this issue because it’s not an issue, to begin with; it’s a natural way of life that we have to respect in order to get a flowering orchid.
However, there are some things you’d need to adjust in order to provide proper care to your plant during dormancy, and we’ll introduce them in the paragraphs below.
How To Care For Orchids During Their Rest Period
The key thing is to irrigate your dormant orchids less frequently because they don’t need that much. They are not growing new leaves or producing new flower spikes, so they don’t require plenty of water.
Some growers completely stop watering their orchids and turn to misting instead.
You should also stop feeding your orchids during dormancy because that will only lead to fertilizer burns as there’s not enough moisture in the medium to prevent it.
Finally, you should lower the temperatures to provide the best growing conditions during dormancy (and to induce).
Some varieties have a rather short period, such as Phalaenopsis, but that doesn’t mean you should skip it.
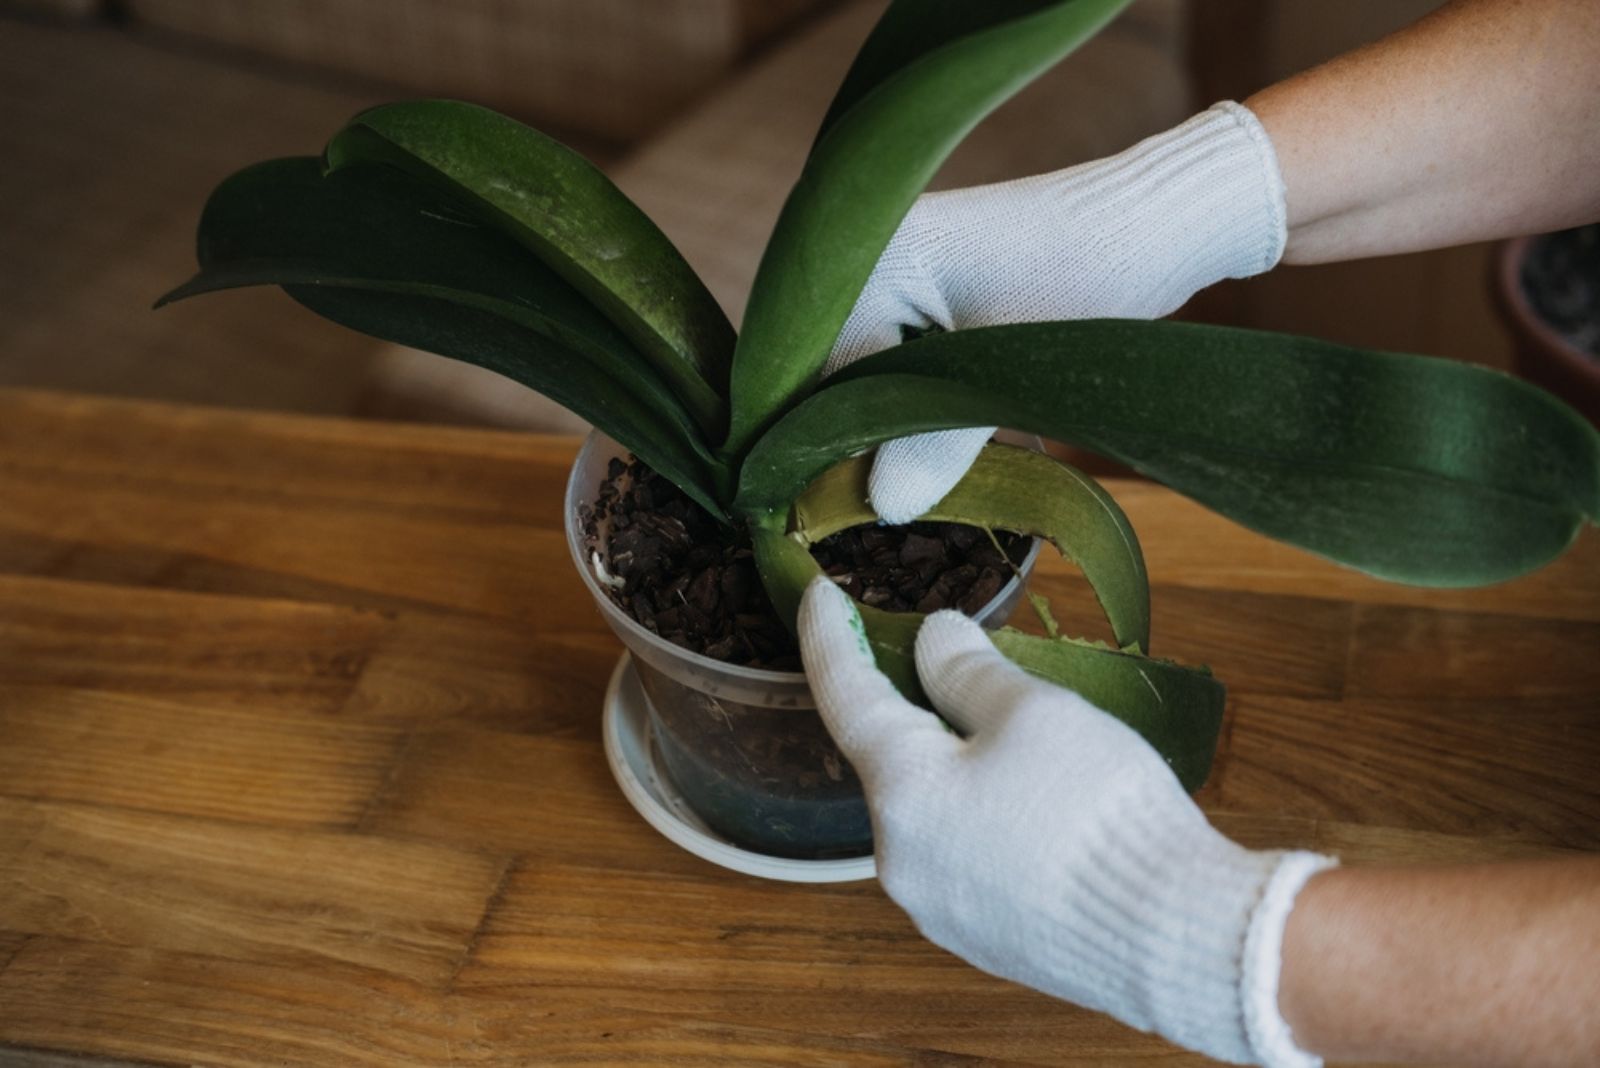
11. Improper Pruning
Pruning your orchid the wrong way can really mess with its flowering cycle. Orchids are picky about when and how they’re pruned, and if you cut too much or at the wrong time, it can stop them from blooming.
Over-pruning can take away the healthy parts the plant needs to grow new flower spikes. If you prune during the wrong season or cut back too aggressively, you’re basically telling the orchid to stop flowering and focus on recovering instead.
How To Properly Prune Your Orchid
First, always wait until after the flowers fall off. This gives your orchid time to rest and redirect its energy into healthy growth.
Focus on trimming back the spent flower stalks just above a node, not too far down. Keep your pruning tools clean and sharp to avoid introducing any issues.
And remember, when it comes to orchids, less is more – avoid cutting too much at once, and always give it time to grow back strong before trying again.
12. Pests Or Disease
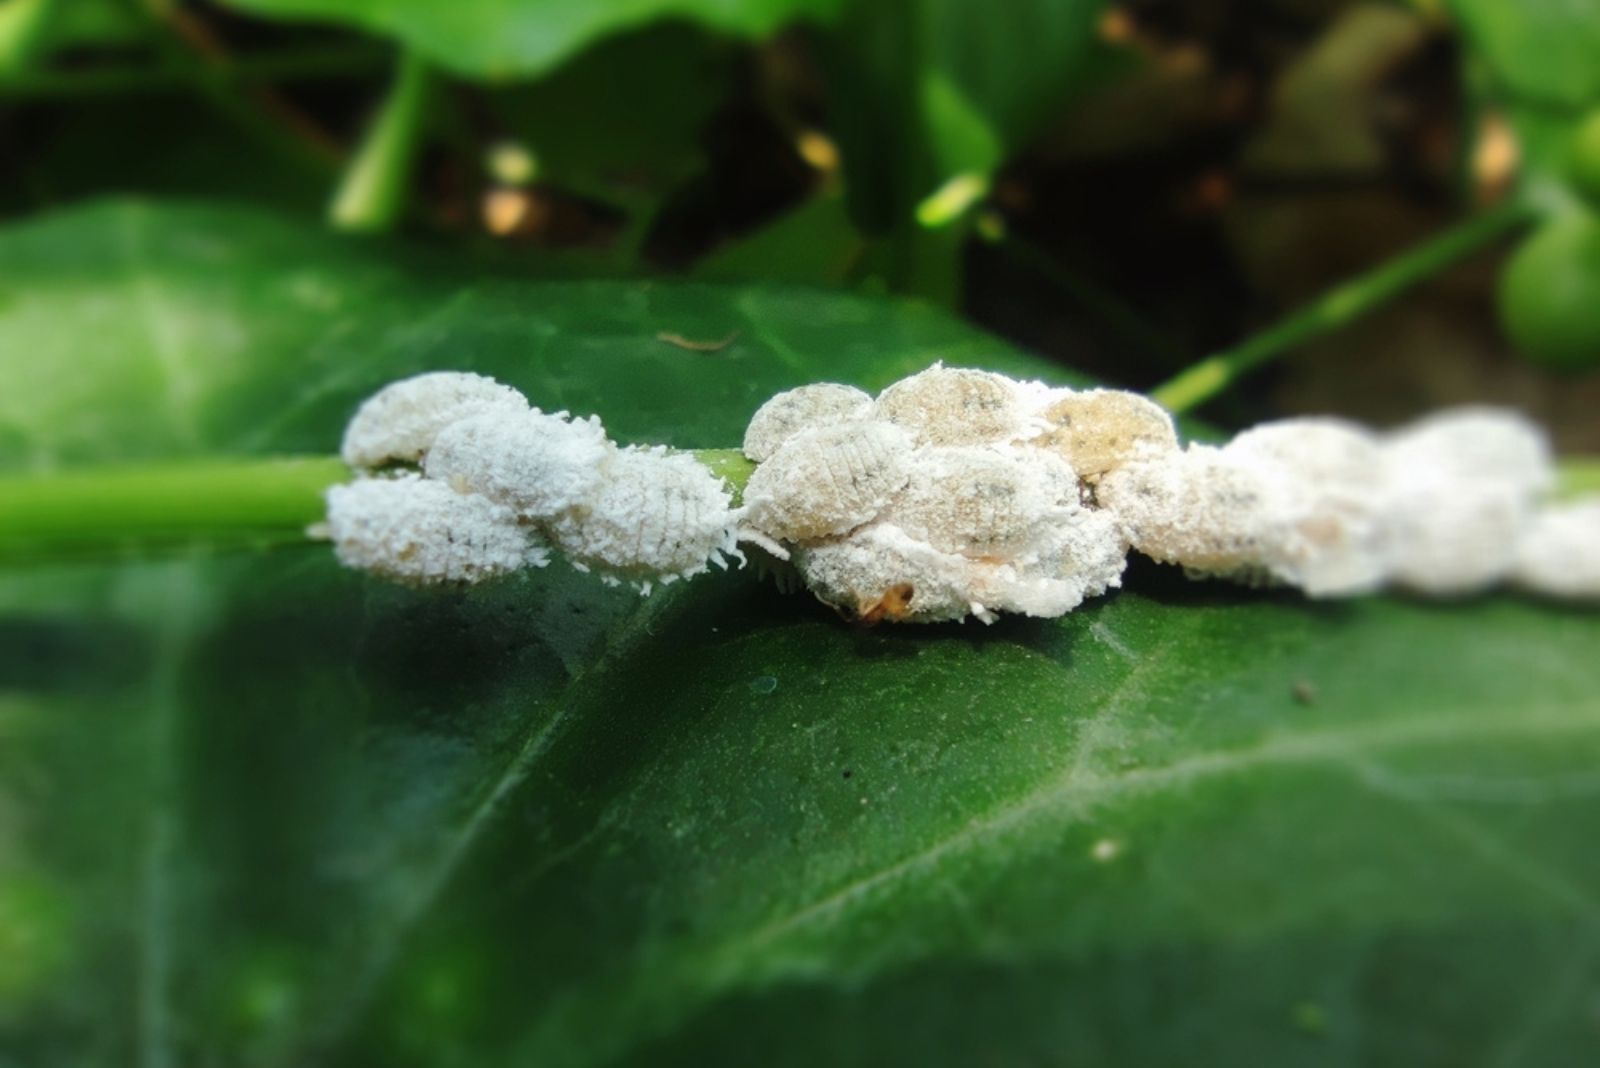
Pests and diseases can quietly wreak havoc on your orchid’s ability to flower. Insects like aphids, scale, and mealybugs feed on your plant, draining its energy and causing damage that prevents proper blooming.
Fungal infections and root rot are equally harmful, stealing the nutrients your orchid needs to thrive. These issues often go unnoticed until the damage is done, leaving the plant weakened and unable to produce flowers.
Keeping an eye out for early signs is crucial to protecting your orchid and ensuring it continues to bloom. If you suspect pests or disease are the problem, don’t panic – you can fix it.
How To Treat Pests And Diseases On Orchids
Start by isolating the affected orchid to prevent the spread of pests or disease.
For pests, use an insecticidal soap or a natural solution like neem oil to gently remove the bugs without harming your plant. For diseases, make sure to remove any infected parts of the orchid and ensure it’s not sitting in overly damp conditions.
13. Wrong Pot Size
Choosing the wrong pot for your orchid can significantly affect its ability to flower. If the pot is too large, the orchid’s roots can become waterlogged, leading to root rot, which limits its growth and blooming potential.
On the other hand, a pot that’s too small will restrict root growth, causing the plant to become stressed and unable to access the nutrients it needs to flower.
How To Choose The Right Pot For Your Orchid
When selecting a pot for your orchid, go for something that allows the roots to grow comfortably but isn’t too spacious.
A pot that’s about one size larger than the current one is ideal, giving the roots enough space to expand without becoming waterlogged. Ensure the new pot has proper drainage, as orchids need to avoid sitting in water.
14. Stress From Relocation
Orchids don’t take well to being moved around too often. They like their environment just so, and when you move them, it throws everything off.
As a result, you might notice it’s not blooming as expected or even showing signs of stress, like drooping leaves. It’s all part of the orchid’s way of telling you it’s still figuring out its new home.
How To Support Your Orchid During A Move
After moving your orchid, give it time to settle into its new place. Don’t move it again unless absolutely necessary. Keep it in a spot with consistent temperature and indirect light, and make sure its watering schedule stays regular.
During this adjustment period, avoid overwatering or stressing the plant further. With a little time and patience, your orchid will start to feel more comfortable and will be back to its blooming self.
15. Genetic Factors
Sometimes, even the best care can’t force an orchid to bloom – it may just be in its genetic makeup! Different orchid species have different blooming patterns, and some are naturally more prolific bloomers than others.
While most orchids bloom at least once a year, others might need a very specific set of conditions or may bloom less frequently. Understanding your orchid’s genetic traits will help you manage expectations and care for the plant in the way it needs.
If your orchid isn’t blooming, it might simply be due to its genetic traits. The best approach is to ensure the environment is ideal for your orchid’s needs.
Providing the right amount of light, temperature, and water will help your orchid bloom when it’s ready. While you can’t change its genetic predisposition, being patient and informed about its blooming cycle can make all the difference in your orchid’s health and success!
How To Get An Orchid To Rebloom – Summary
An indoor garden design can be transformed by adding a couple of orchids to your windowsills.
However, flowerless orchids are not special, so we want to know how to get them to bloom again.
We examined these things in the sections below, but we’ll summarize them in the form of tips so that you have everything you need in one place:
Tip 1. Reduce the temperatures at night by about 10°F.
Tip 2. Expose the orchid to plenty of indirect sunlight.
Tip 3. Water the plant only when the roots are silver-green.
Tip 4. Fertilize the orchid once a week with a houseplant fertilizer diluted to quarter-strength, or use an orchid fertilizer and follow the instructions on the packaging.
Tip 5. Increase the relative humidity to 40-70%.
Tip 6. Repot the plant once the roots start coming out of the pot’s drainage holes or if you notice that some of the roots are dead.
Tip 7. Prune the spent and yellow or brown flower spikes.
Tip 8. Don’t skip out on the plant’s resting period.
How Often Do Orchids Bloom?
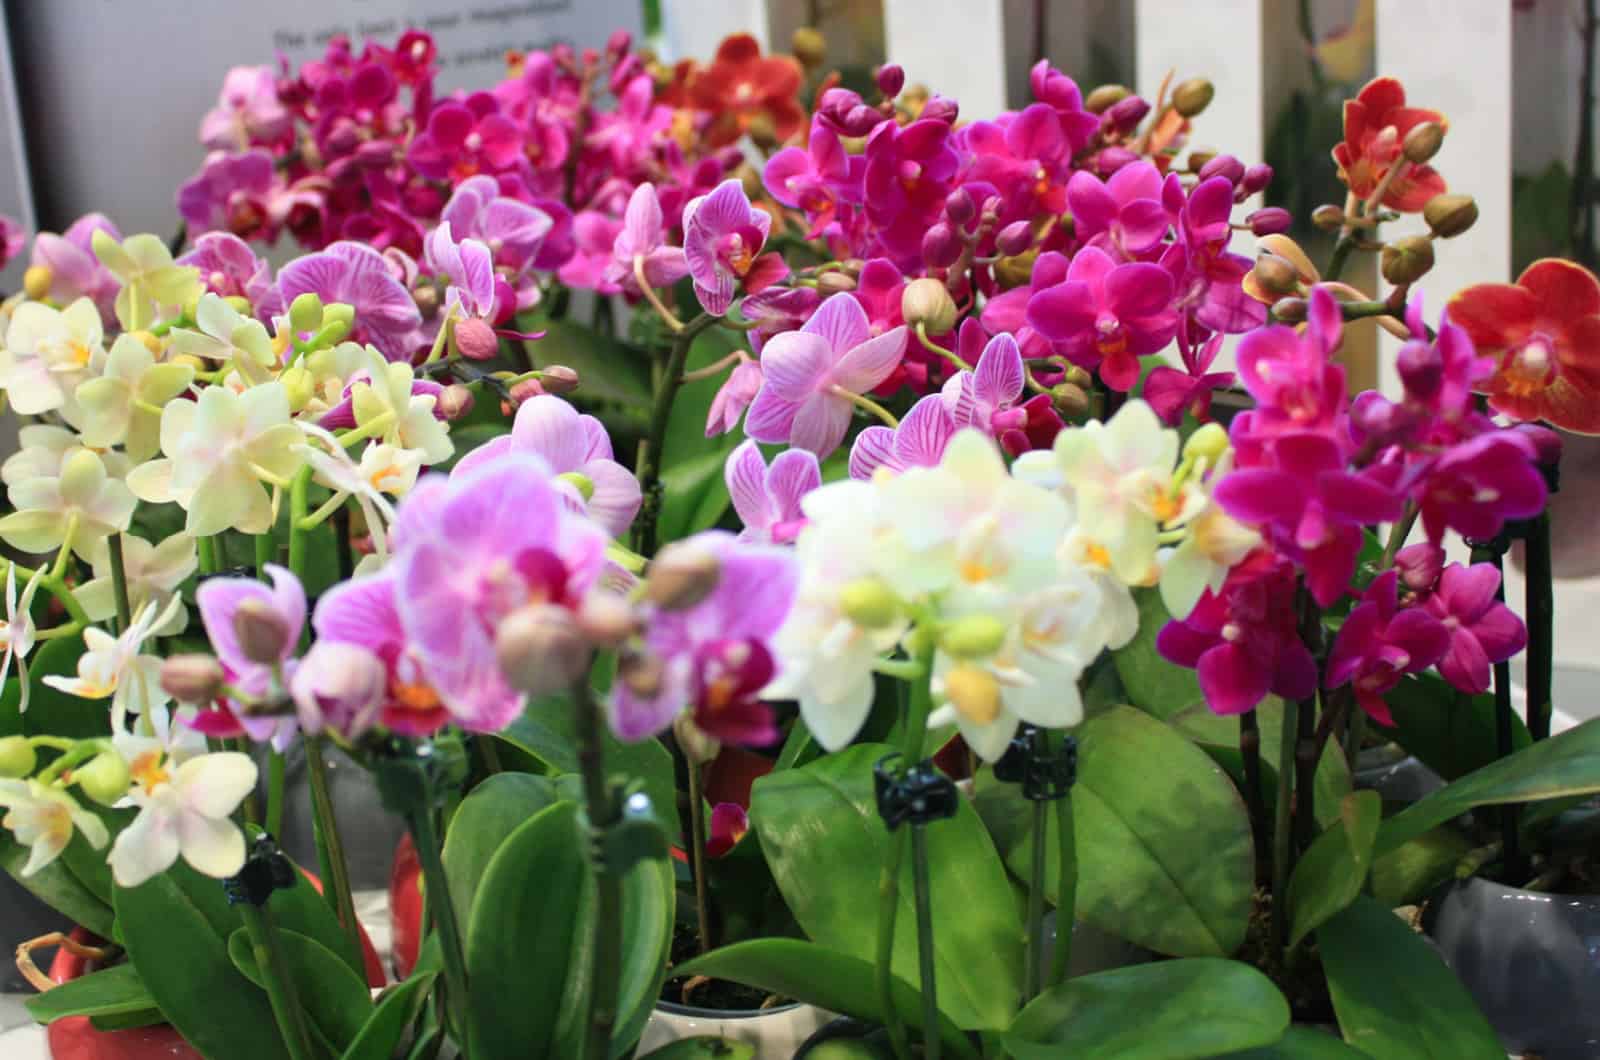
Orchids are famous plants and are even on a list of popular Greek flowers. They even have their own myth (which isn’t as pretty or alluring as the mere flowering).
One of the things that we all love and admire about these flowers (including the Greeks) is the fact that they come in breathtaking colors and blossoms.
Orchids usually bloom once a year, but there are varieties that can produce flowers more than once (we’ll discuss those in a separate section).
Phalaenopsis orchids tend to flower once per year, but they can stay in bloom for up to four months, so we’ll have plenty of time to enjoy their spectacular appearance.
Cattleya and Cymbidium orchids also bloom once a year, but their flowers last less than those of the Phalaenopsis. Cattleya stays in bloom for about 1-3 weeks, while the Cymbidium flowers last for about 4-12 weeks.
Which Orchids Can Bloom Again The Same Year?
Vanda and Dendrobium orchids can flower up to three times a year, but you will have to ensure that the growing conditions are perfect.
Vanda orchids, for instance, require more intense light than Phalaenopsis orchids, while some Dendrobium cultivars may bloom 4-5 times a year if you increase the potassium levels, reduce the temperatures down to 55°F in winter, and reduce watering by 20-30%.
Oncidium orchids are fascinating as they don’t have a classic blooming season; they flower whenever their stems mature, which can be 1-2 times a year.
More Orchid Care Info
Even though we covered most of the things your orchids will need for healthy growth, we’ve still got some orchid care tips up our sleeves.
For instance, orchids are among the best plants to grow in LECA balls, and you can easily forget about watering issues and root rot. All you have to do is put some LECA clay pebbles in the pot, add the plant, backfill it with LECA, and pour water over it.
This medium will provide sufficient aeration, and all you’ve got to do is replenish water whenever it gets critically low and apply some hydroponics fertilizer to give your orchid all the nutrients it needs for healthy growth.
If you don’t want to grow this plant in water, you can use peat or bark-based mixes.
Finally, pruning orchids is not something you have to do regularly, but it can entice flowering. Wait until the plant is healthy and then look for small eyes on stems; cut the plant half an inch above them as that’s where the new spike will grow.
If the orchid roots have started to show after pruning, you should repot it into a bigger container (1-2 sizes larger than the previous one to prevent waterlogging).
After that, care for your plant the usual way; water it whenever the medium is dry, place it near an east or south-facing window, and feed it.
What Is The Best Orchid Flower For Indoors?
There are many beautiful varieties that are perfect for all sorts of indoor settings, but the Phalaenopsis orchid definitely takes the winning spot.
It does bloom once a year, but it stays like that for what seems like months on end.
The Moth orchid is also super easy to grow and can be grown together with your African violets.
Another variety that is almost as easy to grow and grateful as Phalaenopsis is Paphiopedilum, and you can enjoy its flowers for several months.
It also blooms once a year, so if you want an orchid that will shower you with blossoms several times a year, you should choose Vanda or Dendrobium.
To Wrap Up
This article brought some of the most common reasons and solutions for an orchid not flowering. You can now address this issue as soon as possible and get your plant to rebloom.
We also included some helpful tips and tricks to get your orchid to bloom again and some common facts about this plant’s flowers, including how long different orchid varieties blossom and how long their blooms last.
Finally, we discussed the best orchids for indoors, though it really depends on your preferences, whether you want a plant that stays in bloom for months or one that flowers more often but whose blossoms last less.
Good luck with reblooming, and until next time!
Like this post? Share or pin it for later!