Repot These North Carolina Houseplants Before Bringing Them Inside
A cold snap is coming, probably late October across much of North Carolina.
Every plant that spent summer on your patio needs to come in before it arrives.
Somewhere in that group, one has run out of room. Roots have circled the pot so many times there’s barely soil left, and water now runs straight through without soaking anything.
That plant needs a new home before it goes inside.
Here’s the catch. Repotting adds stress right when a plant is already facing weaker light and much drier air, so this is not a job for the whole collection.
A specific handful earn it. The rest do better left alone until spring.
The difference comes down to how fast each plant grows and how much it minds being disturbed.
Some fill a pot in a single summer. A few practically demand more space by October.
Curious which of yours actually needs the upgrade?
1. Monstera
Monstera pushes serious growth through a warm North Carolina summer.
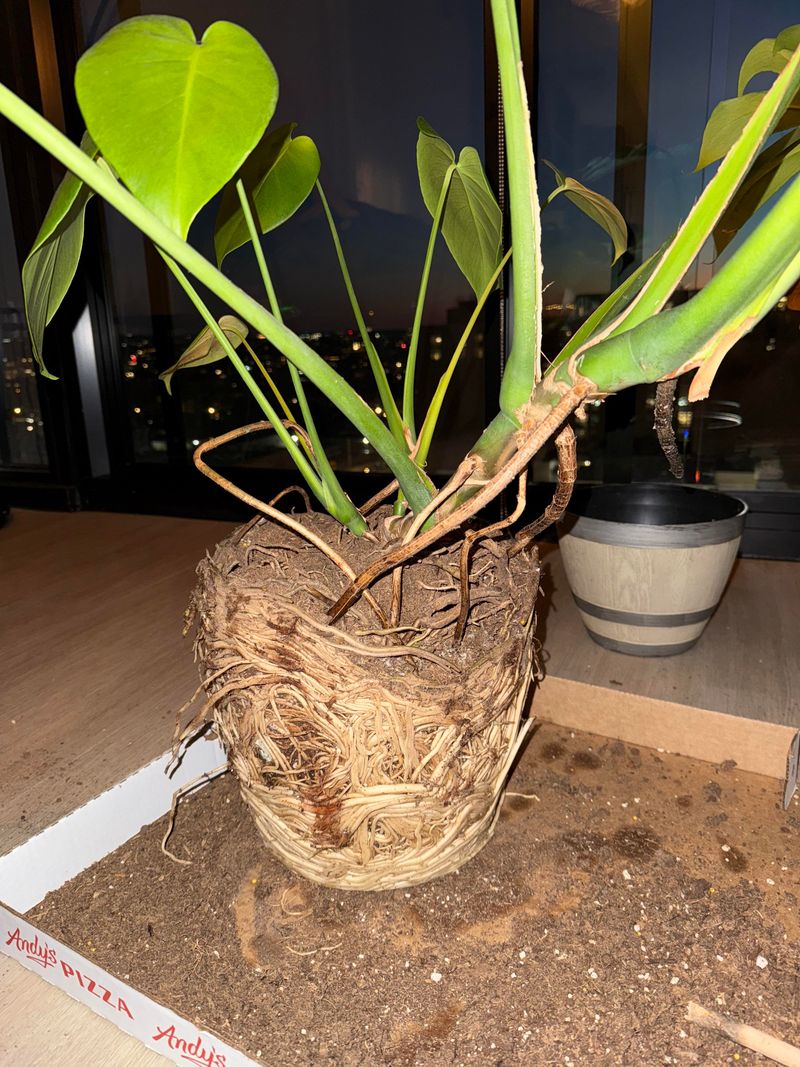
New leaves get larger each time, and the root system expands to match. A plant that fit its pot in May may be genuinely crowded by October.
Aerial roots are the giveaway most people notice first. Thick roots emerging from the stem and reaching for something to climb signal a plant with ambitions bigger than its container.
Check the drainage holes too. Roots pushing through and circling the bottom mean the pot has been outgrown.
Timing matters here. Repotting a few weeks before first frost lets roots settle while the weather stays mild and the plant recovers outdoors.
Choose a pot only one or two inches wider. Oversized containers hold excess wet soil that roots cannot reach.
Support belongs in the pot at the same time. A moss pole or stake set into fresh mix now is far easier than driving one past established roots later.
Monstera tolerates repotting better than most tropicals, which is part of why it makes the list.
Chunky mix suits it well. Adding orchid bark or perlite to standard potting soil improves drainage considerably.
A crowded monstera still grows. A monstera in a pot twice too large often sits in wet soil all winter instead.
2. Pothos
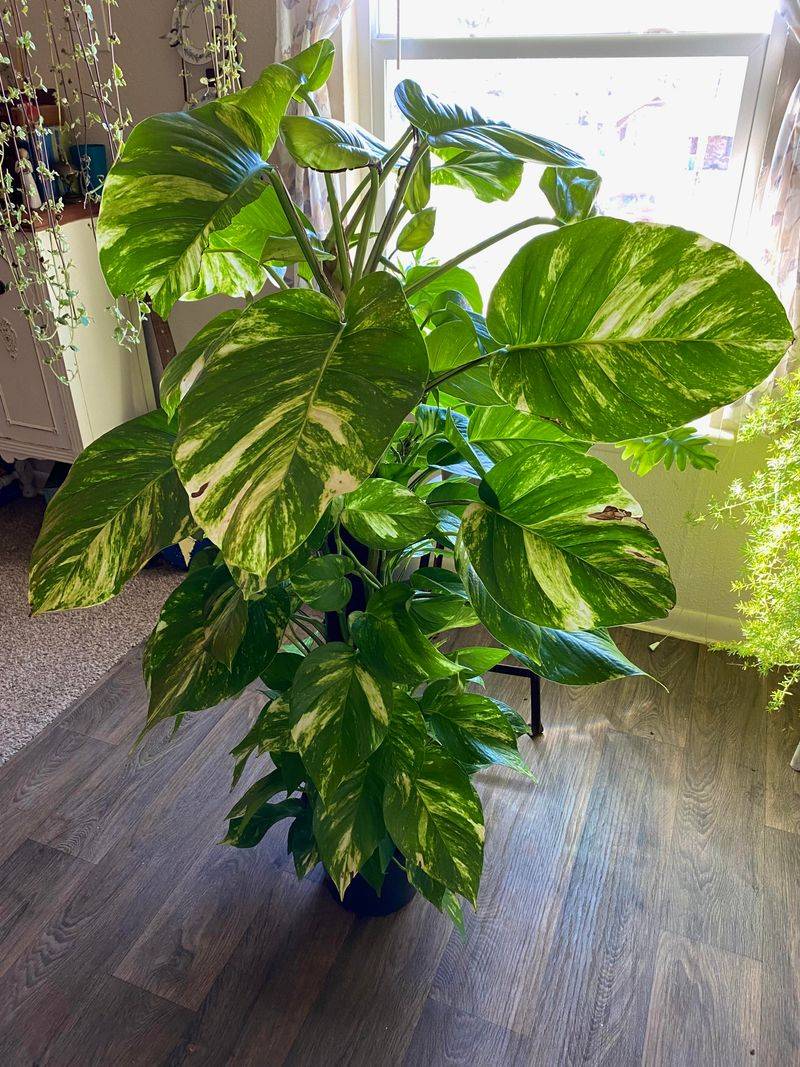
Pothos grows fast enough that a summer outdoors changes the whole plant.
Vines lengthen dramatically in bright warm conditions, and roots keep pace underneath.
The clearest signal is water behavior. Pour water in, and if it runs straight out the bottom within seconds, roots have displaced most of the soil.
Wilting between waterings is another clue. A rootbound pothos dries out much faster than it did in spring.
Slide the plant out and look. A dense mat circling the pot with almost no visible soil confirms it.
Pothos handles repotting easily, which makes this a low-risk decision. Move up one or two inches and use standard potting mix.
Fall is also a reasonable moment to take cuttings. Trimming long leggy vines encourages fuller growth, and the cuttings root readily in water.
Those trimmings become new plants without any cost, which is a decent trade for pruning you needed to do anyway.
Your North Carolina Garden Changes Every Week. Your Plan Should Too.
Gardening in North Carolina changes quickly throughout the season. Every Friday you’ll receive a simple weekly plan showing exactly what to plant, prune, fertilize, harvest, and protect so you never miss the right timing.
Indoor light drops substantially, so expect slower growth once inside. That’s normal rather than a problem with the repot.
Cut back on water accordingly. A freshly repotted pothos in low light needs considerably less than it did on the patio in August.
3. Spider Plant
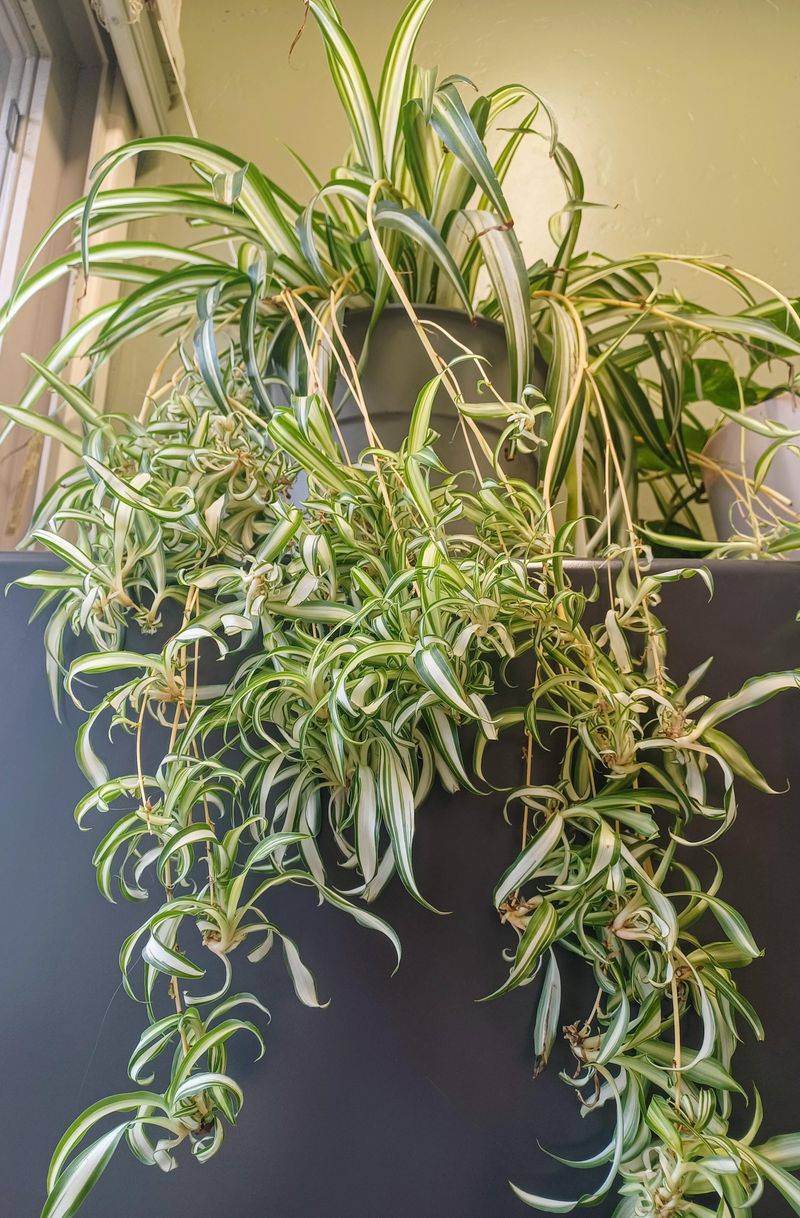
Look at the soil surface and you may find it has risen.
That upward push comes from thick white tuberous roots packing in tightly, and a summer outdoors accelerates the process considerably.
Plantlets appearing on long arching stems point the same way. So does water running straight through the pot.
Repotting is straightforward. Move up one or two inches, use standard mix, and the plant barely reacts.
Division works equally well. A crowded clump separates into several plants by hand, each carrying roots and foliage.
Those dangling plantlets root easily in soil or water, which gives you extras heading into winter.
Brown leaf tips are the common complaint and usually reflect fluoride or salt in tap water. Rainwater or distilled water reduces it noticeably.
Salt buildup in old soil contributes too, which is another argument for fresh mix.
Bright indirect light suits them best, since direct sun scorches the foliage.
Watering slows once inside, though these plants dislike prolonged drought. Check weekly and water when the top inch dries.
Trim brown tips at an angle to preserve the natural leaf shape.
4. Boston Fern
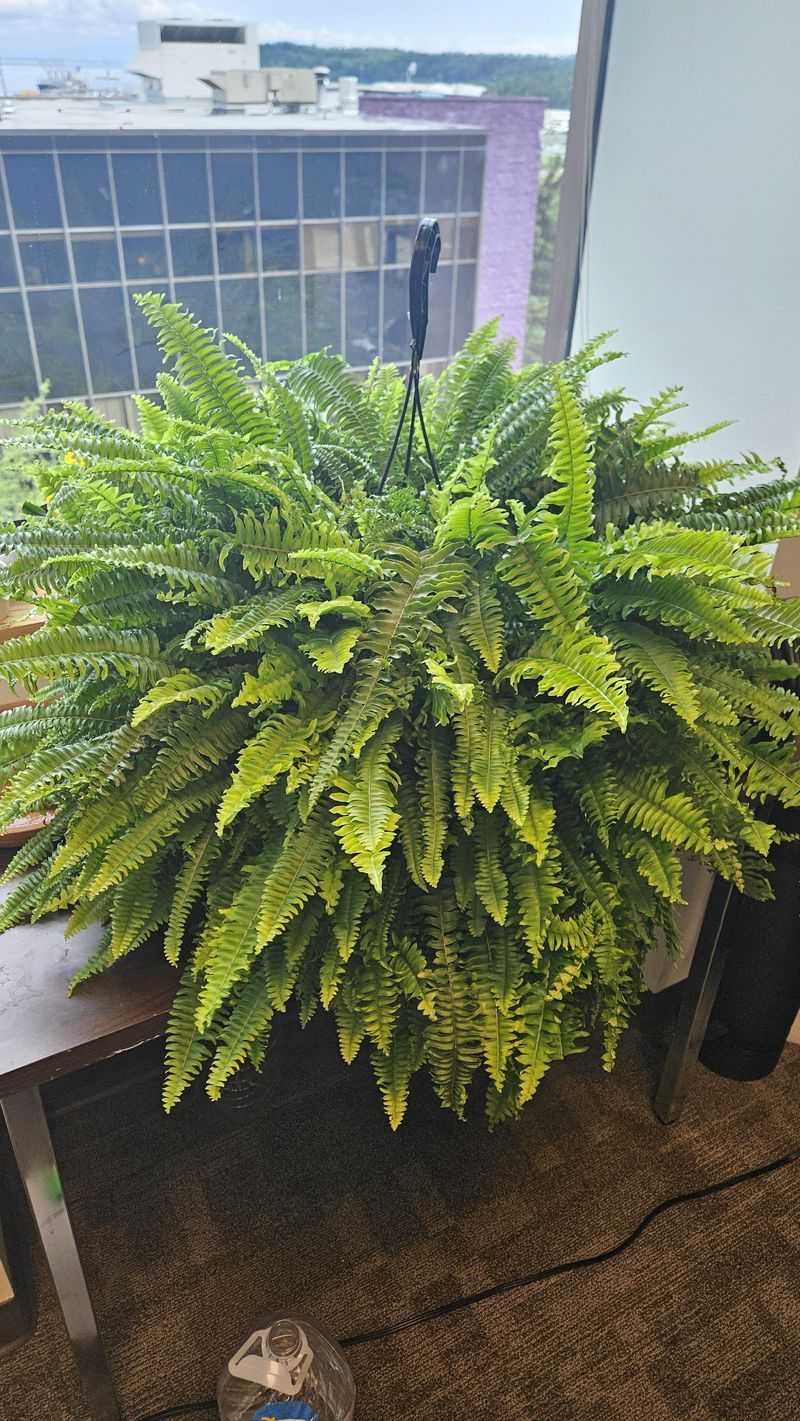
The decline usually starts about two weeks after the move indoors.
Part of that is humidity, and part of it is a root ball so dense that water runs around it rather than through.
Check by sliding the plant out. A solid mass with little visible soil means the plant starves even when you water generously.
Moving up one size improves water penetration considerably.
Division is the other option. A large crowded fern splits into two or three plants with a clean knife, each keeping roots and fronds.
Use a mix that holds some moisture rather than a fast-draining blend.
Now the part that determines whether it survives winter. Indoor humidity drops sharply once heating starts.
A pebble tray helps marginally. A small humidifier helps enormously.
Water more often than your other houseplants, checking every few days.
Trim brown fronds at the base rather than cutting them partway.
Bathrooms and kitchens work well when either has decent light, since ambient humidity runs higher there.
5. Peace Lily
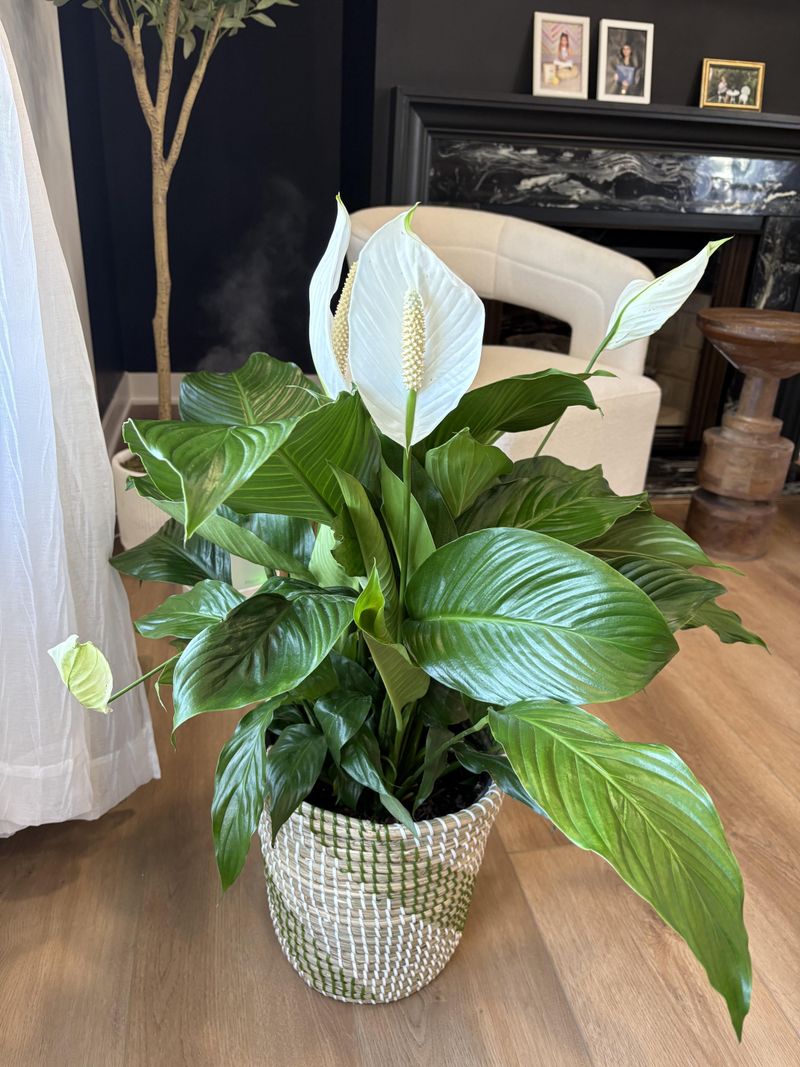
Dramatic collapse is the signal here.
A crowded plant wilts completely within a day or two of drying out, recovers after watering, then repeats the cycle faster each week.
That pattern means roots have taken over the pot and soil no longer holds enough water to get through a normal interval.
Slide it out to confirm. Roots circling with soil largely gone tells you what you need.
These tolerate repotting well, so acting now is reasonable.
Move up one or two inches and use a mix that retains some moisture.
Division suits large clumps. Separate crowns with roots attached, and each becomes its own plant.
One practical note. Flowering happens on and off through the year, so repotting may cost you blooms temporarily. New growth returns within a couple of months.
Light needs stay modest, which makes placement easy. Bright indirect light produces the most flowers, and lower light is tolerated.
Brown leaf tips often reflect tap water minerals or dry air rather than a watering mistake.
Keep it away from heating vents, which cause the crisping people usually blame on underwatering.
6. Rubber Plant
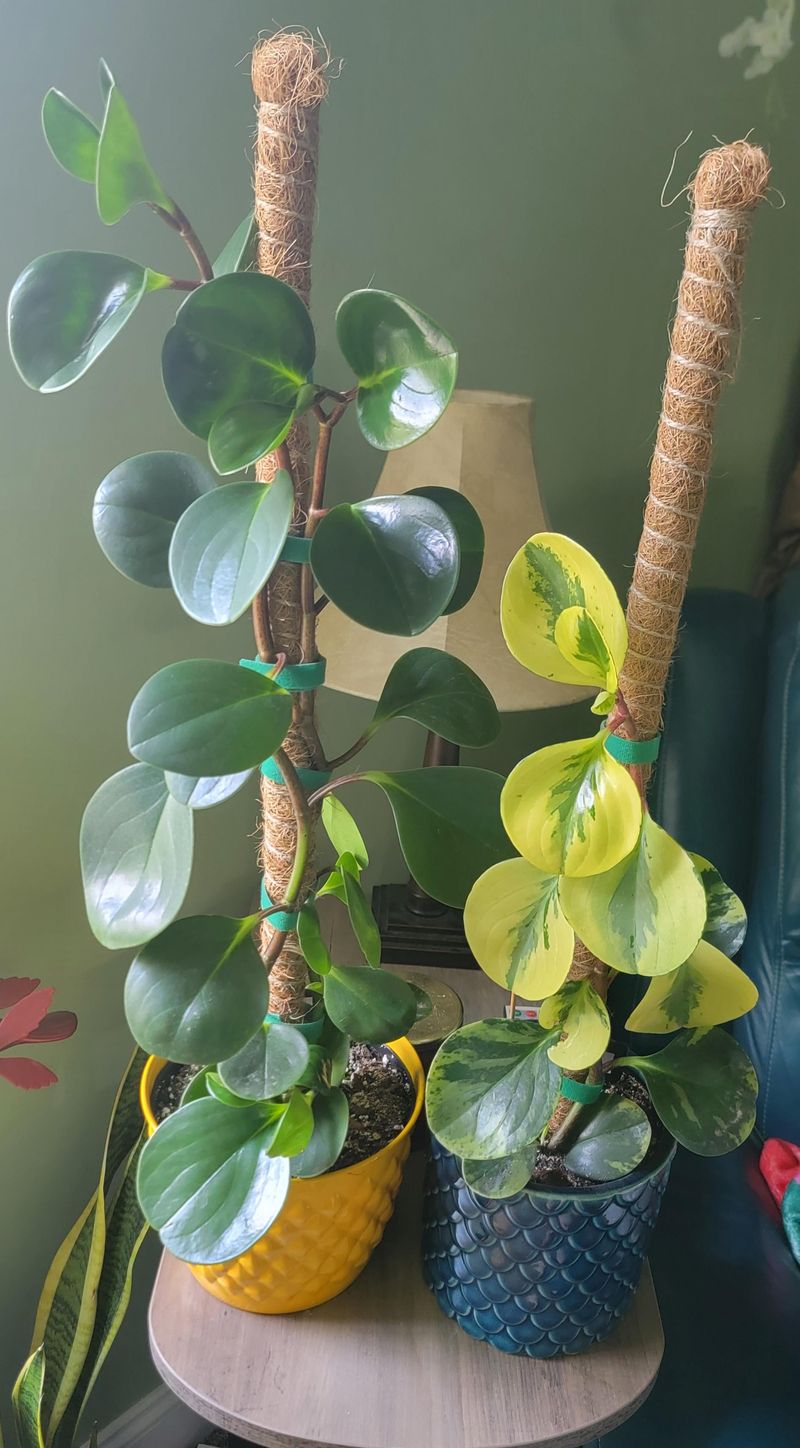
Top-heavy is the word that matters. A plant that has outgrown its pot starts tipping, usually onto something you would rather it did not land on.
Roots emerging from drainage holes confirm the same thing from below. That instability is the practical argument for acting now rather than in spring.
Choose a heavy pot for the same reason. Terracotta or thick ceramic adds ballast that plastic simply cannot.
Go up only one or two inches, and add perlite to the mix for drainage. These plants dislike wet feet, so drainage outranks moisture retention here.
Repotting a few weeks before the indoor move gives roots mild weather for establishment.
Expect some leaf drop afterward. This species reacts to change, and lower leaves yellowing is standard acclimation.
Bright light keeps growth compact. A dim corner produces stretched stems with widely spaced leaves. Watering drops considerably in winter. Let the top inch or two dry before watering again.
Wipe the leaves occasionally, since dust reduces the light those large surfaces can actually use.
7. Bird Of Paradise
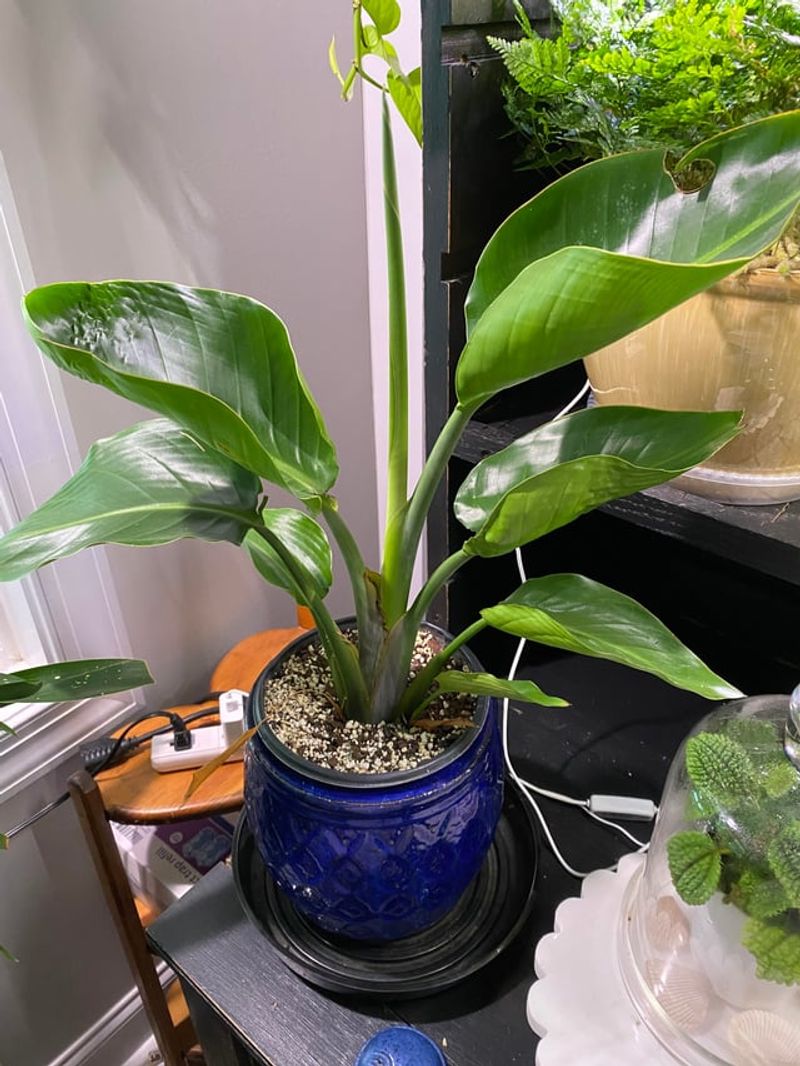
Bulging pot sides are the giveaway with this one.
Thick fleshy roots generate enough pressure to deform plastic containers and occasionally crack them outright.
That force also tells you something useful. Once roots have reached that stage, water and nutrients have very little room left to work with.
A summer outdoors accelerates it considerably, since bright warm conditions suit the plant well and growth speeds up.
Repotting works best a few weeks before the indoor move, giving roots mild weather to settle in.
Choose a heavy pot with real stability. These grow tall and broad, and a light container tips easily once the foliage fills out.
Go up only one or two inches, and use a mix with perlite or bark for drainage.
Crowding actually encourages flowering in mature plants, so avoid jumping several sizes at once.
Division suits large clumps. Separate offsets with roots attached, though expect a season or two before divisions flower again.
Split leaf edges are normal rather than a problem. Wind and handling cause it, and the plant keeps functioning fine.
Bright light matters more than anything indoors. A south or west window gives the best chance of holding growth through winter.
Watering drops substantially inside. Let the top couple inches dry before watering again.
8. Repotting Steps That Apply To All Of Them
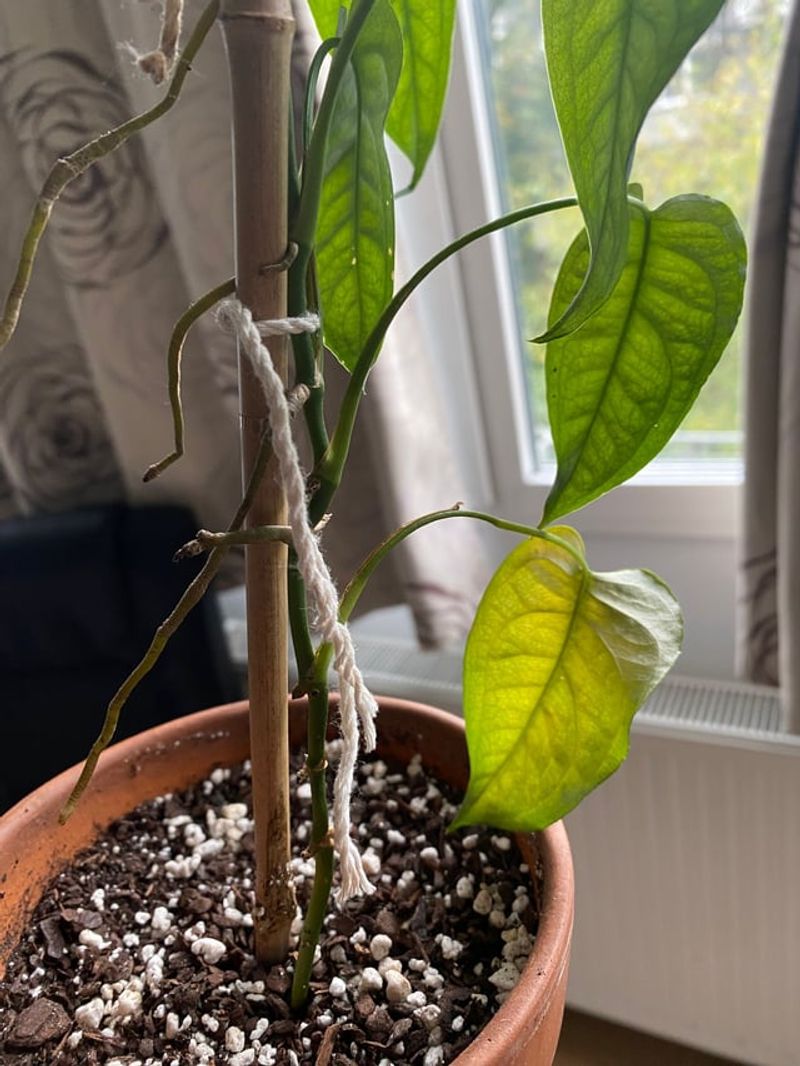
Technique matters as much as choosing the right plants.
Water thoroughly a day before repotting. Moist roots come out of a pot more easily and handle disruption better than dry ones.
Slide the plant out sideways, supporting the base of the stem. A butter knife run around the inside edge loosens stubborn pots.
Tease the outer roots apart with your fingers. Roots left in a tight spiral keep circling even in a larger pot.
Trim anything brown, mushy, or foul-smelling, since that material is already lost and only invites further rot.
Remove no more than about a third of the roots at once, and reduce some top growth if you cut heavily, since fewer leaves mean less water demand while roots recover.
Set the plant at the same depth it grew before. Burying the stem deeper invites rot.
Fill around the sides with fresh mix and firm gently without packing it down hard.
Water lightly afterward and skip fertilizer for several weeks.
Keep newly repotted plants out of harsh direct sun for a week or two while they settle.
Clean tools between plants with rubbing alcohol, which takes seconds and prevents spreading problems around your collection.
9. Check Every Plant For Pests Before It Comes In
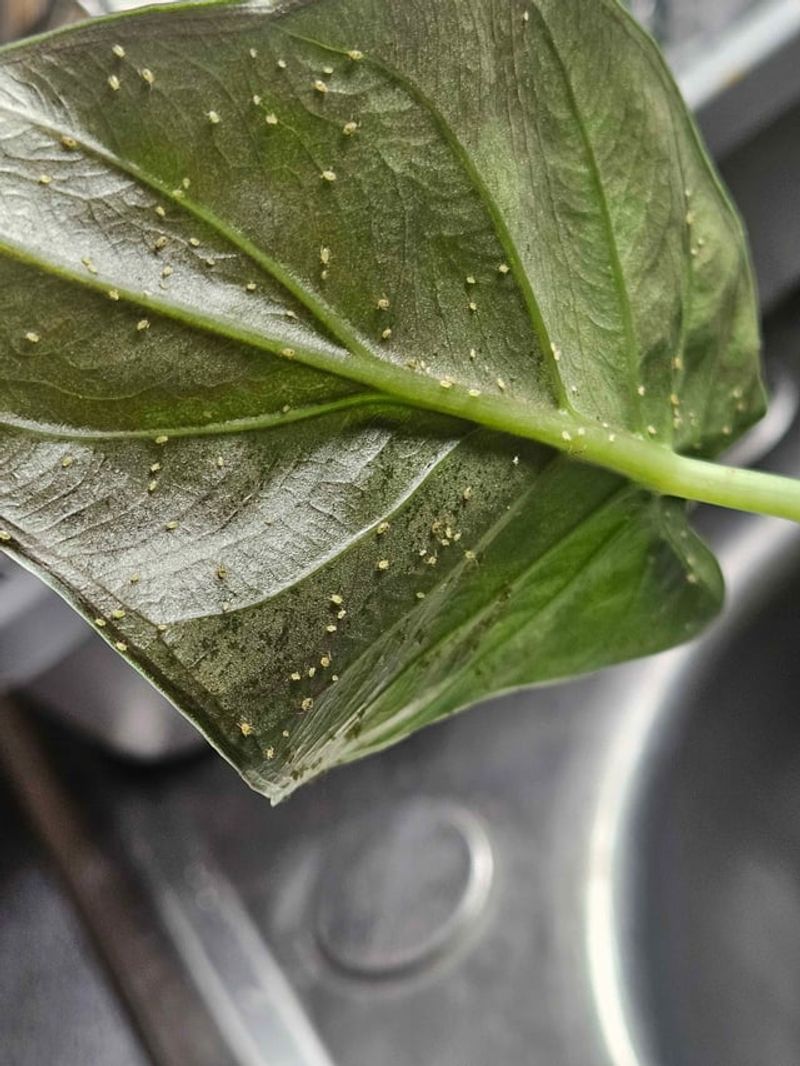
Repotting decisions are only half of what October requires.
One plant carrying insects can spread them across your entire indoor collection once everything crowds together for four months.
Summer outdoors means plants meet aphids, spider mites, mealybugs, scale, and fungus gnats. All of them move indoors happily.
Flip every leaf and examine the undersides, since that’s where most of them hide.
Look for tiny moving specks, sticky residue, fine webbing, or white cottony material along stems and leaf joints.
Check the soil surface too. Small flies rising when you water indicate fungus gnats breeding in damp soil.
Spider mites deserve particular attention, since dry heated indoor air suits them and a small October population becomes a serious January problem.
Start treatment with a firm spray of water. Insecticidal soap handles stubborn cases, applied thoroughly to leaf undersides.
Repeat applications matter, since most products don’t affect eggs and one treatment rarely finishes the job.
Quarantine anything questionable for two or three weeks before mixing it with the rest.
A careful check now beats fighting an infestation across your whole collection in the middle of winter, which is a genuinely tedious project.