The Rose Blooming Stages And How To Get There
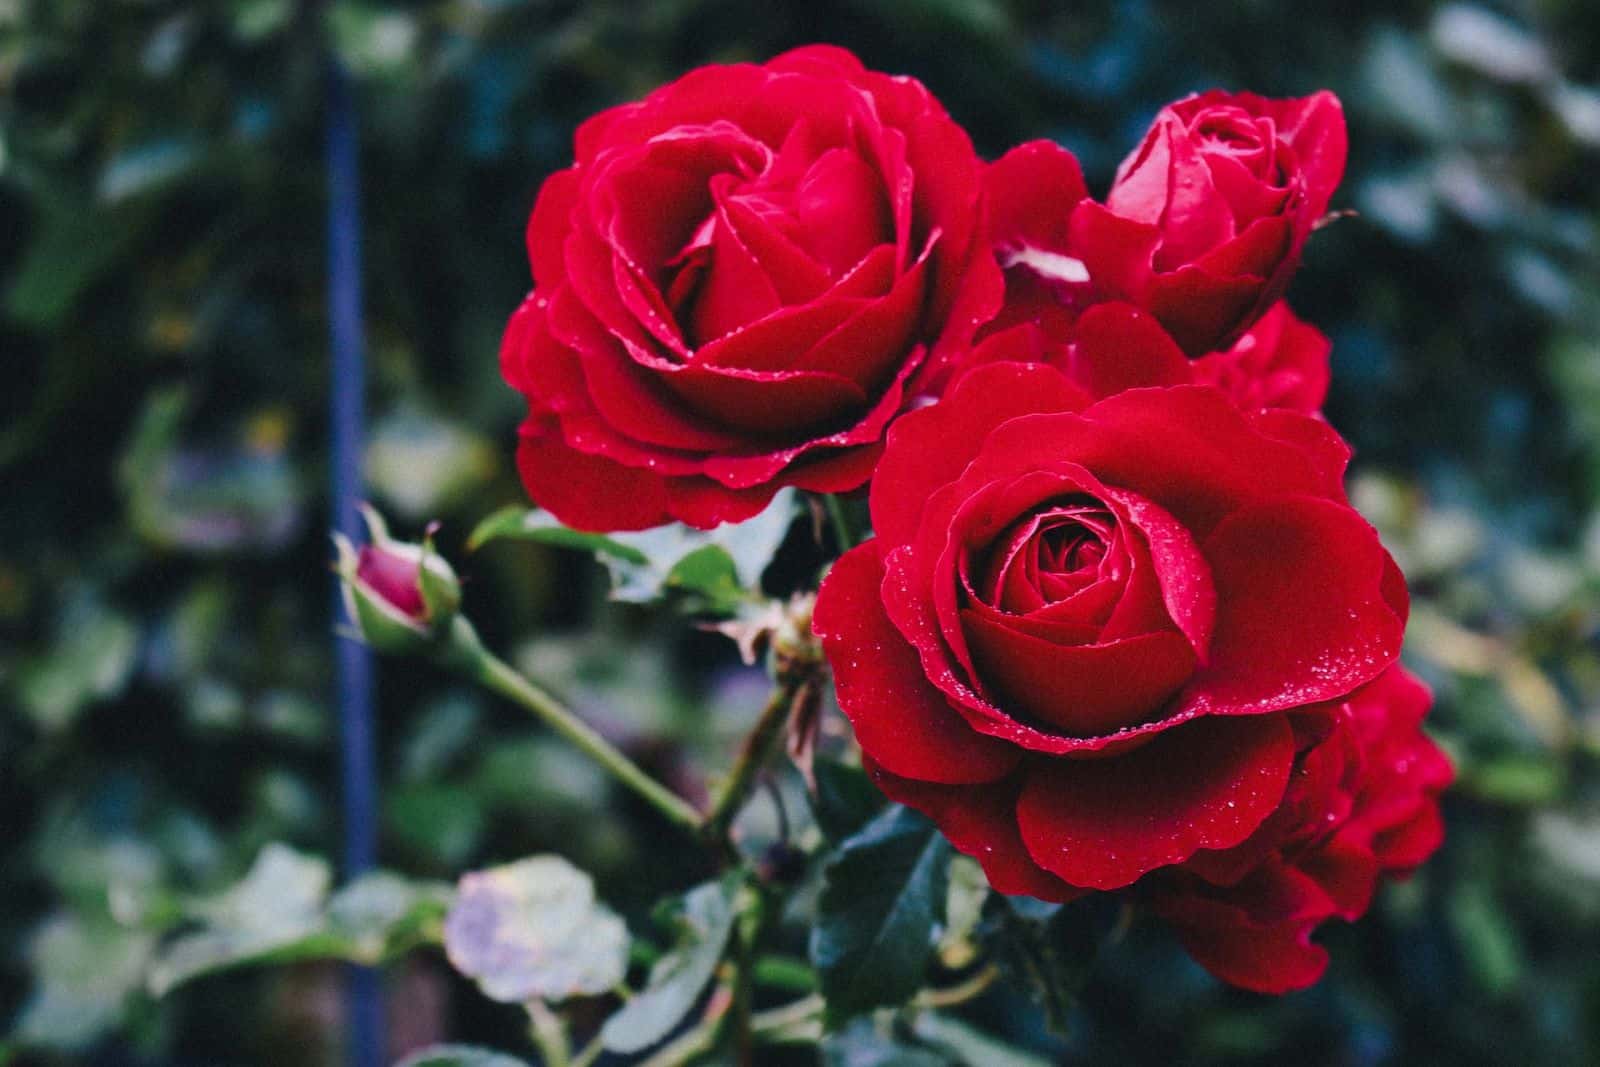
Roses will never go out of fashion, so if you’re a gardener, why not learn more about them to provide these thorny beauties with the best possible care?
Yes, pruning, watering, fertilization, and lighting are all important factors, but understanding the growing stages of this plant can really help nurture it better.
Knowing about the rose blooming stages might seem redundant on the surface, but it will change your gardening experience completely.
We’ll also discuss the main growth phases of this plant so that you know when to expect new growth and rose blooms, and when to start pruning it.
But first, let’s look into the general info about this gorgeous plant:
[table id=467 /]
The Rose Blooming Stages
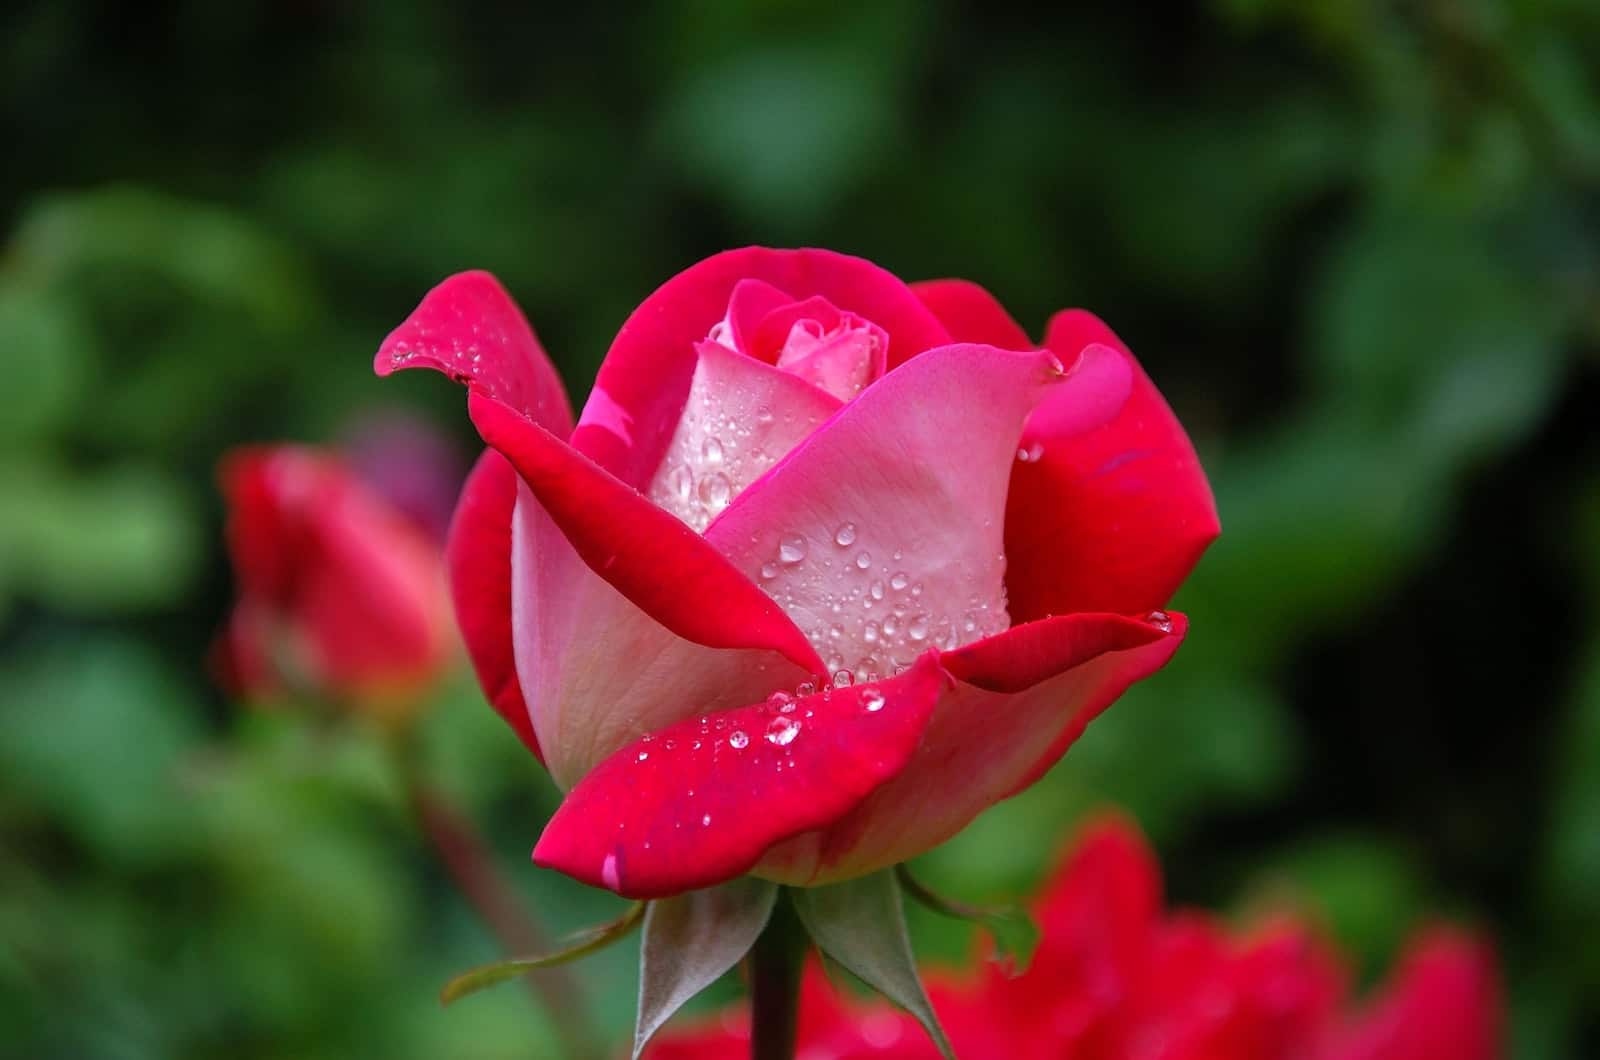
There are five rose blooming stages, and while understanding them isn’t strictly necessary, it can help you decide when to cut and feed your roses. For instance, cut roses can go for a long time without water, but if you harvest a fully opened blossom, you won’t have much time to enjoy it.
The rose blooming cycle begins with winter pruning, which is an essential step in later development. At that point, the plant resumes its vegetative growth, and only then does it start budding and producing flowers.
These beginner stages are important to understand as you prepare your plant for flowering, and if you do it correctly and feed it the nutrients it needs at a particular phase, it’ll produce many blossoms.
Let’s find out more about the blooming stages and the best ways to grow roses.
Winter Pruning
It all begins with winter pruning. Remove the growth and reduce the plant size to about 30 inches above ground level. Of course, you should also prune dead or diseased canes as they won’t produce flowers.
Cut the healthy canes at about a 45° angle and a quarter of an inch above the node.
Here are some more tips for pruning roses:
Growing Season
Soon, the plant will exhibit new growth, at which point you should start feeding it with nitrogen-rich plant food, such as triple 10.
At this stage, you can remove all the canes and shoots you believe won’t produce many flowers. But how can you tell which ones to keep and which ones should go?
Well, straight canes that won’t have any obstruction in their growth are keepers. If the shoots are growing toward the ground or the center of the plant, you should remove them so your plant will direct all its energy into the canes that will produce the most flowers.
Budding
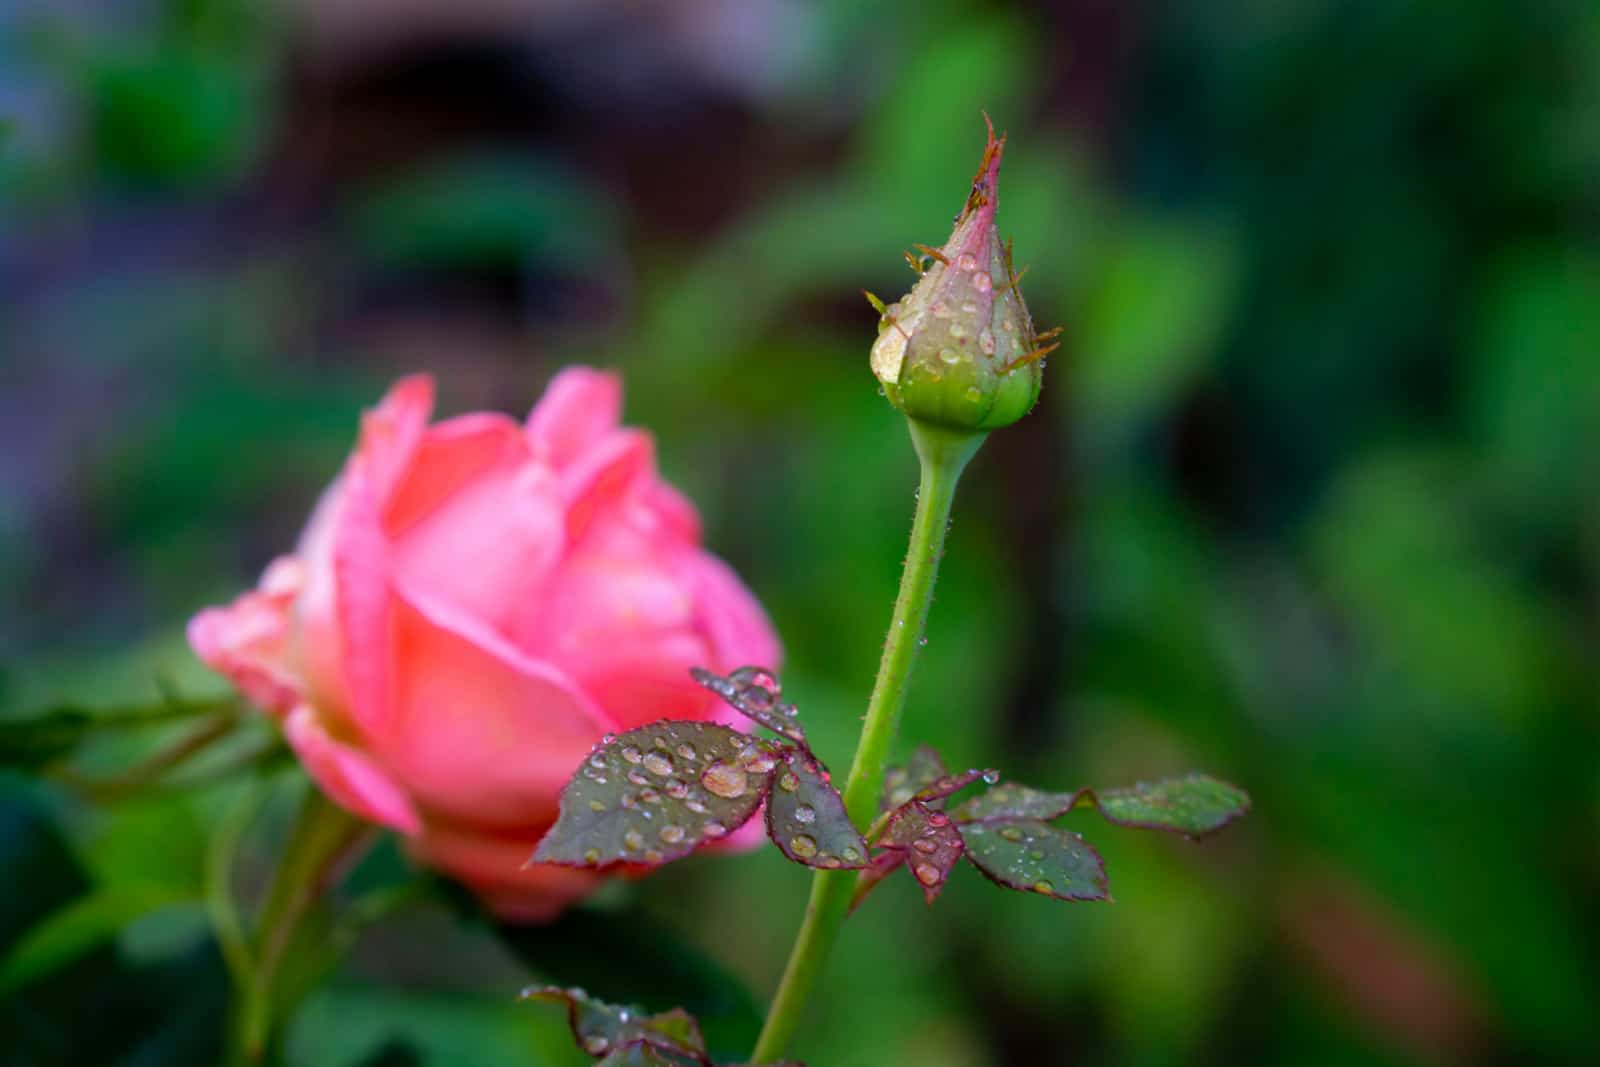
Once you notice that the buds have set in, you should reduce the nitrogen intake and switch to a fertilizer rich in phosphorus, such as 8-10-8.
At this stage, you can remove all the buds you don’t want. For instance, if you want a spray of roses, remove the central buds, and if you want one large flower, remove the side buds.
Preparing For Blooming
At this stage, the buds look ready to bloom. You can see how the plant is dying to open its buds, but the sepals still hold it together.
This phase is prior to the final blooming stages and appears about two weeks before flowering. During this bloom cycle, you shouldn’t fertilize your plants with nitrogen, or at least switch to plant food with less than 5% nitrogen.
Some growers turn to fertilizers such as 0-50-30 and iron supplements to give their rose foliage a nice dark shade and the flowers the best growing conditions.
Too much nitrogen can affect the quality of blossoms, so don’t go overboard with it!
Blooming
The last stage is blooming, and that’s exactly what we’ve worked so hard for. At this stage, you shouldn’t feed your plants at all and also be careful about watering.
Water drops on rose flowers may look attractive and perfect for an Instagram photo, but they can leave unsightly marks.
When Do Roses Bloom?
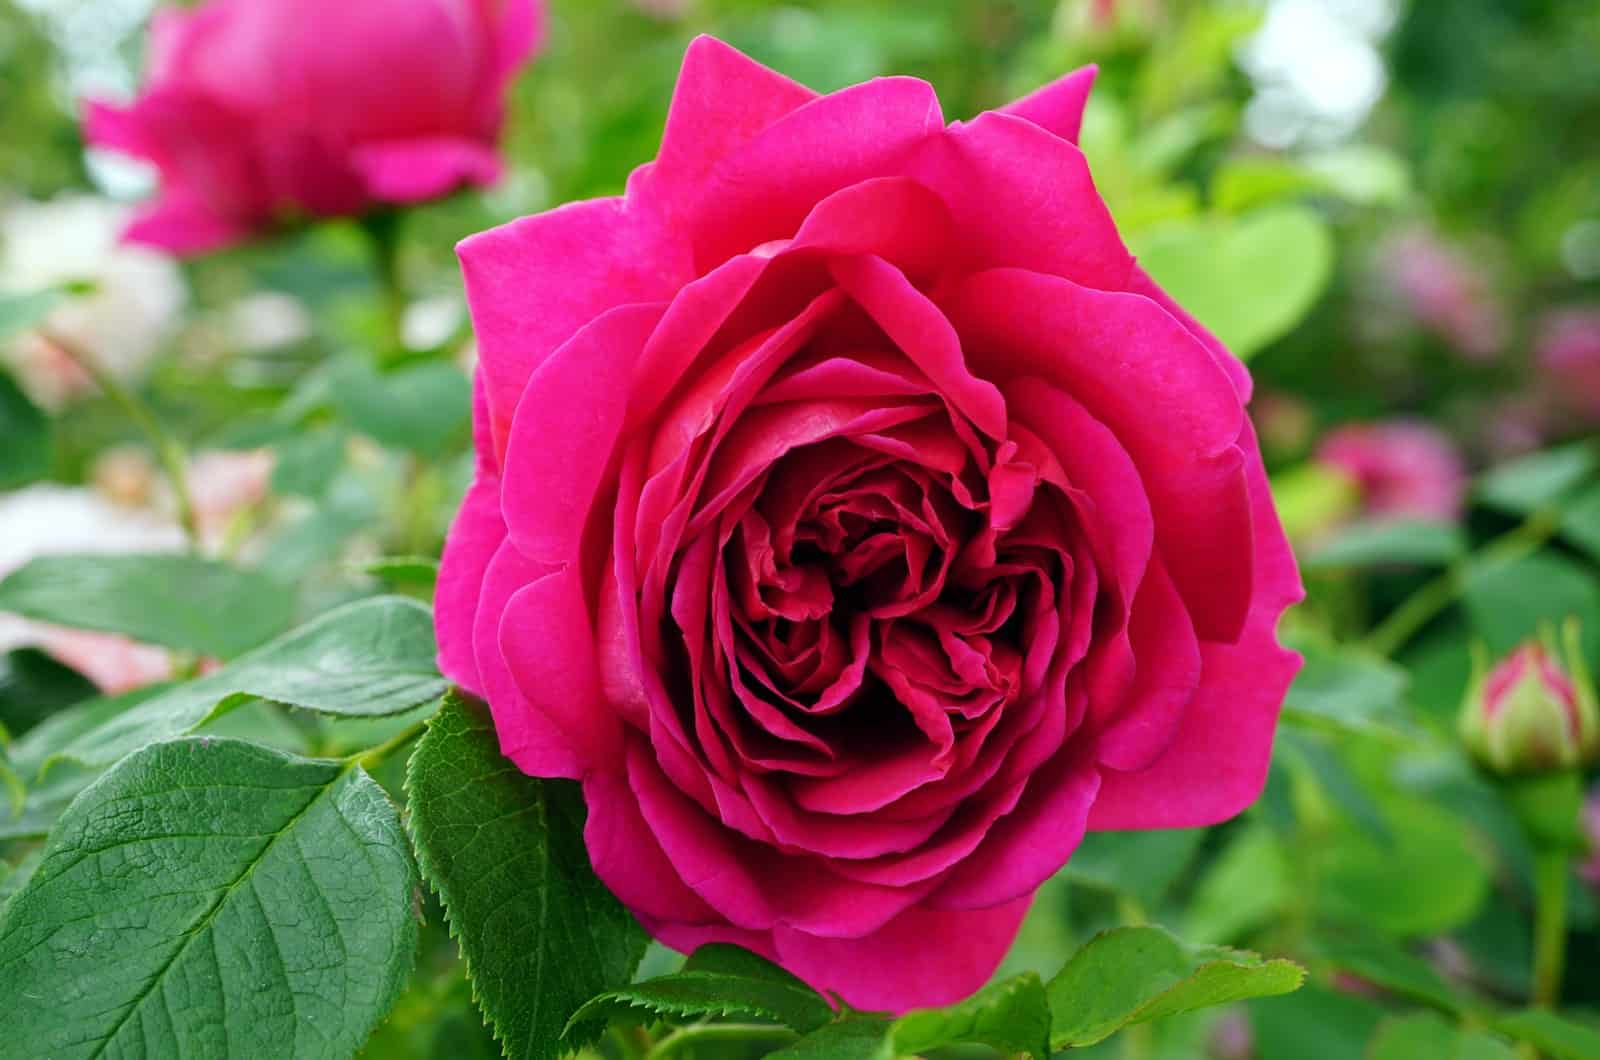
Most varieties of rose plants flower between late spring and early fall. We also have good news for all the new rose growers out there: this plant will produce flowers even in its first year of growth.
However, the quality and quantity of the new blossoms won’t be enviable, but at least you’ll have something to show your friends or decorate a dining room table with.
Furthermore, the growing conditions also affect blooming in the first years. For instance, bare-root roses won’t flower as much as potted plants, so if you want a large batch of flowers at once, consider growing container varieties.
Also, roses typically stay in bloom for about two weeks. Still, they can blossom multiple times a year if you have a suitable variety, the time of year hasn’t progressed far, and you regularly deadhead your plants.
Life Cycle Of A Rose
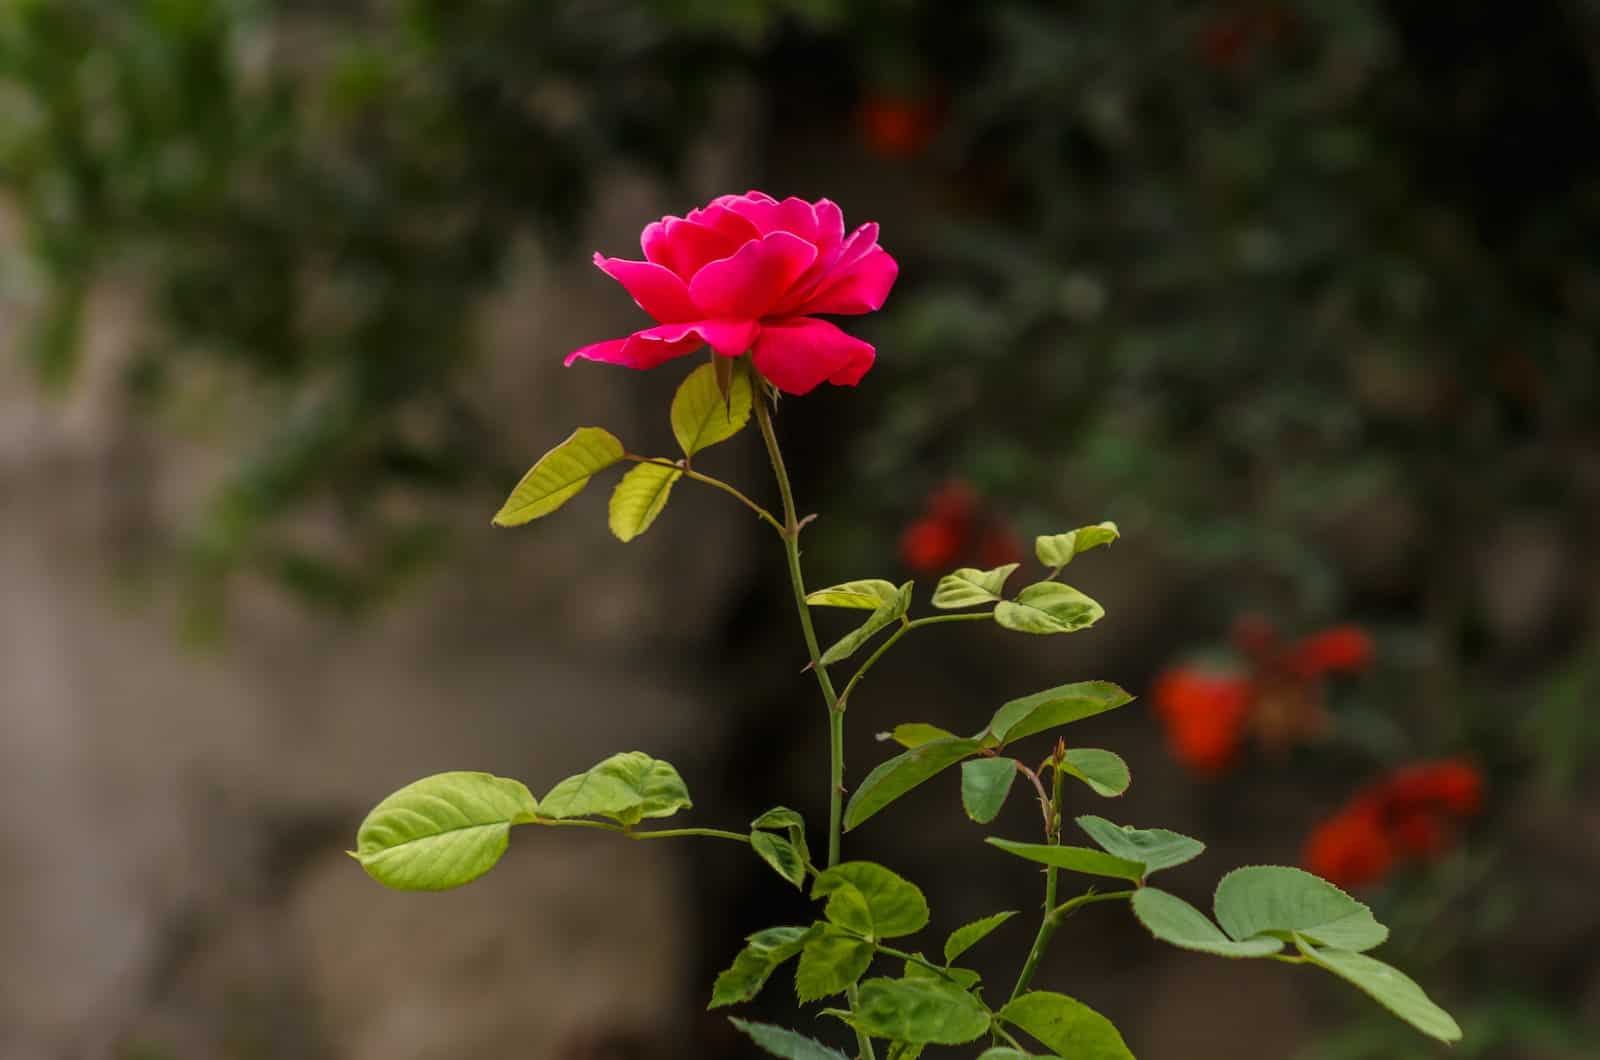
All rose plants go through the same cycle, whether they’re Italian rose varieties, hybrid tea roses, Grandiflora, etc.
One of the crucial things that decides the rest of its life is planting. You can also propagate this plant through seeds or cuttings, by grafting, budding, or layering.
And if you choose to propagate this plant vegetatively (not from seeds), your plant won’t go through the germination phase.
However, knowing these stages is important as it can ensure the healthy growth of your plant, whether it is a climber or a bush variety.
Planting A Rose Bush
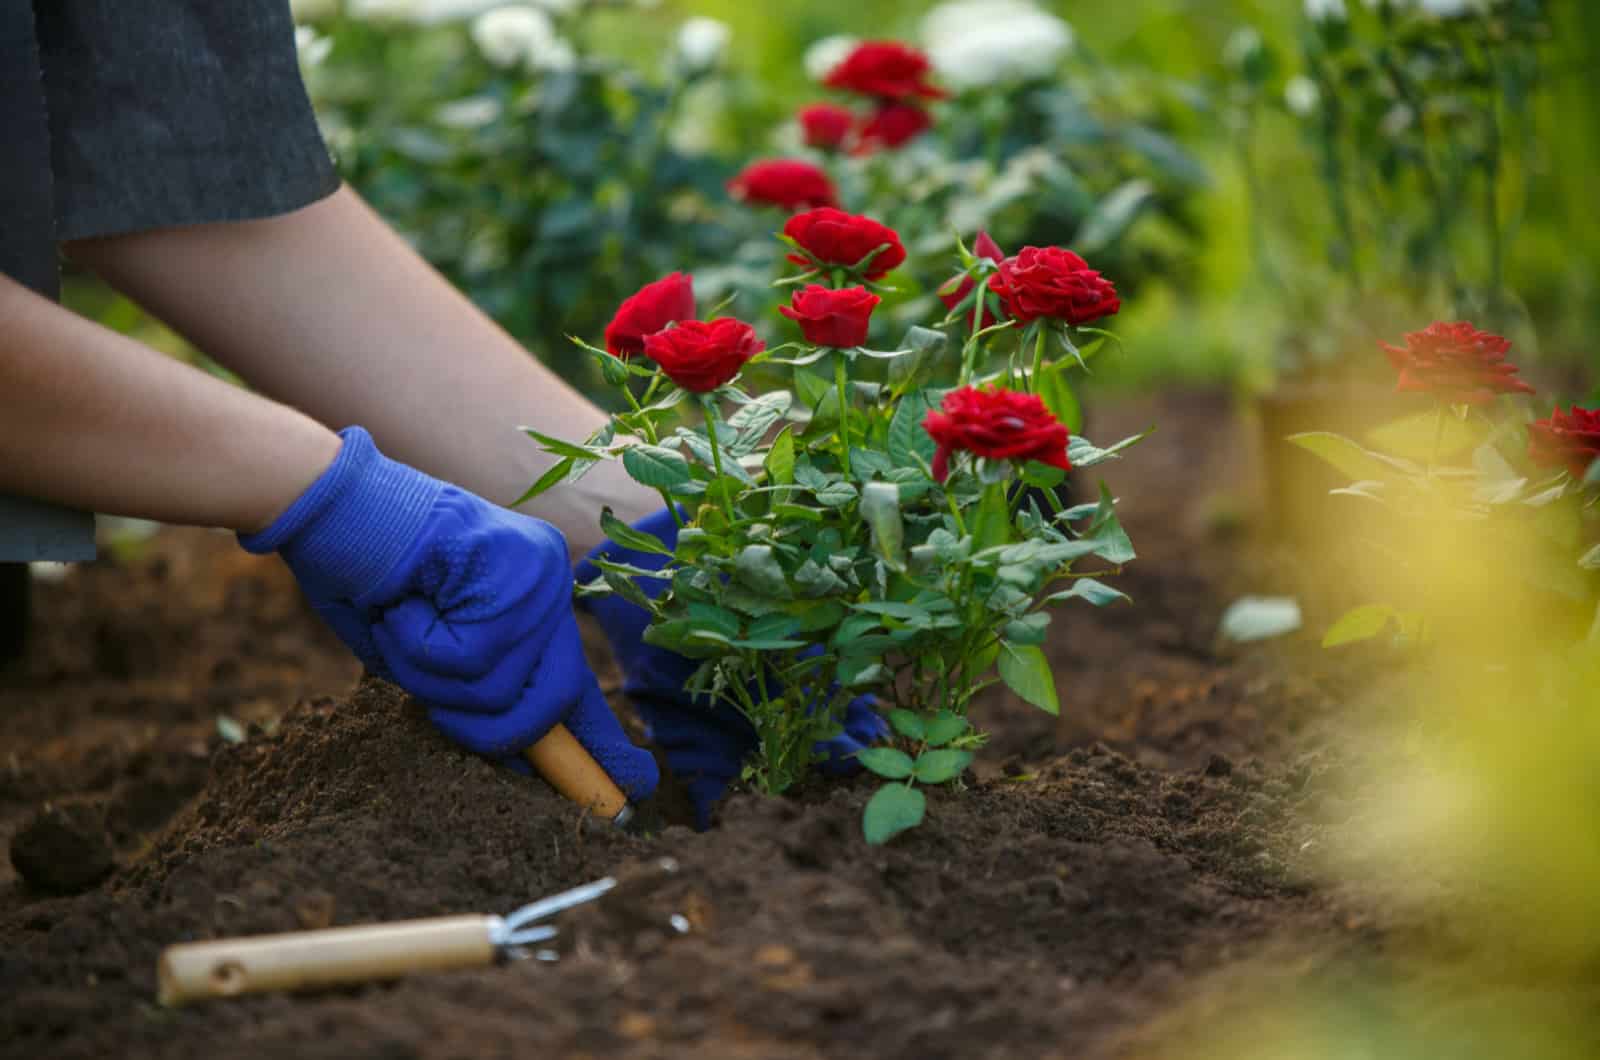
There are two ways you can start your roses: planting seeds or propagating them from cuttings, layering, grafting, or budding.
These methods can all give you more young plants to plant all over the garden, but only the seeds can sprout and go through all the different stages of the rose life cycle.
Before you do any planting, you should prepare the soil and the location. First, choose a spot that receives at least 6 hours of sunlight each day.
Then, prepare the soil mix. Roses can thrive in many different soil types, but prefer humus-rich loam mediums on top of the clay substrate.
Ensure good drainage by planting these beautiful flowers in a raised garden bed or mixing some compost into the native soil.
Prepare the medium a few months before transplanting your plants, and add some organic matter, blood or bone meal, irrigate it, and turn it several times over that period.
Don’t fertilize it before planting the roses, and ensure the pH level of the soil is between 6.5-7.
Planting Rose Seeds
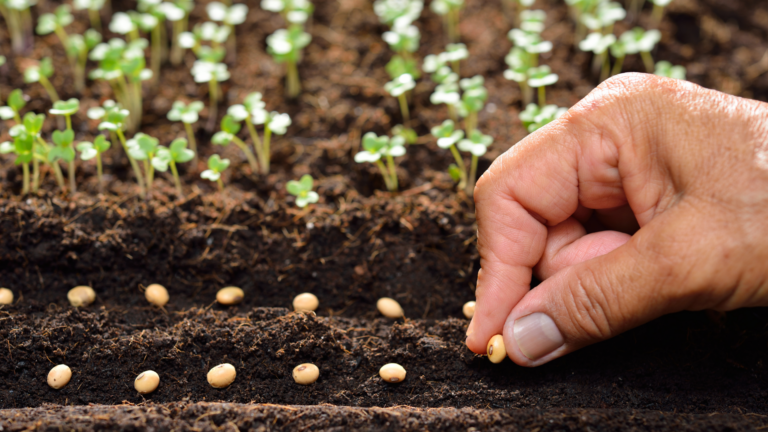
Before planting the seeds, you need to give them a cold treatment, so keeping them in a fridge for about 6-10 weeks prior to sowing them can speed up the germination process.
Put the rose seeds on a paper towel and spray them with a mix of distilled water and peroxide (1:1 ratio). Place them in a plastic bag (or a zip-lock bag) and put it in a fridge between 33-37 degrees Fahrenheit.
Mist the paper towel when needed!
Fill the nursery tray with a seed starting mix (1 part vermiculite and 1 part high-quality sterile potting soil or peat moss), take the seeds out of the plastic bag, and plant them a quarter of an inch deep.
Place the nursery tray in direct light outside and irrigate the seeds. However, if the weather is still too cold, you can leave it indoors where the temperatures are warmer or even under some grow lights (but that’s usually not necessary).
Finally, ensure the soil is never dry, as that may negatively affect germination.
Vegetative Propagation
There are four main vegetative propagation methods for roses: layering for climbing roses, grafting, using stem and root cuttings, and budding.
It all depends on the types of roses you have because layering is more suitable for climbers whose shoots you can bend to the ground and slightly cover with soil, or expose the bark, add some rooting hormone, and cover with peat moss and plastic wrap.
Budding is the most successful method and creates more plants than any other propagation technique. All you’ve got to do when budding roses is make a T-shaped incision, place the bud there, and wrap it all in cling film.
On the other hand, taking stem cuttings is the simplest method. Take a healthy cutting, dip it in a rooting hormone, and plant it in a seed starting mix.
Root cuttings, however, are more frost-resistant than stem cuttings, but they don’t present much growth and flowers (not to mention that only some species can be propagated by this method).
Finally, grafting is very similar to budding, but it has many drawbacks, such as being pricey, destroying flowering wood, not being as successful as other methods, etc.
Seed Germination
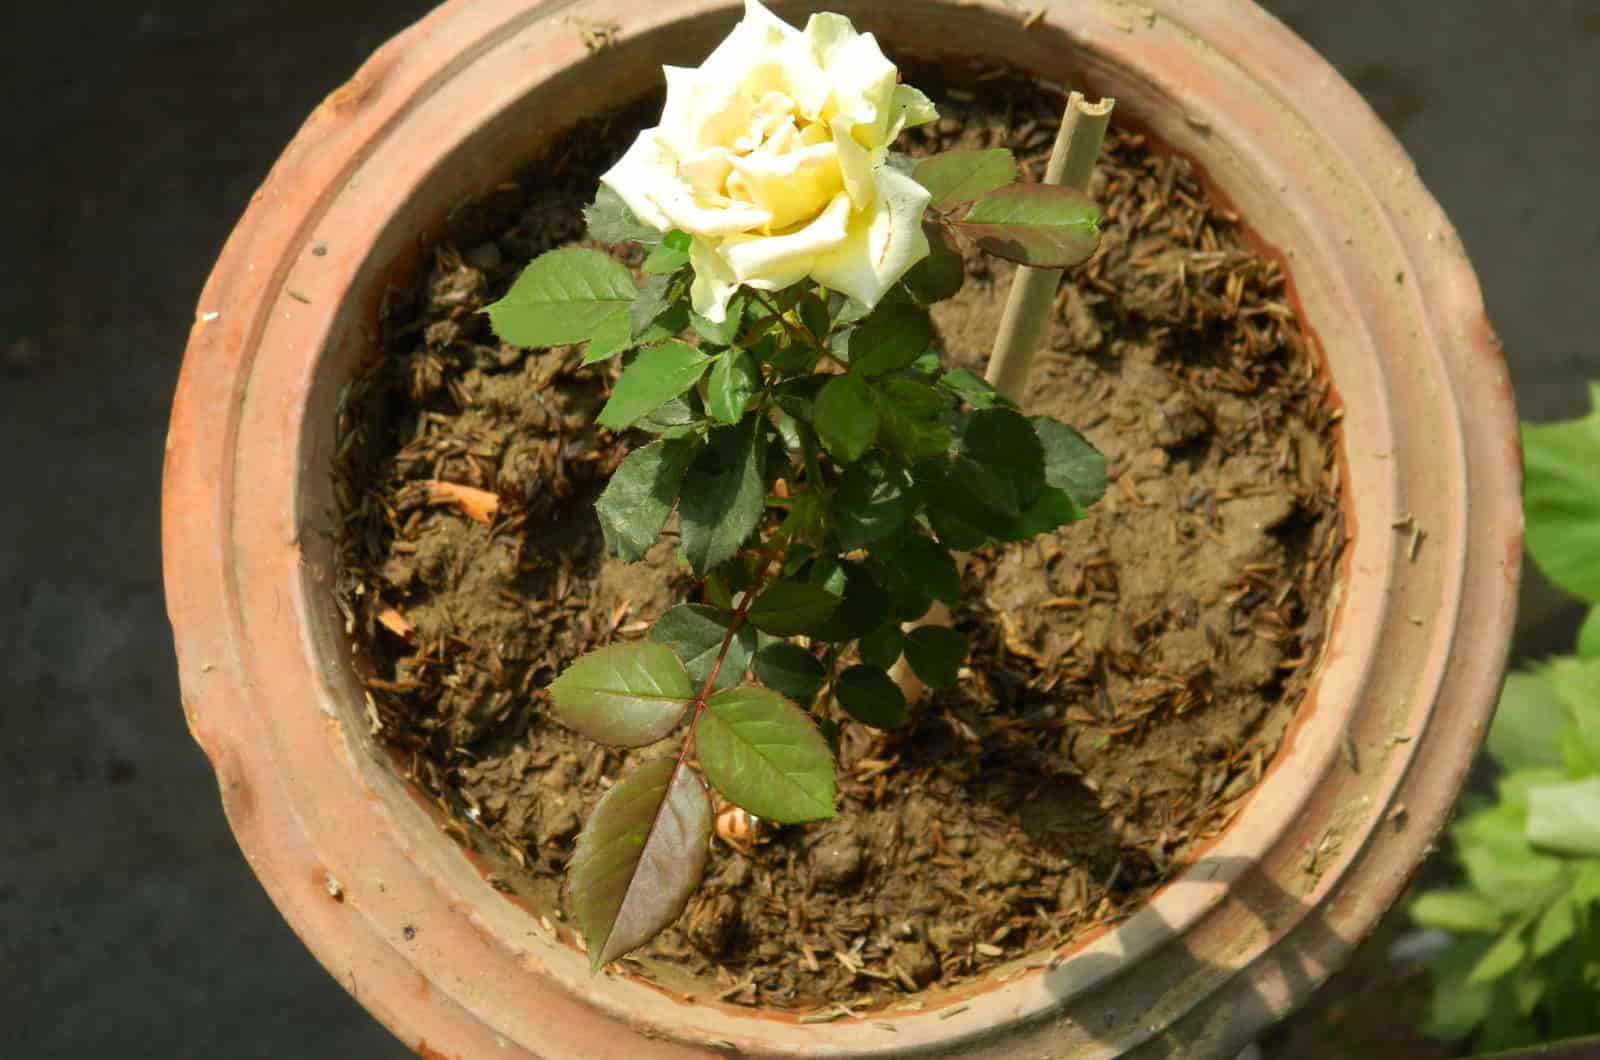
The next stage of the rose life cycle is seed germination (if you decided to plant seeds). If not, then you might look forward to root growth).
First, the roots develop, and then the seeds sprout. About a month and a half after planting, you’ll notice the first set of leaves protruding from the soil.
The cotyledon (seed foliage) starts to photosynthesize, and rose growth goes on from there.
However, you’ll notice the actual difference once your plant enters the vegetative growth stage.
Vegetative Growth
Cotyledons are soon replaced with true leaves, and once your plant develops 3-4 sets and is about 6 inches tall, you can transplant it to your garden.
During this stage, you can feed your plants with different fertilizers that are either rich in nitrogen or phosphorus.
If you don’t prefer chemical plant food, you can use organic variants (coffee grounds are good for roses, but rich in nitrogen, so you can use them before your plants start budding).
Finally, there are some species and cultivars that take a long time before they exhibit any real progress.
(Some can increase their growth in six weeks, some the following year, while you’ll have to wait for certain varieties for two years before seeing any real change).
Rose Flower Production
Blooming is our favorite stage, as that’s when we can enjoy all the hard work we’ve put in and admire our plants.
First, the buds, surrounded by sepals, form. (Sepals are those green leaves that guard the base of the flower).
Soon the rose blossom will start opening, and you can either harvest it or leave it to get pollinated and produce seeds.
Pollination And Seeding
Unfortunately, roses don’t have a lot of nectar, which is why hummingbirds and butterflies rarely land on them. However, they do produce a lot of pollen that will stick to the legs of the pollinator (even if they land there by accident and don’t find the food they were looking for).
After the flowers have been pollinated, the plant can produce rose hips where seeds are stored. This case keeps the seeds safe from scorching and freezing temperatures.
Roses During Growing Season And Dormancy
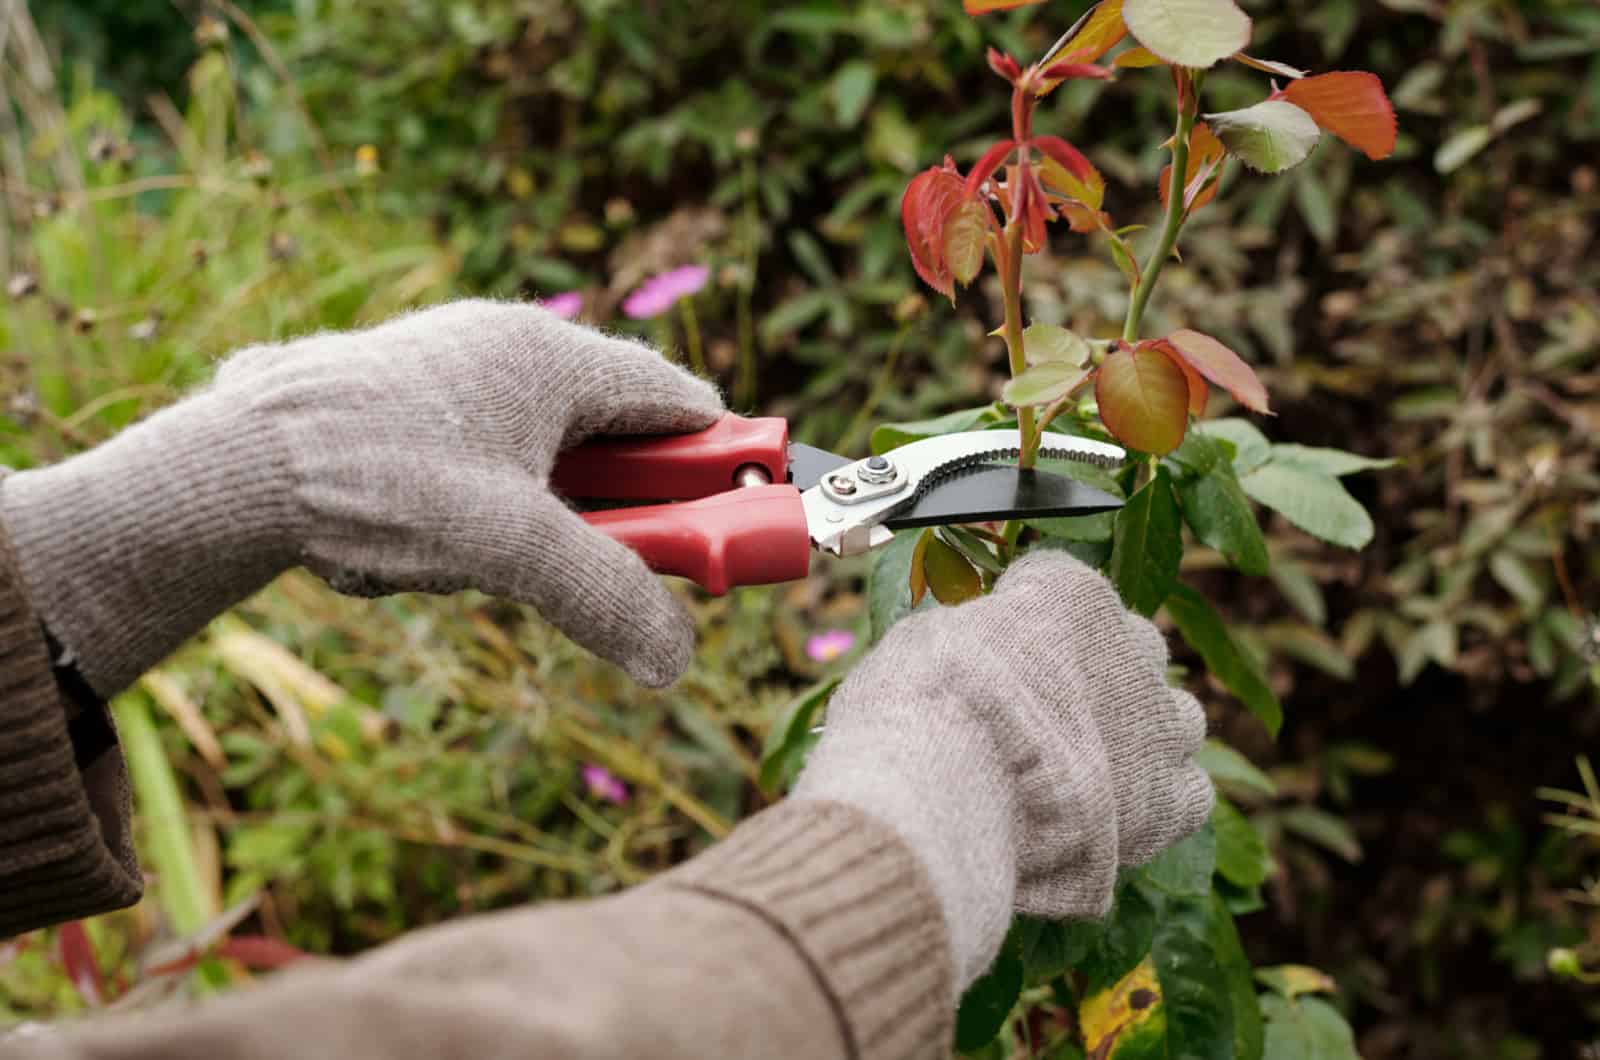
After all that, even more questions remain! How do you care for roses in the growing season and dormancy? Should you cut off rose buds after they bloom? What is the purpose of pruning roses?
Well, the care for dormant and active roses isn’t the same.
For instance, you can deadhead these plants during their growing season for more rose blossoms, but it’s a different story during dormancy.
We cut back roses to induce dormancy so they can prepare for the next season.
You should also adjust watering for the growing season and dormancy, as some common reasons for wilted roses are under and overwatering. The best tip we got from our mentors was to irrigate roses once the top 2 inches of the soil are dry, and we’ve never had problems with wilted rose plants since.
Finally, it would be best if you didn’t feed your roses during dormancy as they cannot use the nutrients, and you can increase the risk of fertilizer burn.
Final Thoughts
We examined the five rose blooming stages and included some care tips that can increase flower production and improve rose health tremendously.
For instance, you should feed your plants with nitrogen-rich fertilizers during their vegetative growth stage. Still, once the buds appear, you need to gradually decrease the amount of nitrogen and increase phosphorus levels to get more blossoms.
We also discussed the life cycle of a rose just so you know what to expect if you propagate this plant from seeds or from cuttings, by budding, grafting, or layering.
Finally, the care for these plants is somewhat different in dormancy than during their growing season, so we included the most important things you should know.
Good luck with your rose garden, and until next time!
Like this post? Share or pin it for later!
