Do These 5 Things To Your Hydrangeas In Spring And They’ll Produce More Blooms
Hydrangea blossoms adorn summer gardens worldwide, but it takes a bit of patience and effort until we get these plants to bloom.
If you want your hydrangeas to reach their full potential, you should complete a few tasks in the spring.
In this article, I’ll show you a couple of tips for spring hydrangea care that will help these plants grow healthily and generate an abundance of their magical blossoms!
Let’s get started!
1. Fertilize
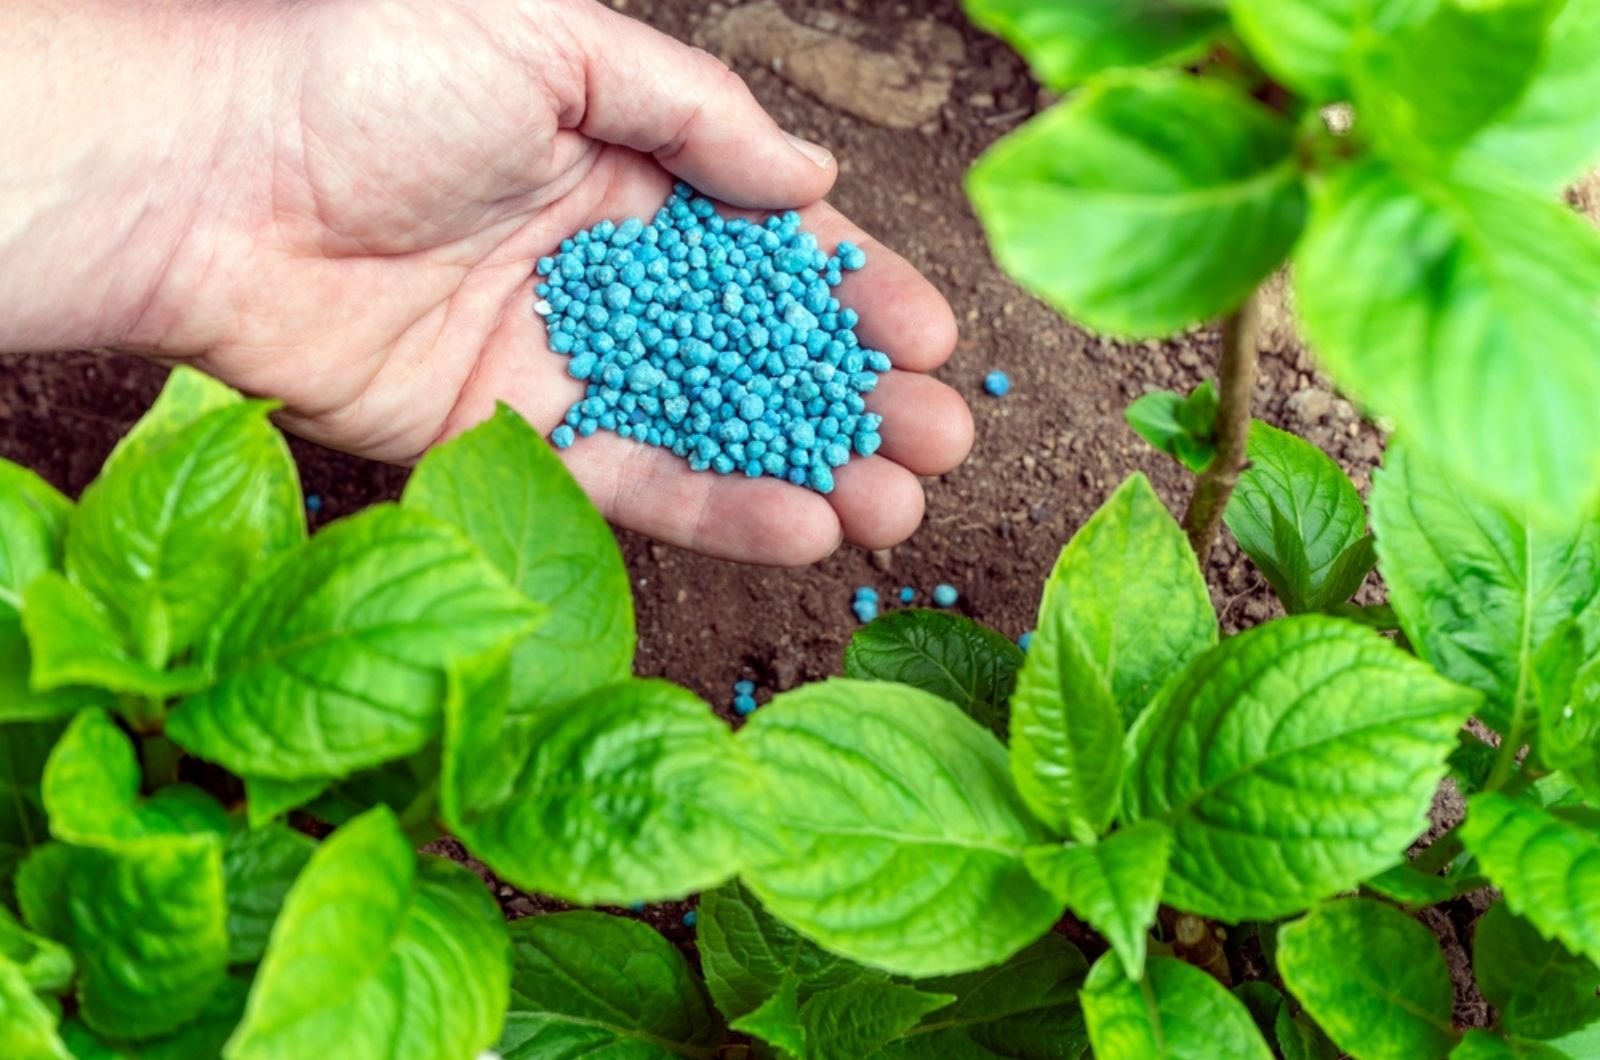
One of the essential steps you need to complete if you want happy and healthy plants is fertilizing your hydrangeas.
Luckily, feeding these beauties isn’t hard, and knowing the correct dosage and frequency of fertilizing will give amazing results.
As soon as your hydrangeas display new growth in spring, you should apply the first round of fertilizer. All-purpose fertilizers will do wonders for these beauties, as well as fertilizers designed specifically for acid-loving plants.
Start by reading the instructions on the label of the fertilizer and dilute them using the recommended ratio of ingredients.
When applying fertilizer to your hydrangeas, your goal is to spread it evenly around the base of the plant and then water thoroughly so that the soil can absorb all the nutrients.
2. Prune
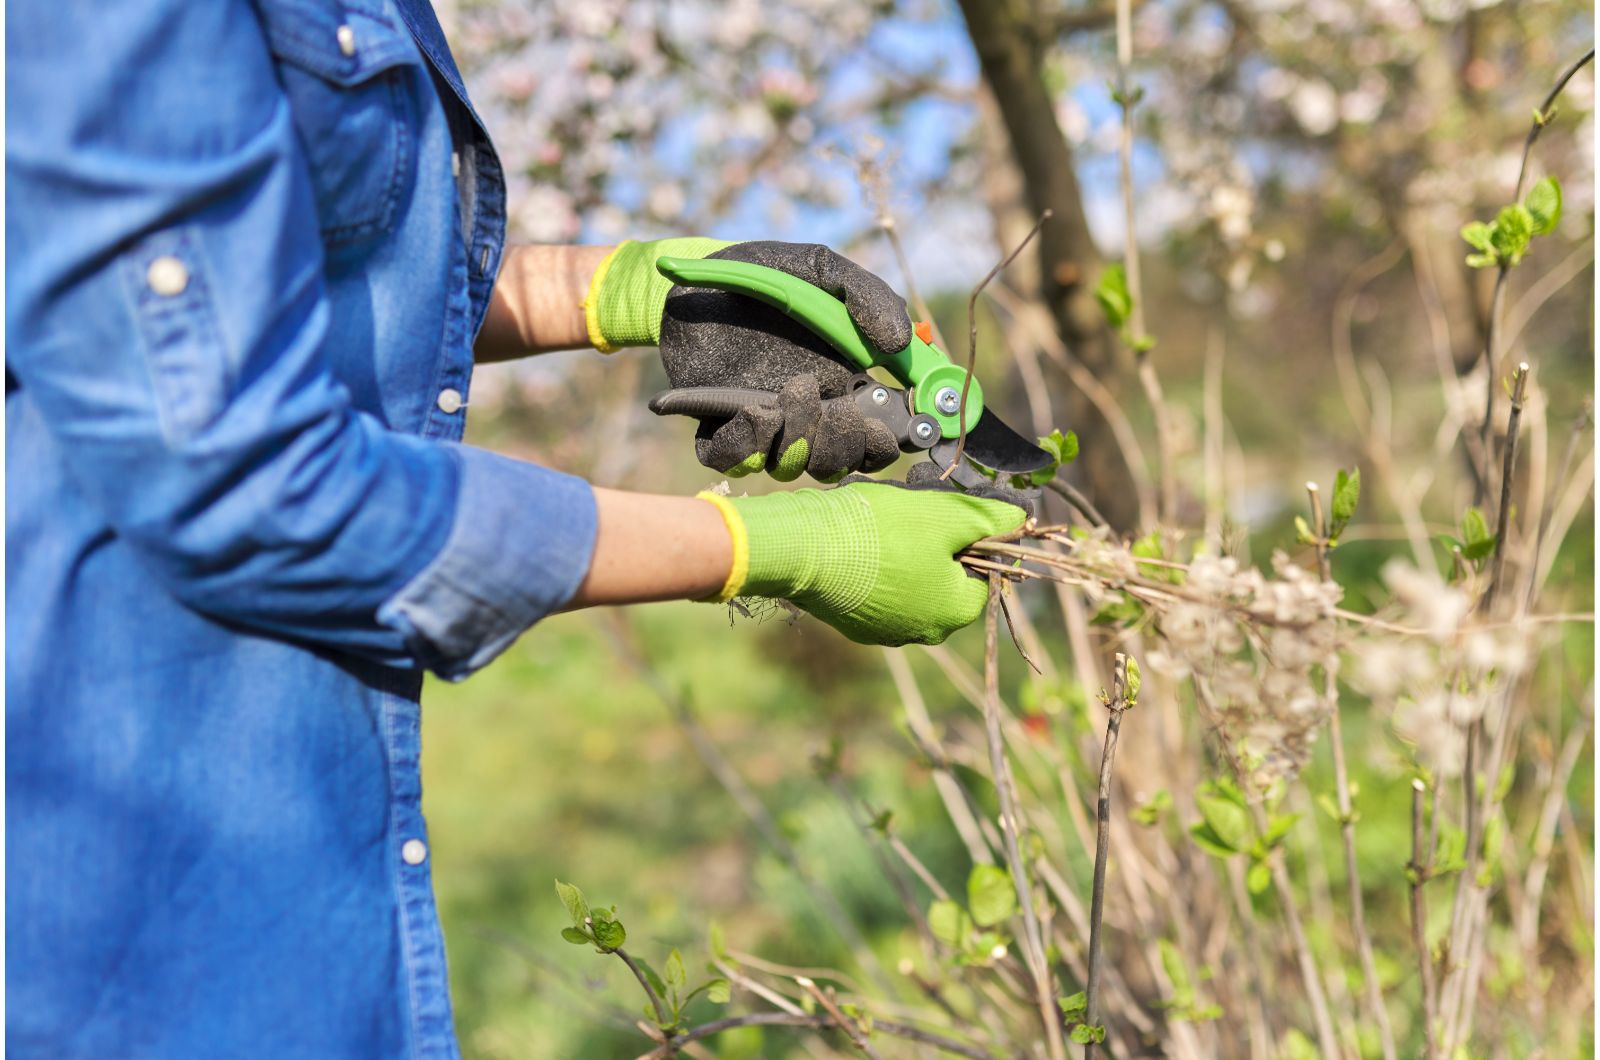
The fuller your hydrangea is the more fascinating the bloom display will be. The only way to achieve this is to prune these plants when temperatures start increasing in early spring.
If you have to prune an Annabelle hydrangea or any other type of smooth hydrangea, cut them back to about one-half of their total size.
You should always prune them above a pair of buds and make sure to cut them down to approximately a foot above the soil line.
On the other hand, if you grow other types of hydrangeas, such as oakleaf and mophead, I don’t recommend pruning them in spring.
3. Apply A Layer Of Mulch
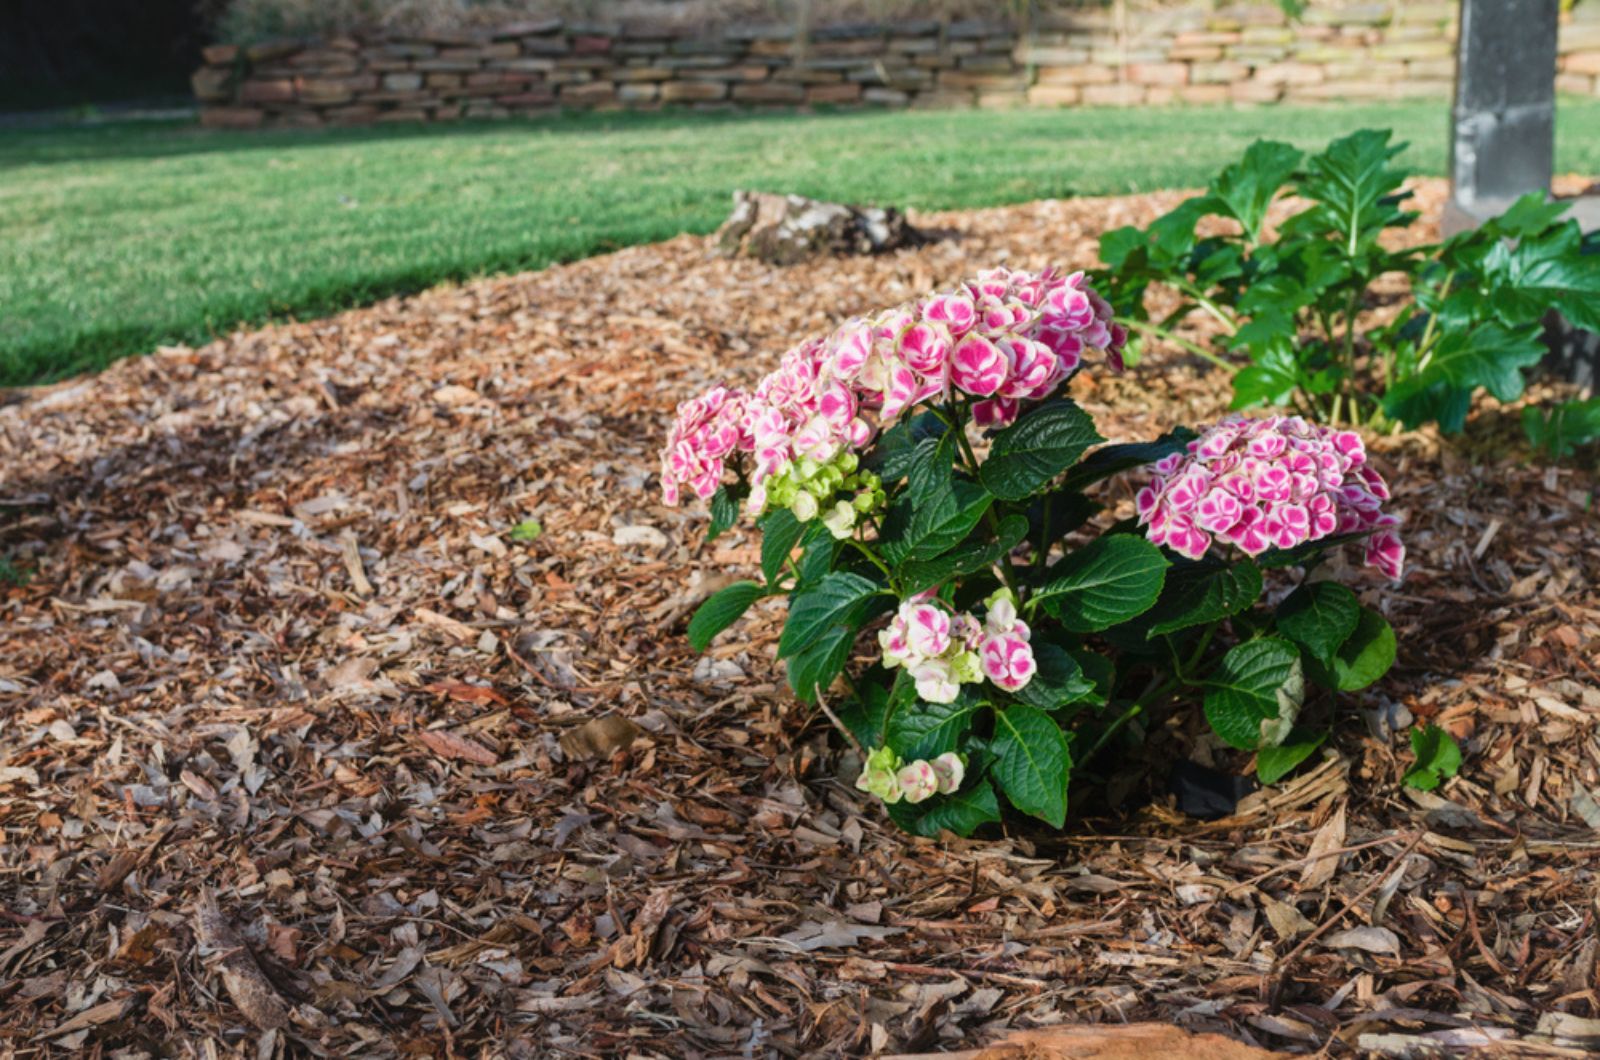
When you notice your hydrangeas opening their leaf buds, it’s time to apply mulch.
The layer of mulch should be approximately 2 inches thick, and its roles are to help the soil retain moisture, suppress weed development, and give a tidy appearance to your flower beds.
You can use different materials for mulching your hydrangeas, such as pine bark, pine needles, and compost.
4. Transplant

Early spring is also a great time for another hydrangea task, transplantation. This works best for hydrangeas that receive too much sunlight or those that take up too much space.
If you have a large and mature shrub, it will be pretty hard to move it, so I recommend pruning it back until you have a manageable size.
Before putting your hydrangeas in the new location, make sure to amend the soil and water it thoroughly after replanting your hydrangeas.
Transplanted hydrangeas need some time to generate new roots, so it’s essential to irrigate them frequently to encourage rooting.
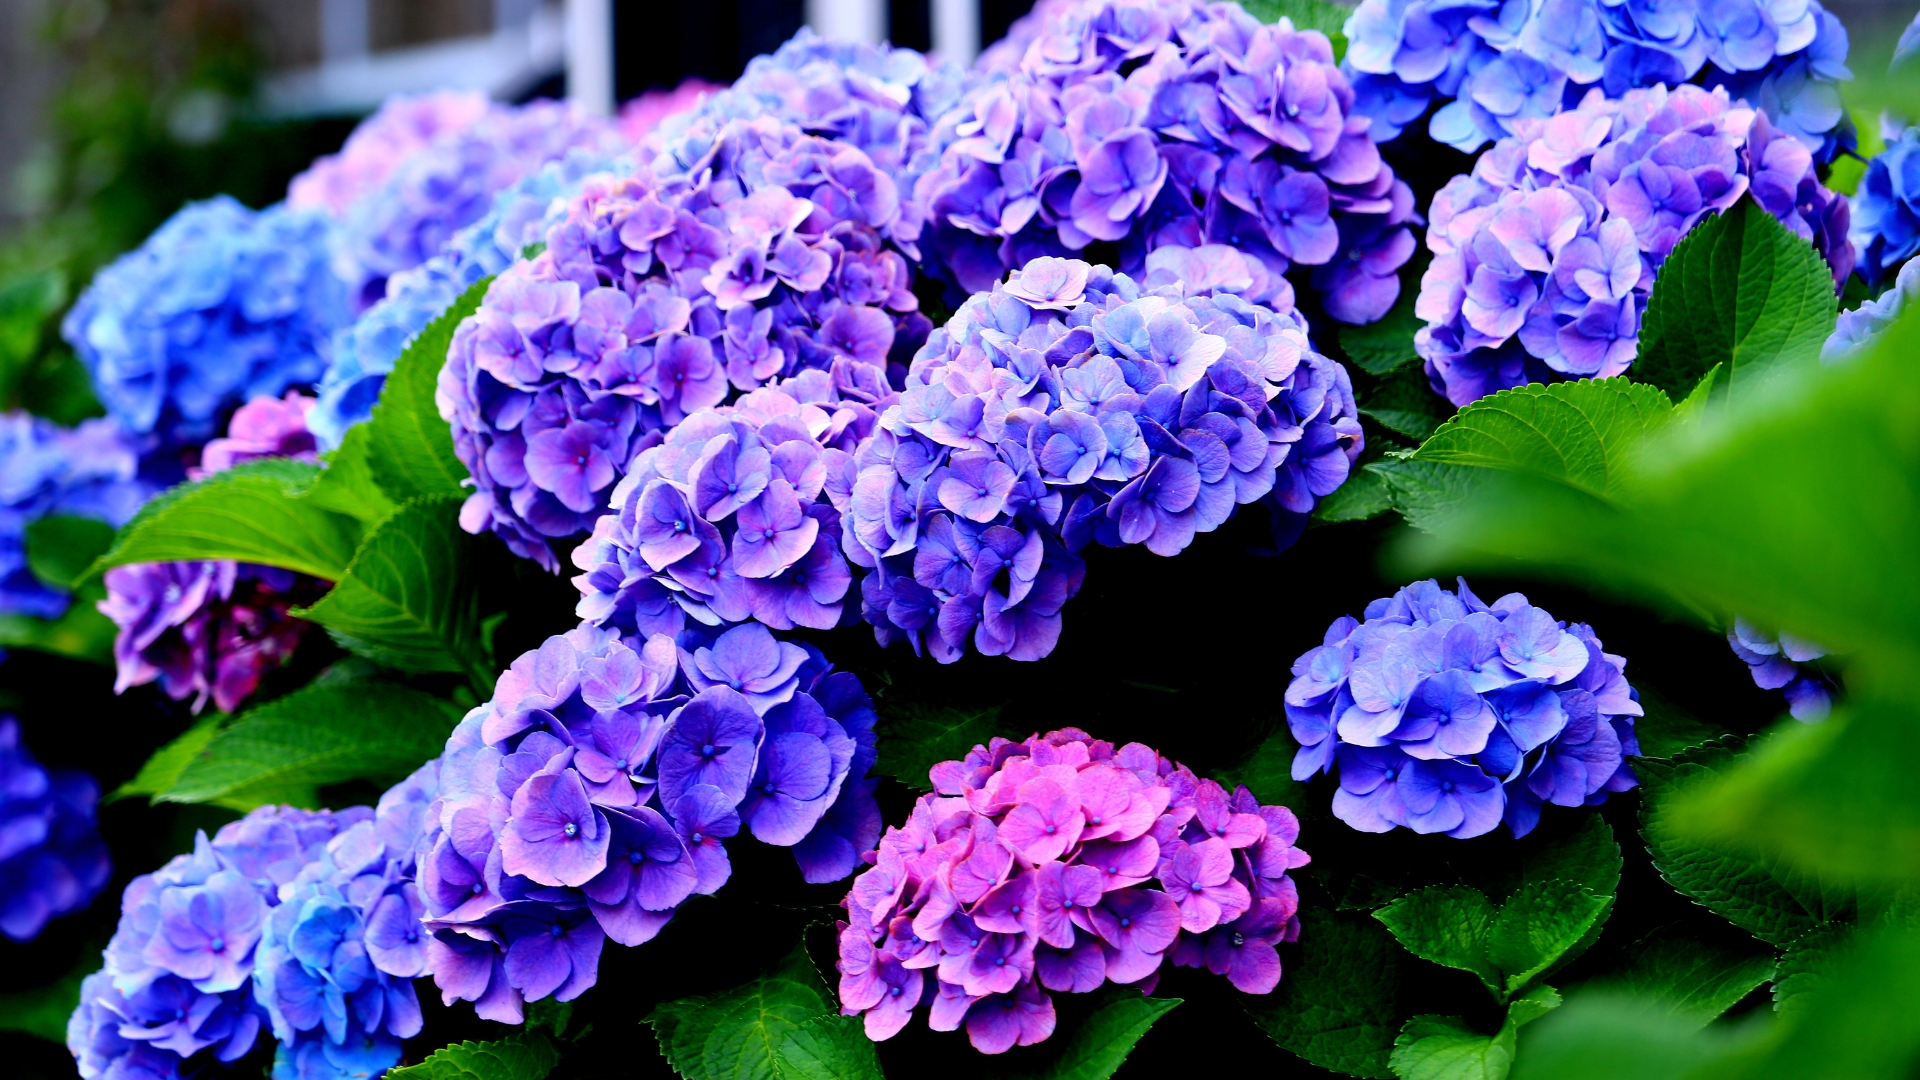
5. Change Bloom Color
At this point, you can also change the color of your hydrangeas if you want. Yes, you heard that right! And this method works on lacecap and mophead hydrangea types.
The key to changing the bloom color in these plants is to acidify the growing substrate using either aluminum sulfate or lime.
Aluminum sulfate will darken the blue hue on the blossoms and, in some cases, it will cause the pink hue to turn to purple.
If you have blue hydrangeas, you can add lime and get a stunning pinkish color. The first round of acidifier should be applied in early spring, i.e., after your hydrangea displays new growth.
For best results, you’ll need to apply another round of acidifier one to two months later.
Maintaining hydrangeas may be challenging for some growers, but following the correct steps during each growth stage will give you lush plants and a wonderful flower display.