How To Make Lawn Green And Thick: Simple Methods And Handy Tips
Are you tired of having patches on your lawn? Does it seem like the grass is always greener and thicker on the other side of the fence?
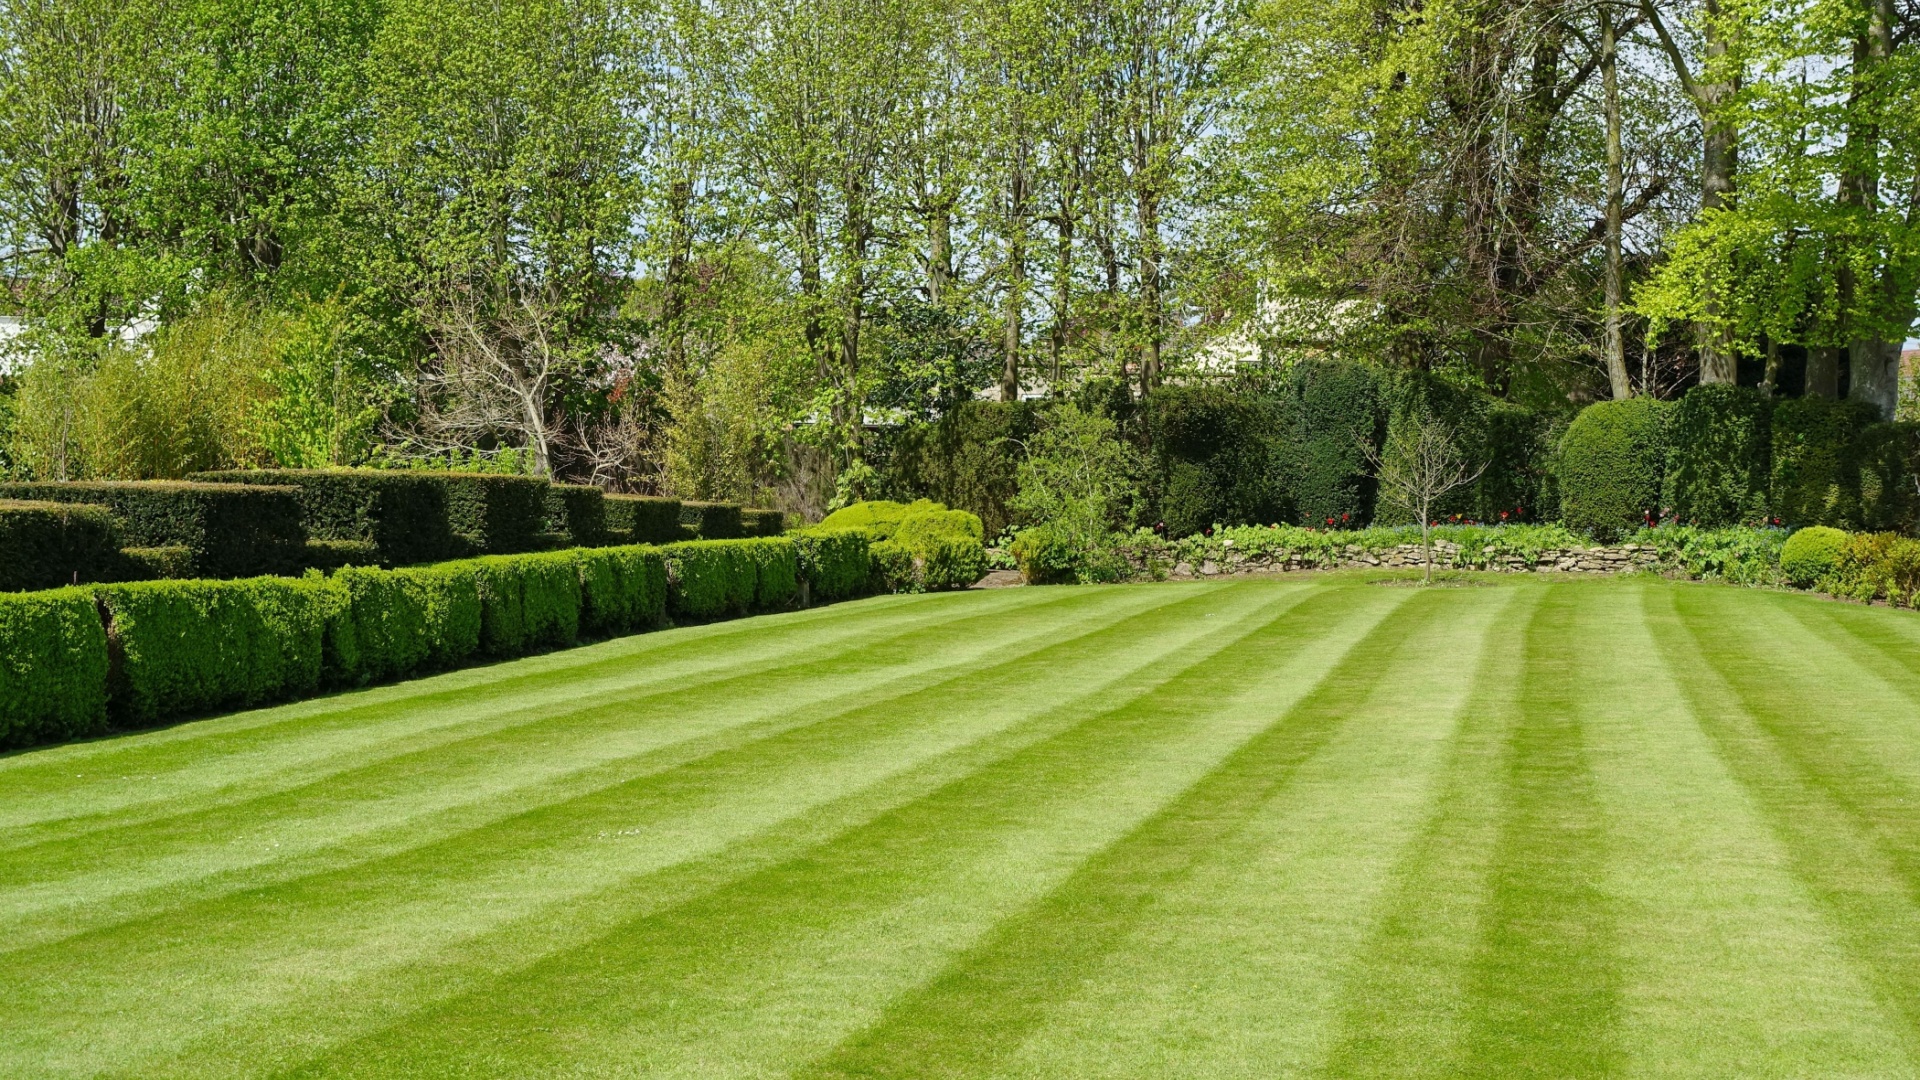
I’m sure many of us have dealt with these issues. Every gardener’s dream is to have a lush, vibrant, and green lawn without any patches or thin areas. There is no better feeling than waking up on a sunny morning and walking barefoot on a soft lawn in your own backyard!
Luckily, we have a few tips and tricks up our sleeves that we will gladly share with you so you can have the thickest and greenest lawn in the entire neighborhood!
Read on to see how to make lawn green and thick.
How To Make Lawn Green And Thick: 9 Methods
As a homeowner, taking care of my lawn is one of my top priorities during spring and summer! At the beginning of my gardening journey, I had some issues with grass seed not germinating. It was so frustrating, and it seemed like I tried every possible solution to no avail.
It turns out I was using bad-quality seeds which had already expired and lost their viability. I was really upset at the time, but it inspired me to learn everything I could about lawn care so all was not lost.
Now let’s look at everything I discovered to help you grow a thick and lush lawn!
1. Test Your Soil
Soil lacking in nutrients and moisture will affect the quality and quantity of grass on your lawn.
You have to provide the best possible environment for the grass seeds if you want them to germinate and develop into thick grass!
Once you have tested your soil, you will be able to see which nutrients it is lacking, the soil pH, and the moisture levels. It is recommended to do this before fertilization because your soil might be missing nitrogen, for instance, while you are adding potassium-rich fertilizers.
Soil pH is also important because it directly affects the seeds. The perfect pH soil would be between 5.5 to 6.5. Most soil types in the United States have a pH in the preferred range, but if you want to lower it you can add limes that lower the pH and promote seed germination and growth.
2. Don’t Forget To Fertilize
As we already mentioned, soil can lack certain nutrients that are necessary for grass seed germination and grass growth. We often forget to treat grass with the proper care we would any other plant, and fertilization is a crucial step in the grass care process!
The three most important nutrients are nitrogen, potassium, and phosphorus (the famous NPK formula) — any lawn fertilizer should have all or at least one of them. Once again, this depends on the results from the soil test, but also what grass type you are growing.
You should apply fertilizer to the soil before planting the seeds, and also throughout the growing season because the grass will use all available nutrients for growth and development.
You can choose from liquid or granular fertilizer, just bear in mind that liquid fertilizers should be applied every other week and you should always follow the instructions, while granular is often applied once a month.
If you are busy and don’t have much time for lawn care, then I would suggest you apply slow-release fertilizer. This type of fertilizer can be applied once in the early spring and it will continuously feed your grass by releasing the nutrients over time.
If you have just installed new sod, then check out the best fertilizers for new sod.
3. Improve Aeration
This is another important issue regarding the soil. If you are planting seeds in compacted soil like clay soil, there is no proper air circulation and your grass seeds will literally suffocate.
This can also prevent normal water uptake, and your new grass won’t even get a chance to grow!
This is common in high-traffic areas because too much pressure can make the soil compact. If you let your kids and pets run over the existing lawn, then improving aeration is a must in the next growing season.
So, how do you improve aeration?
It is done by machines that you rent, or you can hire professional help to help you improve your lawn aeration. This will break up the soil and allow air to reach the grass roots. Once this is done, your soil will have small holes which are perfect for overseeding, especially in bare spots and patches.
4. Use The Right Grass Type
You can spend a lot of time preparing the soil for the planting only to end up with no grass at all! That’s why it’s important to consider other factors like finding the perfect grass for your lawn.
Sure, everyone wants famous Kentucky bluegrass with its amazing blue-green color and that special glow, however, you should check its requirements first.
For instance, some grass types prefer to grow in partial shade than full sun, while others thrive in the opposite conditions.
I would suggest you first take into consideration the climate in your region because grass types are primarily divided into warm-season grasses and cool-season grasses.
Warm-season grasses grow the best at temperatures above 75 degrees Fahrenheit, although they can tolerate lower temperatures. However, the grass will turn brown at any temperature below 55 degrees Fahrenheit.
Here are some warm-season grasses:
• Bermuda grass
• Bahiagrass Argentine
• Centipede
• Zoysia
• Carpet grass
• Floratam St.Augustine
• Bahiagrass Argentine
Most of these grass types are suitable for Florida, where the temperatures get extremely hot. You won’t have to worry about the grass being burned during hot summers!
On the contrary, cool-season grasses thrive in temperatures between 60 to 85 degrees Fahrenheit, though they can tolerate much lower temperatures.
Some cool-season grasses are:
• Bluegrass
• Ryegrass
• Tall Fescue
• Bentgrass
• Fine Fescue
• Creeping Red Fescue
If you are more into landscaping and having a pretty lawn, then I would suggest you take a look into some of these grass types:
• Kentucky bluegrass — as we already mentioned, this is one of the finest grass types in the world! It has a color somewhere between green and blue, and the leaf texture is fine-to-medium, perfect for walking on barefoot.
• Fine Fescue — it’s not called fine for no reason! This grass type has a slightly narrow-leaf texture, and the medium green color is simply mesmerizing. This grass is perfect for people who want low-maintenance lawn needs.
• Ryegrass — this is one of the easiest grass types to grow! It germinates very quickly and grows fast, so you will have lush green grass in no time. It has a dark green color and medium leaf texture. Ryegrass often gets mistaken for Fescue, but you have to look into the smallest details to be able to differentiate between these two.
5. Overseeding
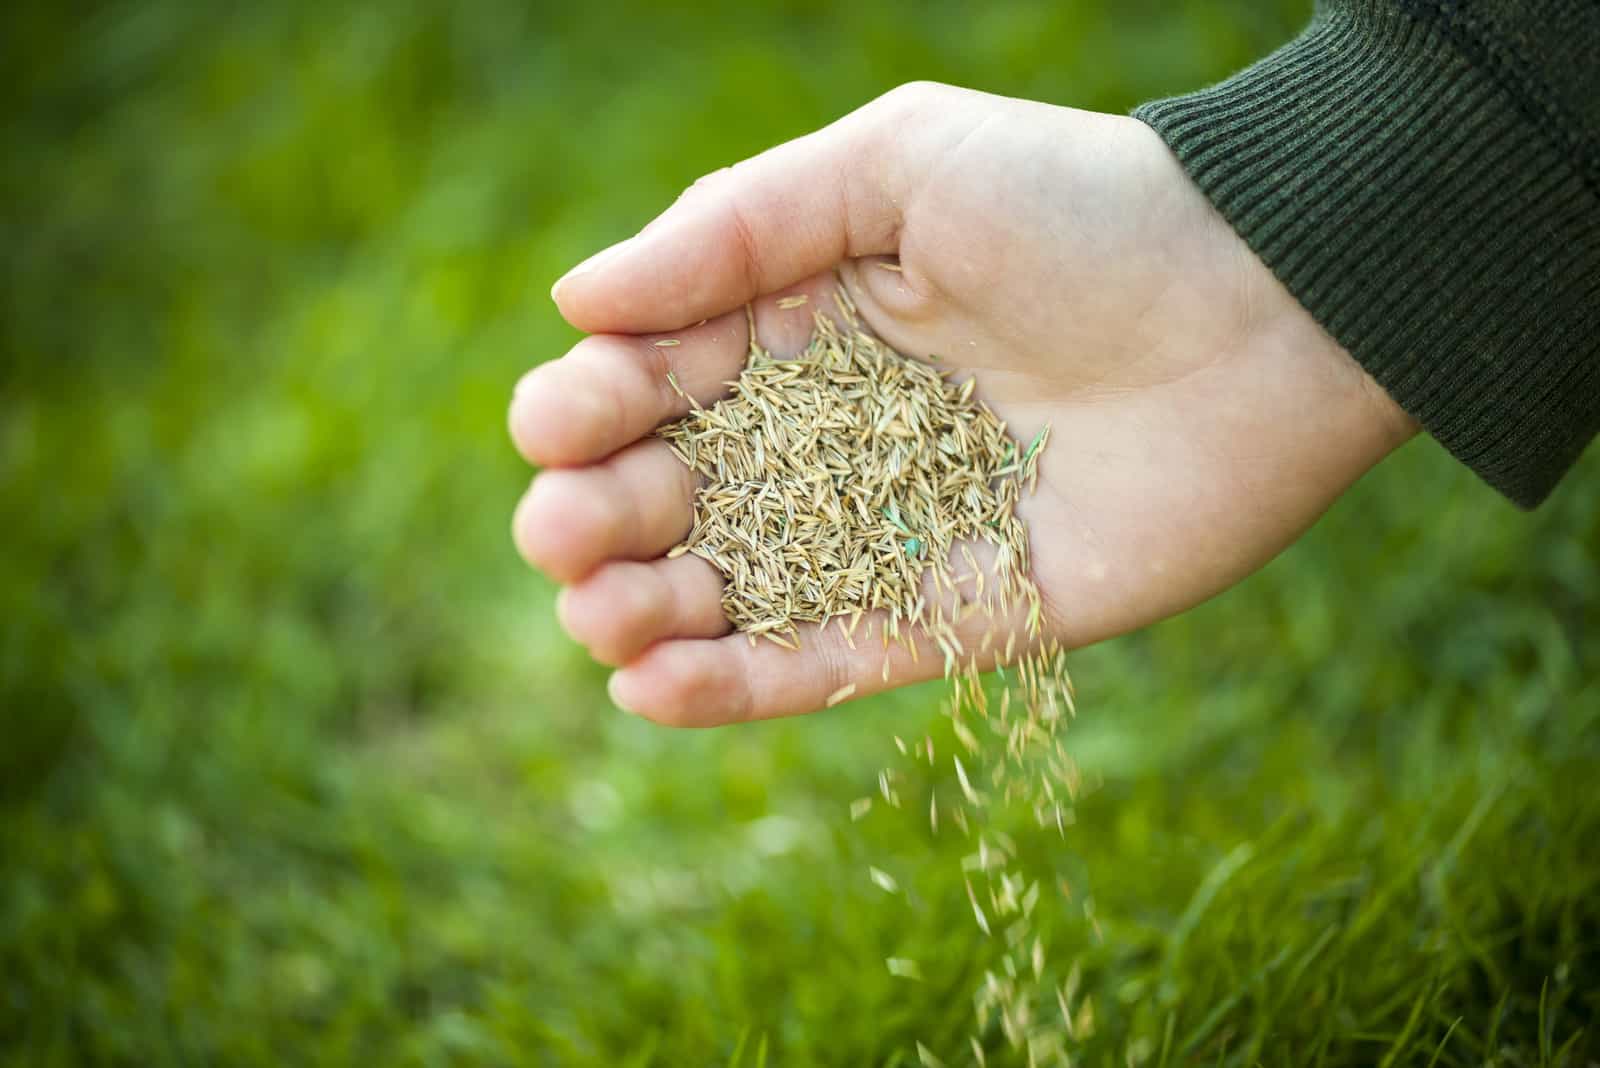
Another simple solution to your problem is overseeding. Don’t worry, it isn’t too complicated — all you have to do is sow new seeds onto an already existing lawn to make your grass thicker!
This is one of the top lawn care tips to get much thicker and greener grass in your garden.
Bear in mind that when you sow the seeds also depends on the type of grass on your lawn. For instance, if you are growing cool-season grass, then you should overseed the lawn in fall or spring. However, the best time for overseeding warm-season grasses would be during late spring.
You can follow these simple instructions for overseeding:
1. Mow your existing lawn — the grass should be lower than 2 inches.
2. Spread the seeds — you can either use a spreader or do it by hand. Focus on bare spots and thin areas.
3. Press the seeds with the back of a rake. This will help the seeds to really lock into the soil.
4. Cover the seeds with a thin layer of compost. You can also sprinkle peat moss on the lawn at this point.
5. Apply starter fertilizer that contains phosphorus to help the roots establish and encourage growth.
6. Mow the seeds after they have grown about 3 inches, and don’t forget to save the grass clippings and use them as mulch!
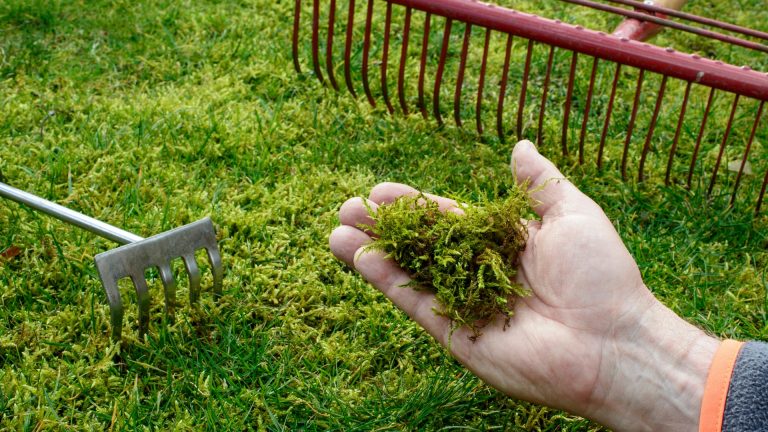
6. Dethatching
Dethatching refers to the process of removing the thatch that has built up on the soil, which prevents the grass from absorbing essential nutrients. Thatch is basically a layer of organic matter like grass clippings and leaves.
Dethatching has its pros and cons but removing the thatch will definitely give easier access to water and fertilizers, allowing your grass to absorb them and thrive!
You can rent a dethatcher and do it yourself, or you can hire professional help to dethatch your lawn and make it look more healthy and vibrant.
For clearer instructions, check out this video:
7. Watering Schedule
You have to treat your grass as you would any other plant, which means that you must think about providing it with enough water to keep it happy and healthy.
Now, when it comes to watering your lawn, you have to do it either before sunrise or really early in the morning. This is because your grass will need that hydration throughout the day, especially because they are going to be exposed to full sun the whole time.
If you water them in the middle of the day, the water will evaporate quickly before it has even reached the grass roots. You should also avoid watering them at night because the humidity can be too high, making your turfgrass prone to various diseases.
Watering your lawn in the early morning is the best option, though it can be tiring to get up that early, which is why you should invest in a sprinkler that you can set at any time you want. If you don’t have a sprinkler and the morning is not a convenient time, then you can water your lawn in the late afternoon around 6 pm.
When watering, make sure that you do it thoroughly so that the entire lawn gets completely soaked. This usually takes about 45 minutes, but it depends on the size of your lawn. You will have to water it at least twice a week so that your lawn gets an inch of water each week.
However, if you live in a region where it rains quite often, you will probably have to water it less.
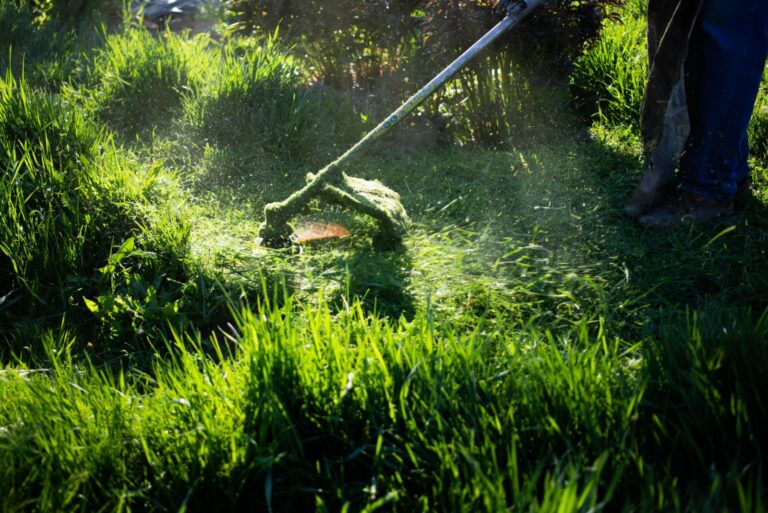
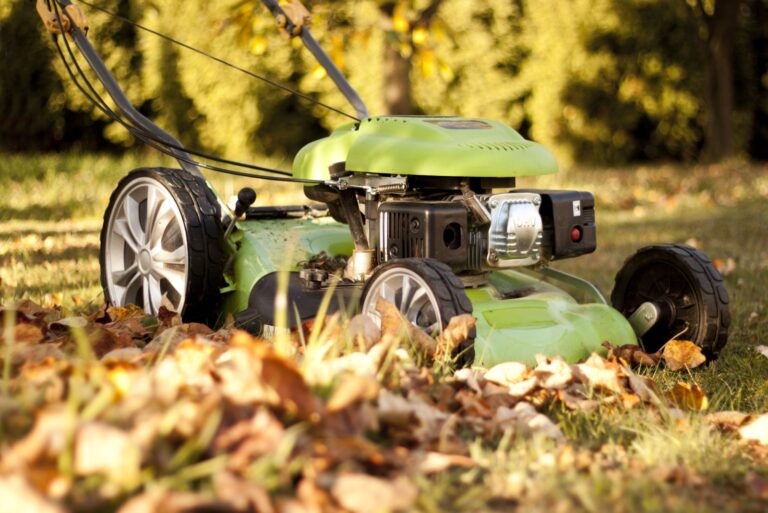
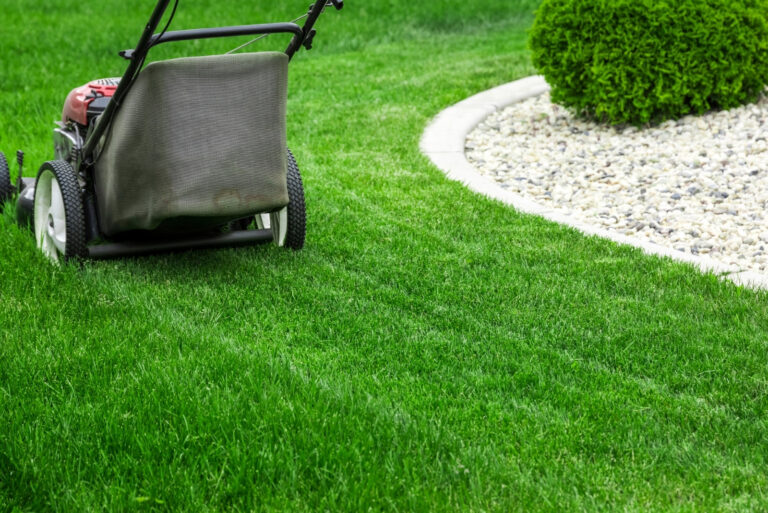
8. Use Your Mower
Mowing is an essential part of the lawn care guide, and is sometimes done incorrectly. Even though it seems super easy, it can affect the thickness of your lawn, which is why it’s important to know how to properly cut grass.
First, make sure that the grass is not wet before mowing. When you cut wet grass, it makes it more susceptible to fungi and various diseases that can ruin your lawn.
Next, you should be careful not to cut the grass too short as it can cause stress. Also, longer grass blades can protect the soil and the seeds beneath them.
Always make sure that the mower blade is clean, sharp, and ready for the next mowing session. The mowing height depends on the grass type, but ideally it should be between 3.5 to 4 inches long. You should mow your lawn once a week, and the best time would be in the mid-morning because the grass has had time to grow overnight.
You should also invest in a good lawnmower. seriously it will save you so much trouble!
9. Weed Treatments
Weeds can be very irritating, and there are various treatments and pesticides to combat them.
Many homeowners use pre-emergent weed killers before planting as a precaution. Weed killers function by stopping weed seeds from germinating, and they may have the same effect on grass seeds if applied immediately after planting.
You could accidentally prevent the growth of your new grass without even realizing it, so be careful!
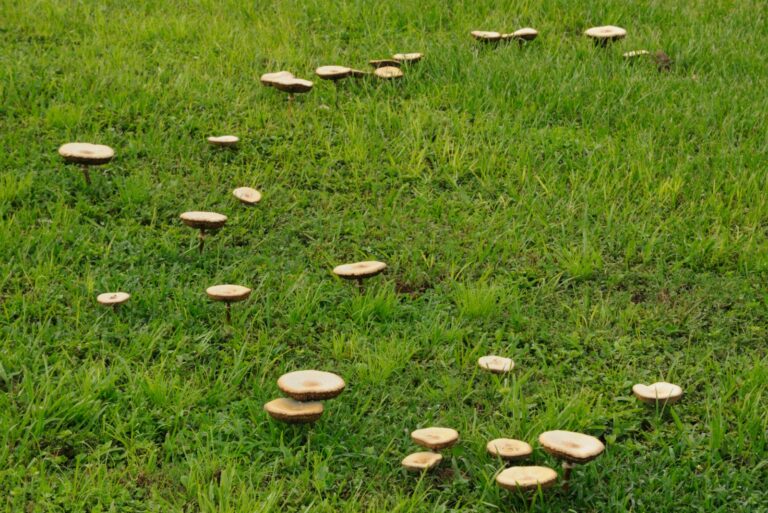
However, weeds can also invade your lawn and introduce various turf diseases that will make it appear thin and messy. For instance, crabgrass is a common weed that can easily spread all over your lawn.
You must apply some herbicides or weed killers to treat these annoyances. To avoid killing the grass seed and preventing it from germinating, but also stop weed growth at the same time, I would recommend you wait at least 10 weeks before applying any weed controls after sowing the grass seeds.
Frequently Asked Questions
1. What is the best way to get rid of brown spots on my lawn?
First, you have to make sure that the soil in that particular spot has enough nutrients to encourage grass seed germination and growth. One of the simplest solutions is to apply fertilizers. You should test the soil before fertilization to see what specific nutrient it lacks and what the pH level of the soil is.
Next, you should remove any thatch from that spot. This can be done with a dethatcher in a process known as dethatching.
Another thing you have to take into consideration is watering. Every inch of your lawn should get enough water to be thick and green without any bare spots! Then apply weed control and herbicide to prevent various turf diseases from ruining your lawn.
Remove all trees or plants that shade your lawn because you might have a type of grass that thrives in full sun.
2. What can I put on my lawn to make it more green?
You should get a fertilizer that contains nitrogen, phosphorus, and potassium. These are essential nutrients for a thick and vibrant lawn. You might recognize them by the famous NPK formula.
3. Why is my lawn not thick and green?
There can be several reasons. First, your soil might be lacking the nutrients essential for grass seed germination, grass root establishment, and overall lush growth and development. It can also be too compacted, which prevents proper air circulation in the soil and suffocates the grass.
You might not be watering your entire lawn thoroughly enough, or watering it too much and making it prone to various turf diseases.
Cutting the grass too short can also be a reason for a thin lawn.
Weeds also tend to grow and invade lawns, making them appear messy with bare spots.
Another reason your lawn might not be thick and green is thatch, which covers the soil and prevents normal nutrient and water uptake.
Always take the climate in your region into consideration and buy the appropriate grass type.
Final Thoughts
Maintaining a lawn can sometimes be exhausting, but waking up in the morning and walking barefoot in your own garden is so satisfying, which makes all the hard work worth it.
Follow these simple tips and tricks for how to make a lawn look thick and green, and you’ll always have greener grass on your side of the fence!
Until next time!
Like this post? Share or pit it for later!