When And How To Start Seeds Indoors For Spring Planting
When I was just starting out on my gardening journey, I dreaded seeds. I thought growing plants this way was immensely difficult and that it required a lot of expertise.
I couldn’t have been further from the truth!
Seed starting is one of the most fulfilling parts of gardening because you can see your plant from start to finish. It teaches you patience and you get to grow some varieties that may not be available in nurseries.
And once the seeds germinate, the difficult part is over and you get to care for your seedlings as if they came straight from a nursery.
Here’s when and how you should start your seeds indoors if you want to transplant them this spring!
Let’s get started!
Benefits Of Growing Vegetables From Seeds

There are numerous benefits of starting your plants from seeds, and I’ve already mentioned a few. Improving your gardening experience, teaching you patience, and allowing you to monitor your plant’s entire growth cycle is definitely a plus.
But what I like most about seed starting is that you get to choose from a vast variety of plants that would otherwise be unavailable. Online seed catalogs may include some rare or uncommon plants that you definitely won’t find at your local nursery or gardening center.
Another reason is that starting your herbs, vegetables, and flowers from seed rather than nursery-bought seedlings is much more cost-effective.
And you get a higher yield because a single seed pack can give you numerous plants.
Starting seeds indoors is a great way to jumpstart your season and get fresh produce earlier than your neighbors. This is especially beneficial in regions with harsh winters and long dark days.
When To Start Seeds Indoors
The best time for starting seeds indoors depends on your climate and the seeds you wish to grow.
Each USDA zone has an outline for outdoor planting. Once you know this, check out the back of the seed pack. It has information on planting and germinating times which is crucial.
Generally speaking, you should start your seeds indoors 6-8 weeks before the last spring frost in your zone.
Some plants can be planted as early as January, so always check the instructions on the seed pack so that you don’t miss your timeframe.
P.S. If you don’t have room in your home for this chore, there are many ways of using a greenhouse in winter, and one of them is starting hardy seeds.
Best Pot For Seed Starting
The planter you choose will affect drainage, moisture, and the amount of soil you add, so choose wisely.
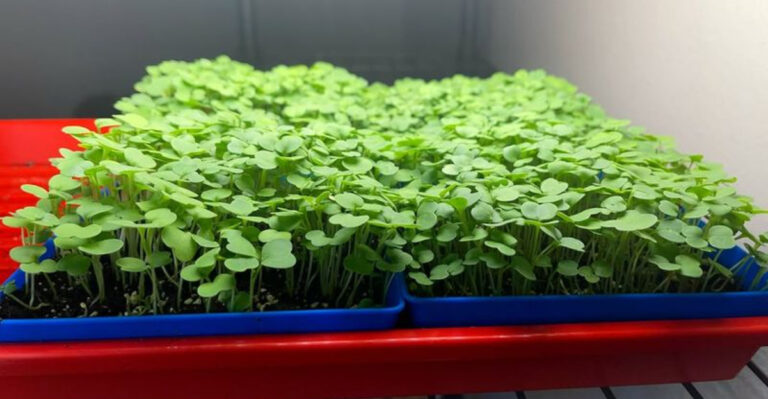
If you’re new to starting seeds indoors, I’d recommend getting a nursery tray. They come with numerous cells, have drainage holes in the bottom, and hold just the right amount of soil to prevent the seeds from rotting.
Another benefit of seedling trays is that they contain separate cells, allowing you to plant a single seed per cell and avoid overcrowding your plants.
You can also use compostable pots, such as peat containers, coir pellets, planters made from cow manure, etc. The good thing about these pots is that you don’t have to repot your seedlings; you can simply plant them whole – pot and plant – into a larger container.
Finally, you can use regular planters as long as they have drainage holes. However, it can be harder to keep them covered and warm, and find room for them under perfect lighting.
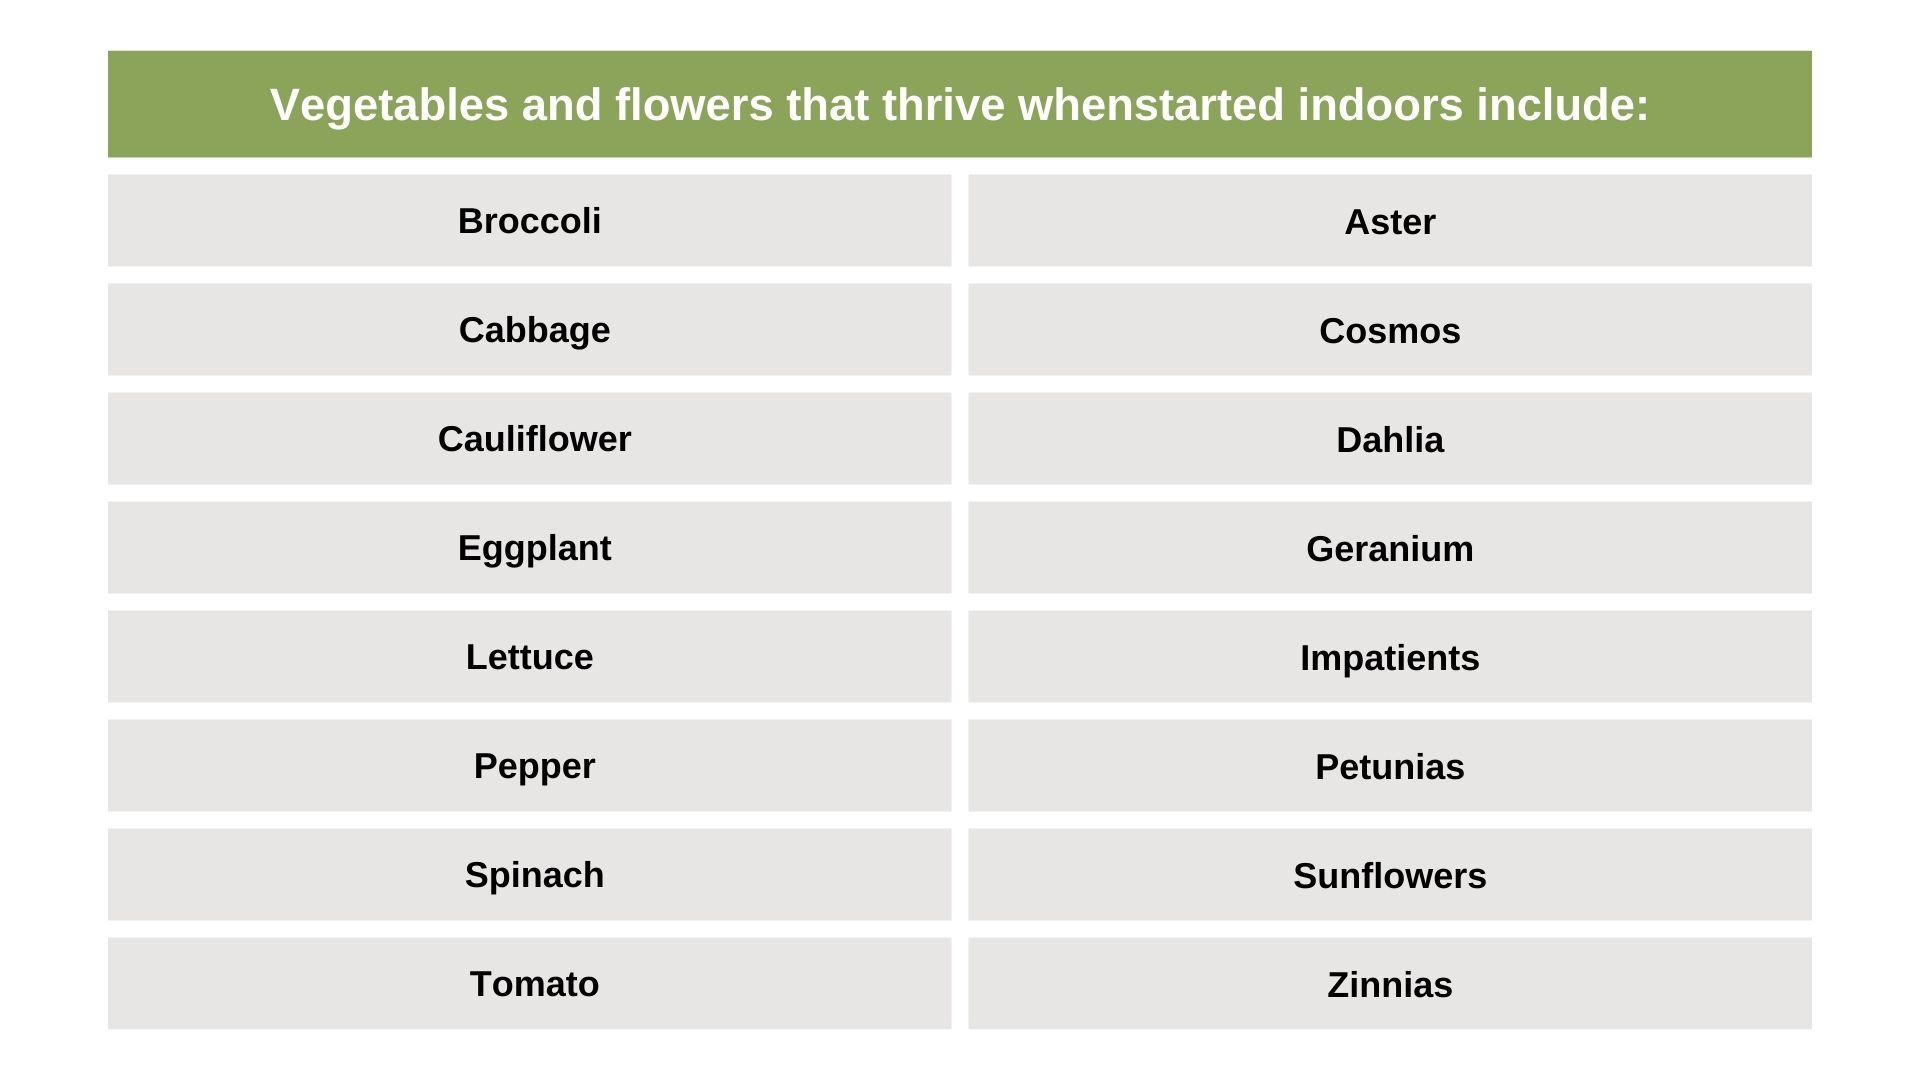
Best Seeds For Indoor Starting
There are five main seed types and once you opt for heirloom, hybrid, or open-pollinated varieties, you can start choosing which veggies you want to grow.
One thing I’d like to mention is that not all plants need to be started indoors. Some have short germination cycles and starting them indoors would only speed up your growing season by a couple of days.
Others don’t like to be moved, so planting them directly outdoors would remove the need for transplanting.
5 Steps Of Starting Seeds Indoors
Here’s how to start the seeds indoors and prepare them for spring planting.
#1 Soil And Pot Preparation
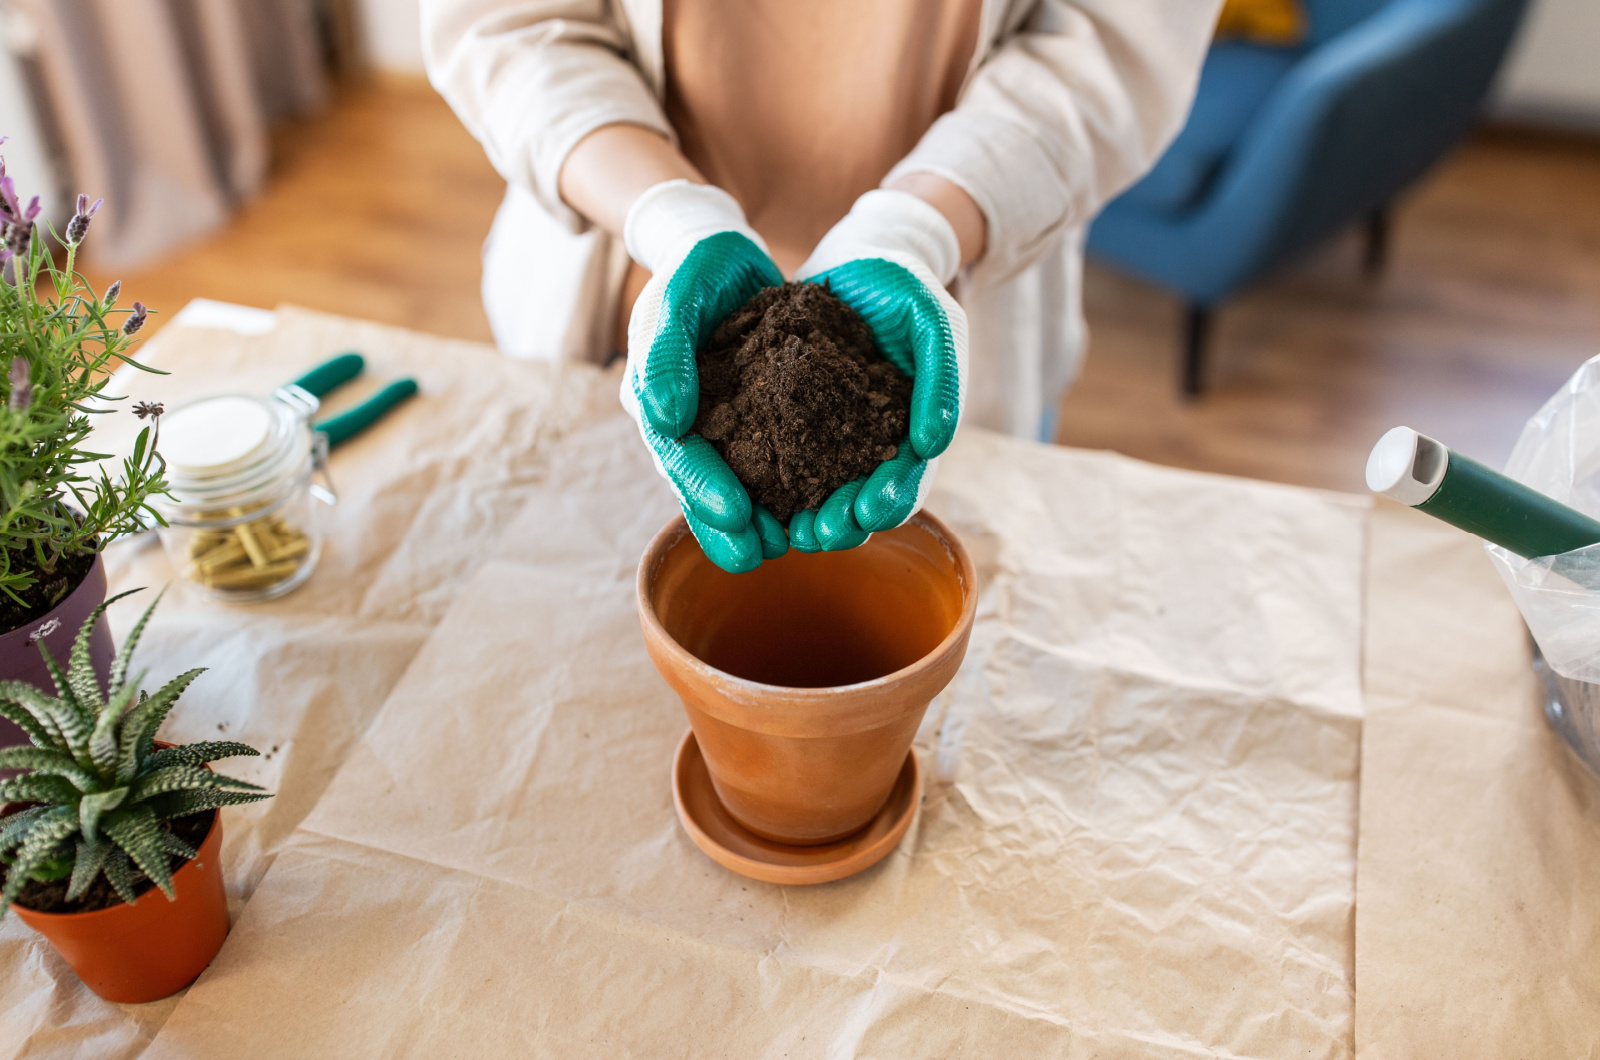
The first thing you have to do is prepare your growing medium. Soilless seed-starting mixes are your best option because garden soil can get too compacted in pots and suffocate the seeds.
Instead, opt for an organic, loose, and aerated blend or create your own by mixing compost and pumice (or perlite). Dampen the soil to ensure the seeds get moisture as soon as they’re planted.
Fill your nursery trays or pots with this mixture and pat them down slightly until they are level with the rim.
#2 Making Holes
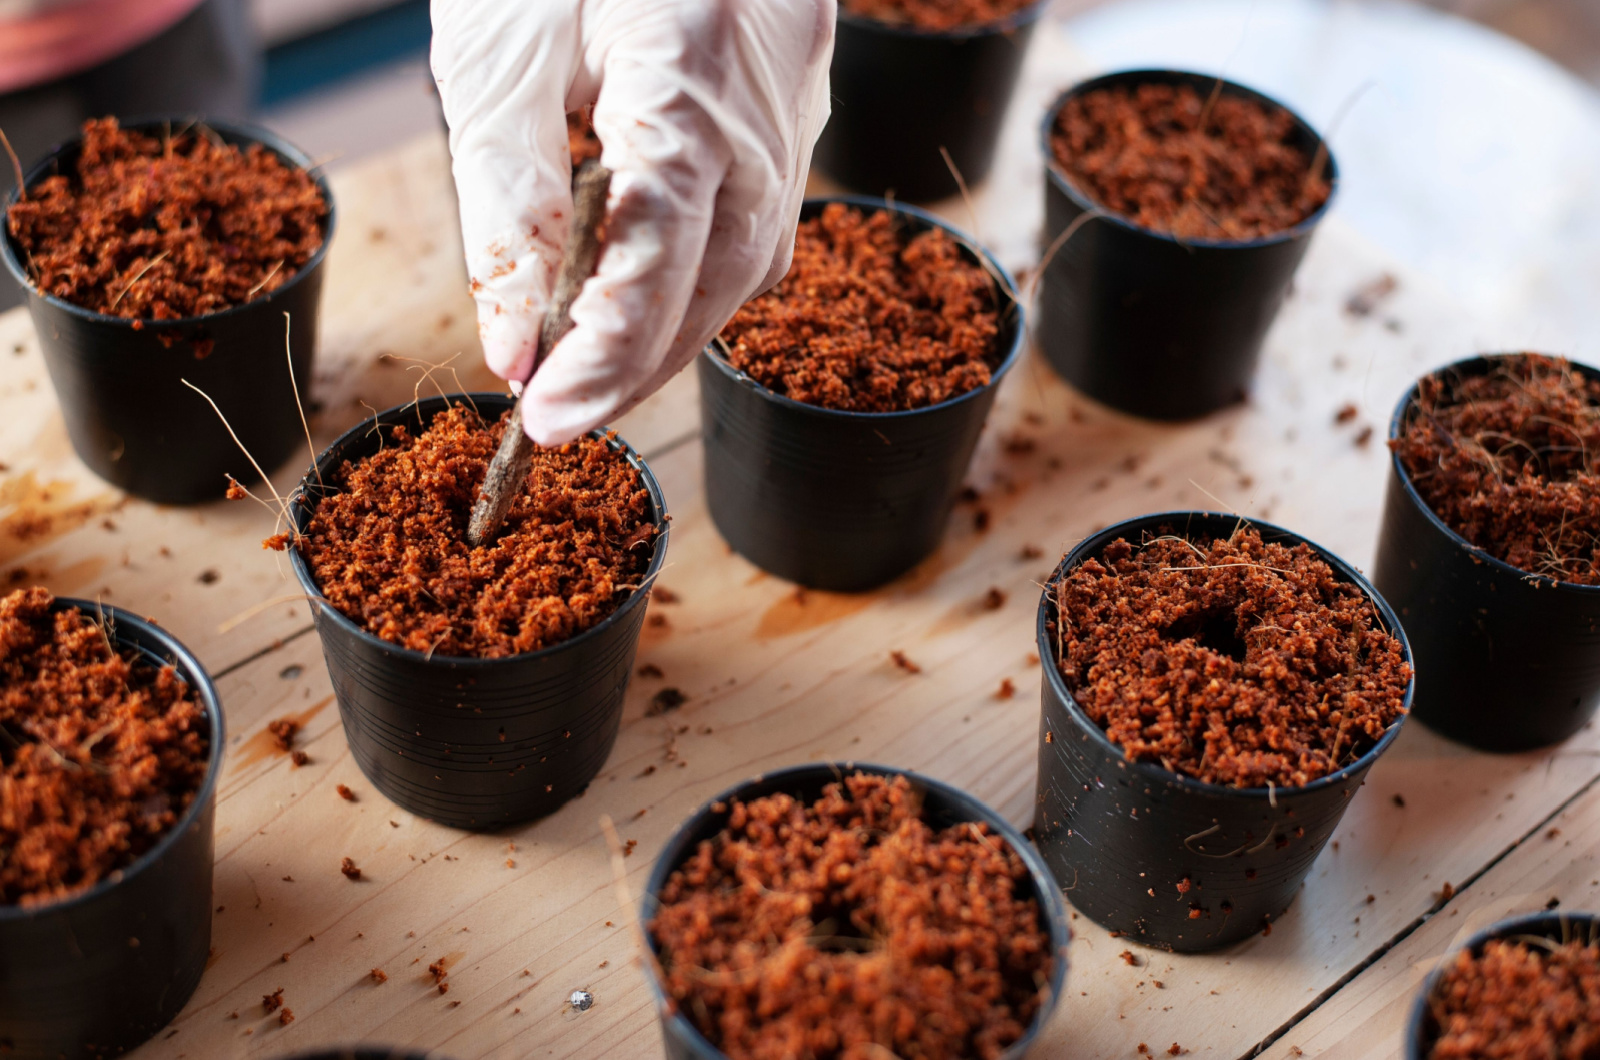
The next step is poking holes in the mix. Use your finger or a stick and ensure they’re deep enough for the seeds you’re planting.
You can see planting depth and spacing on the back of the package, so always consult it before planting.
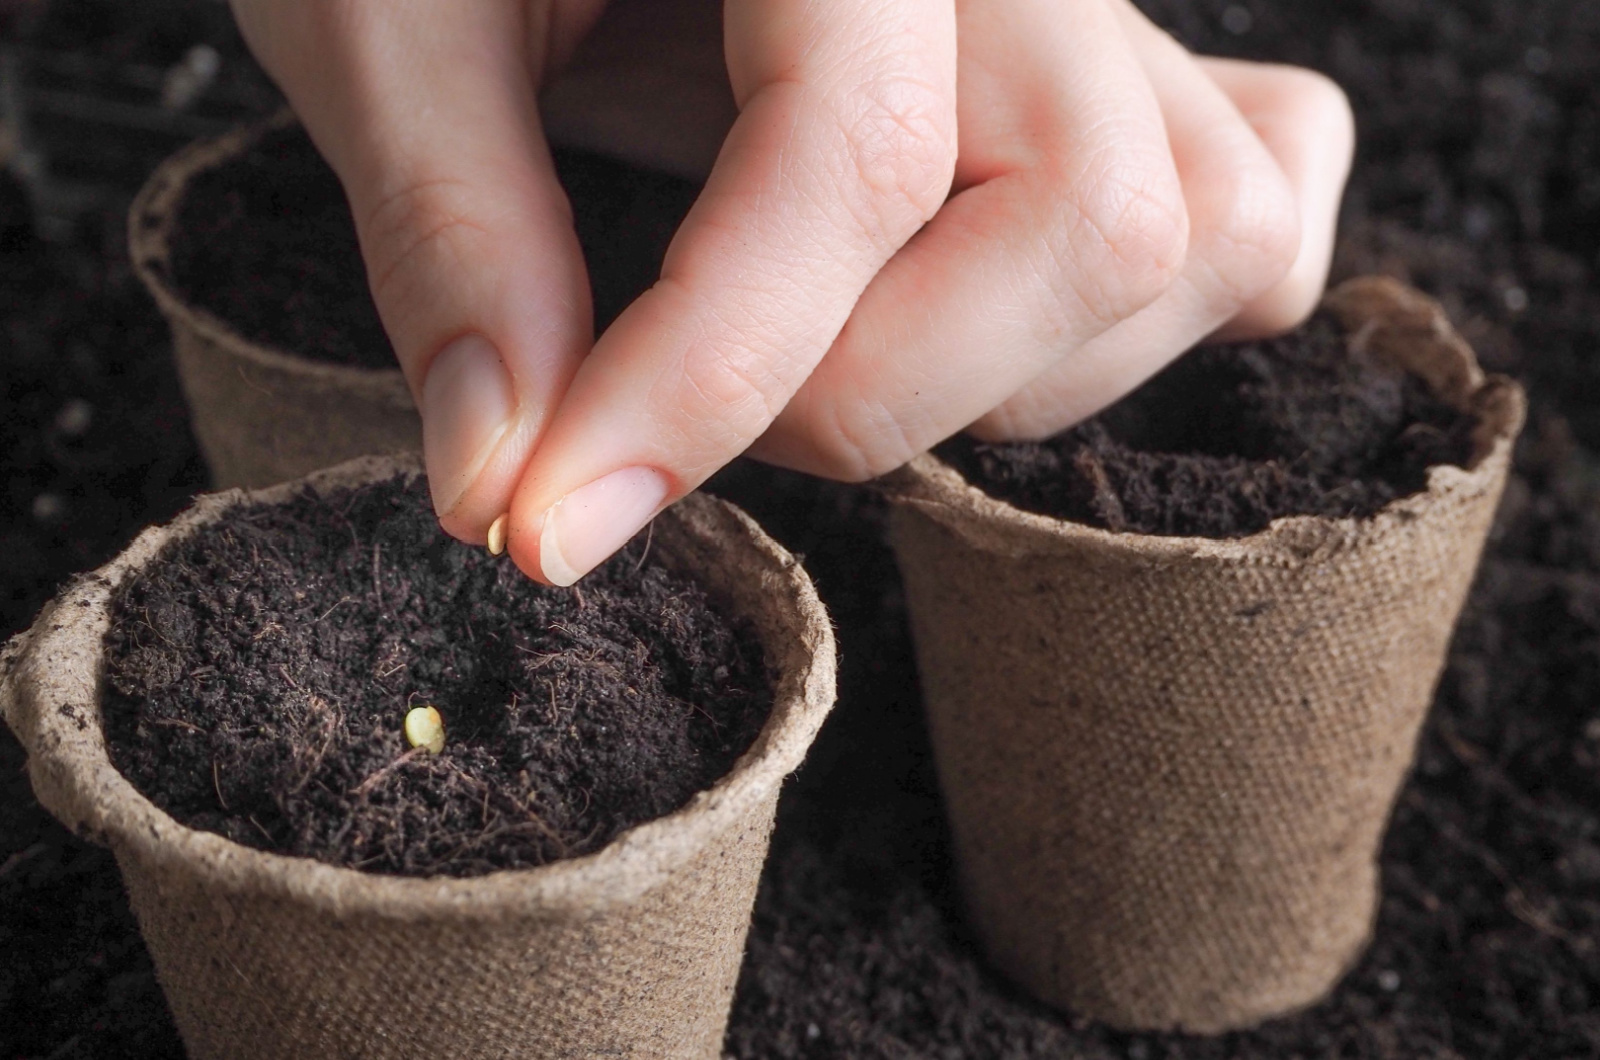
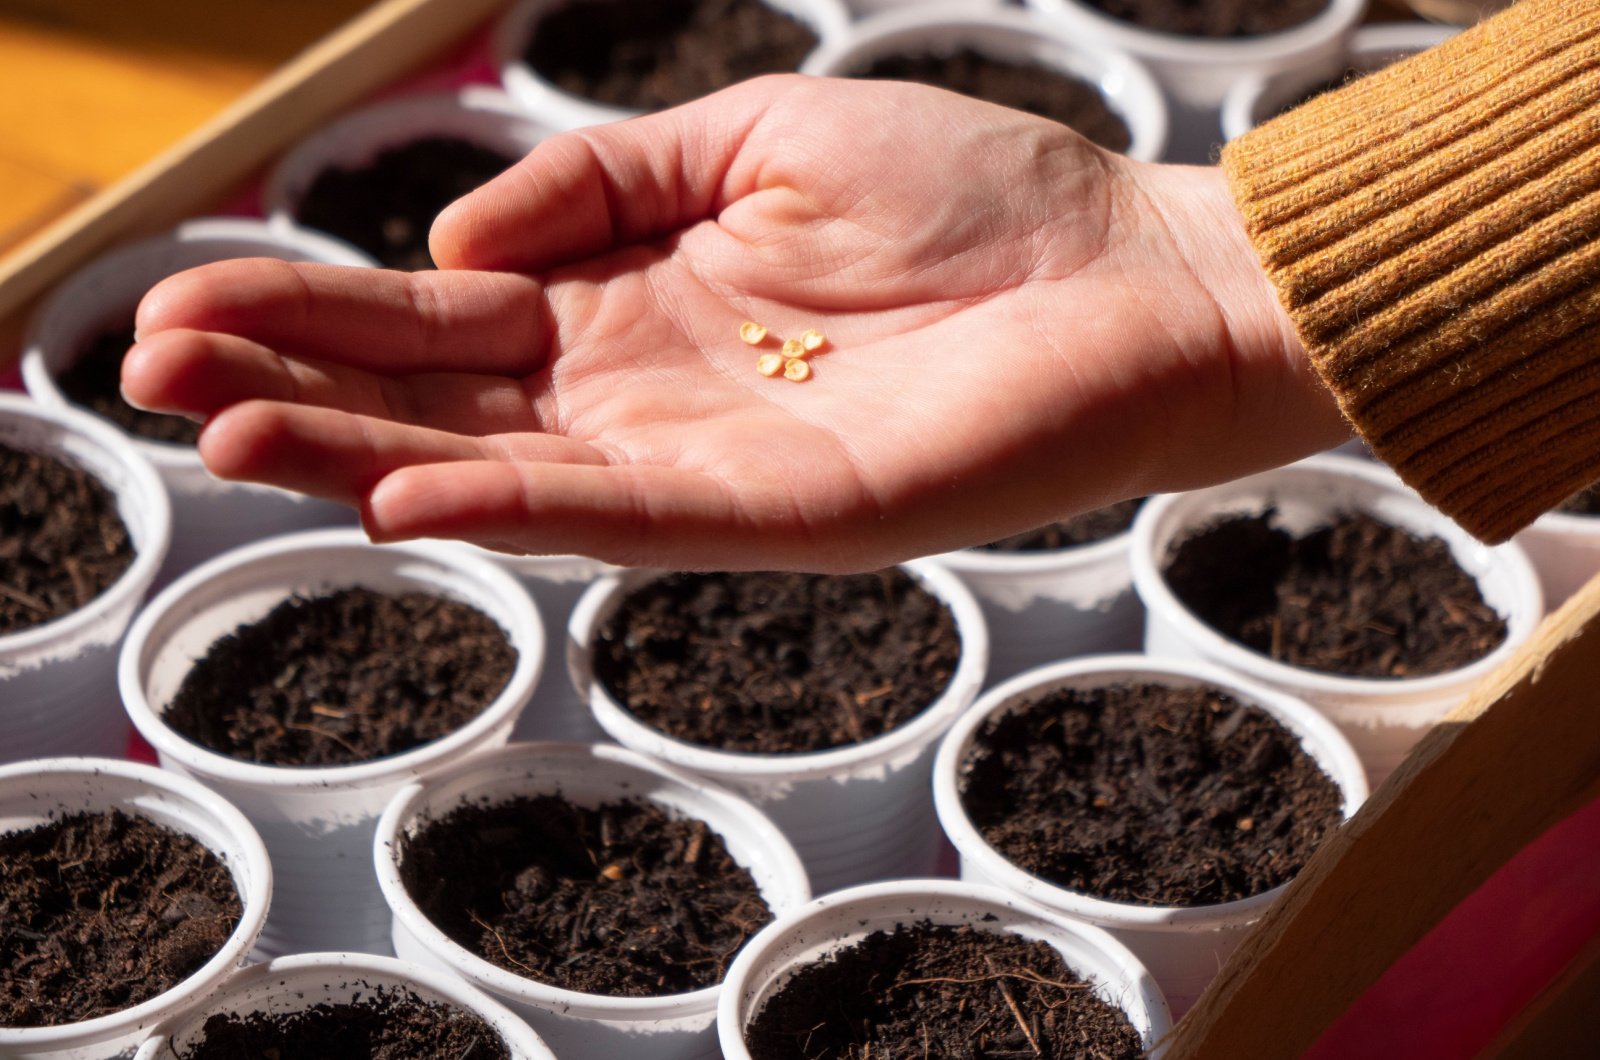
#3 Sowing

Now we come to the fun part – sowing. Check the package to see how many seeds can go in each hole (one or more) and start planting.
Sprinkle the seeds into the holes, and that’s it.
If you’re not sure how many seeds you can plant per cell, just eyeball it. Once they germinate and seedlings sprout, you can thin them and prevent overcrowding that way.
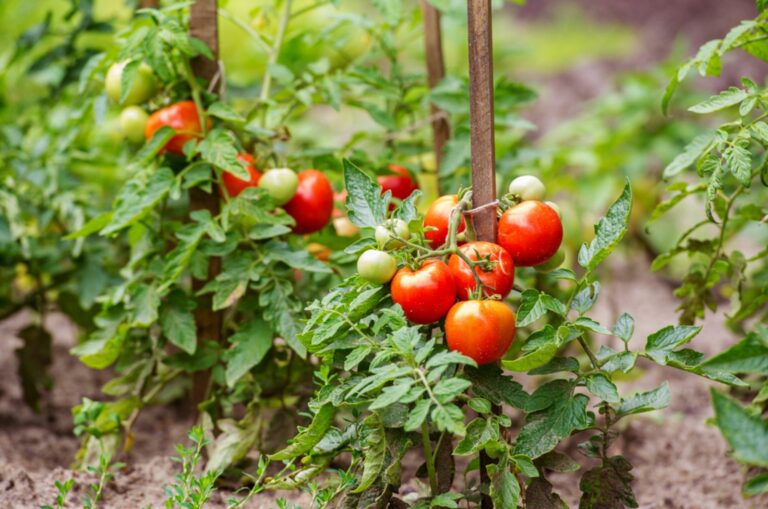
P.S. There are fruits and vegetables you can grow indoors year round, so you can try growing them from seeds to enjoy their complete transformation.
#4 Covering The Seeds
Now’s the time to cover the seeds. However, you can’t just dump soil on them and call it a day.
For instance, tiny seeds only require a sprinkle of growing medium, while larger ones should be covered with more seed-starting mix.
It really depends on the plant you’re growing, so always check the instructions on the package to be sure.
Once you cover the seeds in a growing medium, gently pat it down, and that’s it.
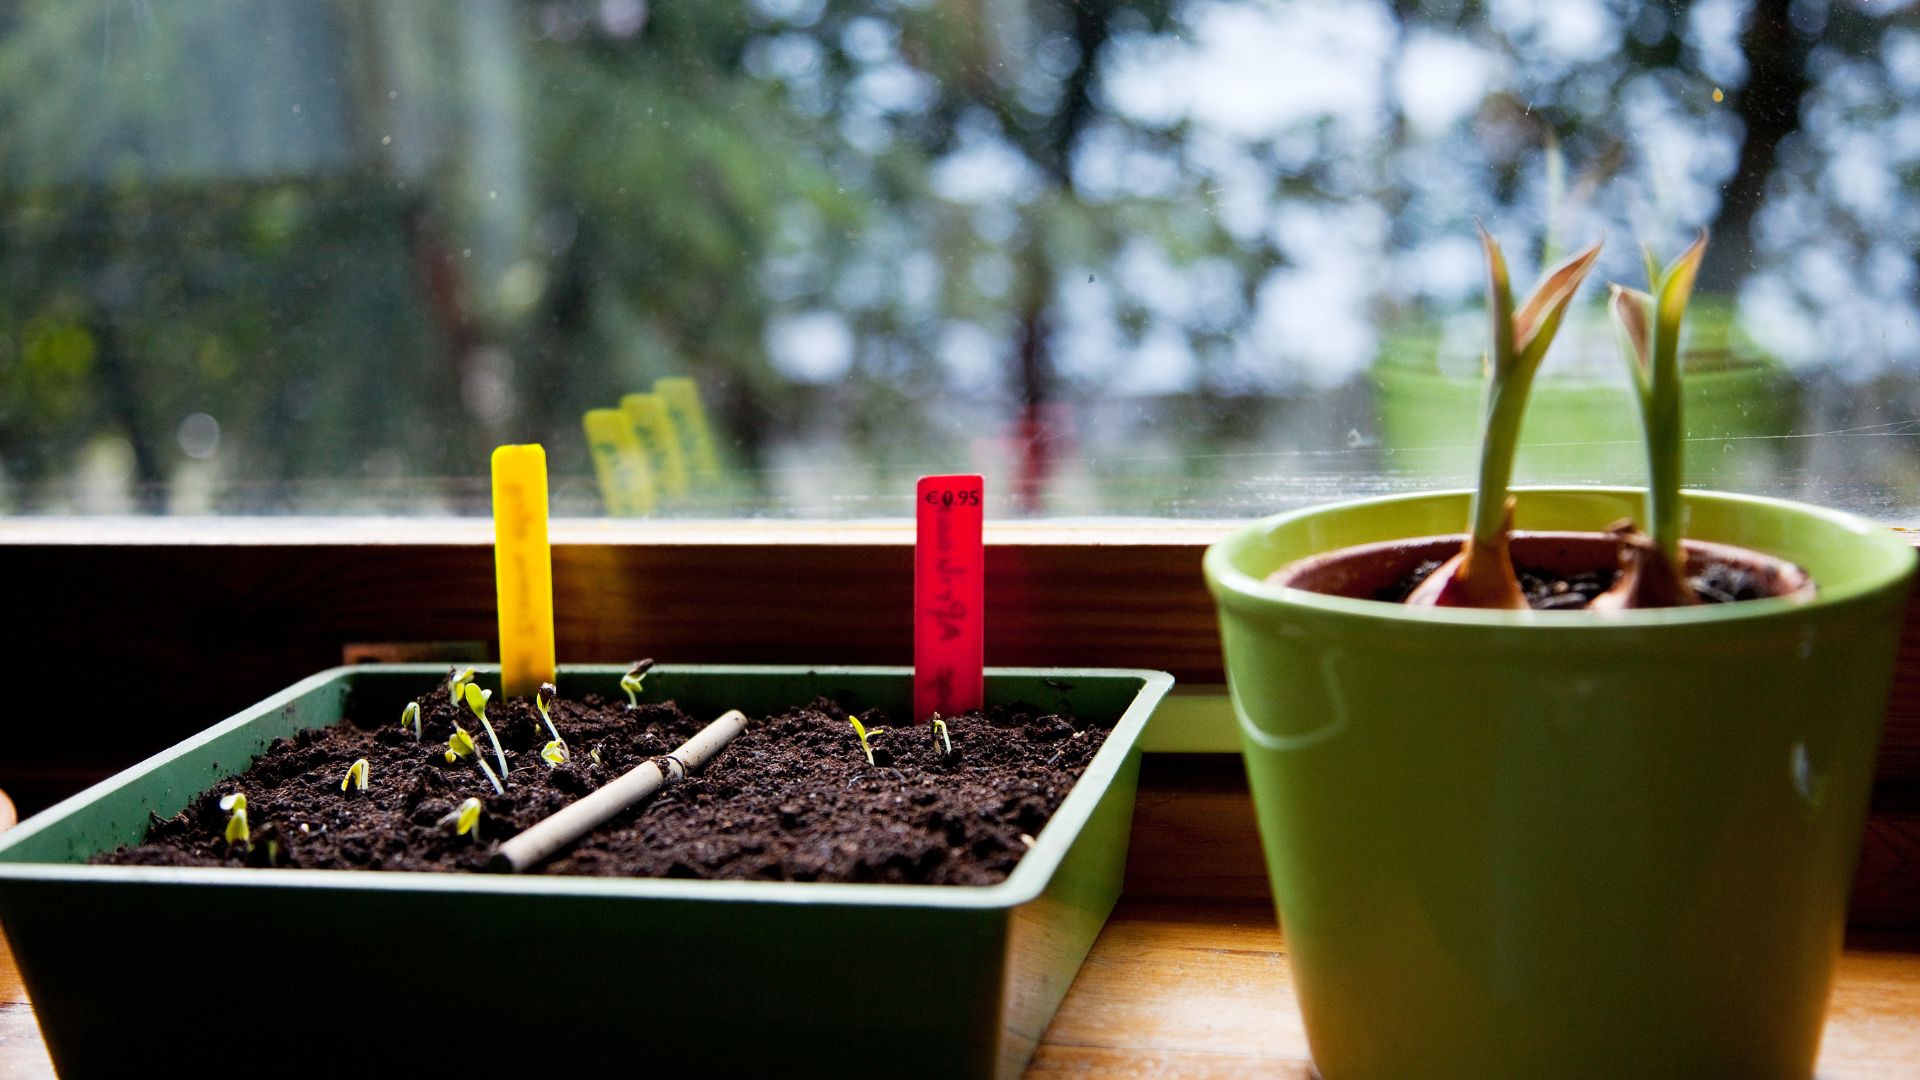
#5 Labeling
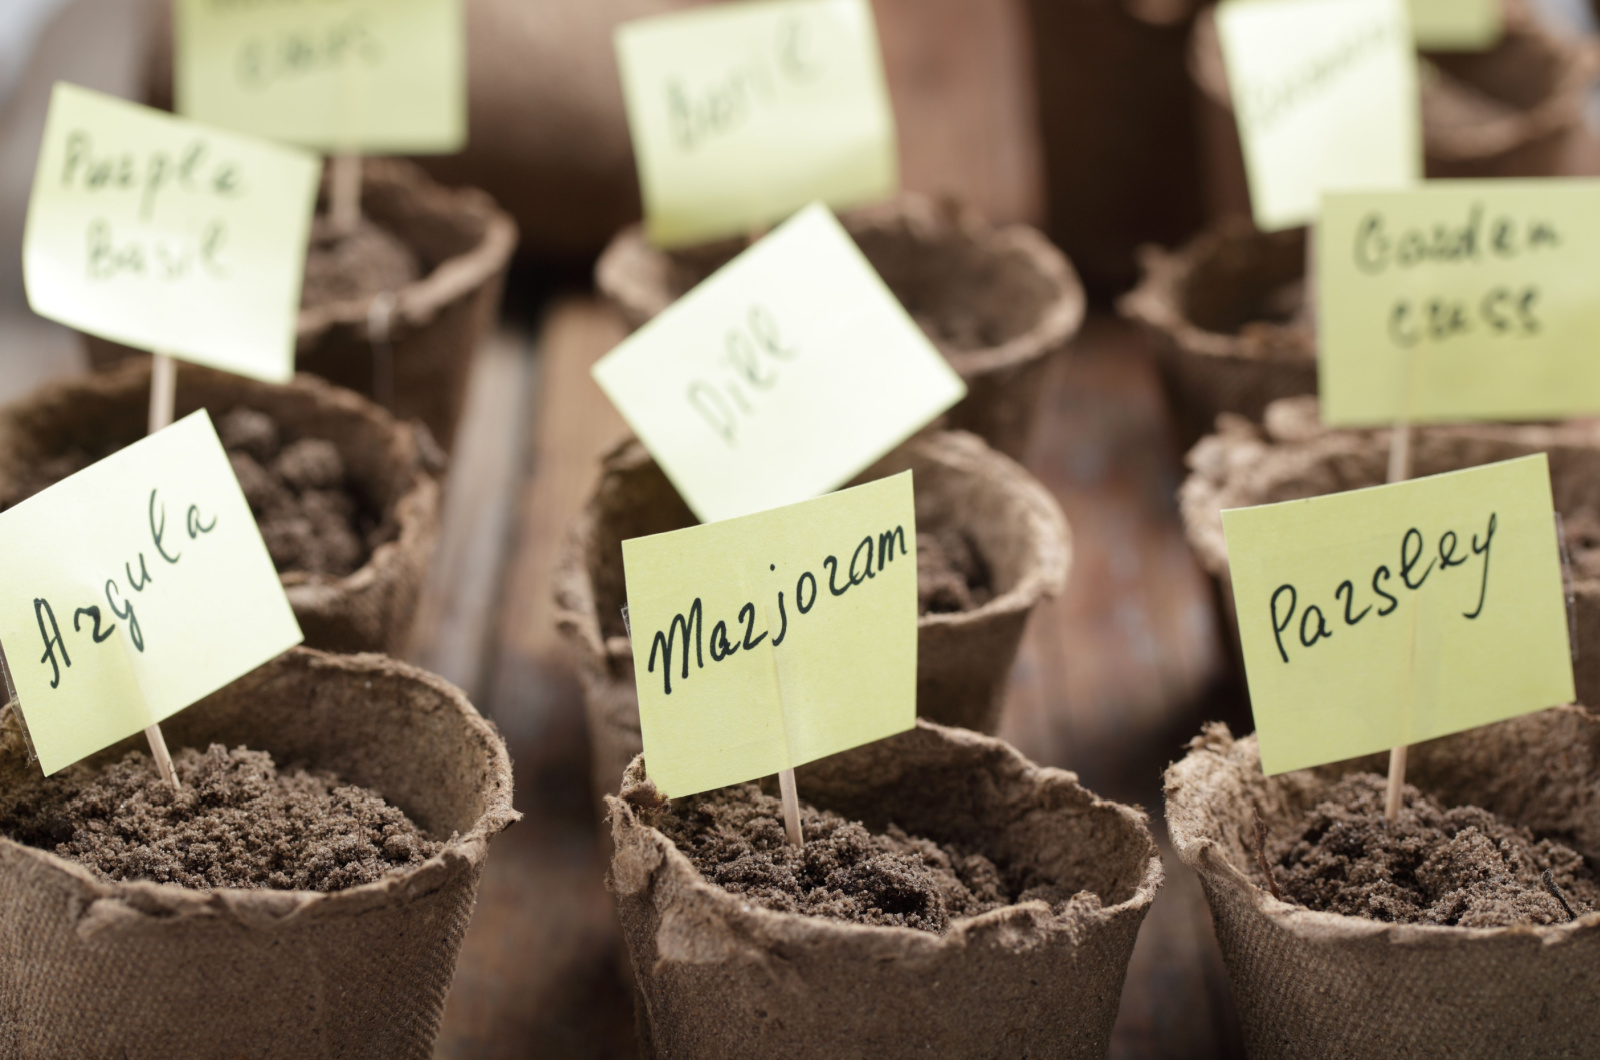
This last step is optional, but I always recommend it to everyone, novices and pros.
It is hard to distinguish between different plants when you can only see the soil or tiny seedlings, so labeling each cell, row, or pot is quite beneficial.
Many seedlings look the same at the beginning stages of their lives, and this would help you keep everything organized.
Not only that, but it will help you decide where to transplant them once they’re ready because not all plants and vegetables have the same requirements.
Caring For Indoor Seeds
Germinating seeds isn’t that difficult, but here are some tips that can make this process as painless (and simple) as possible.
Sun Exposure
Some seeds require both light and some darkness to germinate and it all depends on the variety you wish to grow. Your best option is to check the seed package, although you’ll be glad to hear that most vegetables require darkness to sprout. (1)
If your seeds need light to germinate, keep them in a spot with bright indirect light, or under grow lamps, for most of the day and don’t cover them with too much soil.
Place the artificial lights directly above the seeds or keep them on a south-facing windowsill.
Water Requirements
Keeping the growing medium moist during the germination process is crucial for sprouting. If the seed-starting mix dries out, your seeds won’t sprout.
Make sure to mist your seeds regularly. Do not water them with a hose or anything else with strong pressure. It will wash away the soil and possibly the seeds.
Spray the seed-starting mix as soon as it starts looking dry.
Note: If your trays or pots are too deep to irrigate with a spray bottle, you can fill the bottom saucer with water and the growing medium will absorb moisture that way.
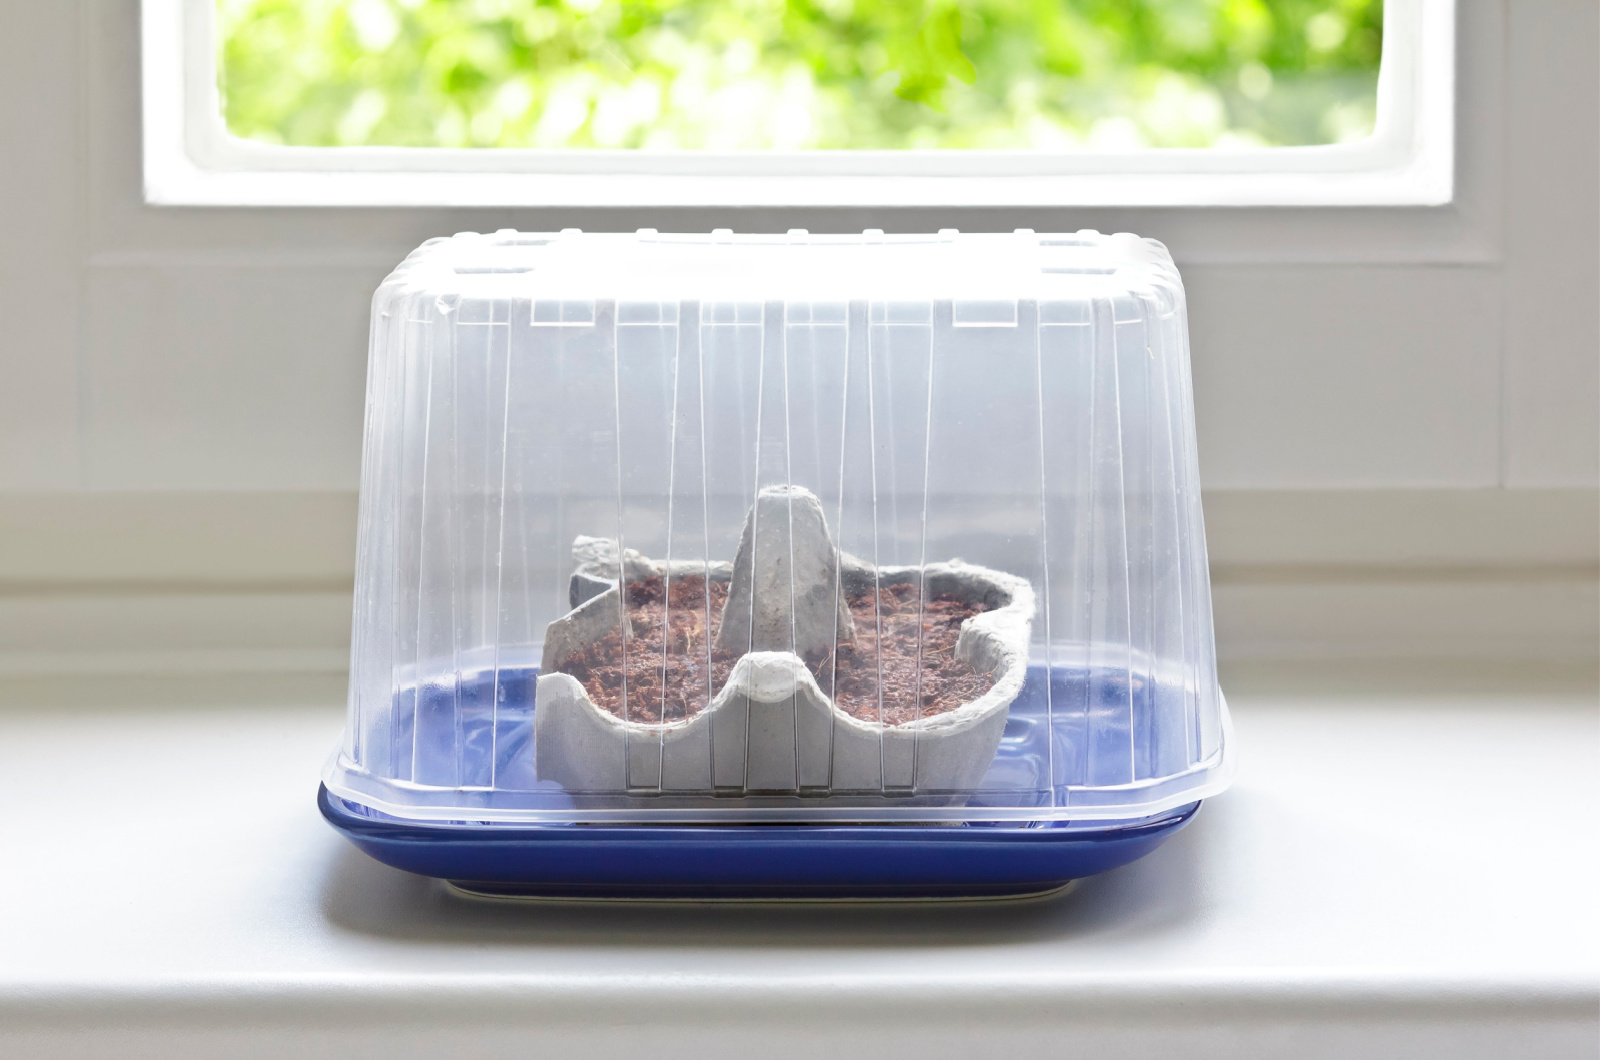
Humidity Levels
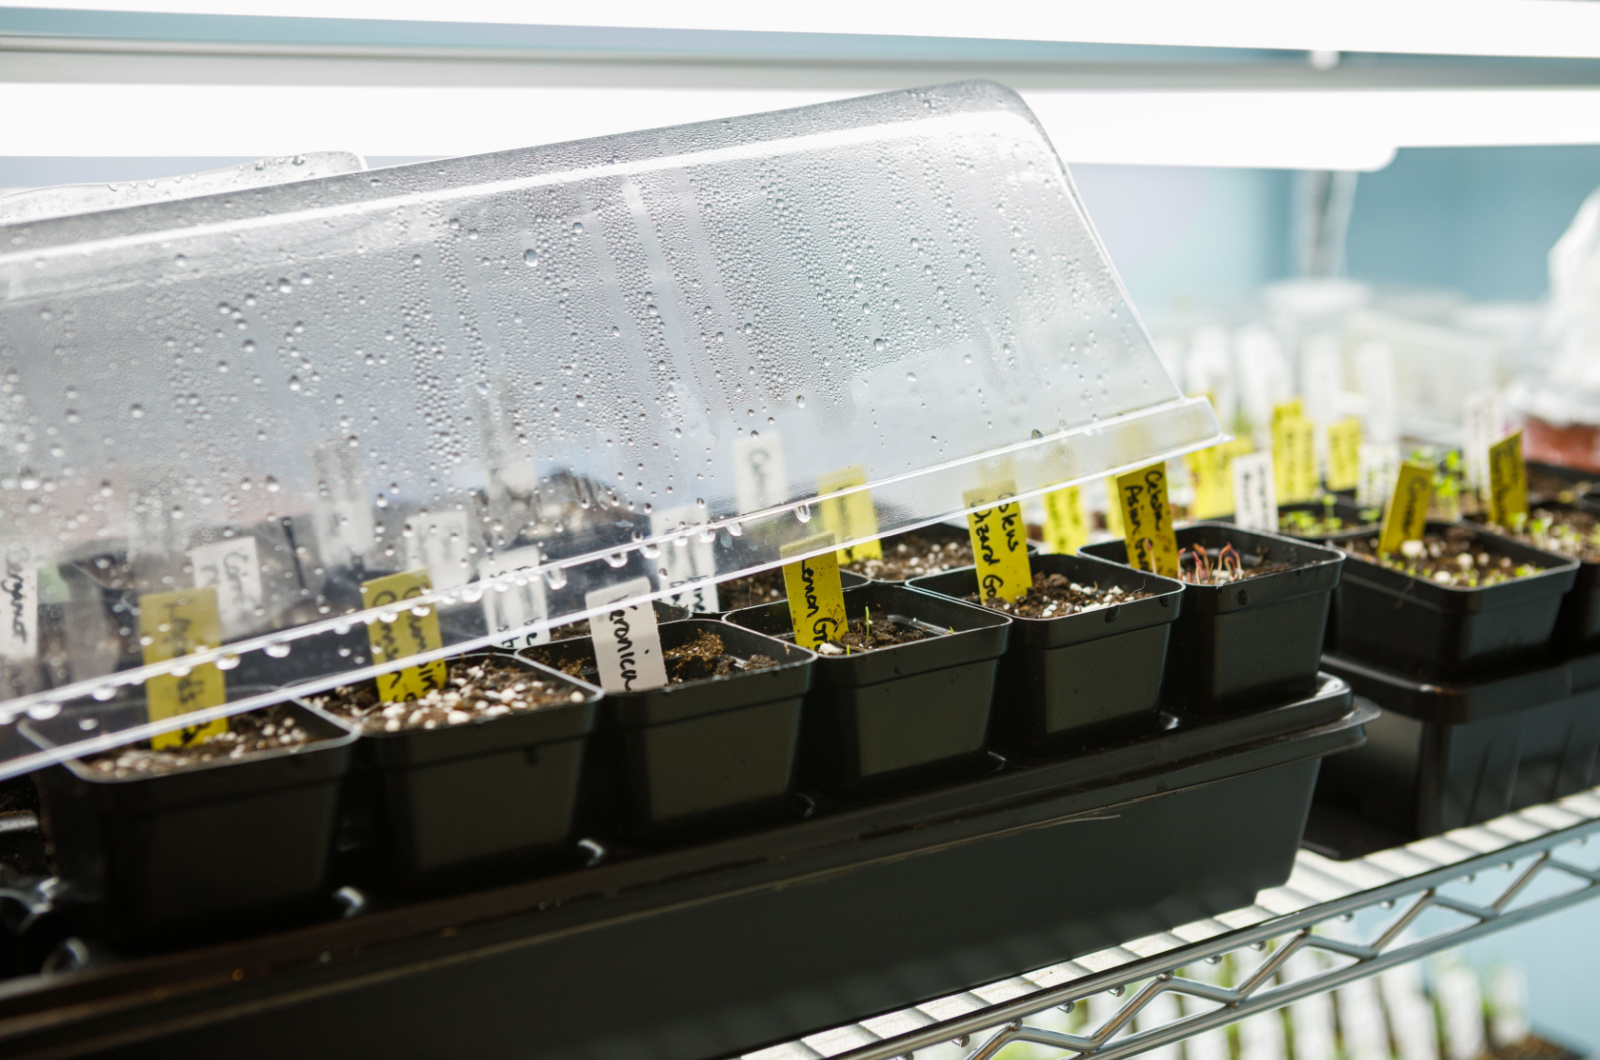
Whether you’re growing some of these heirloom seeds or have opted for hybrid ones, you’ll still have to ensure high humidity levels.
Luckily, this is easily done. Simply cover your seedling trays or pots with a humidity dome, plastic bag, or cling foil.
It will trap moisture in, prevent drying, and ensure your seeds germinate. You can puncture some holes in the foil to prevent the seeds from rotting or uncover them every once in a while.
Gradually remove the cover completely as the seedlings begin to grow to allow them to adjust to lower humidity levels.
As far as the temperature goes, around 70°F is just enough for your seeds to germinate and seedlings to grow.
If your home is colder than this or you’re starting your seeds outdoors, I’d suggest using a plant heating mat.
Fertilizer Needs
Once your seedlings have grown their first set of true leaves, which is usually a few weeks after germination, you can start fertilizing them.
Apply a well-balanced or high nitrogen and potassium fertilizer highly diluted in water. Always check the instructions on the fertilizer package to ensure you’re not overfeeding your seedlings.
Adding too much fertilizer will make your seedlings become leggy, burn their roots, or cause other issues.
Transplanting Seedlings Outdoors
Transplanting seedlings outside isn’t that difficult, but you have to harden them off before doing it to reduce the transplant shock.
This means taking them outdoors for an hour once the weather warms up and gradually increasing the amount of time they spend outside each day.
Once your seedlings can last an entire day and night outdoors, you can safely transplant them to their permanent location.
Make sure to do this on an overcast day to reduce the transplant shock and water them deeply afterwards.
References:
1. Steil, A. (2023). Germination Requirements for Annuals and Vegetables. ISU Extension and Outreach: Horticulture and Home Pest News.