If You Love Tacos, Then Get This Adorable Taco Plant!
If you are a fan of tacos, then you are definitely going to love this Taco plant!
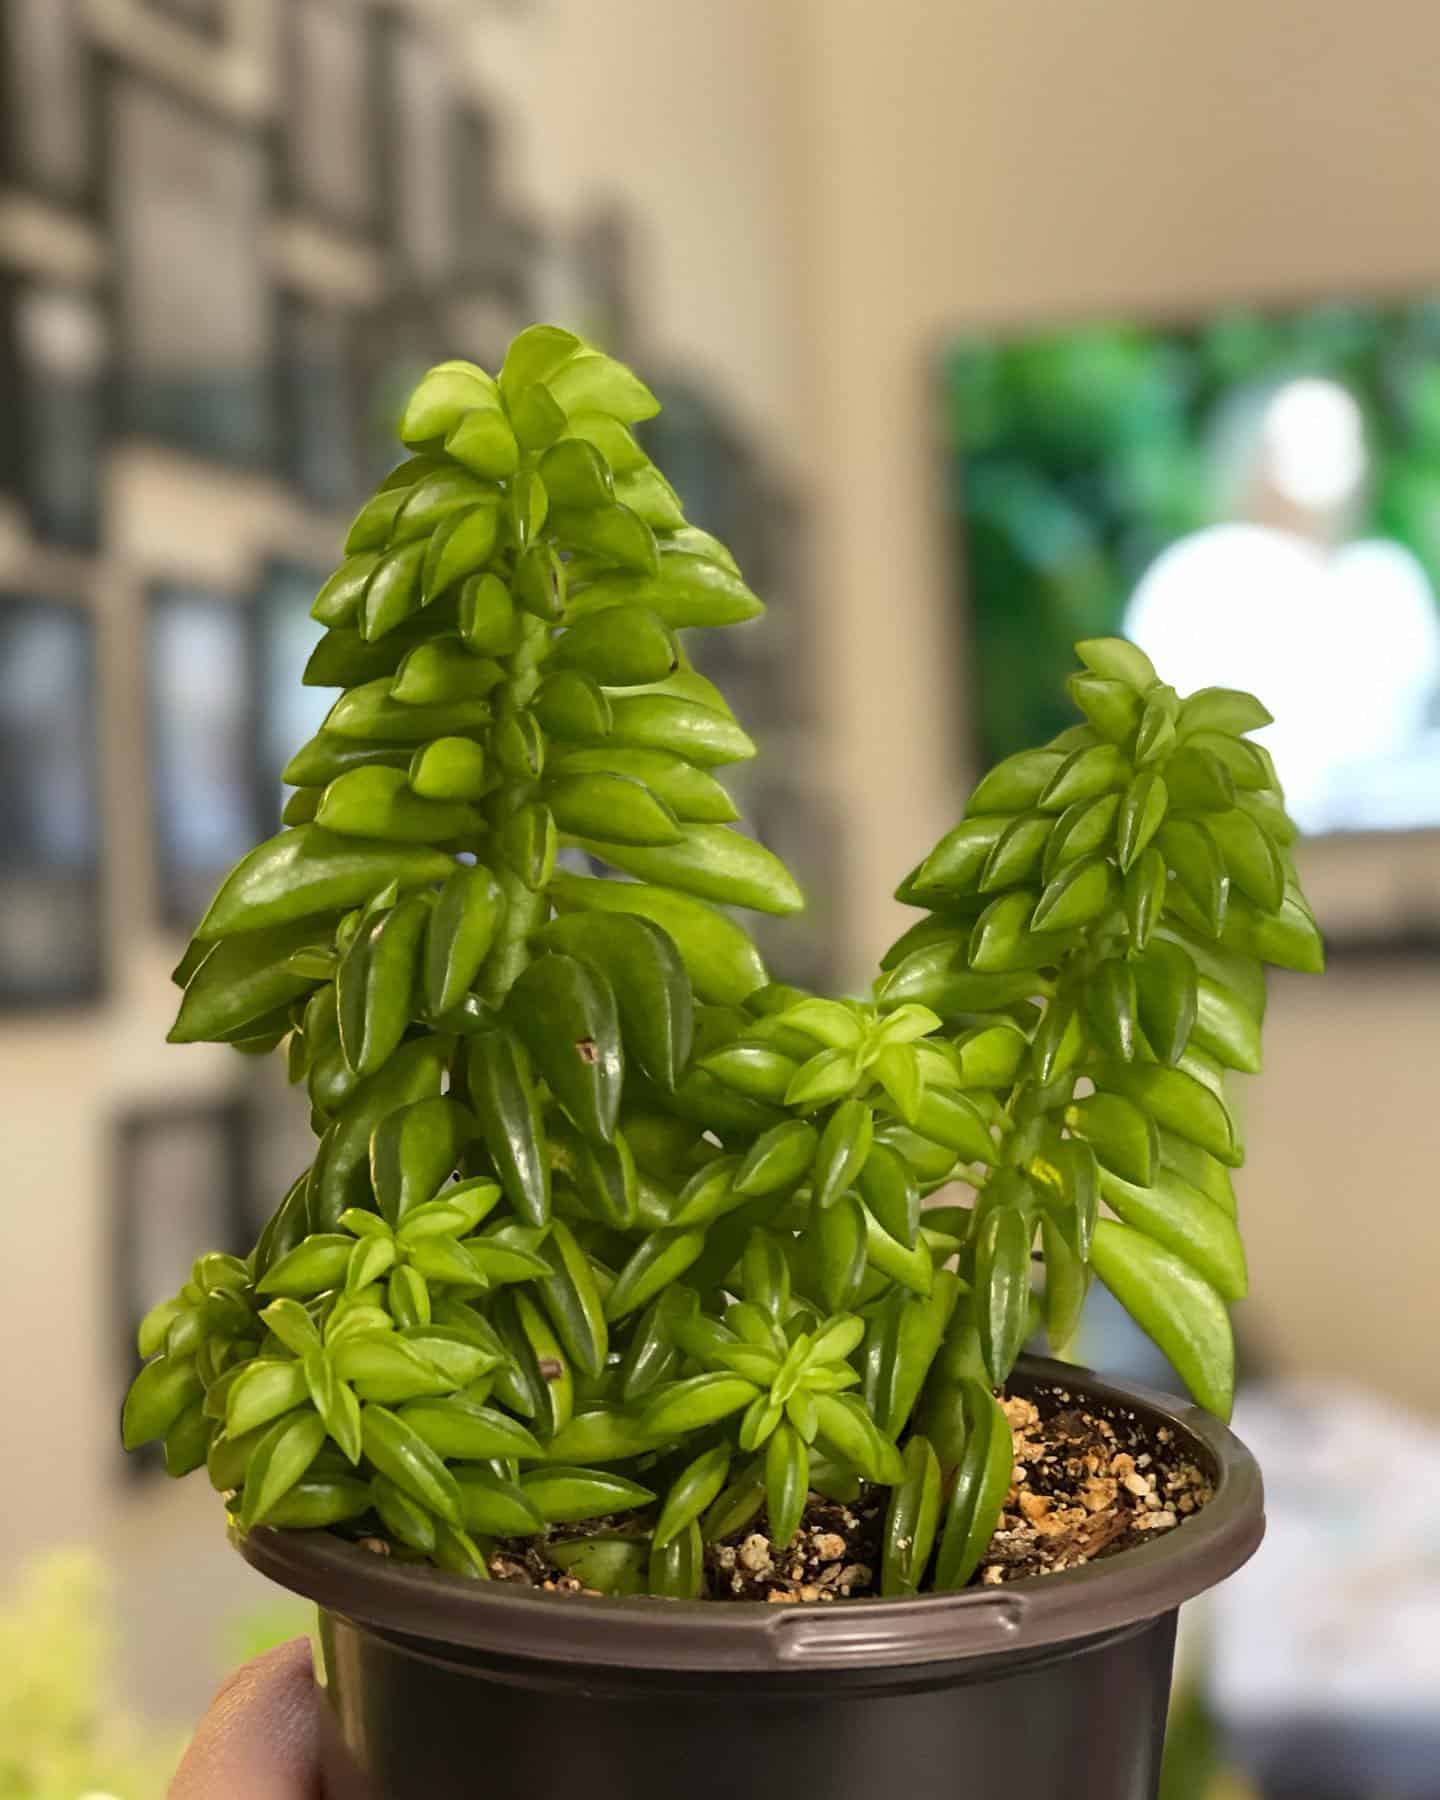
The Taco plant, scientifically known as Peperomia axillaris, is a succulent plant that produces tiny green leaves shaped like tacos — it looks like there are numerous tiny green tacos stacked on top of each other.
This is a little plant that stays relatively small, which is why they are perfect for decorating tables, shelves, or windowsills.
In addition, it is relatively easy to take care of this houseplant. The care guide is quite similar to any other succulent, so you won’t have to worry about stuffing your Taco plant with special ingredients.
Keep reading to find out more about the Taco leaf peperomia!
[table id=631 /]
What Is A Taco Plant?
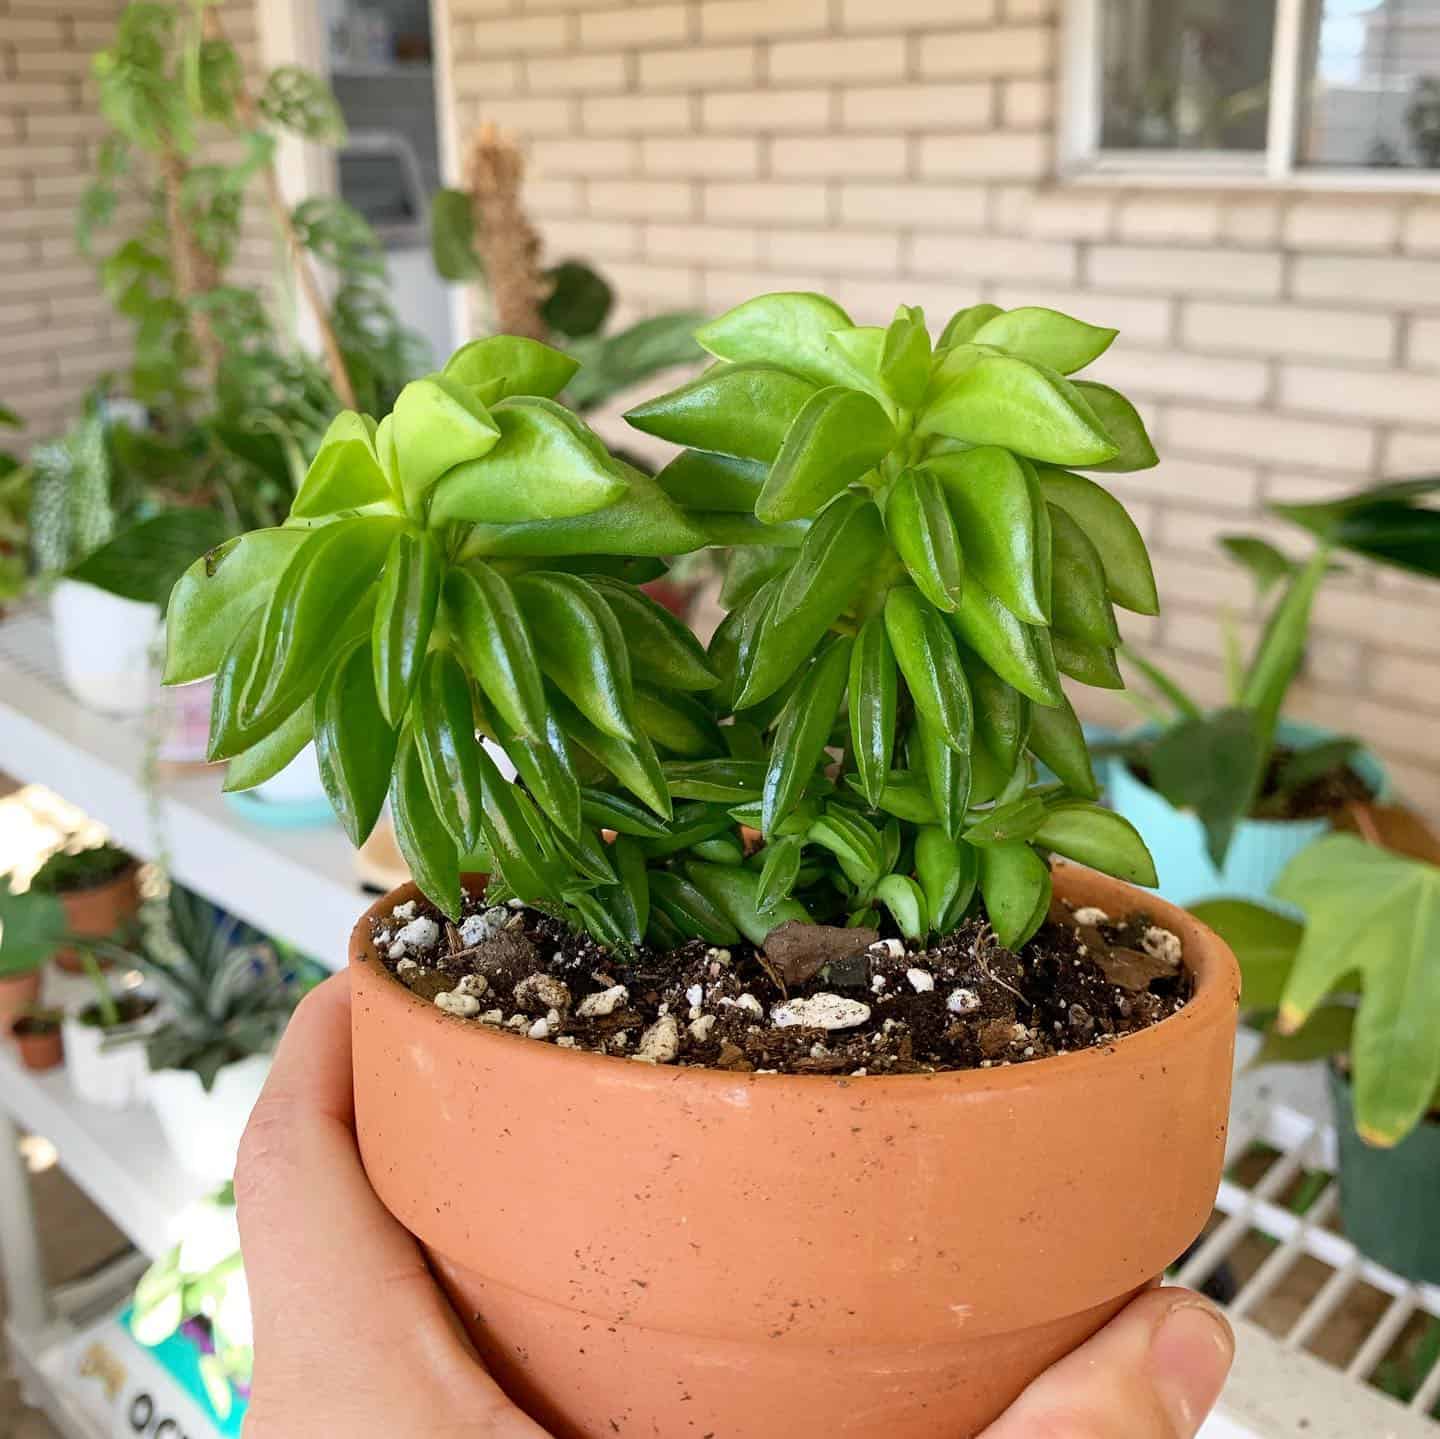
The Taco leaf peperomia goes by many different names, including Taco succulent, Taco peperomia, and most commonly, the Taco plant. This plant can be grown as an indoor plant, and it originates from the Andes in South America.
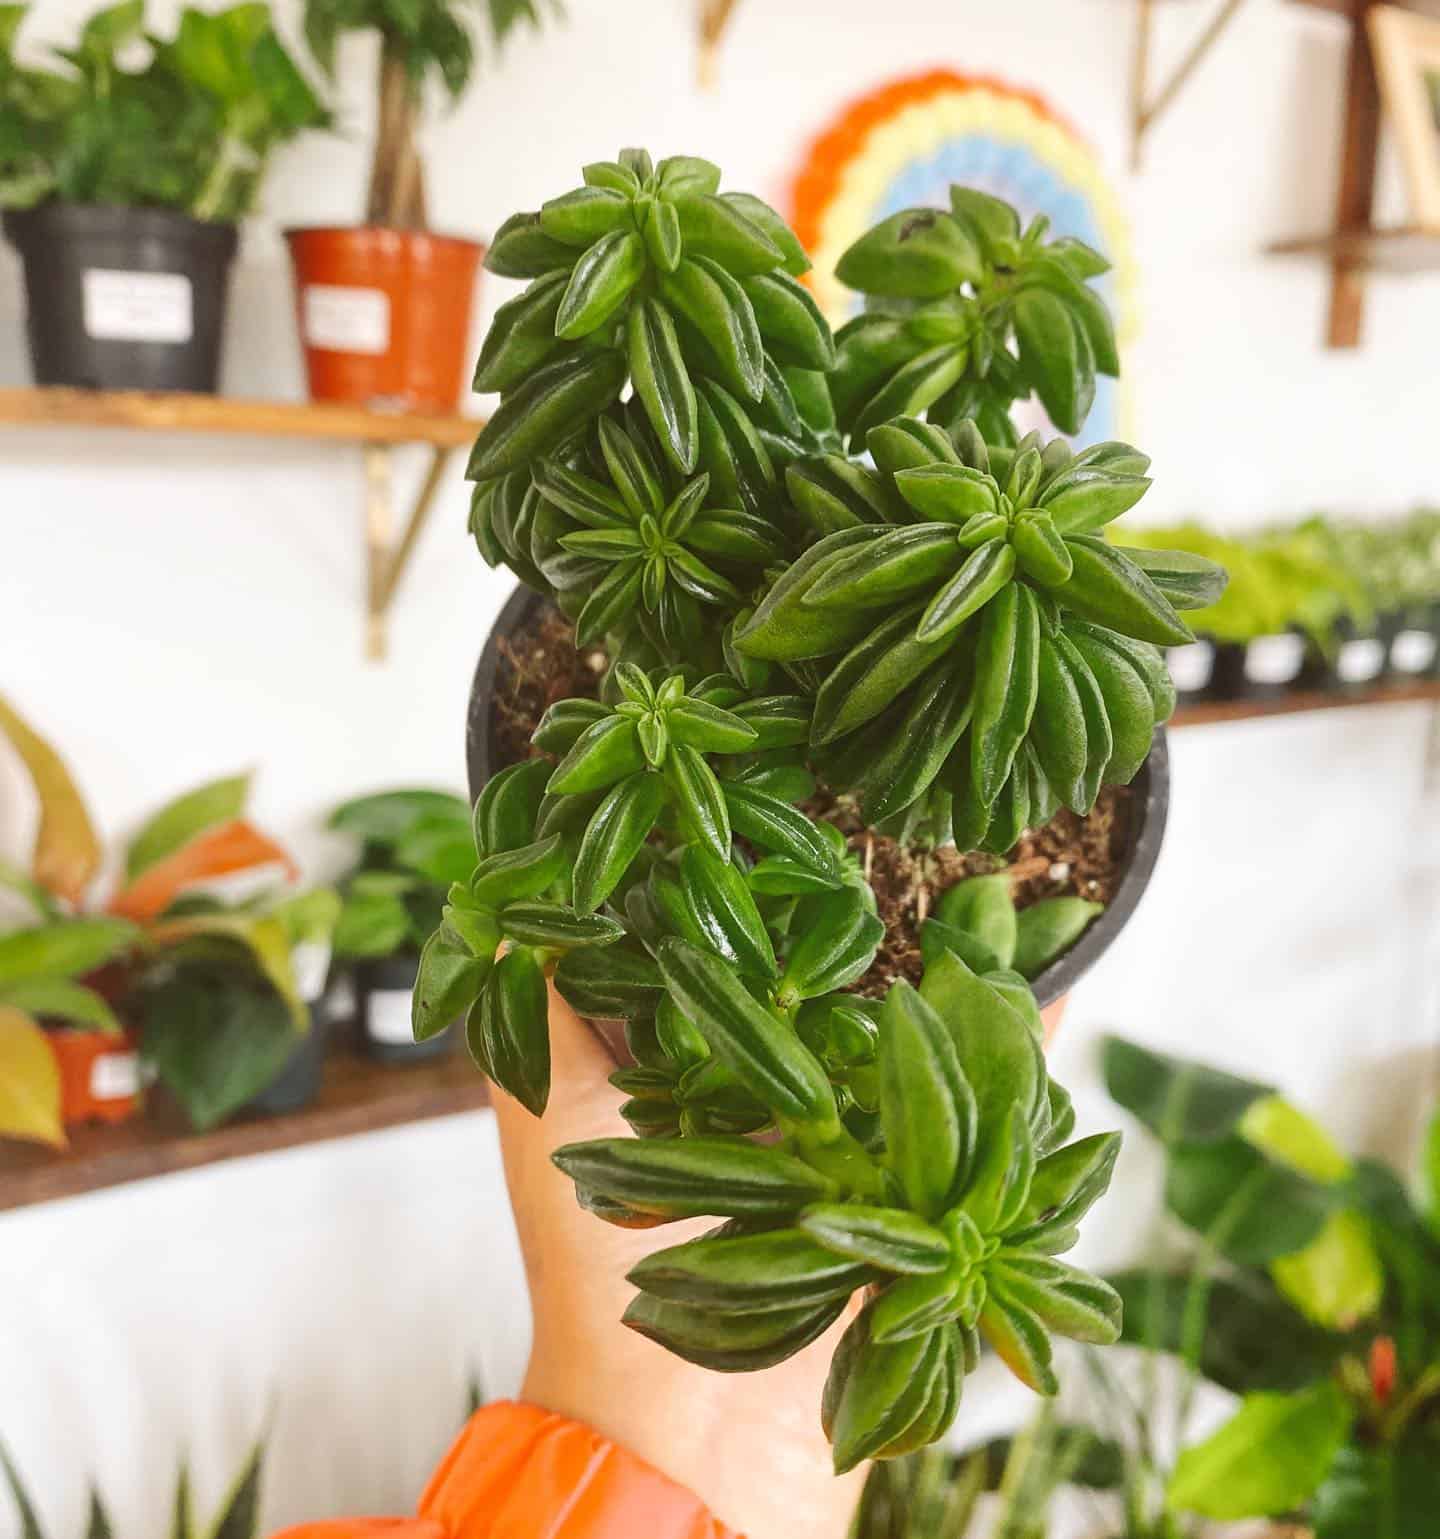
What’s so special about this plant is that it produces small, compact leaves that are folded. These glossy green leaves look like tiny tacos, hence the name.
The leaves are produced from the main stem, though the plant can start branching and produce more leaves from the side stems.
In optimal conditions, these plants produce candelabra-like flowers that are relatively tall.
This is a small succulent that stays more or less the same during its lifetime, which is why it is a perfect plant for decorating small spaces. My friend owns one and it is as cute as a button! I am just waiting for the new growing season so I can propagate it.
Although you might get tempted, these tiny tacos are not supposed to be consumed by humans or animals, so you should just admire its beauty!
Other popular peperomia varieties include the Peperomia nivalis, Peperomia dolabriformis, Peperomia graveolens, Ruby glow peperomia, and Peperomia Rana verde.
Taco Peperomia Care Guide
The care instructions for this plant are quite similar to other peperomia plants, so if you already have one, then you get the gist. If not, don’t worry because I’m here to help!
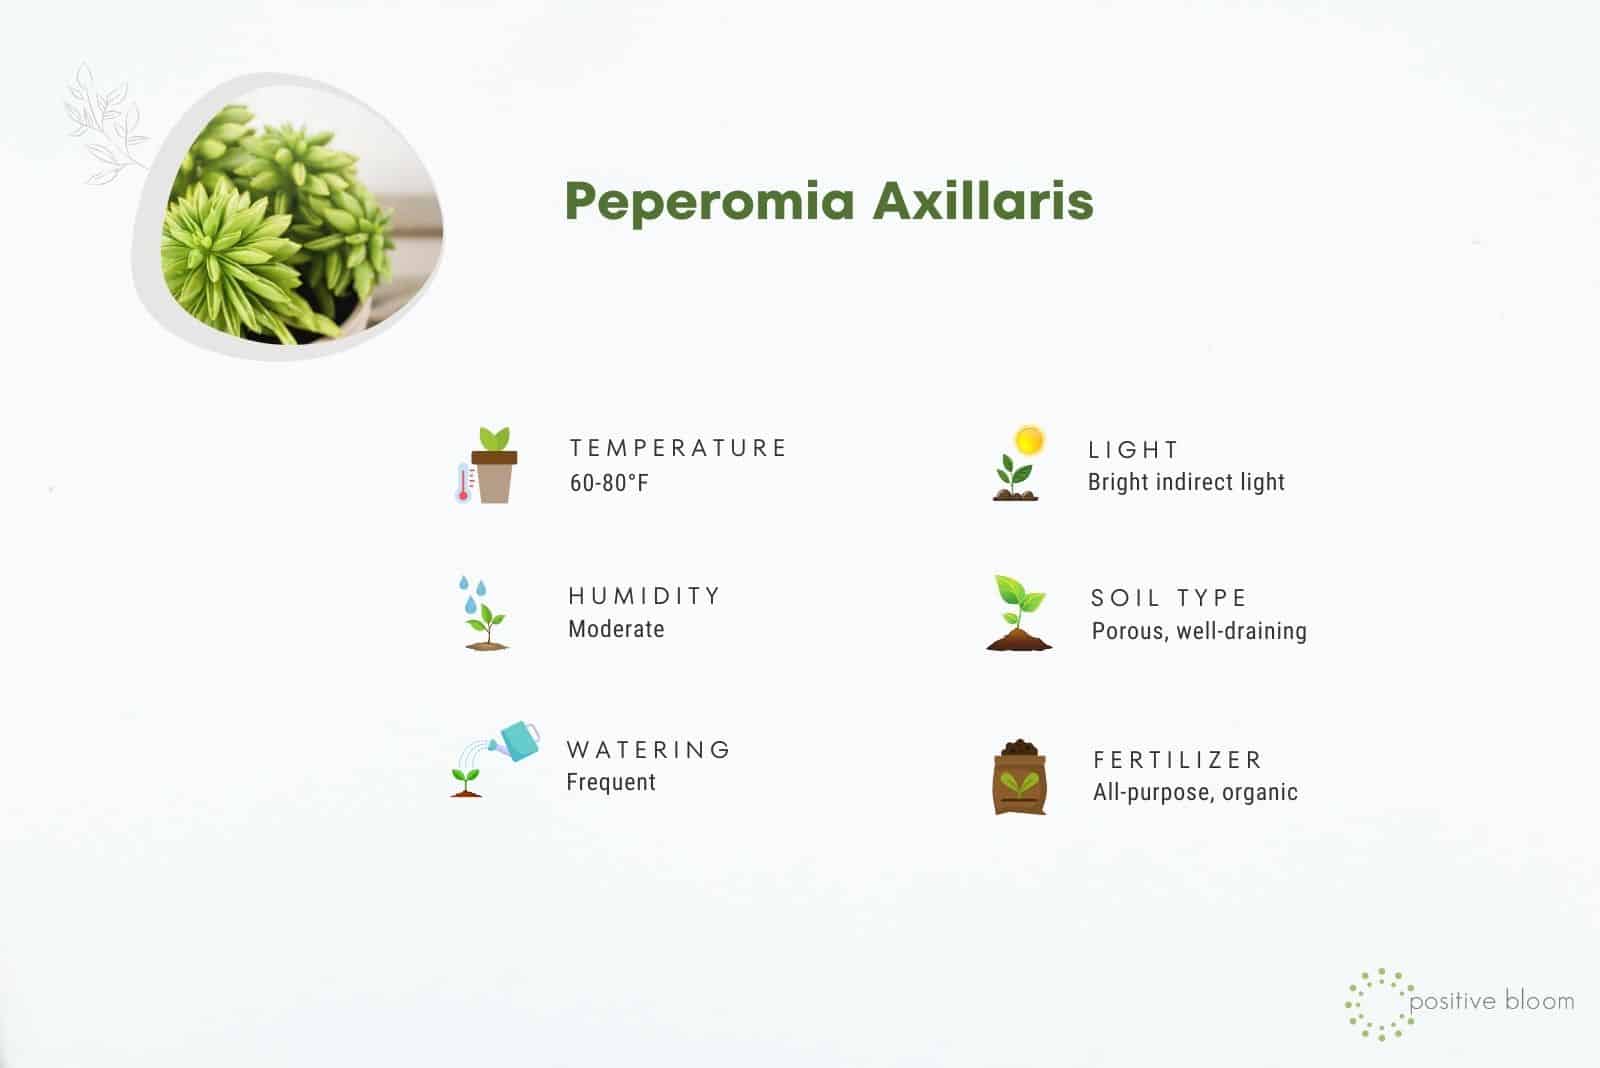
This is one of the easiest plants that you can grow. All you have to do is ensure that they receive plenty of light, have moist potting soil, and warm temperatures. You don’t even have to worry about fertilization.
If you want more detailed care instructions, keep reading!
Light Requirements
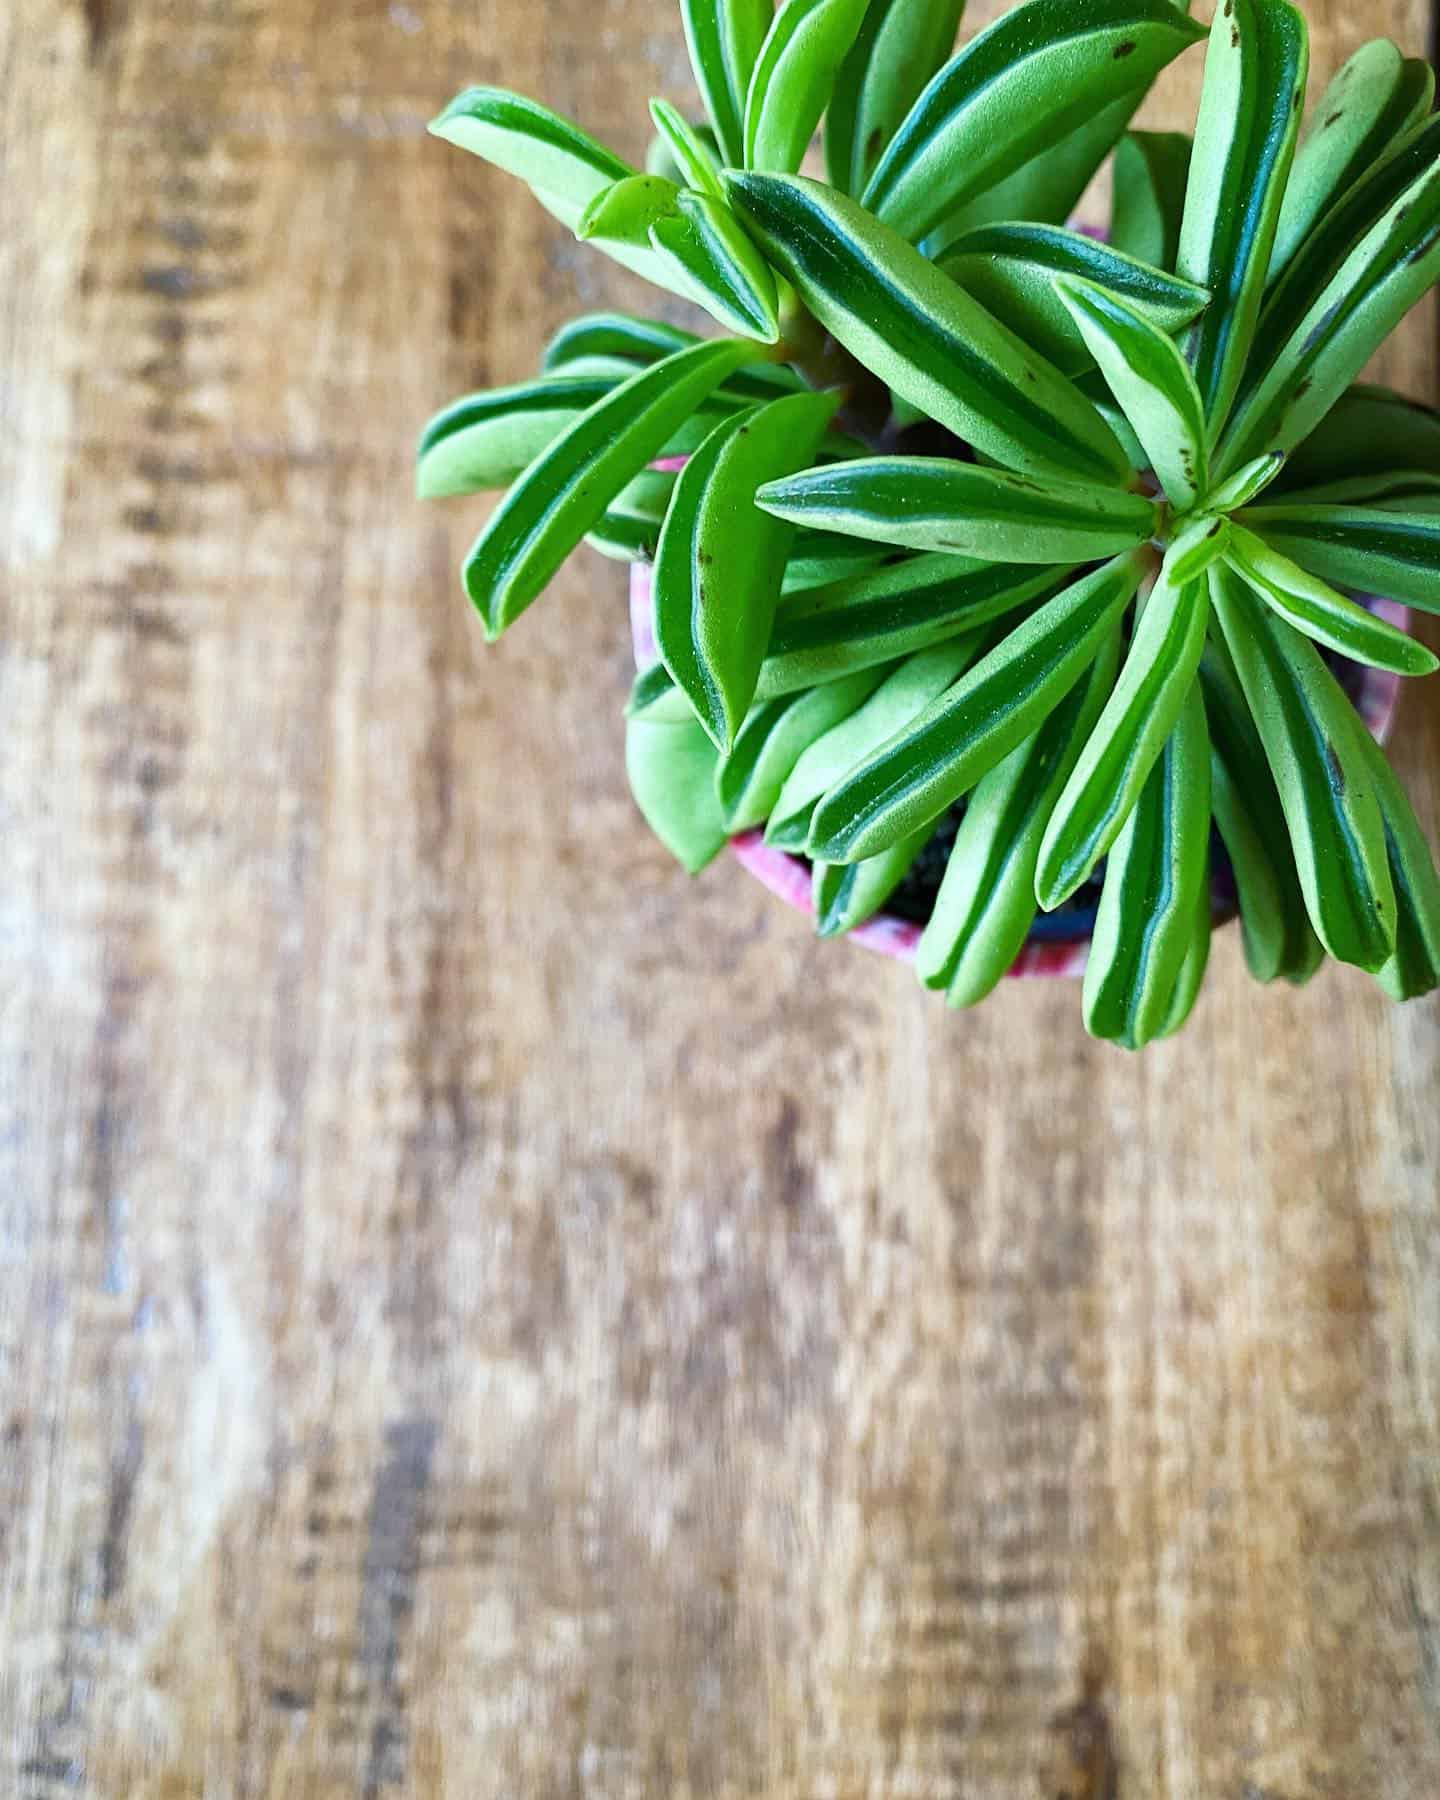
The majority of succulents thrive in full sun. However, this is not the case with our little Taco plant.
This plant loves plenty of bright indirect light. You shouldn’t expose it to direct sunlight for too long as you would only end up with burnt tacos.
Still, the plant can endure some direct sunlight early in the morning. This is why an east-facing window is an ideal location for it. You can also keep it in other locations, just make sure that they are not exposed to direct sun for the entire day. In this case, I would suggest that you put sheer curtains on your windows.
Lastly, you can invest in some grow lights if you simply cannot find a location that suits the plant’s needs.
Soil Requirements
Soil is a crucial factor that affects the well-being of any type of plant. You have to be careful with the ingredients in your Taco plant soil.
The Peperomia taco needs soil that is well-draining, porous, and slightly acidic. The ideal pH levels for the majority of peperomias range from 6.0 to 6.6. Be careful of the soil’s pH, as these are acid-loving houseplants.
You can either use a store-bought succulent mix or make one your own!
I always suggest making your own potting soil, as you can add everything that your plant needs to grow and thrive. Peat moss can help to keep the soil moist, and perlite, pumice, or sand will help to maintain excellent drainage. You can also add some granules to help with aeration.
Water Requirements
Although most succulents like to have drier soil, this is not the case with our little Taco, which thrives in moist soil. Still, overwatering is the biggest enemy here.
You shouldn’t let the soil dry out completely between waterings. The best solution is to wait until the top few inches of the soil have dried out.
If they are dry, then it is time for watering. If not, postpone watering for a few days.
This is the best way to avoid overwatering, which is often accompanied by root rot (a fungal disease that can completely ruin your plant). Besides adding perlite and watering adequately to prevent overwatering, you should also grow your plant in a pot with drainage holes.
Drainage holes will ensure that the excess water drains out quite quickly and prevent the soil from staying soggy.
It is advised to water it two to three times per week during the summer and even less frequently during the winter (perhaps once every two weeks), as its leaves begin to store moisture much like those of a true succulent.
Humidity Requirements
There is an ongoing debate among growers about whether succulents like humidity.
These plants originate from regions that have relatively high humidity, which is why it is important that you provide them with humidity indoors as well.
The ideal humidity levels for the Taco plant range from 50 to 60%. If your home is rather dry, you should find a way to improve humidity. For instance, you can buy a new humidifier for your plants. This is probably the easiest and most efficient method, though you will have to spend some money.
If you don’t want to spend any money, there are also some free methods that you can use to boost humidity levels. For example, you can mist your plant regularly or you can create a pebble tray, which will provide just enough humidity for your plant.
Another simple solution is to group your plants — you can combine your Taco plant with other peperomia varieties to create a microclimate.
Lastly, you can simply put your plant in a more humid room, such as a bathroom or kitchen. Due to their tiny size, I’m sure that you will be able to find enough space for them.
Temperature Requirements
The ideal temperature range for Taco plants is from 60 to 80 degrees Fahrenheit. The temperature should not get any lower than 50 degrees. Peperomias are not frost-hardy — this includes the Peperomia frost as well.
If the temperatures are higher, then the plant will need more frequent watering.
The Peperomia taco can be grown outside in USDA hardiness zone 9. If you live in any other region with a colder climate, I suggest bringing your plant indoors during the winter season.
Be careful where you put the plant — it is quite sensitive to sudden temperature changes. I would recommend you keep it away from vents, cold drafts, and air conditioning, as well as heat sources such as radiators and fireplaces.
Fertilizer Requirements
As previously mentioned, there is no fuss about fertilizing. Although this peperomia doesn’t require frequent fertilization, it will still benefit from it. Adding fertilizers will lead to more tacos!
Chemical and organic fertilizers are both good options.
In case you want to use chemical fertilizers, for instance all-purpose houseplant fertilizer, you should always dilute it to half strength. The root system can be burned by higher levels of nitrogen, phosphorus, or potassium.
Don’t fertilize the plant when you water it. Once a month during the growing season, apply fertilizer (spring and summer).
During the winter, peperomias go into dormancy, which prevents them from actively growing. As a result, avoid fertilizing the plant in winter.
Rich, organic manure should be added to the soil if you prefer organic fertilizers.
Pruning
Pruning this peperomia doesn’t take much time. Remove any yellow, dry, or withered taco leaves using a pair of sterile scissors.
After blooming, you can also get rid of the flower spikes by cutting them close to the base. The plant will be able to bloom once again and focus its energy elsewhere as a result.
If you have a specific shape in mind for this peperomia plant, feel free to prune it.
Repotting
This peperomia cultivar grows slowly, so it doesn’t require frequent repotting.
Repotting should generally be done every two to three years, which is also how long it takes for the plant to grow.
Repot your peperomia if you notice that it is rootbound. Fortunately, this doesn’t happen very frequently.
Prepare a slightly larger container before repotting because too much soil around the roots can make them more susceptible to root rot.
To prevent contamination, always use fresh soil mix.
The beginning of the growing season is the ideal time to repot this peperomia (early spring). The plant will have more time to become used to the new pot and soil this way.
Cleaning
Remember to clean your peperomia regularly. Remove the dust to keep the tacos looking neat.
Simply wet a soft sponge and use it to gently rub the leaves. When cleaning this peperomia plant, use gloves because its toxicity can cause rashes.
Taco Plant Propagation
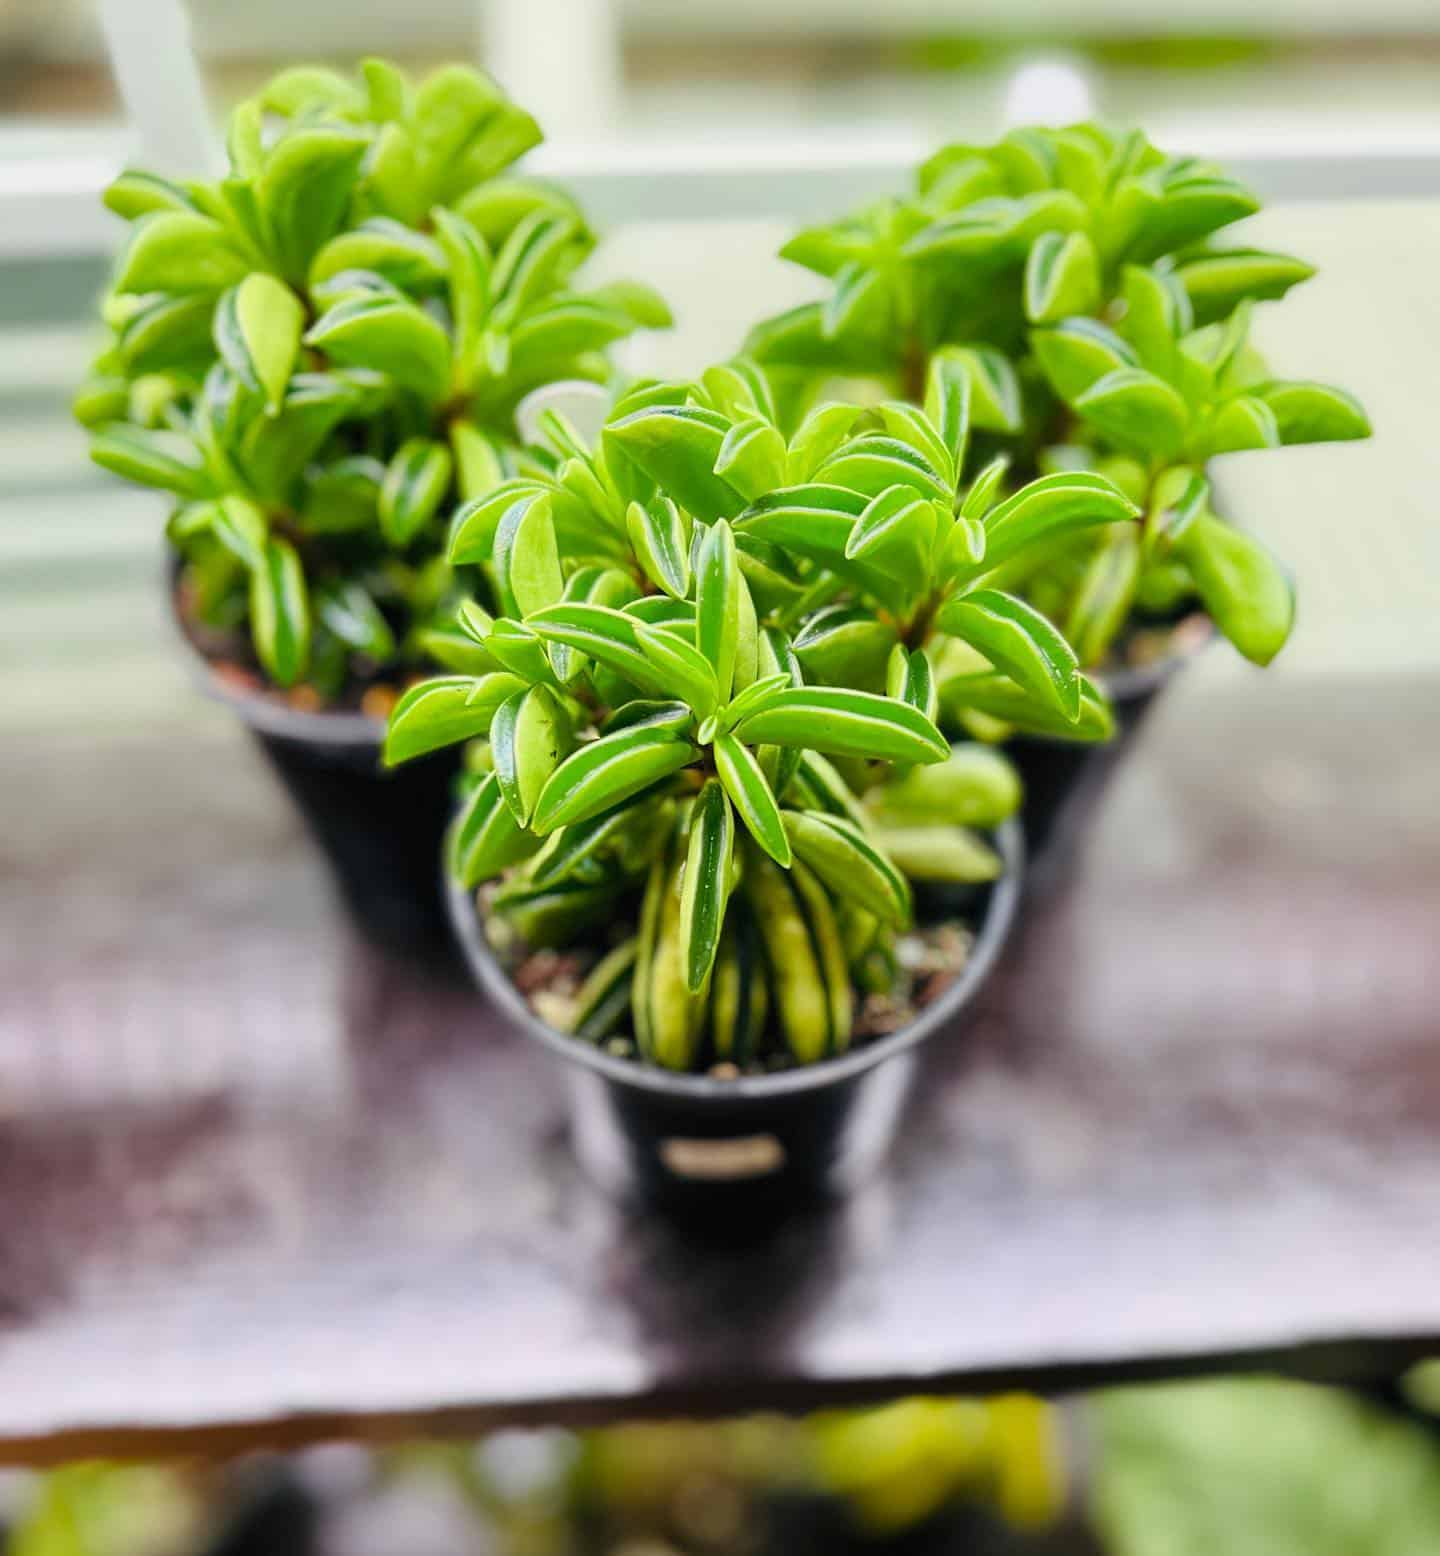
Propagating peperomias is generally pretty straightforward. There are two methods that can be employed: leaf cuttings or stem cuttings. Whatever method you choose, I’m sure that you will end up with a new plant to add to your peperomia collection or gift to someone.
Prepare gloves, a pair of pruners or scissors that are sharp and sanitized, potting soil, a nursery pot, and a clear polythene bag before starting the propagation process.
Read also: How And When To Propagate Watermelon Peperomia
Stem Cutting Propagation
For all gardening beginners, stem cutting propagation is a great technique for practicing propagation, especially if you choose to grow stem cuttings in water.
Let’s first look at how to take stem cuttings before I explain the step-by-step propagation process.
• Look for a healthy stem on the mother plant; it should have at least two leaves attached.
• Trim the stem to 3 to 4 inches in length.
• Give the cuttings a day to callus.
The cuttings should now be inserted into the growing medium.
Propagation In Soil
1. Combine equal parts peat moss and perlite in the potting medium.
2. Place the cuttings in the medium.
3. Maintain the same temperature and place the pot in bright indirect light.
4. In a month or two, the roots should start to emerge.
5. Transplant the plant into a bigger pot.
Propagation In Water
1. Put water in a container.
2. Submerge the cuttings, but watch out for the leaves touching the water—they might rot.
3. Put the jar in direct bright light.
4. Frequently change the water.
5. It takes about a month for the roots to emerge. Your new Taco plant can then be transplanted into a pot.
Leaf Cutting Propagation
Using leaf cuttings is one of the best ways to get more of this peperomia. It’s like planting little tacos in the soil!
Here is how you do it:
1. Cut a few leaves and a petiole from the mother plant using a pair of sterilized scissors (for sterilization, use 70% isopropyl alcohol or bleach).
2. Give the cuttings a day to callus.
3. Place the leaf cuttings in a nursery pot and fill it with a mixture of half peat moss and half perlite. Leave 4 inches between each cutting.
4. To keep the stalk firmly in place, press the leaf into the ground.
5. In order to insert hairpins through the leaf, the veins should be in contact with the earth.
6. Place the pot under a grow light at a temperature of 70 to 75 degrees Fahrenheit and mist the soil occasionally. The plant can be misted or covered with a plastic bag.
7. New growth appears in a month or two.
Common Issues With The Taco Plant
Even though these plants are relatively hardy, you might still have to deal with some issues. Pests, root rot, and inadequate plant care are the common reasons your plant might be having a hard time.
Let’s take a closer look.
Pest Infestation
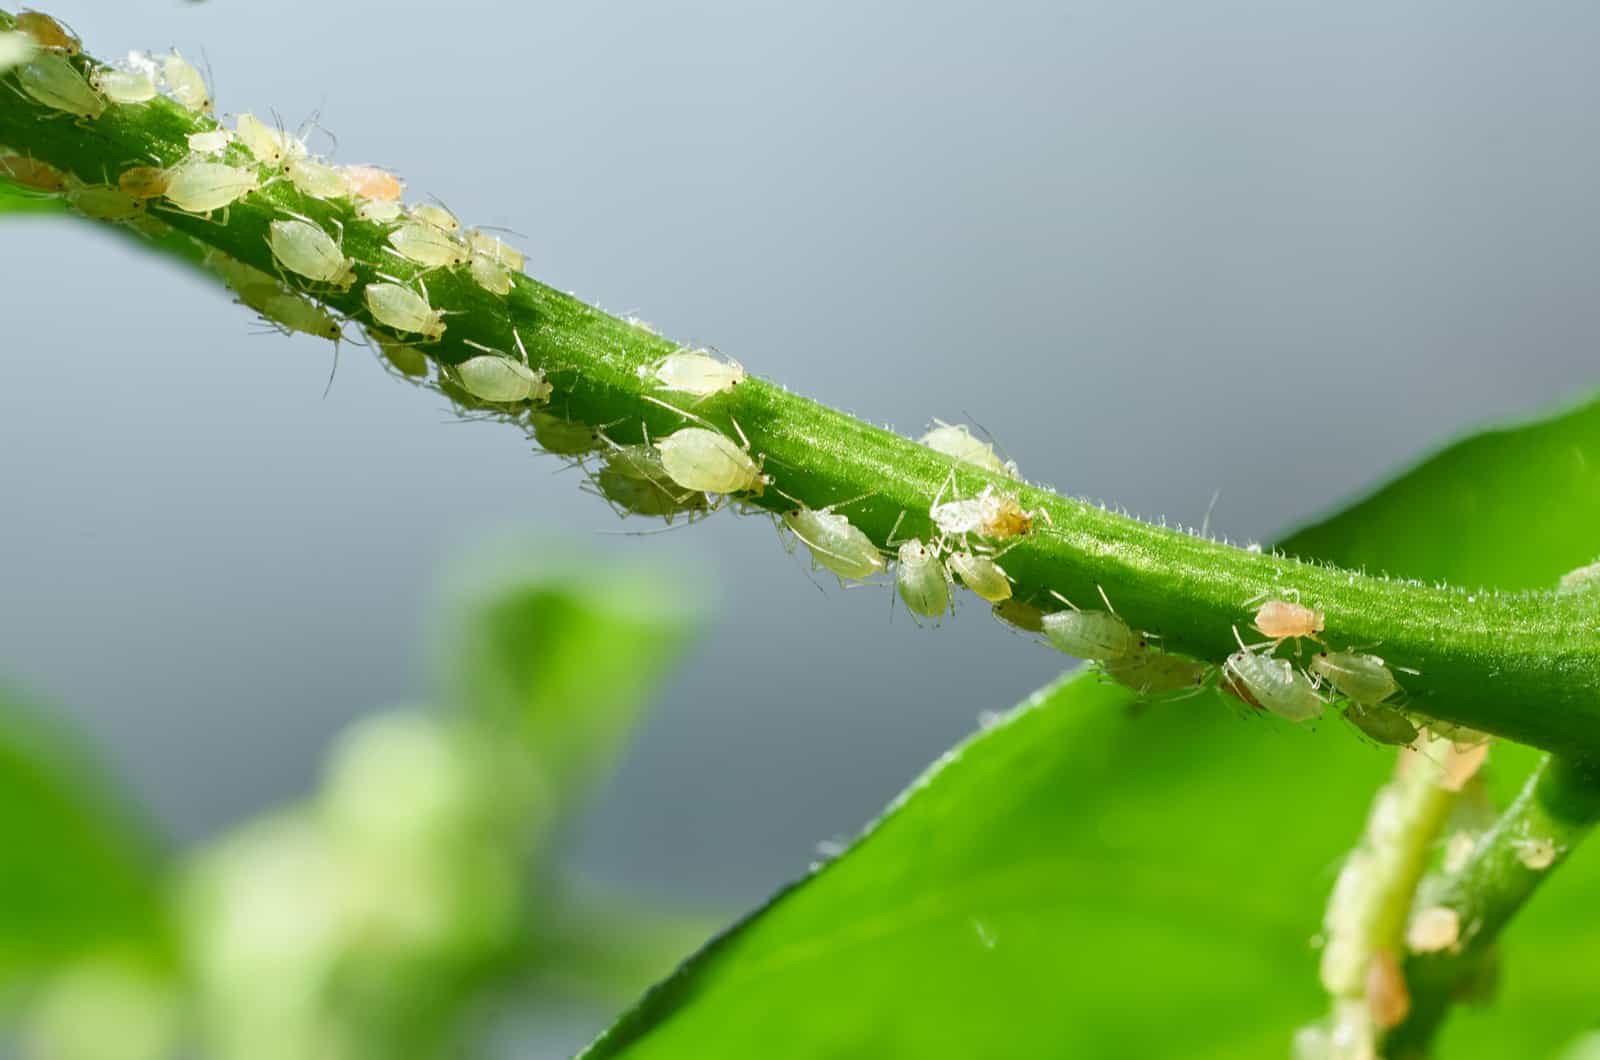
It seems that pests are also great fans of tacos — they will eat up those tiny taco leaves. The most common pests are mealybugs, scales, spider mites, and fungus gnats, and they like to reside in those tiny taco leaves.
Mealybugs have infected your plant if you see white honeydew mold in the leaf axils. Your peperomia will grow more slowly, begin to droop, and eventually die if you don’t act right away.
Rub neem oil or alcohol on the leaves to get rid of mealybugs.
Scales are unwelcome guests who cause brown lumps on the foliage,as well as honeydew and poor growth.
To get rid of scales, use insecticide or horticultural oil spray.
Spider mites are to blame if you see white or yellowish patches on the leaves. They also produce silky webbing on the leaves. You can use neem oil or insecticidal soap to get rid of them.
This peperomia is susceptible to invasion by tiny, black gnats known as fungus gnats, which can result in yellowing, leaf drop, wilting, and poor growth.
If you see any, stop watering and increase air circulation because fungus gnats enjoy moist environments.
Plant Disease
Root rot is the most typical disease that harms your peperomia.
Take the houseplant out of the pot and look at the roots if you see moist soil and notice a bad smell.
Root rot can be identified by mushy, brown, or black roots. Using sterile scissors, cut off all the roots that appear unhealthy, then repot the plant in fresh soil.
Yellow Leaves
Yellow leaves are a sign that your peperomia lacks nutrients or is overwatered. The air gaps in overwatered soil will become clogged, turning the leaves yellow.
Too high humidity can also be the cause of leaves becoming yellow.
If the soil is overly moist, allow it to dry out and adjust the humidity and watering. To dry it out, do not place this peperomia in the sun directly since this would just worsen the harm already done.
Brown Leaves
If a fungal infection is present, the leaves will display brown spots. High humidity and overwatered soil attract fungi and create an ideal setting for the infection to spread.
Use sterile scissors to remove the leaves with brown spots from your peperomia, and make sure you isolate it to avoid spreading to other plants nearby.
Wrapping Up
The Taco plant is an adorable plant that everyone should get for their homes. As well as their easy plant care requirements, the lovely taco leaves are great conversation pieces. It will definitely make your room look more lively and fun!
Keep your Taco plant in indirect light, give it just enough water, and ensure that it is nice and warm. If you are a beginner gardener, this is a great plant for practicing propagation.
That’s all, folks. I hope you enjoyed this article.
Until next time!

