4 Texas Perennials You Should Divide Before May Ends And 3 You Shouldn’t Divide At All
Timing is everything when it comes to dividing perennials in Texas. Wait too long and the brutal summer heat will stress your plants before they even get a chance to settle in.
Do it at the right time though, and you end up with stronger, fuller plants that come back even better next season. May is actually one of the best windows Texas gardeners have to get this done, but the clock is ticking.
Here is the thing most gardening guides skip over: not every perennial should be divided at all. Some plants get divided too often, at the wrong time, or just should not be touched period.
Knowing which ones to divide now and which ones to leave alone can save you a lot of wasted effort and some plants you probably really like. This guide covers both sides so you know exactly what to do before May is over.
1. Fall Aster

If you have fall asters in your yard, you already know how fast they can take over a garden bed.
These cheerful, purple-blooming plants spread quickly by underground runners, and before long, one small clump can turn into a sprawling patch that crowds out everything nearby.
Dividing them before May ends is one of the smartest moves you can make for your fall garden.
When you divide fall asters in spring, you give the new sections plenty of time to establish strong roots before they need to put all their energy into blooming.
Plants that have been divided tend to produce more flowers and stand up straighter than ones left to grow wild. You get a tidier garden and a better show of color come fall.
To divide them, simply dig up the outer sections of the clump with a sharp shovel. Toss out any old, woody center pieces and replant the fresh, green outer growth.
Space the new divisions about 18 inches apart so they have room to fill out without immediately crowding each other again.
Water your newly planted divisions well for the first couple of weeks. They may look a little droopy at first, but they bounce back quickly.
Fall asters are tough plants, and they respond well to being divided regularly every two to three years. Staying on top of this keeps your garden looking clean and gives you more plants to spread around or share with neighbors.
2. Turk’s Cap

Turk’s Cap is one of those plants that Texans absolutely love, and for good reason. Its bright red, twisted blooms attract hummingbirds and butterflies all season long, and it thrives in spots where other plants struggle, like shady areas with heavy clay soil.
But after a few years, a single plant can grow into a thick, dense clump that starts to look more like a shrub than a flowering perennial.
Dividing Turk’s Cap before May ends helps prevent that overcrowding problem before it gets out of hand. When a clump becomes too dense, the plants in the center stop getting enough light and air circulation.
Your Texas Garden Changes Every Week. Your Plan Should Too.
Gardening in Texas changes quickly throughout the season. Every Friday you’ll receive a simple weekly plan showing exactly what to plant, prune, fertilize, harvest, and protect so you never miss the right timing.
That leads to fewer blooms and weaker stems. Splitting the clump up gives every division room to breathe and puts on a much better flower show throughout the growing season.
Use a sturdy garden fork to loosen the soil around the base of the clump. Then work the fork underneath the root mass and lift it out in sections.
Each division should have several healthy stems and a good chunk of roots attached. Replant the divisions at the same depth they were growing before, and water them in well.
Keep in mind that Turk’s Cap can handle quite a bit of stress, so do not worry too much about being rough with it during division. It is a resilient plant.
Give it consistent moisture for the first few weeks after dividing, and it will reward you with vigorous new growth and plenty of blooms by midsummer.
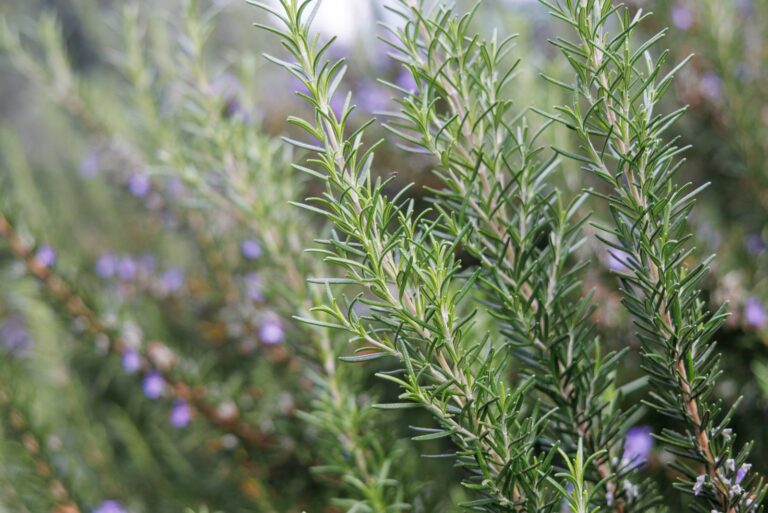
3. Autumn Sage

Autumn sage is a Texas garden staple for good reason. It pumps out clusters of red, pink, or coral tubular flowers for months on end, and hummingbirds cannot seem to stay away from it.
However, there is a catch that many gardeners do not discover until a few years in: without some attention, autumn sage plants get woody and sparse over time, and they stop looking their best.
Older plants develop thick, woody stems at the base that do not produce much new growth. The plant starts to look leggy and open, with flowers only appearing at the very tips of long, bare stems.
Dividing or cutting back the plant before May ends gives it a fresh start. You can dig up the outer, younger growth and replant it, leaving behind the old woody center.
Another approach is to take stem cuttings in spring and root them in a pot before planting them out. This works especially well if the whole plant has become too woody to salvage through division alone.
Either way, the goal is to replace aging, unproductive growth with younger, more vigorous stems that will bloom more heavily.
After replanting, give autumn sage a sunny spot with well-drained soil. It is very drought-tolerant once established, but newly divided plants appreciate regular watering for the first month.
Prune it back by about a third in late summer to encourage a fresh flush of fall blooms. Staying consistent with this routine keeps autumn sage looking full, healthy, and flower-packed year after year.
4. Daylily

Few plants are as forgiving and rewarding as daylilies. They come back year after year, spread steadily, and put on a gorgeous show of color in late spring and early summer.
But here is something seasoned Texas gardeners know well: after three to five years, daylily clumps get so crowded that the individual plants start competing with each other for water and nutrients, and the number of blooms drops noticeably.
Dividing crowded daylily clumps before May ends is the best way to bring back that big, bold flower display. When you split up a dense clump, each new division has access to more soil nutrients, better water absorption, and more room to push up strong flower stalks.
The result is a much more impressive bloom season right before summer heat settles in. Digging up daylilies is straightforward. Use a garden fork to lift the entire clump out of the ground, then use two forks back-to-back to pry the clump apart into smaller sections.
Each division should have at least three to five fans of leaves and a healthy root system. Trim the foliage back to about six inches before replanting to reduce stress on the roots.
Plant divisions in a sunny to partly shaded spot with good drainage. Water them deeply every few days for the first couple of weeks.
Daylilies are incredibly adaptable and usually bounce back fast after division. You will likely see new growth within a week or two, and by the time blooming season arrives, your freshly divided plants will look better than ever.
5. Baptisia

Baptisia, also called false indigo, is one of those plants that rewards patience. It takes a few years to get established, but once it does, it becomes a stunning focal point in the garden with its tall spikes of blue-purple flowers in spring.
Here is the thing though: Baptisia develops an incredibly deep and wide taproot system underground, and it really does not appreciate being disturbed once it has settled in.
Attempting to divide a mature Baptisia plant is risky business. The taproot goes down surprisingly deep, and breaking it apart almost always causes significant stress to the plant.
Many divided sections simply fail to establish and just slowly fade away without ever recovering. Even experienced gardeners often lose divisions of Baptisia, which makes the effort rarely worth it.
Instead of dividing, let your Baptisia grow undisturbed. It will naturally get larger and more impressive with each passing year.
If you want more plants, the better option is to collect seeds from the swollen, rattling seedpods that form after the flowers fade.
Sow those seeds in fall or early spring, and while it takes time, you will end up with new plants that establish much more successfully than divisions would.
Plant Baptisia in a sunny spot with well-drained soil and give it plenty of space from the start. Once established, it is remarkably drought-tolerant and needs very little care.
Resist the urge to move or divide it, and it will reward you with bigger, more spectacular blooms every single spring for many years to come.
6. Butterfly Weed

Butterfly weed is a showstopper in any Texas garden. Its clusters of vivid orange flowers light up sunny beds from late spring through summer, and monarch butterflies absolutely flock to it.
It is also incredibly tough, handling drought and poor soil with ease once it gets established. That toughness, however, comes with a trade-off that many gardeners learn the hard way.
Butterfly weed grows from a deep, fleshy taproot that stores water and nutrients, which is exactly what makes it so drought-resistant. That same taproot is also what makes division such a bad idea.
When you try to dig up and split an established butterfly weed plant, you almost always damage or sever that critical root. The divided sections struggle to recover and rarely thrive the way the original plant did.
Beyond the taproot issue, butterfly weed is also slow to emerge in spring, which means it is easy to accidentally dig it up before you even realize it is there.
Mark its location in your garden so you remember where it is and avoid disturbing the soil around it during spring cleanup. Patience pays off because once it pops up, it grows quickly.
If you want to add more butterfly weed to your garden, starting from seed is your best option. Direct sow seeds in fall and let them overwinter naturally, or start them indoors and transplant small seedlings before they develop a deep root.
Once established in its permanent spot, butterfly weed should be left alone to grow bigger and more beautiful with every passing season.
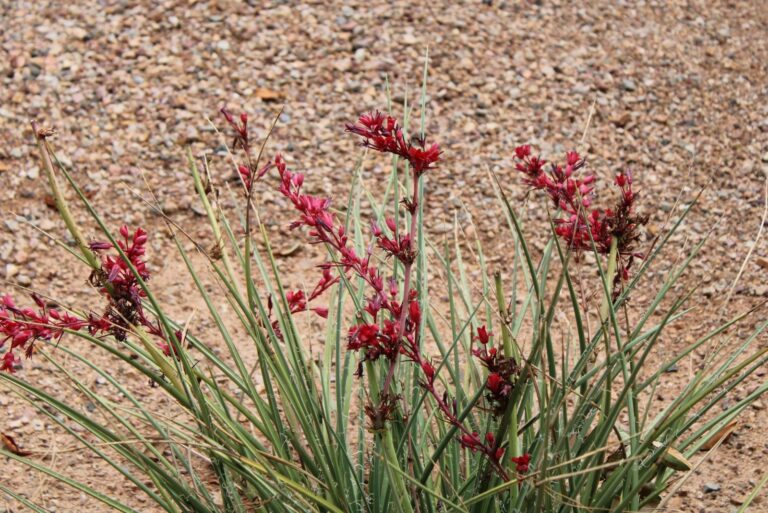
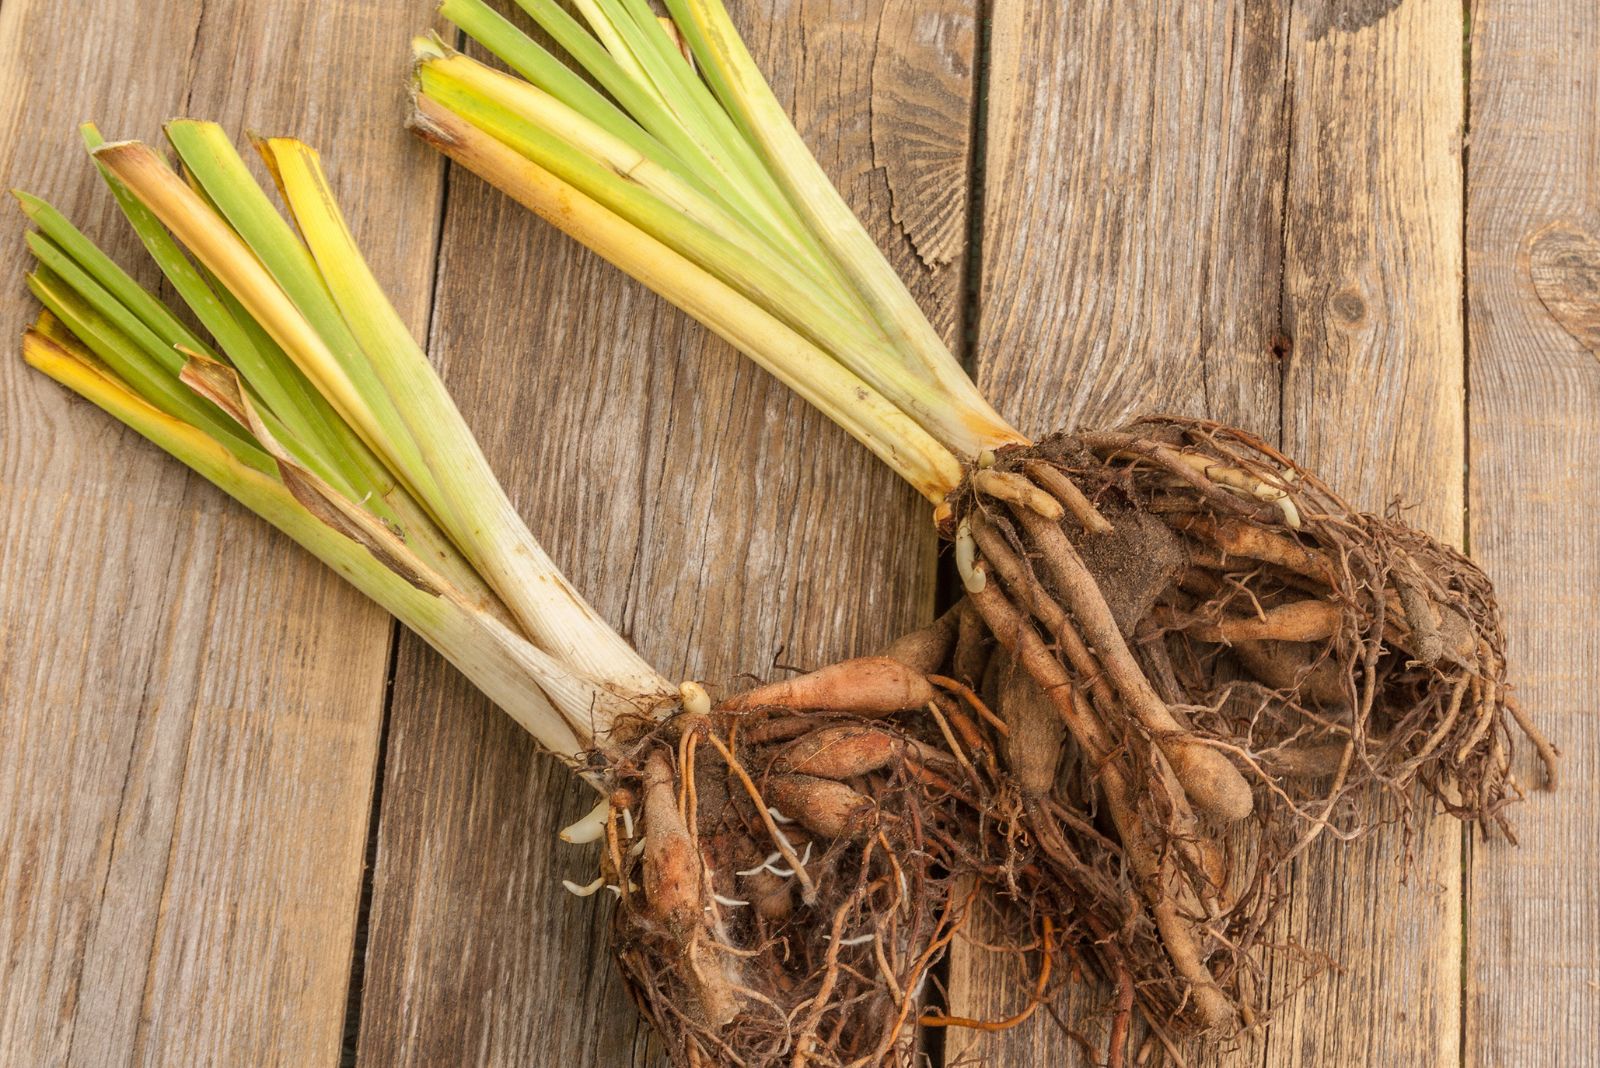
7. Red Yucca

Red yucca is one of the most iconic plants in Texas landscaping, and honestly, it earns every bit of that reputation. Its tall, arching spikes of coral-red flowers bloom from spring all the way into fall, drawing in hummingbirds like a magnet.
It handles heat, drought, and poor soil without complaint, making it a favorite for low-maintenance Texas gardens and xeriscapes.
Despite its toughness above ground, red yucca does not respond well to division. Its root system is dense and fibrous, and digging it up causes significant stress to the plant.
Divided sections often sit dormant for a long time before showing any new growth, and some never fully recover. The plant simply does better when left alone to grow at its own pace.
Red yucca also spreads naturally over time by producing small offset plants, called pups, around its base. These pups are a much safer way to propagate the plant than dividing the main clump.
Wait until the pups are at least a few inches tall before carefully removing them with a clean, sharp knife. Replant them right away in a sunny, well-drained spot and water them in well.
Give your established red yucca room to grow and resist the temptation to dig it up or rearrange it. Once it finds its spot, it settles in and gets more striking with age.
Older plants produce more flower stalks and create a more dramatic visual impact in the landscape. The best thing you can do for this plant is simply leave it alone and enjoy the show it puts on every year.