8 Thanksgiving Cactus Tricks Your Plant Wishes You Knew
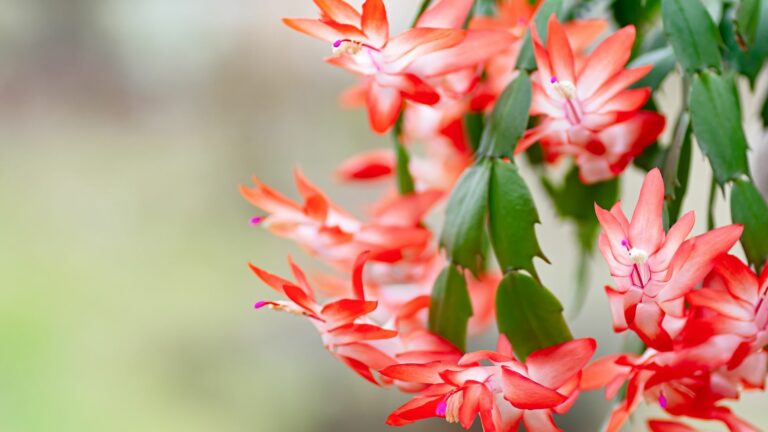
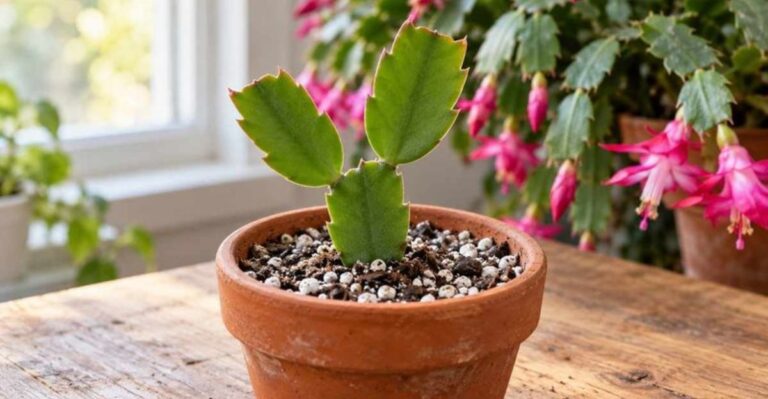
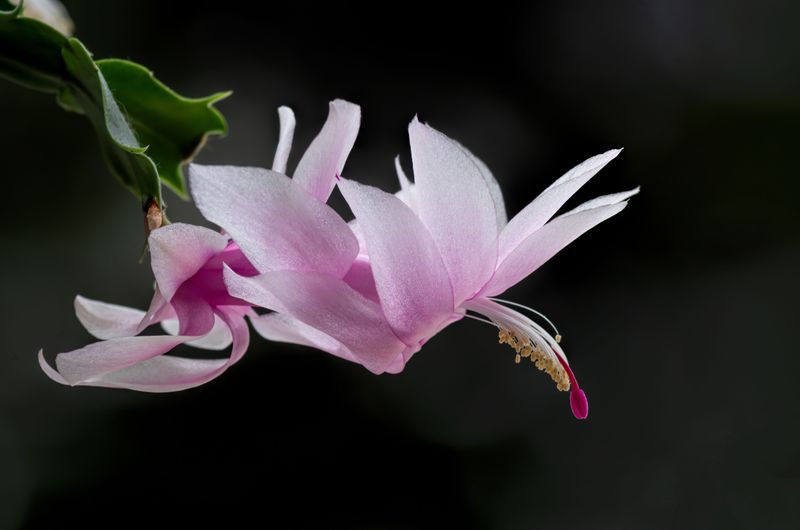
One holiday houseplant can bloom for decades, and families often hand down cuttings like treasured recipes from grandparents. Its bright flowers open from flat green stems, and the plant grows no true leaves at all.
Wild cousins grow on mossy tree branches in the coastal mountains of Brazil, far from any sandy desert. Those humble roots explain why desert-style care often leaves this plant sulking on a bright sunny windowsill each fall.
I skipped one simple step for years, and my pot stayed stubbornly green through every holiday dinner. After I tested a few small changes, the buds finally showed up right on time for pumpkin pie.
You might notice your own plant dropping quiet hints, like limp stems or tiny buds that fall before opening. So which quiet habits make the biggest difference, and could your windowsill already be working against you?
1. Long Dark Nights Trigger Thanksgiving Cactus Buds
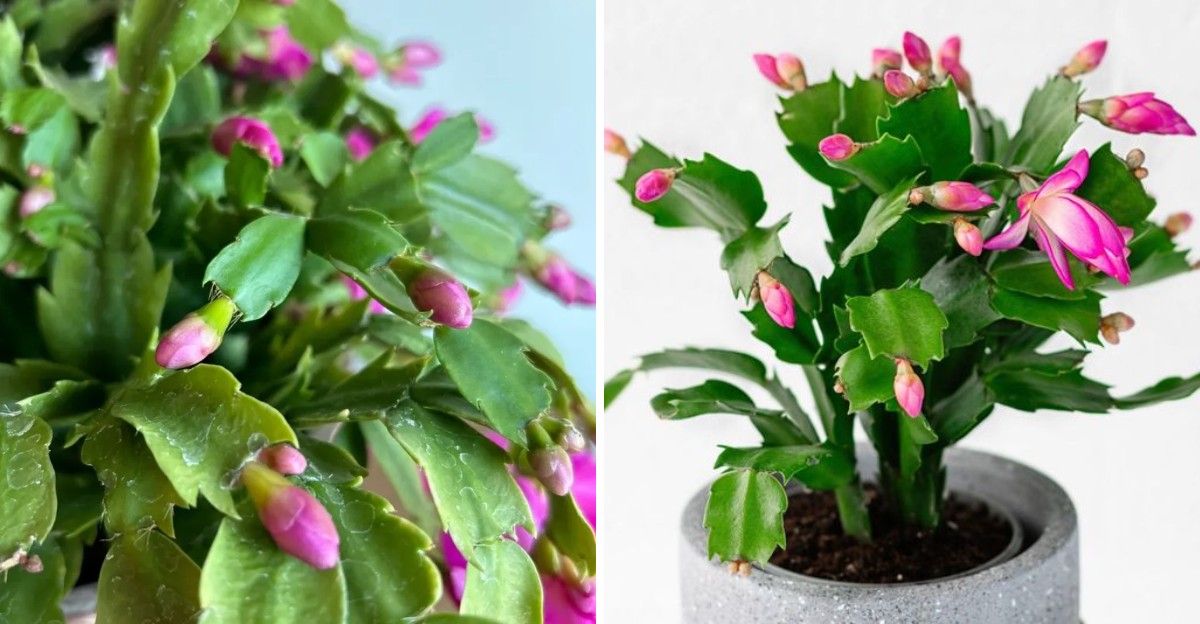
Darkness sounds like an odd gift for a houseplant, yet this one counts the hours of night like a calendar. Once autumn nights stretch long enough, tiny pink nubs start forming at the tips of its flat stems.
Botanists call it a short-day plant, though the real trigger is the length of uninterrupted darkness each night. University extension experts suggest about 12 to 14 hours of darkness daily for roughly six weeks before bloom.
I learned this lesson the hard way when a hallway lamp kept my plant glowing green every single evening. Even brief flashes from a porch light or a television can confuse the plant and delay bud formation.
Starting in late September, I move my pot into a spare room that stays dark after sunset. A closet works too, as long as you bring the plant back into bright light each morning.
Daytime still matters, since the plant needs bright, indirect light to fuel the energy that flowers demand. An east-facing window gives gentle morning sun without the harsh afternoon rays that can bleach the stems.
Watch for small buds near the segment tips, which usually appear after several weeks of steady long nights. Once you spot them, you can relax the darkness routine and enjoy watching the colors slowly swell.
Fun fact: Thanksgiving cactus, known as Schlumbergera truncata, has pointed teeth on its stem edges, unlike Christmas cactus. Those little claws help you identify your plant, so you can time its dark nights for late November blooms.
2. Cool Autumn Rooms Help Flower Buds Form
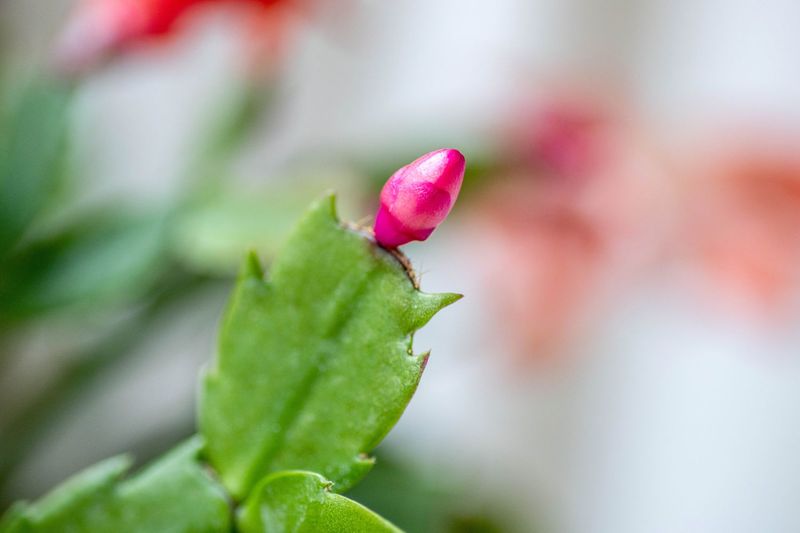
Cool rooms can coax buds out of this plant even when the lights stay on longer than ideal. Researchers found that nights around 50 to 55 degrees Fahrenheit encourage flowering regardless of how long the darkness lasts.
That chilly trick works because the plant evolved in misty Brazilian mountain forests where autumn evenings turn crisp. Your living room probably runs warmer, which is one reason store-bought plants sometimes refuse to rebloom at home.
I keep my pot on a bright windowsill in an unheated guest room during October and early November. The difference in bud count surprised me, and the flowers seemed to last longer once they finally opened.
Aim for daytime temperatures in the mid sixties to low seventies, with cooler readings once the sun sets. A cheap digital thermometer near the pot tells you more than guessing from how chilly your fingers feel.
Avoid spots right beside heating vents or drafty doors, since sudden swings can stress the plant badly. Stressed plants often respond by dropping buds, which feels like losing a present right before you unwrap it.
If you live somewhere mild, your plant may enjoy a shady porch during early fall before frost arrives. Bring it indoors well before temperatures dip toward freezing, because frost can quickly damage those tender stem segments.
Once buds are clearly visible, a slightly warmer room is fine, though steady conditions still matter a lot. Think of the chill as a wake-up call, and the steady care afterward as a welcome encore.
3. Check The Top Inch Of Soil Before Watering
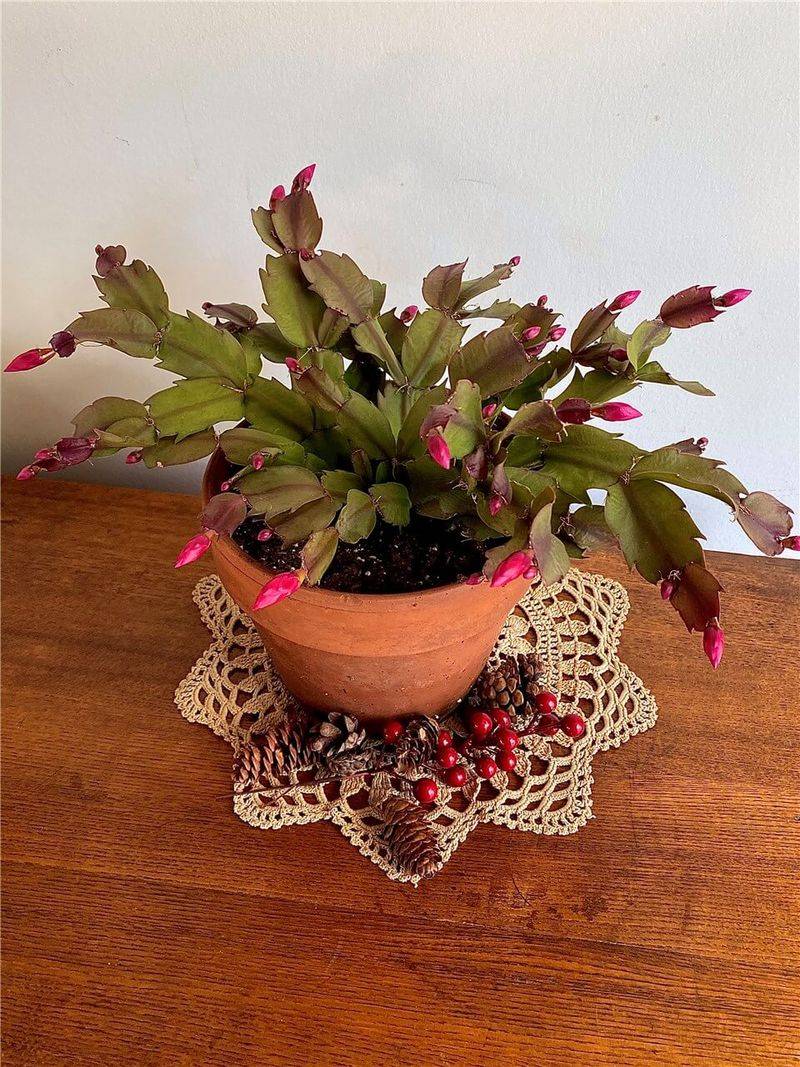
Calling this plant a cactus has tricked plenty of us into treating it like a thirsty desert survivor. Its wild ancestors grow in humid forests, so it prefers soil that stays lightly moist rather than bone dry.
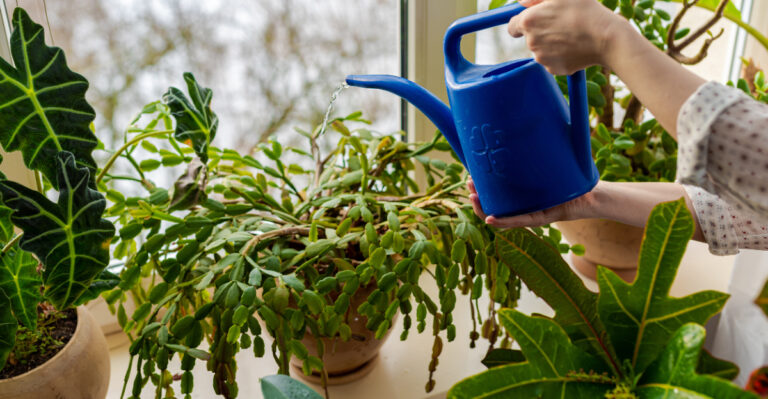
The easiest rule I follow is simple: water when the top inch of soil feels dry to touch. Pour slowly until water runs from the drainage holes, then empty the saucer so roots avoid sitting wet.
Soggy soil is the bigger danger, because constantly wet roots invite rot that can quickly ruin a plant. Limp, mushy stems near the base are a warning sign that the pot has stayed waterlogged too long.
On the other hand, letting the soil stay parched for weeks can make segments shrivel and look wrinkled. Buds may also drop when the plant swings from soaking wet to desert dry over and over again.
I like lifting the pot after watering, then again a few days later, to learn its changing weight. Before long, you can feel when it needs a drink without even poking your finger into the soil.
Many growers ease back slightly on watering in early fall, which can help the plant shift toward blooming. Once buds appear, return to steady moisture, since thirsty plants tend to shed their flowers before they open.
Tap water usually works fine, though letting it sit out overnight brings it closer to room temperature. Cold water straight from the faucet can shock roots, so lukewarm water feels like a kinder habit.
4. Chunky Bark Potting Mix Keeps Roots Breathing
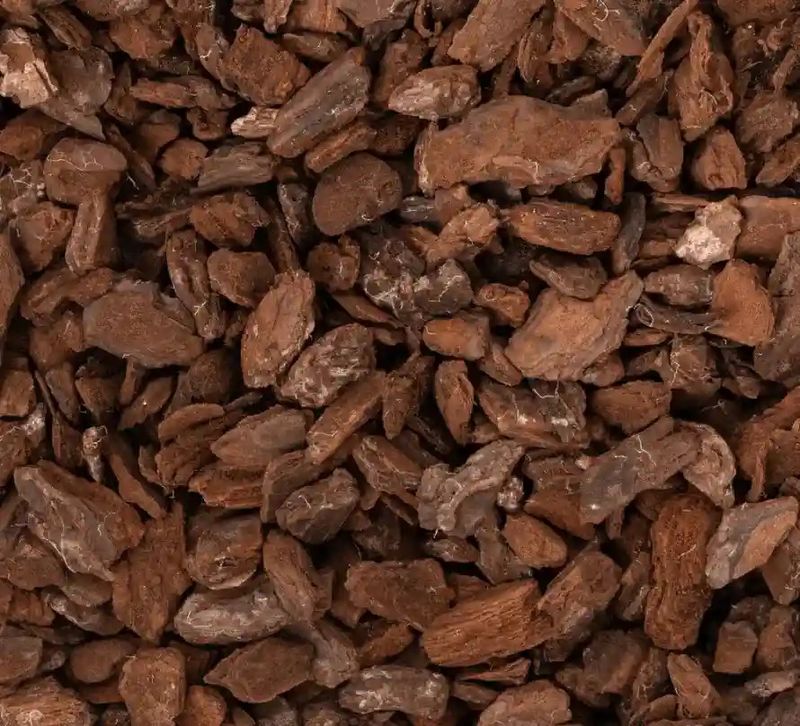
Wild Thanksgiving cactus plants cling to tree bark and mossy rocks, soaking up rain that drains away quickly. Dense bagged soil feels nothing like that airy home, so roots can struggle when it stays heavy and wet.
My favorite fix is mixing regular potting soil with orchid bark, which adds chunky pockets for air flow. Many extension services suggest adding perlite as well, giving roots a loose blend that drains quickly after watering.
A ratio around two parts potting mix to one part perlite or bark works well for most homes. Commercial cactus mixes can work, though some are so sandy that they dry out faster than this plant likes.
Slightly acidic soil suits it best, so a mix containing peat or coco coir keeps conditions pleasant. Those ingredients also hold a little moisture, which balances the fast drainage from bark and perlite nicely.
Drainage holes matter just as much as the mix, because water trapped at the bottom invites root rot. Decorative pots without holes look pretty, but I slip a plastic nursery pot inside to solve that problem.
I once rescued a droopy plant simply by switching it from heavy garden soil into a bark blend. Within a couple of months, new segments appeared, and the stems stood up with fresh confidence again.
Please skip garden dirt from outdoors, since it compacts in containers and may carry pests into your home. A light, crumbly mix lets roots breathe, and healthy roots set the stage for plenty of colorful flowers.
5. A Snug Pot Makes A Happier Holiday Cactus
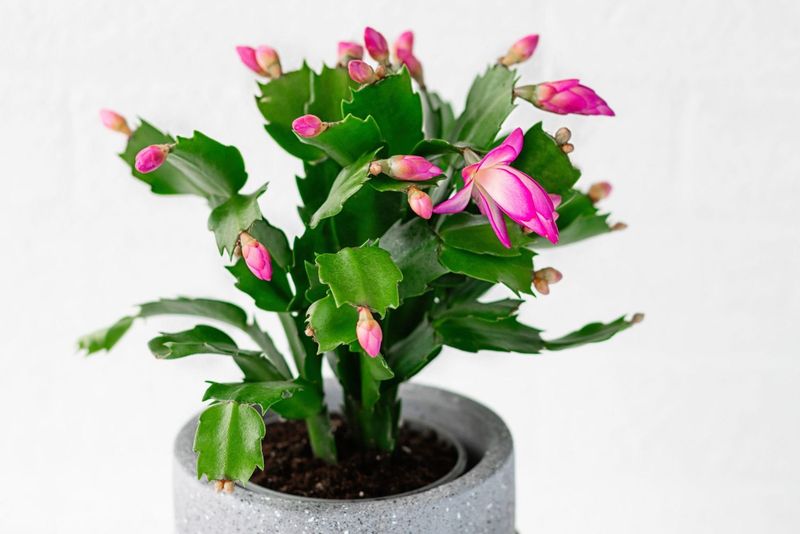
Few houseplants enjoy crowding, but this one seems happiest when its roots fill the pot snugly. Many growers notice better blooming when the plant stays slightly root-bound instead of swimming in extra soil.
Repotting every three years or so is usually plenty, unless roots poke out from the drainage holes. A plant that dries out within a day or two after watering might also be asking for more room.
Spring, after flowering wraps up, is the best season to repot because the plant enters active growth then. Repotting in late summer or fall can disturb the plant right when it should be setting new flower buds.
I made that mistake one September, and my plant rewarded me with only a few lonely blossoms that year. Patience pays off here, since waiting until spring gives roots several months to settle in before autumn.
Choose a new container just one size larger, roughly an inch or two wider than the old one. Oversized pots hold extra soil that stays wet for days, which raises the risk of root rot.
Gently loosen the root ball and shake away some old soil before setting the plant into fresh mix. Healthy roots look firm and pale, while brown, soft roots should be trimmed away with clean scissors.
Clay pots breathe nicely and help soil dry evenly, though plastic pots work well for forgetful waterers. Either way, a cozy fit keeps your plant focused on making flowers rather than chasing endless root growth.
6. Feed In Summer And Stop Before Fall
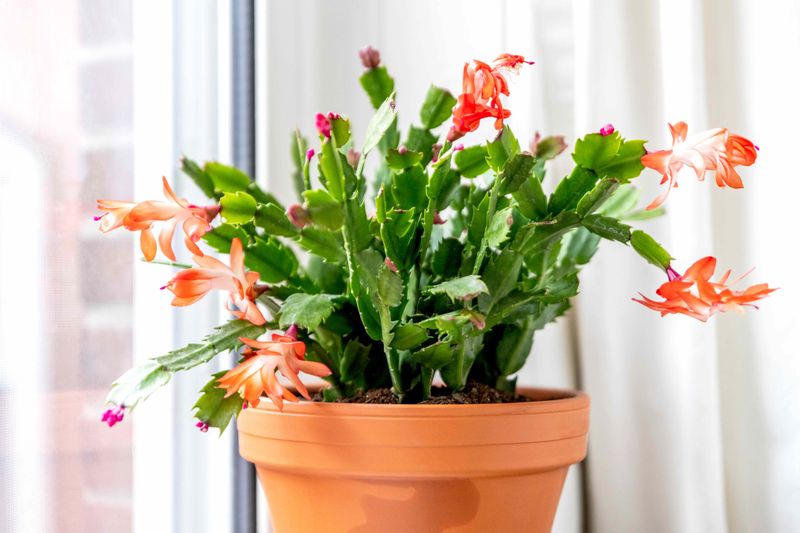
Feeding this plant is a bit like packing snacks for a long hike, helpful early and pointless near the finish. Timing matters more than the brand, and getting it right can mean the difference between flowers and plain green stems.
From spring through summer, a balanced houseplant fertilizer at half strength every few weeks works nicely. Diluting the formula protects tender roots, which can burn when fertilizer salts build up in the soil.
As late summer arrives, I stop feeding so the plant can slow down and prepare for flowering. Extension specialists note that heavy feeding in fall tends to push stem growth instead of new buds.
Some growers add Epsom salt for magnesium, using about one teaspoon per gallon of water once monthly. That habit is popular, though evidence is limited, so treat it as optional rather than a magic solution.
I fell for the banana peel trend once, and it mostly attracted fruit flies to my kitchen windowsill. A measured liquid fertilizer did far more good, and the plant grew plump, shiny segments by midsummer.
Watch for white crust on the soil surface, which signals salt buildup from too much fertilizer over time. Flush the pot by running plain water through it for a minute, letting the extra water drain away.
After blooming ends, give the plant a short rest before restarting your feeding schedule in early spring. Fresh green growth at the stem tips tells you it is hungry again and ready for a light meal.
7. Keep Budding Plants Still To Prevent Bud Drop
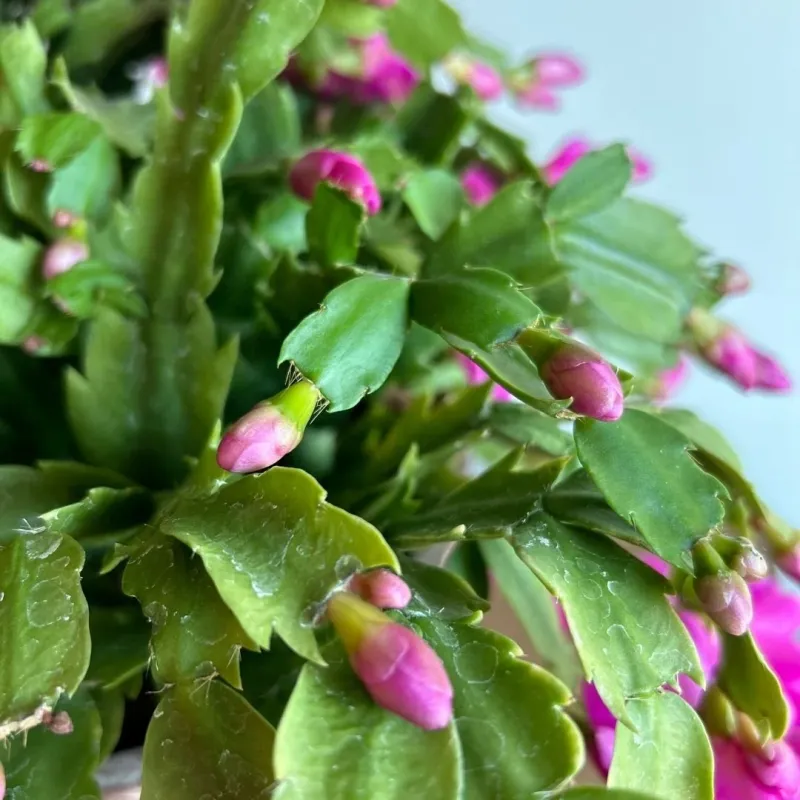
Nothing stings quite like watching fat flower buds tumble onto the windowsill just days before they would open. Bud drop is common, and it usually happens when the plant feels a sudden change in its surroundings.
Moving the pot from one room to another is a frequent cause, especially once buds have formed. Even rotating it sharply toward the light can upset buds that were already angled toward the original window.
I now leave my budding plant alone in one spot, resisting the urge to show it off to visitors. Guests can admire it where it sits, and the flowers repay that patience with a much longer display.
Temperature swings play a role too, so keep the pot away from radiators and drafty doors. A blast of cold air when someone opens the front door can be enough to loosen several buds.
Dry indoor air during heating season can also cause trouble for this forest native from Brazil. A pebble tray filled with water or a small humidifier nearby adds gentle moisture around the stems.
Uneven watering is another hidden culprit, since buds struggle when soil swings between soggy and parched conditions. Check the soil every few days while buds swell, and give a drink when the top inch dries.
Store-bought plants sometimes drop buds after the trip home, which is frustrating but rarely means anything serious. Give that plant steady care, and it will usually settle in and bloom generously the following year.
8. Twist Off Stem Segments After Blooming For Fuller Plants
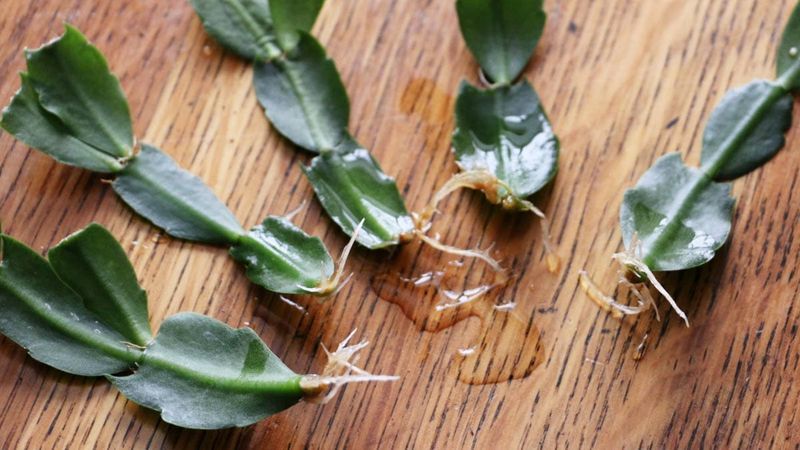
Pruning this plant feels oddly satisfying, because each stem segment snaps away cleanly at its joint with a gentle twist. No scissors are required, and the leftover pieces can grow into brand new plants for friends and family.
The best timing is a few weeks after flowering ends, usually in late winter or early spring. Pruning then gives the plant months to grow fresh segments, and those new tips are where future flowers form.
Grip a stem between two segments and twist gently, removing one to three segments from each branch. Most guides suggest taking no more than about one third of the plant, which keeps recovery quick.
I prune mine every spring, and the plant has grown fuller and rounder instead of drooping in long strands. More branch tips mean more places for buds, so a light trim often leads to a showier display.
Skip heavy pruning in fall, since cutting stems then removes the very tips that would carry this year’s flowers. Broken or shriveled segments can be removed anytime, because they will not recover and only distract the plant.
Those trimmed pieces root easily, especially cuttings with two or three segments still joined together at the joints. Let them dry for a day, then tuck the base into slightly moist potting mix in bright, indirect light.
Roots usually form within a few weeks, and the young plants may bloom within a year or two. Sharing a rooted cutting is my favorite holiday gift, since it carries a little story from your windowsill.