The Easy Way To Stop Weeds Between Pavers In Virginia
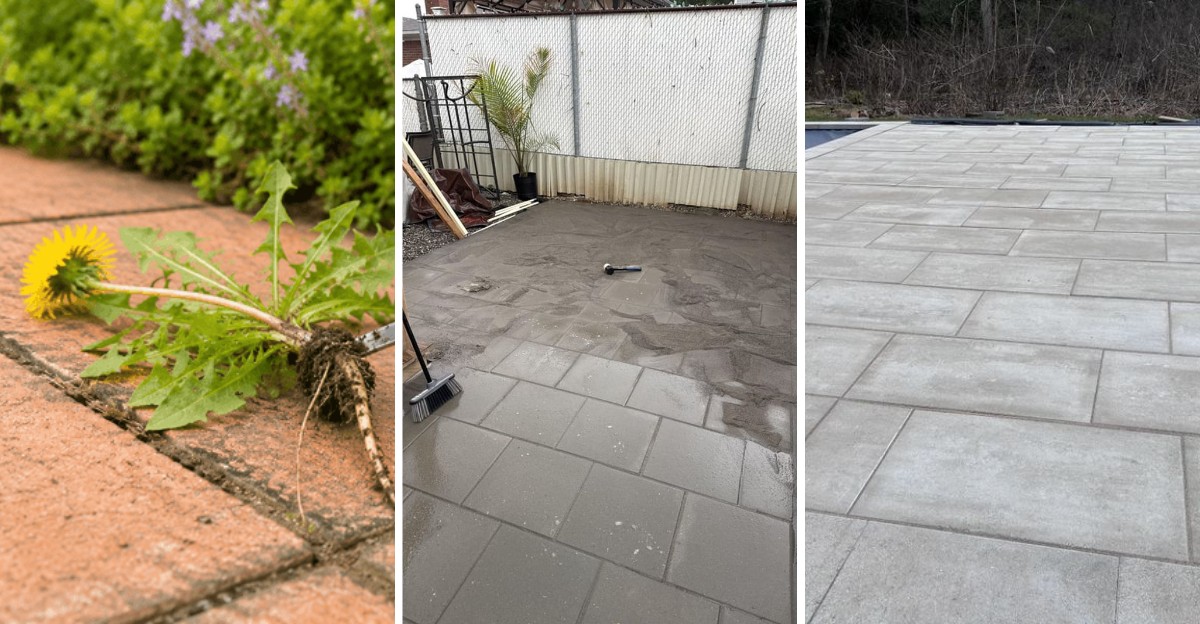
You pulled them last weekend, and somehow they’re back already. Weeds between pavers have a sneaky talent for returning, especially after a warm rain.
One day your Virginia patio looks crisp and tidy. The next, tiny green invaders are poking up from every crack.
The fix is simpler than you might think. A few smart steps can seal those gaps and make weeds feel unwelcome for good.
Some tricks work like magic, while others quietly damage your stone or wash away your hard work. Knowing the difference saves time, money, and plenty of sore knees.
Brick, concrete, or natural stone, the right approach makes all the difference. You can take back your patio one joint at a time.
Polymeric Sand Locks The Gaps Tight
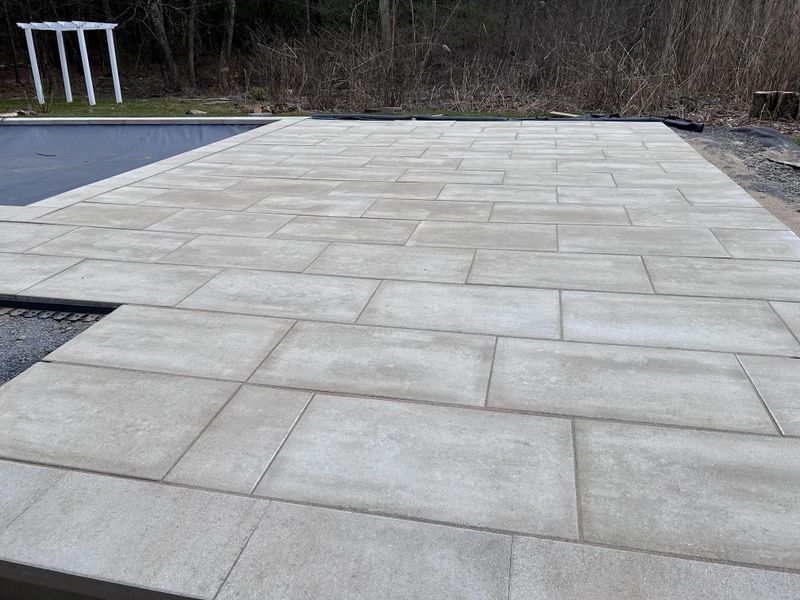
Picture sand that turns almost as firm as grout after a light shower. Polymeric sand does exactly that, and weeds hate it.
The product is a blend of fine sand and special polymer additives. Once water touches it, the polymers activate and bind the grains together.
The result is a firm but flexible joint between your pavers. It can shift slightly with the ground without cracking apart.
Regular sand stays loose, so seeds settle in and roots spread easily. Polymeric sand creates a hard barrier that blocks seeds from taking hold.
Ants also struggle to tunnel through the hardened joints. Fewer ant hills means fewer messy piles of sand on your patio.
Virginia summers bring heavy storms that can wash plain sand right out. Polymeric sand holds up much better against those sudden downpours.
Most bags cover roughly 30 to 75 square feet, depending on joint width. Measure your patio first so you buy enough in one trip.
Color choice matters more than many people expect. Gray, tan, and beige options help joints blend nicely with your stone.
Check the forecast before you begin the project. You usually need about 24 hours without rain for the sand to cure properly.
Temperatures above 32 degrees Fahrenheit are best for curing. Spring and early fall are ideal seasons for this job across most of the state.
A single bag costs a little more than plain sand. The extra cost pays off with years of cleaner, weed-free joints.
Pull Every Weed Before You Start
Skipping weeds now is like painting over mold. The problem hides for a while, then pushes right back through.
Every weed and root must go before new sand goes in. Leftover plant bits keep polymeric sand from bonding well.
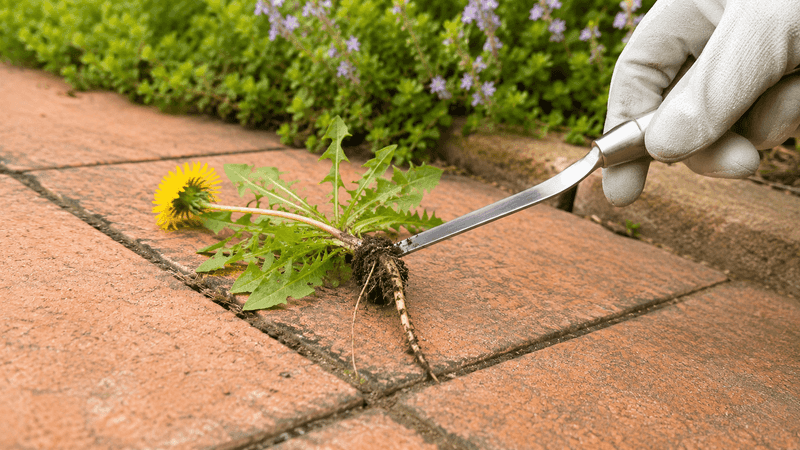
A crack weeder tool makes this job much easier on your hands. Its hooked blade slides into narrow joints and lifts roots out.
Try weeding a day after rain when the soil is soft. Roots slip out more easily, and fewer pieces snap off below the surface.
Dandelions and crabgrass are common troublemakers in Virginia yards. Dandelions grow long taproots, so dig deep to remove the whole thing.
Leaving even a small piece of root lets many weeds regrow. Take your time and check each joint carefully as you work.
Your Virginia Garden Changes Every Week. Your Plan Should Too.
Gardening in Virginia changes quickly throughout the season. Every Friday you’ll receive a simple weekly plan showing exactly what to plant, prune, fertilize, harvest, and protect so you never miss the right timing.
Knee pads or a garden cushion can save you from soreness. A small stool also helps if you plan to work for a while.
Toss pulled weeds into a bag instead of leaving them nearby. Seeds can fall off and land right back in the cleaned joints.
Moss counts as a weed for this project too. Scrape it out with a putty knife or stiff brush.
Break the patio into small sections if it feels overwhelming. Finishing one corner at a time keeps the job manageable and even satisfying.
A clean start sets up every step that follows. Patience here means far fewer weeds popping up next season.
Sweep Out Old Sand And Debris
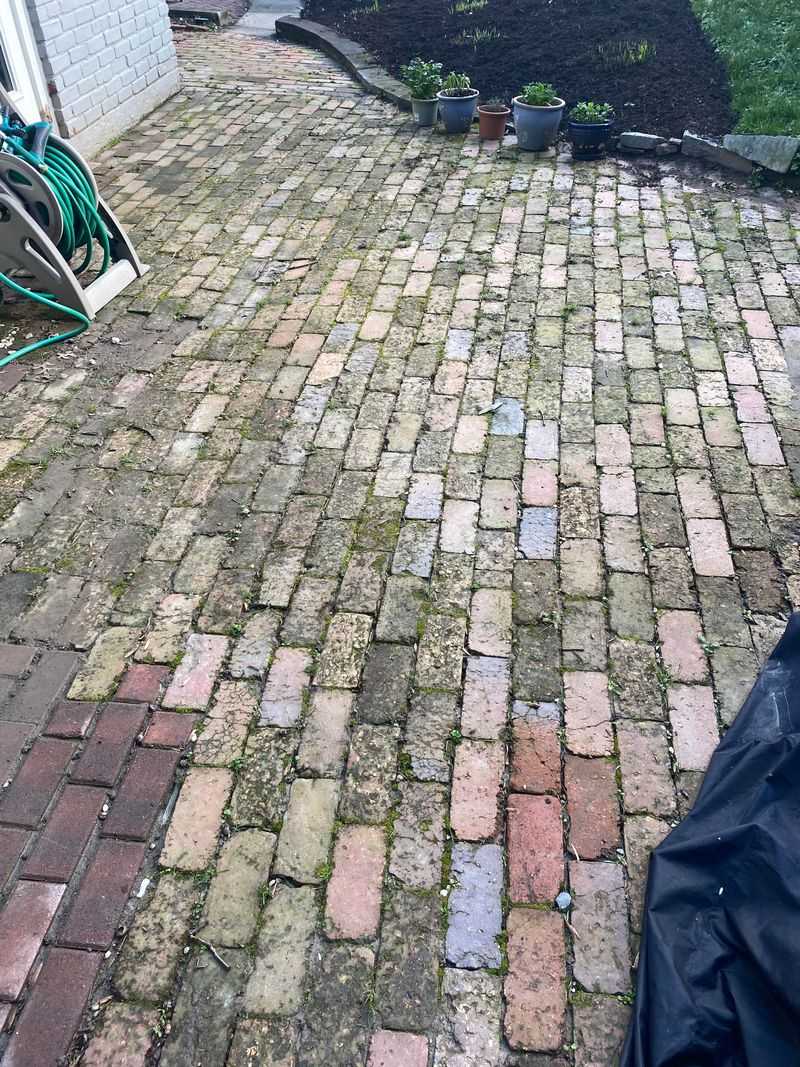
Old joint sand is basically a cozy hotel for weed seeds. Clearing it out gives your new sand a fresh, clean home.
Fresh polymeric sand needs clean joints to stick properly. Dirt, old sand, and leaves can weaken the bond.
Start with a stiff push broom to loosen surface grime. Then use a flathead screwdriver or joint scraper on packed areas.
Aim to clear joints down about one inch deep. Many manufacturers suggest at least that much depth for a strong hold.
A leaf blower helps lift fine dust from narrow gaps. Wear safety glasses, since tiny grit can fly up quickly.
Some homeowners use a pressure washer on a low setting here. Just let everything dry completely before adding the new sand.
Wet joints cause polymeric sand to activate too early. That leads to a weak, patchy surface that cracks over time.
Pine needles and oak leaves are common in many Virginia neighborhoods. Pick out stubborn organic bits by hand if the broom misses them.
Here is a handy trick for checking your progress. Run a finger along a joint and feel for loose crumbs.
Bag the old sand rather than sweeping it into garden beds. It may carry weed seeds that sprout in your flowers.
Give the pavers a final sweep before moving on. A tidy surface makes the next step smoother and much less messy.
Mist Lightly To Set The Sand
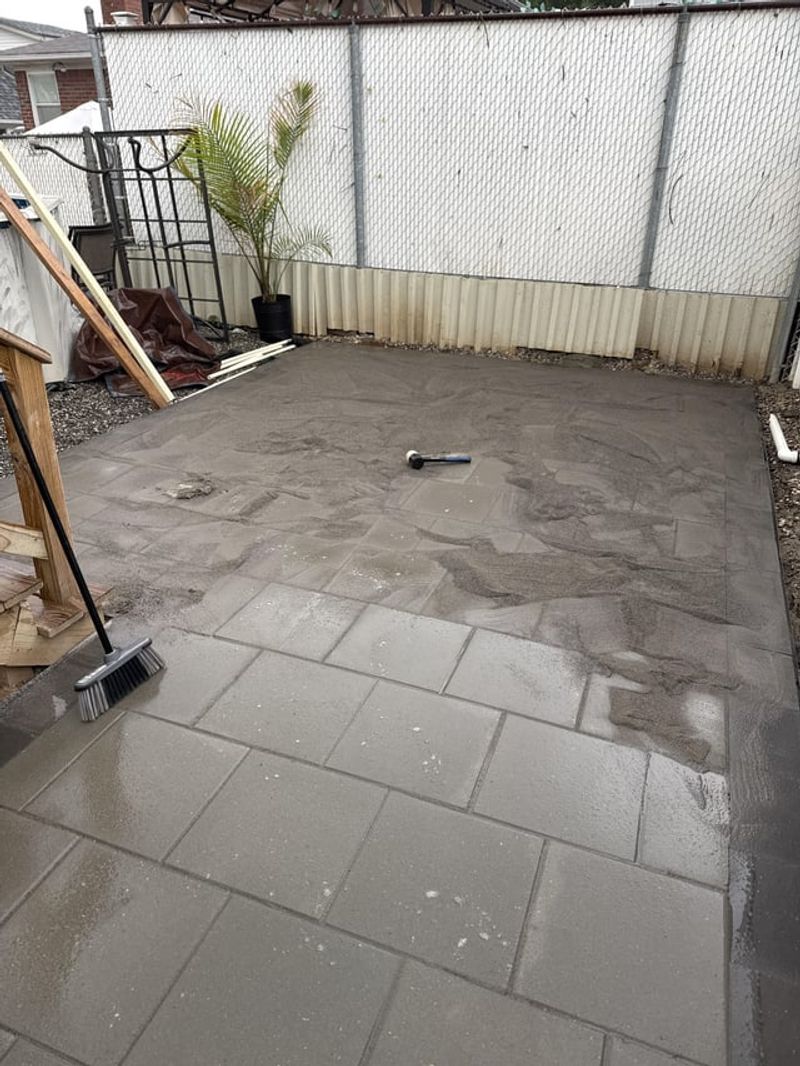
Think of this step like watering a delicate seedling. A soft touch works wonders, while a flood ruins everything.
After sweeping sand into the joints, compact it with a tamper or plate compactor. Add more sand to fill any settled spots.
Next, sweep every grain off the paver surfaces. Leftover sand can harden into a cloudy haze on top of your stone.
A leaf blower on low clears the final dusting nicely. Hold it at a shallow angle so joints stay full.
Now grab a hose with a shower or mist setting. Gently wet a small section at a time, about 10 square feet.
The goal is to activate the polymers without washing sand away. Too much water pushes sand out and leaves weak spots.
Many brands suggest misting in two or three light passes. Wait a minute or so between passes to let water soak in.
Watch for water pooling on the surface. Pooling signals you are using too much, so ease up right away.
Keep foot traffic off the patio for about 24 hours. Cars should stay off driveways for roughly 48 hours.
Muggy afternoons can slow drying a bit. Starting early in the morning gives the sand more daylight hours to cure.
Read the label on your specific bag carefully. Each brand has slightly different watering steps, and following them pays off.
Boiling Water Works On Small Spots
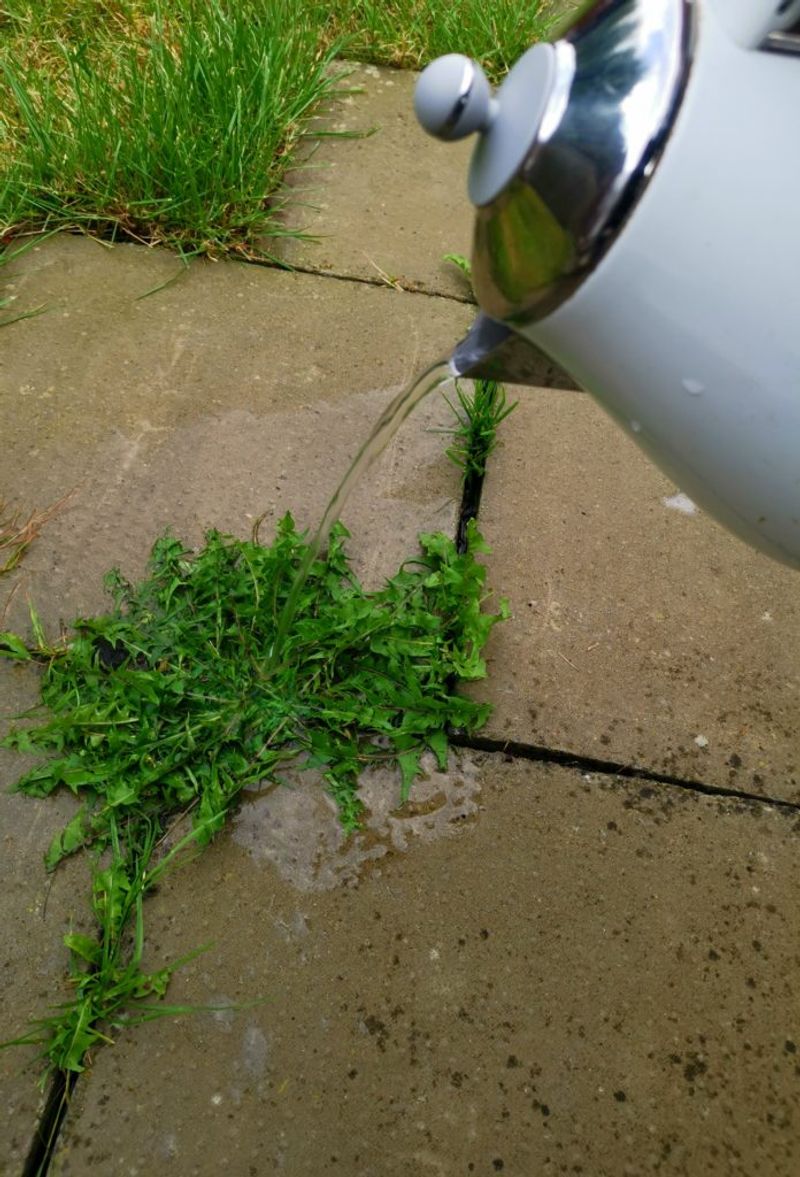
Your kitchen kettle might be the cheapest weed fighter you own. No sprays, no special tools, just hot water and a steady hand.
Boiling water bursts plant cells the moment it hits. Young weeds wilt and turn brown within a day or two.
The method shines on small, new weeds in cracks. Tiny sprouts with shallow roots respond best to a quick hot soak.
Deep-rooted weeds are a different story, though. Dandelions and thistles often bounce back and need several treatments.
Pour slowly and aim right at the base of the weed. Splashing wastes heat and can scald nearby plants you want to keep.
Safety matters a lot with this trick. Wear closed-toe shoes and keep kids and pets indoors while you work.
A kettle with a narrow spout gives better control than a big pot. Smaller pours also cool down less before reaching the target.
Here is a fun fact for curious gardeners. Some cities use hot water and steam machines to manage weeds in public parks.
Hot water leaves no chemical residue behind. Kids and pets can play on the patio once the surface cools.
Use this method for touch-ups rather than as your main plan. Pairing it with sealed joints keeps weeds from returning so often.
Try it on a calm day without wind. Steady weather helps you pour accurately and keeps steam away from your face.
Vinegar Can Discolor Some Stone
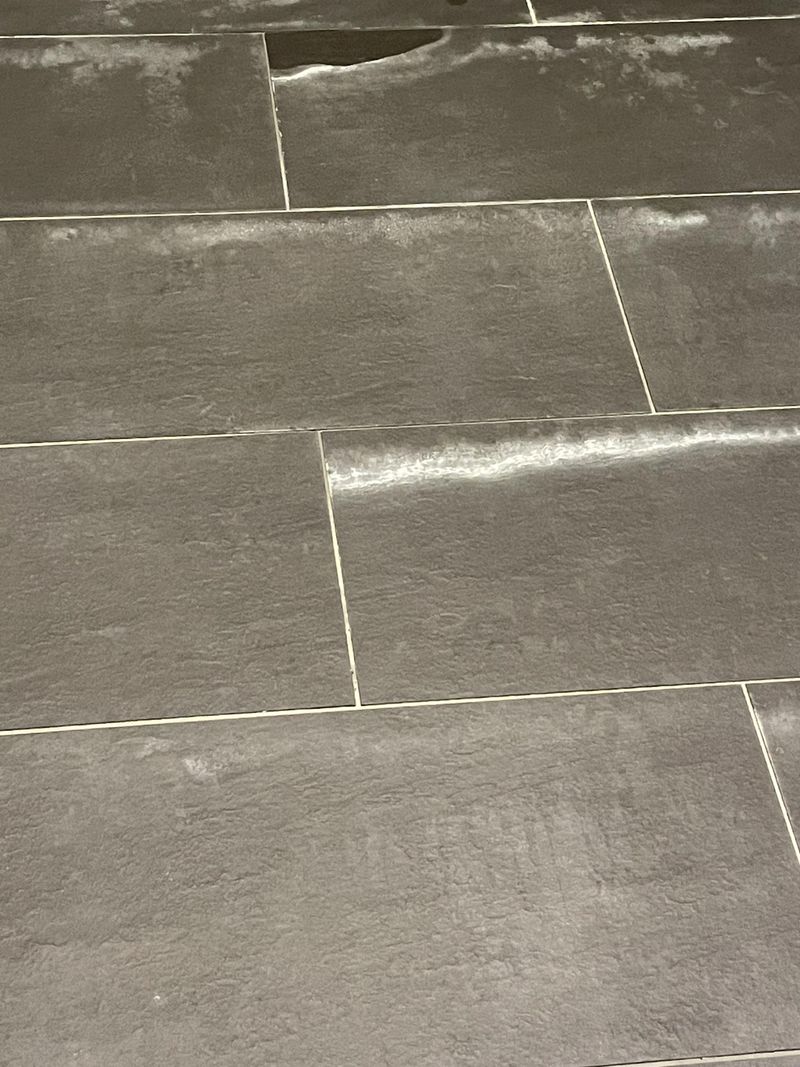
Plenty of online videos praise vinegar as a miracle weed spray. Your stone patio might tell a less cheerful story.
Vinegar contains acetic acid, which can etch natural stone. Etching leaves dull, rough patches that are hard to repair.
Limestone, marble, and travertine are especially sensitive. These calcium-rich stones react quickly when acid touches them.
Bluestone is a popular patio choice across Virginia. It handles acid better than limestone, but vinegar can still dull or blotch some pieces.
Concrete pavers can also suffer over time. Repeated acid exposure may weaken the surface and expose rough aggregate.
Test vinegar first on a hidden corner if you still want to try it. Wait a day and check for dull spots or color changes.
Household vinegar is usually about 5 percent acid. Stronger horticultural types are harsher and need gloves and eye protection.
Vinegar mostly burns leaves and leaves roots alive. Many weeds return within weeks, so results feel short-lived.
A smarter option is spot-spraying with a narrow nozzle. Keep the liquid on the weed and off the paver face.
Rinse the area with plain water afterward. Rinsing helps wash away leftover acid before it does any harm.
Honestly, prevention beats any spray. Well-sealed joints mean you will rarely need to reach for that vinegar bottle.
Pressure Washing Can Strip Out Sand
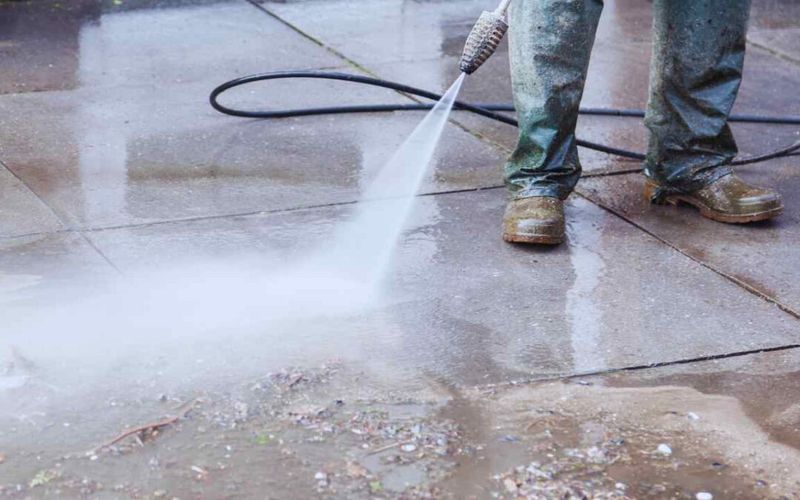
Few chores feel as satisfying as blasting grime off a dirty patio. The trouble starts when that powerful spray blasts your joint sand too.
High pressure can pull sand right out of the gaps. Empty joints let pavers wobble and invite fresh weeds.
Choose a low setting between 1,200 and 1,800 PSI. That range cleans most surfaces without digging into joints.
A wide-angle nozzle, like a 25 or 40 degree tip, spreads the force. Skip the narrow red tip, since it acts like a tiny chisel.
Rotary surface cleaners are a great upgrade. They spin evenly and keep the spray from focusing on one joint.
Hold the wand about 12 inches from the surface. Move steadily and spray at an angle instead of straight down.
Plan to re-sand after any deep cleaning session. Fresh polymeric sand restores the seal you may have weakened.
Spring pollen coats many patios in a thick yellow layer. A gentle wash usually handles it without heavy pressure.
Renting a pressure washer is an affordable option. Many hardware stores offer half-day rentals for small patio jobs.
Consider sealing your pavers once they dry fully. Sealer helps lock joint sand and makes future cleaning easier.
Gentle cleaning protects your investment over time. A little patience keeps pavers sturdy, level, and much less weedy.
Fix Low Spots Where Water Pools
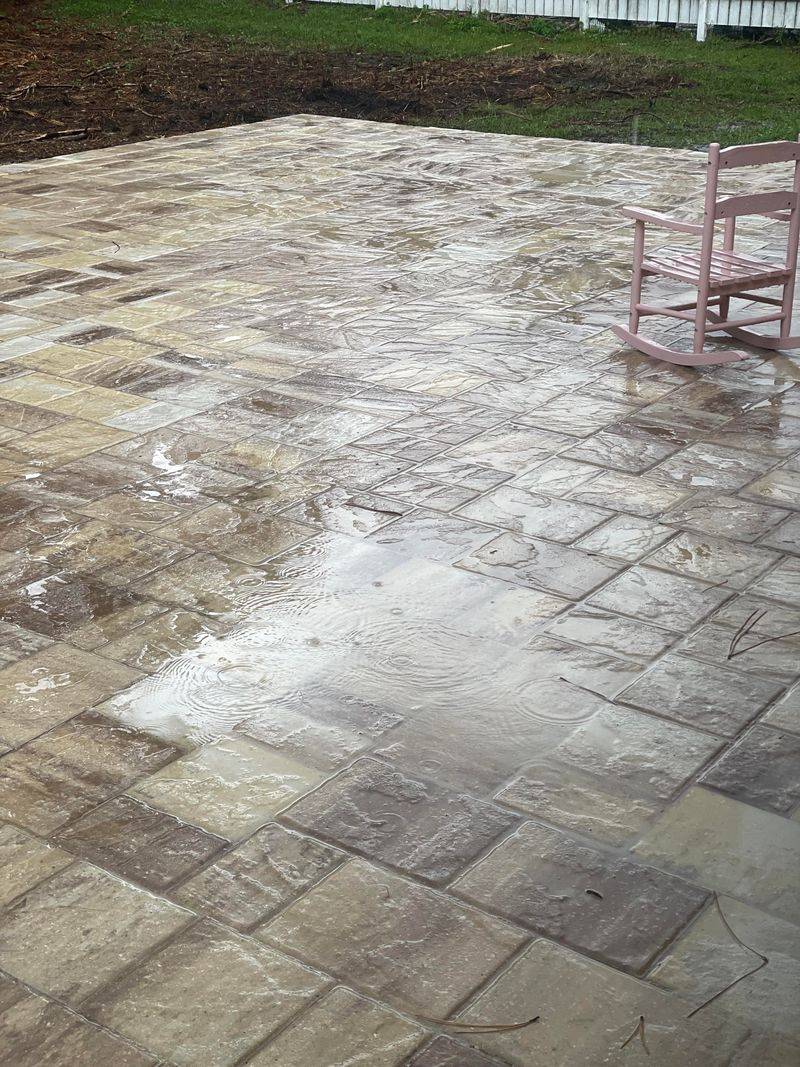
Ever notice weeds crowding around one soggy corner of your patio? That puddle is quietly feeding them all season.
Low spots hold water after every rain. Constant moisture softens joint sand and creates perfect conditions for seeds.
Standing water can also wash out sand over time. Gaps widen, pavers sink further, and the cycle keeps repeating.
Spot low areas easily after a good rain. Walk the patio and look for puddles that linger for hours.
Fixing a dip is a doable weekend project. Pull up the sunken pavers carefully with a flat bar or screwdriver.
Add bedding sand or crushed stone underneath to raise the level. Use a straight board to check that pavers sit even.
Patios should slope slightly away from your house. About one quarter inch per foot is a common guideline.
Clay soil is common in many parts of the state. It drains slowly, so proper grading matters even more here.
Number the pavers with chalk before lifting them. Matching pieces back in place saves a lot of puzzle-solving later.
Tamp the area firmly before setting stones back down. A solid base keeps the patch from sinking again next year.
Finish with fresh polymeric sand in those joints. Good drainage plus sealed gaps makes weeds struggle to find a foothold.
Creeping Thyme Turns Gaps Into A Feature
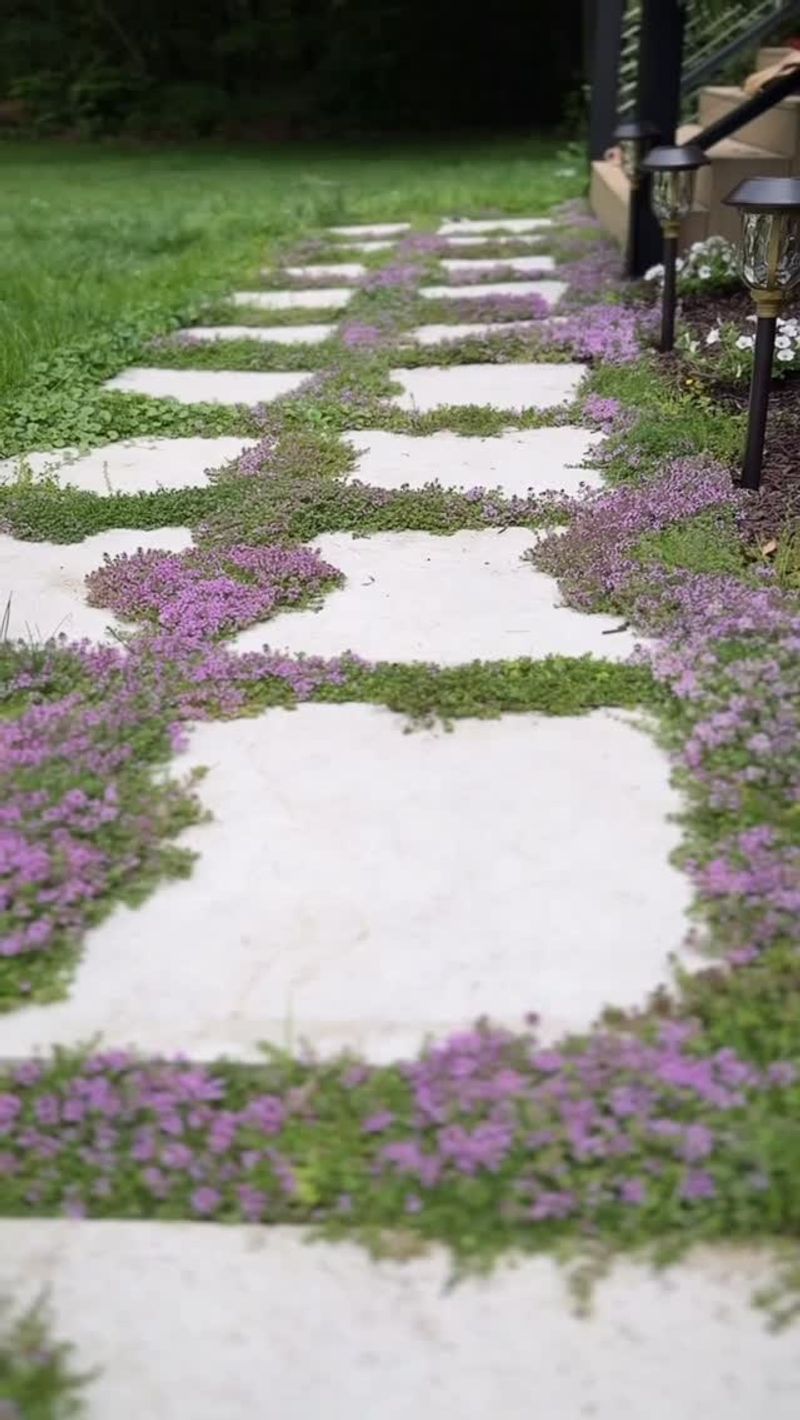
Sometimes the best way to win a fight is to change the game. Instead of battling plants in your gaps, invite a lovely one in.
Creeping thyme is a low, mat-forming herb perfect for wide joints. It spreads densely and crowds out many unwanted weeds.
Step on it, and a warm, herby scent drifts up. Walking your garden path suddenly feels like a stroll through Provence.
Tiny pink, purple, or white blooms appear in late spring and summer. Bees and butterflies flock to those little flowers.
The plant loves full sun and well-drained soil. Aim for at least six hours of direct sunlight each day.
Light foot traffic is no problem for this tough herb. Heavy use, like a busy driveway, is better left to sand.
Virginia winters are usually mild enough for creeping thyme to thrive. Most varieties are hardy in zones 4 through 9.
Mix a little gravel or sand into heavy clay before planting. Better drainage keeps roots from staying soggy and rotting.
Plant small plugs about six to twelve inches apart. They usually fill gaps within one or two growing seasons.
Water regularly the first summer while roots settle in. After that, the plant handles dry spells surprisingly well.
Pull stray weeds while the thyme fills in. Soon your gaps become a fragrant highlight instead of a chore.