The Right Way to Layer Your North Carolina Compost Pile Before Winter
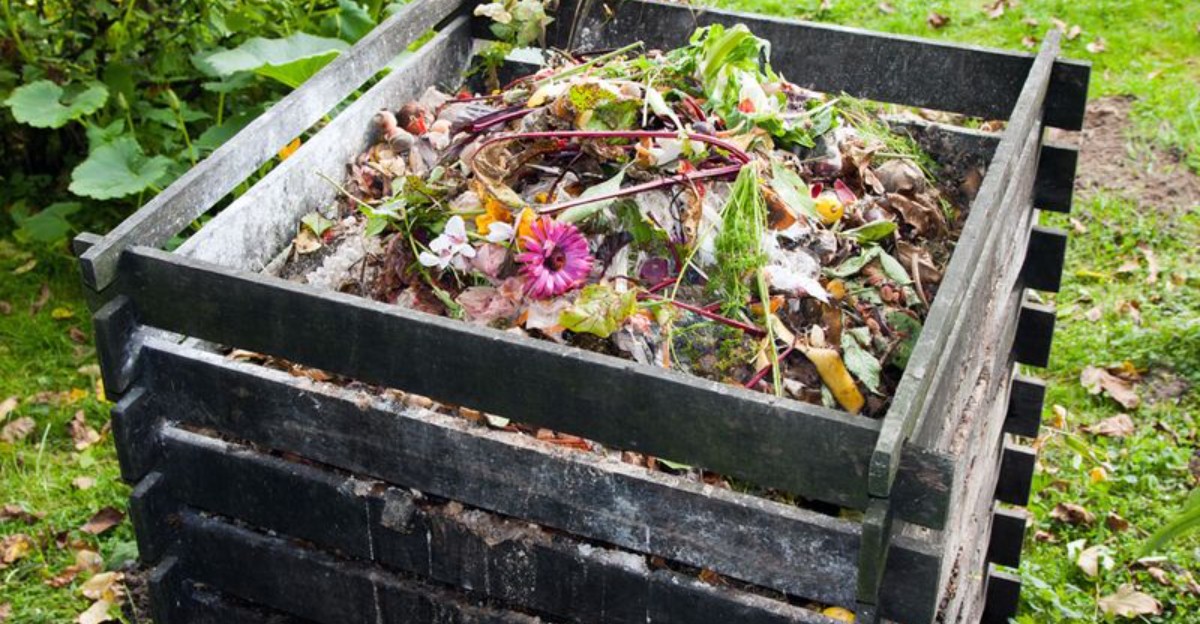
A well-built compost heap can heat up to 140 degrees or more inside, even while frost sparkles on the outside. That warmth comes from billions of tiny microbes eating, breathing, and multiplying in the dark.
One thing I love about this hobby is how little effort it takes once the pile is set up right. The trick is giving those hungry workers the right meals in the right order. Get it wrong, and you end up with a cold, soggy lump that smells like old socks.
Here in North Carolina, winters swing from mild coastal days to icy mountain nights. That makes fall the perfect window to stack things up before the real chill settles in. Your yard is already dropping free supplies all over the lawn.
So what goes on the bottom, what goes in the middle, and what should stay out of the bin for good?
1. Those Fallen Autumn Leaves Are Your Compost Pile’s Secret Fuel
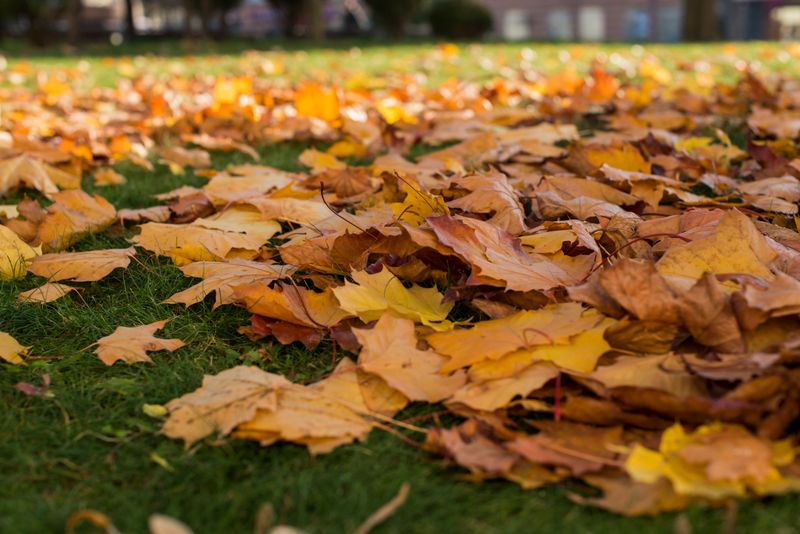
Every November, homeowners stuff thousands of bags of leaves at the curb. I can’t help but cringe a little, because those crunchy piles are one of the best compost ingredients you can find.
Dry leaves are called browns. They are rich in carbon, which gives compost microbes the energy they need to work. Straw, shredded cardboard, plain paper, and sawdust from untreated wood count as browns too.
The reason fall matters so much is simple. Your yard makes a huge supply of browns right now, but your kitchen keeps making greens all winter long. Stockpiling leaves today means you will have something to balance those scraps in January.
Try raking leaves into a wire ring or stuffing them into a few bags near the bin. Keep them somewhat dry so they are ready to use. A big stash also makes layering easier later, since you can grab a handful each time you add food waste.
Leaves also help with air flow. Their flat, stiff shapes create little pockets that keep the pile from packing down into a wet mess. Without enough browns, a heap often turns slimy and starts to smell.
Oak, maple, sweetgum, and tulip poplar leaves are common across the state and work well. Mix different kinds if you can, since they break down at different speeds.
2. Two Scoops of Browns for Every Scoop of Kitchen Greens
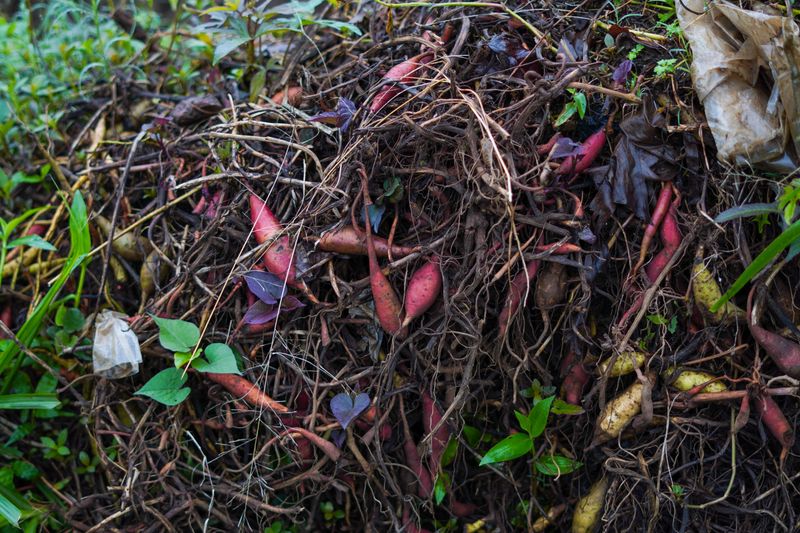
Ratios sound like math class, but this one is easy to remember. NC State Extension suggests roughly two parts browns to one part greens by volume for an active pile.
Greens are nitrogen-rich materials. Think fruit and vegetable peels, coffee grounds, tea leaves, fresh grass clippings, and soft garden trimmings. They feed microbes the protein-like building blocks those tiny workers need to grow.
Picturing the pile like a sandwich helps a lot. Each time you dump a bucket of kitchen scraps, cover it with about twice as much shredded leaves or straw. That cover layer soaks up extra moisture and hides food smells from curious critters.
Too many greens make a pile wet, heavy, and stinky. You might notice an ammonia smell, a bit like a cleaning product. When that happens, just fork in more browns and the odor usually fades within days.
Too many browns cause the opposite problem. The pile stays dry and fluffy, and nothing much happens for months. A handful of coffee grounds or fresh clippings can wake it back up.
Free coffee grounds are often available at local coffee shops if you ask. They are a handy winter green when the garden has gone quiet. Don’t stress about perfect measurements, though, since compost is forgiving and a close guess works just fine.
3. Start Your Compost Bin With a Layer of Twigs and Sticks
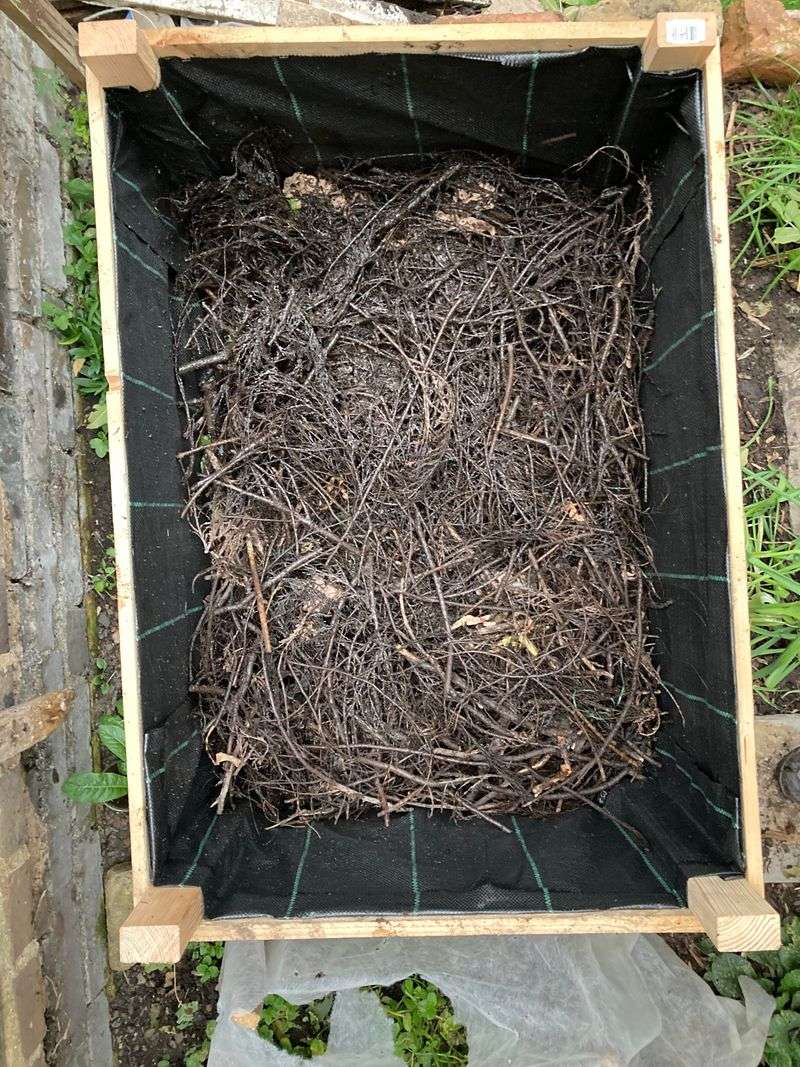
Builders pour a solid foundation before framing a house, and a compost pile deserves the same respect. A good base keeps everything above it healthy all winter.
Begin with about 6 inches of coarse stuff like small branches, twigs, or cornstalks. That rough bottom lets air move up into the pile and lets extra water drain away. It matters a lot during soggy Carolina winters when rain can sit for days.
Next comes the main stack. NC State Extension recommends layers of 6 to 8 inches of mixed plant material, followed by about an inch of garden soil or finished compost. That thin soil layer adds a fresh crew of helpful microbes to each level.
Keep repeating those layers until the pile reaches at least 3 feet tall and 3 feet wide. Size really matters here. A pile that is too small loses heat quickly, while a bigger one holds warmth in its center like a thermos.
Water each layer as you build. You want it damp like a wrung-out sponge, not dripping. Squeeze a handful, and if only a drop or two comes out, the moisture is about right.
Building it all at once in fall gives microbes a strong start before the coldest weeks arrive. A slow trickle of scraps can then keep things going.
4. Straw Bales Around the Bin Keep Winter Compost Cozy
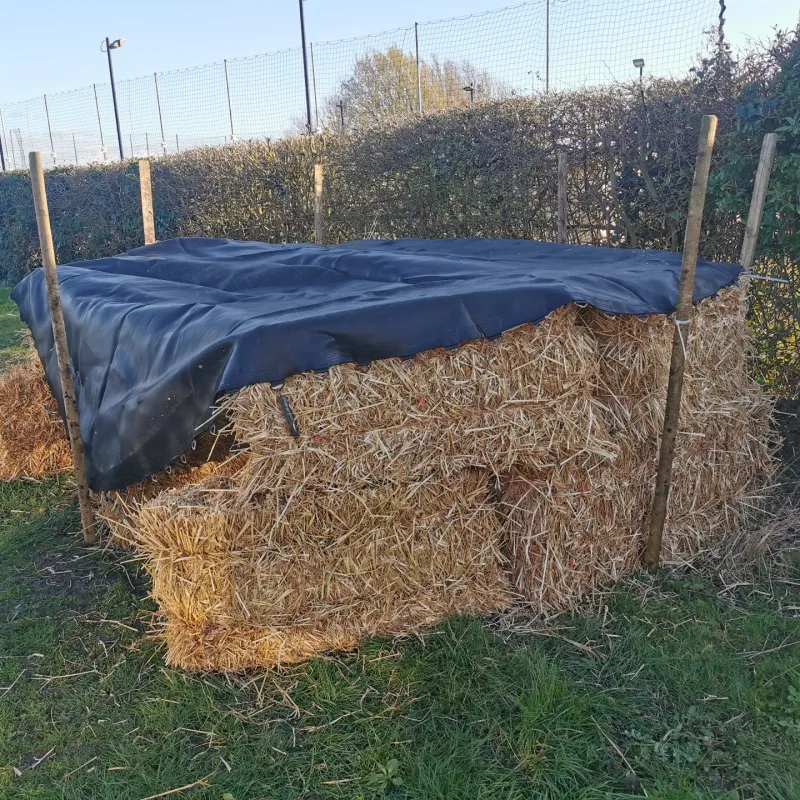
Mountain gardeners in towns like Boone see plenty of freezing nights, while folks near Wilmington might barely need a jacket. Either way, a little insulation helps your heap keep cooking.
Microbes make their own heat as they eat. Your job is to trap that warmth inside the pile. Stacking straw bales around the outside of the bin works wonderfully, and so do bags stuffed with leaves.
Some gardeners toss an old tarp or blanket over the top too. That cover does double duty, since it also keeps heavy winter rain from soaking the pile and chilling it down. Just make sure some air can still reach inside.
Picking the right spot helps as well. A sunny, sheltered location against a fence or south-facing wall stays a few degrees warmer. In the Piedmont, that small boost can keep things moving through December.
When you add kitchen scraps in winter, dig a small hole near the center and bury them. The middle is usually the warmest part of the pile. Tucking food deep inside also discourages raccoons and rodents from snooping around.
Activity will slow down when temperatures drop, and that is perfectly normal. A pile that feels cool on the outside can still be warm a foot inside. Poke your hand in on a cold morning and you may feel the difference.
5. Shredded Leaves and Chopped Scraps Break Down Much Faster
Ever notice how a whole pumpkin can sit in the pile for months looking almost untouched? Size is the culprit, and it is one of the easiest things to fix.
Microbes work on the outside surfaces of whatever they eat. Cutting materials into smaller pieces gives them far more surface to munch on. More surface means faster progress, which really counts when cold weather slows everything down.
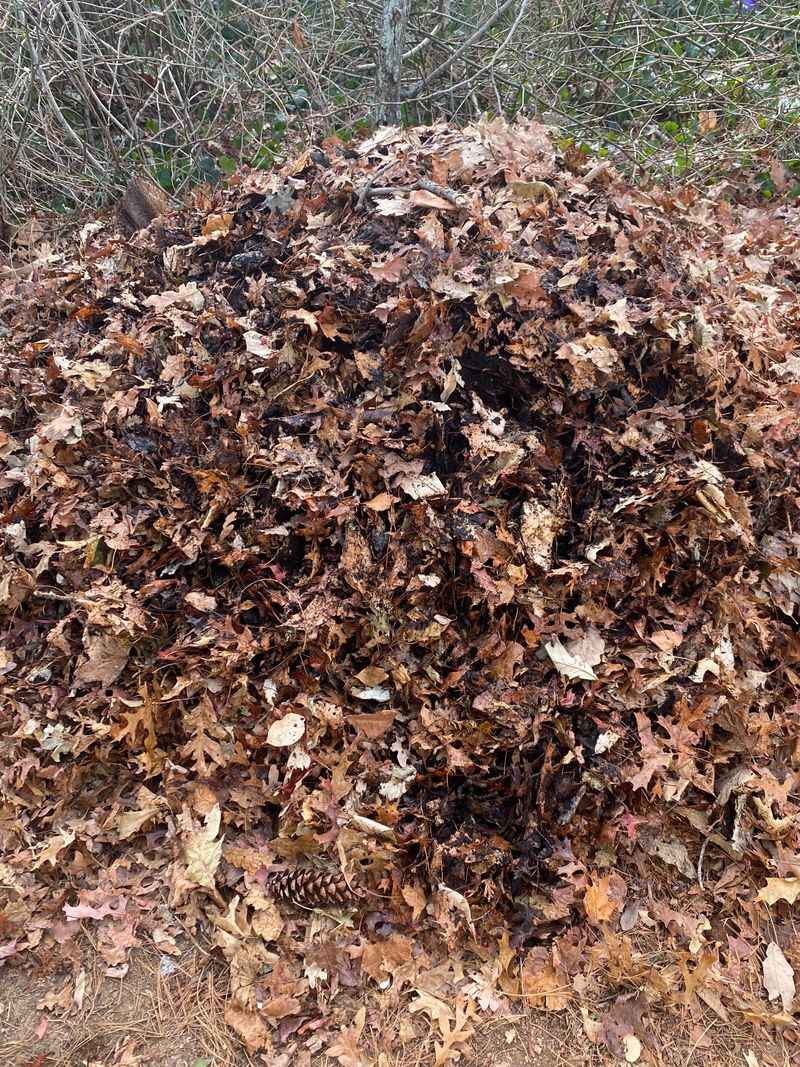
My favorite shortcut is the lawn mower. Run it over a pile of leaves a couple of times, ideally with a bagging attachment, and you get perfect confetti-sized bits. Shredded leaves also mat down less than whole ones.
Kitchen scraps deserve a quick chop too. Slice melon rinds, break up corn cobs, and cut broccoli stems into chunks before tossing them in. It takes maybe a minute and can shave weeks off the process.
Cardboard should be torn into strips, and tape or glossy coatings are best removed. Small sticks can be snapped into short pieces so they don’t create big empty gaps.
Fun fact: finely shredded leaves alone can turn into leaf mold, a dark, crumbly material gardeners love for improving soil. So even extra shredded leaves that don’t fit in the bin have a use. Pile them in a corner and check back next fall.
6. Leave Meat, Grease, and Diseased Tomato Vines Out of the Heap
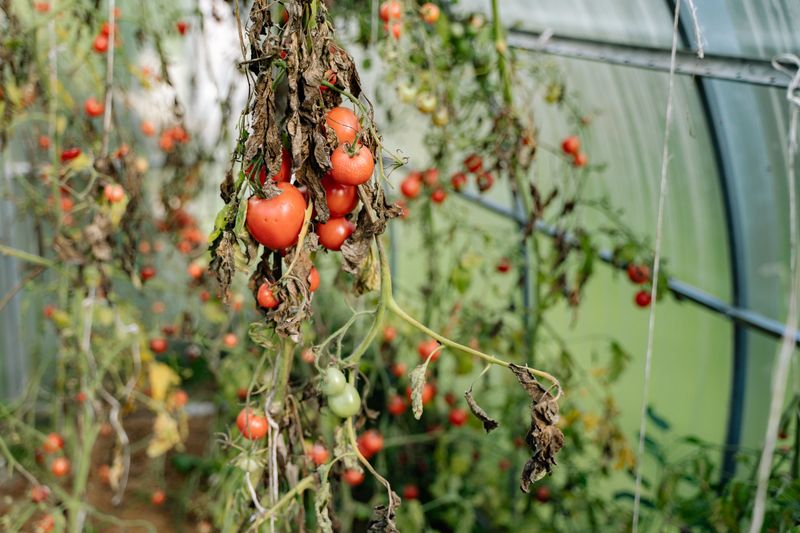
Raccoons have excellent noses and very little shame. Toss leftover chicken into the pile, and you might wake up to scraps scattered across the yard.
Meat, bones, fish, grease, and dairy products belong in the trash, not your backyard bin. They smell strongly as they break down and attract rodents, dogs, and other visitors. In winter, slower decomposition gives those smells even more time to linger.
Diseased plants are another item to skip. Home piles often don’t stay hot enough, long enough, to reliably destroy plant pathogens. Tomato vines with blight or squash leaves covered in powdery mildew could carry trouble back into next year’s garden.
Weeds that have gone to seed cause similar headaches. A cool pile might not stop those seeds, and you could end up spreading them with your finished compost.
Pet waste from dogs and cats should stay out too. It can carry parasites and germs that are unsafe around vegetable beds. Pine needles are fine in small amounts, but they break down slowly because of their waxy coating.
Mix just a little into the pile, or use them as mulch around azaleas and blueberries instead. Black walnut leaves are also best kept to a minimum, since they contain juglone, a natural compound that can bother tomatoes and some other plants.
7. Rich, Crumbly Spring Compost Starts With What You Stack Now
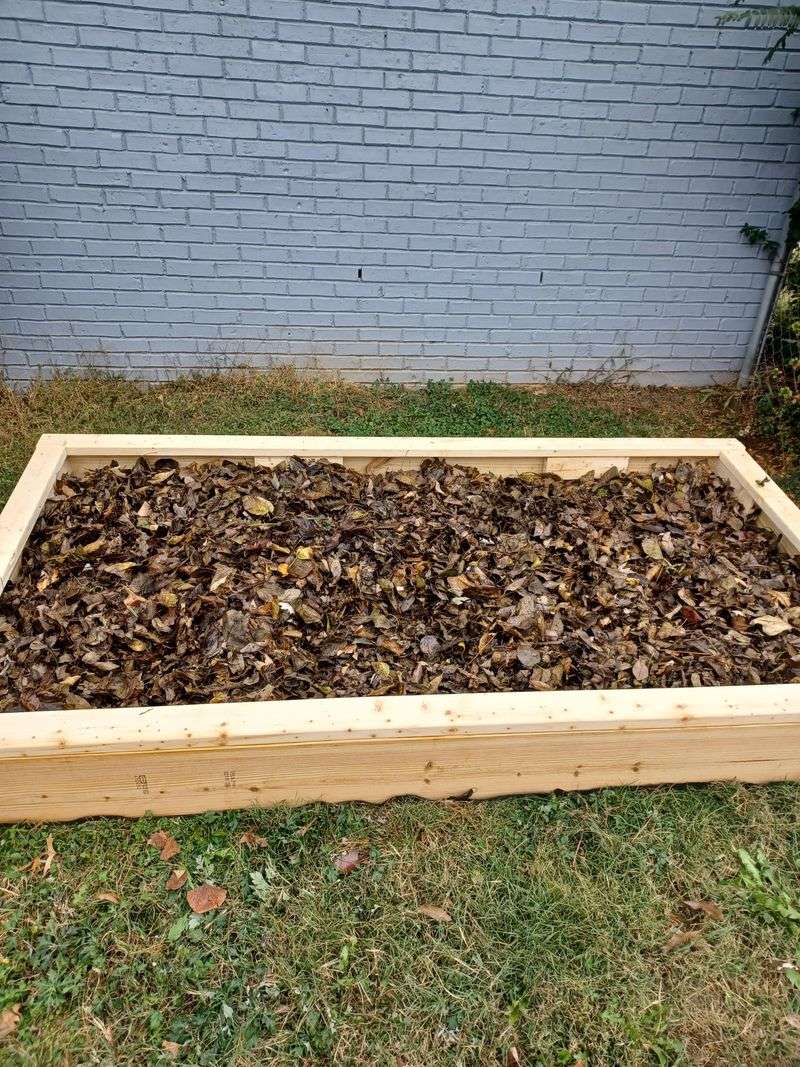
Opening a compost bin in March feels a little like unwrapping a present. Underneath the top layer, you may find dark, earthy material that smells like a forest floor after rain.
That reward comes from the work you do this fall. A well-layered, insulated pile keeps its microbes alive through winter, even if things slow way down. As soon as days warm up, those tiny workers speed back up.
Go easy on turning during the coldest weeks. Each turn releases precious heat, so most gardeners wait until late winter or early spring. Once temperatures climb, a good stir with a pitchfork adds air and gets everything bubbling again.
Check moisture now and then on dry, windy days. A quick sprinkle from the hose keeps the inside from turning dusty. Just skip watering before a hard freeze.
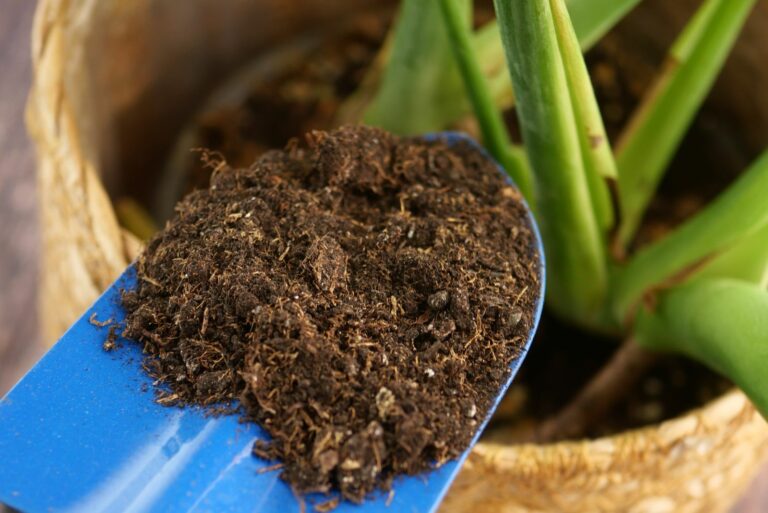
Finished compost looks dark and crumbly, and you can no longer recognize the original scraps. Spread an inch or two over garden beds before spring planting, or mix it into soil for new flowers and vegetables.
For gardeners in North Carolina, the clay soil common in the Piedmont especially benefits. Compost loosens heavy ground and helps it drain better. So grab that rake this weekend, stack those layers, and let winter do some of the work for you.