9 Things to Do in Your New York Garden Before Thanksgiving
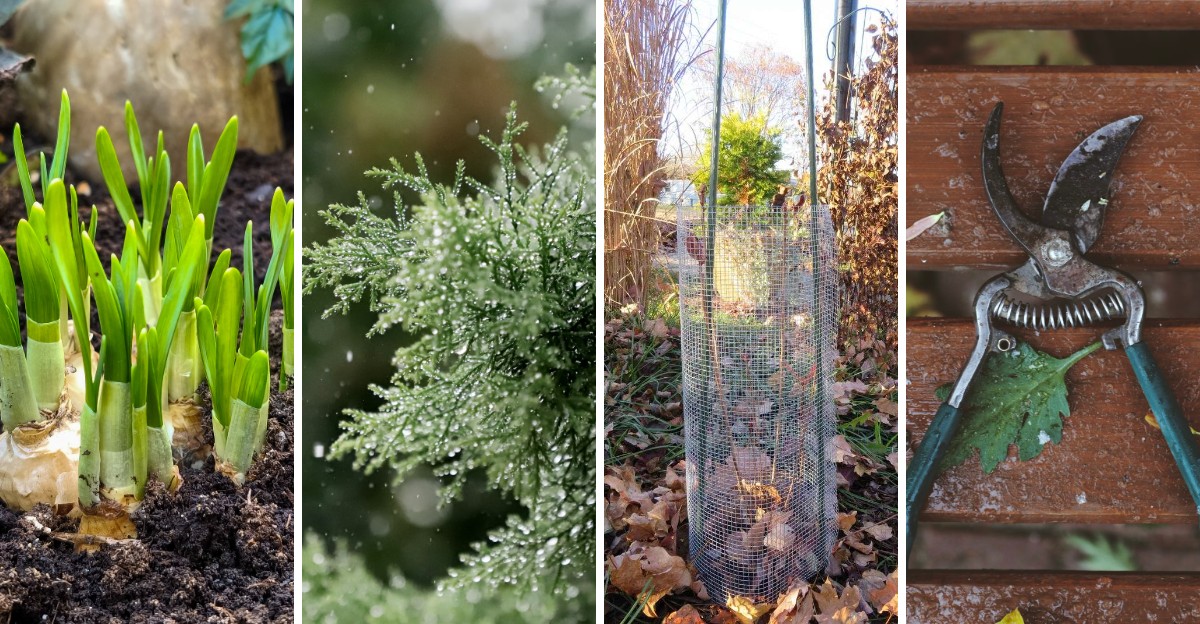
Roots can keep growing underground until the soil drops near 40 degrees, even while the branches above look bare. In much of New York, that quiet underground work often continues well past the first frosty mornings of November.
I love how the garden gets quieter while the real action moves below my muddy boots. The birds still visit, the soil still breathes, and the cold has not locked anything down yet.
You might notice how the last weeks before Thanksgiving feel rushed, with pies and guests filling every calendar. Still, a few hours outside now can save you a mountain of trouble when New York thaws next spring.
I have to admit that my favorite spring flowers started as muddy chores on chilly afternoons just like these. So which jobs truly matter, and which ones can you happily skip for a cozy nap by the fire?
1. Tuck Tulip And Daffodil Bulbs Into Cool Soil
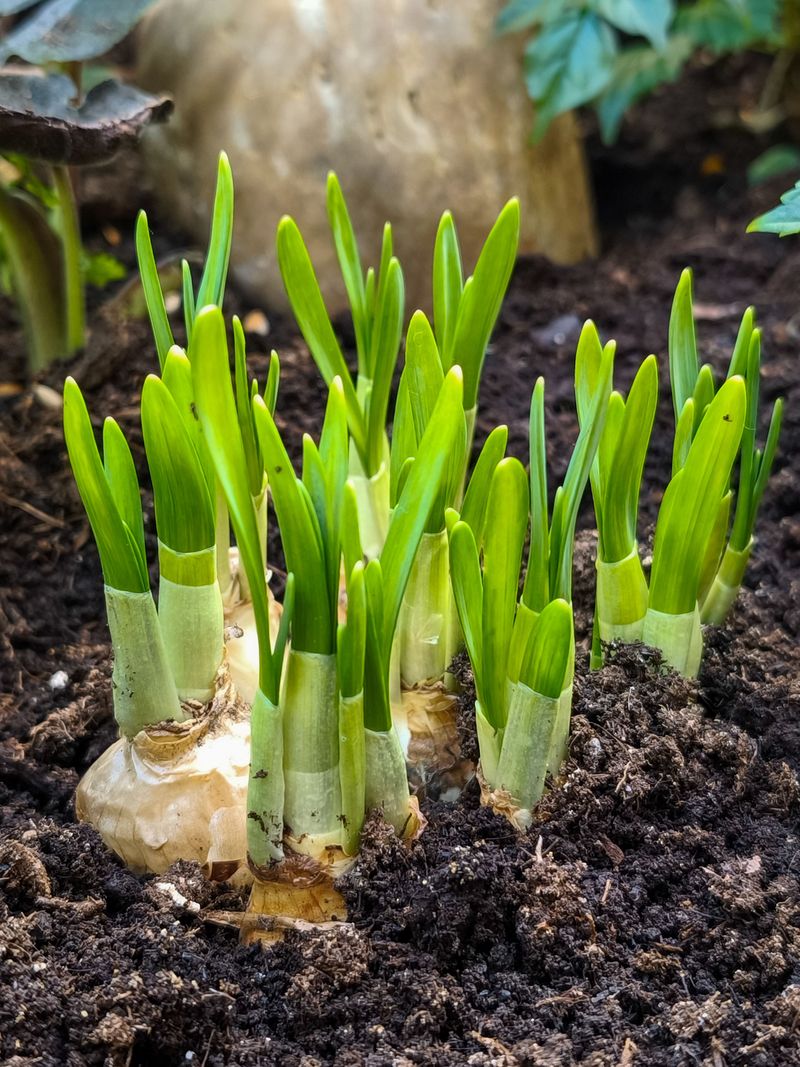
Tulip bulbs are picky little sleepers, and they need roughly twelve to sixteen weeks of cold to bloom well. Late fall, once soil cools below about 55 degrees, gives them that long chill right on schedule.
Personally, I find bulb planting the most hopeful chore of the year, since you bury a promise and walk away. Daffodils earn a special spot in my beds because squirrels and deer usually leave them alone.
Downstate gardeners near the coast can often keep planting into late November or even early December. Upstate gardeners in colder zones usually aim for October, but a mild fall can stretch that window a bit.
Dig each hole about three times as deep as the bulb is tall, so most tulips sit near eight inches. Set the flat root end down and point the narrow tip up toward the sky.
A handful of compost mixed into the planting area helps heavy clay drain better around the bulbs. Soggy soil invites rot, so skip low spots where puddles linger after a hard autumn rain.
Squirrels love freshly turned soil, and they sometimes dig up tulips just hours after you leave. Laying chicken wire flat over the bed, then covering it with mulch, stops most of those sneaky raids.
Water the bed once after planting to settle the soil and wake up those new roots. Then you can relax, because the cold weather will handle the rest until green tips appear next spring.
2. Plant Garlic Cloves Before The Ground Freezes
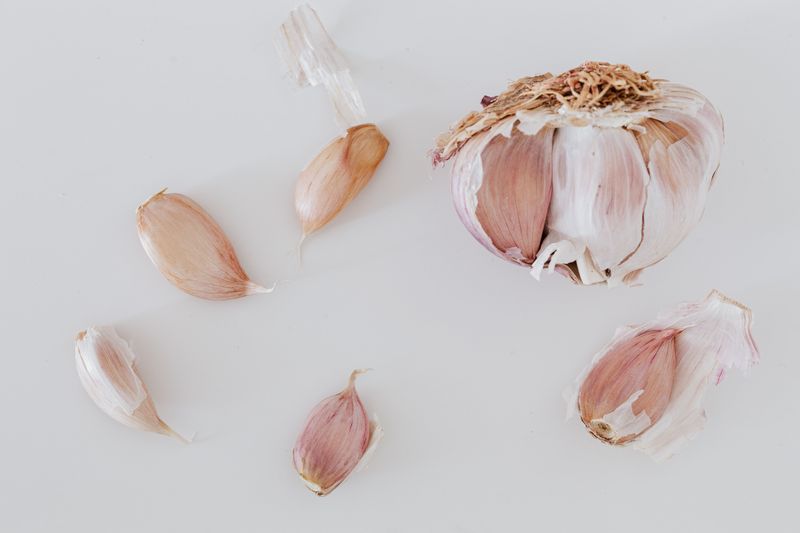
Garlic is one of the few crops you plant in fall and harvest the following summer, nearly nine months later. Cornell experts suggest planting cloves a few weeks before the ground freezes, so roots form without much top growth.
For most New York home gardens, that sweet spot usually falls between mid-October and early November. I like how garlic forgives a little lateness, so a planting just before Thanksgiving often works fine downstate.
Hardneck types like Music or German White handle cold winters especially well and produce tasty curly scapes. Softneck garlic stores longer, though it can struggle in the coldest northern corners of the region.
Break the bulb apart right before planting and keep the papery skin on each clove. Choose the biggest cloves, because large cloves usually grow into large heads by the middle of next summer.
Plant cloves about two inches deep with the pointy end up, spacing them roughly six inches apart. A sunny bed with loose, well-drained soil and some compost gives the roots an easy path downward.
After the ground starts to freeze, cover the bed with four to six inches of clean straw. That fluffy blanket reduces frost heaving, which can push cloves right up out of the soil.
Skip grocery store garlic, since it may carry disease or be treated to slow sprouting. Certified seed garlic from a local farm or reputable supplier gives you a much healthier start for next year.
3. Leave Coneflower Seed Heads Standing For Hungry Birds
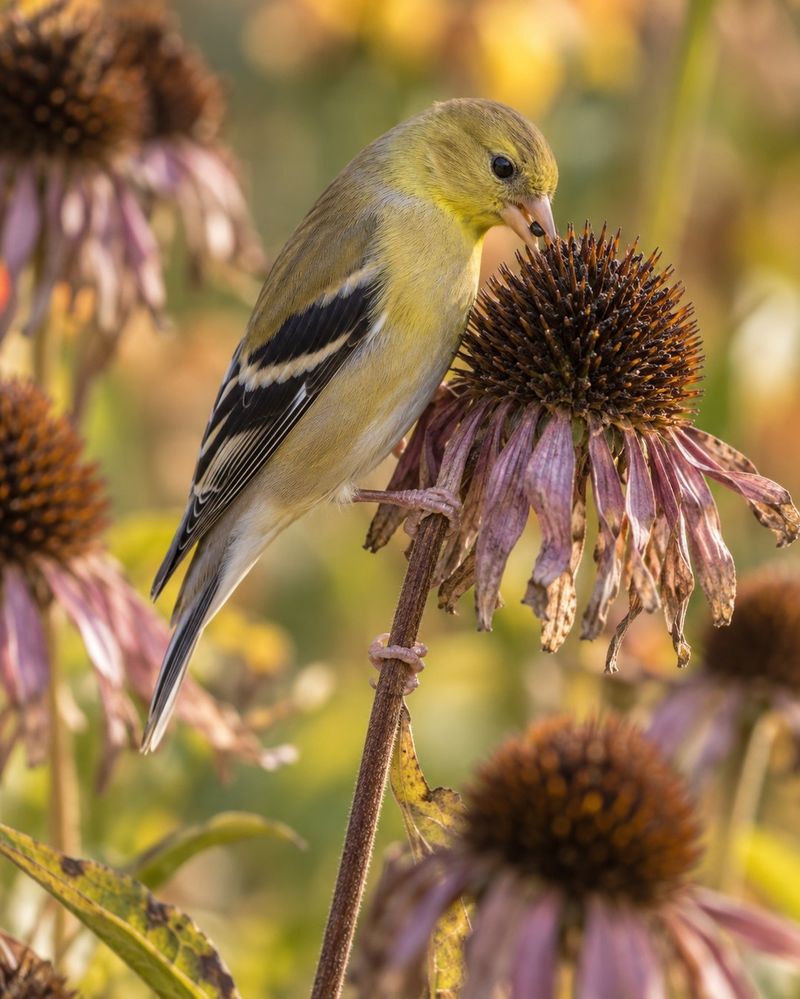
American goldfinches will happily hang upside down on a coneflower seed head, picking it clean like a tiny acrobat. Watching that show from my kitchen window is reason enough to leave a few stems standing.
A tidy garden looks nice, but bare beds give birds and helpful insects fewer places to find food and shelter. Many native bees spend winter inside hollow stems, then emerge when the weather warms again.
Purple coneflower and black-eyed Susan hold their seed heads well into winter and look lovely dusted with snow. Native grasses like little bluestem add soft copper color that glows on gray December afternoons.
You can still cut back plants that flopped over or look messy near walkways and doors. Choose a few sturdy clumps to keep, and let those stand as a winter bird buffet.
Leave stems at least fifteen inches tall if you want them to shelter stem-nesting bees next year. In spring, trim them gradually rather than all at once, so emerging insects still have a chance.
One important exception applies to any plant that showed powdery mildew or other disease this season. Those stems belong in the trash, since leaving them can let the problem return next year.
I have to admit that my once tidy instincts took a while to relax about this approach. Now the frosty seed heads feel like winter decorations, and the visiting birds seem to agree with me.
4. Shred Fallen Oak Leaves Into Free Mulch
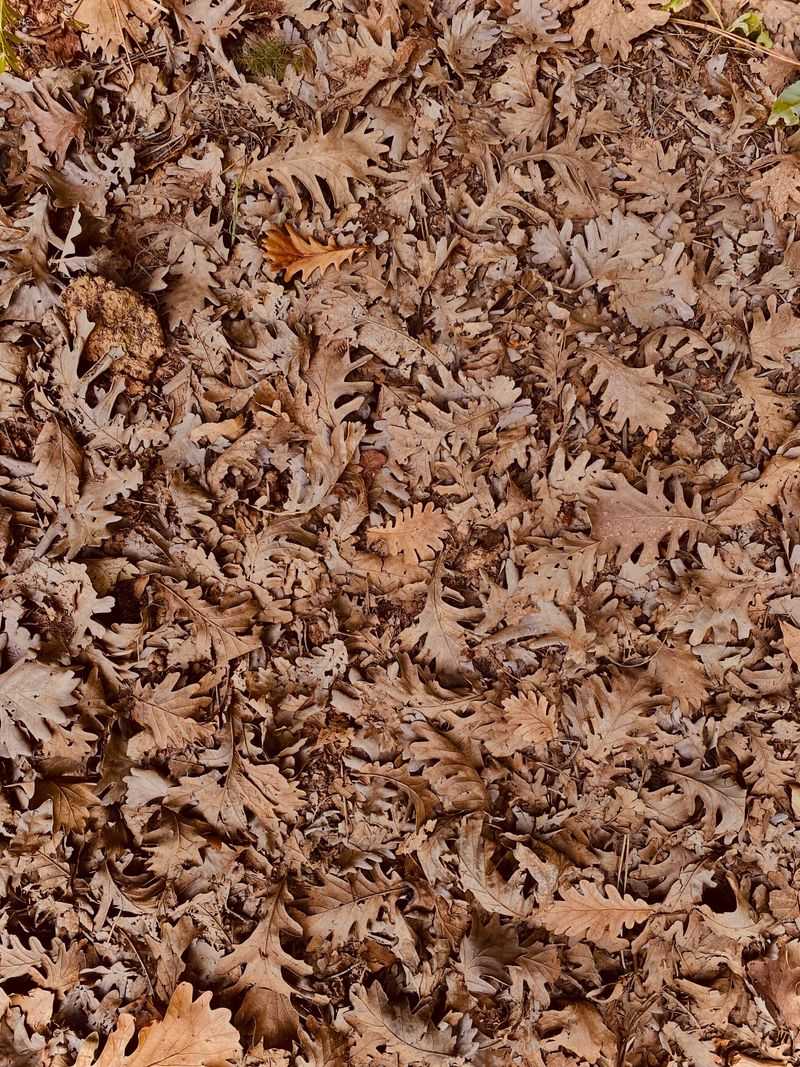
Fallen leaves are free mulch that drops from the sky every autumn, yet many people pay to haul them away. I think of every raked pile as a sack of garden gold sitting by the curb.
Whole leaves can mat together into a soggy layer that blocks air and water from reaching the soil. Shredding them first solves that problem, and running a mower over a dry pile works surprisingly well.
Oak and maple leaves both make great mulch once they are chopped into small, crumbly pieces. Over the winter, worms pull those bits underground and slowly turn them into rich, dark organic matter.
Spread the shredded leaves about two to four inches deep over perennial beds and around shrubs. Keep the mulch a few inches away from stems and trunks, so trapped moisture does not cause rot.
Winter mulch works best after the ground gets cold, since its job is keeping soil temperatures steady. Repeated freezing and thawing can heave shallow plants out of the ground, exposing tender roots to icy air.
Extra leaves can go straight into a wire bin to become leaf mold for next season. That crumbly material holds moisture beautifully and makes a fantastic soil boost for vegetable beds and containers.
Avoid using leaves from plants that had serious disease problems, such as apple scab on crabapples. Bag those separately, and keep the clean leaves for mulching and composting around the rest of your yard.
5. Wrap Young Tree Trunks Against Hungry Rabbits And Voles
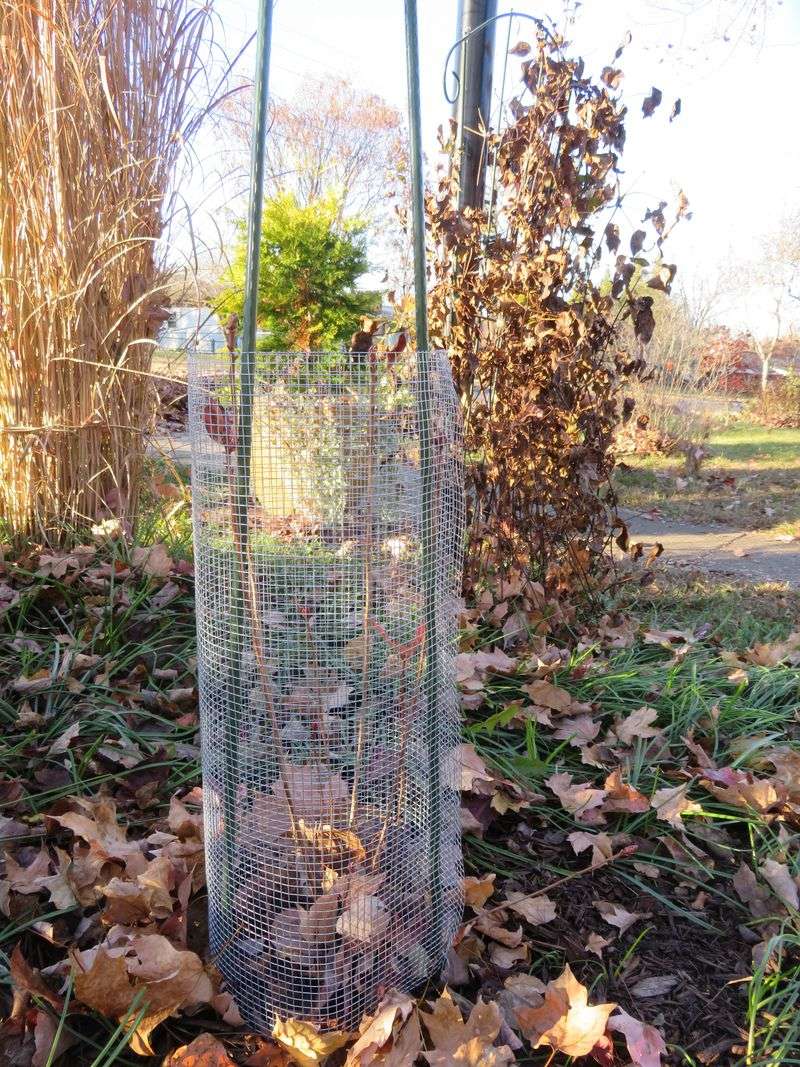
A single hungry vole can chew a ring of bark around a young apple tree while snow hides the crime. By spring, the damage often shows up as weak leaves or a tree that struggles badly to recover.
Rabbits do similar work above the snow line, nibbling thin bark and tender twigs on fruit trees and shrubs. Young maples and serviceberries also attract them when other food gets scarce and buried under snow.
Hardware cloth with quarter-inch openings makes a sturdy cylinder that most rodents cannot squeeze through. Wrap it loosely around the trunk, leaving room for growth, and bury the bottom edge a couple of inches.
Make the guard tall enough to reach above your typical snow depth, plus about a foot more. Rabbits standing on packed snow can reach surprisingly high, as many gardeners learn the hard way each spring.
Pull mulch a few inches back from the trunk before winter, because voles love hiding in fluffy cover. A bare ring of soil near the bark leaves them feeling exposed to hunting hawks and owls.
White plastic spiral guards also help young trees with thin bark avoid sunscald on bright winter days. Remove those spirals in spring, since leaving them on year-round can trap moisture and invite insects.
I like to finish this job before the first lasting snow, when the ground is still easy to dig. You will feel much calmer watching the next blizzard, knowing your trees are wearing sturdy winter jackets.
6. Give Thirsty Evergreens A Deep Drink
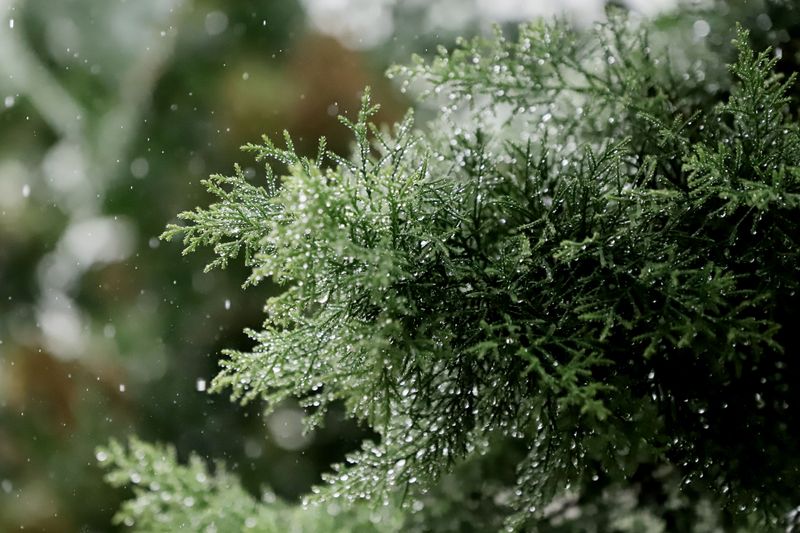
Evergreens keep losing water through their needles and leaves all winter, even when the ground is frozen solid. That is why rhododendrons sometimes curl their leaves tightly on frigid mornings to save precious moisture.
Brown, scorched patches on arborvitae or boxwood in March often come from winter burn rather than disease. Dry soil going into winter makes that damage much more likely, especially on windy and sunny sites.
Give evergreens a slow, deep soaking every week or two during dry autumn spells this month. Keep watering until the soil freezes, aiming for moisture that reaches down eight to twelve inches deep.
A soaker hose or a gently trickling garden hose works better than a quick sprinkler pass. I set a kitchen timer so I do not forget the hose running for hours near the yews.
Newly planted evergreens need this extra care most, because their roots have not spread out yet. Shrubs planted this year can dry out quickly, even when older plants nearby seem perfectly happy.
Burlap screens on the windward side help protect exposed shrubs from harsh and drying winter winds. Set stakes a few inches from the foliage, so the fabric shields plants without rubbing their branches.
Skip the spray-on anti-desiccant products unless an expert recommends them for your specific plants. Research shows mixed results, while steady autumn watering remains one of the most reliable winter protections.
7. Drain And Coil Garden Hoses Before A Hard Freeze
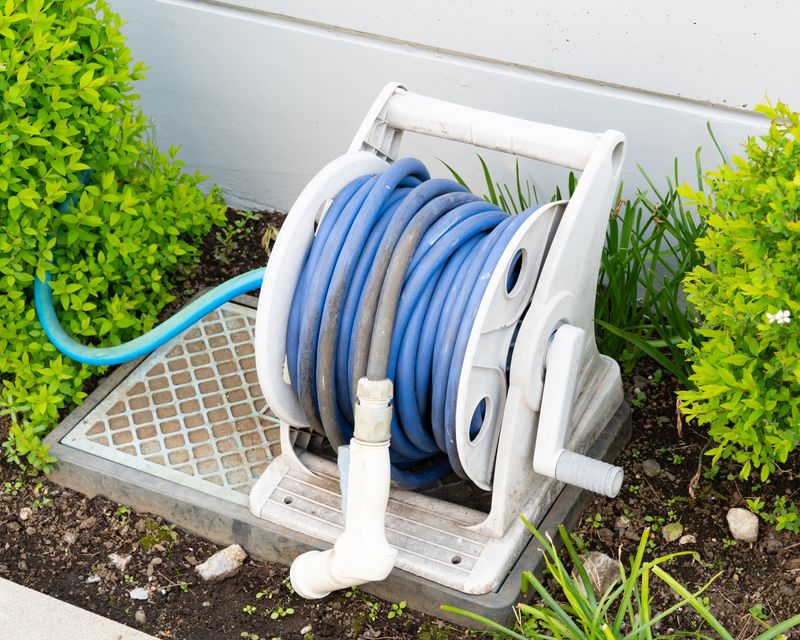
Water expands by about nine percent when it freezes, and that sneaky force can split hoses and crack faucets. I learned this lesson once, standing in my basement next spring beside an unexpected puddle.
Disconnect every garden hose from outdoor spigots before the first hard freeze arrives in your area. A hose left attached can trap water inside a frost-free faucet, which stops it from draining properly.
Stretch each hose down a gentle slope, then lift and walk it along to empty every drop. Coil it loosely in large loops, because tight kinks can weaken the rubber over time and cause leaks.
Store hoses inside a shed or garage, away from harsh winter sun and the freezing wind outside. Hanging them on a wide bracket keeps them off the floor, where mice sometimes chew on curious objects.
Many older homes have a separate indoor shutoff valve for each outdoor faucet near the basement wall. Close that valve, then open the outside spigot so any remaining water can drain away safely before winter.
In-ground sprinkler systems need their lines blown out with compressed air to clear trapped water. Most homeowners hire an irrigation company for this, since too much pressure can damage the parts.
Rain barrels need attention too, since a frozen barrel can bulge or crack along its seams. Empty them and flip them upside down, then bring small spray nozzles indoors where cold cannot crack them.
8. Clean And Sharpen Pruning Shears For Winter Storage
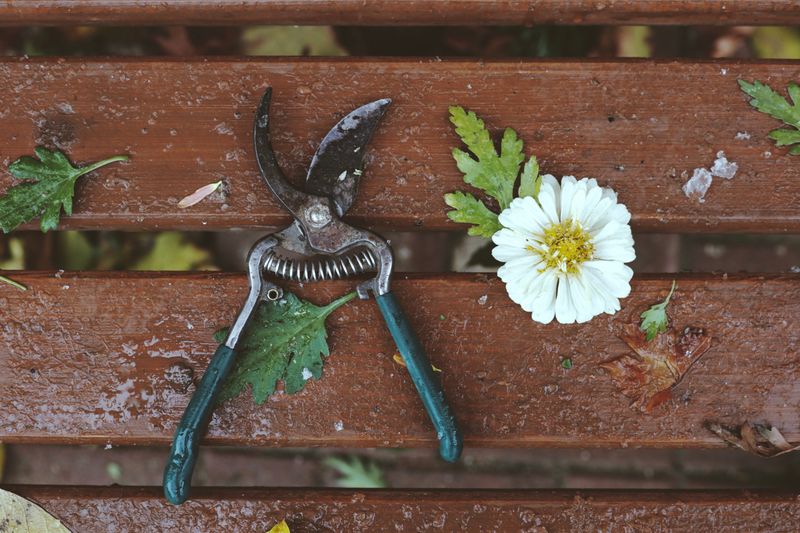
Sap and soil left on pruning shears all winter can turn a smooth cut into a crunchy struggle by spring. Ten minutes of cleaning now feels like a small and thoughtful gift to your future self.
Start by scrubbing off dried mud with a stiff brush, then wash metal parts with warm soapy water. Dry everything well, since even a little lingering moisture can lead to orange rust spots.
Sticky sap comes off much more easily with a soft rag dampened in rubbing alcohol or a sap remover. That same wipe also disinfects blades, which helps reduce the spread of plant diseases between your shrubs.
A small diamond file or sharpening stone quickly restores a clean, keen edge on hand pruners and loppers. Follow the original bevel angle, and sharpen only the beveled side, since the flat side should stay flat.
Shovels and hoes work better with a sharp edge too, and a simple mill file handles them nicely. I love how a freshly sharpened spade slices through sod like it suddenly remembered its purpose.
Rub a thin coat of light oil over metal surfaces to keep moisture from settling in over winter. Wooden handles appreciate boiled linseed oil, which soaks in and helps prevent cracking and rough splinters.
Lay oily rags flat outdoors to dry before throwing them away, because linseed rags can heat up and catch fire. Then hang your tools on a wall rack in a dry spot, ready for the first spring chores.
9. Sow Winter Rye On Empty Vegetable Beds
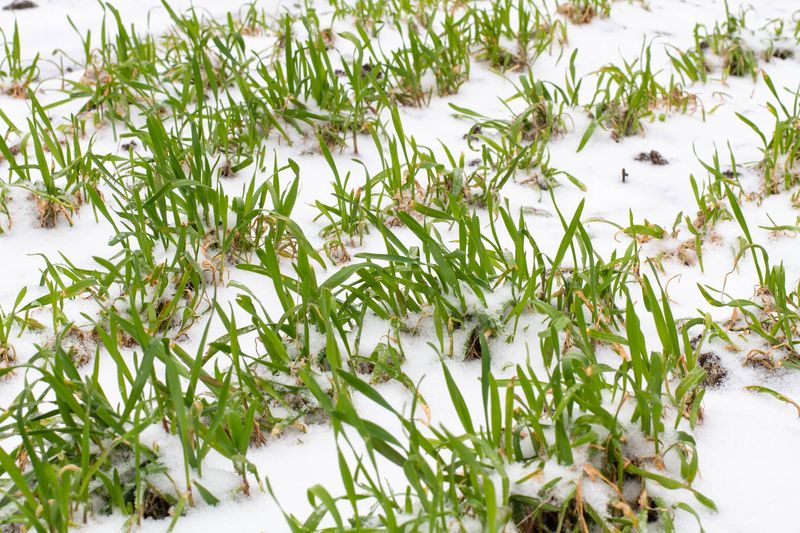
Bare vegetable beds look peaceful in November, but rain and wind can carry away precious topsoil all winter. Winter rye acts like a living blanket, holding that soil in place with a dense web of roots.
Cereal rye ranks among the hardiest cover crops, and it can germinate in surprisingly cool soil. Extension guides note it can be sown later than most options, which makes it perfect for late planners.
Rake the bed lightly, scatter the seed thickly by hand, then rake again to cover it with soil. A gentle watering helps seeds settle, and green shoots usually appear within a week or two.
Rye does most of its root growth in fall, then surges upward again when spring warms the soil. Those roots also soak up leftover nitrogen that might otherwise wash away during heavy winter rains.
Plan to cut it down in spring before it forms seed heads, usually when it reaches knee height. Let the cut material sit a couple of weeks before planting, since rye can slow small seed germination.
Oats work well for earlier fall sowing, because a hard freeze knocks them down into a tidy mat. By Thanksgiving, though, rye is usually the smarter choice for most New York vegetable gardens.
Personally, I love seeing a fuzzy green carpet in the garden when everything else turns brown and gray. It feels like the beds are still working quietly, getting stronger for next year’s tomatoes and peppers.