9 Things To Do With Your Thanksgiving Cactus After It Finishes Blooming
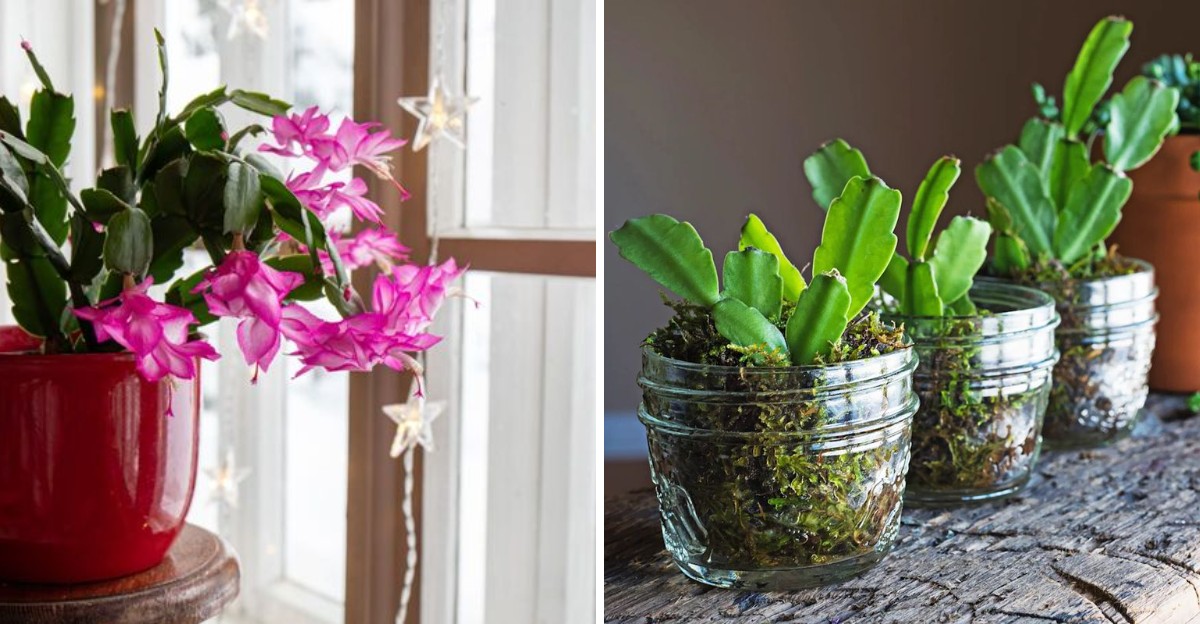
A flowering houseplant on many windowsills actually began life clinging to tree branches high in Brazilian mountain forests. Its wild relatives still grow there today, sipping rain and mist instead of soaking up harsh desert sunshine.
Those flat green stems are not leaves at all, and each jointed segment can root into a brand new plant. Some families keep the same plant going for decades, passing cuttings down like treasured recipe cards between generations.
I used to shove mine into a dim corner once the last pink flower dropped onto the table. After I tested a smarter routine for a few seasons, the next round of buds came back fuller.
You might notice your own plant looks a little tired right after its big holiday performance. What you do during the quiet months decides everything: skip the right care now, and next fall’s bloom never arrives.
1. Pinch Off Faded Thanksgiving Cactus Flowers
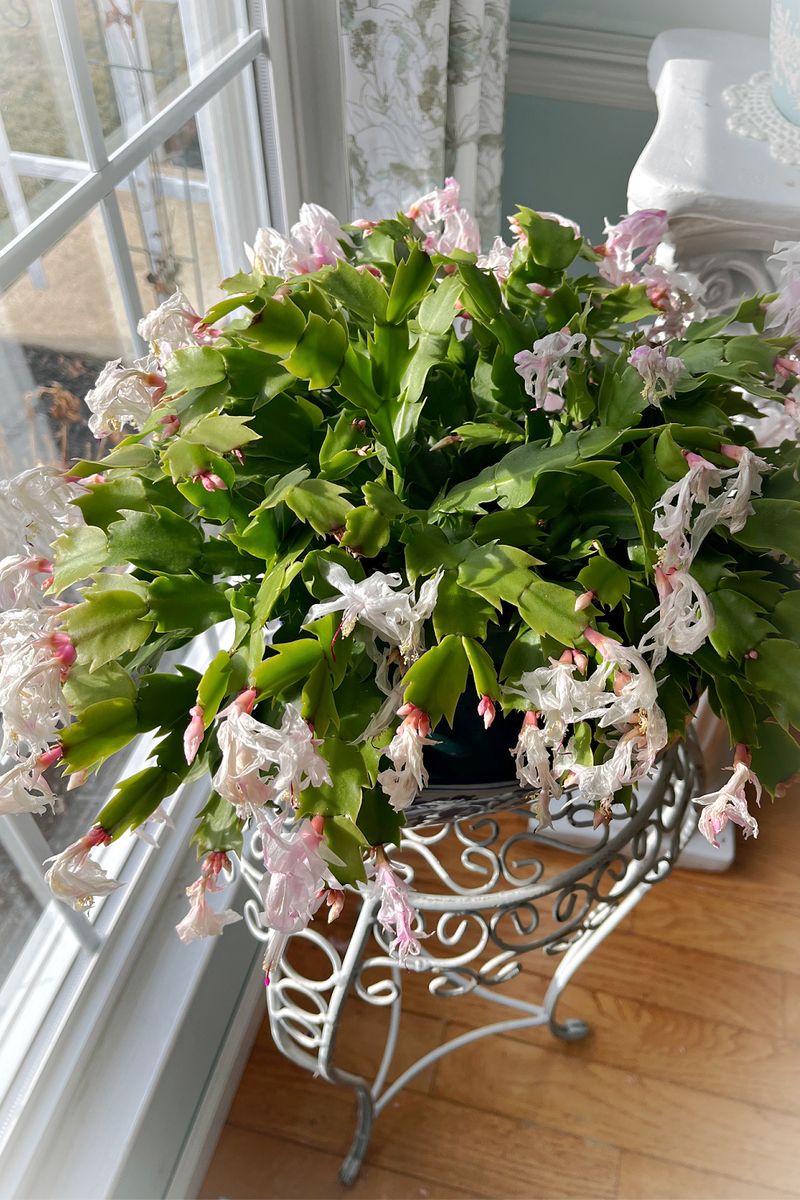
Those wilted blossoms hanging off the stem tips look a bit like soggy party streamers after the guests leave. Snapping them off takes about two minutes, and honestly it feels oddly satisfying on a slow winter afternoon.
Grab each faded flower near its base, then give a gentle twist or pinch until it separates cleanly. Your fingers work fine here, though small clean snips help if a bloom feels stubborn or tough.
Removing spent flowers keeps the plant tidy and stops it from wasting effort on developing seed pods. Thanksgiving cacti can form small fruits after pollination, but most indoor plants simply drop their flowers instead.
I like checking the soil surface too, because fallen petals can sit there and invite mold or gnats. Scoop them away with your fingers, then toss them into the compost bin along with the old blooms.
Try to finish this light cleanup well before late spring, when fresh green segments start pushing outward. Handling the plant during active growth can knock off tender new pads that would carry next season’s flowers.
Your cactus may drop a few unopened buds as well, which is normal once the blooming window closes. Just sweep them up and enjoy the cleaner look while the plant settles into its quieter season.
2. Cut Back On Watering Your Resting Cactus
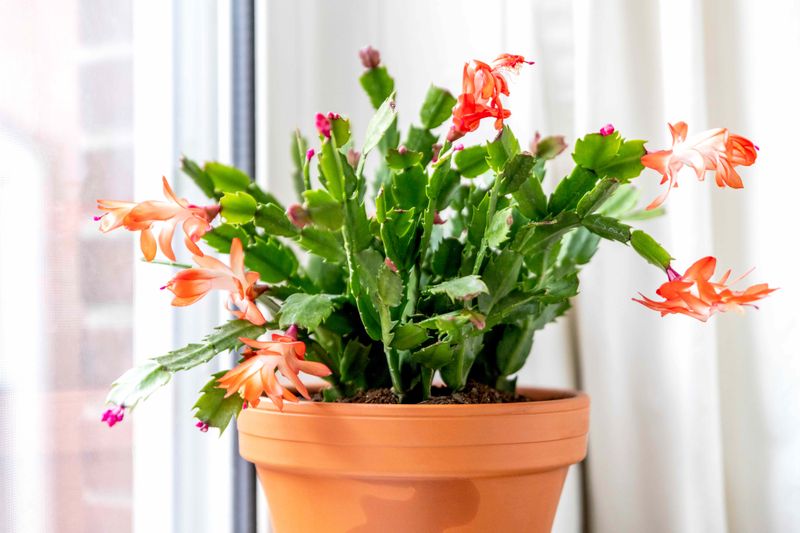
A rainforest plant that dislikes soggy feet sounds strange, yet this cactus rots faster from overwatering than drought. Its roots evolved to cling to tree bark, where rain drains away quickly and air reaches them constantly.
Once flowering wraps up, the plant slows down and simply drinks less than it did while pushing buds. Let the top inch or two of soil dry before you reach for the watering can again.
I test mine by poking a finger into the pot, which beats any fancy schedule I ever tried. Pots feel noticeably lighter when they are dry, so lifting them gives another quick and easy clue.
Water thoroughly when the time comes, letting the extra drain out the bottom holes into the sink. Empty any saucer afterward, because roots sitting in standing water are a fast route to root rot.
Mushy brown stem bases or limp segments that smell sour often point to too much moisture below. Wrinkled, thin pads usually mean the opposite, so adjust slowly rather than drowning the plant in apology.
Regular watering can return once fresh green growth appears in spring and the plant wakes up again. Until then, think of it as a gentle sip now and then instead of a daily drink.
3. Give Your Cactus A Cool Winter Rest
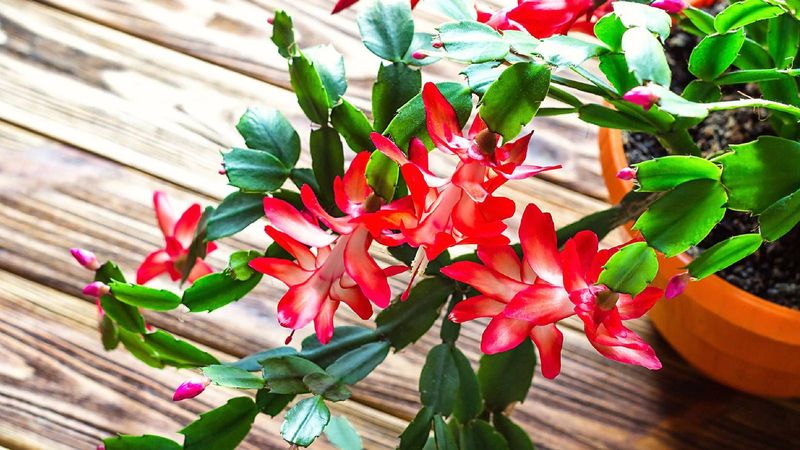
Few houseplants actually enjoy a chilly room, but this one genuinely appreciates a cool break after flowering. A spare bedroom or bright enclosed porch can feel like a relaxing vacation spot for your tired cactus.
Aim for temperatures between roughly 50 and 60 degrees Fahrenheit for about six to eight weeks. Keep watering light during this stretch, since cool soil dries slowly and roots stay soggy much longer.
I move mine away from heating vents, because blasts of dry warm air can stress the segments. Cold drafty glass can cause trouble too, so leave a few inches between the plant and the window.
This rest period helps the plant gather strength before spring growth, which later supports a fresh flower show. Bud formation itself happens in fall, when nights grow long and temperatures dip again outdoors and inside.
Skip fertilizer during the rest, since a sleepy plant cannot use extra nutrients and salts may build up. Light, occasional dusting of the stems with a soft cloth keeps the pads clean and ready for sunlight.
Do not panic if the plant looks unchanged for weeks, because quiet growth is normal right now. Patience during these chilly weeks pays off later, and your cactus will thank you with healthier new pads.
4. Move The Plant To Bright Indirect Window Light
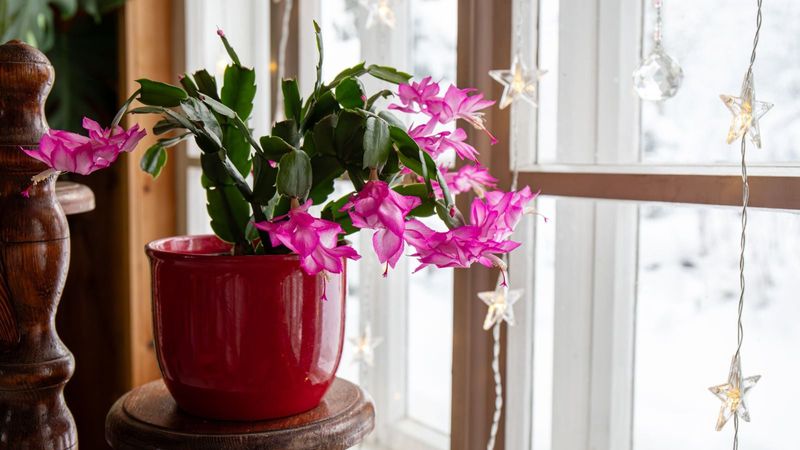
Sun-scorched pads turn a reddish purple shade, which sounds pretty until you realize the plant is stressed. In its native forests, this cactus lives under a leafy canopy that filters sunlight into soft dappled patterns.
After blooming, settle your plant back into bright, indirect light where it can recover and grow steadily. An east-facing window works beautifully, offering gentle morning rays without the harsh afternoon heat that burns.
South or west windows can still work if you hang a sheer curtain to soften the strong light. I keep mine a couple of feet back from the glass, and the segments stay a happy green.
Watch the color of the stems, since they quietly report how the lighting situation is going. Pale, stretched growth suggests too little light, while purple or yellow patches hint that it gets too much.
Rotate the pot a quarter turn every week or two so all sides receive an even share. Otherwise the plant leans toward the window, and you end up with a lopsided cactus that tips over.
Later in fall, avoid turning on room lights at night near the plant, because long darkness triggers buds. For now, though, bright daytime light is the main goal while new segments start forming in spring.
5. Feed Fresh Spring Growth With Half-Strength Fertilizer
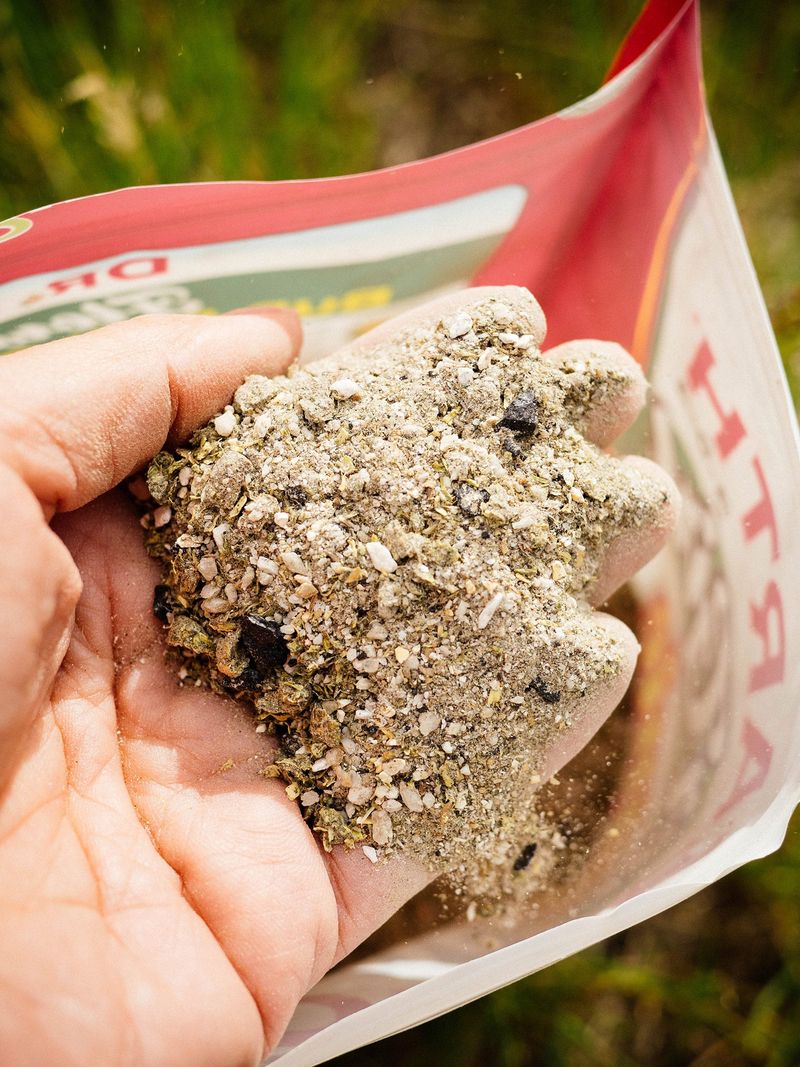
Those tiny lime green nubs appearing at stem tips in spring are your signal that dinner time has arrived. New growth means the plant is hungry again, and a light feeding helps it build strong, healthy segments.
Choose a balanced liquid fertilizer, such as 10-10-10 or 20-20-20, and mix it at half strength. Feed every two to three weeks while the plant actively grows through spring and into the summer months.
I water the soil first and fertilize afterward, since feeding dry roots can cause burn and browning. A weak solution works better than a strong one, because these forest plants evolved with modest nutrient supplies.
Stop feeding by late August or early September, giving the cactus time to shift energy toward forming buds. Continuing too long can encourage leafy growth instead of the colorful flowers you are hoping to see later.
Fertilizer salts can build up over time, leaving white crusty marks along the pot rim or soil surface. Flush the pot with plain water every couple of months to rinse away that buildup and refresh the roots.
Hold off on feeding while the plant blooms or rests, since it cannot use the extra nutrients well. Treat fertilizer like a seasonal snack rather than a constant buffet, and your cactus will stay balanced.
6. Twist Off Stem Segments For A Bushier Plant
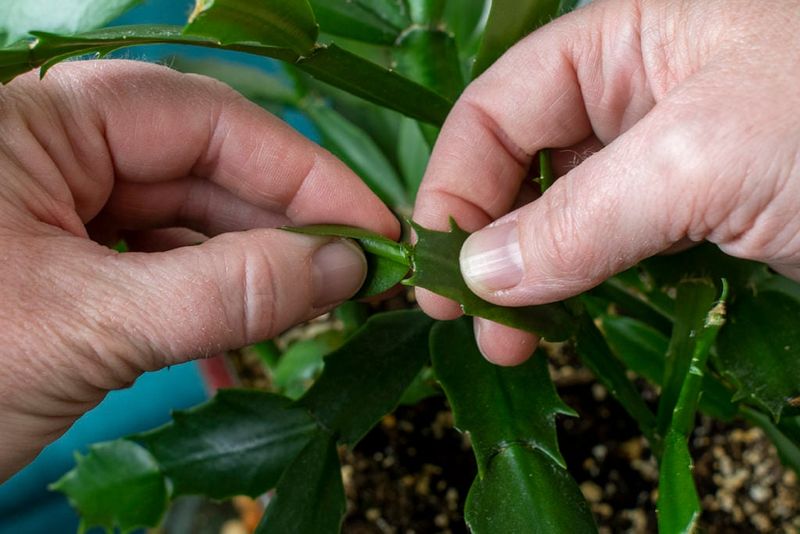
Every flat segment on your cactus acts like a building block, and each joint marks a natural snapping point. Giving the plant a light trim after blooming encourages it to branch, which creates a fuller, rounder shape.
Simply hold the stem below the joint and twist off one or two segments with a gentle turn. For thicker, woody stems near the base, use clean sharp shears or a small knife instead of twisting.
You can remove up to about one third of the plant each year if it grows too large. I usually take far less, focusing on long, floppy stems that hang awkwardly over the edge of the pot.
More branches usually mean more stem tips, and stem tips are where next season’s flower buds appear. A bushy plant packed with tips can put on a much showier display than a sparse leggy one.
Try to finish pruning by late spring or early summer so new growth has time to mature before fall. Pruning too late can remove the developing tips that would otherwise carry buds during the holiday season.
Do not toss those trimmed pieces into the trash, because they make excellent starter material for new plants. Set them aside on a paper towel while you plan your next fun little propagation project.
7. Repot Into A Slightly Bigger Pot With Drainage
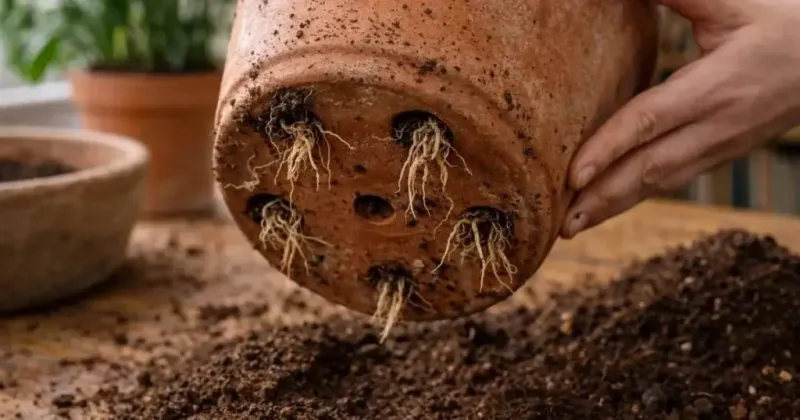
Oddly enough, a slightly crowded pot often makes this cactus bloom better than a roomy new home would. Most plants only need repotting every two to five years, so you might skip this step this season.
Signs it is time include roots poking out of drainage holes or water rushing straight through the pot. A plant that topples over easily or dries out within a day may also be ready for more space.
Late winter or early spring, after the flowers fade, is the best window for moving it into fresh soil. Choose a container only one or two inches wider than the old one, with good drainage holes below.
Use a fast-draining mix made for cacti or succulents, or blend regular potting soil with some perlite. I like adding a handful of orchid bark, since it mimics the airy tree bark these plants love.
Loosen the root ball gently and trim away any brown, mushy roots with clean scissors before replanting. Set the plant at the same depth it grew before, then firm the soil lightly around the base.
Wait about a week before watering, giving any small root injuries time to heal and seal up nicely. Keep the newly potted cactus out of direct sun for a little while as it adjusts to its home.
8. Root Stem Cuttings To Make Free Thanksgiving Cactus Plants
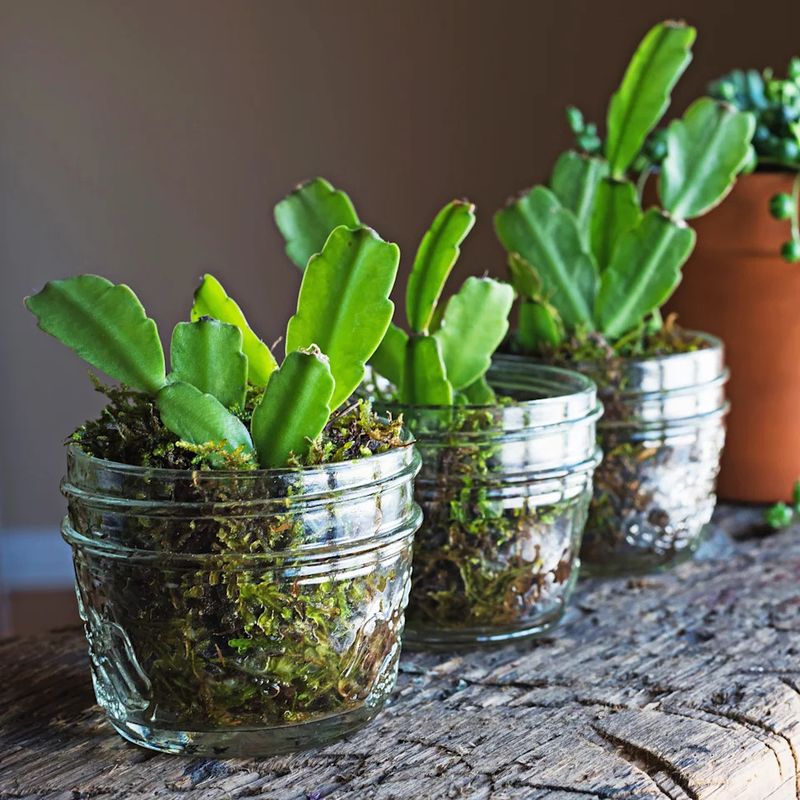
One healthy Thanksgiving cactus can turn into a whole windowsill of gifts with almost no money spent. Spring and early summer after blooming are the perfect seasons for rooting cuttings, since growth is picking up.
Pick a healthy stem with two to four segments, then twist or cut it off at the joint. Let the cut end sit out and dry for a day or two so it forms a protective callus.
Push the callused end about a quarter to half inch deep into moist, well-draining cactus or succulent soil. Grouping several cuttings in one pot gives a fuller look much faster than planting a single lonely stem.
Place the pot in a warm, bright spot with indirect light, away from harsh afternoon sun. Water lightly every few days to keep the soil barely moist, being careful not to leave it soggy.
Roots usually develop within three to six weeks, and a gentle tug that meets resistance means success. I still grin like a kid whenever a cutting holds firm, because it feels like a small victory.
These little plants make thoughtful gifts, especially since the ASPCA lists holiday cacti as nontoxic to cats and dogs. Tuck one into a cute pot with a handwritten tag, and you share a living piece of your garden.
9. Set Your Thanksgiving Cactus On A Shady Summer Porch
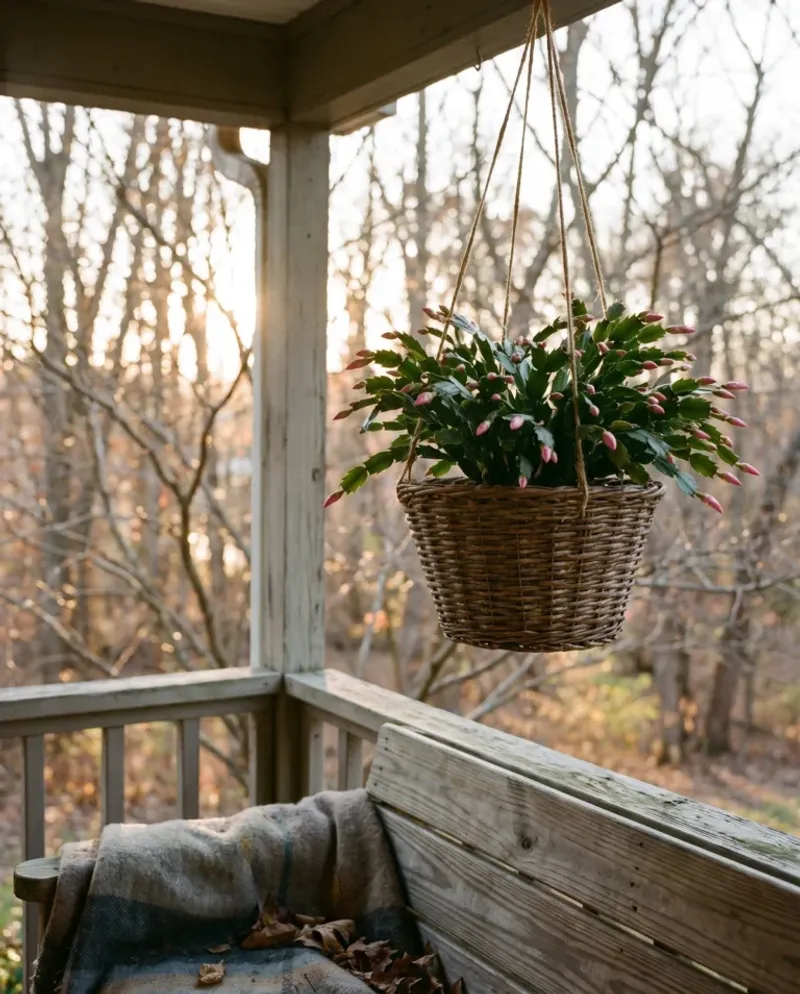
A summer vacation outdoors can make your cactus noticeably greener and sturdier by the time autumn rolls around. Fresh air and gentle humidity remind the plant of its forest roots, and many growers swear by this trick.
Wait until nighttime temperatures stay above about 50 degrees before carrying the pot outside for the season. Choose a shady porch or a spot beneath a tree, since direct sun can quickly scorch the segments.
I ease mine into its new spot over a week, starting with deep shade and short visits. Sudden changes in light can stress the plant, so slow adjustment helps it settle in without sunburn.
Outdoor pots dry faster in warm breezes, so check the soil more often than you did indoors. Make sure rainwater drains freely, because a pot sitting in a puddle after storms invites root problems.
Inspect the stems for mealybugs or snails before bringing the plant back inside when fall temperatures start dropping. Cool fall nights outdoors can help trigger buds, but bring it in before frost threatens your area.
Once indoors, give it long, dark nights and cooler rooms to encourage another round of colorful flowers. Before long, fresh buds will form at the stem tips, ready for another bright holiday show.