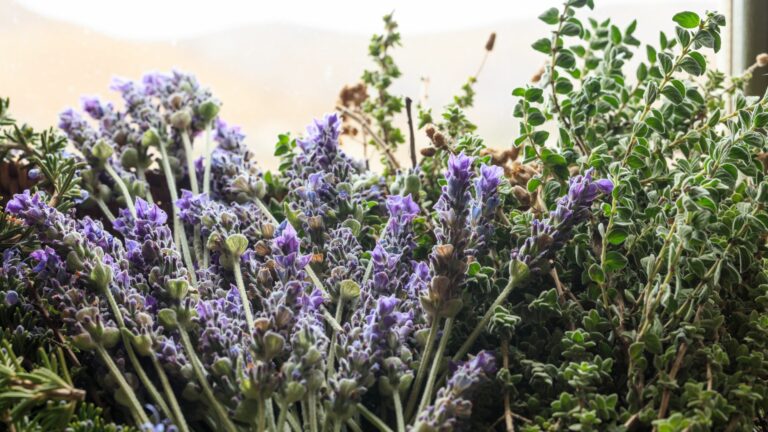
9 Tips For Taking Cuttings From Rosemary And Other Herbs Before Frost
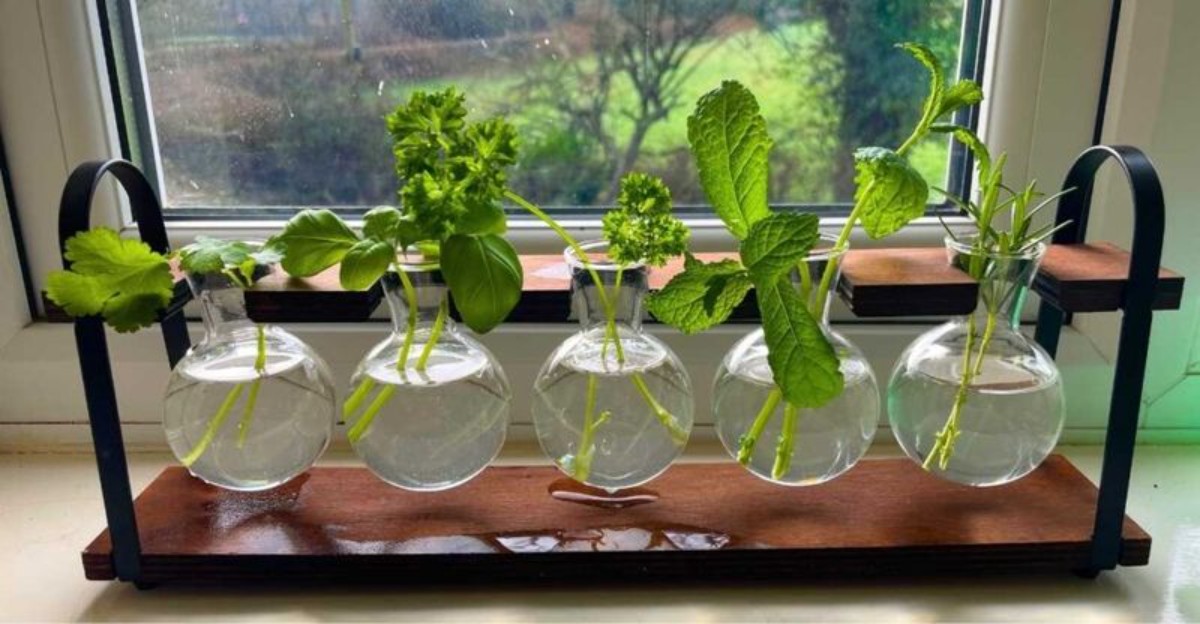
My kitchen windowsill looks like a tiny jungle each October, and my cat treats it like snacks. The whole room smells piney and peppery, which makes even burnt toast feel quite fancy.
Outside, the garden is still green, but crisp mornings now nip at your fingers and nose. Soon the first cold night will sneak in, and those fragrant plants will face a test.
Fortunately, you do not need a greenhouse or a fancy budget. A pair of clean scissors, a few small pots, and some patience can carry your favorites indoors.
Think of it as rescuing a piece of your garden and giving it a cozy winter apartment. By January, you could be snipping fresh leaves for soup while snow piles up against the door.
Last year I waited too long, and my neighbor got to watch me sprint outside in pajamas. I saved one sad sprig, and the cat ate it before I even found a pot.
1. Snip Rosemary Tips Before The First Chill
Rosemary is a Mediterranean shrub, so a hard freeze can damage the needles and turn them brown. Taking cuttings in early October gives you backup plants, and it costs very little beyond a few minutes.
Look for fresh, flexible stems near the tips that bend easily without snapping like dry twigs would. Older woody growth roots slowly, while this year’s softer shoots wake up and grow roots much faster.
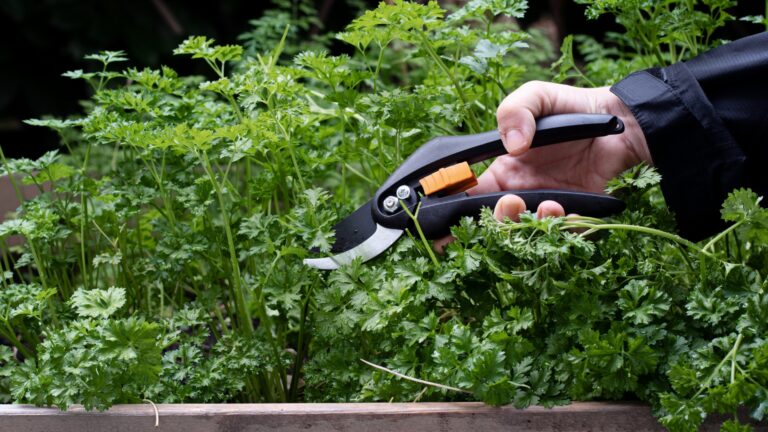
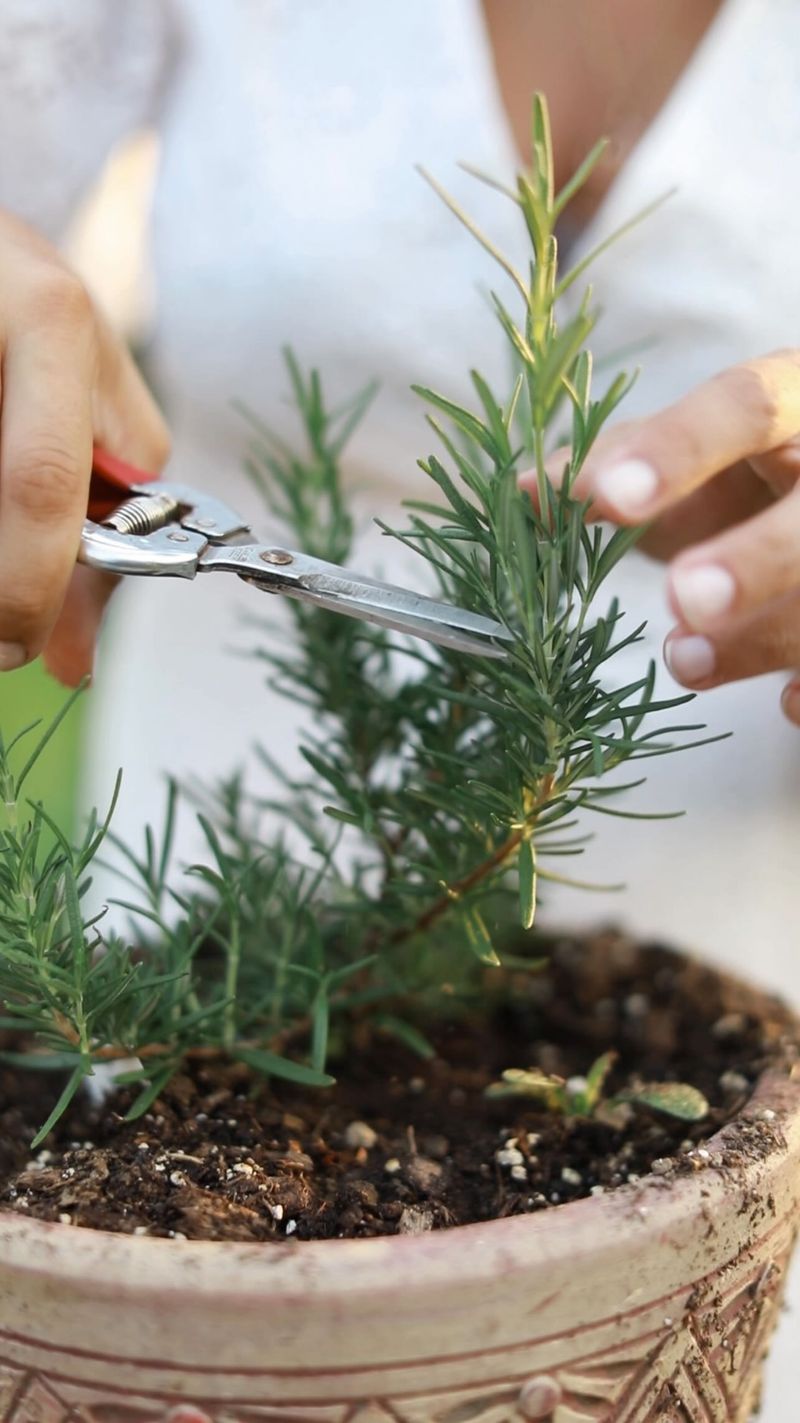
Use clean, sharp scissors to snip pieces about four to six inches long, cutting just below a leaf node. That little bump on the stem is where new roots love to form, so do not skip it.
Strip the needles from the bottom two inches, because buried leaves tend to rot quickly and invite mold. Your fingers will smell amazing afterward, which is honestly one of the best perks of this job.
Push each cutting into a small pot of damp, sandy mix, and firm the soil gently around it. Rosemary hates soggy feet, so water lightly and let the top layer dry a bit between drinks.
Expect roots in about four to eight weeks, which you can test with a soft, gentle tug. If the cutting pushes back, celebrate quietly, because you just grew a brand new rosemary plant for free.
2. Root Basil Stems In A Sunny Water Glass
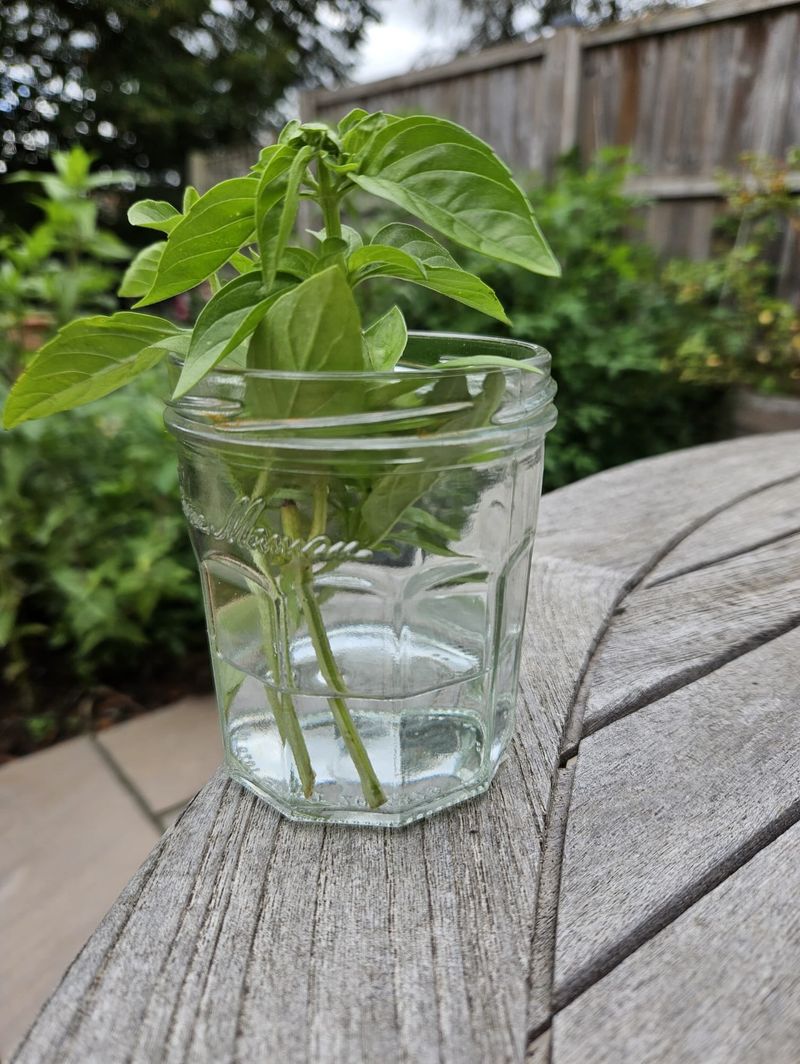
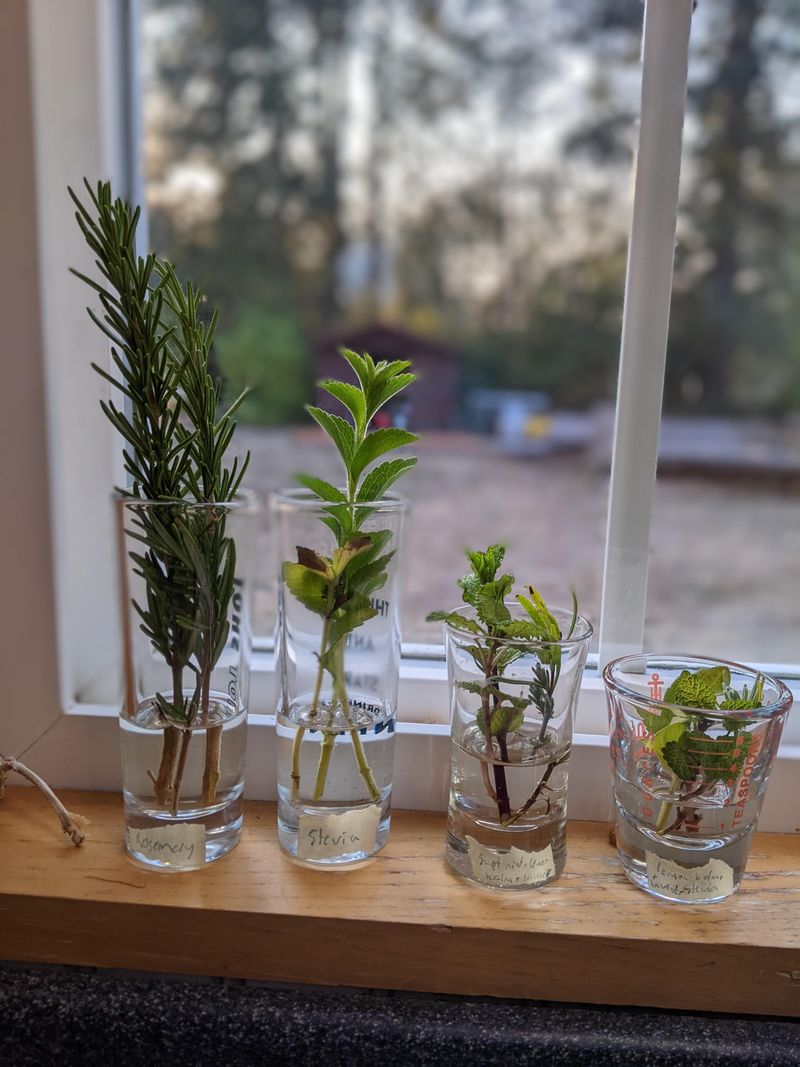
Picture a jar of basil stems on your counter, slowly sprouting white roots like tiny noodles in the water. Basil is one of the easiest herbs to root this way, and kids love watching the progress.
Timing matters here, because basil sulks badly once nights drop below fifty degrees in early fall. Grab your cuttings now, before the leaves start turning black and limp from the chilly evening air.
Choose healthy stems that have not flowered yet, and snip them about four inches long below a node. Pinch off the lower leaves so nothing green sits underwater, since soggy leaves turn slimy and smelly fast.
Set the stems in a clear glass of room temperature water, then place it near a bright window. Avoid harsh afternoon sun through the glass, because it can heat the water and stress the cuttings.
Change the water every two or three days, which keeps it fresh and stops cloudy bacteria from building up. Within about one to two weeks, you should spot little roots poking out from the buried nodes.
Once roots reach about two inches, move each cutting into a pot of light, fluffy potting soil. Fun fact, basil belongs to the mint family, which explains why it roots so eagerly in water.
3. Coax Mint Runners Into Fresh Pots
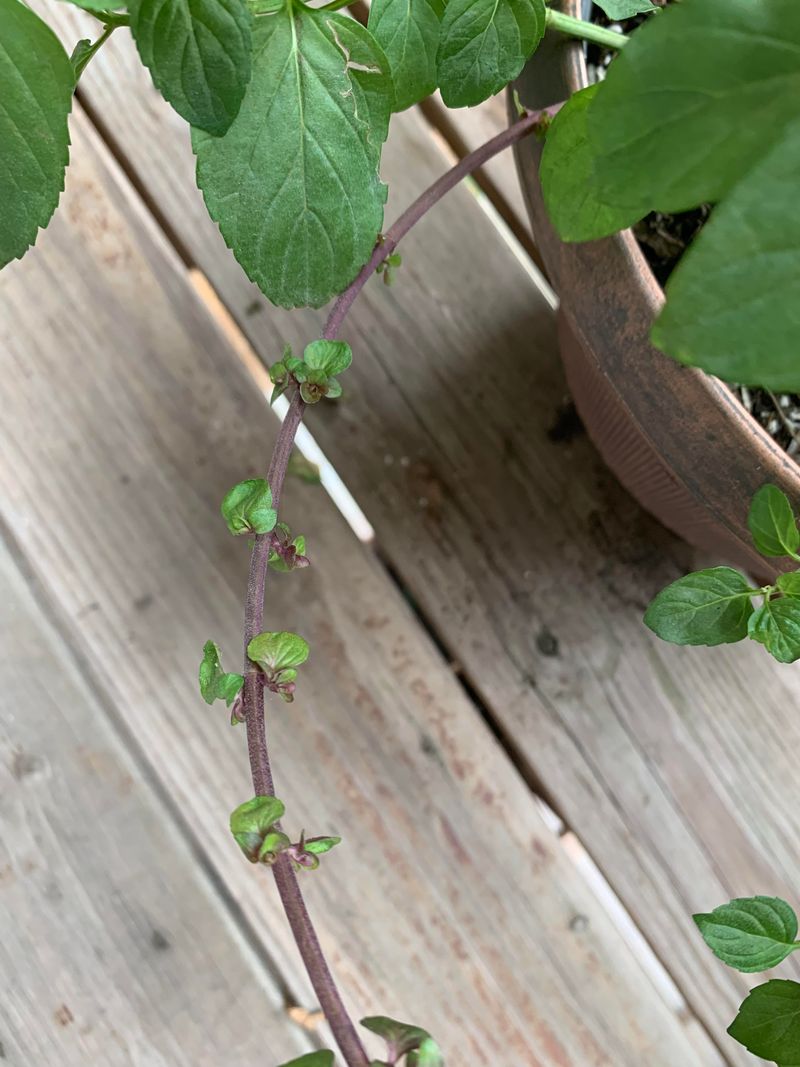
Anyone who has grown mint knows it acts like a houseguest who refuses to leave the party politely. That pushy habit is actually great news when you want free plants before the cold weather arrives.
Mint spreads through runners, which are sneaky stems that creep sideways along or just under the soil surface. Many of them already have small roots growing at each joint, so half the work is done.
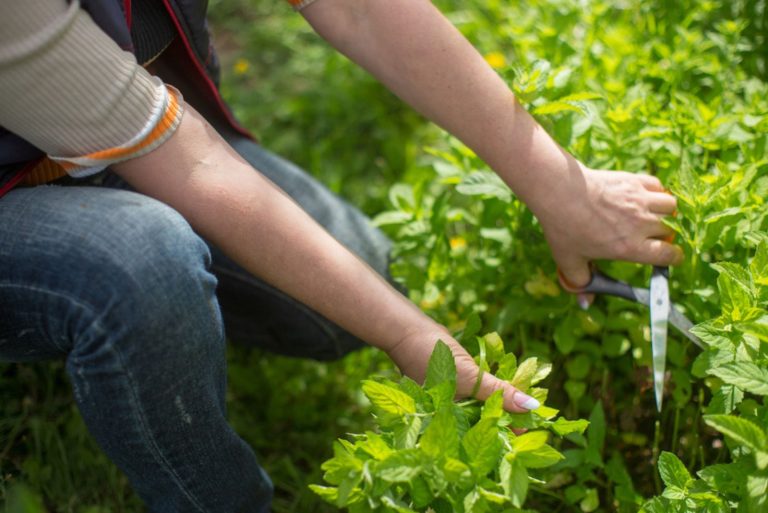
Gently dig around the edge of your mint patch with your fingers or a small metal hand trowel. Look for pale, rope-like stems with tiny white roots, then snip off sections about four inches long.
Lay each piece flat in a pot of moist soil and cover it with about half an inch. If a leafy tip is attached, let it poke above the surface so it can soak up light.
Keep the soil evenly damp, like a wrung-out sponge, and set the pot somewhere bright but cool. New green shoots usually pop up within two weeks, and they smell wonderful when you brush past them.
Give each runner its own container, because mint will happily crowd out anything sharing its cozy space. By midwinter, you could be dropping fresh leaves into hot cocoa while the whole yard sits frozen outside.
4. Tuck Sage Cuttings Into Gritty Soil
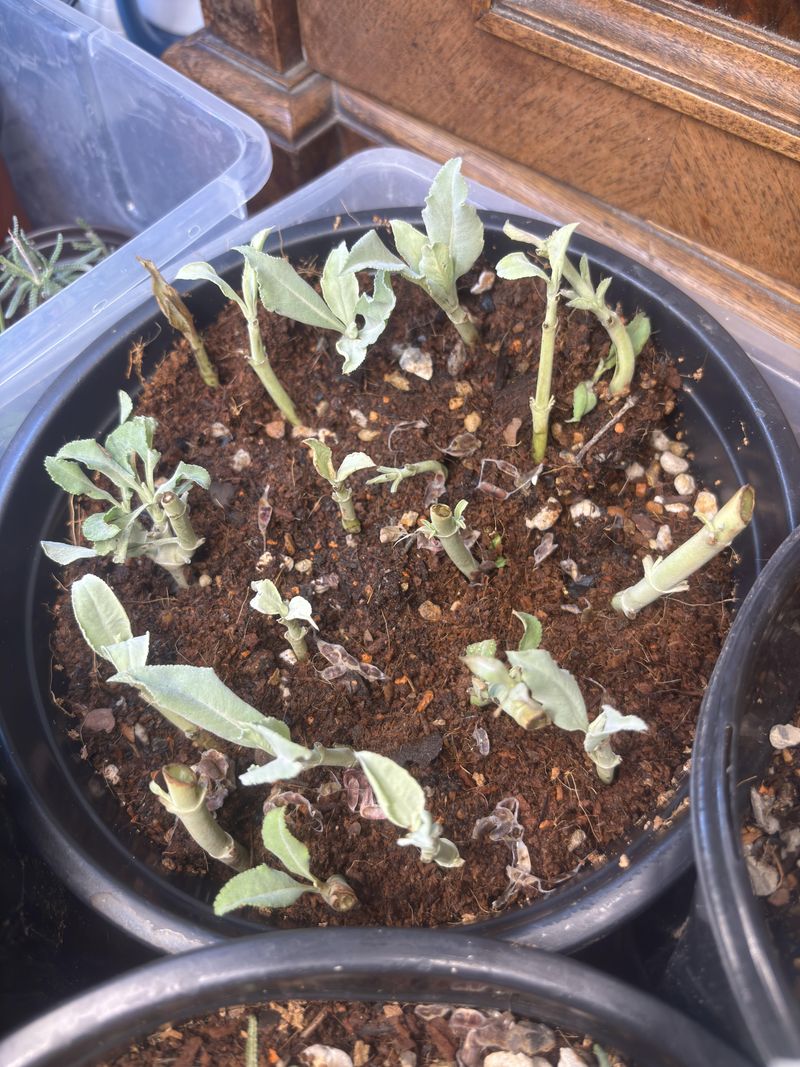
Sage has soft, fuzzy leaves that feel like a puppy’s ear, but its stems are surprisingly tough. Older plants often get woody and leggy, so starting fresh cuttings each fall keeps your kitchen supply young.
Pick stems that are firm at the bottom but still green and bendy near the leafy top. Gardeners call this semi-ripe wood, and it hits the perfect sweet spot between rooting speed and sturdiness.
Cut pieces about five inches long and remove all but the top four or five healthy leaves. Large leaves lose water quickly, so trimming them in half helps the cutting stay plump and perky.
A gritty potting mix made from equal parts potting soil and coarse sand works well here. Perlite works too, and it keeps water draining fast so the stem bottoms do not turn mushy.
Poke a hole with a pencil first, then slide the cutting in so the bark stays unscratched. Water once to settle the mix, then wait until the surface feels dry to the touch before watering again.
The botanical name for sage, Salvia, comes from a Latin word linked to healing. Rooted sage in about six weeks is a rewarding sight for any windowsill gardener.
5. Bend Thyme Stems Down For Easy Layering
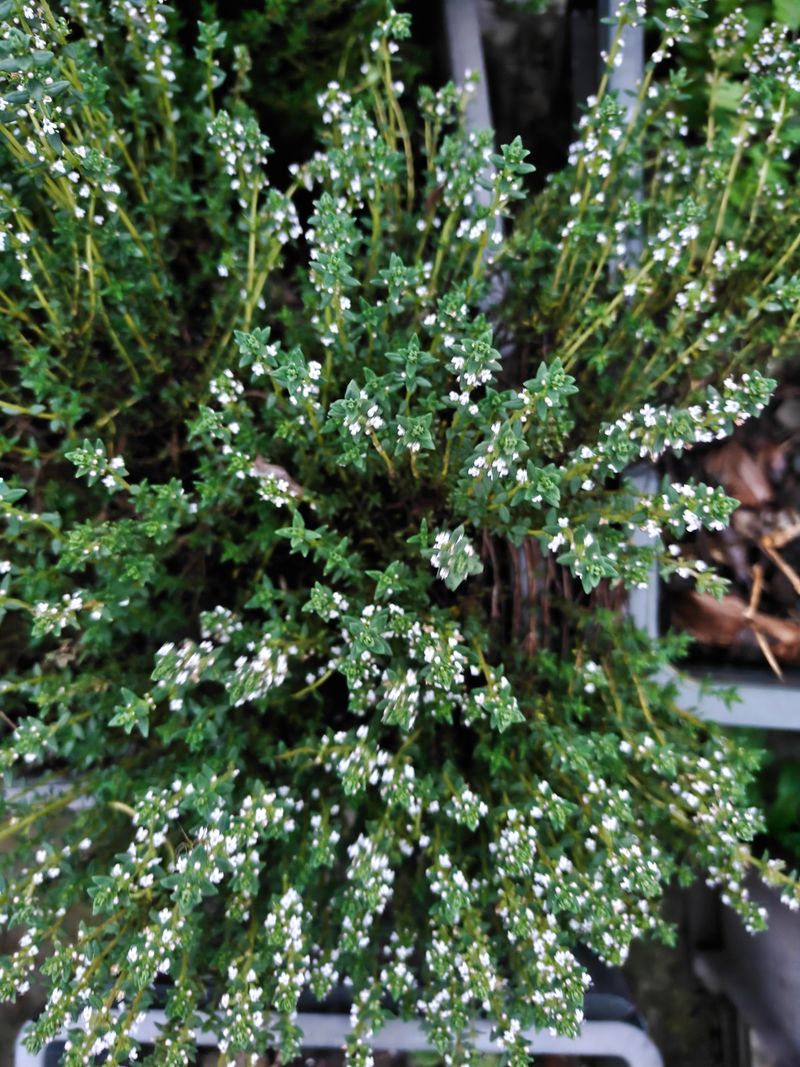
Sometimes the easiest cutting is one you do not actually cut until it has already grown roots. That trick is called layering, and creeping thyme works well for it thanks to its low, sprawling stems.
Start by choosing a long, healthy stem that can reach the ground without snapping or tearing loose from the plant. Scrape a tiny bit of bark from the underside where the stem will touch the moist soil.
Press that scraped spot into a small pot of damp soil sitting right beside the parent plant. Pin it down with a bent paper clip or a small rock so it stays snug and still.
The parent plant keeps feeding the stem while roots form, which makes this method a beginner-friendly option. Keep the little pot moist, and try not to let it dry out during breezy autumn afternoons.
In about three to four weeks, give the stem a soft tug to check for resistance below the surface. Once it holds firm, snip it free from the mother plant and carry the new pot indoors.
Ancient Greeks reportedly linked thyme with courage, and the herb was a common part of their daily life. You may not need extra bravery for layering, but it does feel heroic to outsmart the cold.
6. Split Oregano Clumps Into Tiny Starters
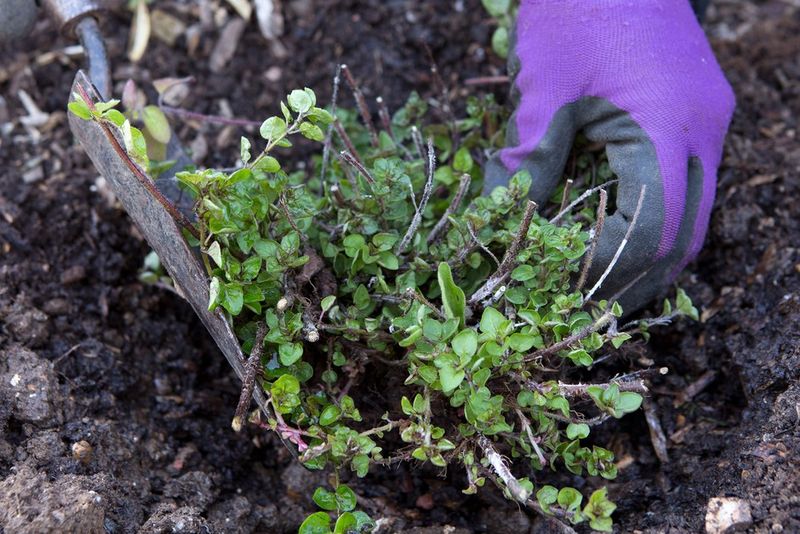
Oregano grows into a thick, bushy mat by fall, and that crowded clump is hiding a bonus. Tucked inside are several rooted stems that can become their own potted plants.
Division works a lot like cutting a cake, except every slice comes neatly with roots already attached. Because the roots are ready to go, these starters settle into pots much faster than regular stem cuttings.
Water the plant the day before, since moist soil holds together better and protects the tender roots. Then slide a garden fork or spade under one edge of the clump and lift a chunk.
Use your hands or a clean knife to pull the chunk into pieces about the size of a fist. Each piece needs several healthy stems and a good tangle of roots to bounce back quickly indoors.
Trim the tops down to about three inches, which helps the plant focus energy on its roots. Save those clippings for dinner, since fresh oregano works well on homemade pizza.
Pot each division in regular potting mix and keep it out of direct sun for a few calm days. Leave part of the original clump in the garden, since many oregano types survive winter outdoors in milder climates.
7. Wrap Lavender Cuttings In A Humid Tent
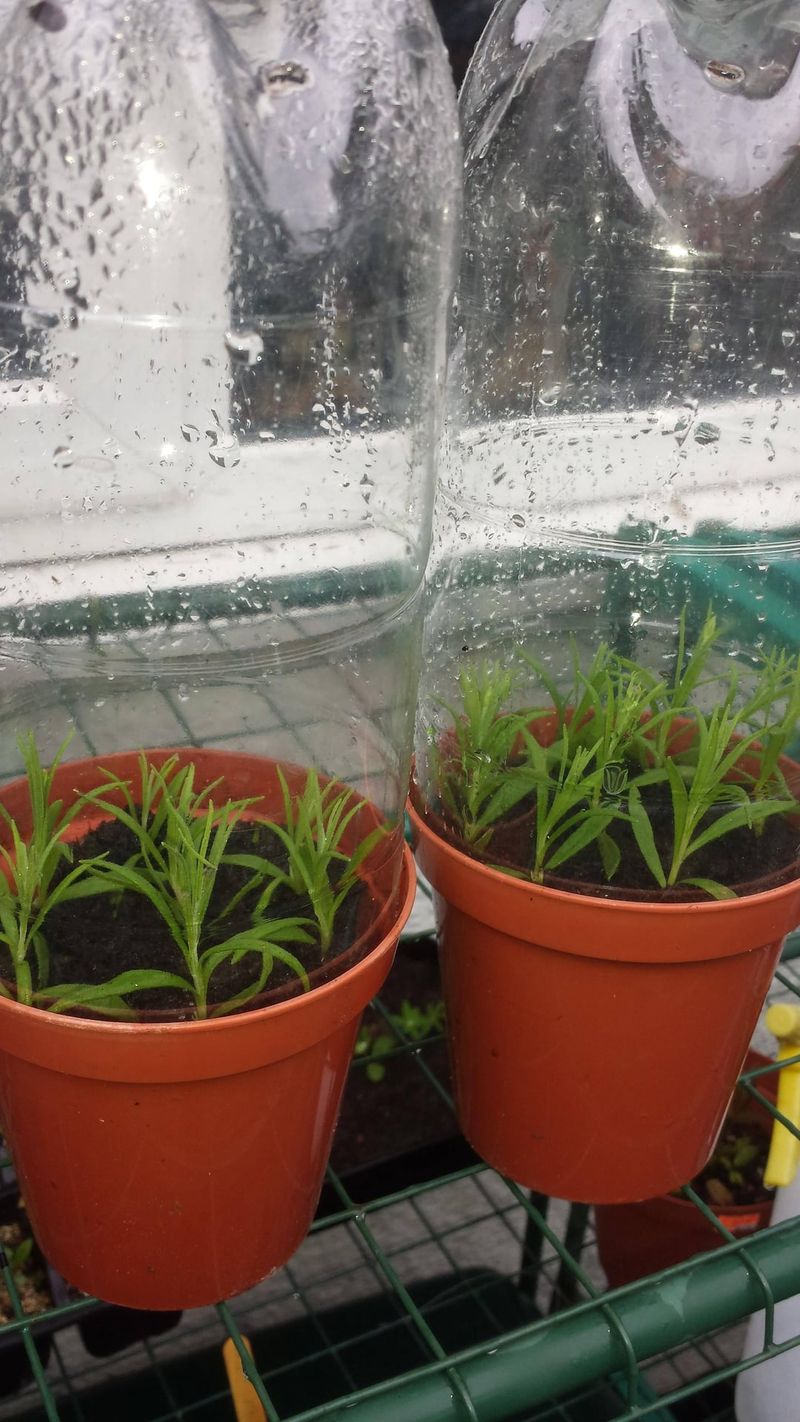
Lavender can be a little dramatic about rooting, but a homemade humidity tent calms it right down. Think of it as a tiny spa day that keeps the cuttings from drying out way too fast.
Choose non-flowering side shoots about three to four inches long, ideally from the healthiest part of the plant. Some gardeners pull the shoot off with a small heel of bark, which often roots more reliably.
Strip the lower leaves, then stick several cuttings around the edge of a pot filled with gritty mix. Placing them near the rim helps, since the edge of the pot tends to drain and aerate well.
Now grab a clear plastic bag or an old soda bottle with the bottom sliced cleanly off. Cover the pot loosely, using a few chopsticks to keep the plastic from resting on the leaves.
Open the tent for a few minutes every couple of days, which lets in fresh air and prevents mold. If you see heavy droplets inside, prop one side open a little longer to balance the moisture.
Set the covered pot in bright, indirect light, because direct sun can overheat the tent. Be patient with lavender, since roots may take six to eight weeks to show up in cooler weather.
8. Dip Stems In Rooting Hormone For A Boost
Gardeners have a handy helper for stubborn herbs, and it comes in a small jar of fine white powder. Rooting hormone contains plant hormones called auxins that can help cut stems grow roots more quickly.
Woody herbs like rosemary, lavender, and sage benefit most, since their tough stems can be slow starters. Soft herbs like basil and mint rarely need the help, so you can save your supply for tougher stems.
Pour a small amount into a separate dish instead of dipping straight into the original jar itself. Dipping directly can spread germs into the whole container and contaminate the rest of the powder.
Moisten the bottom inch of each cutting with water, then roll it gently through the fine powder. Tap off the extra dust, because a thin coating works better than a thick, clumpy, messy layer.
Use a pencil to make a hole in the soil first, so the powder does not rub off. Slide the stem in carefully, then press the soil around it like tucking a kid into bed.
If you do not have powder handy, some gardeners try a dab of honey or cinnamon instead. The evidence for either is limited, so treat them as an optional extra rather than a replacement.
9. Settle New Herb Starts On A Bright Windowsill
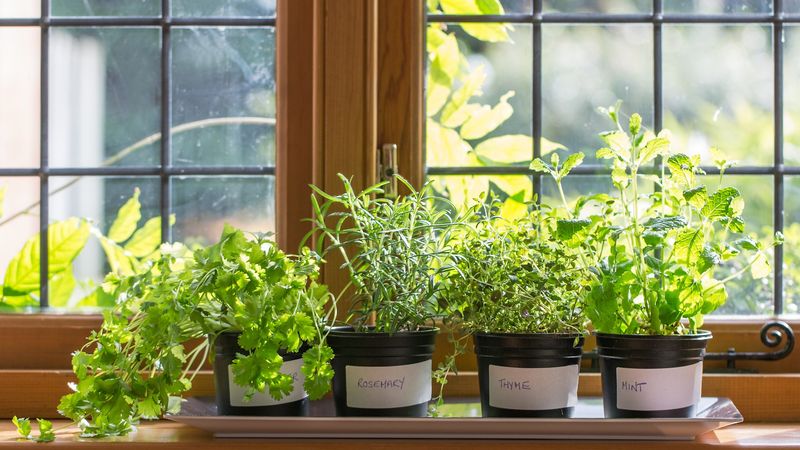
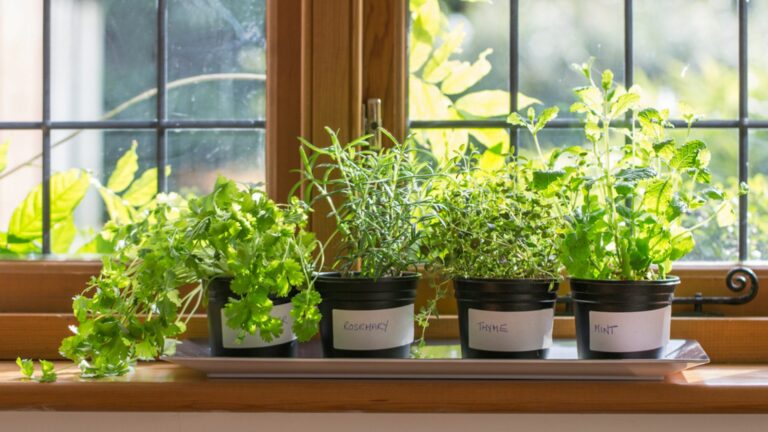
Congratulations, your cuttings have roots, and now they need a comfy place to spend the long, chilly winter. A bright windowsill makes a perfect home, especially one that faces south and soaks up steady light.
Most herbs want at least six hours of sunshine daily, which gets tricky as days shrink in fall. If your plants start stretching toward the glass, a small LED grow light can fill the gap nicely.
Watch out for cold drafts, because windows can get chilly at night once October temperatures start dropping. Keep leaves from touching the glass, and pull pots back a few inches on frosty October evenings.
Indoor air gets dry once the heater kicks on, and many herbs struggle in that dry air. Set the pots on a tray of pebbles with a little water, keeping the pot bottoms above the water line.
Water less in winter than you did outside, since growth slows down noticeably when light levels drop. Stick a finger into the soil, and only water when the top inch feels dry and slightly crumbly.
Turn each pot a quarter turn every few days, so the plants grow evenly instead of leaning sideways. Come spring, these plants can head back outside once they have been gradually hardened off after the last frost.