10 Tips To Prune Clematis By Type
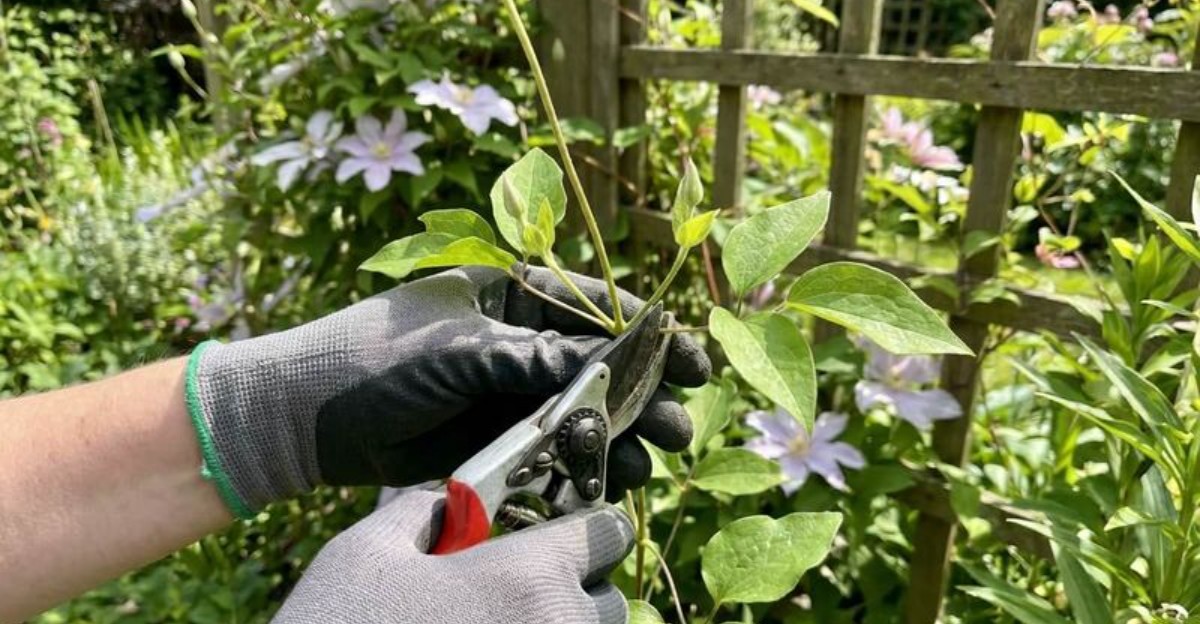
Some garden vines behave like polite guests, while others climb the curtains and refuse to leave quietly. Mine wrapped itself around the mailbox last week, and the mail carrier now waves with visible suspicion.
Those purple and white blooms looked dreamy in June, sparkling like little stars against the warm fence. Now the crisp October air smells like fallen leaves, and the tangled stems look like messy spaghetti.
You might feel tempted to grab the shears and trim until everything looks neat and tidy. Hold that thought, because one wrong snip can cost you a whole season of gorgeous summer flowers.
Different varieties bloom on different wood, like siblings with opposite bedtime rules. Some flower on old stems from last year, while others grow fresh shoots and bloom on those.
Learning which is which feels a bit like solving a puzzle while wearing thick gardening gloves. My neighbor guessed wrong one year and spent the whole summer admiring a very healthy pile of leaves.
1. Read The Tag Before You Reach For The Shears
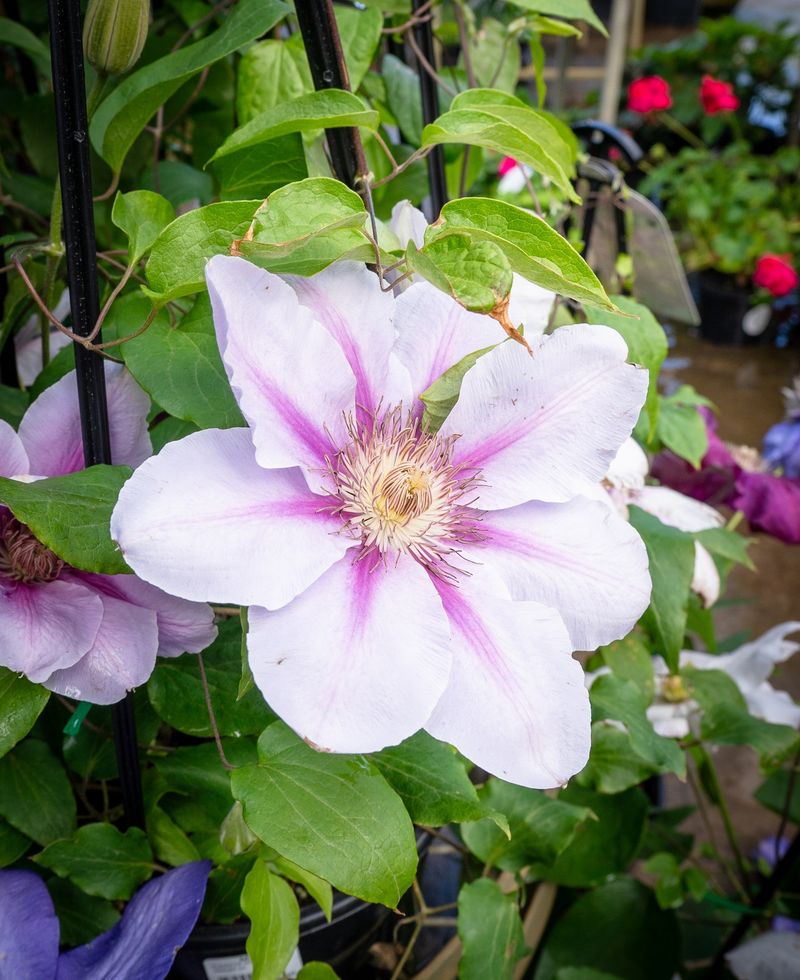
Back in 1862, an English nursery introduced the Jackmanii hybrid, and it remains a garden favorite today. The good news is that experts sorted these vines into three simple pruning groups to end the confusion.
Group One blooms early on old stems, Group Two blooms twice, and Group Three blooms late on new growth. Knowing your group is like having the answer key before a test, so finding it matters most.
Start by digging through your garden drawer for the plastic tag that came with the plant. Most tags list the variety name, and many even print the pruning group on the back.
If the tag vanished long ago, think back to when your vine put on its biggest show this year. Early spring flowers usually point to Group One, while late summer flowers often signal Group Three.
Blooms that showed up in late spring and again in early fall mostly belong to Group Two. Snap a photo of the flowers next year, too, so you can compare them with online plant guides.
Since it is early October now, you have plenty of time to play detective before any cuts. Write the group on a garden stake and push it into the soil so future you says thanks.
2. Let Group One Bloomers Rest Until After Their Show
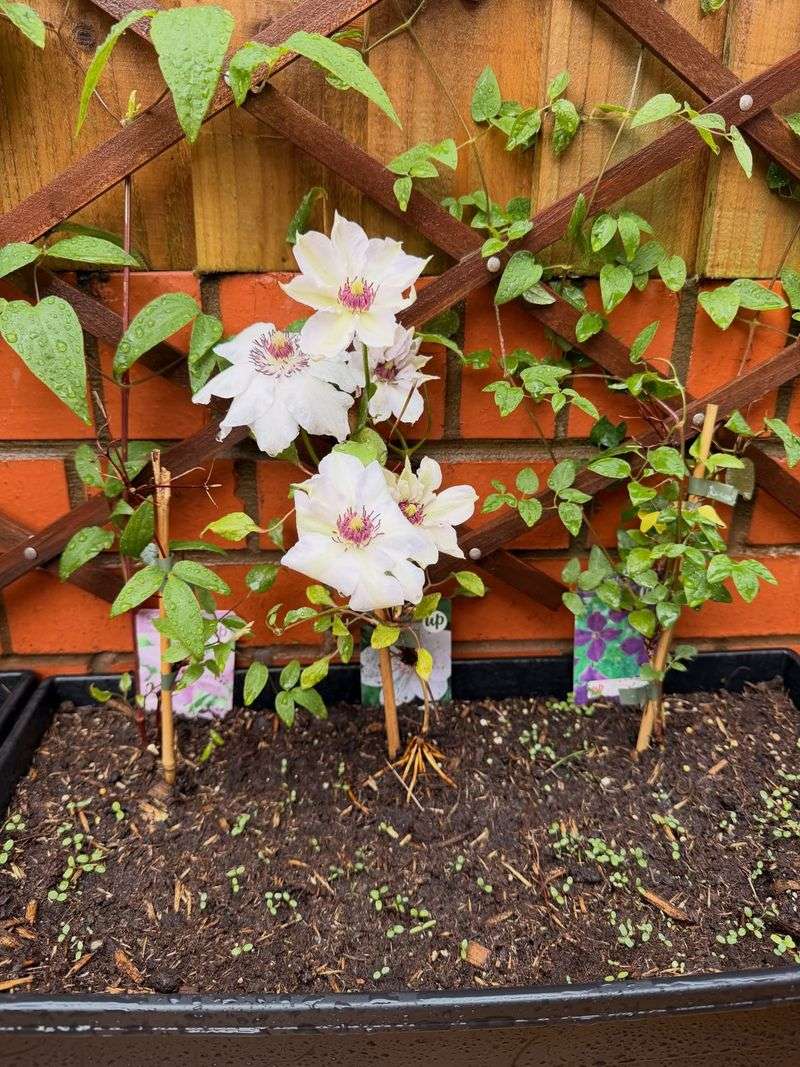
Picture a vine covered in nodding pink bells before most trees have even pushed out their first leaves. That early magic belongs to Group One types like Clematis montana, alpina, and the evergreen armandii.
Group One vines set their flower buds on stems that grew during the previous summer and early fall. So if you trim them now in October, you are snipping off next year’s whole flower parade.
The smart move is to put the pruners down and simply enjoy the golden fall foliage for now. Wait until the flowers fade next spring, then make any shaping cuts within a few weeks after blooming.
Timing matters because the vine needs the rest of the growing season to build fresh flowering stems. Cut too late in summer, and you will face the same bare result the following spring.
Most Group One vines need very little trimming, so think of pruning as a light haircut instead. Remove broken stems, thin out crowded spots, and guide wandering shoots back toward their trellis or fence.
Montana varieties can grow over thirty feet long, so some gardeners trim them simply to protect gutters. Even then, a gentle cut right after spring flowering keeps the show going without stealing next year’s blooms.
3. Give Group Two Vines A Light Late Winter Trim
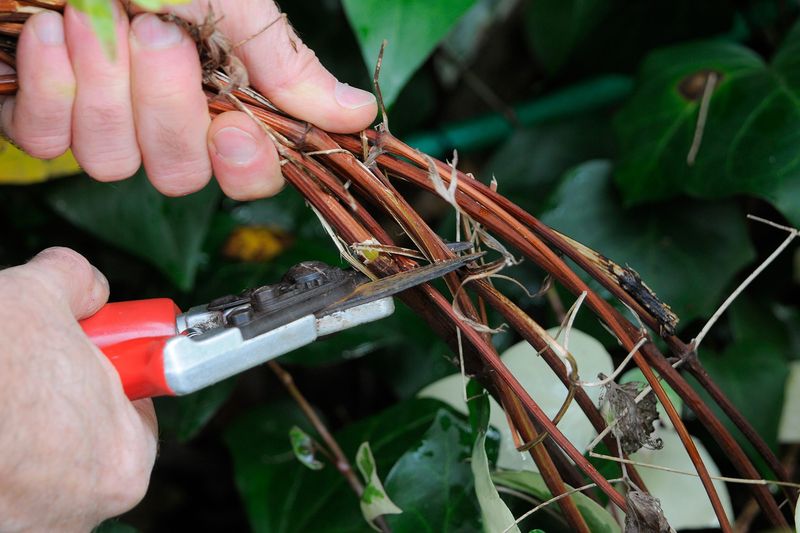
Ask any gardener about Nelly Moser or Henryi, and you will hear stories about flowers as wide as saucers. Those big beauties belong to Group Two, the overachievers that bloom in late spring and again in fall.
Their first wave of flowers grows on old stems, while the second wave pops up on new growth. That mix means a heavy cut removes the spring show, so a gentle hand works best here.
Now in October, you can tuck away any loose stems and leave the main framework alone. The real trimming happens in late winter, around February or early March, when buds start to swell.
Begin at the top of each stem and work downward until you spot a pair of plump buds. Make your cut just above those buds, and clear away any brown stems that show no life.
Some gardeners like to stagger their cuts, trimming a few stems lower for blooms at different heights. That trick spreads flowers up and down the trellis instead of bunching them all at the top.
After the first flush fades in early summer, a quick tidy of spent blooms encourages that second round. Think of it as giving your vine a pep talk before its encore performance takes the stage.
4. Cut Group Three Climbers Down Low With Confidence
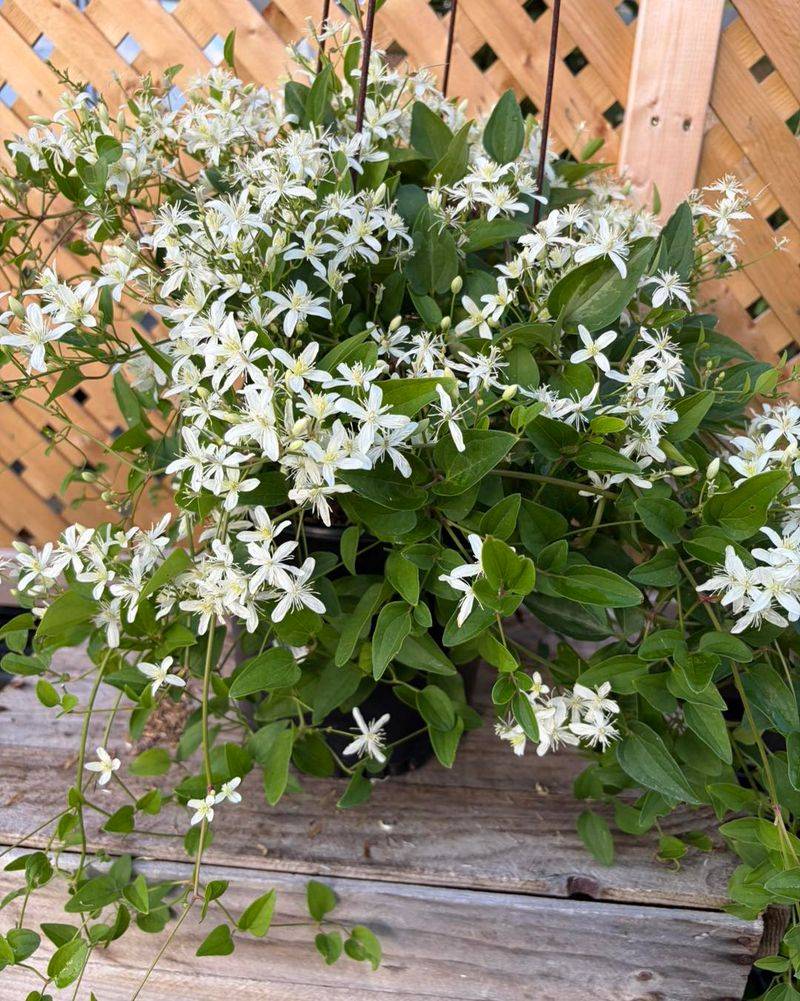
Grab your boldest pruning attitude, because Group Three vines actually love a dramatic haircut every single year. Popular picks like Jackmanii, Sweet Autumn, and the viticella types bloom on fresh stems from this season.
Since flowers form on new growth, the old stems from last year mostly just take up space. Leaving them alone often creates a bare, woody bottom with all the blooms crowded above your head.
In early October, Sweet Autumn may still be buzzing with bees, so let it finish its fragrant show. You can lightly trim long, messy stems now to reduce wind damage during fall and winter weather.
The main cut comes in late winter, when you slice every stem back to about twelve inches tall. Aim just above a healthy pair of buds, usually the second or third set up from the soil.
It feels scary the first time, a bit like giving a dog a short summer buzz cut. Trust the process, because the vine bounces back and often grows several feet within a few months.
Fun fact: Sweet Autumn clematis can spread so quickly that some states list it as an invasive plant. Cutting it low each year helps keep its growth in check, and removing spent blooms before seeds ripen limits its spread.
5. Keep October Cuts Small And Tidy
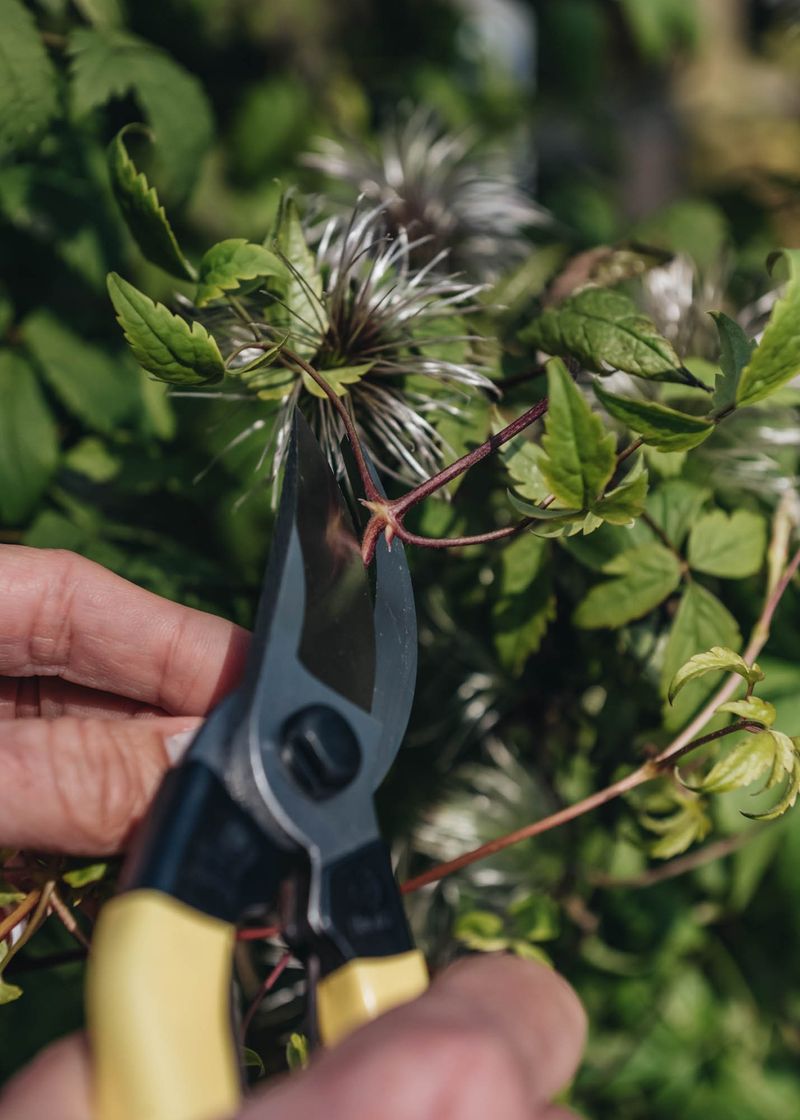
Fall cleanup fever is real, and it hits hardest when the garden starts looking tired and a little shaggy. Still, October is not the month for major pruning on most clematis in any group.
Heavy cuts now can spark tender new shoots that freeze solid once the first hard frost arrives. Those frozen shoots waste the plant’s energy, leaving it weaker as it heads into the cold months.
Instead, focus on small chores like removing broken stems, snapped tips, and leaves spotted with fungus. Gather up fallen foliage around the base, since it can hide disease spores through the damp winter.
Tie loose stems back onto the trellis with soft garden twine so gusty fall winds cannot whip them around. Whipping stems can crack at the base, and that damage invites trouble that shows up next year.
Many gardeners also leave the fluffy, silver seed heads in place because they look stunning in fall light. They also add texture to the bare garden as other plants fade.
Keep a small notebook nearby and jot down which stems looked weak or crowded this season. Those notes turn your late winter pruning day into a quick, confident job instead of a guessing game.
6. Look For Fat Buds To Guide Every Snip
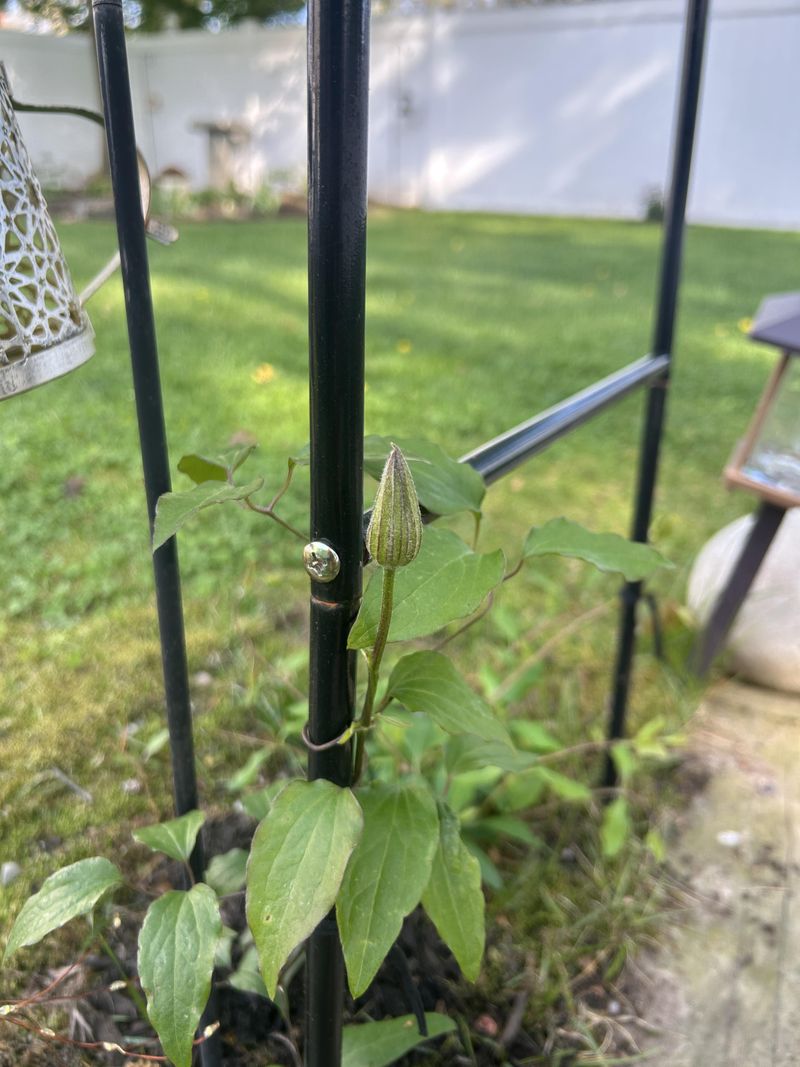
The plant shows you where to cut, if you look closely enough. Buds are the clues, and learning to read them makes pruning any clematis group much less stressful.
Clematis buds grow in pairs along the stem, sitting right where each set of leaves attaches. Healthy buds look plump and green or reddish, almost like tiny beads waiting to burst open soon.
Flat, shriveled, or brown buds usually mean that section of stem has given up for good. Scratch the bark gently with a fingernail, and look for bright green tissue that signals living wood underneath.
When you prune, make each cut about a quarter inch above a strong pair of buds. Cutting too close can harm the buds, while leaving a long stub invites rot and ugly stems.
In October, many buds are still small and tucked tight, so they can be harder to spot. That is one more reason late winter works better, since swelling buds practically wave at you then.
Bring a magnifying glass outside if your eyes need help, and turn the hunt into a fun game. Kids love joining in, and they often spot those tiny green bumps faster than the grown-ups do.
7. Untangle Wild Stems With Patience And Care
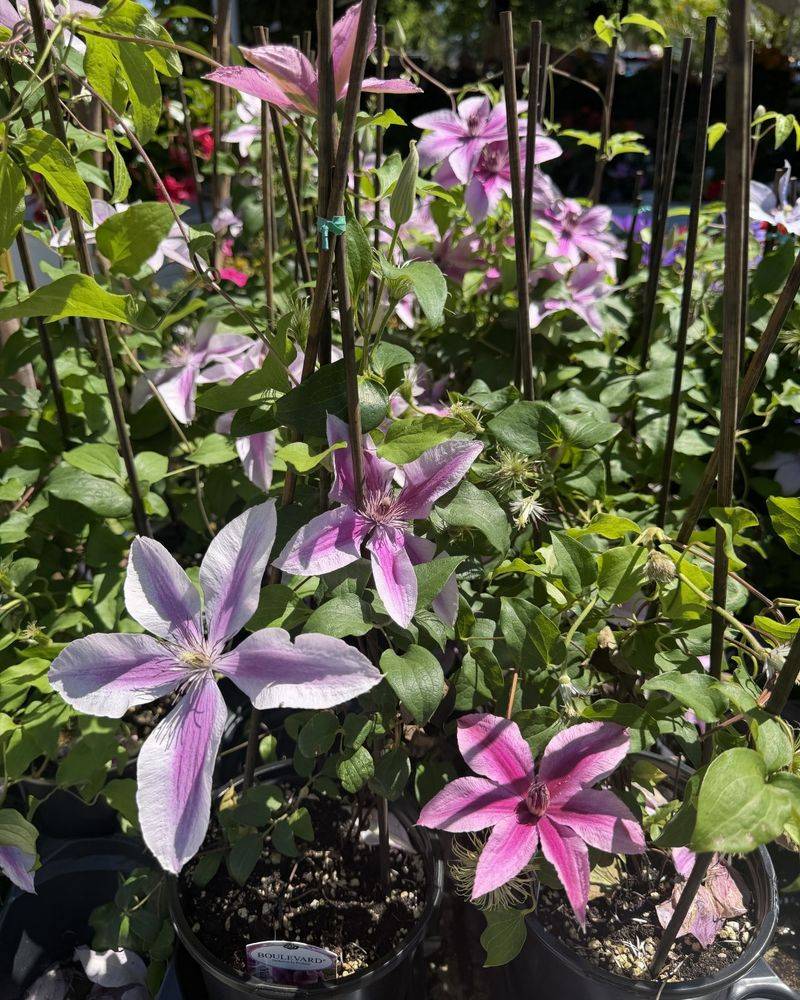
Anyone who has tried to untangle holiday lights knows exactly how a neglected clematis feels in your hands. Stems twist around each other, the trellis, and sometimes a nearby rose bush that did not ask for company.
Clematis climb by wrapping their leaf stalks around supports, and those little grips can be surprisingly strong. Yanking hard on a tangled stem often snaps it, and sometimes the break happens far below your cut.
For Group Three vines, the trick is to cut stems into short sections and pull pieces free gently. Working from the top down in small chunks keeps the job manageable and protects the trellis too.
Group One and Group Two vines need a softer touch, since their older stems carry next year’s flowers. Trace each stem with your fingers before cutting, so you only remove pieces that are brown and brittle.
A cool October afternoon makes this chore pleasant, with crunchy leaves underfoot and warm cocoa nearby. Wear long sleeves and gloves, since some clematis sap can irritate sensitive skin after a long session.
Once the mess is sorted, spread the remaining stems evenly across the support like fingers on a hand. Better airflow between stems helps reduce mildew, and next year’s blooms will have room to shine.
8. Clean Your Tools Before Each Pruning Session
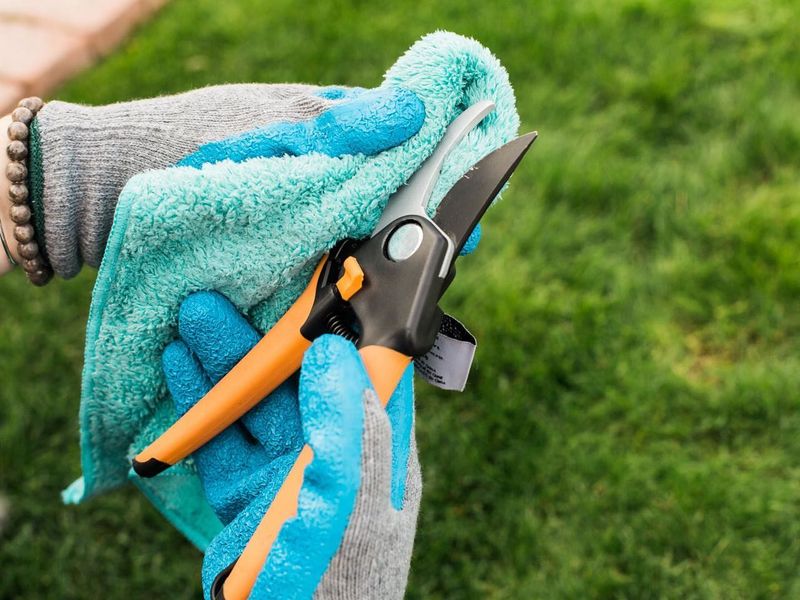
Chefs wipe down their knives between tasks, and your pruners deserve a similar bit of care before touching a vine. Dirty blades can carry fungus and bacteria from one plant to the next without you even noticing.
Clematis wilt is a common fungal problem that makes healthy stems suddenly collapse and turn dark. Clean tools help reduce the spread, especially when you move between several vines in one afternoon.
Wipe the blades with a household disinfectant or a mix of one part bleach and nine parts water. Let them dry for a minute, then add a drop of oil to keep the hinge moving smoothly.
Sharp blades matter just as much, because dull ones crush stems instead of slicing through them cleanly. Crushed stems heal slowly and leave openings where pests and diseases can sneak inside the plant.
Bypass pruners work best for clematis, since their scissor action makes clean cuts on thin, delicate stems. A small sharpening tool costs only a few dollars and can bring tired blades back to life quickly.
October is a perfect time to give your whole tool collection a tune-up before storing it for winter. Come late winter, your pruners will be clean, sharp, and ready the moment those buds begin to swell.
9. Mulch In Fall Then Feed After Pruning
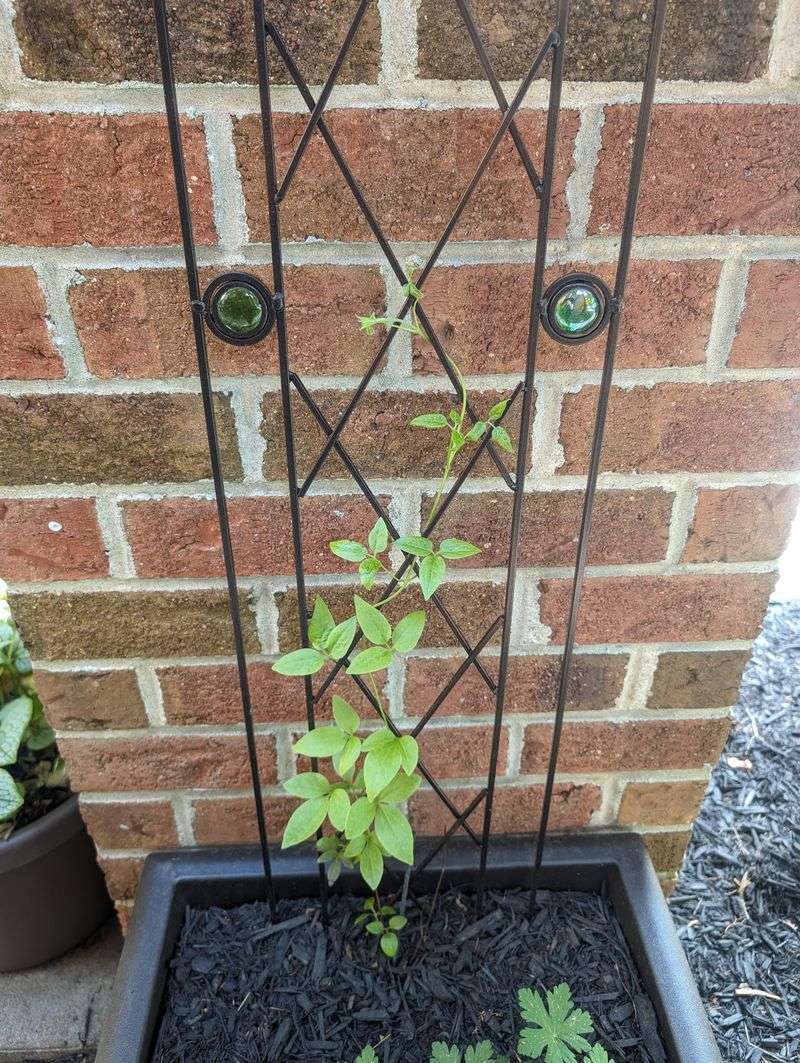
Gardeners often say clematis likes its head in the sun and its feet in the shade. Mulch is the easiest way to give those roots the cool, shady blanket they crave all year.
In early October, spread two inches of shredded bark or compost around the base of your vine. Keep the mulch a few inches away from the stems, so moisture does not sit against the bark.
That fall layer protects roots from freezing and thawing cycles, which can heave plants out of the ground. It also breaks down over winter, feeding the soil with rich, earthy nutrients for spring growth.
Skip heavy fertilizer right now, because a big dose of nitrogen in fall pushes soft growth too late. Save the feeding for late winter, right after your main pruning, when the vine is ready to wake.
A balanced slow-release fertilizer or a few handfuls of compost will fuel strong stems and bigger blooms. Group Three vines especially appreciate the boost, since they regrow so many feet of stem each season.
For root shade, plant a low perennial like catmint or hosta near the base of the trellis. The flowers above get their sunshine, while the roots below stay cool and comfortable during hot summers.
10. Rescue An Overgrown Vine One Season At A Time
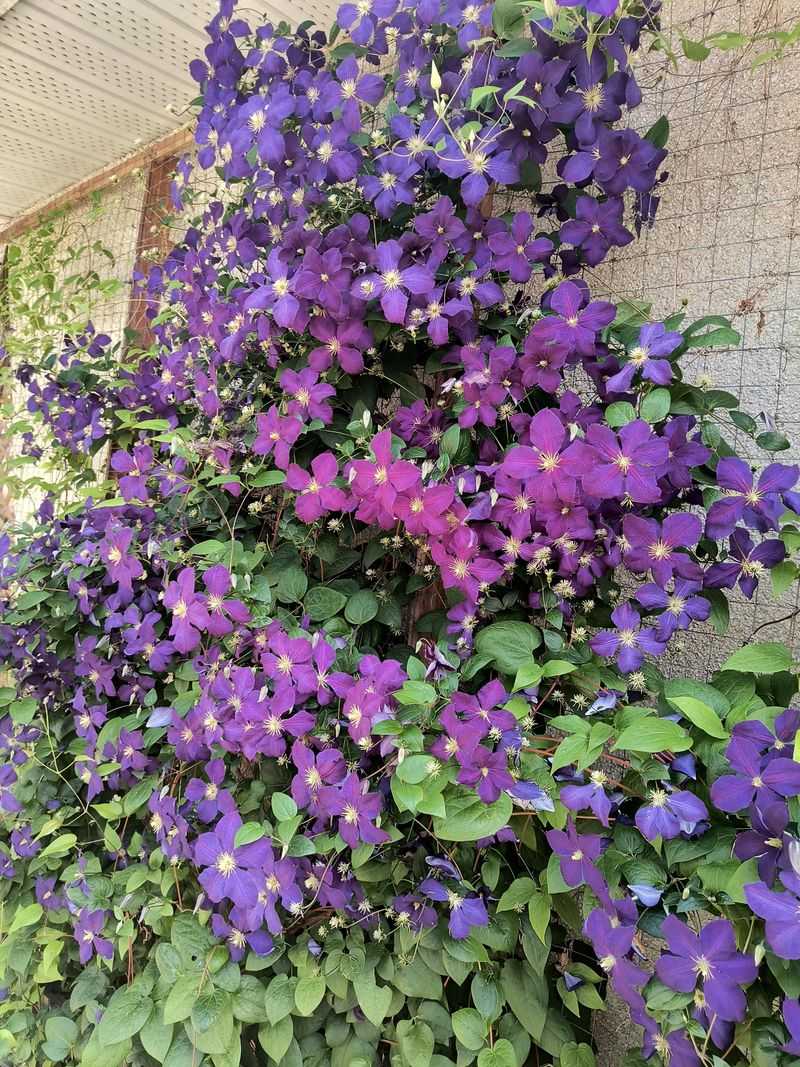
Maybe you moved into a house this year and inherited a clematis that looks like a bird nest. Take a deep breath, because most overgrown vines can bounce back with a patient, steady plan.
Start by figuring out its group, using bloom time memories from neighbors or clues from old garden photos. If you cannot tell, treat it like Group Two and prune lightly until it reveals its flowering habits.
For Group Three vines, a hard cut in late winter usually fixes the problem in a single year. These tough growers handle a fresh start well and often bloom beautifully just a few months later.
Group One and Group Two vines prefer a gentler approach spread across two or three growing seasons. Each year, remove about one third of the oldest stems, cutting them close to the base.
That steady approach lets the vine keep flowering while new, healthier stems slowly replace the tired ones. Within a few years, you will often have a fresh, full plant without losing much color along the way.
This October, mark the oldest stems with bright yarn so they are easy to find in late winter. Some clematis vines live for decades, so a little patience now pays off with years of blooms.