Put These 9 Things In Your Tomato Planting Hole And Get The Juiciest And Largest Tomatoes Ever
You can never start too early when it comes to gardening! Of course, this doesn’t refer to planting but rather to planning. And that’s exactly what we can do for our tomatoes in early spring.
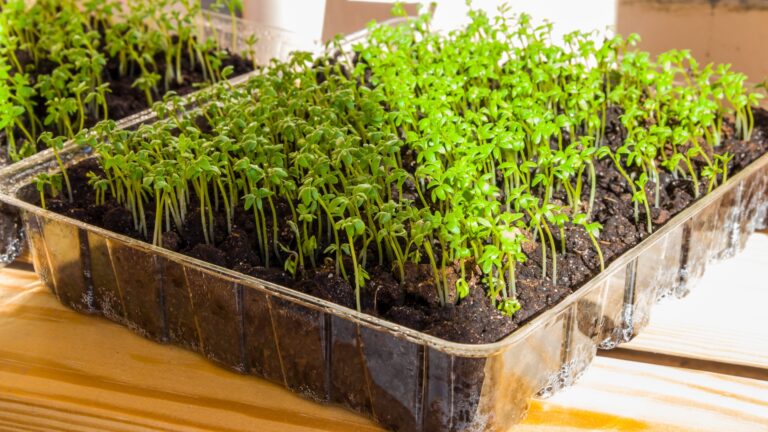
Now I’m looking at tomato seedlings on my windowsill that are just a few inches tall and I know there’s a long road until the harvest. But the time for planting is getting closer since temperatures are already warmer here in Florida.
You’ll need to wait for a few more weeks If you live in Maine, North Dakota, or other cooler zones. This is okay since it gives you more time for planning and organizing everything!
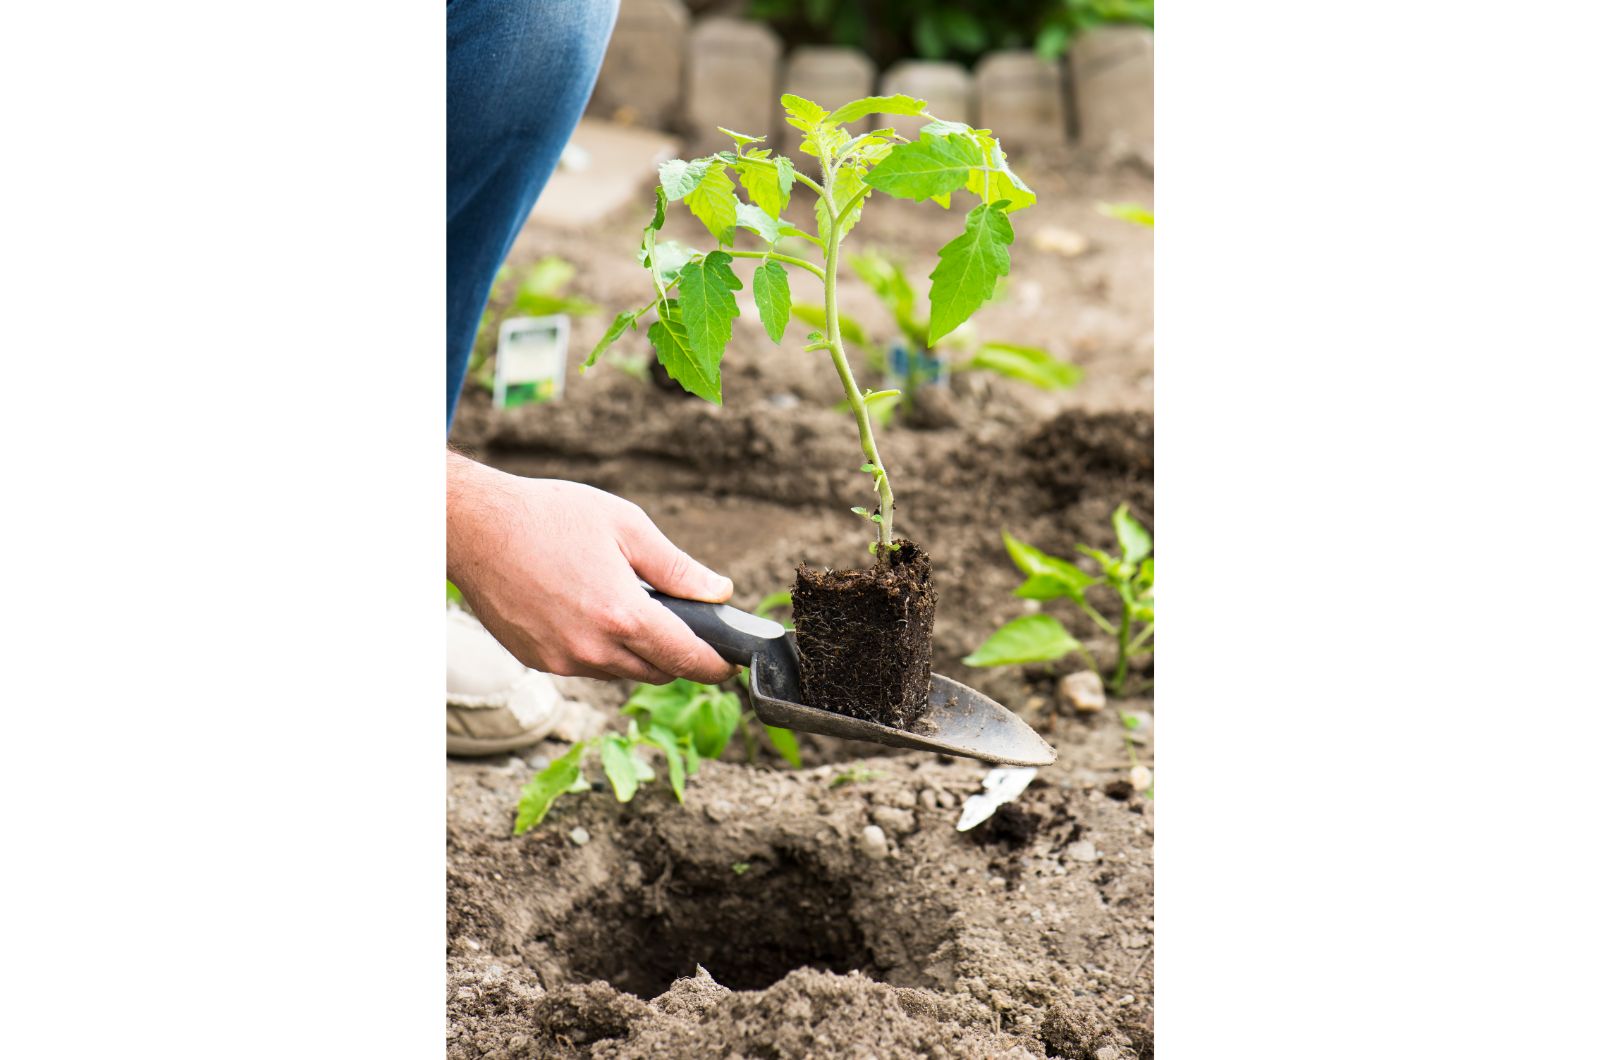
And the first thing you do for your tomatoes (no matter the zone you live in) is prepare a hole. You may think it’s only about digging up a few inches of dirt and putting those seedlings in the ground.
But there’s way more than meets the eye and the secret to healthy and large tomatoes is actually amending the soil in the holes.
Why is this and how do you do it? These are exactly the questions I’m about to answer!
First, Some Wisdom On Tomato Holes And Soil Amendments
Don’t worry, I won’t give you a biology lesson on plant growth. But I would like to discuss the importance and benefits of amending the soil before planting tomatoes.
It’s not that I want to convince you to use this method. The best would be if you could see and taste my tomatoes last year! By improving the soil with various ingredients, here’s what my tomatoes got:
• Better tolerance to drought
• A more robust root system
• Less pest and disease issues (and these kept following me over the years)
• Less feeding during the growing season
Listen, tomatoes are pretty finicky over the amount of nutrients they receive. This is why you’ll hear many gardeners complain about the money and time they spend on fertilization.
So why repeat their mistake when you can make things easier (and cheaper) at the very beginning? These 9 things will help you with that:
1. Start With A Trowel
Wait, what? Don’t worry, you won’t be leaving a trowel in your tomato hole. You’ll put it in the ground and collect a spade full of soil where you plan to plant your tomato seedlings!
Now you need to visit some experts because your soil needs testing! The guys from the cooperative extension office probably think I’m too enthusiastic about tomatoes but I simply can’t skip this step.
The reason is that I get all the info about the nutrients in my soil so I don’t have to guess if my tomatoes lack or have too much of something. Work smarter, not harder!
If your local community doesn’t offer this service, you can always purchase a soil test kit and do it by yourself.
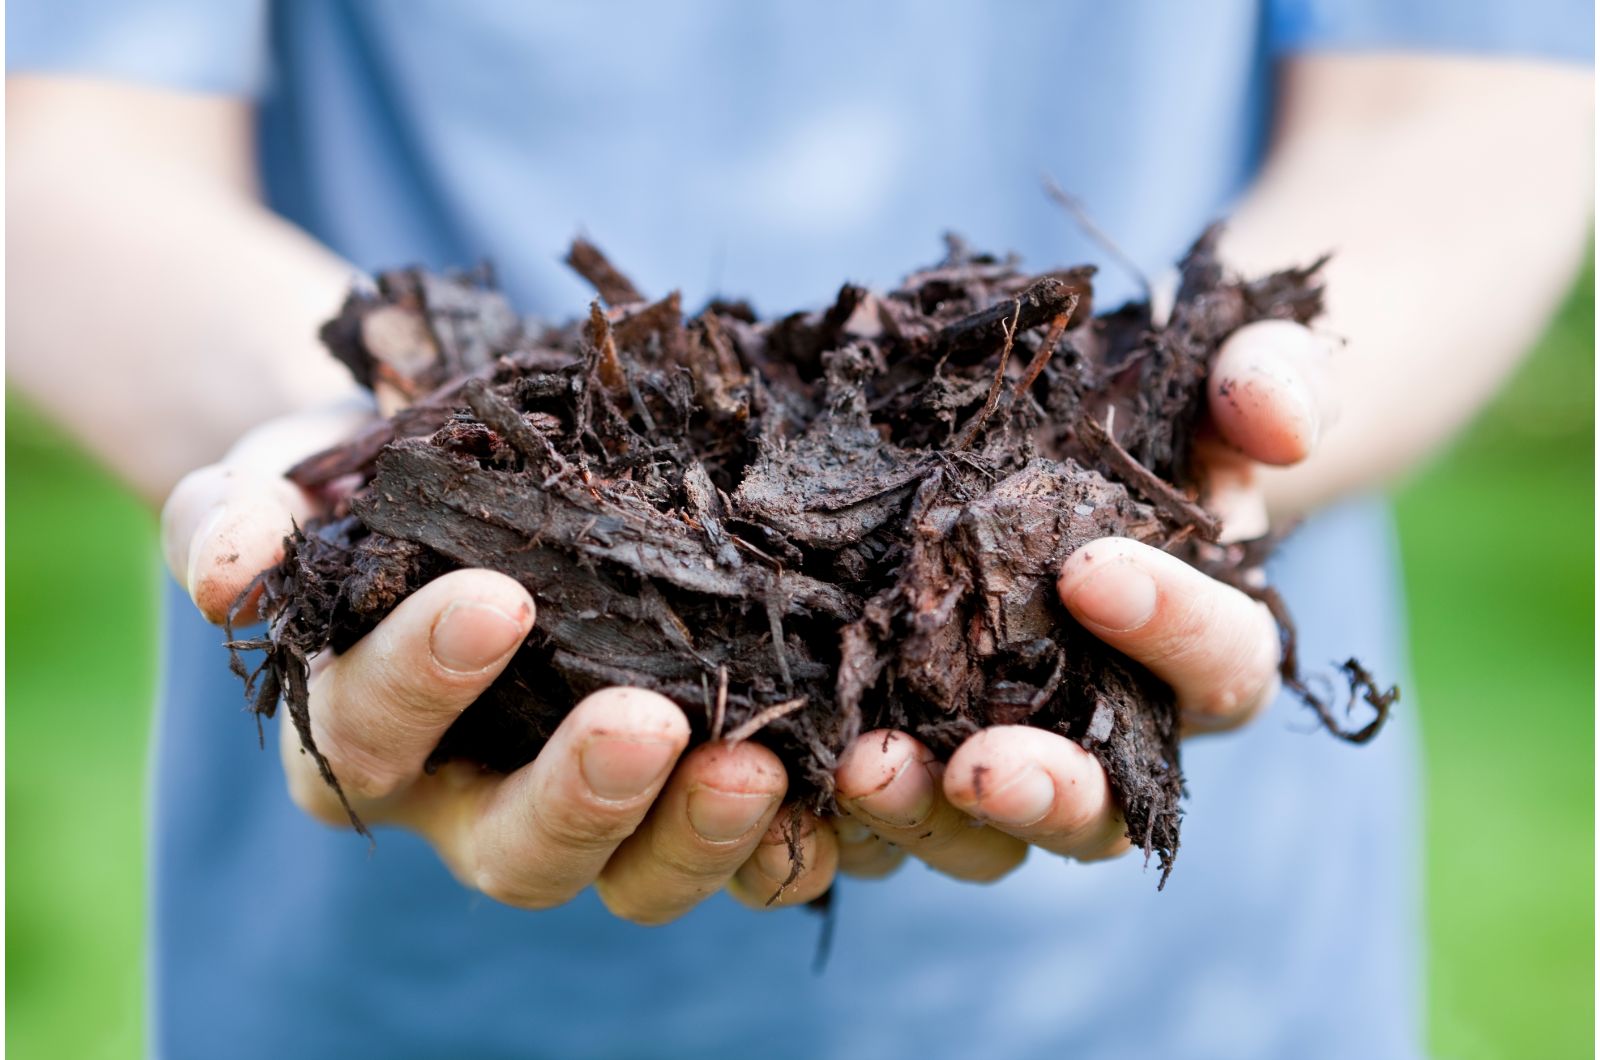
2. Always Put Compost And Tomatoes Together
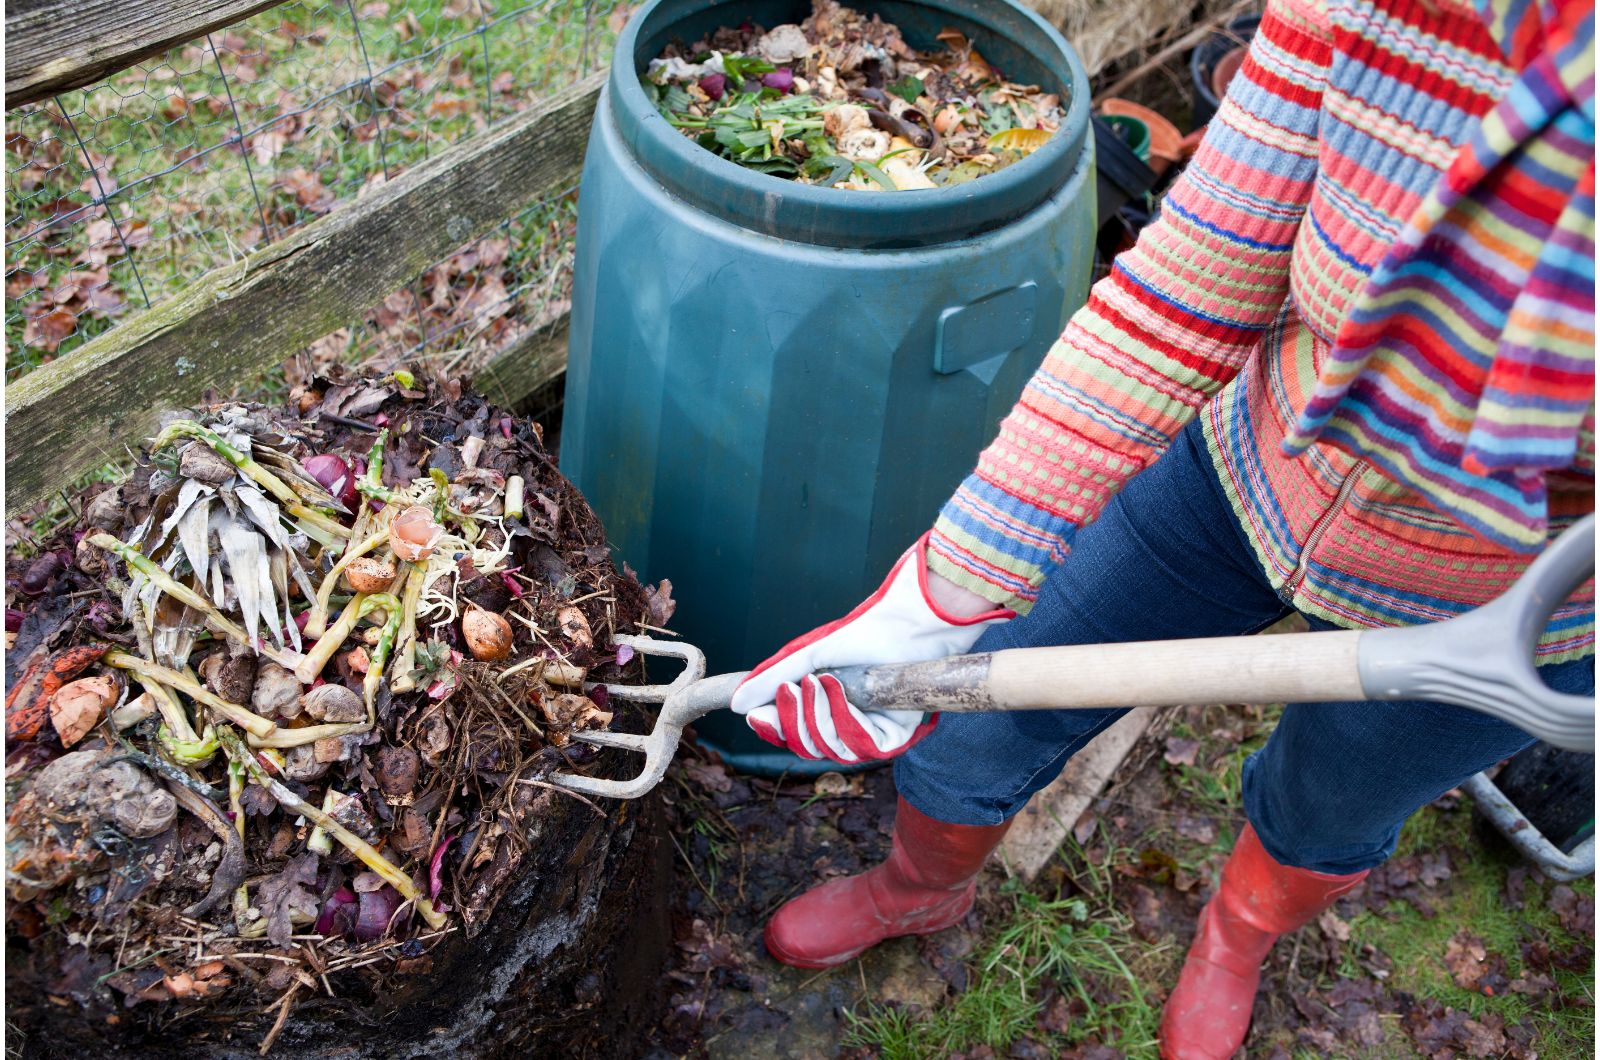
Compost and plants always go together! I call this ingredient pure magic because it contains all the trace nutrients our tomatoes (and other plants) need.
What if soil testing reads that the nutrient levels are great? Add compost. You can never make a mistake with this substance and it can’t harm your tomatoes.
Of course, homemade compost works best, but if you don’t have any, a store-bought one will do the job!
3. Take Things To A Whole New Level With A Fish Head
Just when you think you’ve heard it all…Yes, putting a fish head in the hole will give you more tomatoes!
Why on earth would someone bury a fish head under their plant? I’m not sure who introduced this method but what I do know is that it works.
In a nutshell, this ingredient acts as a slow-release fertilizer and boosts the nitrogen levels in the soil. It also contains other vitamins and minerals essential for tomato growth.
I was afraid some pest would destroy my prized seedlings to reach the fish head, so I made deeper holes. It turned out these critters weren’t interested in doing so much digging!
4. And Don’t Forget Blood Meal
If you’re not keen on the idea of fish heads, you can always use blood meal. Yeah, like that sounds any more pleasant!
But this is one of the most natural fertilizers and gardeners have been using it for ages. It will increase nitrogen levels in the soil without burning the plant roots.
Blood meal gives an excellent head start to tomatoes and encourages leafy growth. Once this stage ends, you can focus on boosting phosphorus and potassium levels for flower and fruit production.
5. Leaf Mold Is Also A Great Option
Another famous way to add some organic matter to the soil is by using leaf mold. This is definitely one of my favorite methods because I have a lot of leaves from the other plants in my yard. And there’s no such thing as a waste in gardening!
Apart from increasing soil fertility, leaf mold can help your soil retain more moisture. This means your hose or watering can won’t be used too frequently!
Leaf mold contains numerous beneficial organisms that will enhance the microbiome in your tomato soil!
6. Help The Nutrients Break Down With Mycorrhizae
Ok, the most complicated thing about Mycorrhizae is pronouncing it correctly. Realizing its benefits for our tomatoes is way easier.
Simply put, this is a fungus species that helps the nutrients to break down below the soil line.
Additionally, it increases the surface area of the tomato root system. Remember when I said that my tomatoes were more drought-resistant? Well, this fungus is to blame!
Putting Mycorrhizae directly into the planting hole means using its benefits maximally.
7. Tomatoes Need Magnesium, So Add Some Epsom Salt!

Gardeners focus on the three crucial nutrients: nitrogen, phosphorus, and potassium. But the story doesn’t end there. Our tomatoes need magnesium to develop healthily and produce the juiciest fruits.
How can you tell if your soil lacks magnesium? It all goes back to the soil testing!
My fellow growers recommend adding different things to increase this nutrient in the soil. But for me, the best (and only) way is adding Epsom salt.
Dissolve a tbsp of Epsom salt in a gallon of water, pour it into the tomato hole, and enjoy the magic!
8. Increase Yield With Good Old Worm Castings
Some call it gross, I call it fantastic! Worm castings aka worm poop (yes!) are the gem of the gardening world.
They increase soil moisture retention, improve the soil structure, and hold more nutrients.
For tomato plants, worm castings have even more benefits. They won’t burn the delicate roots and, thankfully, keep those notorious aphids at bay!
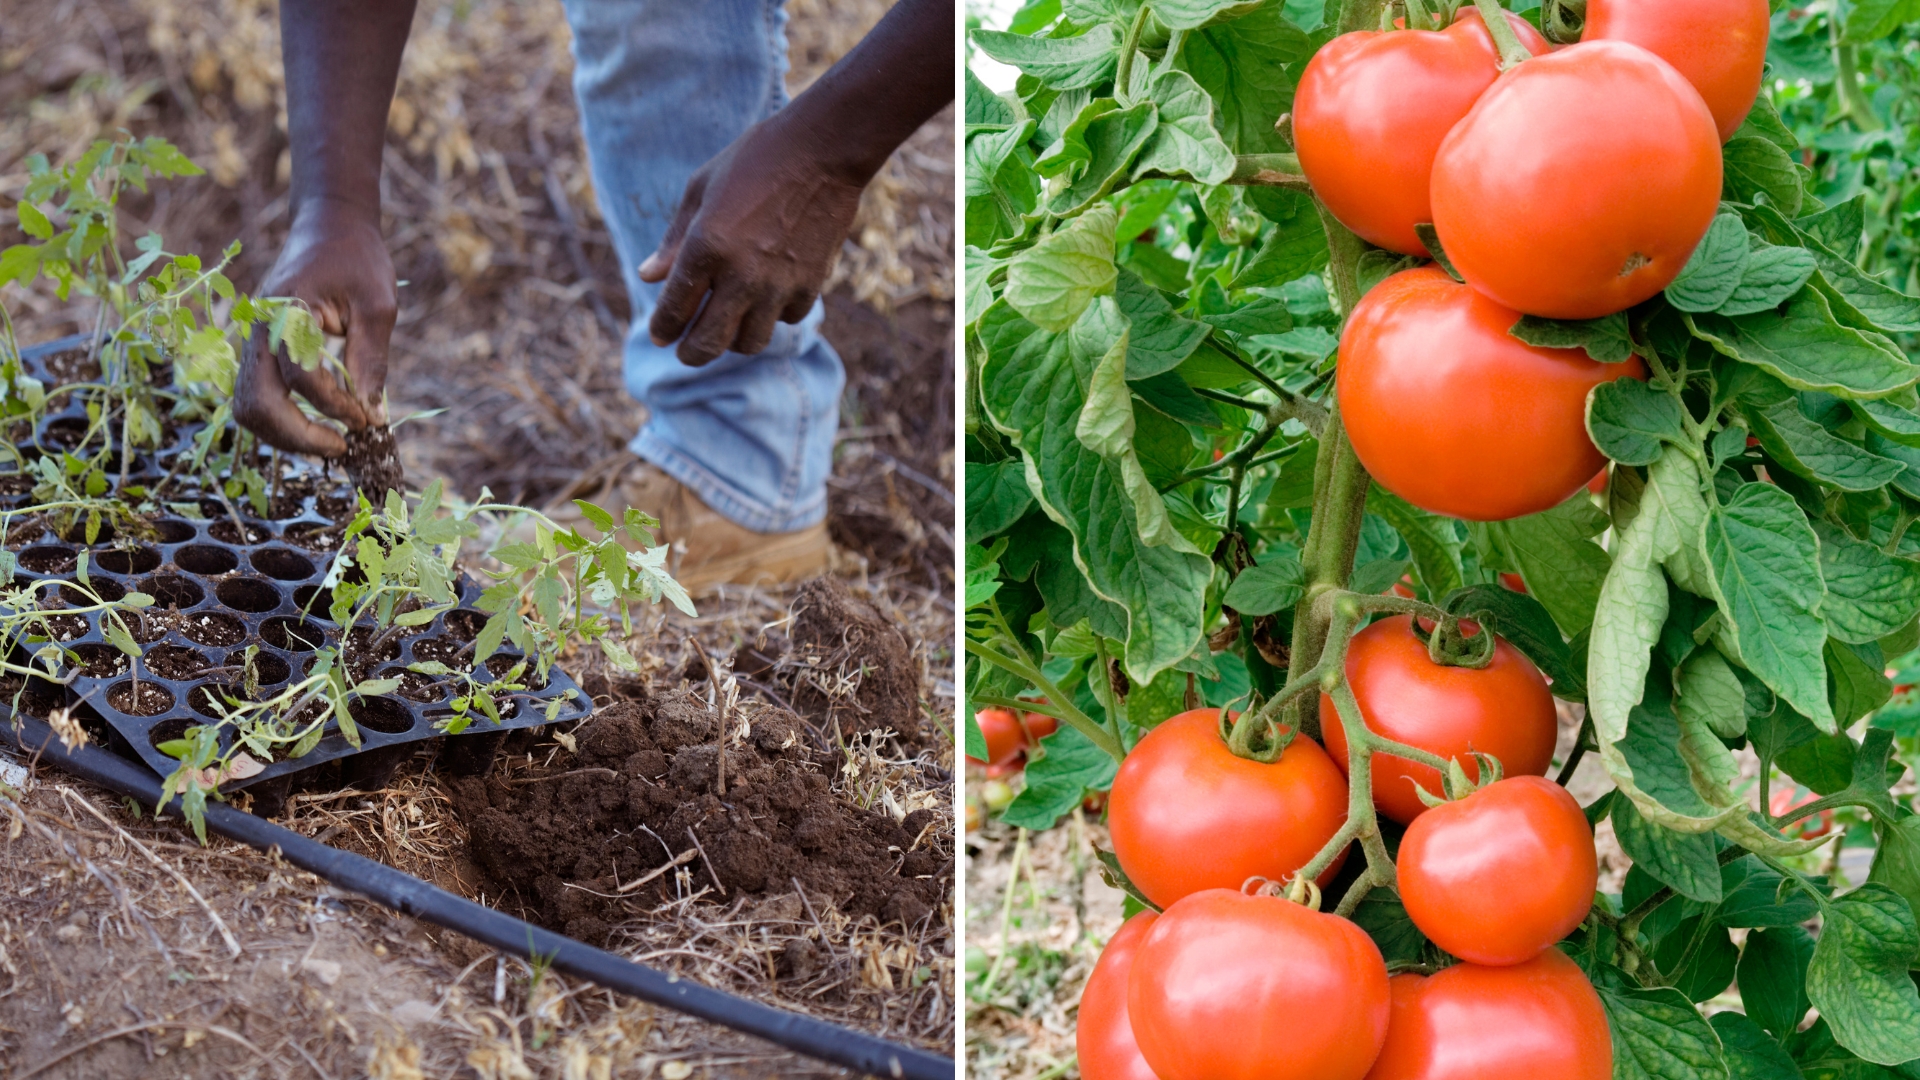
9. Last Ingredient: Tomatoes, But This Time Go Deeper!
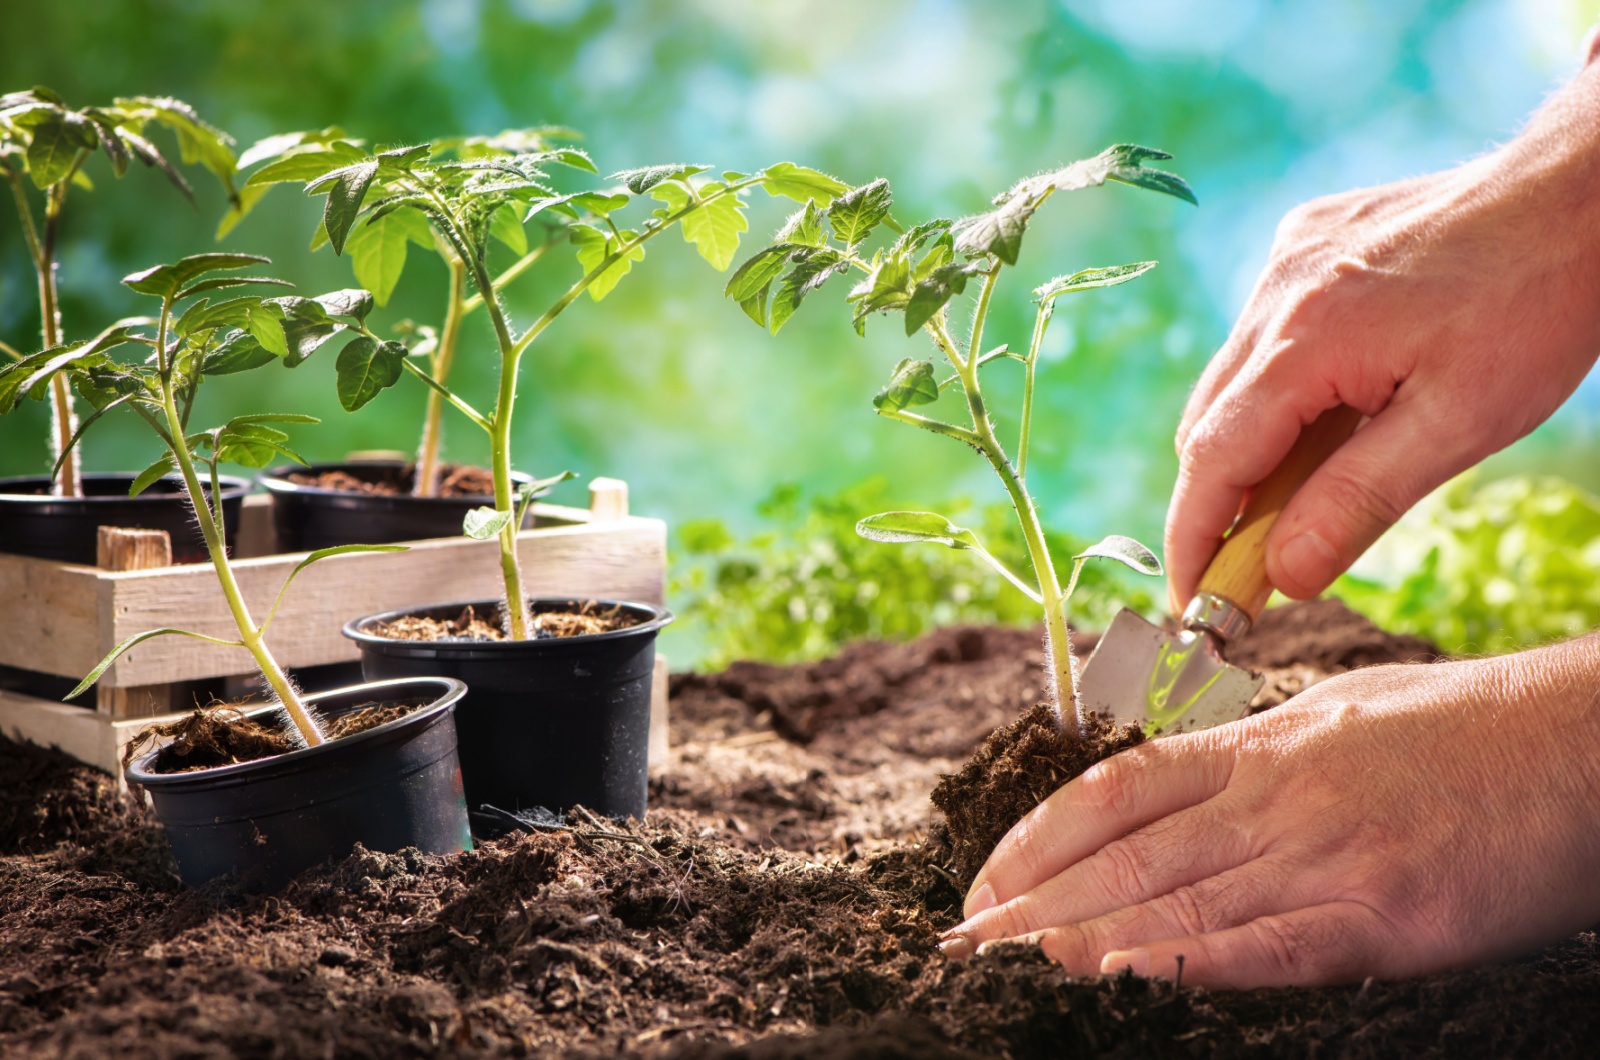
Well, you also need to put your tomatoes in the holes. Now that you’ve amended the soil in the best way possible, it would be expected that now you just put the seedlings in the ground.
Tomatoes are indeed needy, so this part isn’t smooth either. These veggies (or fruits, if you’re an expert) will send new roots anywhere the plant touches the ground. This way, they can uptake the ideal amount of nutrients and water.
You can use the advantage of this odd habit and plant your tomatoes deeper so that they develop more robust roots! My secret is to bury the bottom third of the stem!
Now you’re ready to embark on your tomato adventure! Your garden is bound to flourish with ripe, juicy tomatoes that’ll have everyone asking for seconds!