5 Helpful Tips To Transplant Lavender And 4 Things To Avoid
Lavender is such an amazing herb with so much to offer. You can grow it for its fragrant foliage, beautiful flowers that attract pollinators, or use it in your cooking.
It is a perfect plant for drier climates and can elevate your landscape.
Lavender care is quite simple, which is why many beginners include it in their gardens. And one part of that care routine is moving it to a new place.
But why transplant lavender? Is it necessary?
Well, if you keep your plant in a small container and its roots become overcrowded, you will have to move it to a larger one or transplant it to your outdoor garden.
Sometimes, we just want to add some innovation to our garden or move plants around to give it a new look, which are all valid reasons for transplanting lavender.
In this article, we’ll include everything you need to know about this process: when and how to do it, some things to avoid, and whether you can multiply lavender during the transplant.
Before we get there, let’s discover some general specifics about this fragrant herb:
[table id=665 /]
When To Transplant Lavender
There are various care tips for growing lavender, such as giving it the proper amount of sunlight and water, planting it in a suitable growing medium, etc.
And one of those tips includes transplanting!
In the following sections, we’ll discuss exactly when you should move lavender to a new location depending on the season as well as the daily weather.
The Best Seasons For Transplanting Lavender
The best season for transplanting lavender is early in the spring and in fall because the plant will deal better with transplant shock.
The key thing is to avoid planting this herb in frozen soil since that can damage the roots beyond repair. Therefore, transplant your lavender after the last frost in spring or 1-2 months before the first fall frost.
However, if you live in a cold climate, you should never transplant lavender in the fall since the weather is too cold and the plant won’t be able to adjust to its new home before winter.
Also, move this herb before it produces flower buds if possible since this can also help alleviate the shock.
The Best Time Of Day For Transplanting Lavender
The best time of day for transplanting lavender is in the morning or late afternoon because the sun isn’t that harsh and the roots will have the time to adjust a bit before the heat strikes.
High temperatures will increase transpiration and evaporation, resulting in dehydrated lavender and serious transplant shock.
You should also try and move this herb on an overcast day since the sun rays aren’t that harsh.
And if you really want to get this bit done, even during midday, I’d suggest covering your plant with a shade cloth just to be on the safe side.
How To Transplant Lavender

Whether you have Spanish lavender, French, English, or any other variety, the transplanting steps are the same.
You first need to prepare the new site, then take the lavender out of its bed and move it to its final location.
Afterwards, you need to take good care of it to reduce the symptoms of transplant shock. (All plants that you move go through this, but we can make it easier for them by watering them properly, transplanting them on a cloudy day, etc.)
Prepare The New Location
Lavender requires elevated spots for proper growth since they ensure optimal drainage. You can plant this herb in a raised garden bed or you can just create a small mound so that the moisture can drain out more quickly.
This is an essential step, but getting the growing medium right is as important as the elevation. Lavender needs a well-draining and moderately fertile substrate, which is why you should amend your garden soil with a clay breaker if it’s too heavy and compacted.
Furthermore, this herb prefers its growing medium to be on the alkaline side, so you can add some lime if your garden soil doesn’t meet this requirement.
Finally, you can add a bit of compost or some similar organic fertilizer to support the plant’s growth.
The compost will also improve the soil texture, but don’t use too much since highly fertile soils will support vegetative growth, but there won’t be many blossoms.
Finally, you’ll have to dig holes for your new plants. Make sure that they’re about 2-3 feet apart and deep enough to accommodate your plant’s root system.
Here are some more tips for improving the soil quality for your lavender:
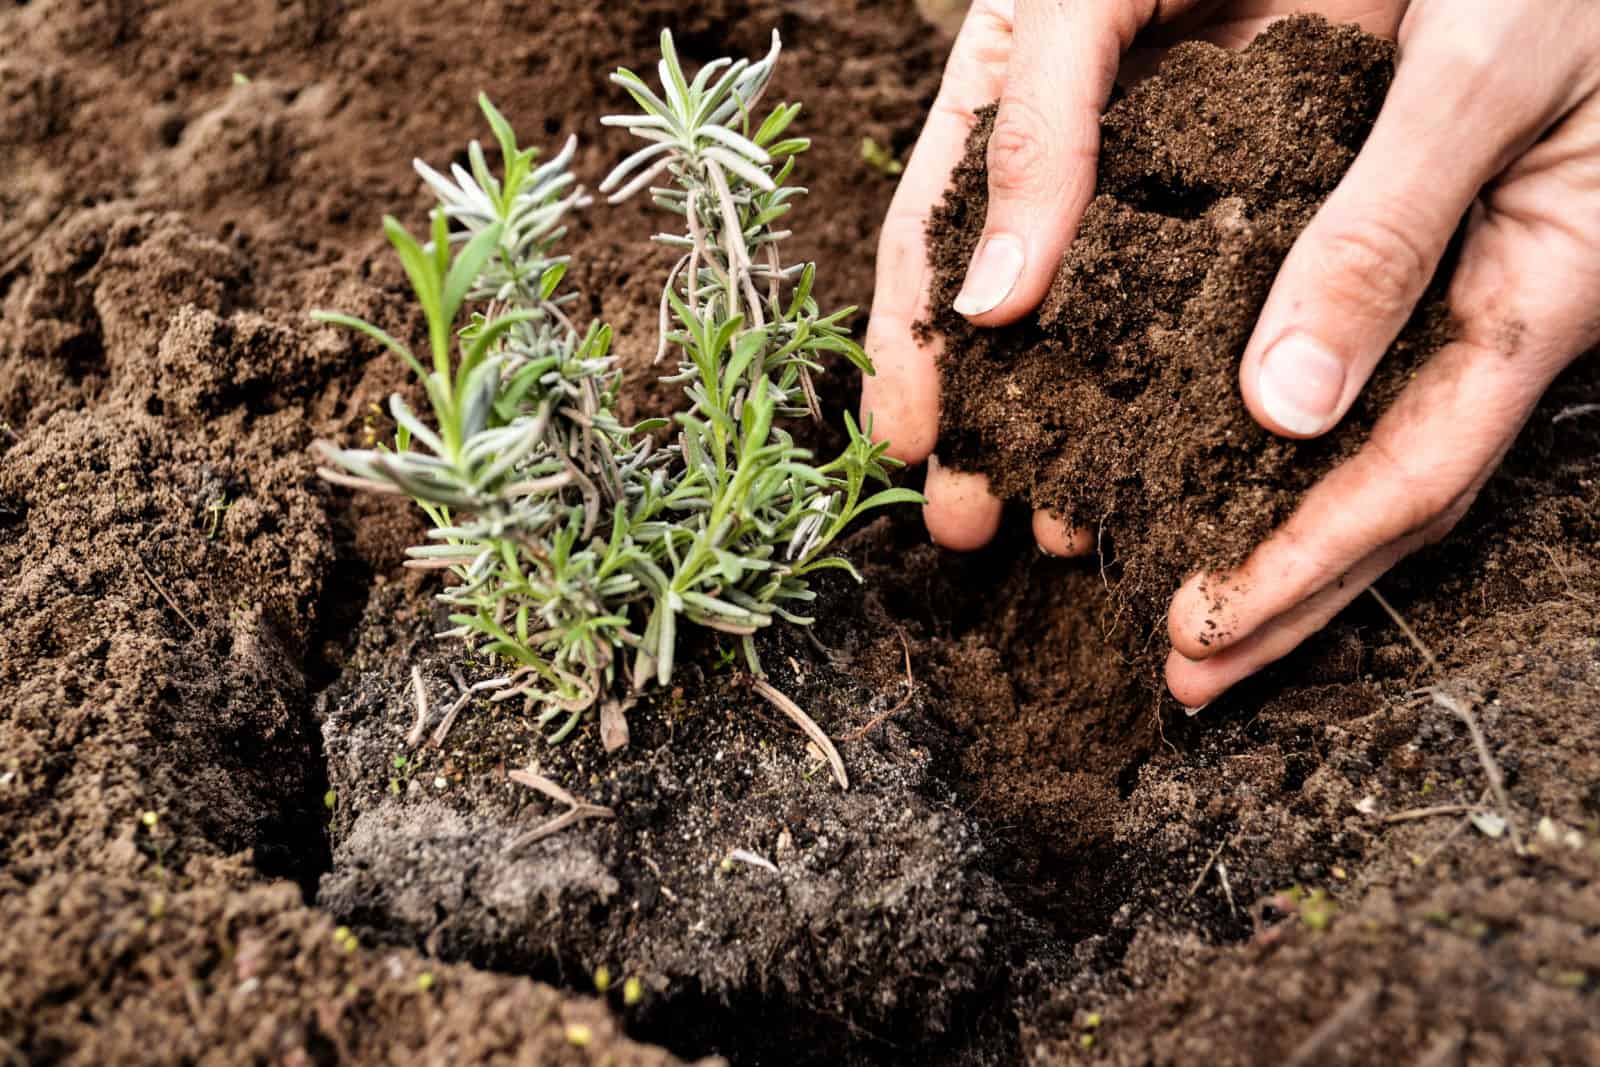
Lift The Lavender
The next step is to take the lavender out of its spot. Since this herb has an extensive root system, you’ll need to use a pitchfork to safely dig out your plant.
Place the tool close to the base of the plant at a 45° angle and stick it into the ground as far as possible.
Use the pitchfork to sense where the roots are, and move it a bit around to get a better sense of the plant’s underground system.
Afterwards, lean on the handle and the plant will come right up. You might need to use your hands to take the entire root system out. In this case, you’ll need to be as gentle as possible so that you don’t damage too many roots.
Remove the weeds around the plant and take it to its new home.
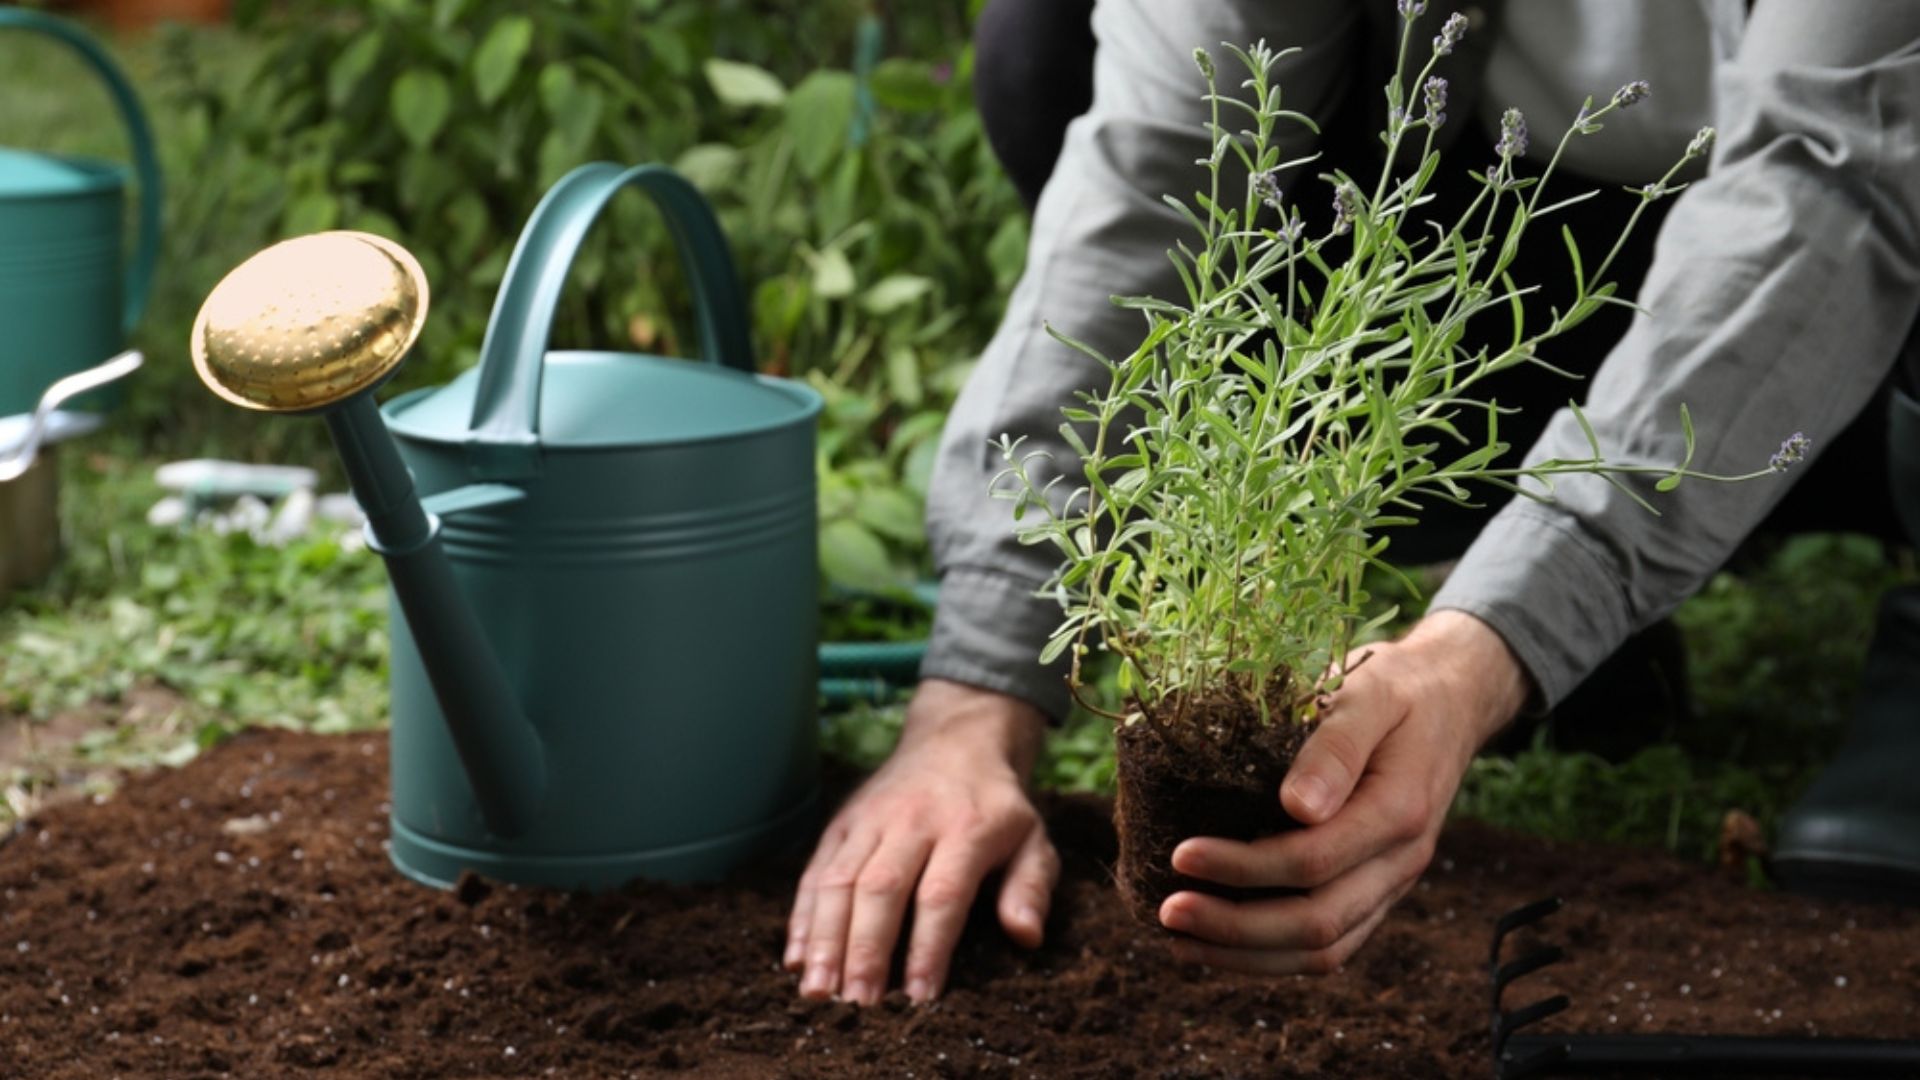
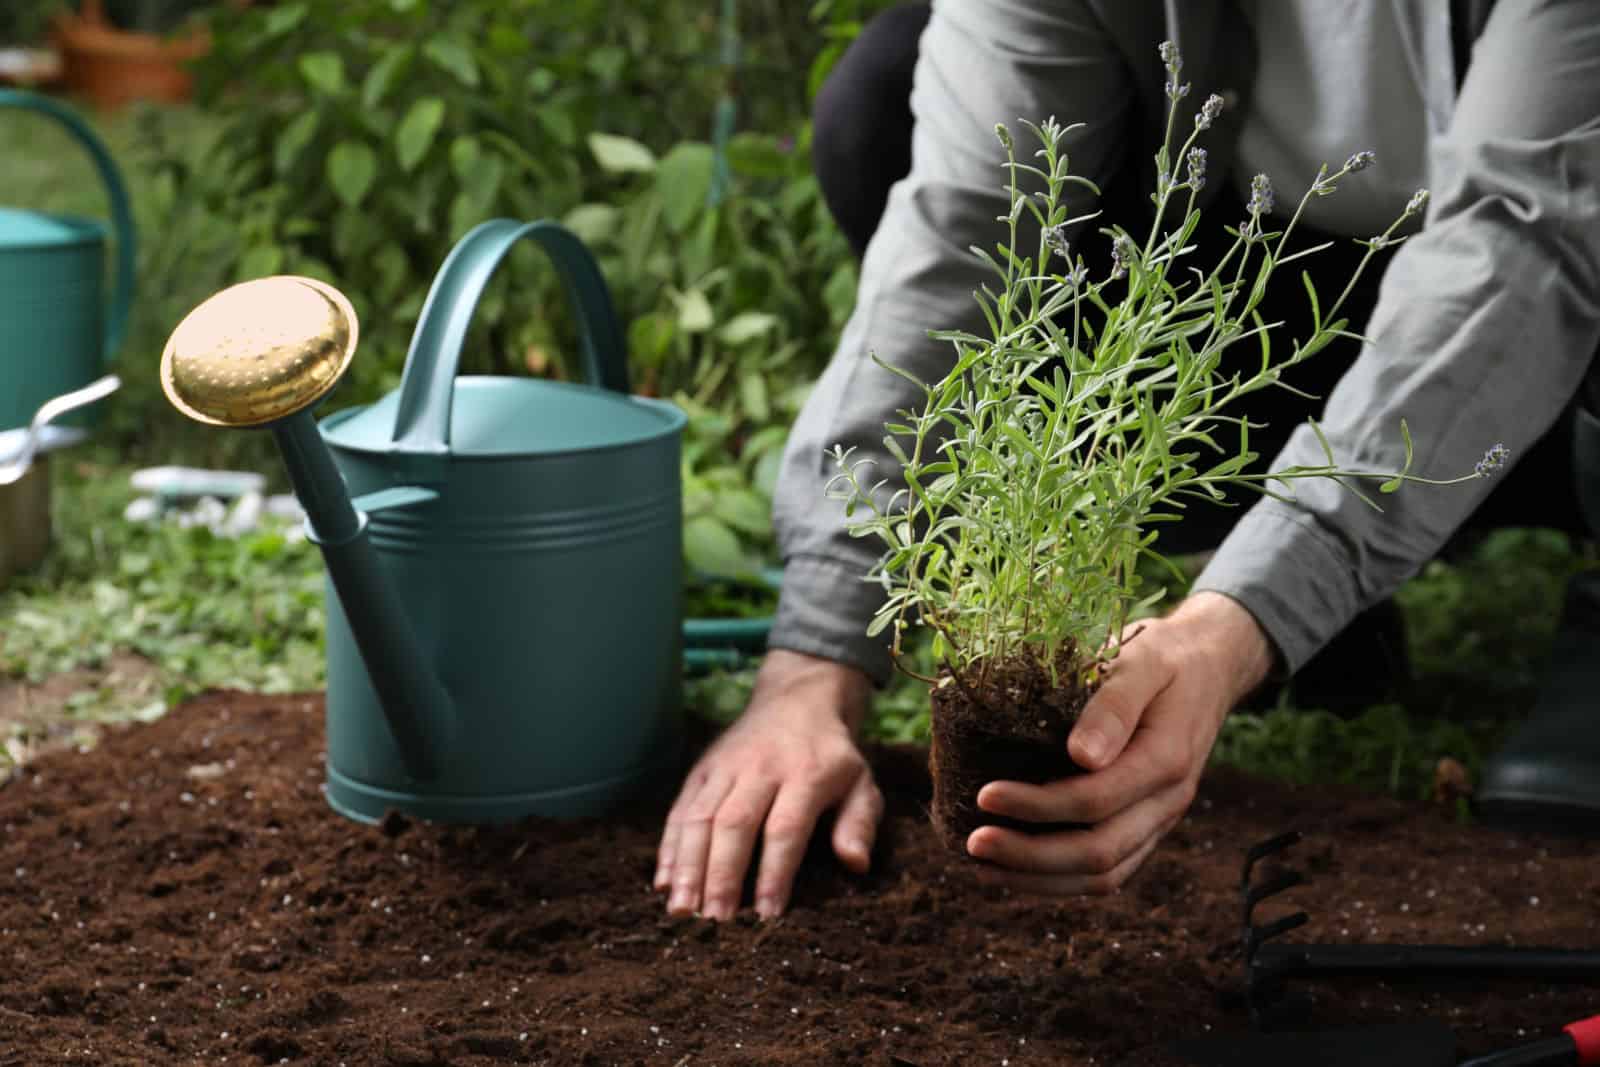
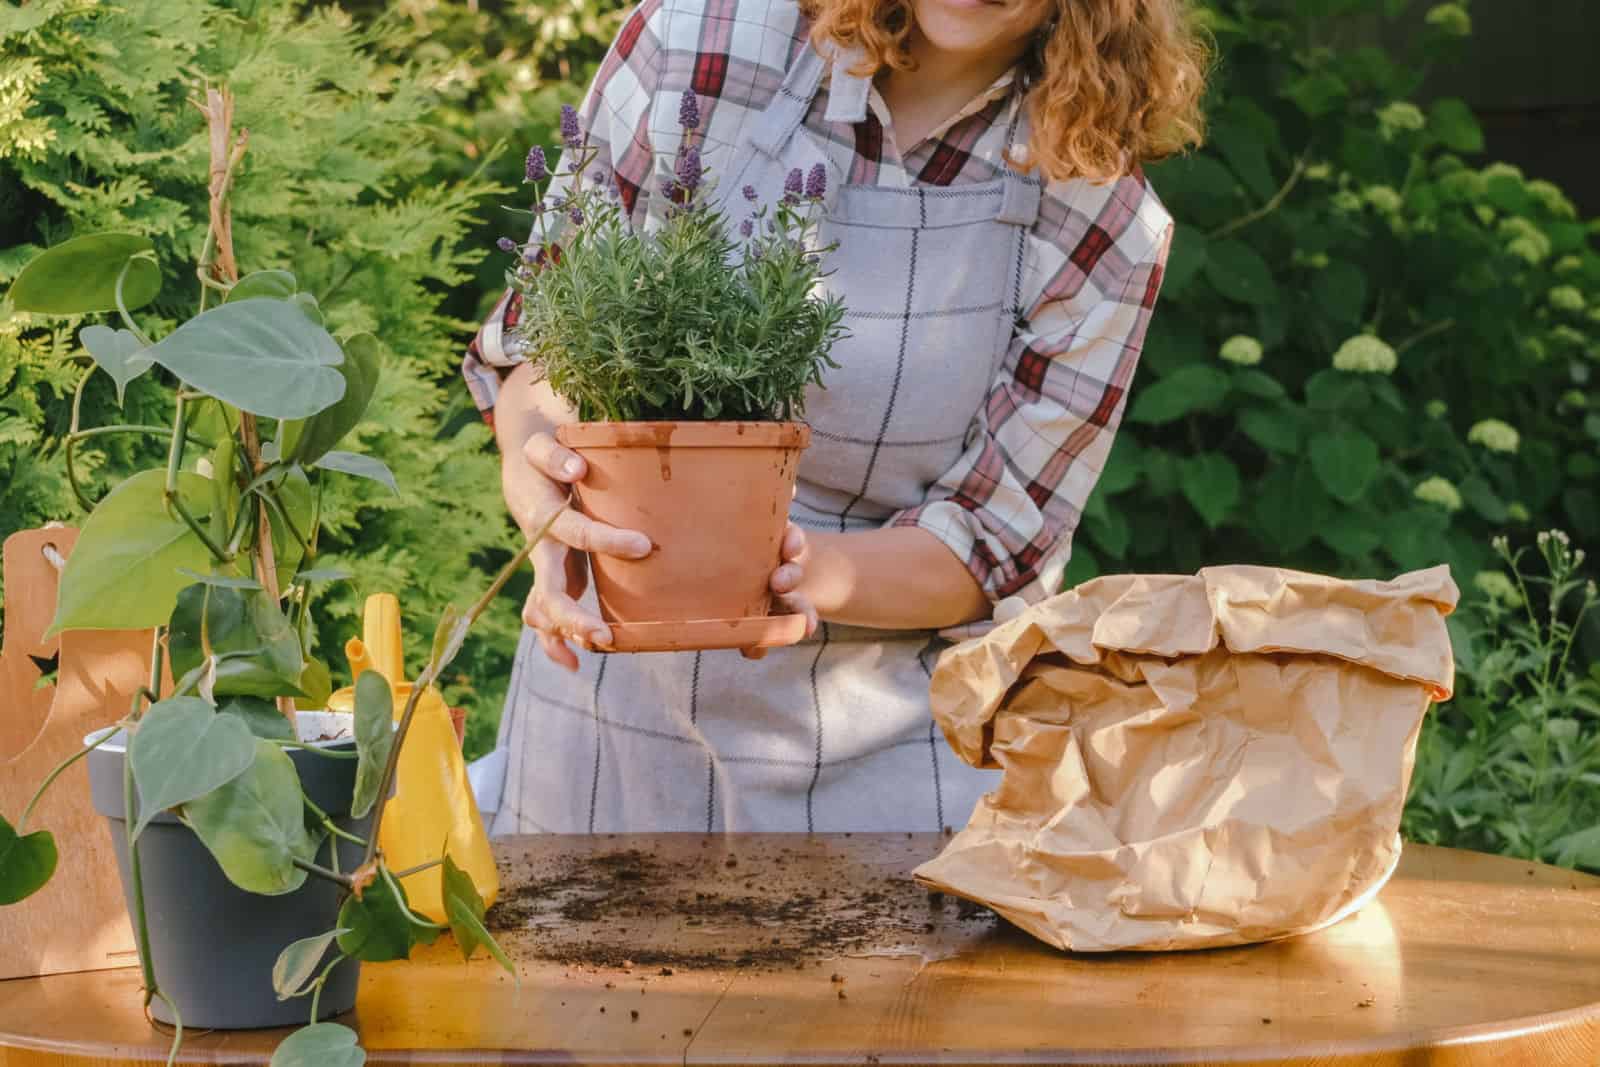
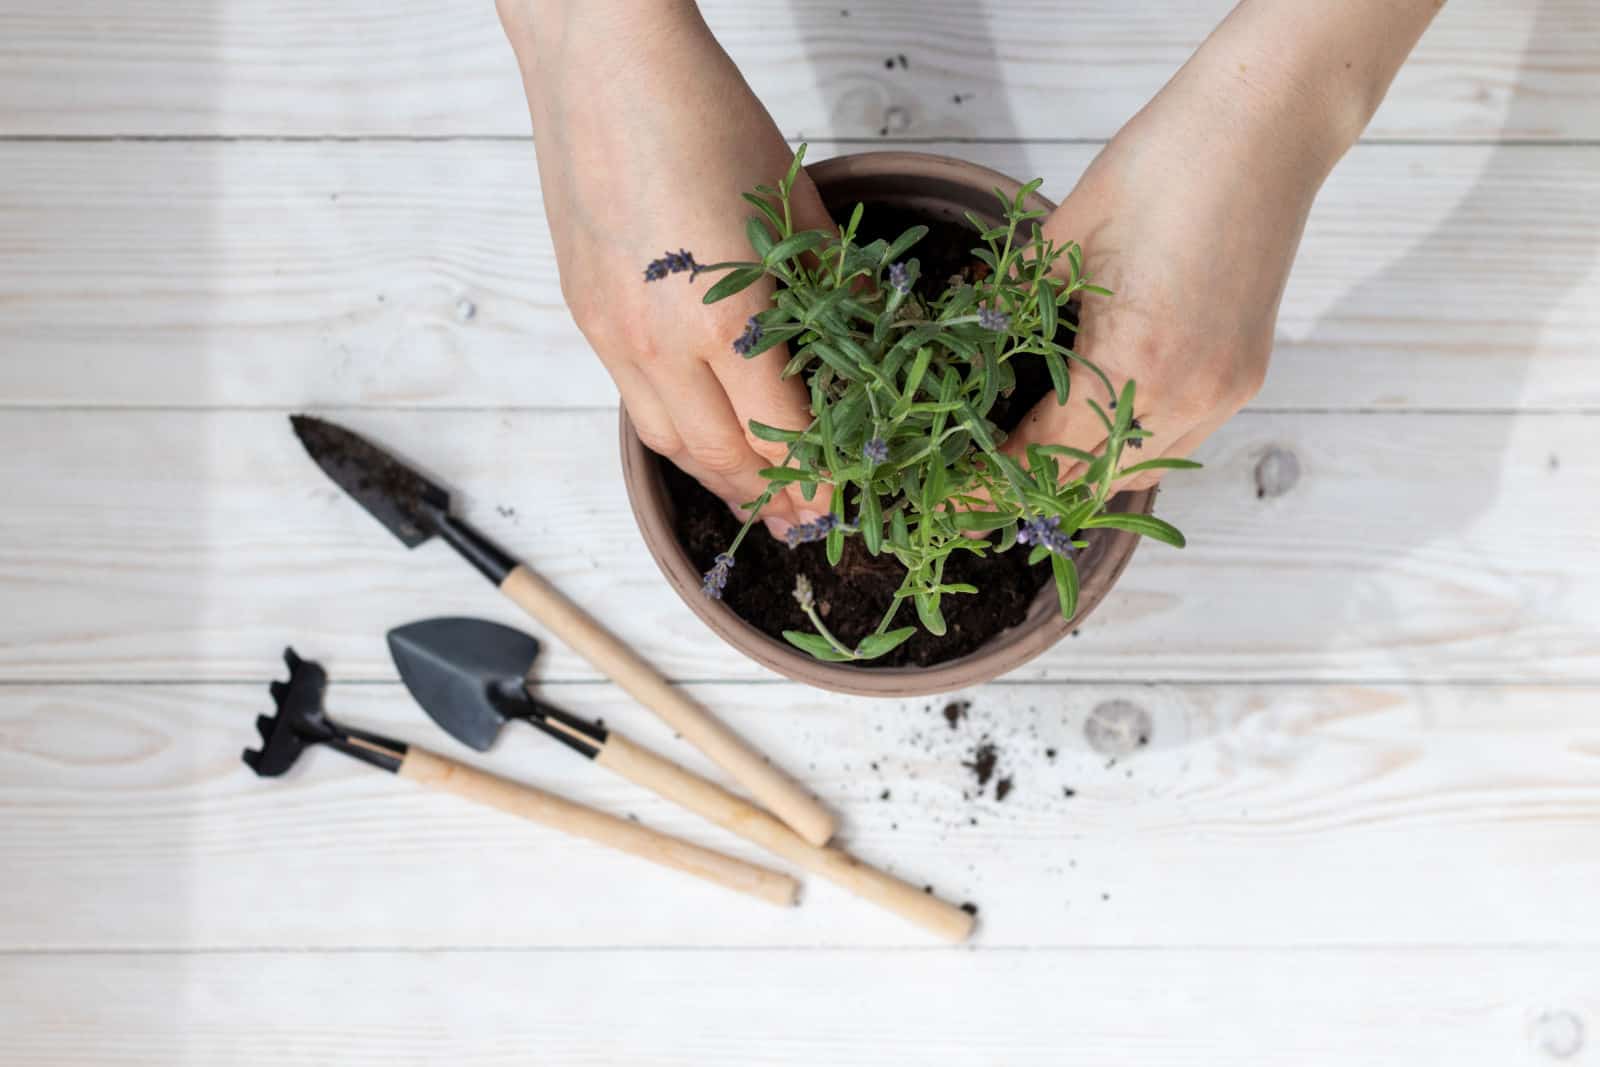
Plant The Lavender
Before planting your lavender, pour water into each hole and wait until it’s all soaked up.
Then, place your herb in the hole and gently start covering the roots with the surrounding soil.
Once you’re done, pat the substrate down around the plant gently, but not so much that you compact it. These plants love to have some room around their root systems so that they can spread more easily.
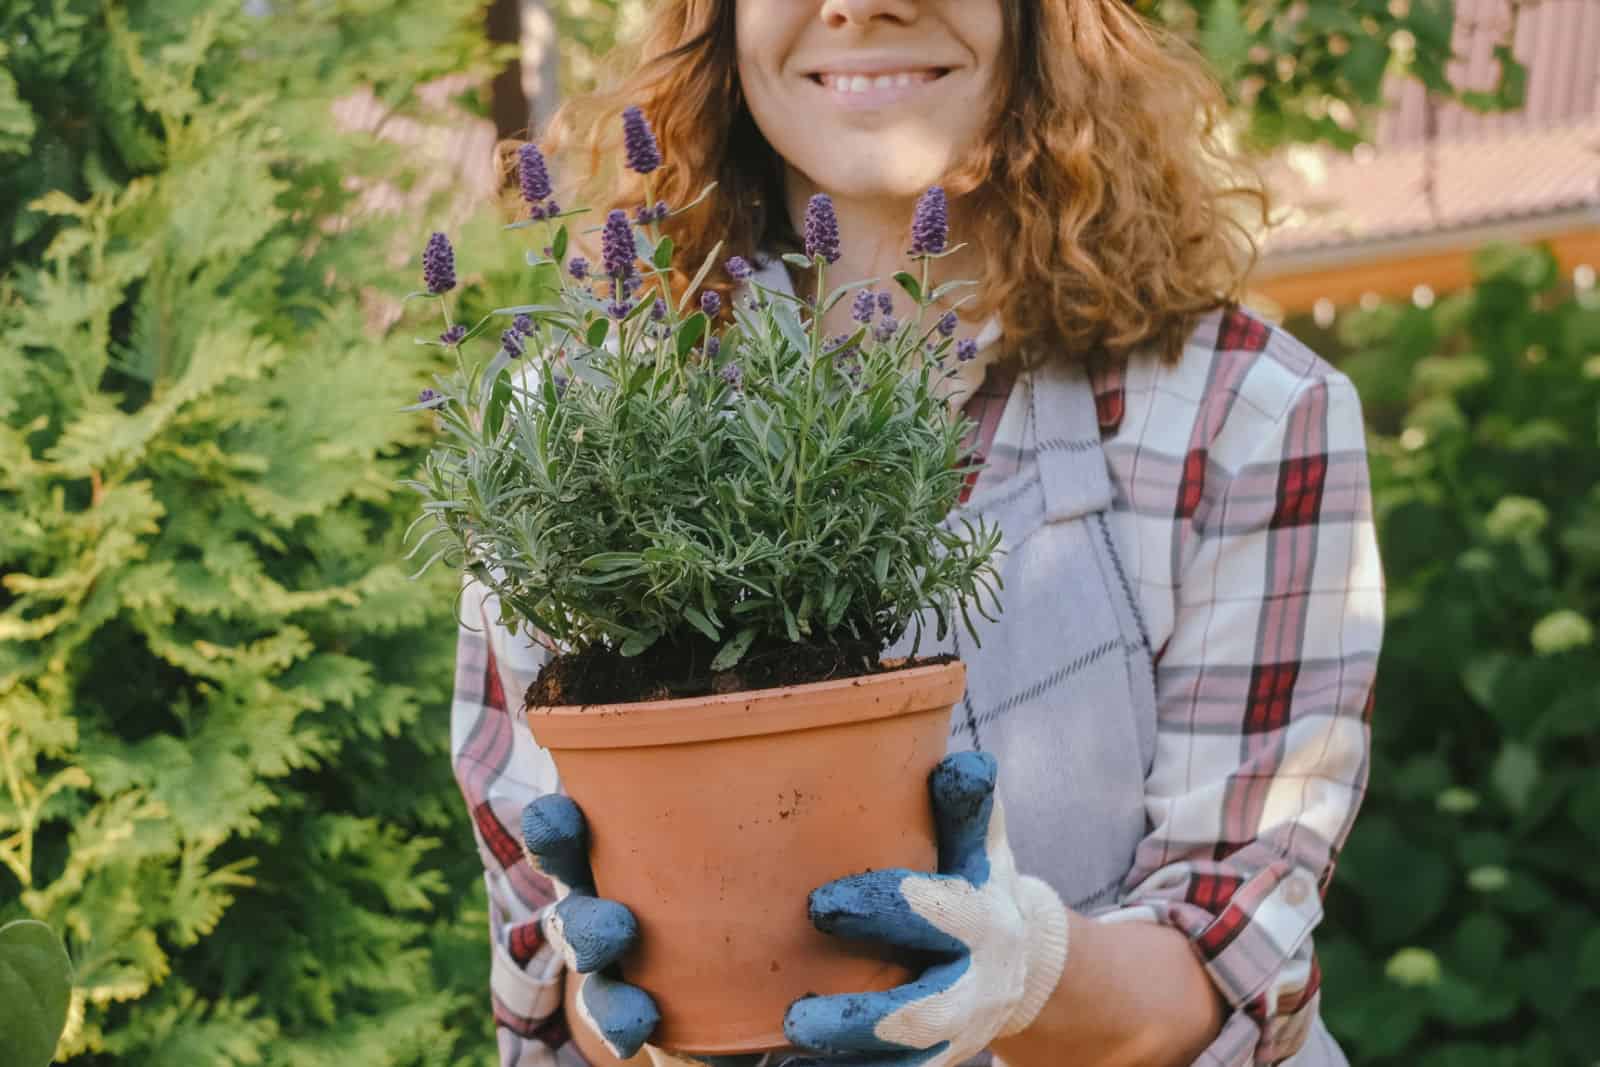
Aftercare
Caring for your French lavender (or any other variety) isn’t that demanding. And if you’ve just moved it, we have a couple of tips that can help your plant get over transplant shock more quickly.
Tip 1. Remove the flower spikes of your plants so that they can direct all their energy into developing strong roots. This will also encourage bushier growth and more blossoms the next season.
Tip 2. Water your lavender plants thoroughly after transplanting and maintain consistent soil moisture for the following month.
(We generally irrigate our lavender once a week for the first month, but it might vary based on your climate. Water this plant once a week until you notice new growth, and then reduce it once the lavender has established.)
Tip 3. Remove the weeds around your lavender regularly so that your plant doesn’t have to forcibly share nutrients and water.
Tip 4. Before winter arrives, mulch the plants, prune the soft and newly appeared growth, reduce watering, and install a windbreak net or something similar to protect your lavender from strong winds and harsh winters.
Can You Divide Lavender And Replant It?
Dividing lavender is one of the best ways to multiply this plant and spread it all over your garden.
However, you can’t separate every plant!
Generally speaking, you can divide lavender if they have two or more separate woody stems. You can see this by looking at its base, and if there seems to be more than one main branch protruding from the soil, you can divide your plant.
All you need to do is take your lavender out of its planter, remove the dirt around its roots, and find the place where the stems go their separate ways.
Then, gently start entangling the roots and pulling the lavender apart. Don’t use too much force; if you can’t divide the roots with your hands, use a sharp knife or pruners to cut them since this will make less damage than if you tear them.
And once you’re left with a couple of separate lavender plants, you can go ahead and plant them in any sunny location you have, water them thoroughly, and enjoy!
What To Avoid When Transplanting Lavender
Moving lavender to a new location isn’t that difficult, although we did mention a couple of steps that can make it easier.
We mentioned how this plant requires water after transplanting and has certain requirements concerning soil moisture, sun exposure, and spacing.
Sometimes, we may forget about these things, so we’re here to remind you what not to do when transplanting lavender.
Wet And Soggy Soil
Newly transplanted lavender plants require plenty of moisture throughout the first month or so after being moved. However, that doesn’t mean that we should irrigate them every day and drown them in water.
Wet and soggy growing medium will soon prove to be damaging for your plant, and you’ll quickly notice symptoms of an overwatered lavender such as leaf discolorations, stunted growth, rotting smell spreading from your plant, etc.
Too much moisture can lead to root rot, which can kill your plant if not caught in time, so try to water your lavender no more than once a week for the first month after transplanting.
Low Spot
If you transplant your lavender in a low spot, meaning you don’t plant it in a raised bed or you simply place it in the ground without building a mound, the plant will most likely get waterlogged, especially if you have heavy garden soil.
Lavender requires ample drainage, and that’s the main reason we build a mound or opt for raised beds. In these settings, the water will drain faster and more efficiently, lowering the risk of overwatering.
Shaded Locations
This fragrant herb is native to the Mediterranean region, so we can make an educated guess and say that it requires plenty of sunlight.
If you plant your lavender in a shady location, it won’t produce many blossoms, its growth will be slow, and it might even get overwatered since moisture cannot evaporate as fast.
Lavender aren’t that massive, but they still require some space to develop properly, especially if you live in a more humid region where spacing can ensure more air circulation.
Small Spacing
The general rule is to plant lavender about 2-3 feet apart, depending on their mature size, since this will allow for optimal air flow.
And if you want to build a lavender hedge, then you can reduce that spacing and plant them about a foot apart.
Sometimes, this natural fence can trap too much humidity, so you should prune these plants regularly, water them more scarcely, and plant them on a mound or in a raised bed.
Final Thoughts
This article included some helpful tips to help you transplant lavender, such as doing it in spring or fall when temperatures aren’t as hot, and in the morning or late afternoon for the same reason.
We also presented some ways you can amend your garden soil and make it more draining, how to dig out lavender and plant it in its new location, and how to care for it afterwards (water it regularly, prune it before winter, remove the weeds, etc.).
We know that beginner gardeners sometimes misunderstand certain things (we know we sure did), so we included a couple of things to avoid when transplanting lavender, such as keeping the medium wet, planting them in low spots, shaded locations, and too close to each other.
We hope this article helped you!
Until next time!