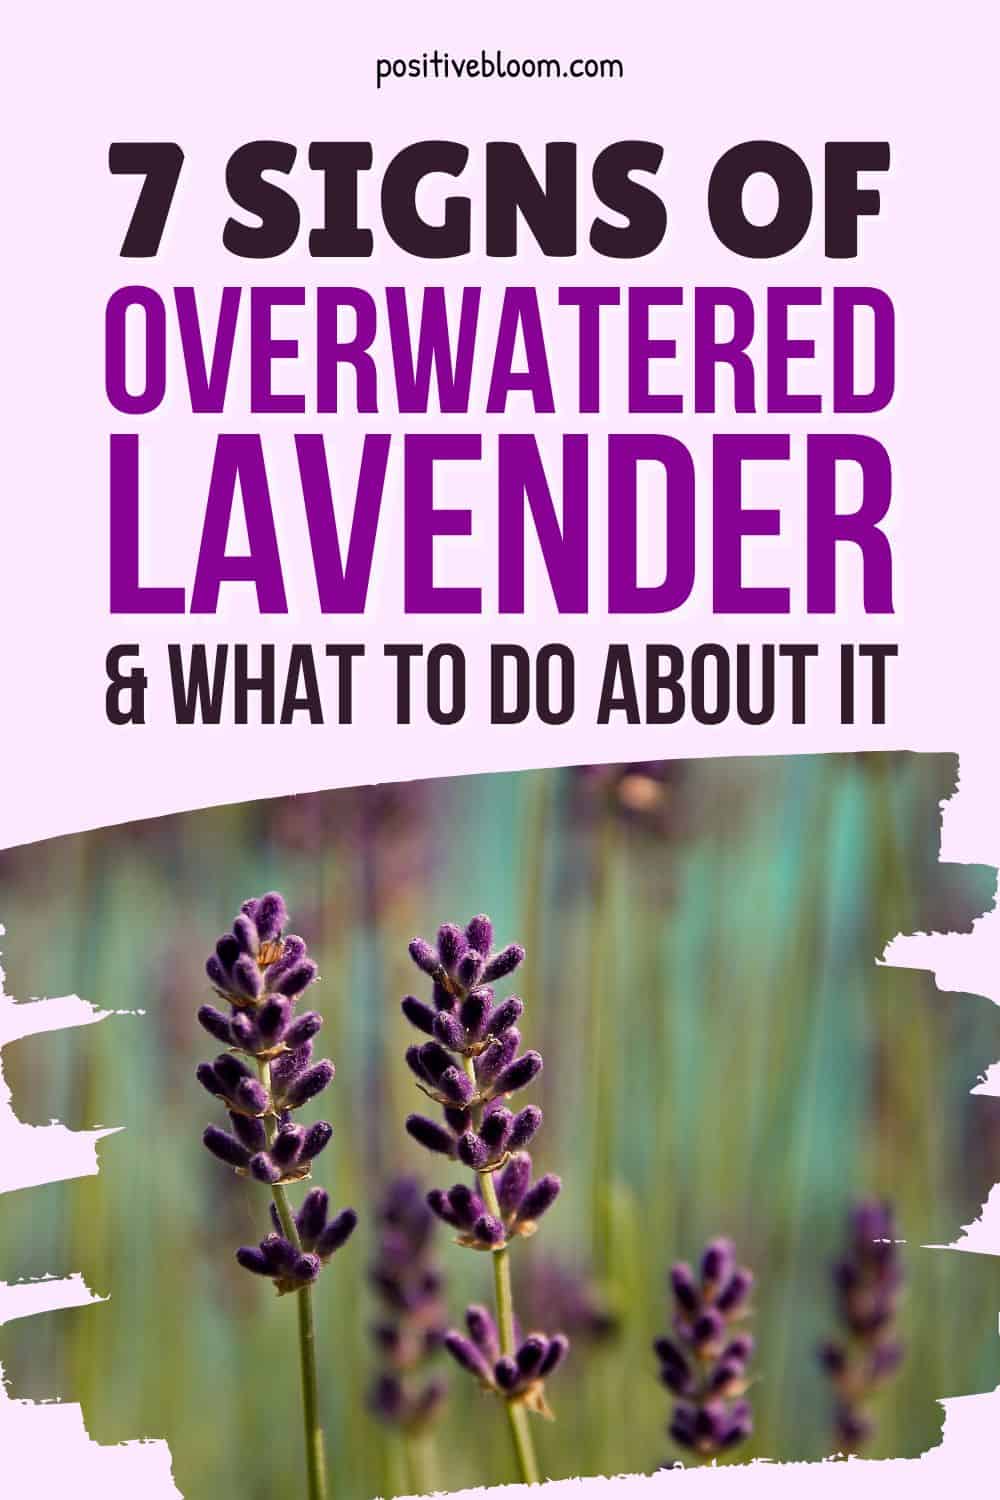
7 Signs Of Overwatered Lavender And What To Do About It
Overwatered lavender is a real disaster, and it happens a lot!
Gardeners often water it more than they should, but if you don’t know whether your lavender is overwatered or underwatered, you should read on to discover everything you need to know and more.
A regular watering schedule and large amounts of water definitely lead to overwatering and many other underlying issues, such as fungal infections and pest infestations.
This article contains seven signs that will help you recognize an overwatered lavender plant so you can save it.
But first, let’s learn more about lavender itself:
[table id=214 /]7 Signs Of An Overwatered Lavender
A great way to learn about this plant and a great companion for it is to research all the differences and similarities between Russian sage and lavender.
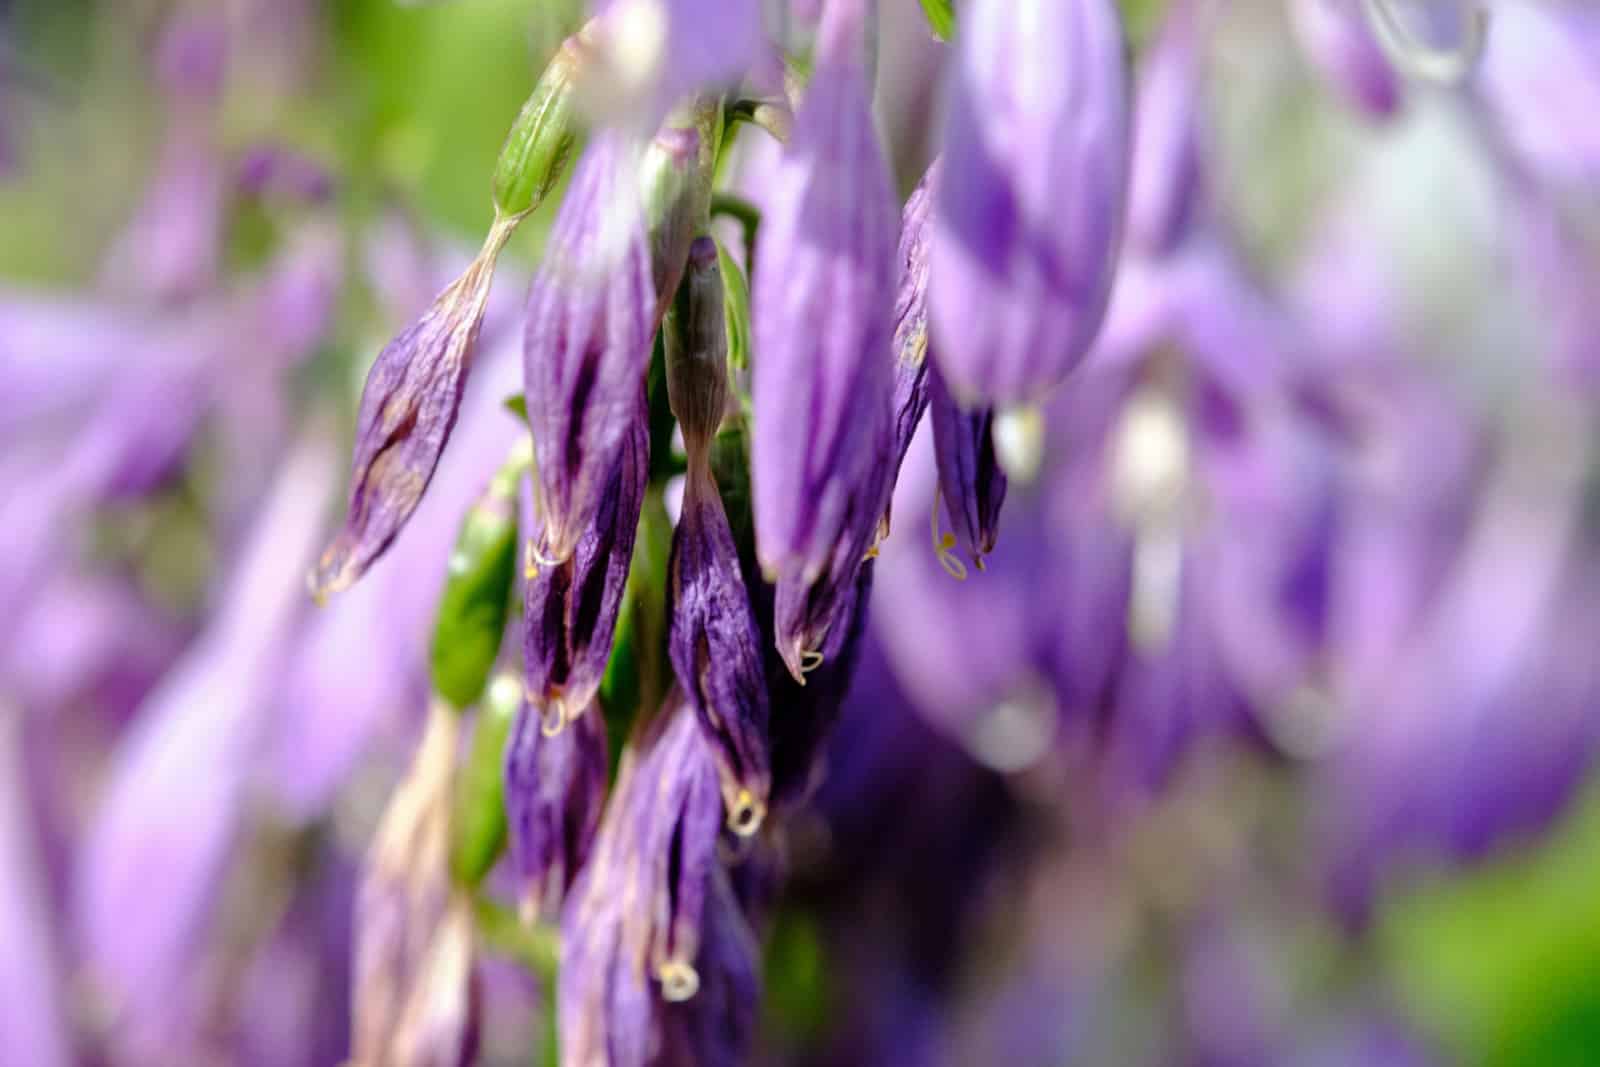
If you decide to get lavender and the plant suddenly starts drooping, turning yellow, etc, it’s safe to conclude that you might be dealing with too much soil moisture.
Overwatering is one of the most common reasons your lavender is dying, so you should avoid it as much as possible.
All of us are beginners once, so we decided to talk about the most common signs of overwatered lavenders to help you recognize and treat them.
Of course, discolored foliage is the number one tell, but there are others like dripping soil, drooping leaves, and stunted growth that also indicate this terrible problem.
We’ll discuss all these issues and more in the sections below.
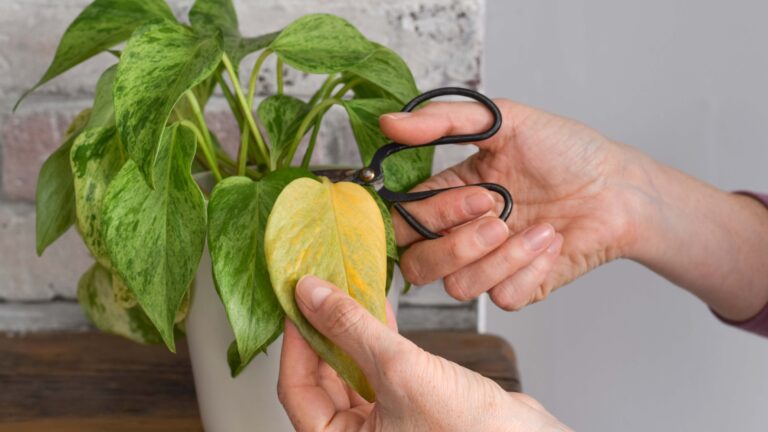
1. Yellow Leaves
Leaves turning yellow is one of the first signs of overwatering, but you should inspect every other possibility before jumping to conclusions. Yellow leaves may also indicate too much sunlight, temperature stress, overfertilization, and nutrient deficiency.
Once you rule all these out, you can start treating your plant for overwatering.
But let’s discuss why leaves turn yellow in the first place.
When plants are overwatered, their overall health and function decreases. There isn’t enough oxygen around the roots so the plant starts suffocating and the entire organism suffers.
Oxygen is pushed towards the parts that need it the most, so the first leaves that start yellowing are the bottom ones. Upper leaves take part in photosynthesis and produce resources the plant needs for healthy growth and development.
Of course, bottom leaves can also photosynthesize, but they don’t get as much sunlight as the outer foliage. Hence, the plant redirects its oxygen supplies to the parts responsible for producing more energy.
If overwatering continues, the entire plant will start to change color to yellow and won’t be able to survive without the food and energy from photosynthesis.
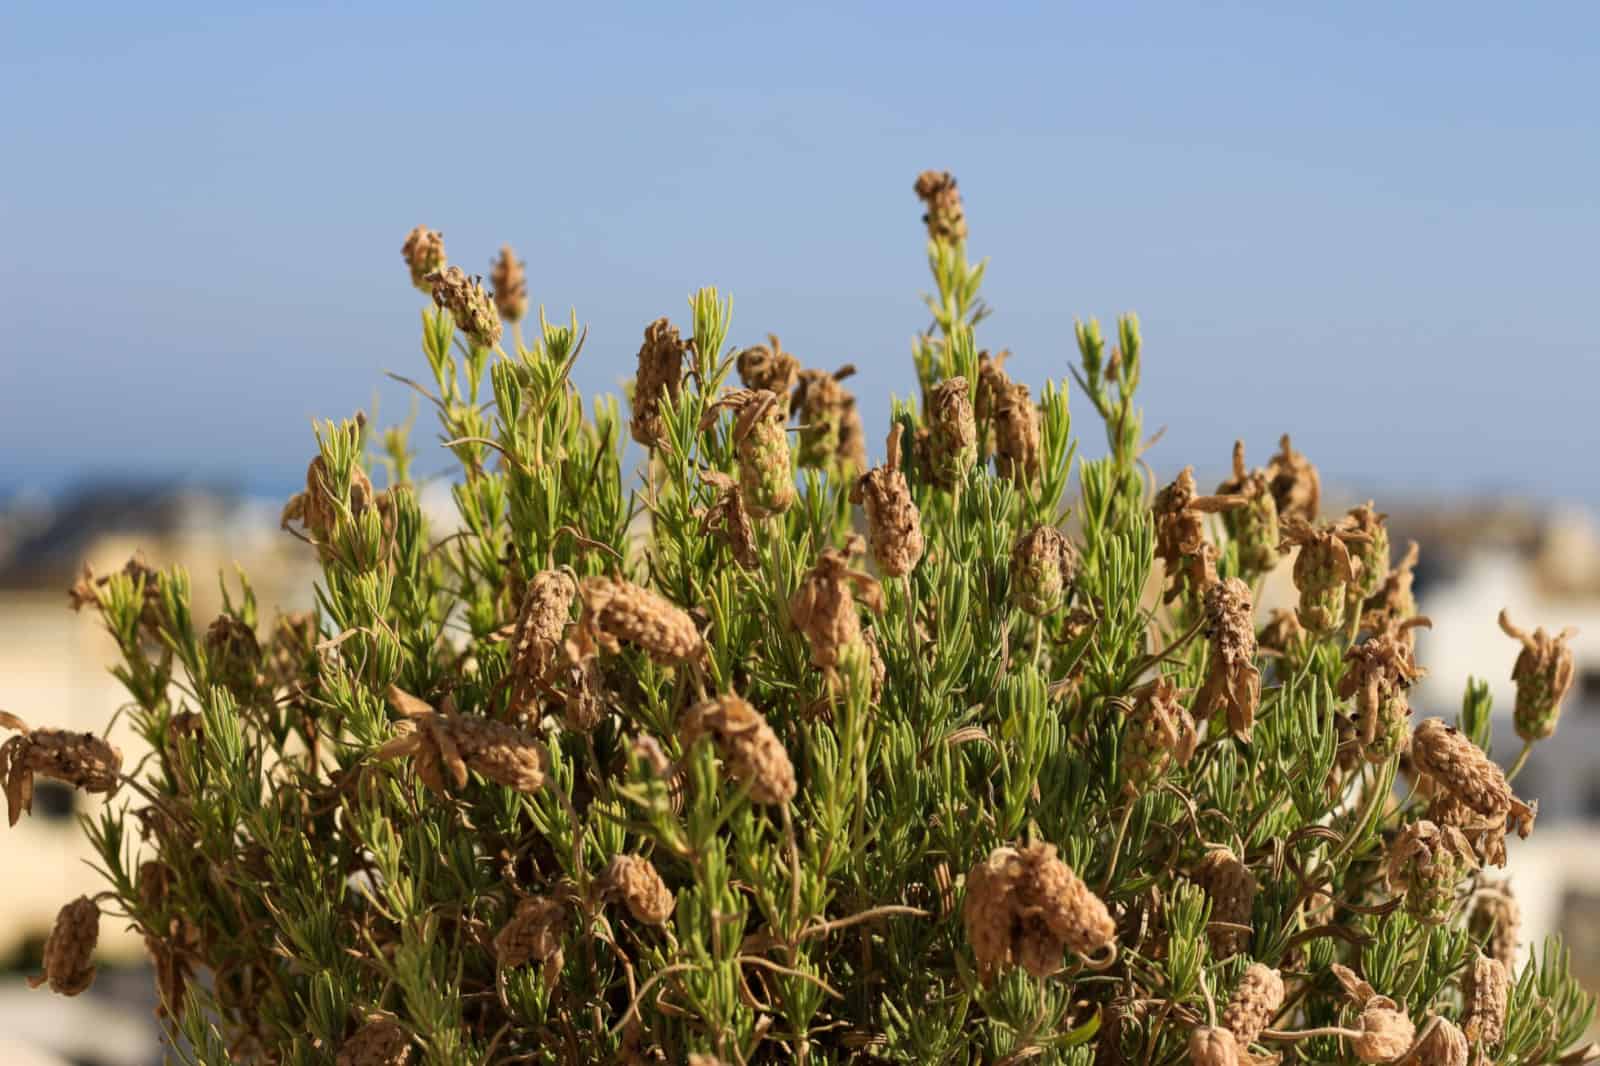
2. Brown Foliage
The leaves of overwatered plants aren’t always yellow – they can turn brown and even exhibit black spots and lesions. Plant cells will become larger and small bulges will appear on stems and foliage because the moisture has nowhere else to go.
This issue is only aggravated by high humidity, so you should keep that in mind when irrigating your lavender.
Brown foliage can also indicate too much sun, while brown spots may be a result of pests. Therefore, you must always make sure to exhaust all other possibilities before treating your plant for a specific issue.
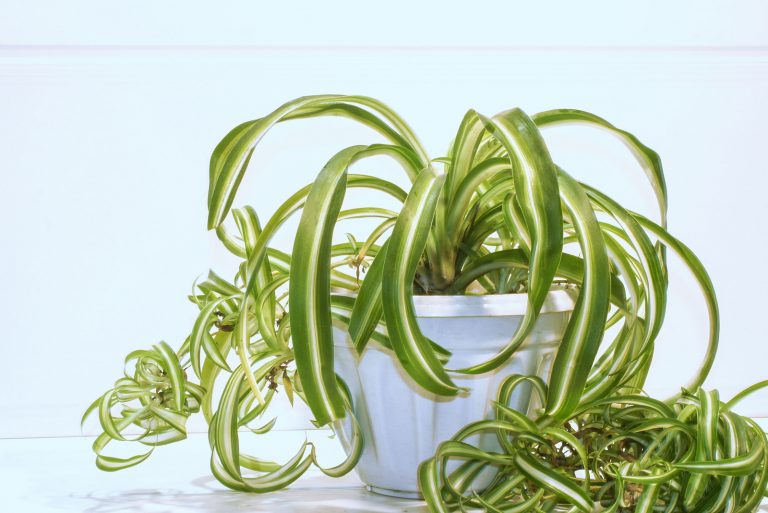
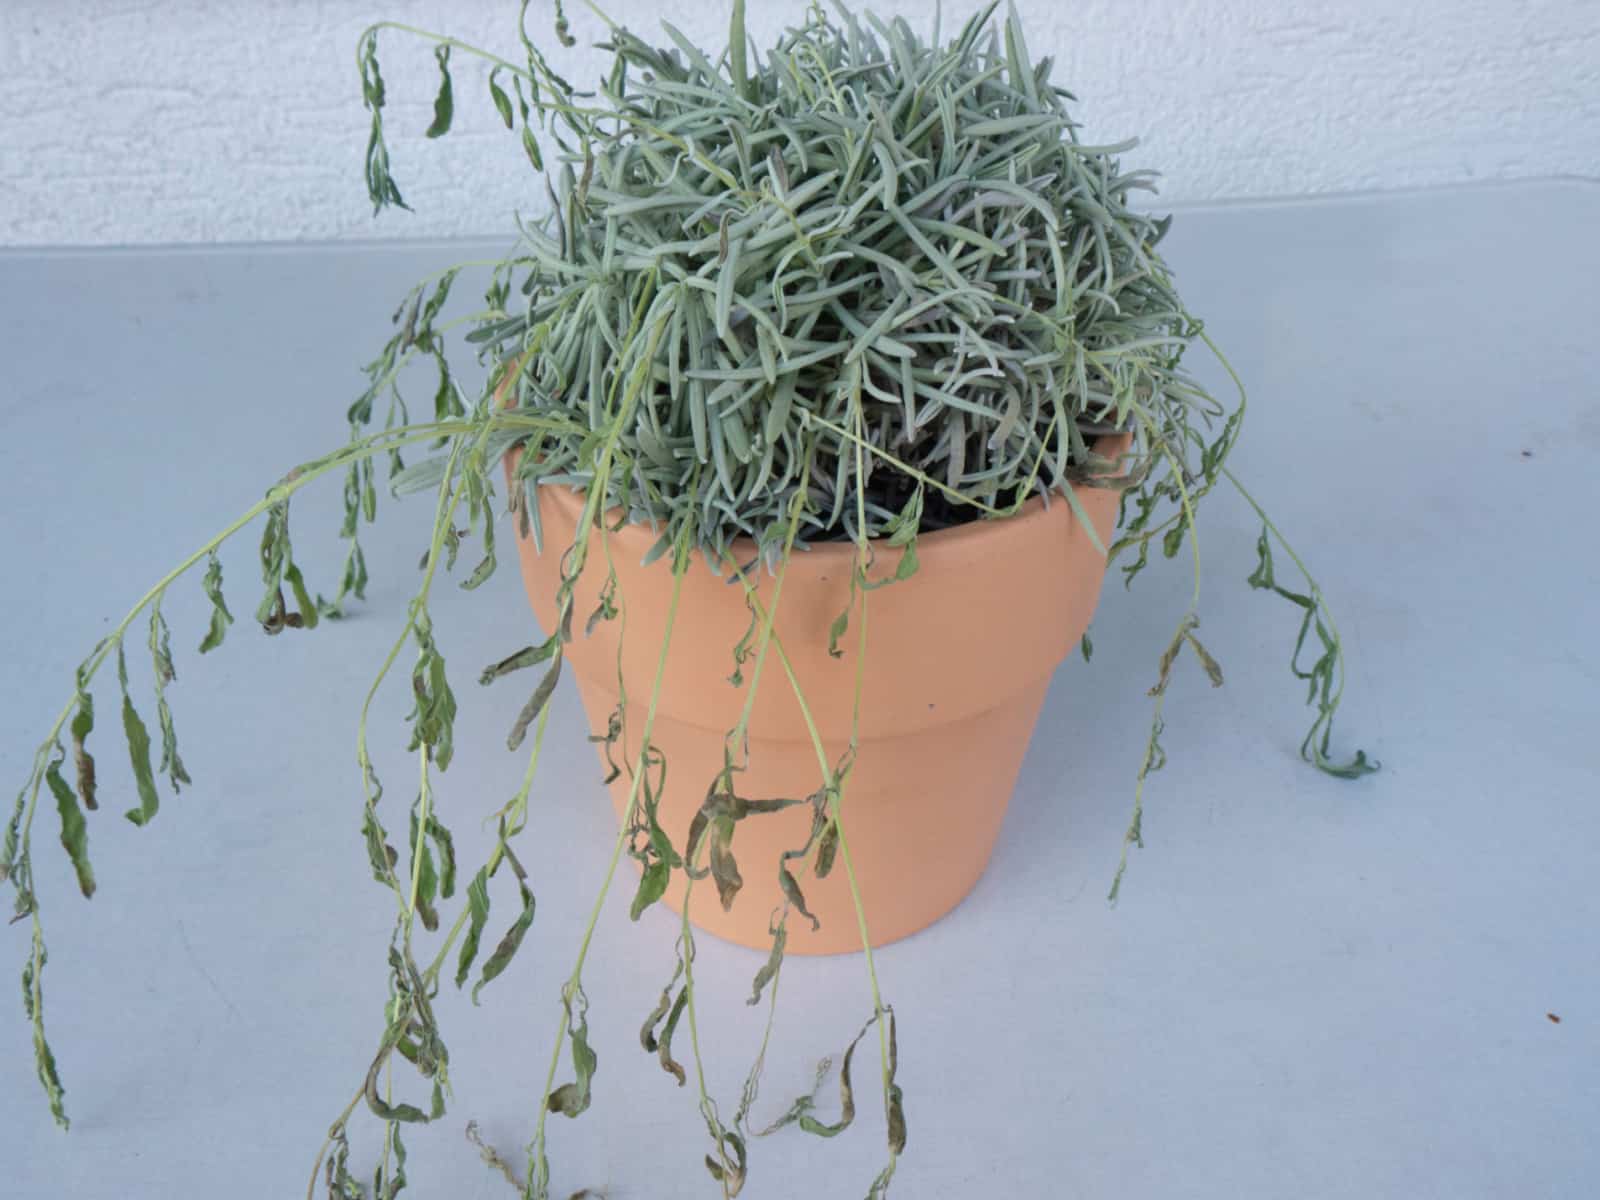
3. Drooping Plant
A wilted and limp plant is yet another sign of too much water around the root system. However, it may also be an indicator of a completely different issue – underwatering, so make sure to check the soil before ceasing irrigation.
Too much light can also lead to drooping plants, which is why you should be 100% certain that your lavender is overwatered and not over exposed to light.
Plants start to droop because they don’t have enough energy to support the upright position. This is due to a lack of the elements the plant needs to photosynthesize.
4. Wet And Moldy Soil
If you’re not sure what ails your plant, you can always check the soil. Dripping, soggy soil is a sure sign that your plant isn’t suffering from a lack of water.
The growing medium may also be covered in a powdery substance. As interesting as it looks, this powder is actually mold caused by fungi that thrive in moist conditions.
Constant watering will only encourage this fungi to grow and spread, so you should strive for somewhat dry soil at all times.
5. Rotting Odor
A rotting odor is the worst possible smell that could come from your lavender, not only because it’s bad in itself, but also because it signifies a terrible disease: root rot.
This disease is the most common outcome of overwatering, and you should do everything in your power to avoid it.
It can easily kill your plant if you don’t catch it early, so make sure to regularly check up on your plants.
6. Stunted Growth
If you notice that your lavender has stopped growing or that its growth rate has slowed down, it may be getting too much water.
Too much water around the roots “pushes the oxygen out” of the soil and deprives your lavender of it.
It takes 2-3 years for lavender to get established if there aren’t any underlying issues, and constant irrigation will only prolong and hinder this process.
You can also investigate the blooming times of different lavender varieties, and if the flowers are late and scarce you should look for the causes.
Lavender only blooms on new growth, and if there aren’t enough new stems there won’t be plenty of flowers.
7. Pest Infestations
A pest infestation is a problem on its own, but weak plants are more likely to get attacked by bugs.
Overwatered lavender plants attract insects, which will nibble on its leaves, drink its sap, and make it even weaker.
Of course, pests don’t only attack diseased or overwatered plants. Monitor your plants constantly, and if you notice any bugs, isolate the diseased lavender from the rest of your green friends and start treating it at once.
You can use either mild pesticides that won’t hurt your plant or even pick the bugs off one by one if the infestation isn’t too serious.
How To Save Overwatered Lavender
An overwatered lavender plant is a common problem gardeners all over the world have to deal with, which is why we decided to teach you some insider tips for saving this plant.
The best way is to try and avoid overwatering in the first place, but if your plant is already in trouble there are a couple of things you can do.
The following section will bring you everything you need to know about growing lavender, from the type of potting soil you should use to the plant variety best for where you live.
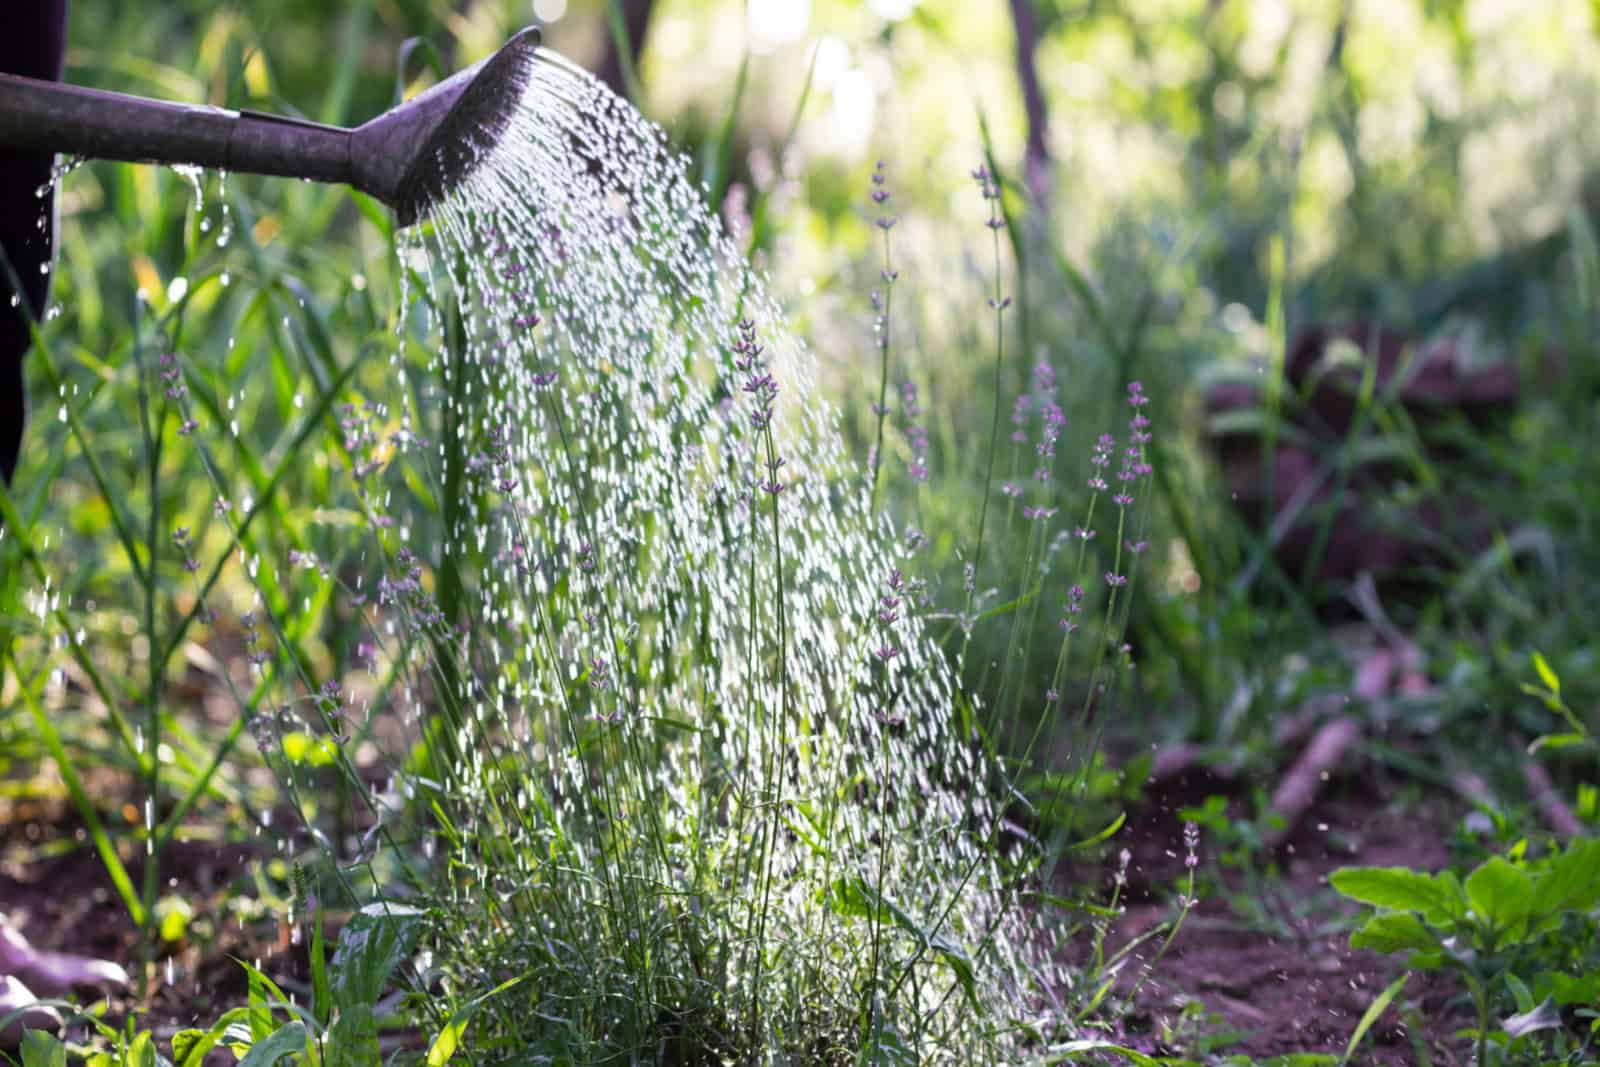
Adjust Watering
The key to healthy lavender is adjusting the amount of water you give it. Lavender is a drought-tolerant plant that doesn’t usually need to be watered more than twice a month.
However, young and recently planted lavender needs a lot more water than established plants (even 3-4 times per week).
The important thing is to learn when to stop, and knowing lavender’s life cycle will help you understand when your lavender needs less water.
Also, not every climate is the same. If you live in a rainy region, you don’t have to worry about watering, drip irrigation systems, and similar things. Nature will do what it does best and your lavender will be fine.
However, the problem arises when you live in tropical and subtropical areas. The only thing that can help you in this scenario is getting the right variety for your climate, and we’ll discuss that further in the final section.
Always water lavender at the base of the plant to avoid wetting the leaves and fungal disease.
Check the top few inches of the soil before watering; this technique can save you a lot of trouble and keep your lavender healthy. Plants that get plenty of sunlight and grow in higher temperatures will need more water. Water your lavender more frequently in summer than in winter because they use more water during the growing season.
Choose The Right Soil
Choosing the right growing medium is critical for proper lavender growth. This shrub thrives in slightly alkaline soils with pH between 7.0-8.0. Although some varieties can tolerate more acidic soils, you still shouldn’t go lower than 6.5.
Poor soils aren’t too terrible when planting lavenders as this subshrub is native to the Mediterranean region, and it’s used to rocky terrains with low nutrient and organic content.
In fact, lavender cannot survive in fertile substrates, and you’ll notice your plant dying, drooping, and simply being unhappy if you plant them in it.
Therefore, you shouldn’t amend the medium with compost as it can do more harm than good.
One of the things I like about lavender is that it can thrive in many different types of soil – you just have to adjust watering. Therefore, if you plant this shrub in clay soil you should water it less often as this soil type retains more moisture.
On the other hand, sandy soils are a bit more acidic, and if your lavender variety doesn’t tolerate acidic growing substrate you should add some lime to balance the soil pH. If you don’t know the pH value of your soil, you can always get a soil test on Amazon and find out.
How To Prepare Soil For Lavender
If you want to grow lavender in containers, you can always use soil mixes for succulents as they have good drainage and will prevent water clogging.
You can even make your own potting mix by adding perlite or vermiculite to potting soil. Always choose an organic blend, ideally one that already has some materials that increase drainage. In that case, simply add two parts soil to one part vermiculite and watch your lavender thrive!
Here is an excellent recipe for making lavender growing medium:
If you prefer growing these plants outside, you can always grow them in raised beds. You should still try to plant lavenders in mediums with good drainage, so you can add sand to your garden soil to improve aeration and drainage.
If the soil is heavy clay, add at least 9 inches of sand and mix it all together!
Finally, you should mulch your lavender with small rocks, gravel, or even oyster shells to protect them from harsh winters and sweltering summers.
Repot The Plant
If you notice any signs of overwatering in your potted lavender, you should stop watering them and repot them at once.
The first requirement is a pot with drainage holes to allow the excess water to seep through and not drown your plant.
Another requirement is well-draining soil; heavy soils make it difficult for the water to drain, so plant this shrub in a loose substrate to ensure it doesn’t get flooded.
Repotting should always be done during the growing season, preferably in the early spring, whether you’re transplanting new plants or repotting old ones. Lavender actively grows during spring and summer. Therefore, you should transplant your lavender during that period when it can adapt more quickly to the change of environment.
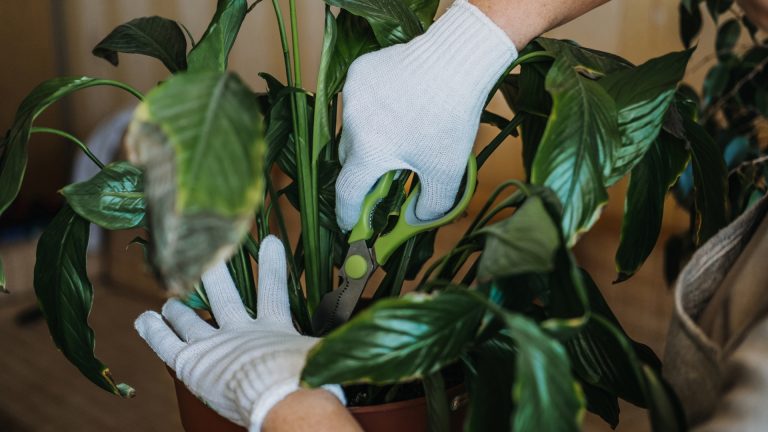
Prune The Rotten Roots
Pay attention to the plants’ roots when repotting them because they can be affected by root rot. You can easily recognize this disease by brown, dark, or even black roots, which are frequently mushy and soggy.
The key is to prune all the diseased parts and repot your plant into a new container with a fresh, quick-draining medium.
You don’t necessarily have to check the roots only when you’re repotting. If you notice that the soil is wet, that your plant has stopped growing, or that its leaves have changed color, you should inspect the roots immediately before the disease gets more advanced and kills your lavender.
You should also treat the roots with a fungicide because there could be some fungi left.
Provide Enough Sunlight
Lavender needs full sun to prosper, so you should always place it somewhere it can get at least 6-8 hours of sunlight each day.
Light will keep them healthy and allow the water to evaporate faster, which is a great way to battle overwatering.
If you live in a north-facing flat and you simply have no other way of providing light for this shrub, or you’re afraid to expose your lavender to the harsh midday sun, you can always use grow lights for plants as a supplement.
Just make sure to space them appropriately because artificial lights can burn your plants if you’re not careful.
Of course, if you expose lavender to plenty of sun and high temperatures it might need a bit more water, so adjust accordingly.
You shouldn’t choose just one tip, but combine them both, and if you have an overwatered lavender stop watering at once, expose it to enough sunlight, and even repot it if you have the chance.
Once the soil dries out, you should start watering your plant again (unless you grow them outside in a region with plenty of rain) with an appropriate amount of water.
Plant A Suitable Variety
The last thing that may save this purple shrub is choosing a suitable variety for your climate. We may feel inclined to grow English lavender because it’s simply stunning, especially its cultivars Hidcote and Munstead, which are also quite hardy.
However, this variety isn’t suitable for every region, and if you’re trying to grow lavender in Florida or some other place with hot and humid summers, you should choose varieties that have adapted to such conditions.
For instance, French lavender and cultivars of lavandin are ideal for the American south as they can adapt to high temperatures and humidity.
On the other hand, English lavender is perfect for the northern states as it is cold-hardy and can withstand quite low temperatures.
Spanish lavender prefers warm and dry climates, and there are cultivars that can withstand even Floridian humidity.
You just have to choose the right one for your region.
How To Water Lavender
There are two ways of watering lavender: bottom watering and watering over the soil.
Each of these techniques has its perks, and we’ll examine them more closely in the following section.
Bottom Watering
Bottom watering is simple, so you don’t have to worry about it taking too much of your time.
Simply fill a tray with water and place the potted plant on it. The container needs to have drainage holes for this method so the soil can soak up the water.
Leave the plant on the tray for at least ten minutes and then check the soil; if it’s mostly moist you can remove the excess water from the tray, but if not you should wait another ten minutes or so and then come back to recheck the medium.
Water Over The Soil
You’re already familiar with this method, but it doesn’t hurt to brush up.
Simply pour the water at the base of the plant, making sure not to wet the leaves. Don’t be stingy with the water.
Even though lavender is a drought-tolerant plant, it still needs moisture, so continue pouring water until you notice that it has started draining through the potholes.
Remove the water from the tray to avoid drowning your lavender.
Q&A Corner

We have discussed the main signs and solutions to overwatered lavenders, but there are still some questions about these fragrant plants that still need to be answered.
We chose a couple of your most frequently asked questions about certain issues that may befall this plant, so you can stop worrying whether you’ll have enough flowers for homemade lavender essential oil!.
How do you revive dying lavender?
The first thing you need to do is figure out what’s causing the problem – whether it’s overwatering or underwatering, too much or too little sunlight, overfertilization or nutrient deficiency, temperature stress, or high humidity.
Once you have diagnosed the issue, you can start treating it. You already learned some great ways to revive an overwatered lavender plant in this article, so we don’t need to discuss that further.
Underwatered lavender is easily fixed; simply water the plant, and that’s it.
If the plant gets too much or too little sunlight, just move it to a more suitable location.
If overfertilization is the issue you should stop adding more plant food, repot the plant, or flush the soil so that salt build-up and excess can drain through the potholes.
For nutrient deficiency, simply add some general-purpose fertilizer in spring (and fall if you need), and you’re done.
You can deal with high humidity by pruning the lavender and shaping it into a dome, which improves airflow and air circulation. You can also achieve this by spacing plants at least three feet apart.
Finally, if high temperatures are the cause of your dying plant, you can either mulch the plant or shelter it so that it isn’t exposed to direct sunlight at midday.
Why is my lavender limp?
Various things can lead to limp plants, but it likely all boils down to root damage.
The most common causes of severe root damage are overwatering and underwatering, so make sure to adjust your watering technique if you want healthy and upright plants.
Final Word

We have learned the most common signs of overwatered lavender and what to do about them.
The critical thing is not to get yourself in that situation in the first place, so make sure you water this shrub only when the topsoil has been dry for a few days.
However, if you notice any of the signs above and it turns out that your plant is overwatered, there are a couple of things to help you and your plant get through it.
The first thing is to adjust the watering – that is to stop watering it so much. You can also repot your lavender. If it’s been infected with root rot you should remove the diseased parts.
It is essential to plant lavender in the right spot and in the right type of soil, so make sure you find it somewhere with plenty of light and make it a well-draining medium.
We also included a short guide for watering lavender so that you never have to deal with this issue again.
Good luck and until next time!
Like this post? Share or pin it for later!