Turn One Arborvitae Into A Whole New York Hedge With These Easy Cutting Tricks
In 1536, Jacques Cartier’s sailors reportedly recovered from scurvy after sipping tea brewed from a native northern evergreen. Not long afterward, the tree reached France, where Europeans gave it a lovely nickname: the tree of life.
The same species still grows wild across New York, often hugging limestone cliffs and soggy swamp edges. Better yet, a single healthy shrub holds enough fresh branch tips to start dozens of brand-new plants.
I have to admit, I paid full nursery prices for many years before learning this frugal little secret. You need little more than clean pruners and a willingness to wait through the colder winter months.
What surprises me most is how ordinary snippets quietly turn into a privacy screen for your yard. So which simple cutting tricks actually work, and which ones just waste your time and your branches?
1. Late Fall Arborvitae Cuttings Root Through The Winter
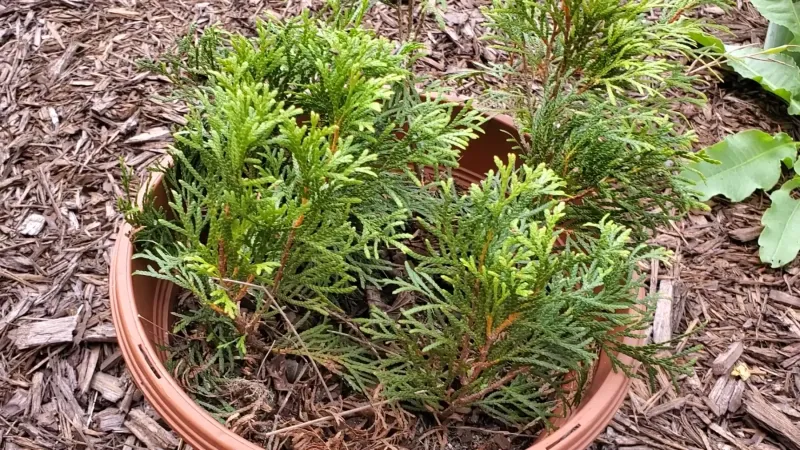
Cold, gray November mornings turn out to be a fantastic time for snipping arborvitae, which still surprises plenty of gardeners. Woody evergreens like this one firm up their stems in late fall, and those sturdy stems root surprisingly well.
Many nursery growers take hardwood cuttings from November through February, when the plant has slowed down for the season. I love how the cool weather does half the work, since cuttings lose far less moisture than in summer.
Across New York, that window lines up nicely with the quiet stretch after leaves drop and before deep snow arrives. Your cuttings can sit in a cool garage or cold frame, slowly building roots while you sip cocoa indoors.
Summer offers a second chance for anyone who misses the winter window, though it demands a bit more attention. Semi-hardwood cuttings taken in late July or August root faster but need steady misting to stay fresh.
Personally, I prefer the winter route because it forgives the occasional forgotten watering much better than summer heat does. Busy schedules rarely leave room for misting twice a day, and slow winter rooting fits a relaxed gardening style.
Spring growth, on the other hand, tends to be soft and floppy, so it wilts quickly once you cut it. Waiting for stems to firm up gives each cutting enough stored energy to survive the long rooting stretch ahead.
Mark your calendar for a mild, dry afternoon, since frozen branches can crack instead of snipping cleanly. A quick check of the weekly forecast helps you pick a day when the shrub feels flexible and calm.
2. Snip Arborvitae Tips From The Sunny Outer Branches
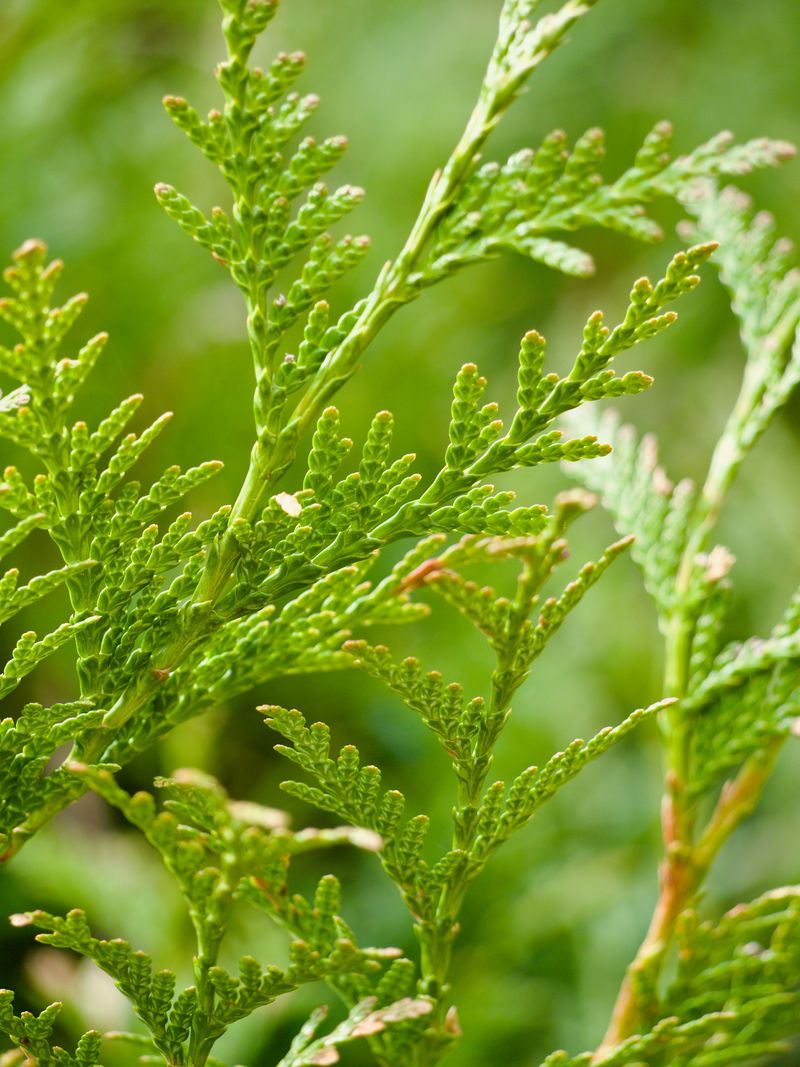
Sunlit outer branches on your arborvitae act like the shrub’s personal power station, packed with fresh growth and stored energy. Those bright green tips make far better cuttings than the shaded, scrawny twigs hiding deep inside the plant.
Look for shoots from this year’s growth, roughly four to six inches long, with healthy scales and no browning. I like to run my hand along a branch first, feeling for stems that bend slightly without snapping.
Healthy parents produce healthy babies, so skip any shrub showing heavy bagworm damage, spider mites, or patchy brown foliage. A stressed plant puts its energy into recovery, leaving little extra for the cuttings you hope to root.
Clean pruners matter more than most people expect, because dirty blades can spread fungal problems from one plant to another. A quick wipe with rubbing alcohol between shrubs keeps your tools tidy and your future hedge much healthier.
You might notice that some upright branches look stiff, while side branches spread out more loosely and flatly. Many propagators favor upright leaders, since they tend to grow into plants with a nicer vertical shape later.
Gather a few extra cuttings beyond what you need, since not every single one will root successfully. I usually take about twice as many as my planned hedge, and any extras make thoughtful gifts for friends.
Tuck fresh cuttings into a damp paper towel inside a plastic bag right away to keep them crisp. Cool shade during the trip indoors prevents wilting, especially on breezy afternoons when moisture escapes from the scales quickly.
3. Pull Off A Heel Of Older Bark With Each Cutting
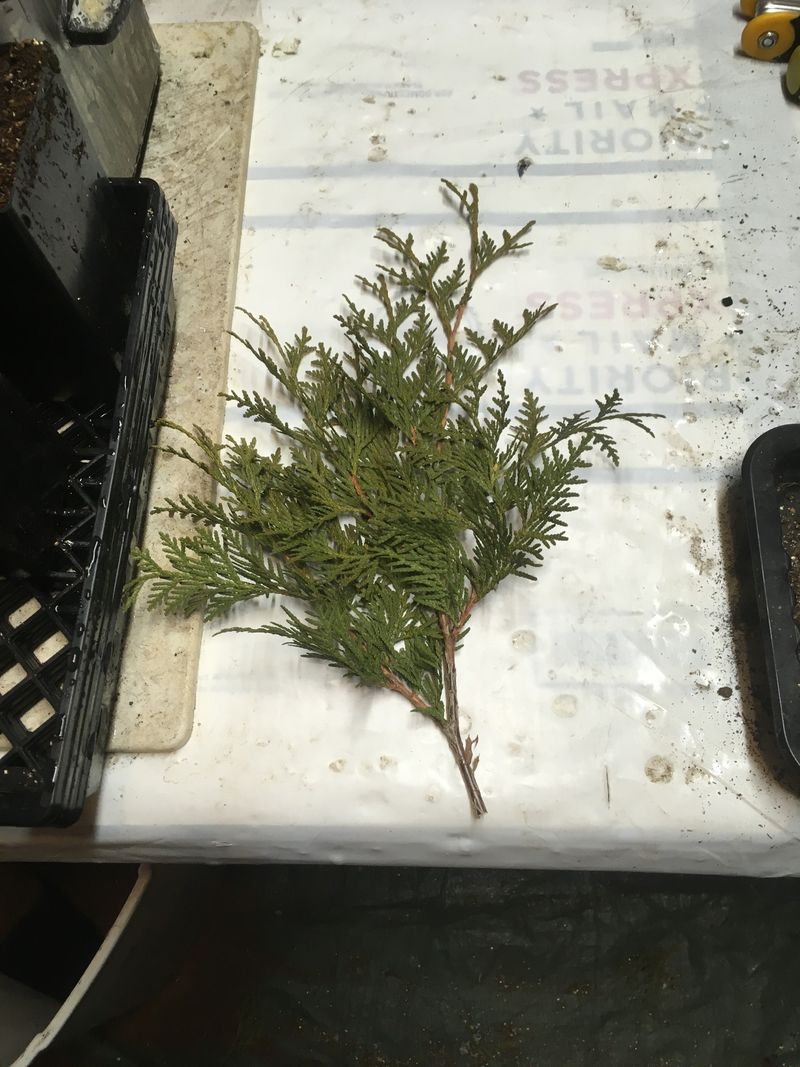
Here comes my favorite trick, and it feels a little like pulling a stubborn bandage off in one quick motion. Instead of snipping, you grab a side shoot and tear it downward, leaving a small strip of older bark attached.
Gardeners call that little tail a heel, and it gives your arborvitae cutting a real head start on rooting. Older wood at the base holds stored food and growth signals that help new roots form along that wounded edge.
Hold the main branch steady with one hand while you pull the side shoot sharply down and slightly outward. A clean tear usually leaves a sliver about half an inch long, shaped a bit like a tiny wooden spoon.
Sometimes the strip comes off too long and ragged, which can invite rot once it sits in damp soil. A quick trim with sharp scissors tidies the heel, leaving a neat edge that still includes that helpful older wood.
I have to admit my first attempts looked messy, but the shrubs bounced back quickly from the small wounds. Arborvitae handles light harvesting well, so taking a modest number of heels rarely harms an established, healthy plant.
Fun fact for history fans, heel cuttings have been used by European gardeners for centuries on many woody evergreens. The method works because it mimics a natural break, the kind a storm might cause on a wild branch.
Regular straight cuttings can still root, so do not panic if a few shoots refuse to tear cleanly. Mixing both styles in one batch also lets you compare results and see which approach suits your shrub.
4. Strip The Lower Scales And Dip Stems In Rooting Hormone
Nobody wants a cutting wearing a soggy green skirt below the soil line, and arborvitae agrees with that idea. Buried foliage tends to rot quickly, so removing scales from the bottom couple of inches keeps things clean and healthy.
Gently pinch and pull downward along the stem, or snip side sprigs off with small scissors for tidier results. You want a bare stem for roughly the lower third, while the top keeps plenty of green foliage for energy.
Rooting hormone is the next step, and it gives these slow evergreens a welcome nudge toward forming roots. Most garden center powders contain indole butyric acid, often shortened to IBA, a common and well-studied rooting compound.
University extension guides often recommend stronger hormone strengths for evergreen hardwood cuttings than for soft houseplant cuttings. Check the label for products made for woody plants, since those formulas usually suit arborvitae better than gentle starter blends.
Pour a small amount into a separate dish rather than dipping straight into the container, which keeps the supply clean. Moisten the stem base, dip it about half an inch deep, then tap away any extra clumps of powder.
Personally, I think this step feels a bit like dusting powdered sugar onto a donut, only far less tasty. A light, even coating works better than a thick crust, which can actually slow down healthy root development.
Toss any leftover powder from the dish afterward rather than pouring it back into the original container for later. Fresh, uncontaminated hormone stays effective longer, so your next batch of cuttings gets the same helpful boost.
5. Fill Pots With A Fluffy Peat And Perlite Mix
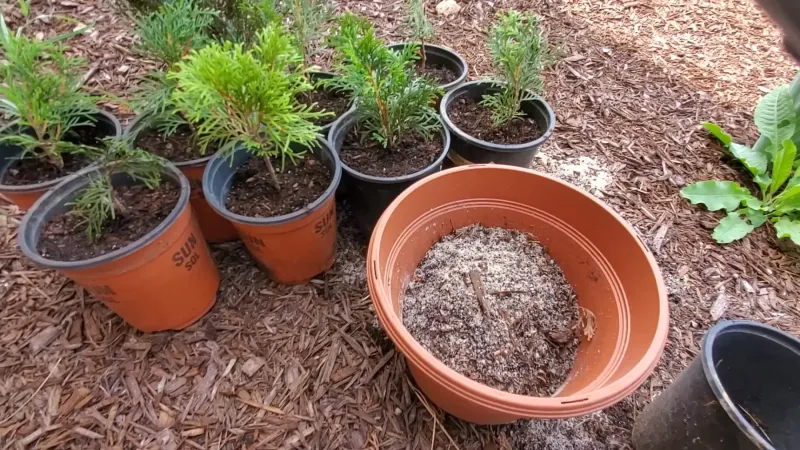
Regular garden soil might seem like a natural choice, but it often packs down like wet clay around fresh cuttings. Arborvitae roots need loose, airy footing, because tiny new roots struggle when they cannot find enough oxygen.
A simple blend of peat moss and perlite in roughly equal parts gives cuttings the light texture they love. Some growers swap peat for coconut coir, which holds moisture nicely and comes from a renewable source.
Coarse sand can replace some perlite if you prefer, though it makes pots heavier to move around later. I like perlite because those white crumbs make it easy to see how loose and fluffy the mix stays.
Moisten your blend before filling any pots, squeezing a handful until it feels like a wrung-out kitchen sponge. Dry peat repels water stubbornly at first, so mixing it damp saves you plenty of frustration and splashing later.
Poke a hole with a pencil before inserting each cutting, which protects the hormone coating from rubbing off. Slide the stem in about one to two inches deep, then press the mix firmly around it with your fingers.
You can fit several cuttings into one wide pot or flat, spacing them a couple of inches apart. Crowding too tightly blocks airflow, and stale, damp air between stems can encourage mold during the long rooting period.
Drainage holes are essential, so skip decorative containers without openings at the bottom, no matter how cute they look. Standing water around stems invites rot quickly, while free drainage lets roots breathe and grow at a steady pace.
6. Clear Plastic Domes Keep Cuttings From Drying Out
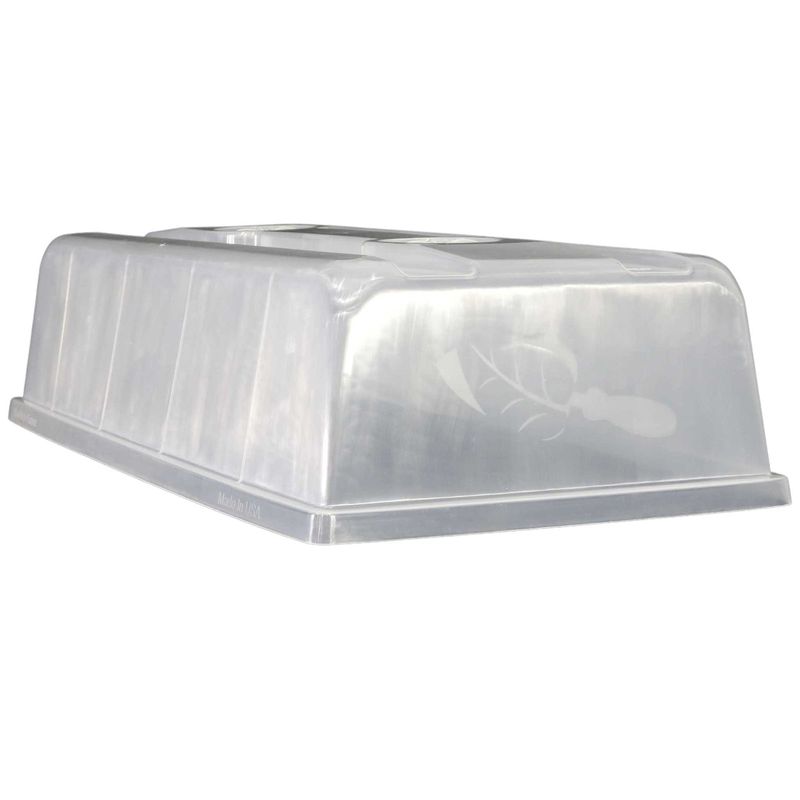
Without roots, a fresh cutting has no way to drink, so it relies on damp air to stay plump. A clear plastic dome turns an ordinary tray into a cozy little greenhouse, holding moisture right around the foliage.
Store-bought propagation domes work beautifully, but a clear bag held up by sticks does the job just as well. I once used an old salad container, and those cuttings rooted happily on my chilly back porch all winter.
Tiny water droplets on the inside of the cover signal healthy humidity, which is exactly what you want to see. If the plastic stays bone dry for days, a light misting or a splash of water brings moisture back.
Too much moisture brings trouble, though, so lift the cover for a few minutes every few days to refresh things. Fresh air discourages gray mold, a fuzzy fungus that loves stale, humid spaces and soft, crowded green stems.
Bright, indirect light suits cuttings best, since direct sun can overheat a covered tray surprisingly fast on clear days. A north-facing window or a spot under simple LED grow lights keeps temperatures steady and foliage looking green.
Many New York gardeners place winter trays in an unheated garage or cold frame, where temperatures stay cool but above freezing. Gentle bottom heat around sixty to seventy degrees can speed rooting, though cool setups still work with extra patience.
Watering from below is another clever move, letting pots sit in a shallow tray until the surface darkens slightly. That approach keeps foliage dry while moisture wicks upward, and it protects tender stems from being knocked over.
7. Gentle Tugs Reveal When Arborvitae Roots Have Formed
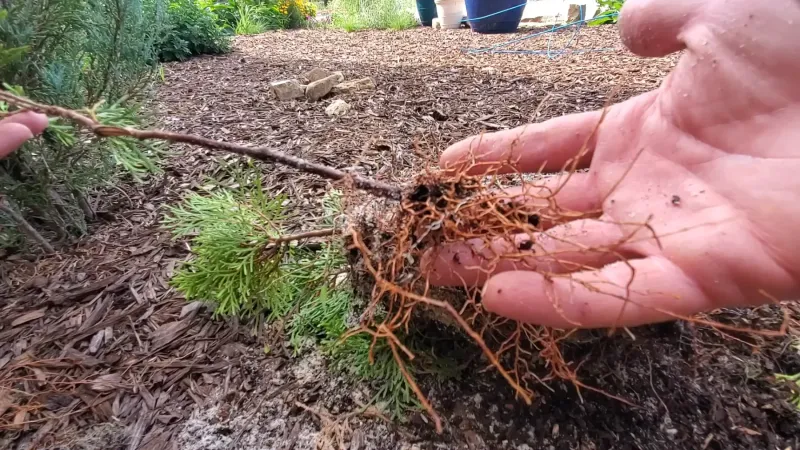
Patience gets tested here, because arborvitae cuttings work underground for weeks before showing any sign of progress up top. Summer cuttings often root in six to twelve weeks, while winter batches may take until spring or even longer.
Around the six-week mark, give one cutting a very light tug, the kind you might give a shy puppy’s leash. Gentle resistance usually means roots have grabbed the mix, while a loose wobble means the cutting needs more time.
I have to admit I used to dig cuttings up constantly, and those nosy checks broke many fragile new roots. Now I peek at the drainage holes instead, watching for thin white threads poking through the bottom of each pot.
Brown, mushy stems or scales that turn crispy and gray suggest a cutting has failed, so remove it promptly. Clearing out failures keeps mold from spreading, giving healthy neighbors more room and cleaner air for their growth.
Fresh green growth at the tips often appears once roots get established, which feels like a tiny celebration. You might notice new scales looking brighter than older foliage, a cheerful clue that the plant is drinking again.
Success rates vary, so expect some losses even when you follow every step carefully and keep conditions steady. Rooting half or more of a batch counts as a solid result for most home gardeners working with woody evergreens.
Keep a simple notebook with dates and methods, since your records will help future batches improve each year. Personally, I love flipping back through those pages, seeing how small changes led to better results over time.
8. Plant Young Arborvitae In A Staggered Hedge Row
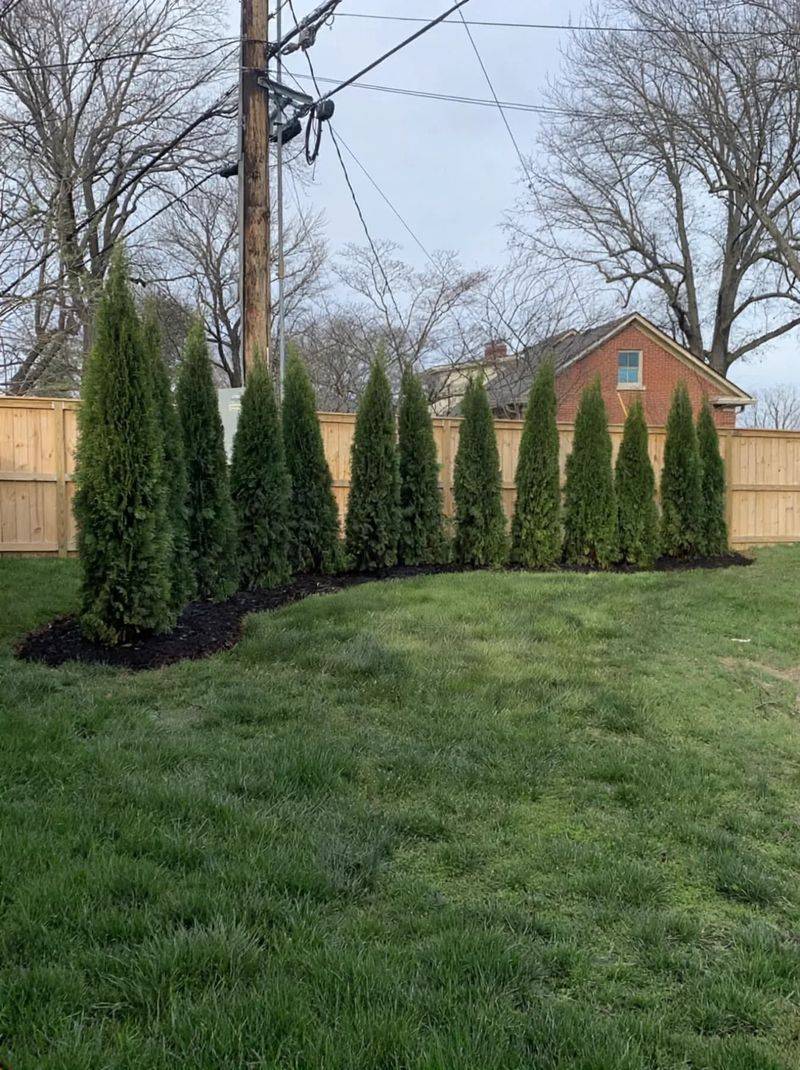
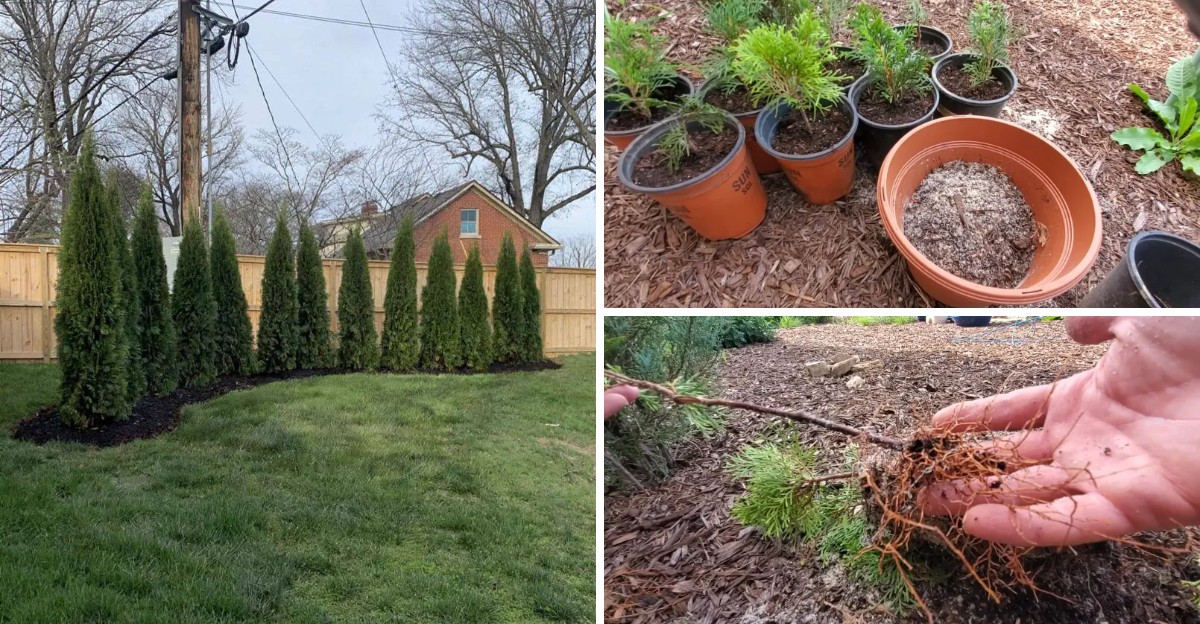
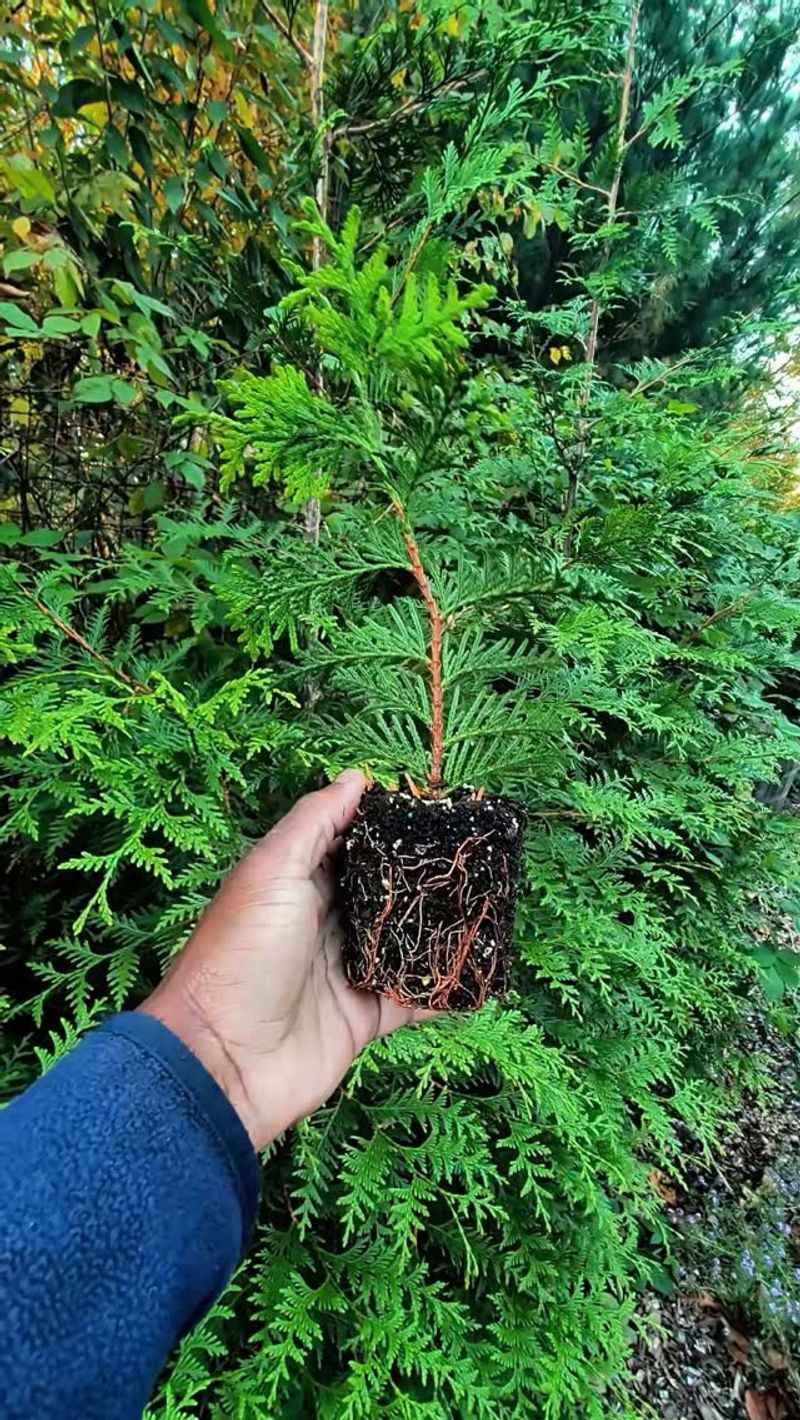
Watching rooted babies move outdoors feels like sending kids off to their first day of school, both exciting and nerve-wracking. Once roots fill small pots, shift each plant into a larger container and let it grow a season first.
Hardening off comes next, which simply means introducing young plants to outdoor conditions a little at a time. Start with a few hours in light shade, then gradually increase sun and wind exposure over about two weeks.
American arborvitae, Thuja occidentalis, is native to New York and handles USDA zones 2 through 7 comfortably. That cold toughness explains why so many homeowners across the state rely on it for year-round privacy screens.
Spring or early fall offers the best planting windows, giving roots time to settle before summer heat or winter freeze. Dig each hole about as deep as the root ball and roughly twice as wide, keeping the top level.
A staggered zigzag row fills in faster than a single straight line, creating a thicker screen in fewer seasons. I like spacing small plants about two to three feet apart, though larger cultivars appreciate a bit more room.
Spread two to three inches of mulch around each plant, keeping it pulled back a few inches from the trunk. Deep, regular watering during the first couple of years helps young roots spread out and handle dry summer spells.
Deer find arborvitae tasty in many New York neighborhoods, so fencing or repellents can protect your hard work. Also check plant tags before propagating, since some newer cultivars carry plant patents that restrict making copies.