Multiply Your Virginia Rosemary Plant With These Easy Cutting Tricks
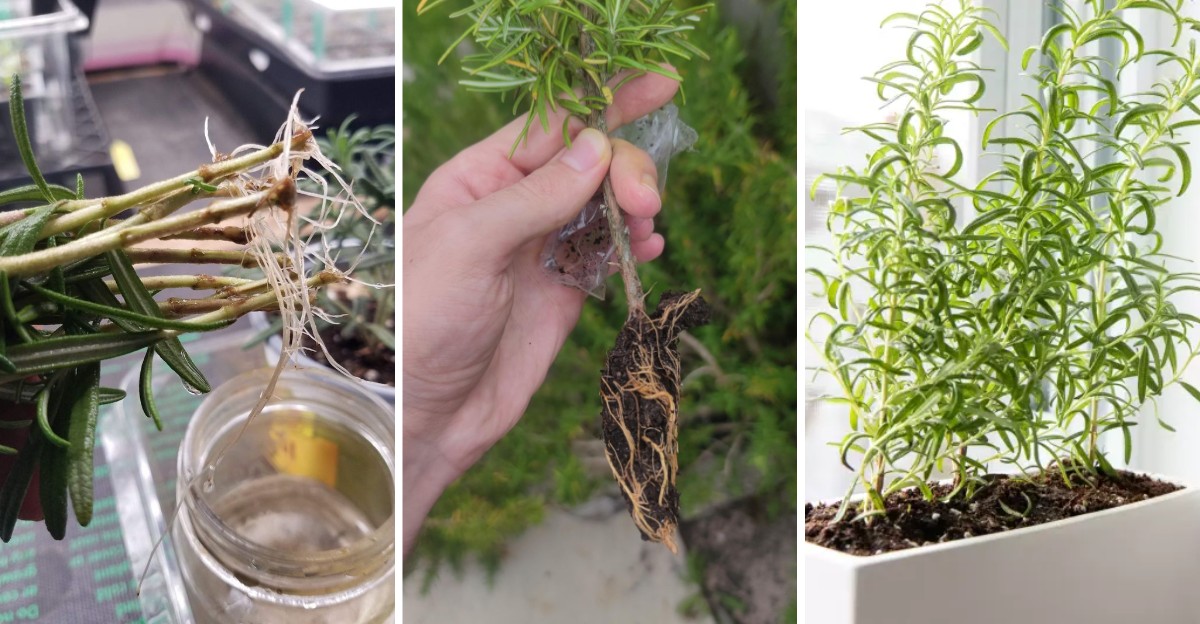
One rosemary bush can turn into a whole herb garden, and it costs almost nothing. Brush your hand across the needles, and you get that piney, lemony scent that makes any kitchen feel cozy.
Rosemary grows happily through Virginia’s warm summers, but cold snaps and wet winters can test it. Extra plants from cuttings give you backups, gifts, and plenty of sprigs for roasted potatoes.
The method is simple once you know a few small secrets. Clean snips, a gritty mix, a bright window, and some patience do most of the work.
Skip a step, though, and your cuttings may sulk instead of sprouting roots. Fall rooting is slower than summer rooting, so expect a few weeks of waiting.
The guide below shows how to take the cuttings and keep them growing. Start before the first hard frost, and you’ll have a backup plan for winter.
1. Snip 4 To 6 Inch Tips From Healthy Stems
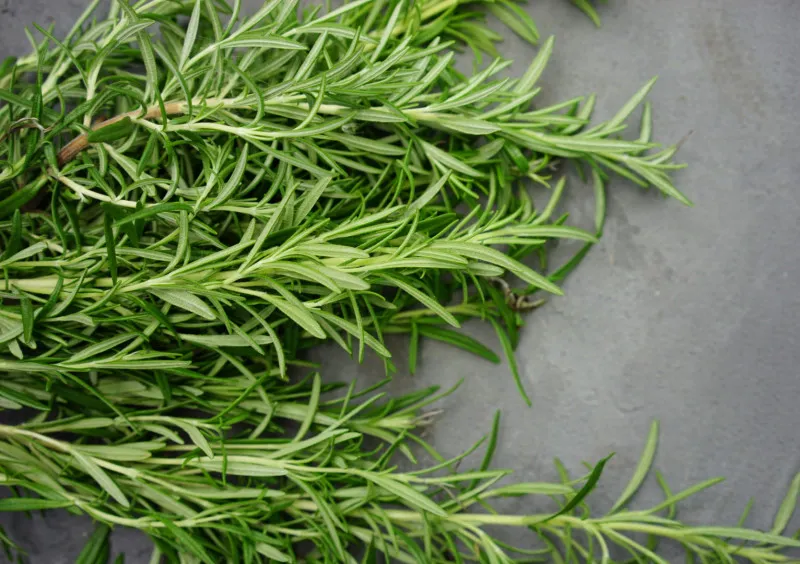
Picture your rosemary bush as a generous friend ready to share. Every healthy stem tip holds the potential for a brand new plant.
Start by looking for flexible new growth that is just turning slightly woody. Soft green tips can wilt fast, while old brown stems root slowly.
Aim for pieces about 4 to 6 inches long. Shorter bits lack energy, and longer ones lose water too quickly.
Make each cut just below a leaf node, the small bump where leaves attach. Roots like to sprout from these tiny bumps.
Clean your shears before you begin with rubbing alcohol or soapy water. Dirty blades can spread disease from plant to plant without you noticing.
Late spring and early summer work best for most Virginia gardeners, since warm weather speeds up rooting. Fall cuttings work too, just more slowly, so start before the first hard frost.
Take more cuttings than you think you need, maybe fifteen or sixteen. A few may fail, so extras help you still end up with a dozen.
Morning is a smart time to snip because stems are full of water. Cuttings taken in afternoon heat often droop before you even plant them.
Keep fresh cuttings in a damp paper towel while you work. A small cup of water also keeps them perky for an hour or so.
Choose stems without flowers if you can. Blooms pull energy away from root growth, so pinch off any buds you spot.
2. Strip The Leaves From The Bottom Half
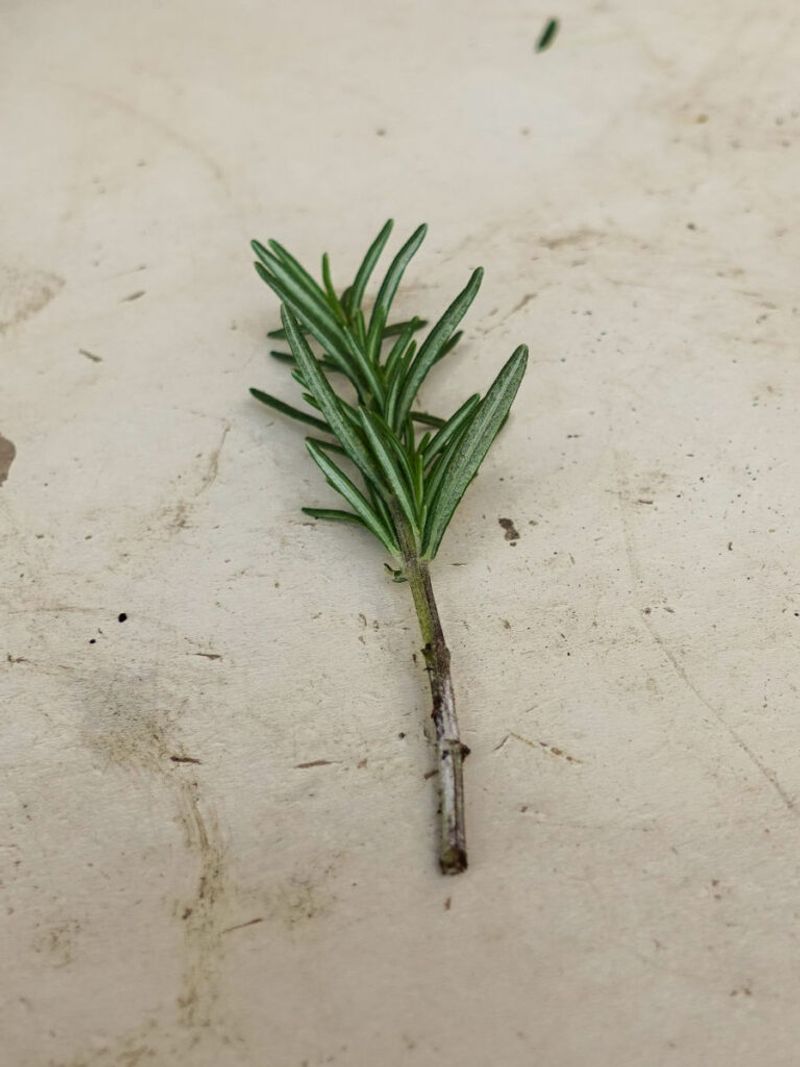
Here comes the oddly satisfying part. Pinch the stem near the top of the bare zone and slide your fingers downward.
Those needle leaves pop right off the lower half. Aim to clear roughly 1 to 2 inches of stem, or about half the cutting.
Why bother with this step at all? Leaves buried in soil or water tend to rot and invite mold.
Bare stems also expose the nodes hiding under the foliage. Those little nodes are where new roots will push out.
Go gently so you do not peel the bark away. Small tears are fine, but long rips can weaken the cutting.
Your Virginia Garden Changes Every Week. Your Plan Should Too.
Gardening in Virginia changes quickly throughout the season. Every Friday you’ll receive a simple weekly plan showing exactly what to plant, prune, fertilize, harvest, and protect so you never miss the right timing.
Keep the top leaves in place since they make food through sunlight. A cutting with too few leaves struggles to power new growth.
Some gardeners slice the base at a slight angle. That angled cut exposes more surface area for soaking up water.
Do not toss those stripped leaves in the trash. They smell wonderful and work great in soups, roasted chicken, or homemade herb butter.
Fun fact: rosemary once had a reputation for boosting memory. Ancient Greek students reportedly wore sprigs while studying for exams.
Work on a clean surface like a cutting board or paper plate. Tidy prep makes it easier to keep track of every cutting you take.
3. Rooting Hormone Helps, But Isn’t Required
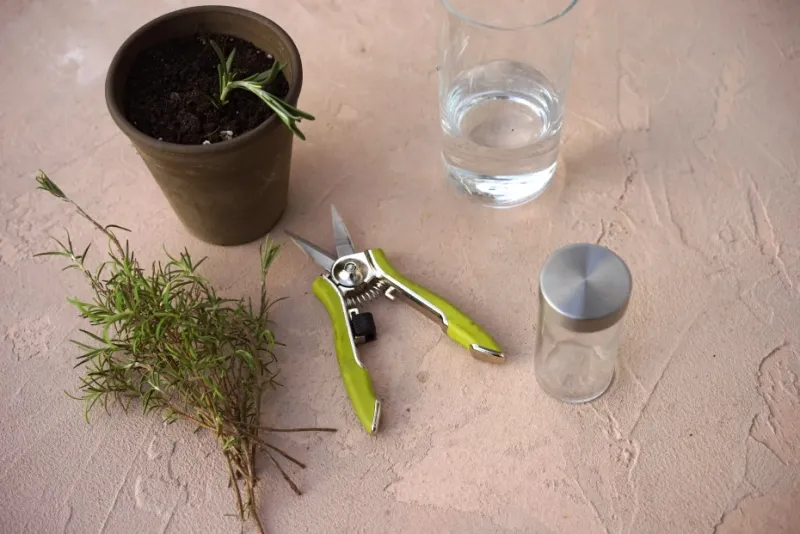
Think of rooting hormone as a helpful nudge rather than magic dust. Rosemary can root without it, but the powder often speeds things along.
Most products contain plant growth chemicals that encourage root cells to form. Some also include ingredients that help fight off fungus.
Using it takes only seconds per cutting. Dip the moist cut end into the powder, then tap off the extra.
Pour a little into a separate dish first. Dipping straight into the jar can spread germs to the rest of the product.
Gardeners may find the boost especially handy during humid summers. Faster roots mean less time for rot to sneak in.
Want a free option instead? Some people dab the stem ends in honey or soak them in willow water.
Willow branches contain natural compounds that may help rooting. Results vary, but it makes a fun kitchen experiment with kids.
Try a little test if you feel curious. Treat half your cuttings with hormone and leave half plain, then compare.
Gel and liquid versions exist too, and they cling well to stems. Powder is usually cheapest and lasts a long time on the shelf.
Store any leftover hormone in a cool, dry cupboard. Moisture and heat can weaken it over the months between projects.
4. Use A Gritty, Fast-Draining Mix
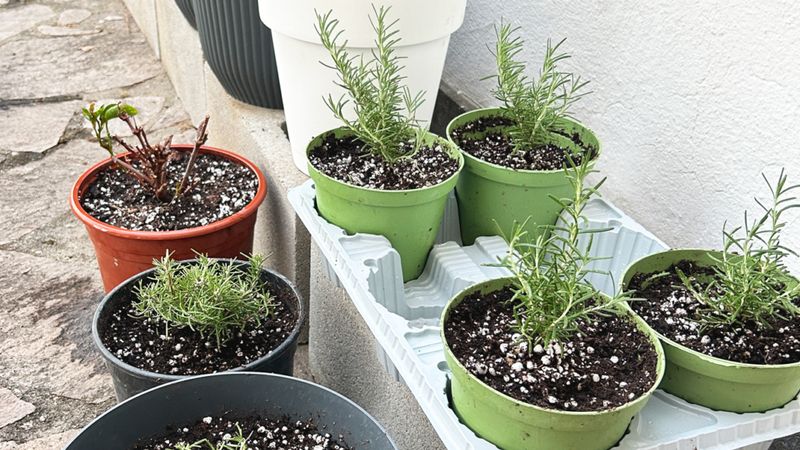
Rosemary grew up on rocky Mediterranean hillsides, and it still remembers. Heavy, soggy dirt makes its roots miserable.
Your rooting mix should feel loose and a bit crunchy. Water should rush through rather than puddle on top.
A simple recipe works well for most people. Combine 2 parts potting soil or compost with 1 part perlite, coarse sand, or fine grit.
Short on time? A bagged cactus or succulent mix already drains nicely and works great for cuttings.
Skip regular garden soil from your yard. Much of Virginia sits on dense red clay that holds water like a sponge.
Pick pots with drainage holes every single time. Pretty containers without holes trap water and rot tender stems quickly.
Small pots or seed trays make good homes for cuttings. A 4 inch pot can hold three or four stems around the edge.
Poke a hole with a pencil before inserting each stem. That keeps rooting hormone from rubbing off as you push in.
Bury about half the stem in the mix. Firm the soil gently so the cutting stands upright without wobbling.
Water once after planting to settle everything in. Let the excess drain fully before moving the pots to their rooting spot.
5. Cover Cuttings To Hold In Humidity
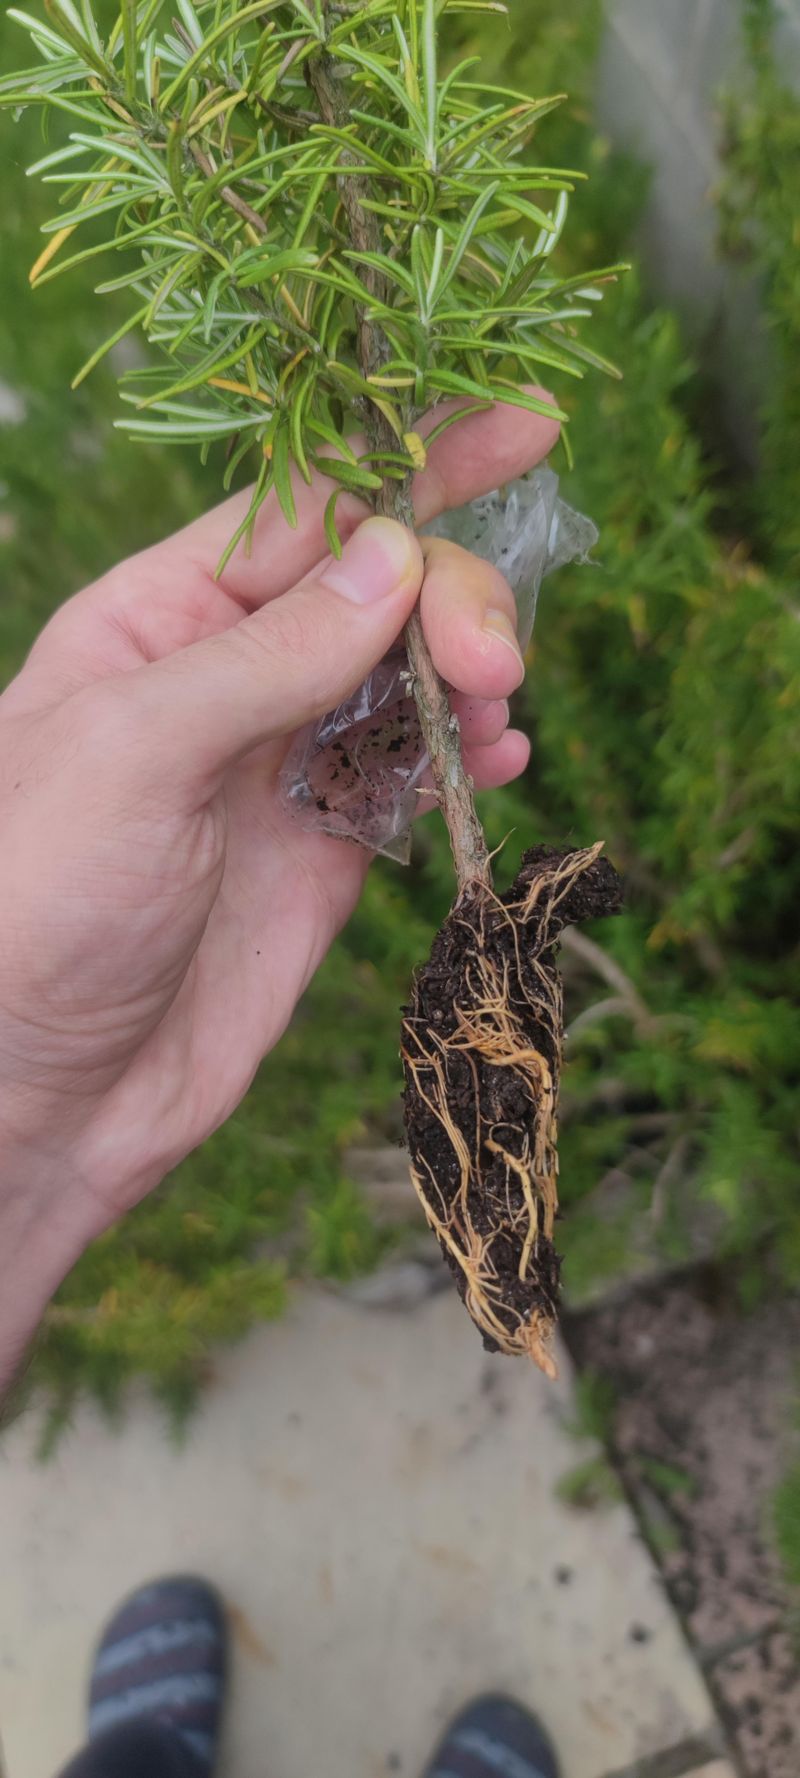
Without roots, a cutting is like a straw with nothing to sip. Its leaves keep losing moisture while it waits to grow roots.
A clear cover solves that problem by trapping humid air. Think of it as a tiny greenhouse sitting right on your windowsill.
A plastic humidity dome works great if you have one. A clear sandwich bag or zip-top bag does the job just as well.
Keep the plastic from resting directly on the leaves. Pop in a few chopsticks or bamboo skewers to hold it up like a tent.
Watch for light fog or droplets inside the cover. That condensation shows the air is staying nicely moist.
Too much water dripping down, though, can lead to mold. Open the bag for about an hour every few days to refresh the air.
Cut a clear soda bottle in half for a free recycled dome. Remove the cap whenever you need extra airflow.
Rosemary does not need quite as much humidity as softer herbs. A loose cover usually works better than a tightly sealed one.
Once you spot fresh green growth, start removing the cover gradually. Leave it off a little longer each day for about a week.
That slow change helps young plants adjust to normal room air without wilting.
6. Bright, Indirect Light Is The Sweet Spot
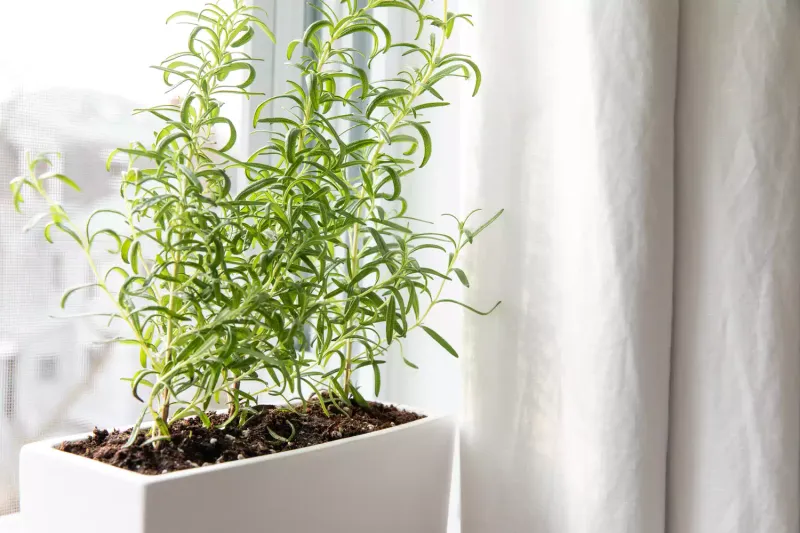
Goldilocks would make a great rosemary grower. Cuttings want light that is not too dim and not too harsh.
Bright, indirect light gives them energy without scorching them. A spot near a window with a sheer curtain is just right.
Direct sun on a covered cutting can backfire fast. The plastic traps heat, and leaves can practically cook inside.
East-facing windows offer gentle morning sun that cuttings tend to enjoy. North windows may be a bit too shady for good progress.
Indoor setups work wonderfully with an inexpensive LED grow light. Keep it a few inches above the tops for 12 to 14 hours a day.
Outdoors, a shaded porch or the north side of a shed works nicely. Summer afternoons can get intense, so filtered shade is wise.
Things change once roots form and the cover comes off. Mature rosemary craves six to eight hours of direct sun daily.
Move rooted plants into stronger light little by little. Jumping straight into full sun may cause leaf burn.
Leggy, stretched stems are a clue that light is lacking. Pale leaves can mean the same thing.
Rotate pots every few days so all sides get equal light. Otherwise, young plants lean toward the window like curious sunflowers.
7. Keep Soil Lightly Moist, Never Soggy
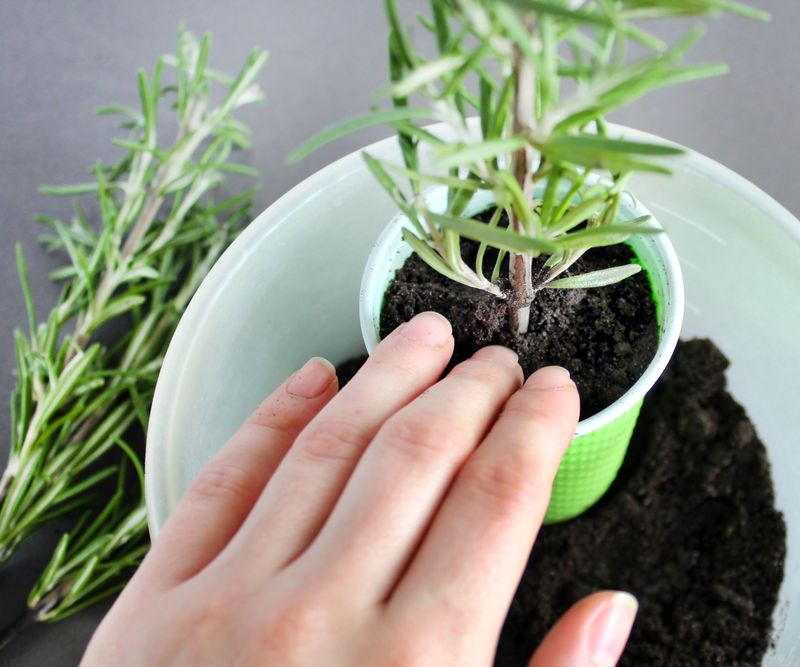
Overwatering ruins more rosemary cuttings than any other mistake. Kind gardeners often love their plants a little too much.
Your goal is soil that feels like a wrung-out sponge. It should be slightly damp, not dripping or muddy.
Poke a finger into the mix before reaching for the watering can. Water only when the top layer feels dry.
Covered cuttings lose very little moisture, so they need water less often. Checking every three or four days is usually plenty.
Bottom watering works beautifully for small pots. Set them in a tray of water for ten minutes, then let them drain.
A spray bottle helps keep the surface evenly moist too. It also stops you from flooding tender stems with a heavy pour.
Rooting in a glass of water? Change it every few days to keep it fresh and clear.
Cloudy water or slimy stems signal bacteria trouble. Rinse the stem, trim any mushy part, and start with clean water.
Muggy summers slow down evaporation from pots. Rainy weeks may stretch the time between waterings.
Blackened stem bases mean the soil stayed wet too long. Remove those cuttings quickly so problems do not spread to the rest.
8. A Gentle Tug Tells You Roots Have Formed
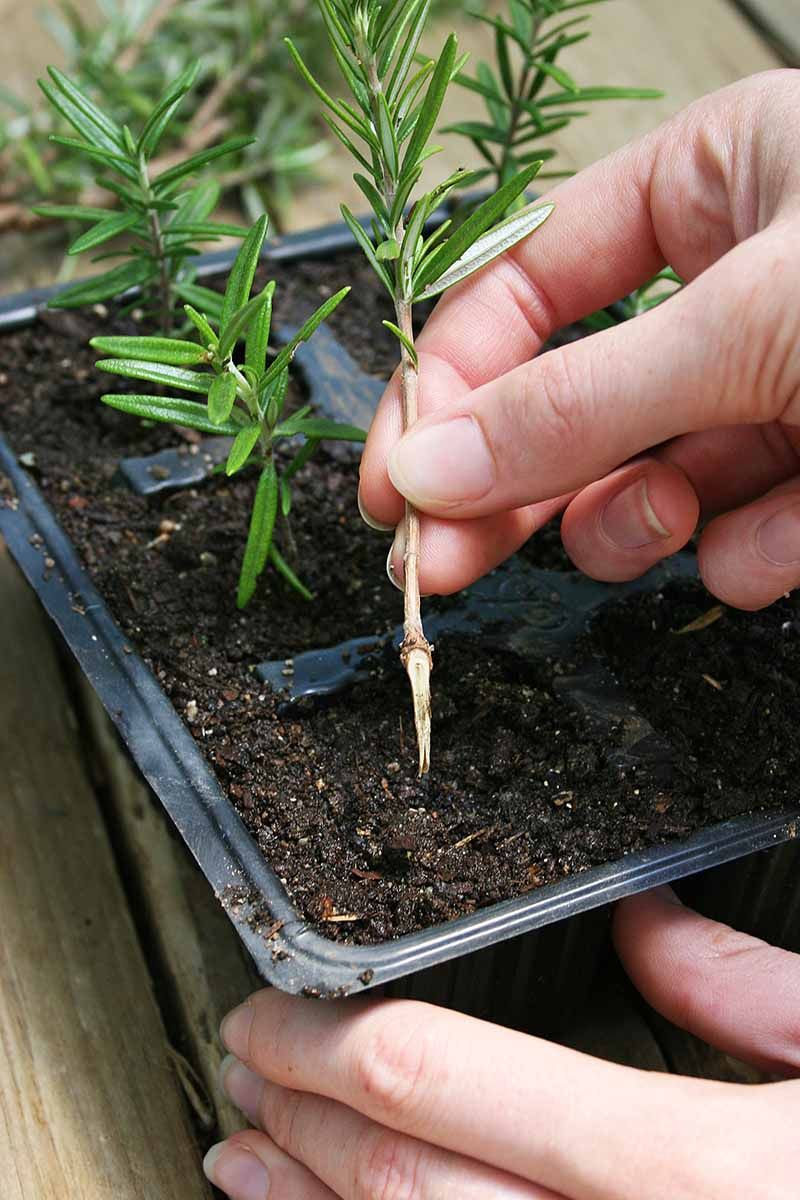
Waiting for roots can feel like watching paint dry. Rosemary takes anywhere from two to eight weeks to settle in.
Resist the urge to yank cuttings up for a peek. Constant checking can tear delicate new roots.
Look for fresh growth at the tip first. Bright green new leaves usually mean roots are working below the surface.
After about four weeks, try the tug test. Pinch the stem lightly and pull upward with very little pressure.
Feel some resistance? Roots are gripping the soil, and your cutting has officially become a plant.
No resistance yet is not a reason to panic. Slow starters often catch up with a little more time.
Clear plastic cups give you a sneaky view of progress. You can spot white roots along the sides without disturbing anything.
Water-rooted cuttings make checking even easier. Wait until roots reach about 1 to 2 inches long before moving them.
Warmth speeds things up noticeably. A seedling heat mat can shave days or even weeks off the wait.
Brown, crispy cuttings that never respond can be removed. Celebrate the winners, since even pros expect some cuttings to fail.
9. Pot Up New Plants Once Roots Fill The Container
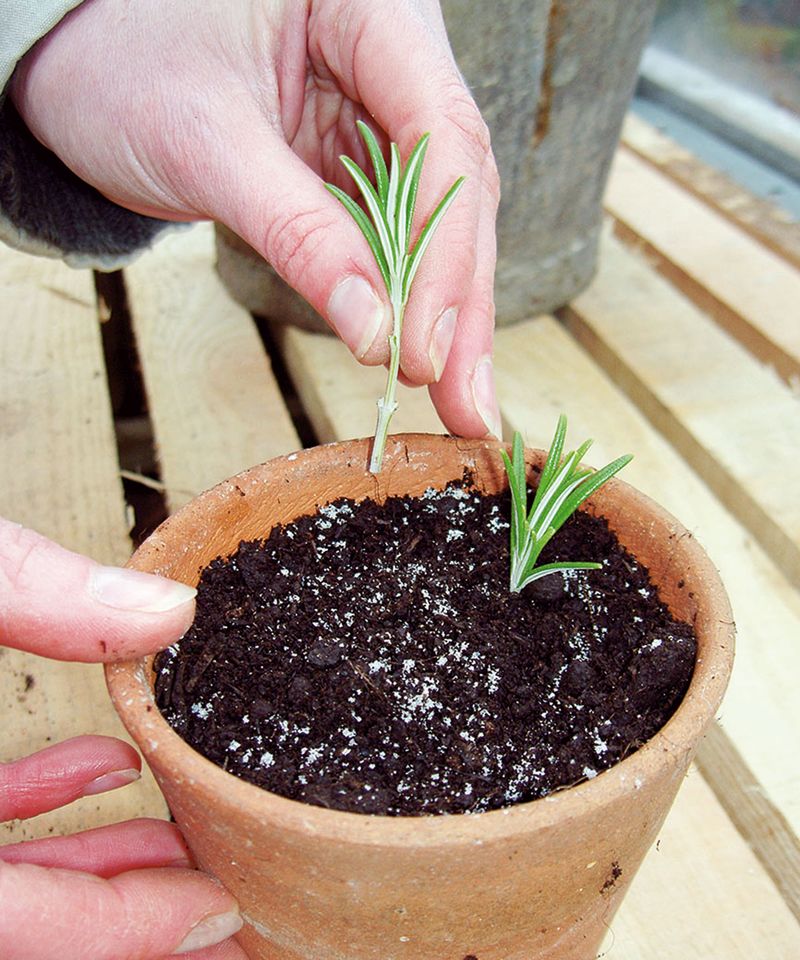
Moving day has arrived for your little rosemary family. Roots peeking from drainage holes are a clear sign they need more space.
Tip the shared pot on its side and slide everything out. Gently tease apart each plant with your fingers.
Give each one its own 3 to 4 inch pot. Small containers dry out evenly, which suits young rosemary well.
Terracotta pots are a favorite for this herb. The clay breathes and helps extra moisture escape from the soil.
Fill pots with the same gritty, fast-draining blend you used for rooting. Extra perlite or coarse sand keeps things airy.
Set each plant at the same depth it grew before. Burying stems deeper can invite rot along the bark.
Water well after transplanting, then let pots drain. Keep them out of harsh sun for a few days while they recover.
Skip strong fertilizer at first. Rosemary prefers lean soil and tastes more flavorful without heavy feeding.
Label each pot with the date you rooted it. Tracking helps you learn what works best in your home.
Within a few months, those tiny sprigs grow into bushy plants. Friends and neighbors will happily take any extras off your hands.
10. Overwinter Young Plants Indoors Or Somewhere Sheltered
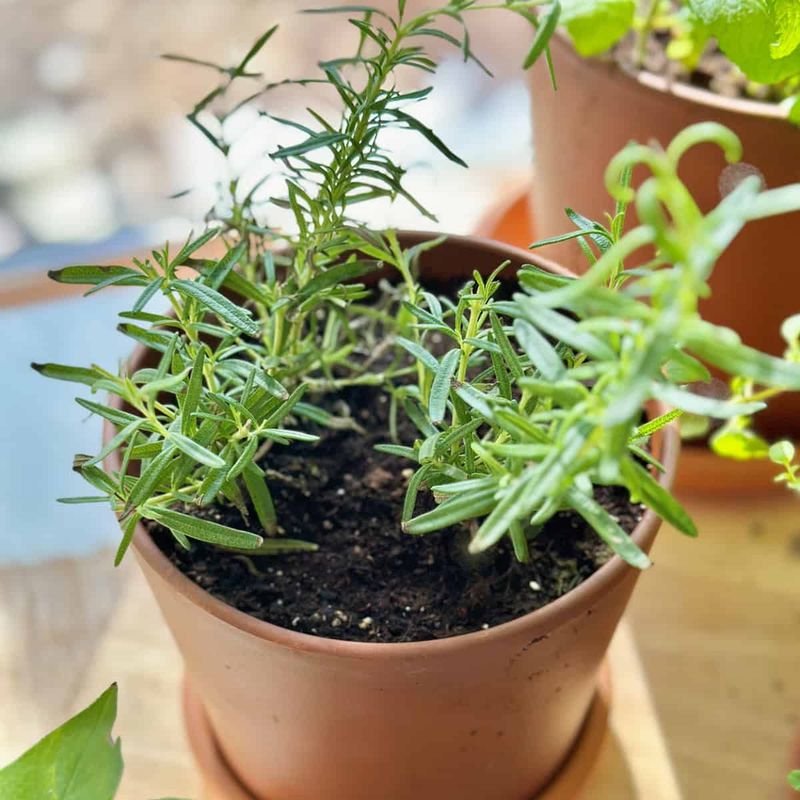
Virginia winters can swing from mild to bitter overnight. Young rosemary plants are especially tender against hard frost.
Mature plants may survive outdoors in the warmer eastern parts of Virginia. First-year babies, though, deserve a cozy shelter.
Bring pots inside before nights drop below freezing. Late October or early November is a good target in many areas.
Choose a bright, cool spot around 40 to 60 degrees. An unheated sunroom, enclosed porch, or garage with a window works well.
Warm living rooms with blasting heaters often stress rosemary. Dry heat makes the needles brittle and attracts pests like spider mites.
Place plants in your sunniest window if a cool room is not available. A grow light can make up for short winter days.
Water sparingly through the cold months. Let the soil dry between drinks, but do not let it turn bone dry.
Powdery mildew sometimes appears on indoor rosemary. Good airflow from a small fan helps keep that white dust away.
Hardy varieties like Arp and Hill Hardy handle cold better than most. Planting one of these outdoors next year can save effort.
Move plants back outside once spring frost danger passes. Your dozen new rosemary plants will be ready to thrive.