10 Ways To Improve Clay Soil Before The Ground Freezes
Step into the garden after a September rain, and each boot suddenly feels like it weighs ten pounds. The ground grabs your soles like a clingy toddler who wants one more hug before you leave.
Underground, roots feel that same squeeze as they push through dirt as thick as cold brownie batter. Even the toughest root tips slow down and start looking for an easier way around.
Rainwater sits on top in shiny puddles for days, reflecting the sky like a lazy mirror. Even the earthworms seem ready to pack their tiny suitcases and move to the neighbor’s yard.
The tide finally turns, though, right as the air starts to smell like fallen leaves. The weeks before the first hard frost offer a rare stretch to turn that sticky mess into crumbly goodness.
Put in some effort this fall, and next spring your boots may finally retire from their side job as ankle weights.
1. Add Organic Compost
My neighbor once called compost black gold, and after one season of using it, I finally understood why. Few things transform heavy, sticky ground faster than a thick helping of rotted plant matter.
Compost works like a crowd of tiny wedges that slip between packed clay particles. Those new gaps let air, water, and hungry roots move through with much less struggle.
September is a smart time to start because the soil is still warm and full of busy microbes. They will chew on your compost all fall and keep working slowly even as temperatures drop.
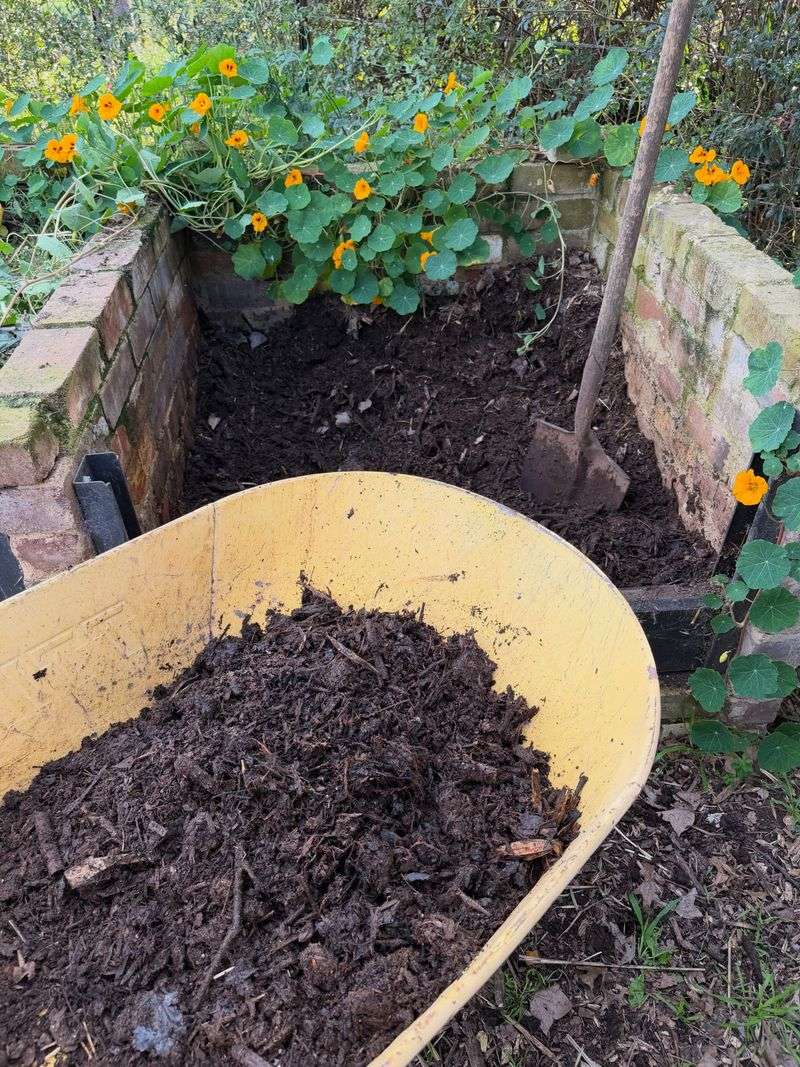
Spread two to three inches of finished compost evenly across the whole bed. Then mix it into the top six to eight inches using a garden fork or spade.
Finished compost should look dark, crumble easily, and smell like a forest floor after rain. If it still smells sour or looks like banana peels, give the pile a few more weeks to finish.
You can make your own from kitchen scraps and yard waste, or buy bagged compost at garden centers. Many towns also give away free compost made from collected leaves, so check with your local city office.
One round will not fix clay overnight, but every yearly layer builds on the last. Keep adding it each fall, and within a few seasons, your shovel will slide in like butter.
2. Break Up Compacted Layers
Hidden a few inches under many clay yards lies a layer so hard it could pass for a sidewalk. Gardeners call it hardpan, and roots stop cold when they hit it, the way a bike tire stops at a curb.
Foot traffic, heavy mowers, and years of tilling at the same depth all help create it. Once it forms, water pools on top and plant roots spread sideways instead of reaching down deep.
To find out if you have it, push a long metal rod or screwdriver into moist ground. If it suddenly stops a few inches down, you have likely found the problem.
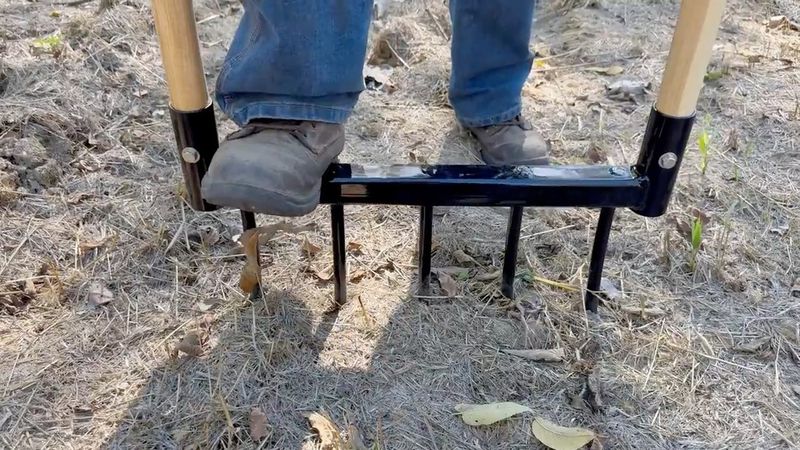
Early fall is ideal for breaking it up, since the soil is usually drier than in spring. A broadfork is a great tool because it loosens deep layers without flipping the soil upside down.
Push the tines in, rock the handle back, then step forward about six inches and repeat. It feels a bit like rowing a boat, and yes, your arms will notice tomorrow.
For bigger lawns, renting a core aerator from a hardware store can save your back. It pulls out small plugs of soil, leaving holes that let air and water sneak inside.
Right after loosening, toss compost over the area so it can fall into the fresh cracks. Otherwise, the clay may settle back into its stubborn old shape by the time spring rolls around.
3. Mix In Coarse Sand
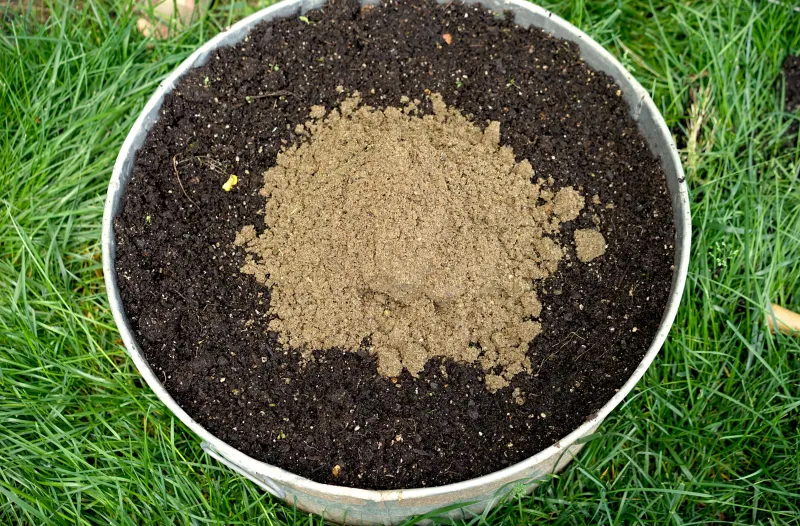
Here is a gardening myth that has fooled plenty of people: just add sand to clay and call it fixed. Sadly, a small sprinkle of sand can actually turn your yard into something closer to concrete.
Fine clay particles fill the spaces between sand grains and bake into a solid block. Builders actually mix sand and clay on purpose to make adobe bricks, which tells you plenty.
So does sand help at all in heavy soil? Yes, but only when you use the right kind, in the right amount, alongside plenty of organic matter.
Choose coarse builder’s sand or horticultural sand with large, gritty grains you can feel between your fingers. Skip fine play sand, beach sand, or anything that feels smooth and silky like baking flour.
Experts suggest the finished mix should be about half sand or more to see real changes. Blend it together with compost at the same time so the grit has cushy material around it.
That amount adds up fast, so sand works best for small beds rather than a whole backyard. A single raised bed might need several wheelbarrow loads to reach the right balance.
Fall is a handy time for this project because garden centers often discount bulk materials after summer. Mix it in now, let winter settle everything, and your spring seedlings will find loose, well-drained ground waiting.
4. Plant A Cover Crop
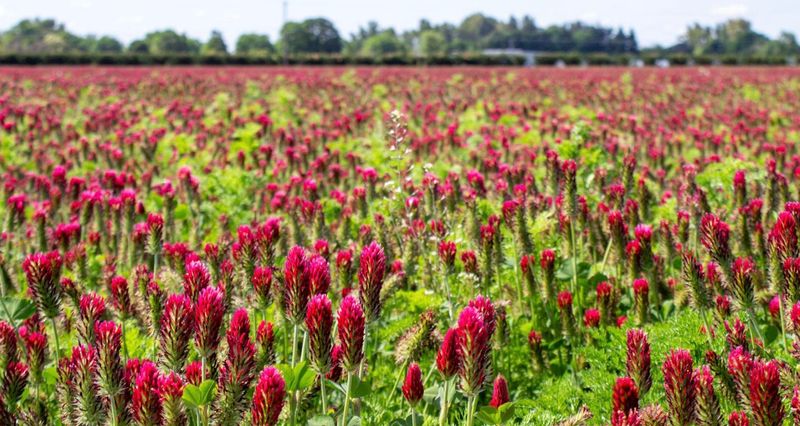
Picture a quiet winter garden where green shoots are still busy working while you sip cocoa inside. Cover crops make that happen, and they might be the laziest way to improve heavy soil.
Farmers have planted them for centuries to protect and feed their fields during the off season. Their roots tunnel through clay, leaving behind channels for air and water once they break down.
Cereal rye is a favorite because it sprouts in cool weather and handles freezing temperatures like a champ. Crimson clover and hairy vetch add bonus nitrogen, which acts like free fertilizer for next year.
Daikon radishes earn the nickname tillage radish because their thick roots punch deep holes into hard ground. In winter they turn mushy and rot away, leaving open tunnels behind like a secret subway system.
Timing matters a lot, so aim to sow seeds four to six weeks before your first expected frost. For many areas, that means planting sometime in September or early October.
Rake the surface lightly, scatter the seeds, then rake again so they settle into the soil. Water them well if rain is scarce, and keep birds away with a light layer of straw.
Come spring, cut the plants down a few weeks before planting and let them wilt on the surface. Your garden gets a free meal, and you barely lifted a finger all winter.
5. Apply Gypsum For Structure
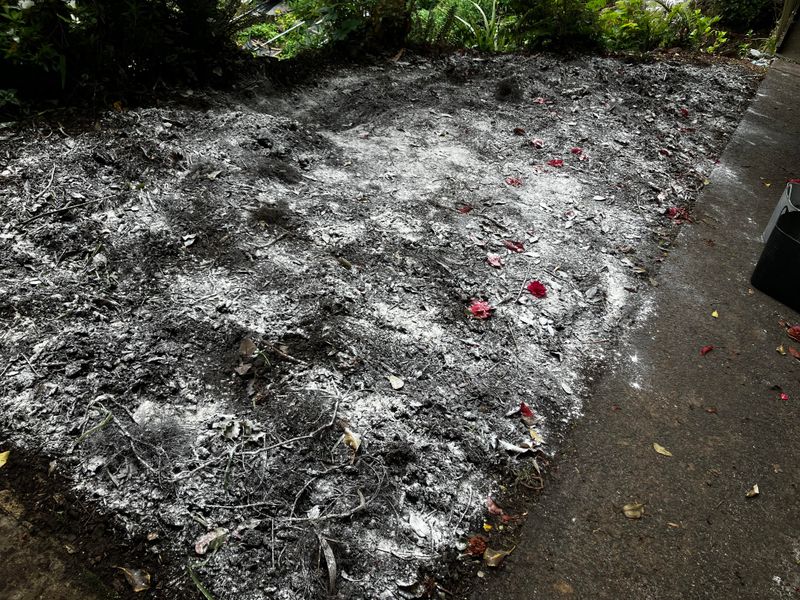
Gypsum is the same mineral found in drywall and even some tofu, which surprises most first-time gardeners. In the garden, though, it plays a very different role with heavy soil.
Made of calcium and sulfur, it can help clay particles clump into bigger crumbs instead of sticking flat together. Bigger crumbs mean more space for water to drain and roots to breathe.
Gypsum is not a magic fix for every yard, though, and that part often gets skipped. It shines brightest in soils high in sodium, which are common in dry western regions and near salted roads.
Before buying a bag, send a soil sample to your local extension office for testing. The results will tell you whether your ground truly needs gypsum or would do better with compost alone.
If gypsum is a good fit, spread about 35 to 50 pounds per 1,000 square feet in early fall. A lawn spreader makes the job quick and keeps the coverage nice and even.
Unlike lime, gypsum will not change your soil’s pH, so it is safe around acid-loving plants like blueberries. Fall rain and melting snow will carry it slowly down into the root zone over winter.
Pair it with organic matter for the best results, since gypsum alone will not feed soil life. Think of it as a helpful sidekick rather than the main hero of your soil story.
6. Avoid Working Wet Soil
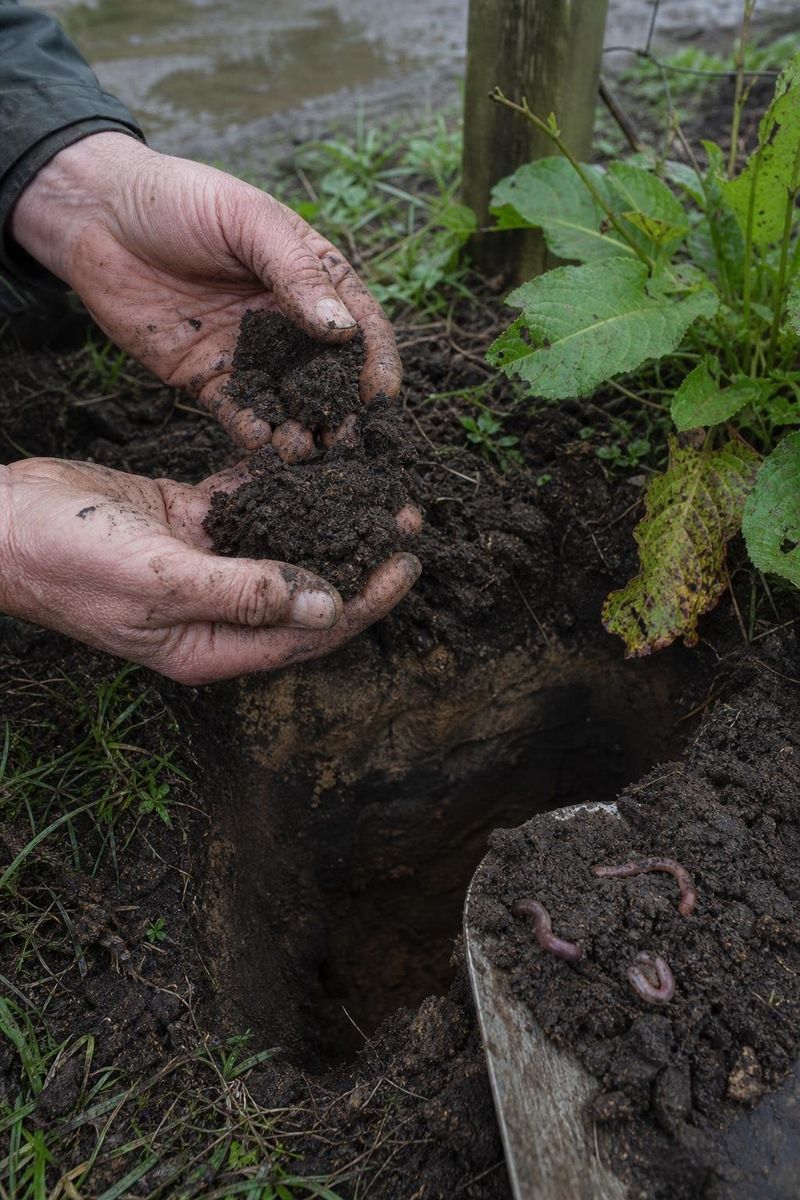
Every gardener learns this lesson the hard way at least once, usually on a sunny day right after rain. You grab the shovel, feel inspired, and end up sculpting muddy bricks instead of fluffy beds.
Wet clay acts a lot like the modeling clay you squished in elementary school art class. Press or dig it, and the tiny particles smoosh together into dense clods that dry rock-hard.
Those clods can last for months and undo all the effort you planned for fall. Even walking across soggy beds squeezes out the tiny air pockets that roots badly need to grow.
Luckily, a simple squeeze test tells you exactly when it is safe to dig. Grab a handful of soil and squeeze it into a ball, then poke it with your finger.
If it crumbles apart easily, the ground is ready for a little work. If it smears, holds its shape, or feels like cookie dough, put the tools away and wait.
After a heavy fall storm, clay may need several dry days before it passes the test. Use that downtime to gather compost, sharpen tools, or plan where your cover crops will go.
Laying wooden boards across your beds gives you a place to step without squashing the soil beneath. Boards spread your weight out, much like snowshoes keep you from sinking into deep snow.
7. Spread A Mulch Layer
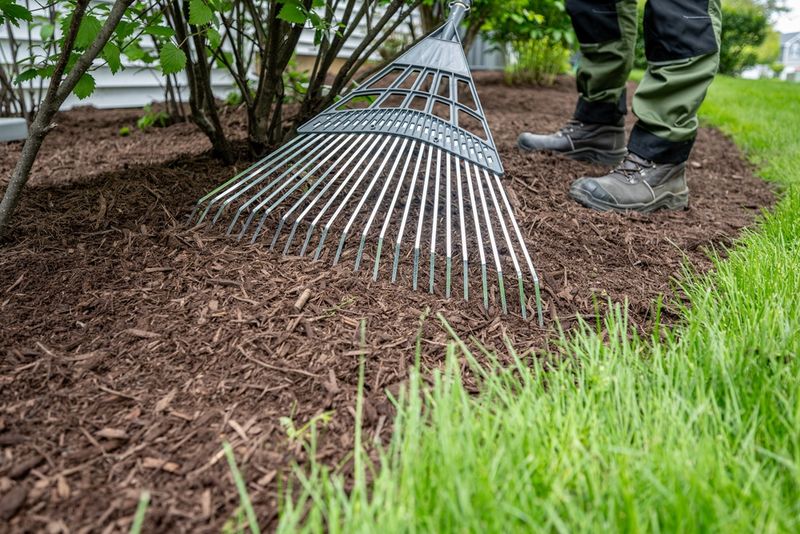
Think of mulch as a cozy winter coat for your hardworking garden beds. Without it, bare clay gets pounded by rain, then freezes and thaws over and over like a stressed-out yo-yo.
Heavy raindrops hitting bare soil break apart crumbs and seal the surface into a hard crust. A soft mulch layer catches those drops like a sponge and lets water soak in gently.
Shredded leaves are a fantastic choice, and September and October hand them out for free. Run them over with a lawn mower first so they do not mat down into a soggy pancake.
Straw, pine needles, and wood chips also work well, especially around shrubs and perennial beds. Hay is less ideal because it often carries weed seeds that sprout like surprise guests next spring.
Spread a fluffy layer about two to four inches thick over the whole soil surface. Keep it a few inches away from tree trunks and plant stems to prevent rot.
Earthworms adore the damp, sheltered space beneath mulch during chilly fall weather and even into winter. They pull bits of it down into the clay, mixing and loosening the soil for you at no charge.
By spring, much of the bottom layer will have broken down into rich, crumbly organic matter. Just pull back what remains when planting, and let the improved soil below do its thing.
8. Test Soil Drainage First
Ever wonder why some plants sulk in certain corners of the yard while thriving just a few feet away? The answer often hides underground, where water either drains nicely or sits around like an unwanted houseguest.
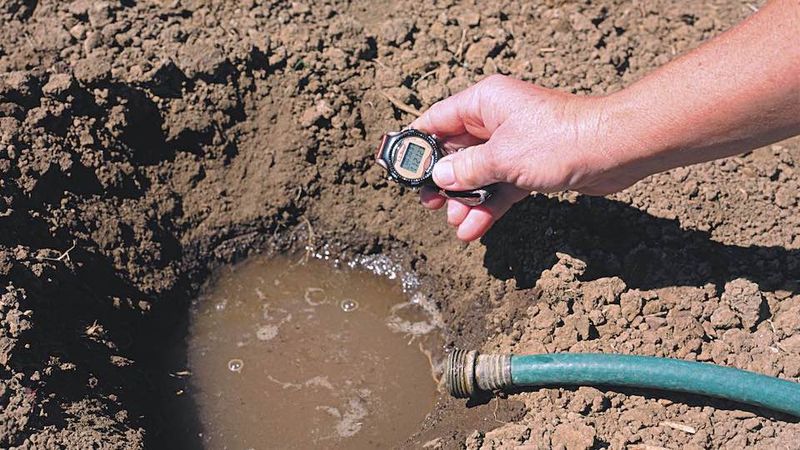
A simple percolation test turns you into a backyard detective in about one afternoon. All you need is a shovel, a ruler, a garden hose, and a little patience.
Dig a hole about one foot deep and one foot wide in the spot you want to check. Fill it with water, let it drain overnight, then fill it again the next morning.
Now measure how far the water level drops every hour using your ruler. Healthy soil drains about one to three inches per hour, which suits most garden plants just fine.
Less than one inch per hour means your clay is holding on too tightly. More than four inches suggests sandy pockets, which is rare but possible in mixed soils.
Test a few spots, since drainage can change a lot from one side of the yard to another. Low areas near downspouts or at the bottom of slopes usually struggle the most.
September is a great month for this test because summer heat has eased but the ground has not frozen yet. Your results will show which fixes on this list deserve the most attention before winter arrives.
9. Incorporate Aged Manure
Grandparents with big gardens often swore by one secret ingredient, and it came straight from the barn. Aged manure may not smell like roses, but clay soil adores it.
Manure adds loads of organic matter that loosens sticky soil and feeds billions of helpful microbes. It also delivers nitrogen, phosphorus, and potassium, the big three nutrients plants crave.
The key word here is aged, because fresh manure can burn plant roots with too much nitrogen. Fresh piles may also carry weed seeds and germs that you do not want near your vegetables.
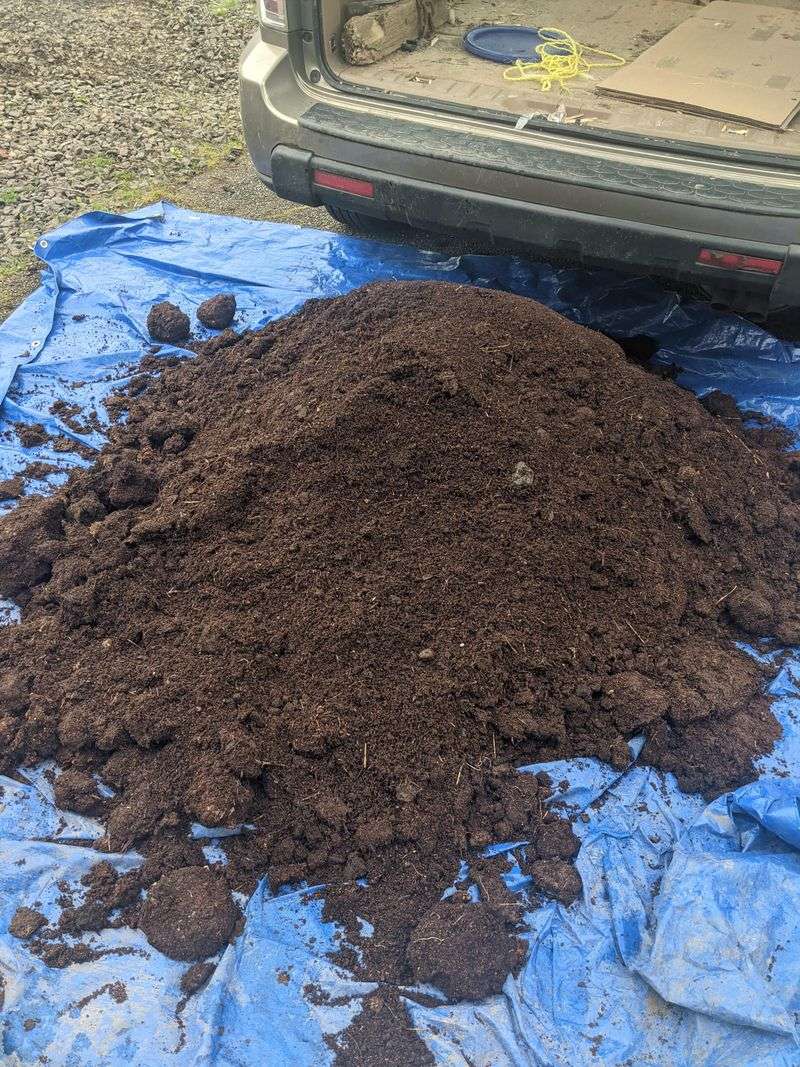
Well-aged manure has sat for at least six months and looks dark, crumbly, and almost like soil. It should smell mild and earthy instead of sharp, sour, or strong enough to make your eyes water.
Cow, horse, chicken, and rabbit manure all work, though chicken manure is especially strong, so use less. Rabbit droppings are the rare exception that can go straight into the garden without aging first.
Fall is the perfect season to add it because any leftover strength mellows out over winter. Spread one to two inches across your beds and work it into the top several inches.
Local farms and stables are often happy to share if you bring your own truck or buckets. Ask a friendly horse owner, and you might walk away with more than your garden can handle.
10. Raise Beds For Winter
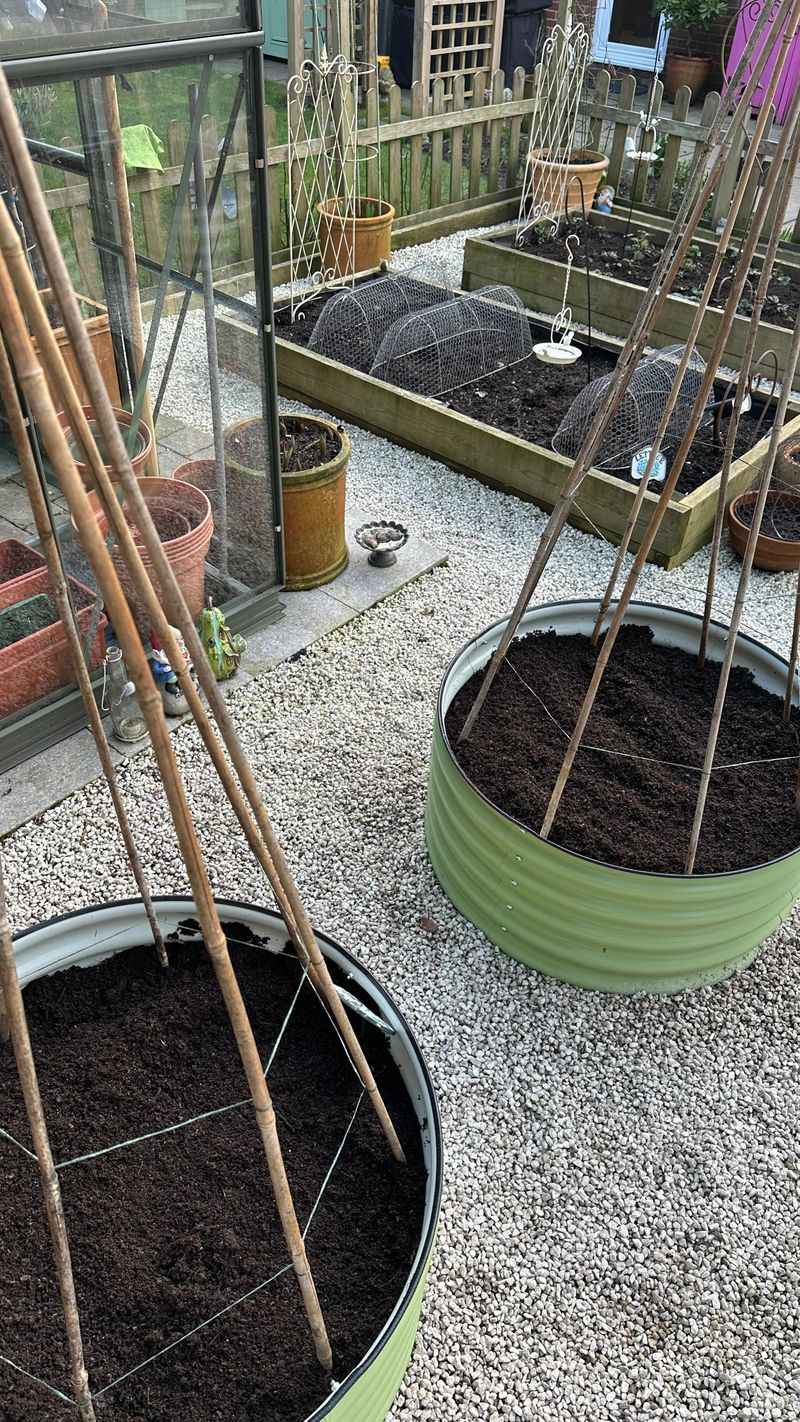
Sometimes the smartest way to handle stubborn clay is to rise above it, quite literally. Raised beds give roots a fluffy home while the heavy ground below slowly improves at its own pace.
Building them in early fall has a sneaky advantage over waiting until the busy spring rush. The soil inside has all winter to settle, blend, and mellow before planting day.
Beds only need to be about eight to twelve inches tall to lift roots out of soggy clay. Wood, stone, metal, or even stacked cinder blocks all make sturdy walls that last for years.
Before filling, loosen the clay at the bottom with a garden fork so water can escape downward. Skipping this step can create a bathtub effect, where water collects and cannot drain away.
Fill the frame with a mix of topsoil and compost, roughly half and half. Some gardeners layer fallen leaves, grass clippings, and kitchen scraps first, a method called lasagna gardening.
Those layers break down over the cold months and turn into rich, dark soil by spring. Plus, the name alone makes the project sound delicious, even if it is mostly leaves.
Raised beds also warm up faster in spring, giving you a head start on planting. Top them with mulch before the first freeze, and they will be ready and waiting when the snow melts.