15 Ways To Sharpen Lawn Mower Blades For The Cleanest Cut Yet
A dull blade is a grass assassin—not a gardener’s friend. If your mower’s tearing instead of trimming, it’s time to sharpen up your act.
These 15 tricks will put the edge back in your cut and make your lawn the envy of the block.
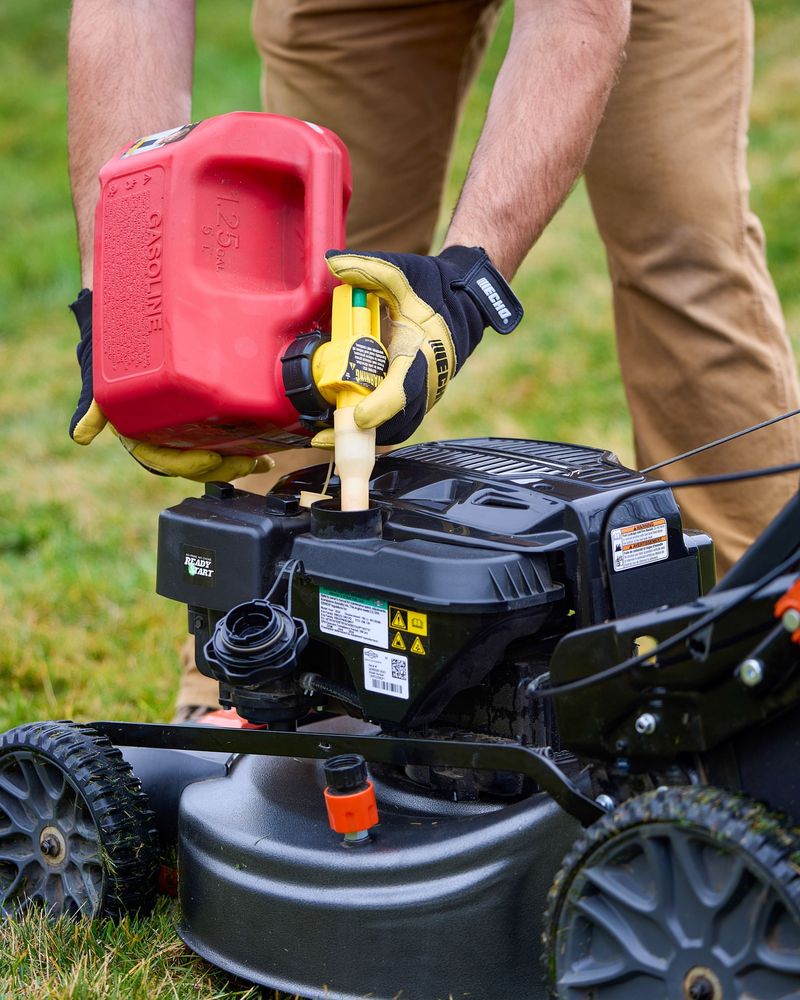
1. Safety First – Disconnect Power Sources
Never skip this crucial first step when working on your mower. Remove the spark plug wire from gas mowers or unplug electric models completely. This prevents any accidental starts while you’re handling the blades.
Place the spark plug wire where it can’t accidentally reconnect. For battery-powered mowers, remove the battery pack entirely. These simple precautions could literally save your fingers!
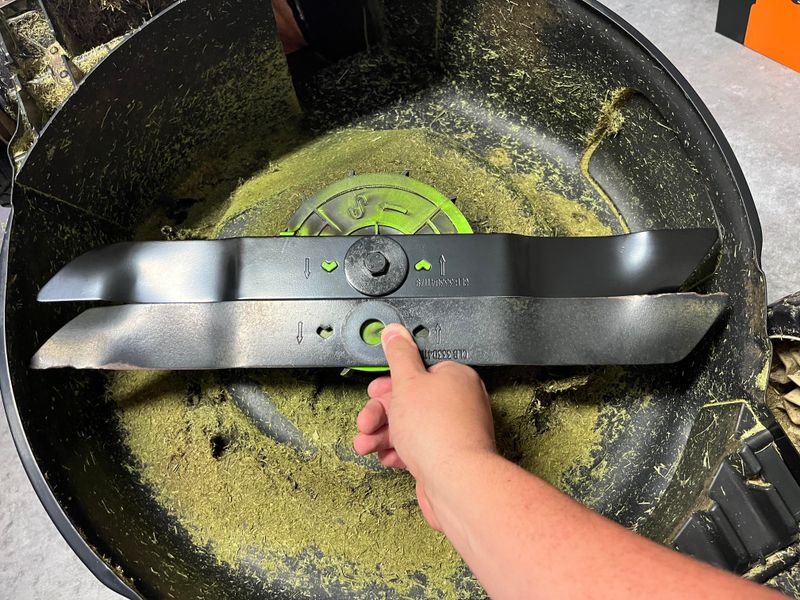
2. Mark the Blade’s Cutting Edge Before Removal
Marking the underside of your blade with chalk or a marker helps avoid installation mistakes later. Many people accidentally flip the blade during reinstallation, which prevents proper cutting.
A simple mark shows you exactly how the blade should go back on. This tiny step takes seconds but saves frustration and repeated work. Remember that lawn mower blades are designed to cut in only one direction!
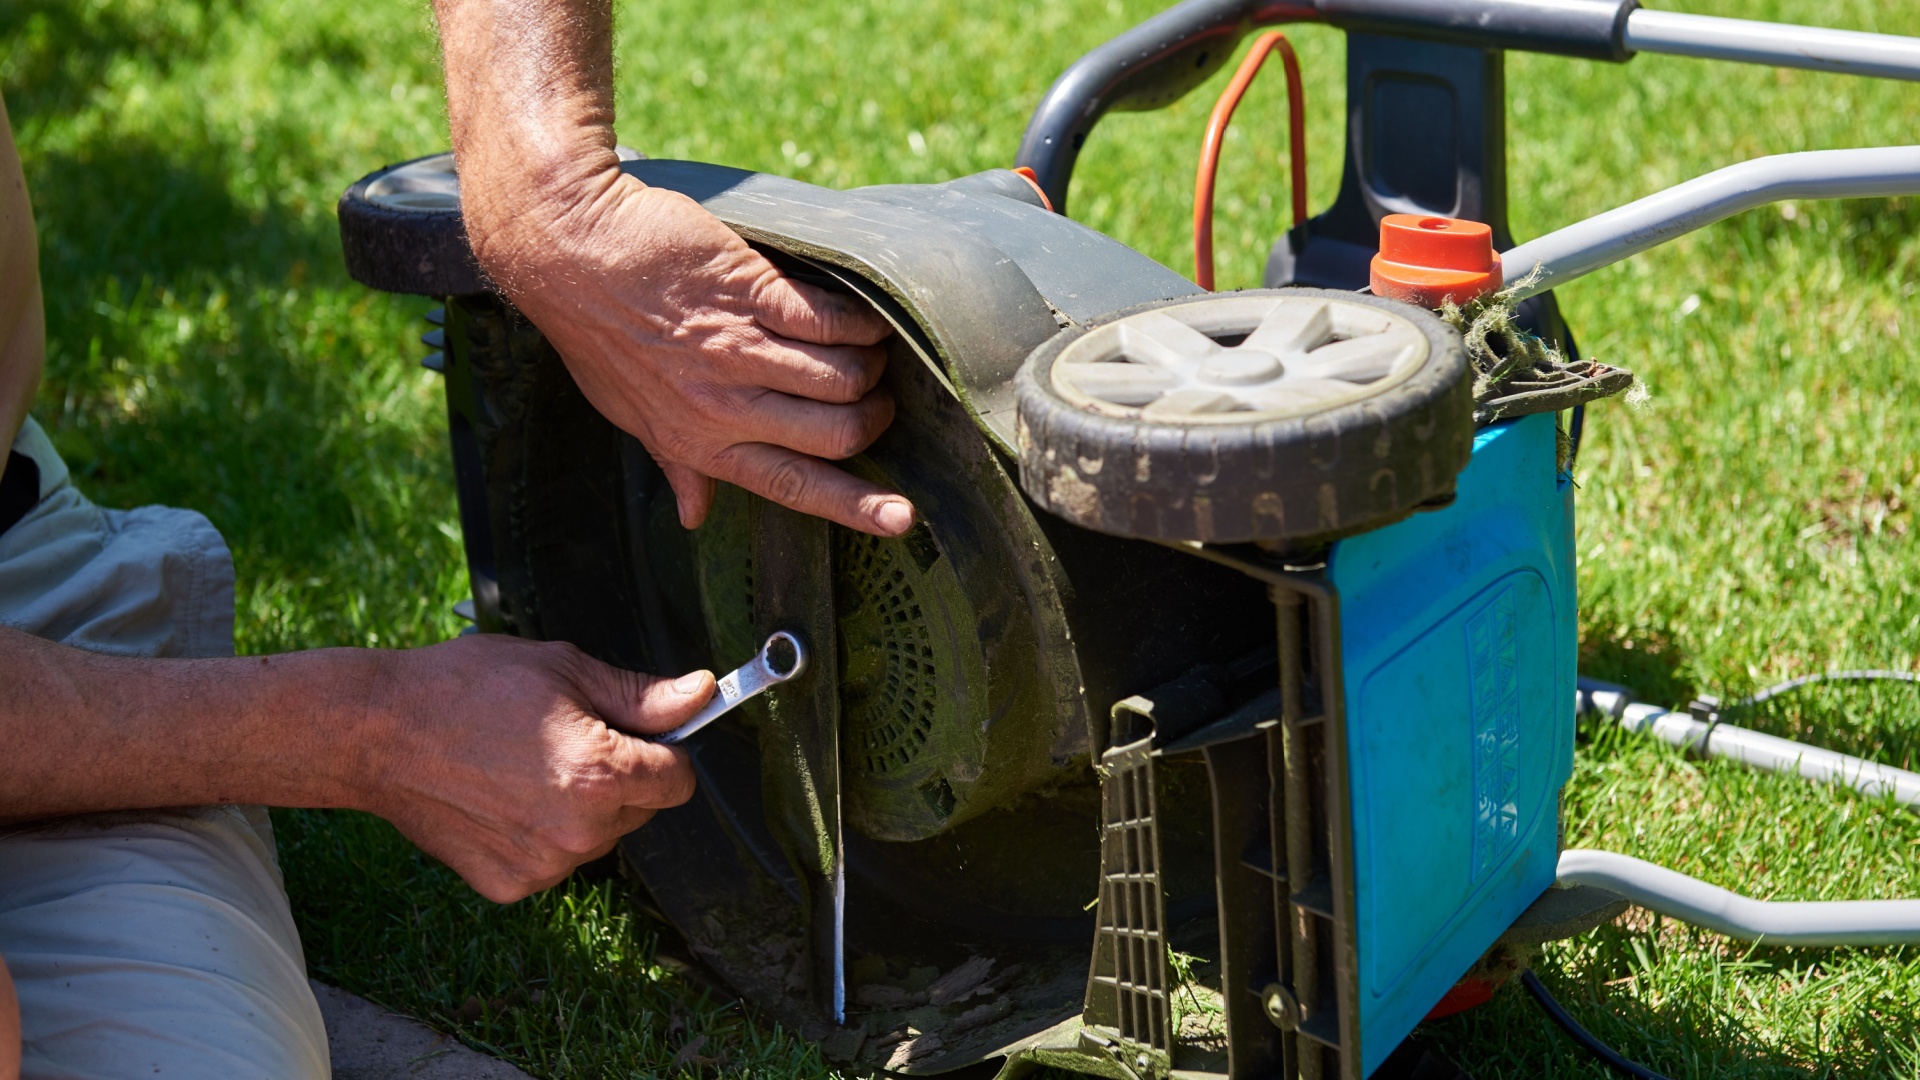
3. Use a Socket Wrench for Easy Blade Removal
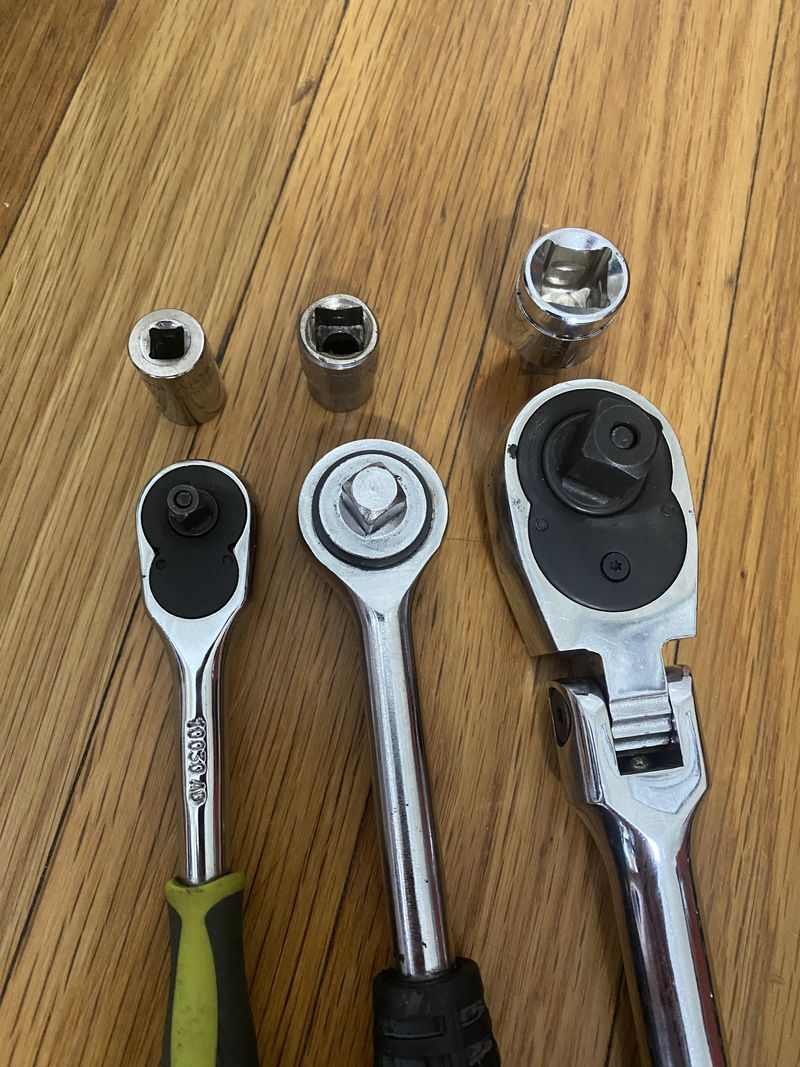
The right tool makes blade removal so much easier. A socket wrench with an extension provides the leverage needed to loosen stubborn blade bolts. Some newer mowers require special tools, so check your manual first.
Spray penetrating oil on rusted bolts and let it sit for 15 minutes before trying again. Stuck bolts might need a breaker bar for extra leverage. Remember to turn counterclockwise to loosen!
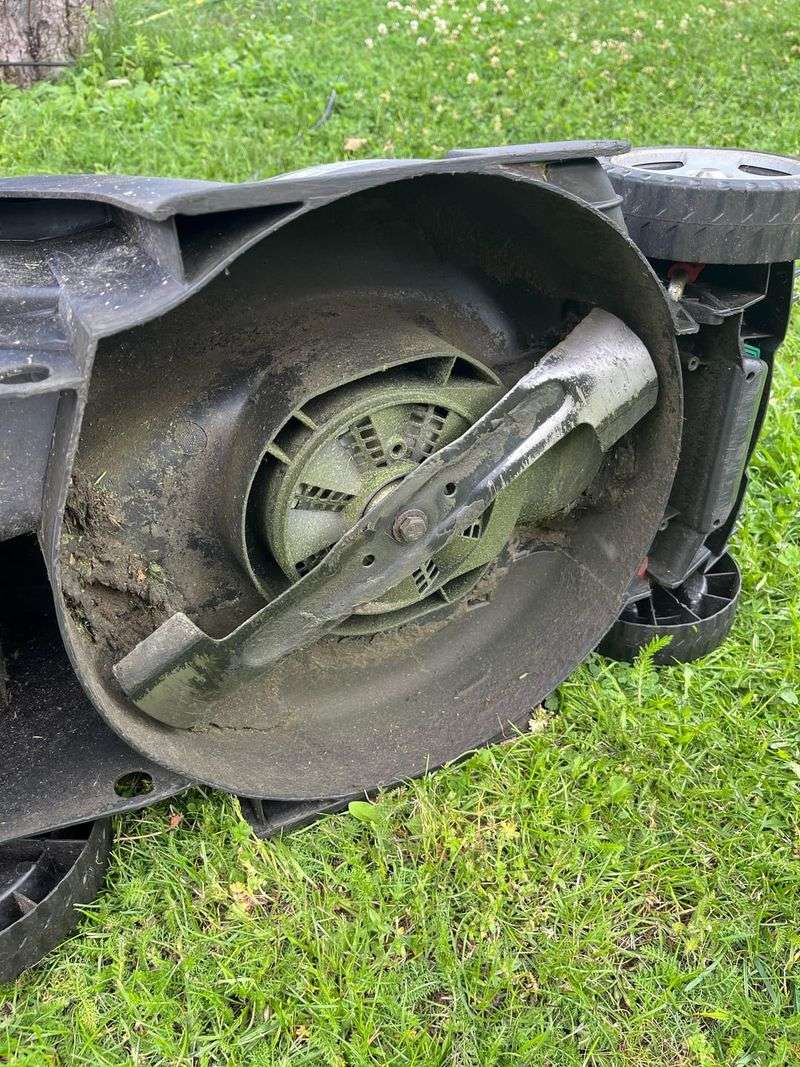
4. Clean the Blade Thoroughly Before Sharpening
Grass buildup and dirt interfere with proper sharpening. Use a wire brush or putty knife to scrape away dried grass clippings and mud from both sides of the blade. Stubborn debris might need a pressure washer.
Clean blades are easier to inspect for damage and sharpen evenly. Look for deep nicks or bends while cleaning. A degreaser helps remove sticky sap residue that can gum up your sharpening tools and hide blade defects.
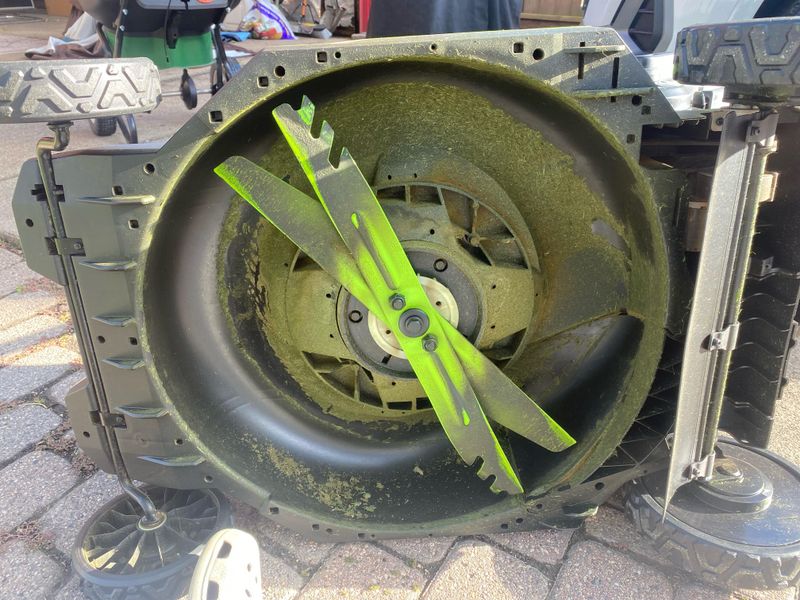
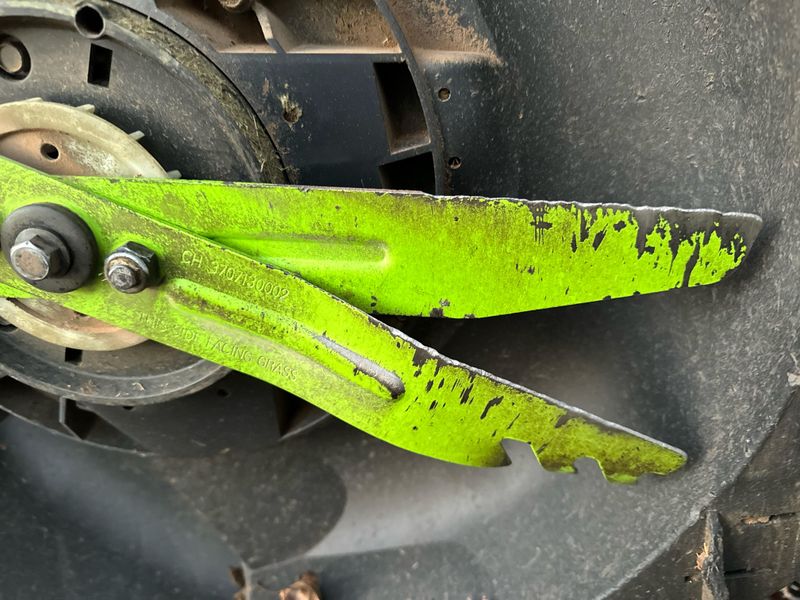
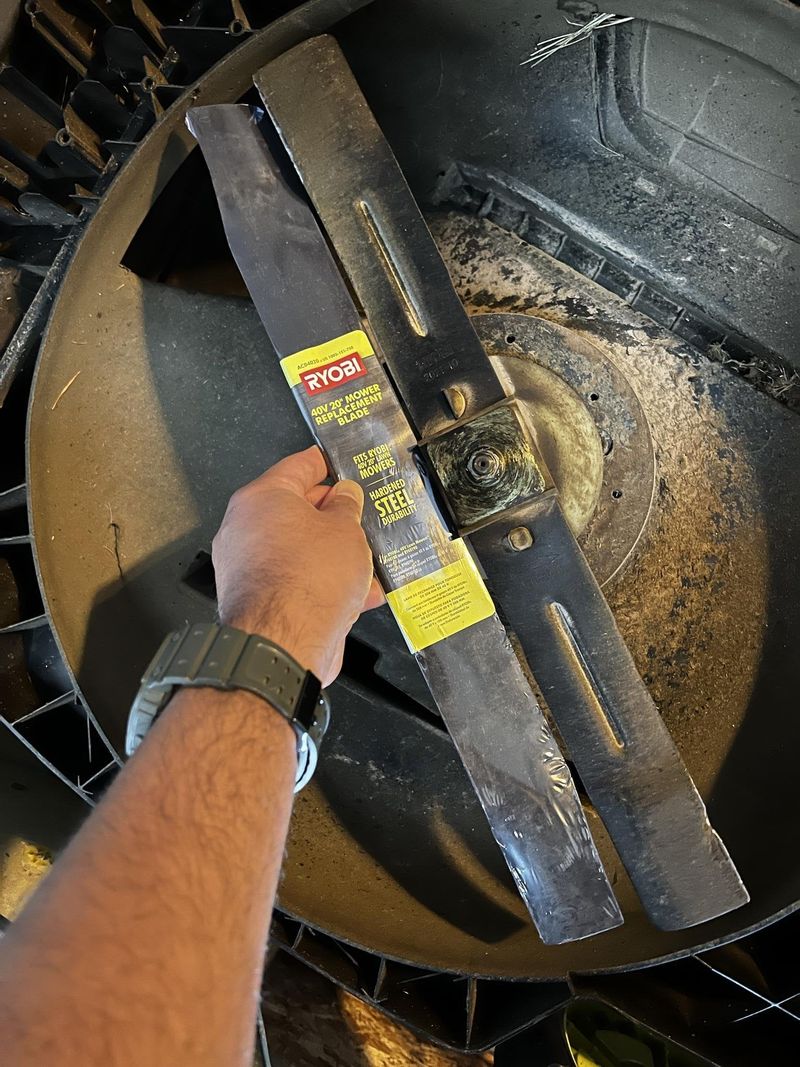
5. Inspect for Damage That Requires Replacement
Not every blade can or should be sharpened. Examine your blade carefully for deep gouges, cracks, or significant bending. These serious defects weaken the blade’s structural integrity.
Blades with more than ¼ inch of metal worn away or severe bending should be replaced, not sharpened. Using damaged blades creates dangerous vibrations and poor cutting performance. Most blades cost $15-30 to replace – a worthwhile investment for safety.
6. Secure the Blade in a Bench Vise for Stability
Trying to sharpen a blade while holding it is both dangerous and ineffective. A bench vise creates a stable platform that frees both hands for controlled sharpening. Position the blade so the cutting edge faces upward.
No vise? Clamp the blade to your workbench instead. The key is preventing movement during sharpening. This stability ensures even pressure along the entire cutting edge, resulting in a consistent bevel angle that cuts grass perfectly.
7. Maintain the Original Blade Angle When Sharpening
Most lawn mower blades have a 30-degree cutting angle. Matching this exact angle when sharpening preserves the blade’s designed cutting efficiency. Look at the existing edge to identify the factory angle before starting.
Sharpening at too steep an angle weakens the edge, causing it to dull quickly. Too shallow an angle won’t cut effectively. Some blades come with angle guides, or you can purchase magnetic angle guides that attach to the blade during sharpening.
8. File in One Direction for the Sharpest Edge
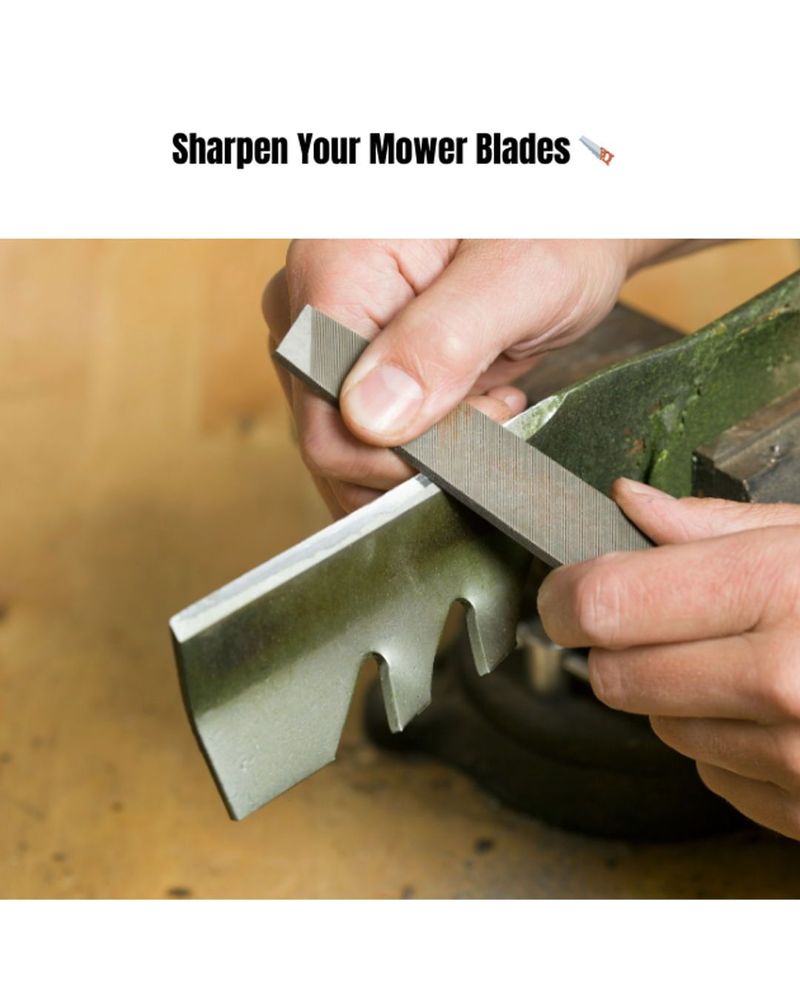
Always push the file away from you in a single direction, never back and forth. This one-way motion creates a cleaner, sharper cutting edge by avoiding microscopic burrs that form with bi-directional filing.
Count your strokes to ensure even sharpening on both sides. Five to ten strokes per section is typically sufficient. You’ll feel the difference as the file begins to glide more smoothly. The blade doesn’t need to be razor-sharp – just keen enough to slice grass cleanly.
9. Use a Grinding Wheel for Faster Results
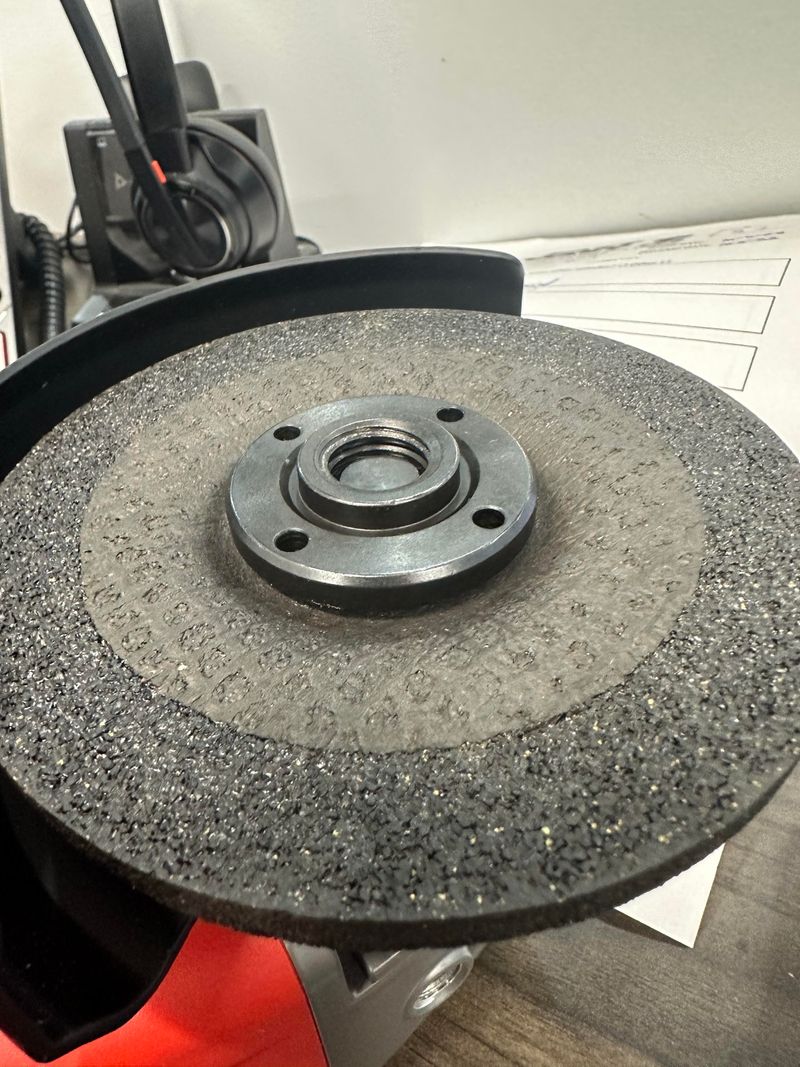
A bench grinder speeds up the sharpening process considerably. Hold the blade at the correct angle against the spinning wheel, moving it steadily across the edge. Keep a bucket of water nearby to cool the blade frequently.
Never grind for more than 10-15 seconds continuously. Overheating can ruin the blade’s temper, weakening the metal. The grinding wheel should be medium-grit for lawn mower blades. Fine-grit wheels don’t remove enough material, while coarse ones leave too rough an edge.
10. Check for Balance After Sharpening
An unbalanced blade creates harmful vibrations that damage your mower over time. After sharpening, check the balance by hanging the blade on a nail through its center hole. If one side dips, it’s heavier and needs more metal removed.
Commercial blade balancers cost under $10 and provide more accurate results. Even slight imbalances strain bearings and can crack mower decks eventually. Take your time with this step – a perfectly balanced blade makes your mower run smoother and last longer.
11. Remove Burrs for a Clean Cutting Edge

Sharpening creates tiny metal burrs along the edge that prevent clean cutting. Run a fine metal file or sandpaper lightly along the backside of the cutting edge to remove these burrs. You can feel them with your finger (carefully!) as rough spots.
This deburring step takes just seconds but makes a huge difference in cutting quality. Think of it like honing a kitchen knife after sharpening. The result is a blade that slices through grass instead of tearing it, leaving your lawn healthier.
12. Apply Rust Preventative Before Reinstallation
Freshly sharpened metal is particularly vulnerable to rust. Wipe the entire blade with light machine oil or WD-40 before reinstalling it. This thin protective coating prevents moisture from causing corrosion.
Pay special attention to the newly exposed metal at the cutting edge. For season-long protection, some professionals apply paste wax to the blade’s underside. This not only prevents rust but also helps grass clippings slide off more easily, reducing buildup under the mower deck.
13. Tighten the Blade to Proper Specifications
Loose blades create dangerous vibrations while overtightened bolts can strip threads or snap. Most mower manufacturers specify exact torque settings in the manual – typically between 38-50 foot-pounds. A torque wrench eliminates guesswork.
No torque wrench? Tighten the bolt firmly but not with excessive force. The blade should feel solid with no movement or wobble. Remember to turn clockwise to tighten. Some professionals apply a drop of blue (medium-strength) thread locker to prevent bolts from vibrating loose.
14. Sharpen Twice per Season for Best Results
Professional landscapers sharpen their blades after every 8-10 hours of mowing. For homeowners, aim to sharpen blades twice per season – once in late spring and again mid-summer. Mowing frequency and terrain affect dulling rates.
Rocky or sandy soil dulls blades faster than clean lawns. You’ll know it’s time when grass tips look torn instead of cleanly cut, or when your mower requires more pushing force. Regular sharpening reduces strain on your mower’s engine and gives your lawn that professional striped look.
15. Consider Keeping a Spare Sharpened Blade
Smart mower owners keep a second pre-sharpened blade on hand for quick swaps. This approach means never mowing with a dull blade while you find time for sharpening. When one blade dulls, simply install your sharp backup.
The removed dull blade can be sharpened at your convenience. This rotation system extends each blade’s lifespan by allowing complete sharpening sessions rather than quick touch-ups. Label your blades with dates to track usage and wear patterns over time.