What Are Biennials And How To Sow Them
The gardening world may seem complicated sometimes, especially for beginners. There are so many plant species and classification is actually the thing that brings confusion.
In this article, I’ll answer a common question: what are biennials? You may have heard that these species produce blossoms and are easy to grow, and while that is true, there are more things to learn.
Let’s get started!
The Definition
First things first, plants are classified by the biological definition. Some plants complete their life cycle within a year, i.e., grow, bloom, produce seeds, and die. We refer to them as annuals. The most popular colorful annuals are marigolds, geraniums, and sweet peas.
There are also some uncommon yet beautiful species, such as the Spanish flag and annual poppies.
On the other hand, some plants come back year after year and they’re classified as perennials. The most common ones are roses and canna lilies. Plants that develop from corms, tubers, and bulbs also belong to this category.
Perennial fall gardens are very popular due to the splendid splash of colors.
So, what are biennials then? These plants complete their life cycle within two years.
They’ll develop robust roots after sowing, then go through the dormancy during the winter months and ‘wake up’ in the following spring. During the second season, they’ll bloom, set seeds, and die back in the fall.
If you sow their seeds in modules in summer, you’ll be able to plant them in your garden in the fall and get a spectacular display of colors the next year.
You can also keep them in containers in a greenhouse to overwinter and then plant them in your garden.
Varieties To Select
There are numerous varieties of biennials you can add to your garden, but here are my top picks:
• Black-eyed Susan (cultivars Indian Summer and Cherokee Sunset)
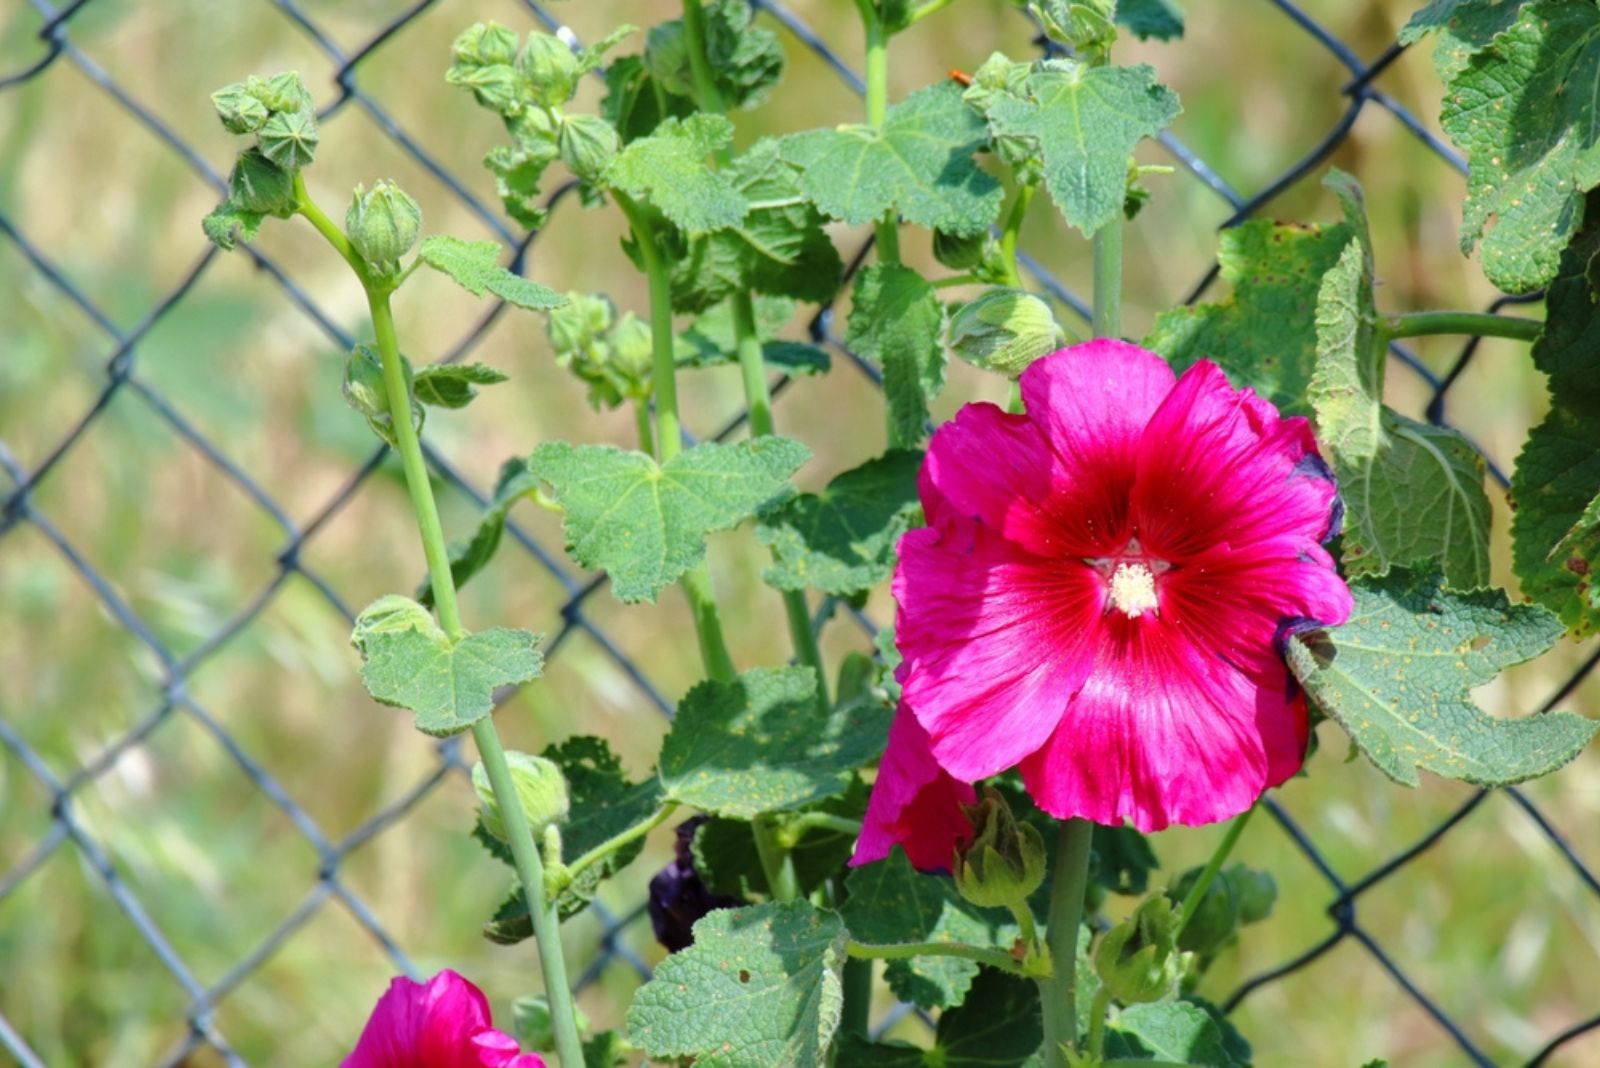
• Hollyhocks
• Foxglove
• Iceland poppies
• Aquilegia
• Canterbury Bells
• Pansy
These biennials not only look spectacular but they also don’t require much to thrive.
A Guide On Sowing Biennials
Now that you know everything about biennials, including the best varieties, it’s time to learn how to sow them. There are two methods you can use: sowing directly in garden soil and in pots.
Let’s get into the details!
Sowing In Garden Soil
Here are the steps for sowing biennials in the ground.
1. Prepare the planting site by raking the soil until you get a crumbly tilth; irrigate the site well.
2. Scatter the seeds but make sure to do it thinly and apply a light layer of soil over them.
3. Pack the soil well using the back of a rake.
4. Mark the planting site so that you don’t accidentally disturb it.
5. Maintain soil moisture, especially during dry spells. But make sure it never gets soggy!
6. Once the seedlings emerge, thin them to prevent overcrowding. It will ruin your flower bed.
Sowing In Pots
The previous method may seem easy but remember that it comes with a risk of poor germination and unhealthy growth.
Sowing biennials in modules will help you avoid these issues. You can take them indoors to protect them from pests and bad weather. Once the seedlings emerge, you’ll need to transfer them to a larger container and put them in a greenhouse for overwintering.
They’ll be ready for in-ground planting the following spring. As you can see, the drawback of this method is that it takes more time.
Here are the steps.
1. Put fresh potting soil for seeds in a module or seed tray.
2. Mist the soil well using fresh room temperature tap water. Don’t use rainwater at this point because it can affect your seedlings.
3. Spread the seeds thinly over the surface of the growing medium.
4. Add more potting mix or vermiculite over the seeds and finish by labeling.
5. Cover the trays with the lids to trap moisture and put them where they can get enough light.
6. Remove the lids as soon as the seedlings emerge, thin them, and keep the soil moist but not waterlogged.
How To Pot Up Biennial Seedlings
Once your seeds germinate successfully and you notice that there are some true sets of leaves, you can plant the seedlings into separate containers.
Remember, the first round leaflets that appear after germination aren’t true leaves and you shouldn’t take these seedlings out.
Seedlings will need space to develop and their soil should have more nutrients than the one in which they germinated. But make sure the soil isn’t too strong because it could affect the growth of your seedlings and even kill them by burning their roots.
Larger seedlings typically perform well in regular potting soils you can purchase in nurseries. If you have smaller seedlings, you can add some seed-starting mix to regular potting soil to make it lighter.
Here are the steps for potting up biennial seedlings.
1. Fill the pots you prepared (depending on the number of seedlings you have) with soil and make holes in the center.
2. Take your seedlings out of the current pot; I use a spoon and simply scoop out the rootball. You can carefully hold the leaves when removing the seedlings from the pot.
3. Gently hold the leaves, put the seedlings in the holes, and pack the soil around their base.
4. Submerge the bottom half of the pots in water to allow the soil to absorb moisture gradually.
5. Put the seedlings in a sheltered spot; both an unheated greenhouse and a cold frame will work well.
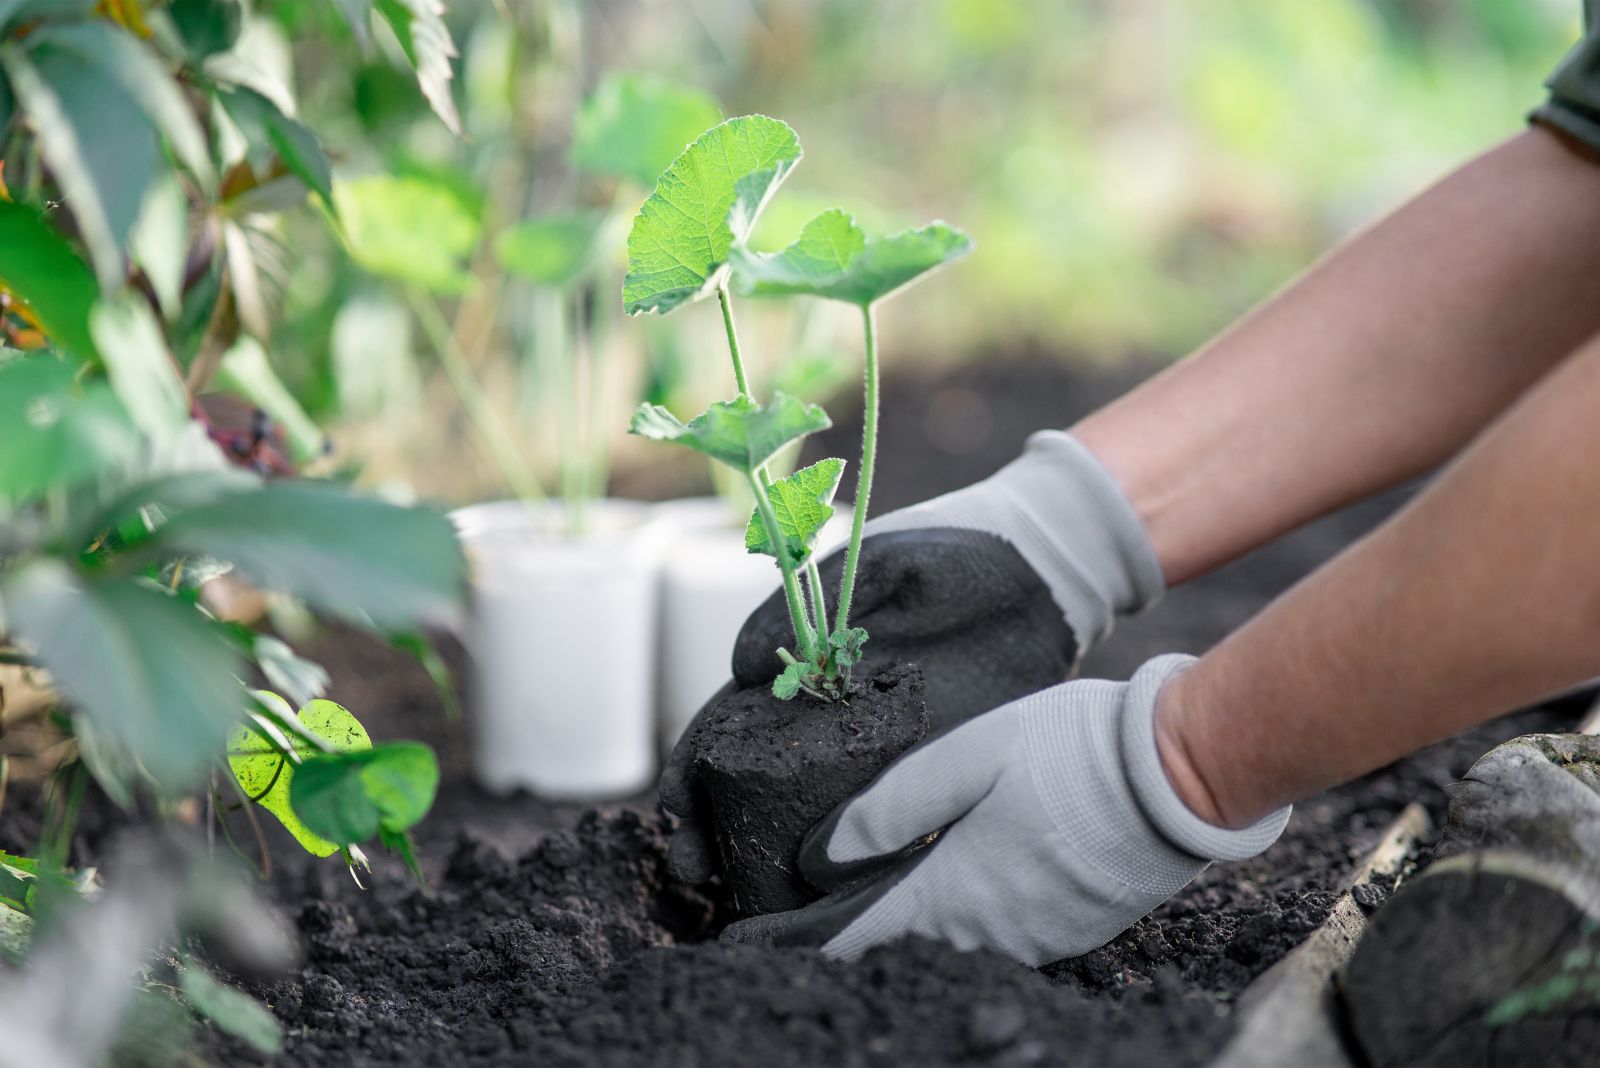
6. Make sure the soil is always moist but don’t allow the water to accumulate. If you live in warmer climates, you can plant the seedlings directly in the ground in the fall.
Those who live in cooler climates should keep the seedlings in a greenhouse during the winter and plant them in the ground when soil temperatures increase, i.e., in spring.
How To Collect Biennial Seeds
Your biennials will die back at the end of the second season, but there’s no need to purchase new seeds; just collect the ones set by your biennials!
You can collect them approximately 8 weeks after flowering. Pay attention and don’t collect until the seed pods turn brown or black. The green ones can’t germinate!
However, don’t wait for too long; check the seed pods every day and collect the seeds before they open. Remember that only seeds taken from healthy plants can develop successfully.
Always collect your seeds on a dry day because if they’re wet, they’re prone to fungal diseases and rotting. You can also put them in an envelope or lay them on a paper towel and store them in a warm spot to dry well.
Once the seeds are entirely dry, place them in a cool and dark spot.
That’s all you need to know about biennials! Growing these beautiful plants isn’t challenging and with a little care, you can get a breathtaking garden display the next season!