What Indiana Gardeners Should Do With Daylilies Once The Blooms Fade
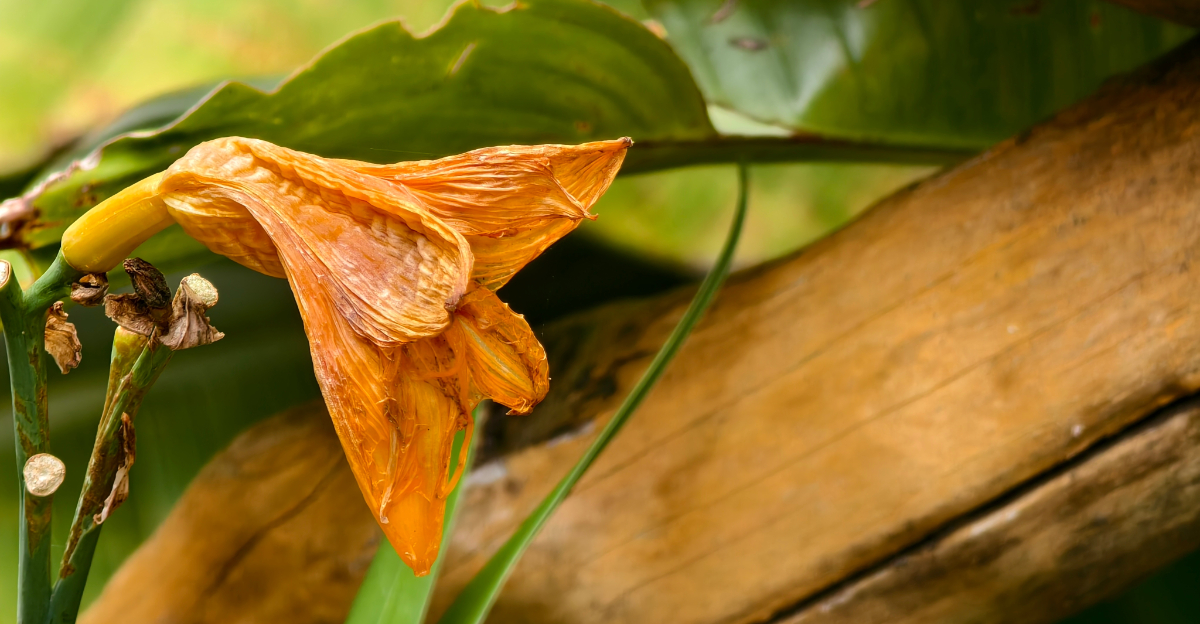
Fading blooms don’t mean your daylilies have finished with you yet. Something critical happens in the weeks after flowering stops. Indiana summers test plants that gardeners overlook too early.
Skipping this stage now creates weak, sparse blooms next season. Roots are quietly storing energy for a comeback. Gardeners who miss this crucial window often wonder why growth stalls later.
Timing matters more than most people realize. Cutting back at the off moment slows the whole plant. Fertilizing incorrectly can quickly work against you. Watering habits shift once flowering ends, whether you notice or not.
Soil conditions across Indiana add another layer of complexity most guides ignore. Pests and disease pressure quietly builds through late summer. Attention now determines whether next July delivers color or a letdown.
Every choice you make truly shapes what emerges from the ground next spring. Ignore this window, and you’ll spend next summer wondering what happened.
1. Remove Spent Flower Stalks Promptly
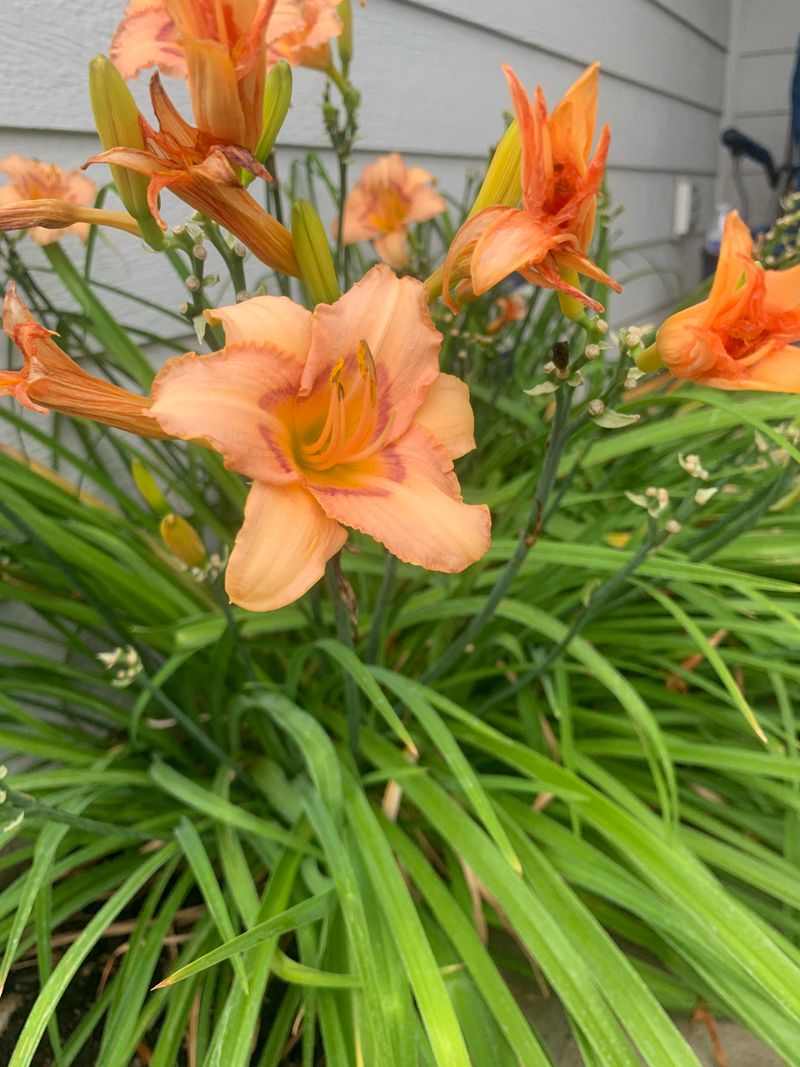
Grab your shears and get out there. Leaving spent stalks on your daylilies can lead to unnecessary plant stress and problems later.
Once a bloom fades, the plant shifts energy toward seed production. You want that energy going to the roots instead, building strength for next season.
Snip each stalk down close to the base of the plant. Use clean, sharp scissors or pruning shears to make a smooth cut without tearing the stem.
Torn stems invite bacteria and fungal issues, especially in Indiana’s humid late-summer air. A clean cut heals faster and keeps the plant looking tidy at the same time.
Do not wait until every bloom on a stalk has finished. As soon as the last flower on a stem closes, that stalk has done its job.
Removing stalks promptly also keeps your garden beds looking neat and intentional, while continuing to support pollinators working nearby plants.
Some gardeners leave a few stalks hoping for self-seeding. That can work, but seedlings rarely match the parent plant’s color or size.
For most home gardens, prompt removal gives you much more control over the outcome. This effort pays off in next season’s blooms.
2. Trim Yellowing Foliage Back Gently
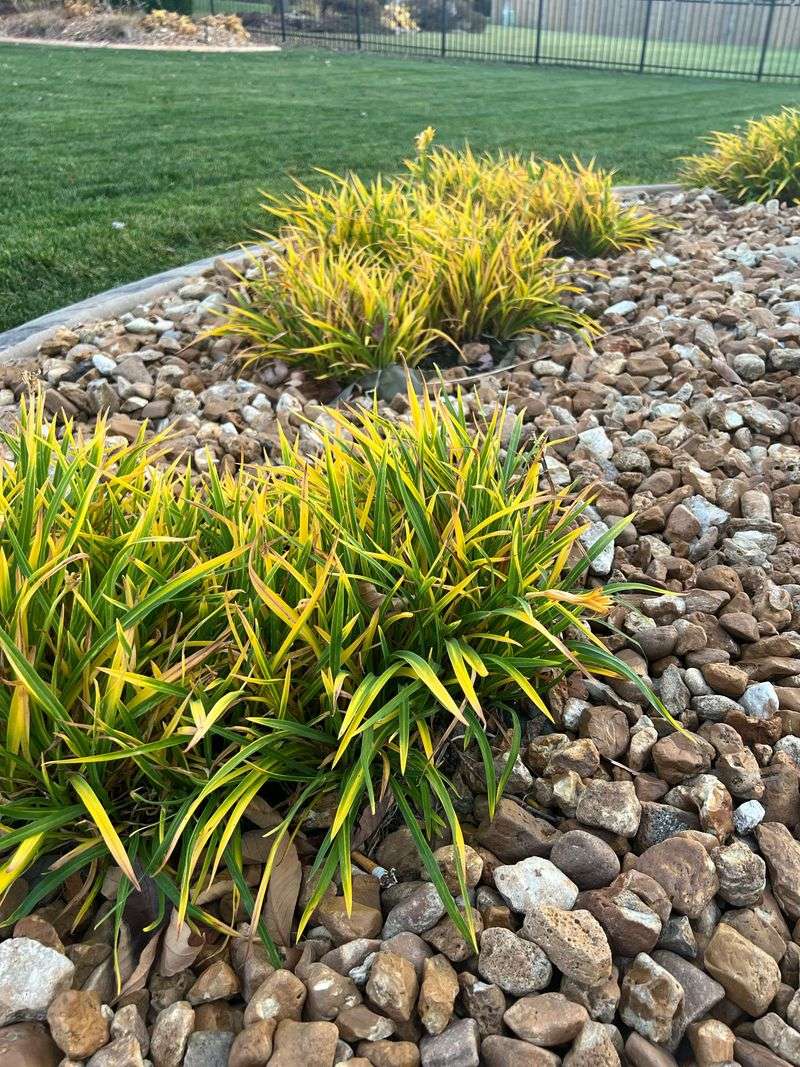
Yellow leaves on daylilies after bloom season are completely normal. Think of it as the plant taking off its summer outfit and getting ready for something more comfortable.
Still, letting too much yellow foliage pile up around the base can cause issues. Soggy, decaying leaves trap moisture and create a cozy home for fungal problems.
Trim back only the leaves that have turned fully yellow or brown. Healthy green foliage should stay right where it is, still doing photosynthesis work for the roots below.
Use a gentle hand when trimming, pulling or cutting close to the base without yanking. Ripping leaves can disturb the crown of the plant, which sits just at soil level.
Indiana falls can bring unpredictable weather, with warm spells followed by sudden cold snaps. Keeping some green foliage intact helps insulate the crown during those early temperature swings.
Your Indiana Garden Changes Every Week. Your Plan Should Too.
Gardening in Indiana changes quickly throughout the season. Every Friday you’ll receive a simple weekly plan showing exactly what to plant, prune, fertilize, harvest, and protect so you never miss the right timing.
Toss the trimmed yellow leaves into your compost bin rather than leaving them on the soil. Composting puts those nutrients back to work in a smarter way.
Avoid cutting all the foliage to the ground too early in the season. Daylilies are semi-evergreen in many parts of the state, and their leaves provide real value through fall.
A light, thoughtful trim now sets the plant up beautifully. Healthy crowns going into winter mean strong, vigorous growth when spring warmth finally rolls back around.
3. Divide Overcrowded Clumps For Better Growth
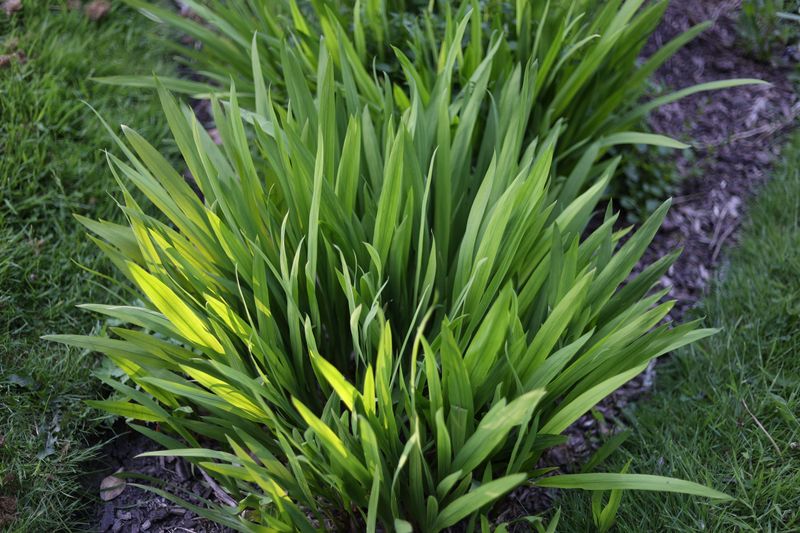
Daylilies are social plants, but even they need personal space. When a clump gets too crowded, bloom production drops and the center of the plant can start to look bare and sad.
Late summer and early fall are the sweet spot for dividing daylilies in Indiana. The soil is still warm enough for roots to establish before the ground freezes hard.
Dig around the clump generously, getting your fork or spade well under the root mass. Lift the whole clump out and set it on the ground where you can work with it comfortably.
Pull or cut the clump into sections, each with a healthy fan of leaves and a solid root system attached. Sections with two to three fans typically reestablish well, though preferences vary by gardener and cultivar.
Replant divisions at the same depth they were growing before. Too deep buries the crown, and too shallow leaves roots exposed to drying air and frost.
Water each new division right away to settle the soil around the roots. Give them a good soak, not just a quick sprinkle that barely reaches the root zone.
Share extra divisions with neighbors or plant them in a new bed to expand your display. Daylilies multiply readily when given room to breathe.
Divided plants often bloom more vigorously the following season. Giving them space now is one of the highest-return moves any Indiana gardener can make.
4. Water Deeply To Support Root Recovery
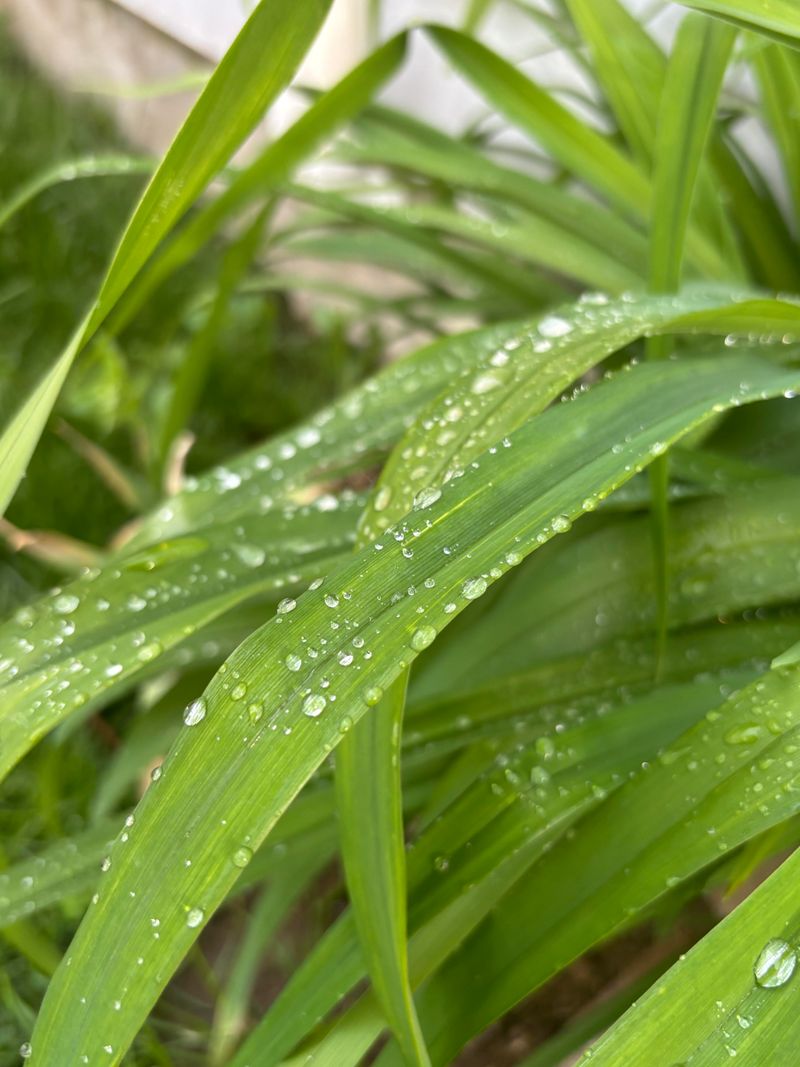
After all that blooming, your daylilies have expended significant energy. Roots worked hard all season pushing energy upward, and now they need a solid drink to start recovering.
Deep watering encourages roots to grow downward, not just spread along the surface. Shallow roots are more vulnerable to both summer drought and winter freeze-thaw cycles.
Aim for about one inch of water per week if rain is not doing the job. Indiana late summers can turn surprisingly dry, especially in August and September.
Water at the base of the plant rather than overhead. Wet foliage sitting through the night invites fungal issues, which are already more common in humid Midwest conditions.
A slow, steady soak is far better than a quick burst from a hose. Use a drip line, soaker hose, or just hold the hose low and let it run for several minutes per plant.
Morning watering gives any splashed leaves time to dry before evening temperatures drop. That small habit makes a real difference in preventing leaf spot and mildew.
Check the soil with your finger before watering again. If the top inch feels moist, hold off and check the next day rather than risking soggy, oxygen-poor roots.
Consistent moisture through fall fuels strong root development before dormancy. Plants that enter winter well-hydrated bounce back faster and stronger when spring arrives in Indiana.
5. Apply Light Fertilizer For Fall Reserves
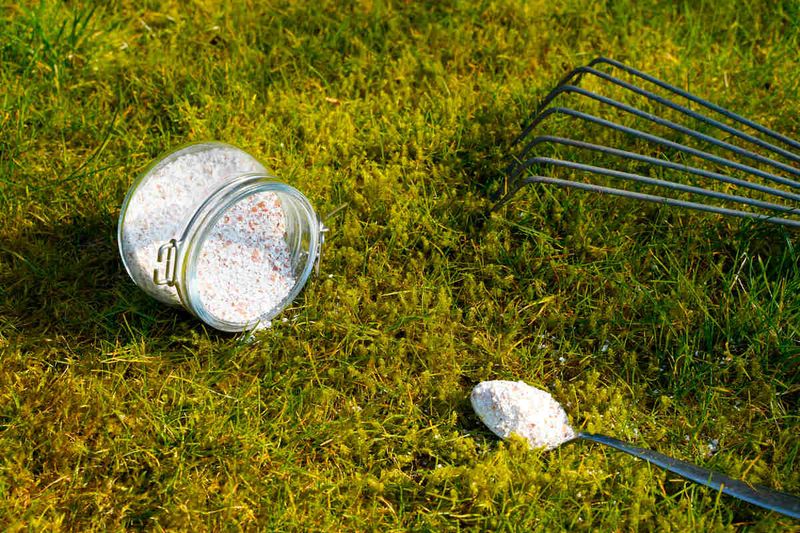
Post-bloom fertilizing is a move that many gardeners skip, and their plants show it. A light feeding after flowering helps daylilies store energy for a stronger start next spring.
Choose a low-nitrogen fertilizer for this fall application. High nitrogen now pushes leafy growth that will not survive the coming cold, wasting the plant’s precious reserves.
Look for a fertilizer labeled with higher phosphorus and potassium numbers, like a 5-10-10 blend. Phosphorus supports root development, and potassium boosts overall plant hardiness heading into winter.
Apply according to the package directions, erring on the lighter side. More is not better here, and over-fertilizing in fall can actually stress the plant rather than strengthen it.
Scatter granules evenly around the drip line of the plant, not right against the crown. Direct contact between fertilizer and the crown can cause burning on tender tissue.
Water the fertilizer in gently right after applying. This helps nutrients move into the soil where roots can actually access them rather than sitting on top and evaporating.
Skip liquid fertilizers at this stage since granular options release more slowly and steadily. Slow release matches the plant’s winding-down pace much more naturally as days shorten.
One well-timed fall feeding can quietly transform next summer’s bloom season. Think of it as packing a lunch for your daylilies to enjoy when they wake up in spring.
6. Clear Debris Around The Base
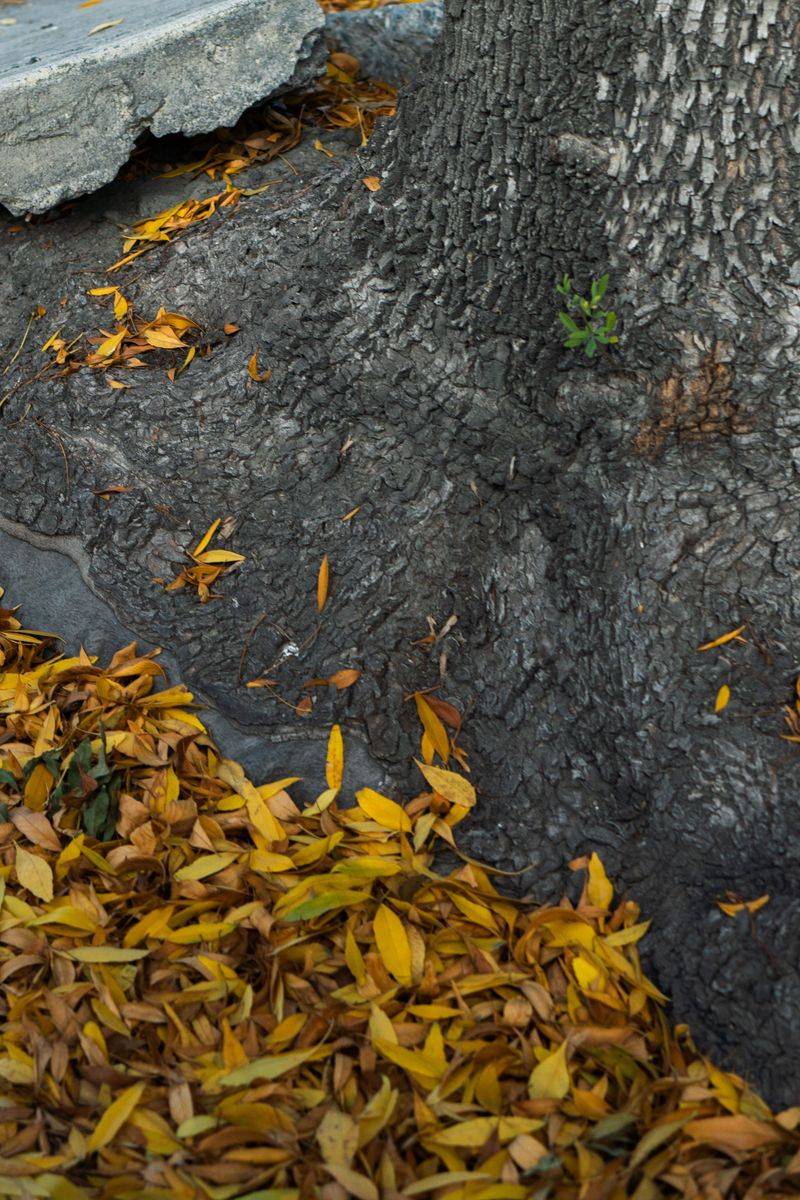
Old leaves, spent petals, and random garden debris love to pile up around daylily bases. That pile might look harmless, but it creates an inviting environment for pests and pathogens.
Take a few minutes to clear the area around each plant after blooming season wraps. You do not need special tools, just a gloved hand and a small rake or trowel.
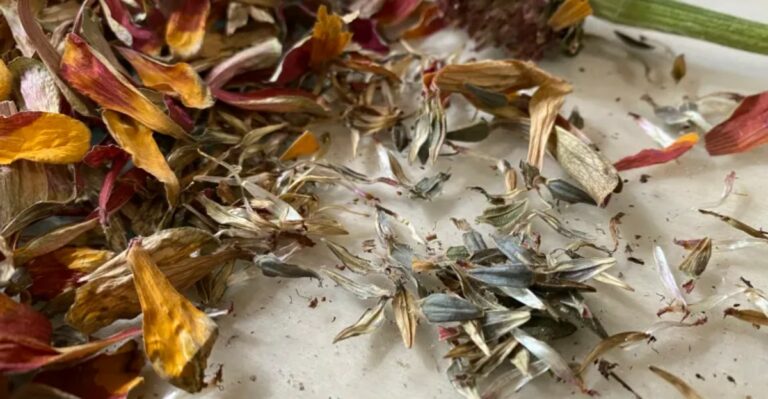
Remove fallen petals first since they decompose quickly and create a damp, sticky layer. That layer holds moisture against the crown in a way that promotes rot over time.
Pull out any weeds that snuck in during the busy summer months. Weeds compete for water and nutrients, and they also harbor insects that may move onto your daylilies next.
Check for any old mulch that has compacted into a wet mat against the plant stems. Packed mulch against stems creates the same crown rot risk as piled-up leaf debris.
Loosen or remove that compacted layer and set it aside. You can add fresh mulch later, but first the base needs to air out and dry slightly before winter prep begins.
Bag up the debris rather than adding it to your compost if you noticed any pest or disease activity this season. Playing it safe keeps problems from cycling back next year.
A clean base now is one of the simplest gifts you can give your garden. Tidy beds going into fall just perform better, plain and simple.
7. Check For Pests Hiding In Foliage
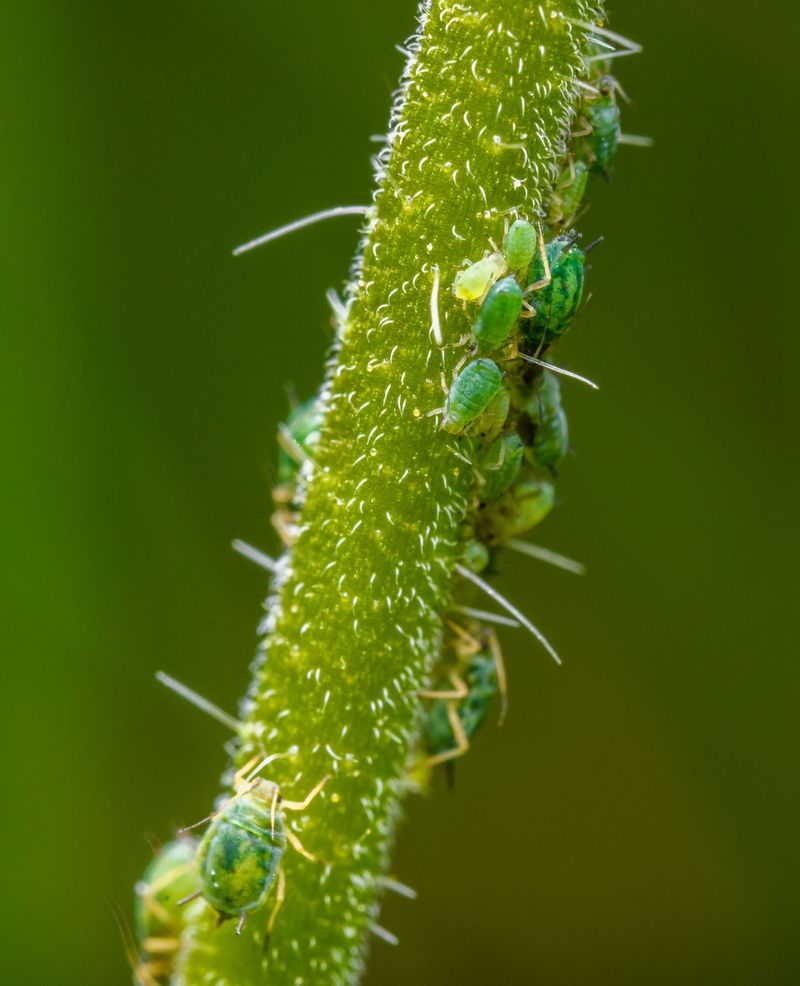
Post-bloom season is prime time for sneaky garden pests. Aphids, thrips, and spider mites often ramp up activity in late summer when plants are a little worn down and less vigorous.
Flip some leaves over and take a close look at the undersides. That is where most soft-bodied pests prefer to hide, feeding quietly while you are not paying attention.
Aphids look like tiny green, yellow, or black dots clustered on stems and leaf backs. A strong spray of water from a hose can help dislodge light aphid infestations without chemicals, though heavier infestations may need additional treatment.
Spider mites leave a fine webbing on foliage and cause leaves to look stippled or grayish. Dry, hot conditions in Indiana summers create perfect spider mite weather, so check carefully.
Thrips are harder to spot since they are tiny and fast-moving. Look for silvery streaking on leaves or distorted new growth as clues that thrips have been feeding.
Slugs love to shelter under daylily foliage, especially after rain. Handpicking at dusk is effective; beer traps are a popular home remedy, though results can vary.
If you find a significant infestation, treat with insecticidal soap or neem oil. Always follow label directions and apply in the cooler parts of the day to protect beneficial insects nearby.
Catching pest issues now stops them from overwintering in your beds. A clean, pest-free garden heading into fall is a head start you absolutely want.
8. Mulch Lightly To Retain Soil Moisture
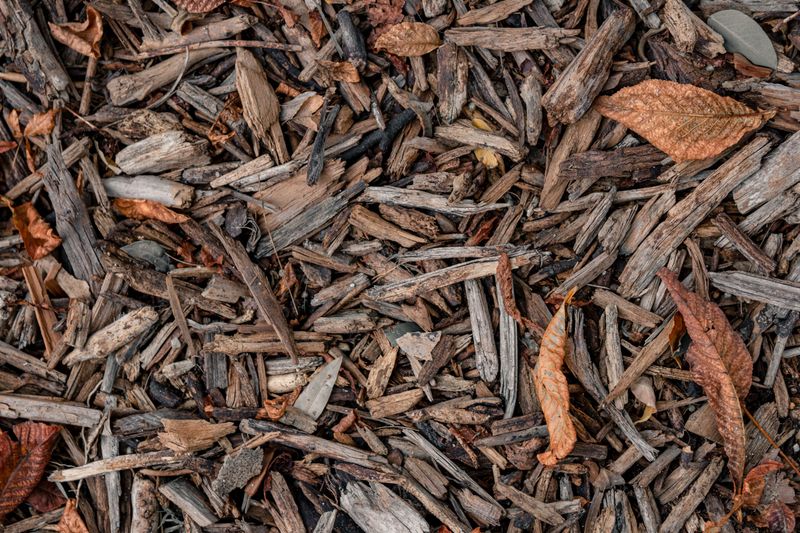
A light layer of mulch after bloom season helps insulate and protect the root zone. It holds moisture, moderates soil temperature, and reduces weed pressure heading into fall.
The key word here is light. Two to three inches of mulch is plenty for daylilies, and piling it on thicker does more harm than good.
Keep mulch a few inches away from the plant crown. Mulch piled directly against the crown traps moisture and warmth, creating conditions where rot can quietly develop over winter.
Shredded bark, straw, or chopped leaves all work well as mulch options for Indiana gardens. Avoid thick wood chips since they compact over time and can block water from reaching roots.
Chopped fallen leaves are a particularly smart choice because they are free and break down into rich organic matter. Run your lawn mower over a pile of leaves to chop them quickly.
Apply mulch after the first light frost but before the ground freezes solid. Timing it right means the soil holds warmth longer, giving roots extra time to settle and strengthen.
Check mulch depth again in early spring before new growth emerges. Pull it back slightly from crowns so fresh shoots can push through easily without fighting a thick layer overhead.
What Indiana gardeners do with daylilies after blooms fade sets the stage for everything that follows. Mulching well is the final, satisfying step in a season of smart, attentive care.