What It Means When California Garden Soil Stays Hard After Watering
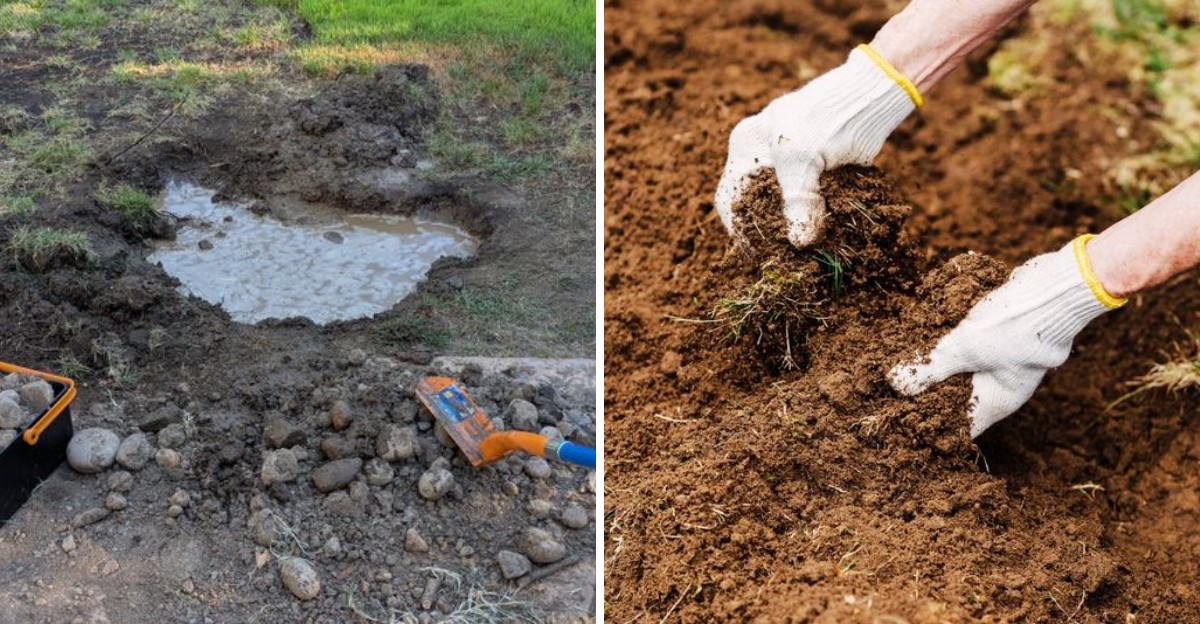
You turn on the hose, and the water just sits there on top of your garden bed in shiny puddles, no matter how long you let it run.
Ten minutes later, it’s still sitting there. Or it’s already slid off onto the sidewalk, gone before it ever reached a single root.
Poke the soil, and it feels hard as a brick just an inch down.
Here’s what almost nobody realizes about this scene. It’s not actually a watering problem at all, even though it looks exactly like one.
Something happens to dry soil that changes how it responds to water entirely, and once you understand what’s going on underneath, the fix becomes almost simple.
Eight facts explain exactly why your garden bed shrugs off water like a raincoat, and what actually gets moisture back where your plants need it.
Curious what’s really happening the moment that hose hits dry dirt? It starts with a coating you’d never notice just by looking.
1. Hydrophobic Soil Repels Water At First
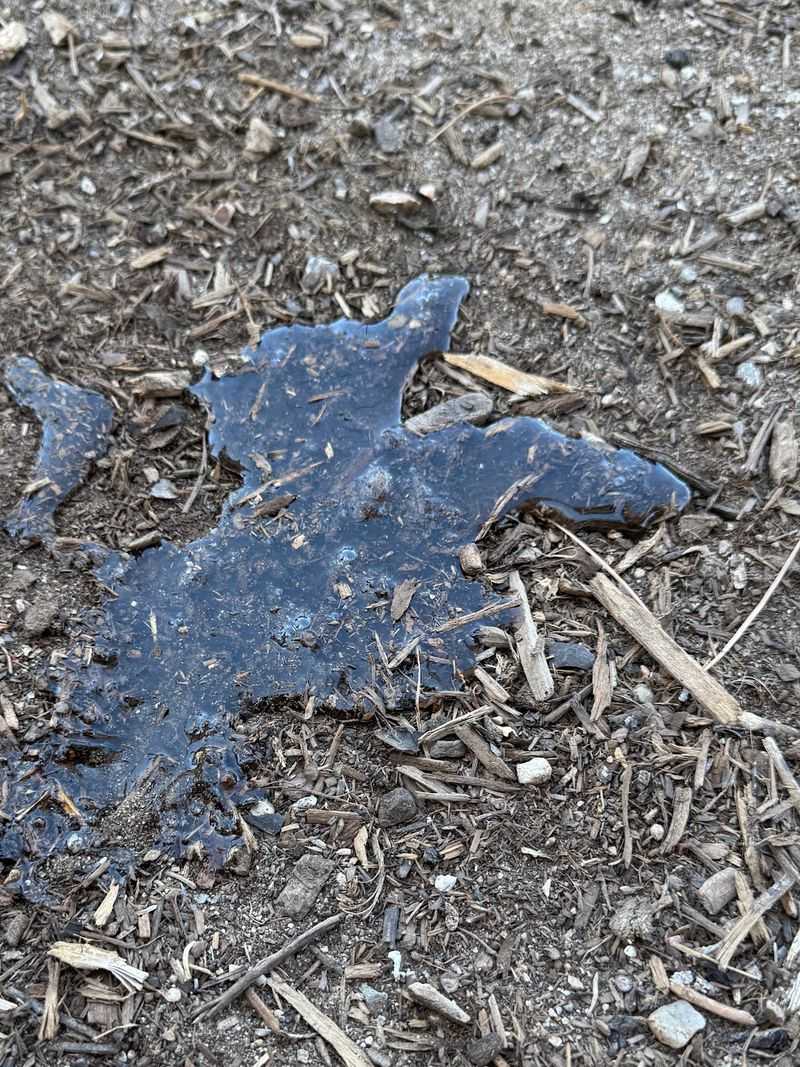
Picture a raincoat lying flat in your flower bed. Pour water on it, and the drops bead up and roll away instead of sinking in anywhere.
Dry garden soil can behave the same way, and scientists have a name for it. Hydrophobic soil, which simply means soil that repels water on contact.
Soil can become water repellent when tiny grains get coated with waxy, oily substances. Those coatings come mostly from plant material breaking down and from certain fungi living in the soil itself.
When the soil is moist, the coatings don’t cause much trouble. Once everything dries out hard, though, they start pushing water away instead of letting it in.
The tricky part is that the soil looks completely normal. You might see dark, crumbly dirt and assume it’s ready to drink right up.
Then you water, and most of it slides off, soaks only the top quarter inch, or finds one crack and disappears while the rest stays dusty and untouched.
So hard soil after watering is often not a watering problem at all. It’s a surface problem, and the water never got the chance to reach the roots where it’s actually needed.
That’s why your plants can wilt even when you swear you watered them yesterday.
A quick test can help today. Dig a small hole a few inches deep about an hour after watering, then feel the soil with your fingers. If it’s damp on top but dry and powdery below, water repellency is a likely suspect.
2. Dry Organic Matter Sheds Water Fast
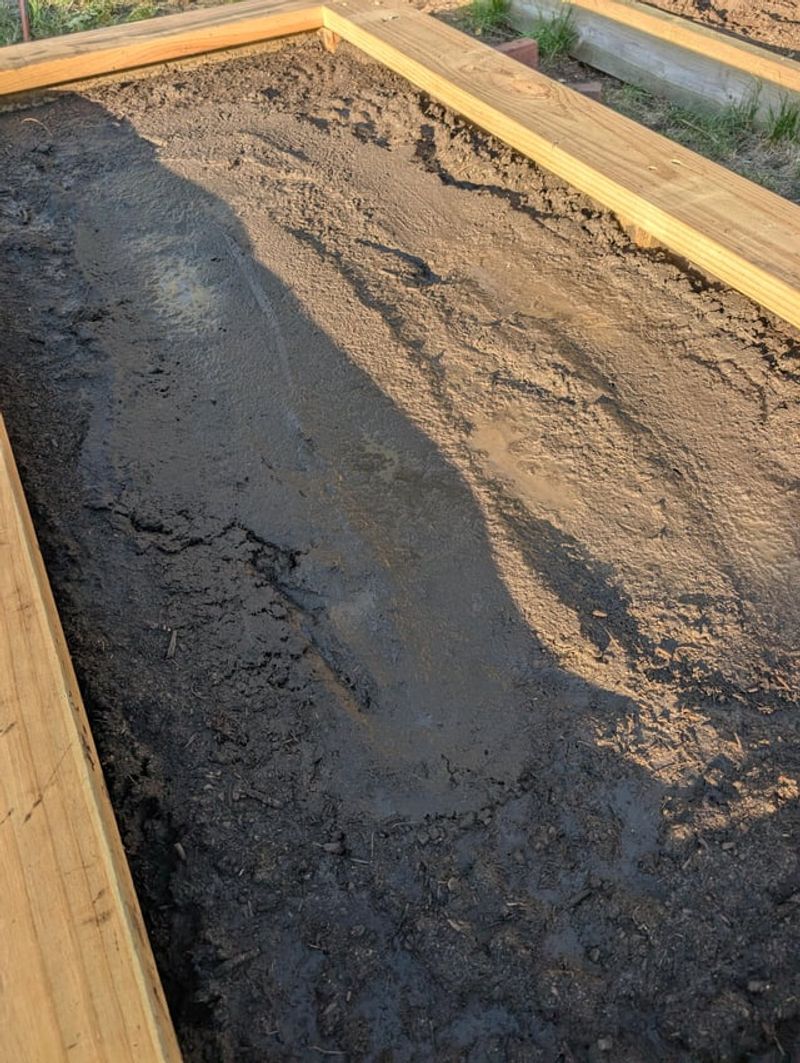
Ever tried to rewet a bag of old potting mix that sat in the garage all summer? Water races across the top and pours out the sides, leaving the peat inside bone dry the whole time.
That same thing happens in garden beds when organic matter gets severely dried out for too long.
Organic matter includes old leaves, compost, bark, roots, and other bits of once-living stuff. As it breaks down, it releases natural waxy compounds that coat soil particles.
Your California Garden Changes Every Week. Your Plan Should Too.
Gardening in California changes quickly throughout the season. Every Friday you’ll receive a simple weekly plan showing exactly what to plant, prune, fertilize, harvest, and protect so you never miss the right timing.
When moisture is present, those compounds stay mostly harmless. Long dry spells, though, let them harden into a thin, slick film that sheds water on contact.
California makes this extra likely to happen. Long, rainless summers can leave beds untouched by water for months, especially if a drip line clogs or a section gets skipped entirely.
Certain plants, like eucalyptus and some chaparral shrubs, also drop litter that tends to make soil more water repellent underneath them.
Here’s a fun fact worth knowing. Wildfire can cause the same effect on hillsides. Heat from burning plants pushes waxy vapors into the soil, where they cool and form a water-shedding layer that increases runoff and erosion.
What should you watch for at home? Beds heavy in peat, bark, or dried leaf litter that went bone dry are the prime suspects.
Keep them from fully drying out, and you’ll stop the problem before it starts. A layer of mulch on top, kept slightly damp, acts like a shield against that summer baking.
3. Clay Soil Compounds The Problem
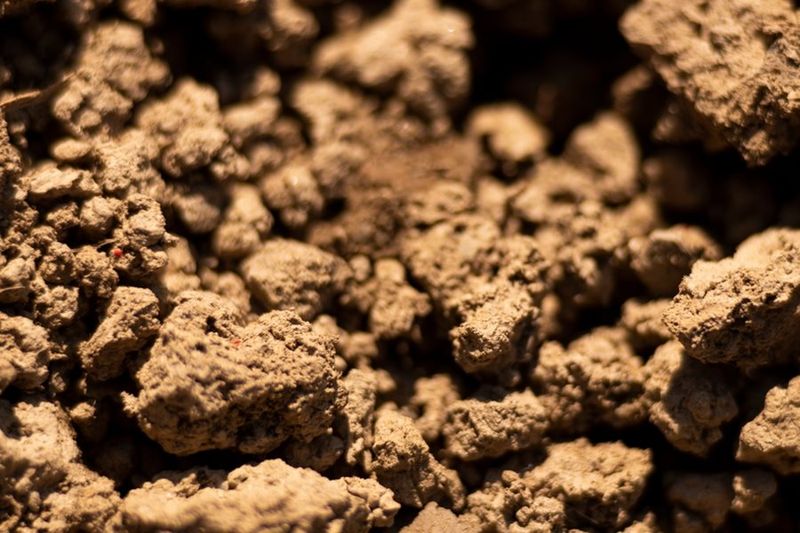
Clay is the heavyweight of California garden soils, and it plays rough with anyone trying to water it. Clay particles are incredibly tiny, much smaller than grains of sand, so they pack together tightly with very little room for air or water to move.
Many California neighborhoods, from the Central Valley to the Bay Area and parts of Southern California, sit on this dense, sticky stuff.
Even when healthy, clay soaks up water slowly. Clay has a much slower infiltration rate than sandy or loamy soils, which is why sprinklers often cause runoff on clay long before the ground below is actually wet.
Now add a water-repellent surface layer on top of that. The clay was already a slow drinker, and the waxy film makes the first few minutes of watering almost useless.
Water beads up, finds the lowest spot, and rolls away without soaking in anywhere.
Dried clay also shrinks and cracks over time. Those cracks can trick you, because water rushes down them and disappears, making it seem like the soil is soaking it up.
Meanwhile, the hard chunks between the cracks stay dry inside, completely untouched by that same water.
Foot traffic and working clay while it’s wet make things worse by squeezing out the remaining air pockets. Try to stay off wet beds, and use stepping stones for paths instead.
Treating clay kindly is half the battle, and the rest comes down to how you water it.
4. Water Pools Instead Of Soaking In
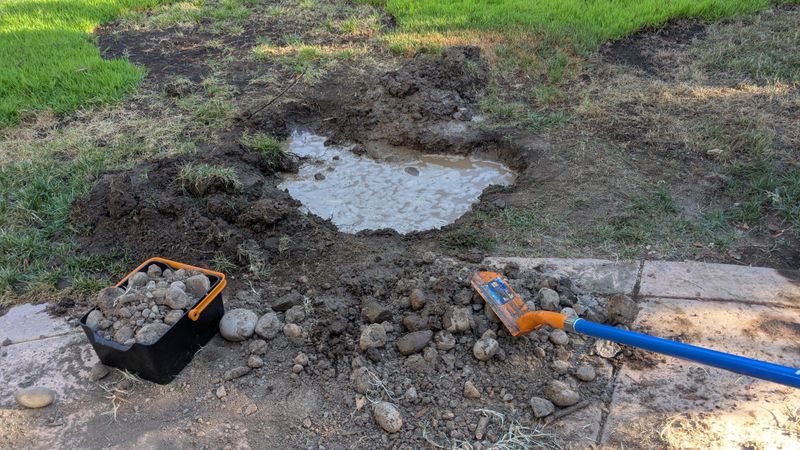
Think of yourself as a garden detective for a minute. The clues are usually right in front of you, as long as you know what to look for. Puddles that sit on the surface for more than a few minutes are the biggest giveaway.
Other signs include water running off the bed and onto the patio, driveway, or sidewalk nearby. You might see it slide sideways along the top and gather in the lowest corner.
Sometimes water forms round beads on dry, dusty soil, like drops on a freshly waxed car parked in the driveway.
Plants give clues too, if you’re watching closely. Leaves may droop in the afternoon even though you watered that morning, and new growth can look stunted or brown at the tips.
Shallow-rooted annuals and vegetables usually show stress first, before anything else in the yard.
To confirm your suspicion, try the drop test at home. Scoop a little dry soil onto a plate and place a few drops of water on it with a spoon or eyedropper.
If the drops sit there as little balls for several seconds or longer before soaking in, the soil is behaving in a water-repellent way.
Researchers use a similar method, often called the water drop penetration test, to measure how strongly soil repels water. The longer the drop stays beaded, the stronger the repellency at play.
Write down what you find so you can compare after you start fixing things, and you’ll have your own before-and-after record. Kids love helping with this one, honestly.
5. Slow Repeated Watering Breaks The Cycle
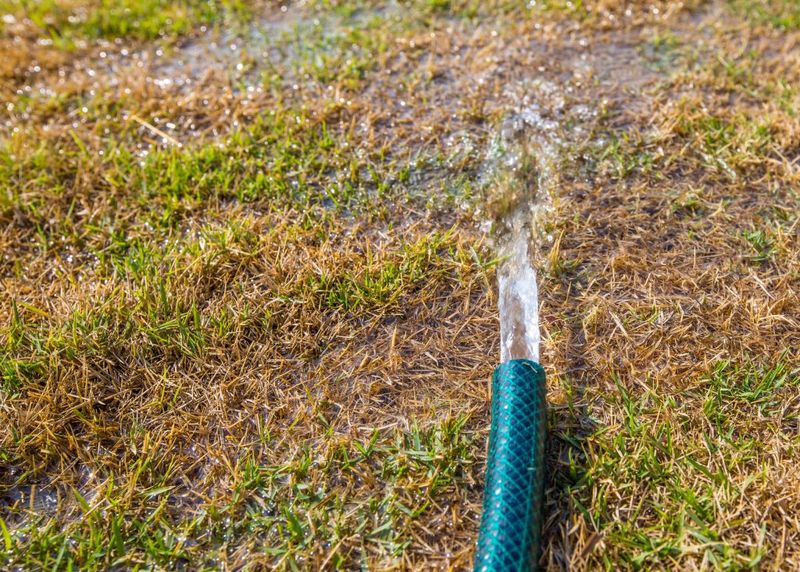
Blasting the hose for an hour feels like the answer, but it usually backfires badly. On water-repellent clay, most of that water runs off before it ever gets a chance to soak in anywhere.
You waste water, and the roots stay just as thirsty as before.
The smarter approach fits with watering advice for slow-draining soils generally. Water in short sessions with breaks in between instead of one long blast.
Try running water gently for about five to ten minutes, stopping when you see puddles or runoff starting. Wait 20 to 30 minutes, then water again, repeating the cycle two or three times total.
Each round wets the surface a little more than the last. Once the top layer gets damp, the waxy coatings start losing their grip, and the next round of water soaks deeper than before.
It’s a lot like softening a dried sponge before asking it to hold a full load of water.
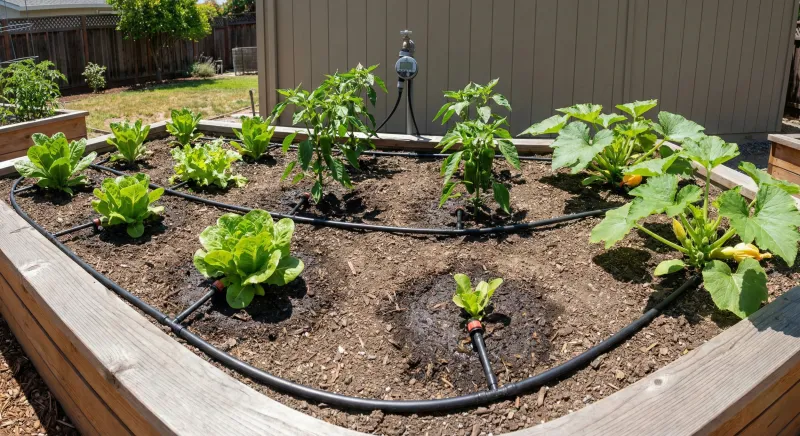
Drip irrigation and soaker hoses work well here because they deliver water slowly and steadily. If your sprinklers are on a timer, many controllers have a cycle and soak setting that splits one long run into several short ones.
Check your manual, since the feature might already be built in without you knowing it.
Keep this routine up for several days, not just once and done. After each session, dig down a few inches to see how far the moisture traveled that time.
Steady progress beats one big soak every time, and your water bill will thank you for the change.
6. Soil Wetting Agents Can Help Some Cases
Sometimes stubborn soil needs a little extra nudge to get moving again. Soil wetting agents, also called surfactants, are products that help water spread out and slip past those waxy coatings instead of beading up on top.
They work a bit like dish soap breaking up grease on a pan, if that helps picture it.
Golf courses and sports fields have used these products for years to fight dry spots in turf. Home versions come as liquids you attach to a hose sprayer, granules you scatter by hand, or concentrates you mix into a watering can.
Some potting mixes even include a wetting agent already built in.
Still, a wetting agent isn’t magic by any stretch. It works best alongside slow, repeated watering, not as a replacement for it entirely.
Think of it as a helper for persistent spots that haven’t responded after a week or two of patient soaking on their own.
A few smart tips make a big difference here. Choose a product labeled for soil or garden use, not household dish soap, which can harm plants and soil life over time.
Always follow the label for mixing rates and timing, and water it in right after applying so it reaches the soil instead of sitting on leaves.
Heads up worth knowing. Most wetting agents wear off over time as rain, irrigation, and soil microbes break them down naturally. Expect to reapply every few months during the dry season if the problem persists.
7. Organic Matter Prevents Future Hardening
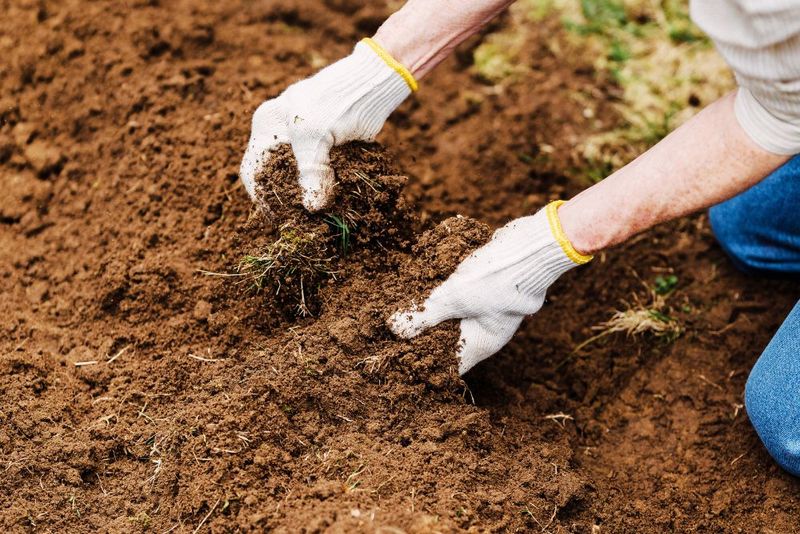
Grandparents who kept beautiful gardens often swore by one thing above all else. Feed the soil, not just the plants. That old advice holds up remarkably well today.
Healthy levels of organic matter help soil stay crumbly, spongy, and ready to take in water when it arrives.
Wait, didn’t dry organic matter cause the problem in the first place? Yes, but the key word there is dry. When compost and mulch stay slightly moist and active, soil life breaks them down steadily.
The soil builds a loose structure with lots of tiny spaces for water and air to move through freely.
Adding compost to clay soils improves structure over time in a meaningful way. Work in a few inches of compost when planting a new bed, mixing it into the top several inches of soil.
For established plants, spread compost on the surface and let worms carry it down for you gradually.
Mulch is the other hero in this story. A two to four inch layer of wood chips or shredded bark shades the ground, slows evaporation, and keeps the surface from baking into a water-shedding crust.
Keep mulch a few inches away from stems and tree trunks to avoid rot forming underneath it.
Most important of all, try not to let beds go completely bone dry for long stretches, even during winter dry spells. Consistent, light moisture keeps those waxy compounds from hardening into a problem in the first place.
A little care each season means you won’t be fighting puddles next summer. Your future self will be glad you did the work now.
8. A Little Patience Restores Normal Absorption
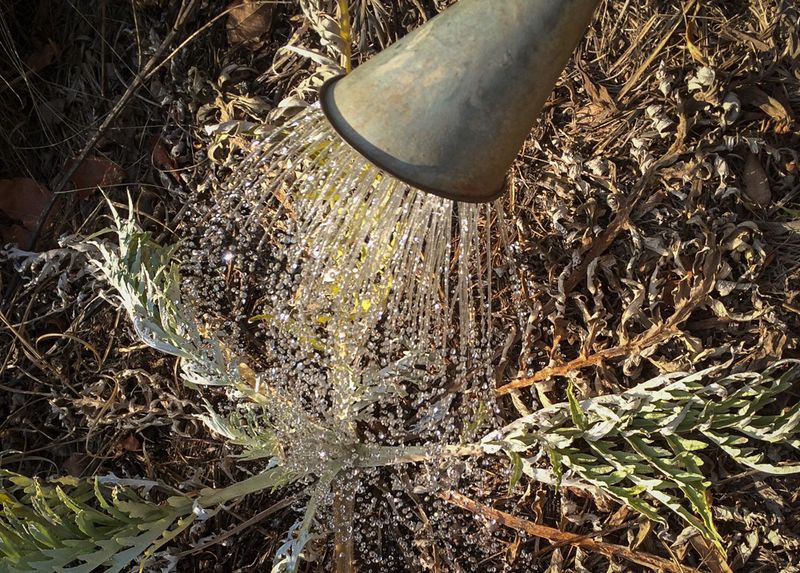
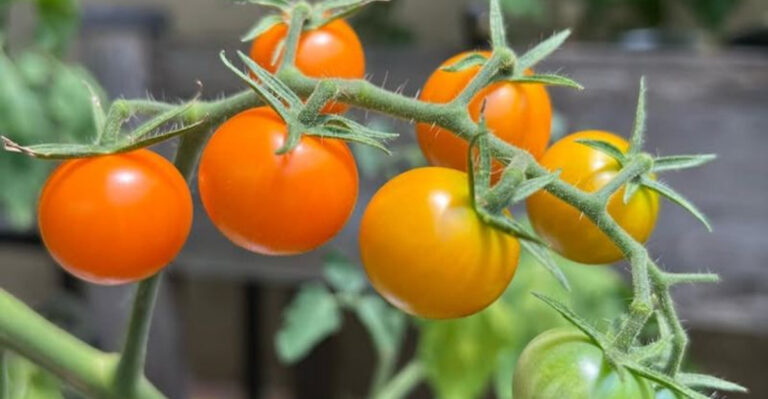
Nobody likes hearing the word patience when their tomatoes are wilting in real time. The truth, though, is that water-repellent soil didn’t form overnight, and it won’t fully bounce back overnight either.
Most gardeners see real improvement over several days to a few weeks of steady care.
Here’s a realistic timeline, though your results depend on your soil, weather, and how dry things actually got. In the first few days of slow, repeated watering, you’ll likely notice less runoff and shallow damp spots forming.
By the end of the first or second week, water should soak in faster and reach deeper than before.
Clay beds with badly hardened surfaces can take longer, sometimes a month or more of consistent moisture plus compost and mulch working together. Deep structural improvements in clay happen over seasons, not days.
Treat any specific timeline you read as a general estimate rather than a firm rule for your own yard.
Track your progress with the same drop test and dig test you used at the start. Once drops soak in within a few seconds and moisture reaches six inches or more after watering, your soil is back on track.
Celebrate that win, because you genuinely earned it through steady effort.
From there, keep the soil from drying out completely, and the puddles shouldn’t come back around. Your plants will show you too, with perkier leaves and stronger growth all around. Healthy soil really is worth the wait.