What Oregon Hydrangeas Need In September Before Fall Rain Returns
September can catch Oregon hydrangeas in an awkward in-between moment. Summer is fading, fall rain has not fully returned, and those big leafy shrubs may still be carrying blooms while the rest of the garden starts shifting gears.
It is easy to assume hydrangeas can simply coast until wetter weather arrives. After all, the hottest days are nearly behind them, and Oregon’s familiar autumn moisture does not feel far away.
Plants, unfortunately, do not organize their schedules around our expectations. This transition period can be surprisingly important.
Hydrangeas have already spent months putting energy into leaves, flowers, and new growth, yet they still have work to do as the season changes.
What happens now can influence how comfortably they move into fall and eventually winter.
That makes September a good month to pay attention rather than mentally checking these shrubs off the gardening calendar.
A few timely tasks can help hydrangeas finish the season in better shape, especially while the soil is still dry and dependable rain has not quite taken over watering duty.
Keep Watering Until Fall Rain Really Returns
A lot of gardeners make the mistake of putting away the hose too early in September. Just because summer heat is easing up does not mean the soil has enough moisture.
Hydrangeas have big, broad leaves that lose water fast, and the roots need consistent hydration to stay strong.
Check the soil around your plants at least twice a week. Stick your finger about two inches into the ground near the base of the shrub.
If it feels dry, it is time to water. Give the plant a slow, deep soak rather than a quick sprinkle on top.
Deep watering encourages roots to grow down into the soil where moisture lasts longer. Shallow watering only wets the surface, which dries out fast.
Aim for about one inch of water per week if rain is not doing the job for you.
Morning is the best time to water. It gives leaves a chance to dry out before evening, which helps prevent fungal problems.
Avoid getting water on the flower heads if you can, since wet blooms can turn brown faster.
Keep this routine going until you see consistent rainfall returning to your area. Do not rely on forecasts alone.
Check the soil regularly, because even a light rain may not soak deep enough to reach the roots properly.
Do Not Let The Root Zone Dry Out In September
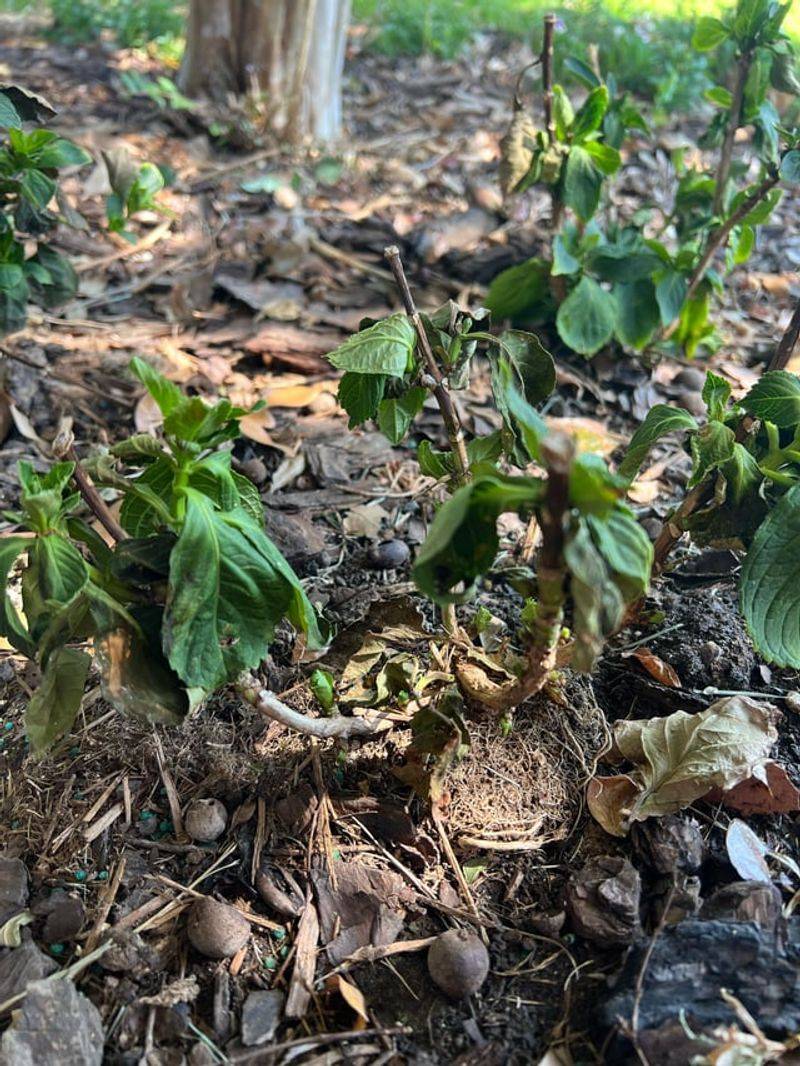
The root zone is the area directly beneath and just beyond the spread of the plant’s branches.
For hydrangeas, this zone is where most of the active roots are working to absorb water and nutrients. Letting this area dry out in September can set the plant back significantly.
Dry roots struggle to move water up through the stems and into the leaves. When that happens, leaves may wilt, curl at the edges, or turn yellow even before fall arrives.
The plant is not getting what it needs, and it shows pretty quickly. One easy way to check on root zone moisture is to use a simple soil probe or even a long screwdriver. Push it into the ground near the plant.
Your Oregon Garden Changes Every Week. Your Plan Should Too.
Gardening in Oregon changes quickly throughout the season. Every Friday you’ll receive a simple weekly plan showing exactly what to plant, prune, fertilize, harvest, and protect so you never miss the right timing.
If it slides in easily, the soil is moist enough. If it stops after just an inch or two, the ground is too dry.
Hydrangeas planted under trees or near roof overhangs can be especially prone to dry root zones.
These spots often miss out on natural rainfall because the canopy or structure above blocks the water. Pay extra attention to plants in these locations during September.
Keeping the root zone consistently moist, not soggy, is the goal. Steady moisture now helps the plant build up the energy reserves it will need to survive winter and bloom again next year.
Skip Heavy Fertilizer This Late In The Season
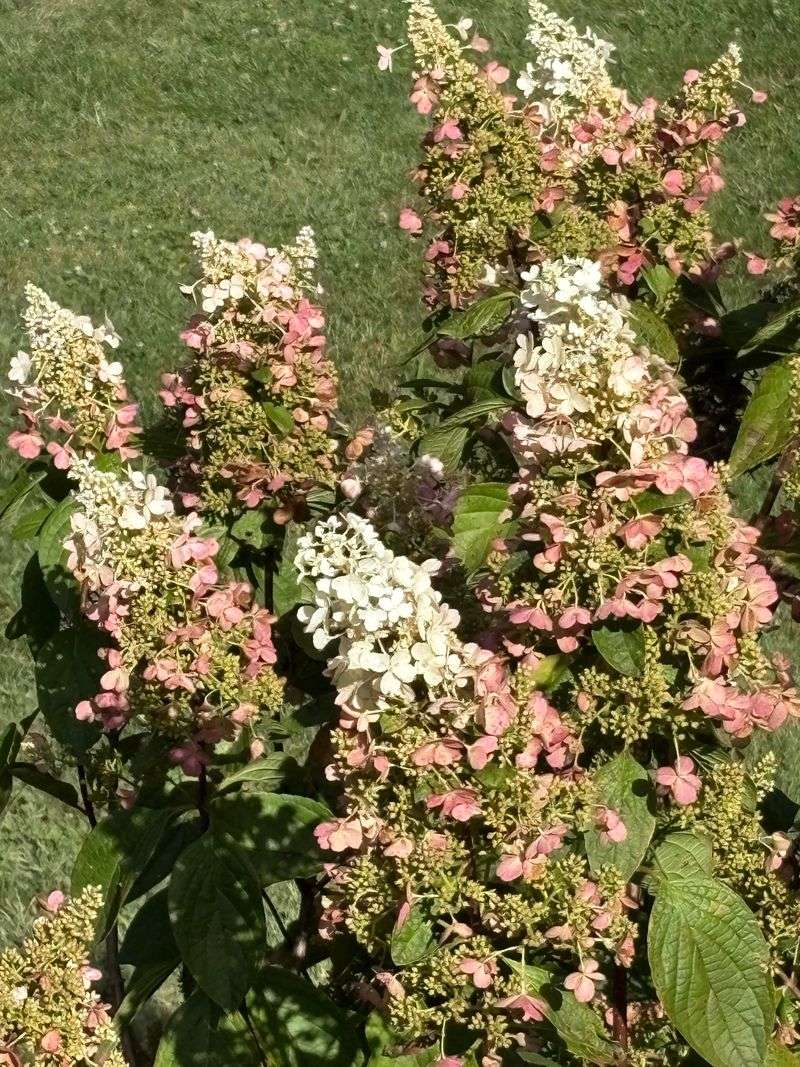
Fertilizing feels like a helpful thing to do, but timing matters a lot with hydrangeas. Feeding them with a high-nitrogen fertilizer in September can actually work against you.
Nitrogen pushes plants to grow new, soft green shoots, and that is the last thing you want heading into fall.
New growth that appears late in the season does not have enough time to harden off before cooler temperatures arrive.
That tender new growth is vulnerable and can be damaged when cold nights begin. It puts extra stress on the plant at a time when it should be slowing down.
Most hydrangeas have already gotten the nutrients they need from spring and early summer feeding. By September, the plant is naturally starting to wind down its growth cycle.
Pushing it to grow more at this point goes against its natural rhythm. If you feel like you need to do something, a light application of a low-nitrogen, slow-release fertilizer is the safest option.
Look for fertilizers labeled for fall use or those with higher phosphorus and potassium numbers, which support root health rather than leafy growth.
Better yet, hold off entirely and wait until next spring to fertilize again. Giving the plant a rest in September is often the kindest thing you can do. Less really is more when it comes to late-season feeding for hydrangeas.
Leave Healthy Green Leaves On The Plant
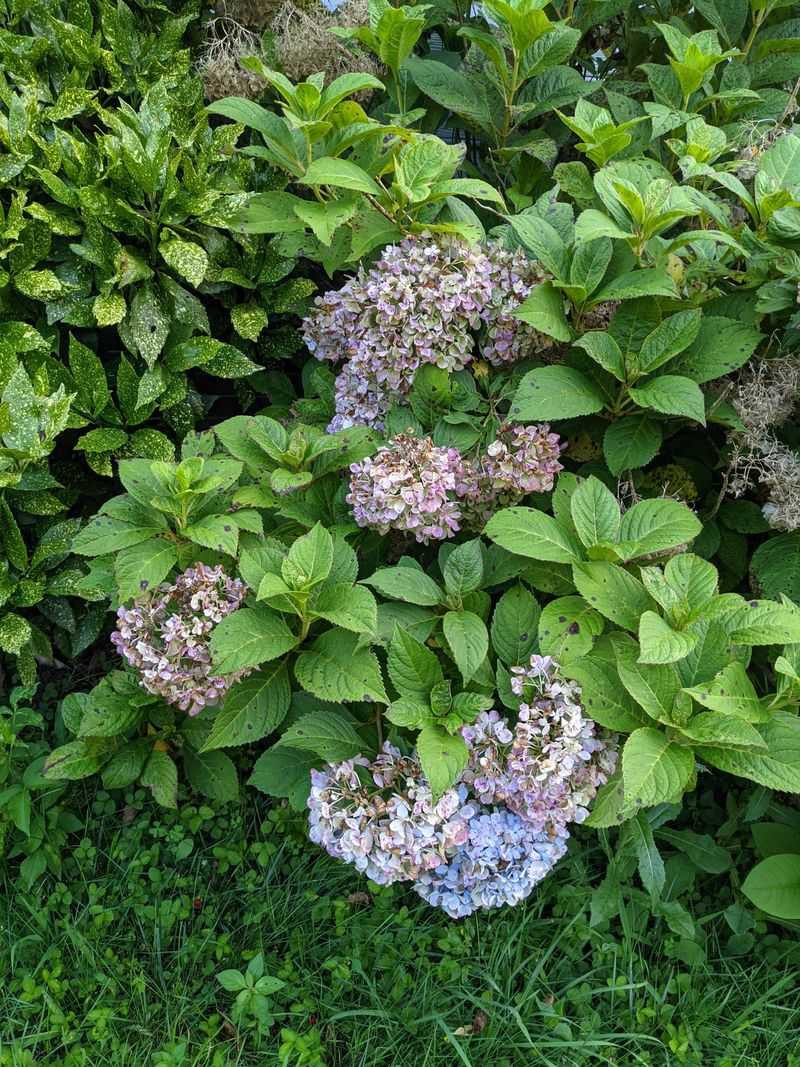
Green leaves are working hard right up until they naturally fall on their own. Each leaf is still capturing sunlight and turning it into energy that the plant stores in its roots.
Removing healthy leaves in September takes away that energy-making capacity at a time when the plant needs it most.
Some gardeners like to tidy up their shrubs by pulling off leaves that look slightly faded or that have minor spots.
Unless a leaf is clearly diseased or badly damaged, it is best to leave it alone. A little natural aging is normal and harmless this time of year.
Healthy leaves also help protect the stems and inner structure of the plant. They provide a bit of natural insulation and shade for the crown of the plant as temperatures begin to drop.
Stripping them away leaves the plant more exposed than necessary. If you notice leaves with large dark spots, powdery coating, or signs of pest damage, those can be removed. But be selective.
Only take off what is clearly problematic, not just slightly imperfect. Toss removed leaves in the trash rather than your compost pile to avoid spreading any disease.
Letting the plant go through its natural leaf cycle is one of the simplest and most effective things you can do in September. Trust the plant to do what it knows how to do, and resist the urge to over-manage it.
Avoid A Big Late-Summer Pruning Session
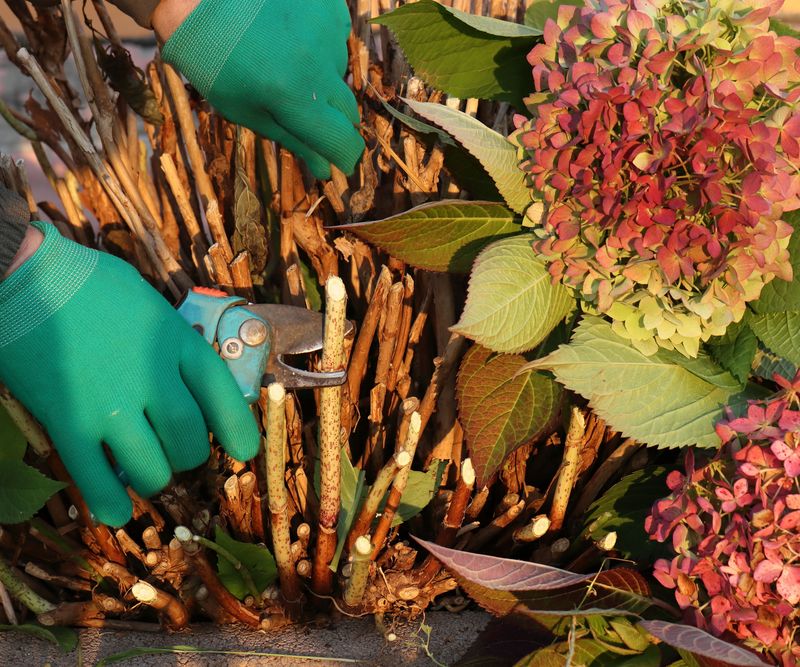
Pruning hydrangeas at the wrong time is one of the most common mistakes home gardeners make.
September might seem like a good time to clean things up, but heavy pruning now can seriously reduce next year’s blooms.
Many hydrangea varieties set their flower buds in late summer and fall on old wood.
Cutting back the stems in September means cutting off the buds that were going to become next year’s flowers.
You might not notice the damage until next spring when your plant puts out lots of leaves but very few blooms. That is a frustrating surprise after a long winter of waiting.
The general rule is to wait until you know exactly what type of hydrangea you have before you prune at all.
Bigleaf and oakleaf hydrangeas bloom on old wood and should only be pruned right after they finish flowering in summer, not in fall.
Smooth and panicle hydrangeas bloom on new wood and can be pruned in late winter or early spring.
If you are not sure which type you have, the safest approach is to skip pruning in September entirely. You can always prune later once you have done a little research.
A quick search online with a photo of your plant can help you identify the variety.
Holding off on the pruning shears this month is a simple way to protect next summer’s flower show without any extra effort.
Keep Mulch Around The Roots To Hold Moisture
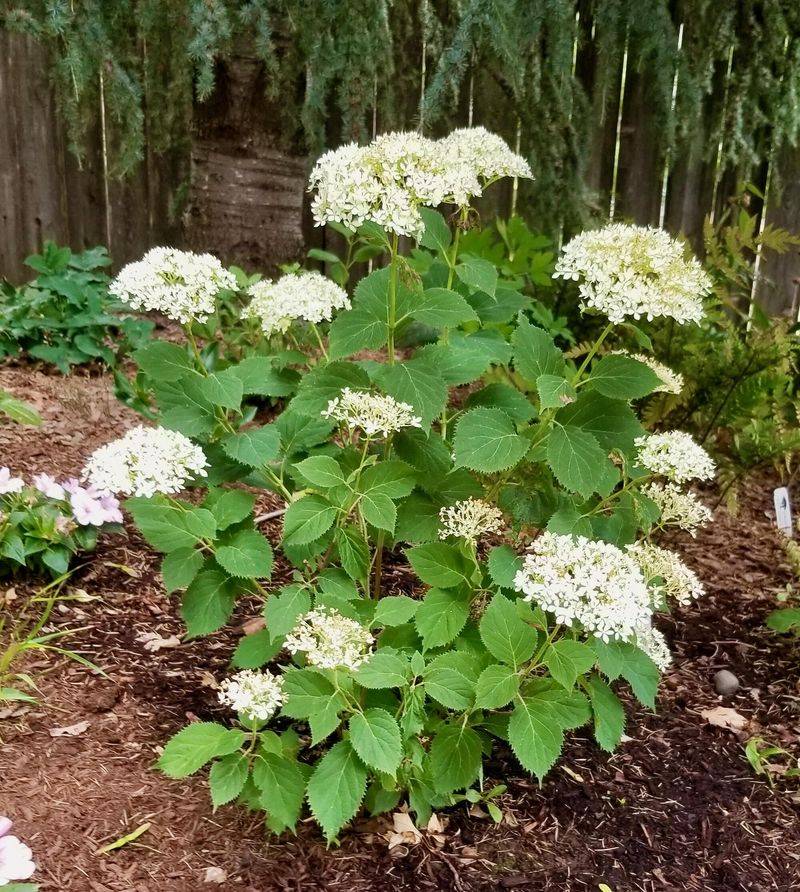
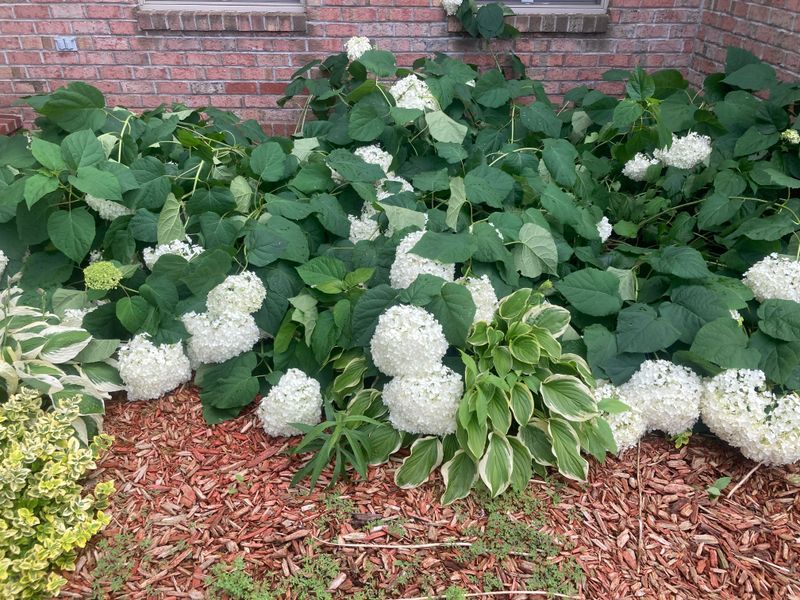
Mulch is one of the most underrated tools in a gardener’s toolkit, especially in September. A good layer of mulch around your hydrangeas helps the soil hold onto moisture much longer between waterings.
That is especially important during the dry gap before fall rains arrive. Spread mulch in a ring around the base of each plant, extending out to the edge of the plant’s canopy if possible. Aim for a layer about two to three inches thick.
Keep it a few inches away from the main stems to prevent rot and discourage pests from nesting right against the plant.
Wood chips, shredded bark, and straw all work well as mulch materials. Each one helps slow down water evaporation from the soil surface.
They also help keep soil temperatures more stable as the weather begins to shift from warm to cool.
Mulch also breaks down slowly over time, adding organic matter back into the soil. This improves soil structure and supports the beneficial microbes that help your plant absorb nutrients.
It is basically a gift that keeps on giving all the way through winter. If your mulch layer has thinned out over the summer, September is a great time to top it back up.
Fresh mulch going into fall gives your plant the best possible protection as the seasons change. A small effort now pays off with healthier roots next spring.
Remove Only Damaged Growth
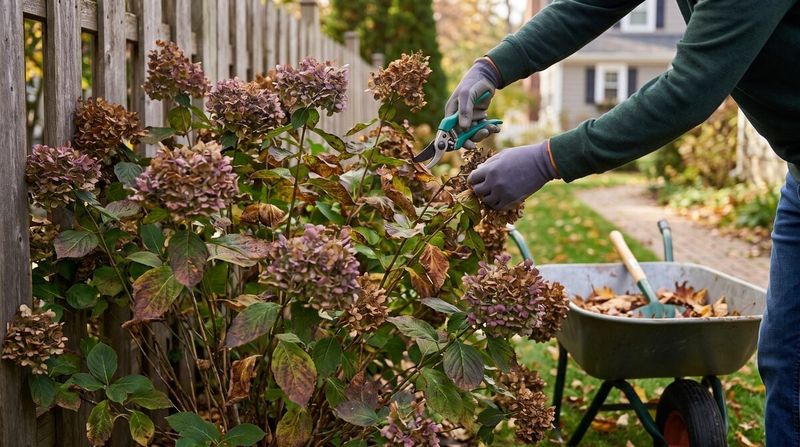
Not all pruning is bad in September. Removing growth that is clearly damaged, broken, or showing signs of disease is actually a smart move this time of year.
The key is being very specific about what you take off and leaving everything else alone.
Look for stems that are visibly cracked, hollow, or have turned black or brown in an unusual way. Also check for any branches that were broken by summer storms or heavy flower heads.
These damaged parts are not going to recover, and removing them helps the plant focus its energy where it counts.
Use clean, sharp pruning shears for any cuts you make. Dull or dirty blades can crush the stem tissue or introduce bacteria into the cut.
Wipe your blades with rubbing alcohol between cuts if you are removing anything that looks diseased, to avoid spreading the problem.
Cut damaged stems back to a healthy joint or to the base of the plant, depending on how far the damage extends. Do not leave short stubs, since they can become entry points for pests and disease over the winter months.
After removing damaged material, give the plant a good look from a few steps back. If it still looks full and healthy, you are done.
Resist the urge to keep snipping just to make things look neater. Restraint is your best friend when it comes to September pruning in Oregon gardens.
Let Fading Flower Heads Stay If You Like The Look
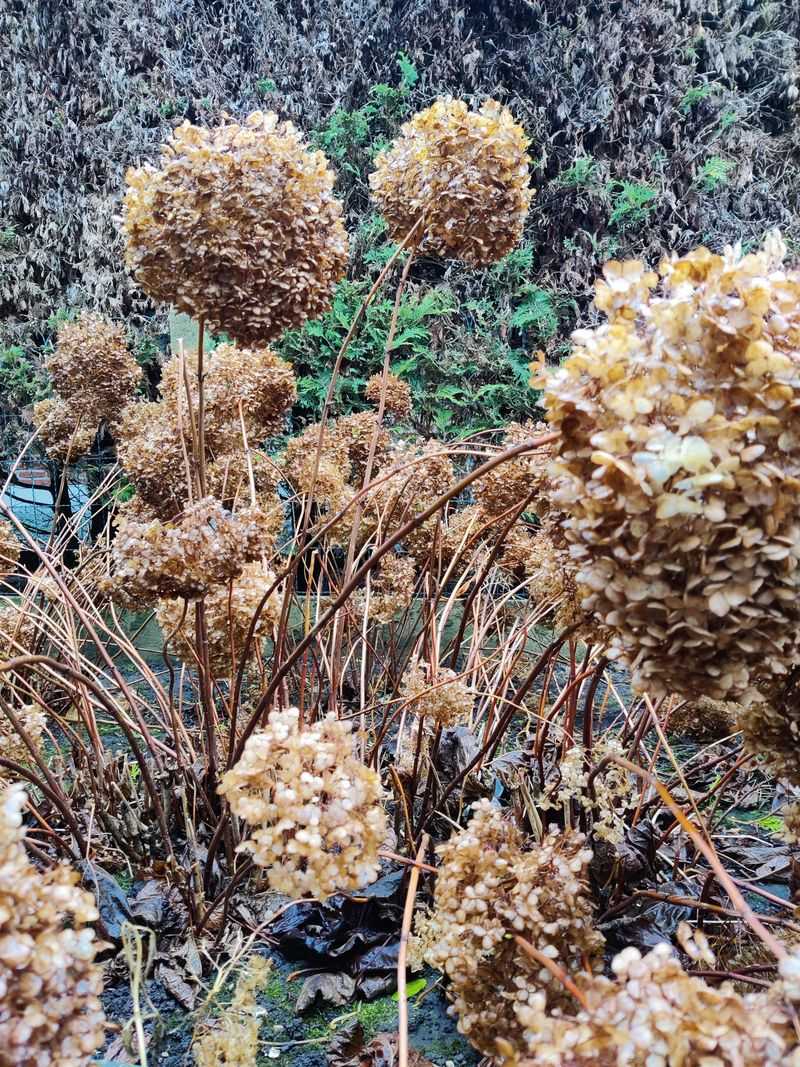
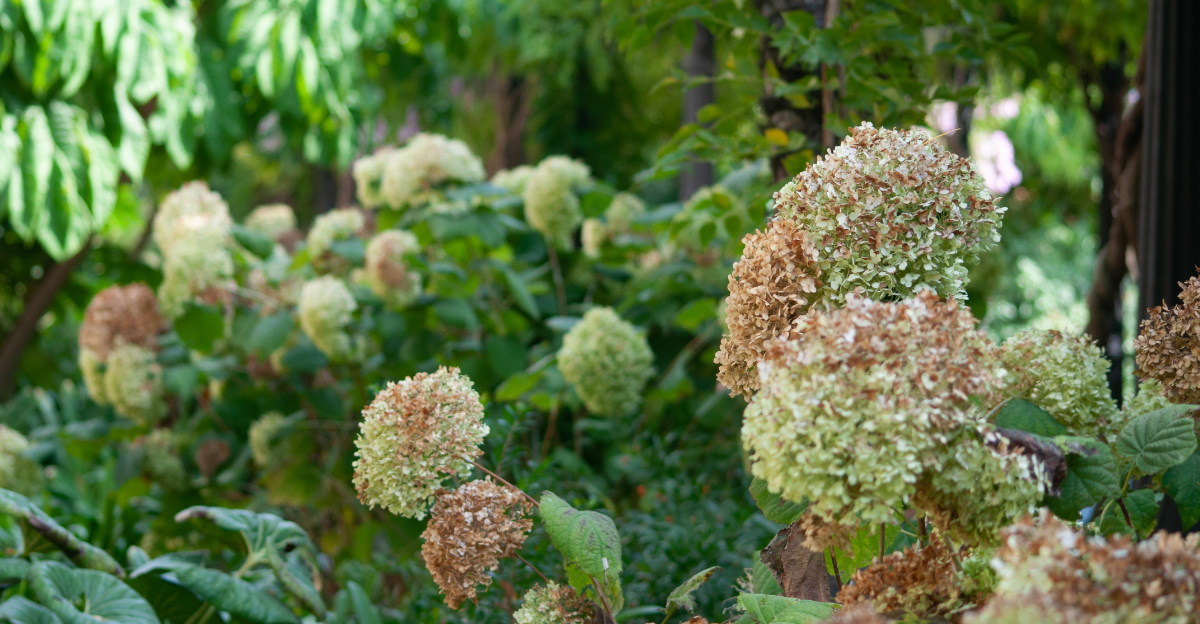
There is actually a good reason to leave those fading blooms right where they are. Dried hydrangea flower heads have a quiet beauty that many gardeners have come to love.
They shift from soft pinks and blues into warm tans, greens, and rusty browns as the season changes.
Beyond looks, leaving the flower heads on the plant through fall and winter offers some real practical benefits.
The dried blooms act as a natural cover over the buds sitting just below them on the stems. That light protection can help shield those future buds from early frosts.
Birds sometimes visit dried flower heads looking for seeds and shelter. Leaving them in place gives a little something back to the local wildlife, which is always a nice bonus in a home garden.
It is a small gesture that can make a real difference for birds heading into colder months. If you do want to remove some of the flower heads, wait until late winter or very early spring.
At that point you can see which stems are healthy and which ones did not make it through the cold.
Cutting them off then also gives you a chance to do any light shaping before new growth begins.
For now, enjoy the natural transition happening right in your own yard. Those fading blooms are not a sign of failure.
They are part of the plant’s seasonal story, and they have a charm all their own through the cooler months ahead.